For the CNC Assignment, we were tasked with using the Carvey CNC machine to cut a design into a block of wood. The only real stipulation was that the design would have t0 be found on the website thenounproject.com. Of course, whatever design we cut would also have to be post-processed so the raw effects of CNC machining would not be visible, and also so we could express our creativity.
I knew right off the bat I wanted to do something car-related. I thought it would be cool to create a design where a crash-test dummy rode in a car. Thankfully, the cut preview from the Inventables Easel program made me realize that to etch that design into a small block of wood would not really be feasible. So then I decided to leave out the car and just etch out the head of a dummy.
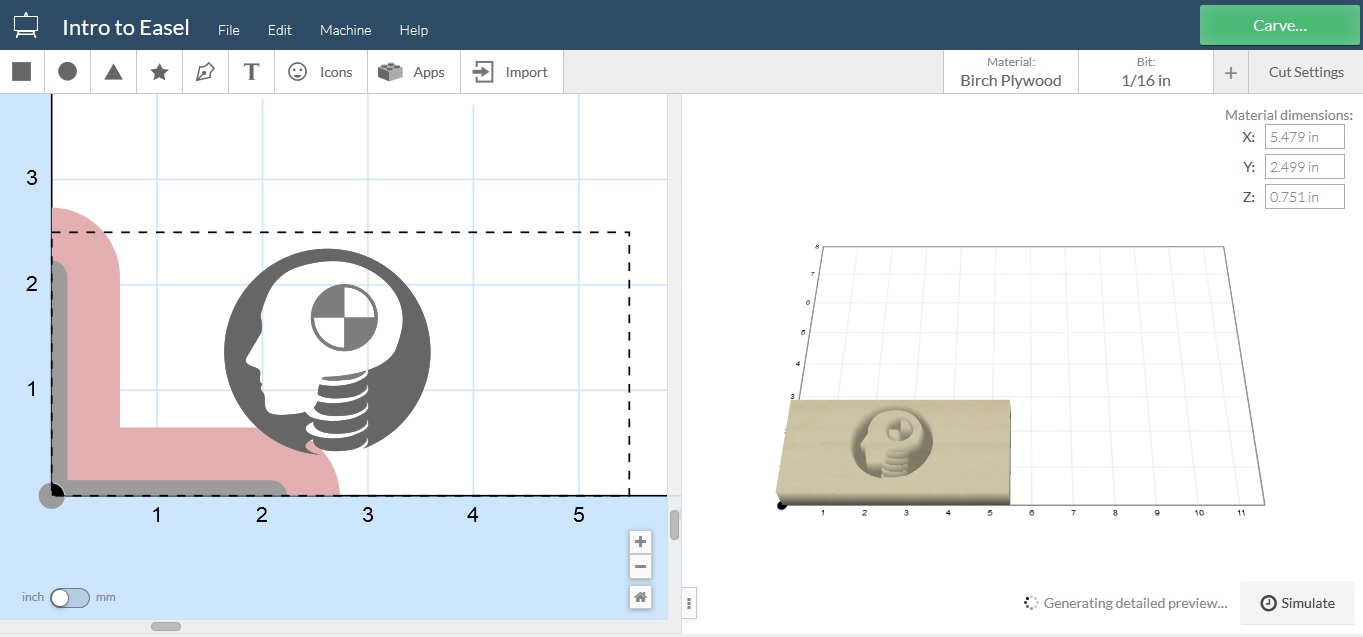
Design used for first cut. (I moved the design to the right before cutting because at this point the guard holding the wood in place is interfering with the cut).
After finding a suitable file from the noun project, I made my first cut a piece of Pine #1 wood. Unfortunately, I had to stop the cut about halfway through when I realized that a piece of the relatively detailed “neck” section of the design had come off. I immediately lost faith in that dummy file and actually tried to use a different one from the noun project, but Andre suggested that I simply make the cut bigger. This would make it easier for the drill bit to move around without knocking out the thin neck pieces.
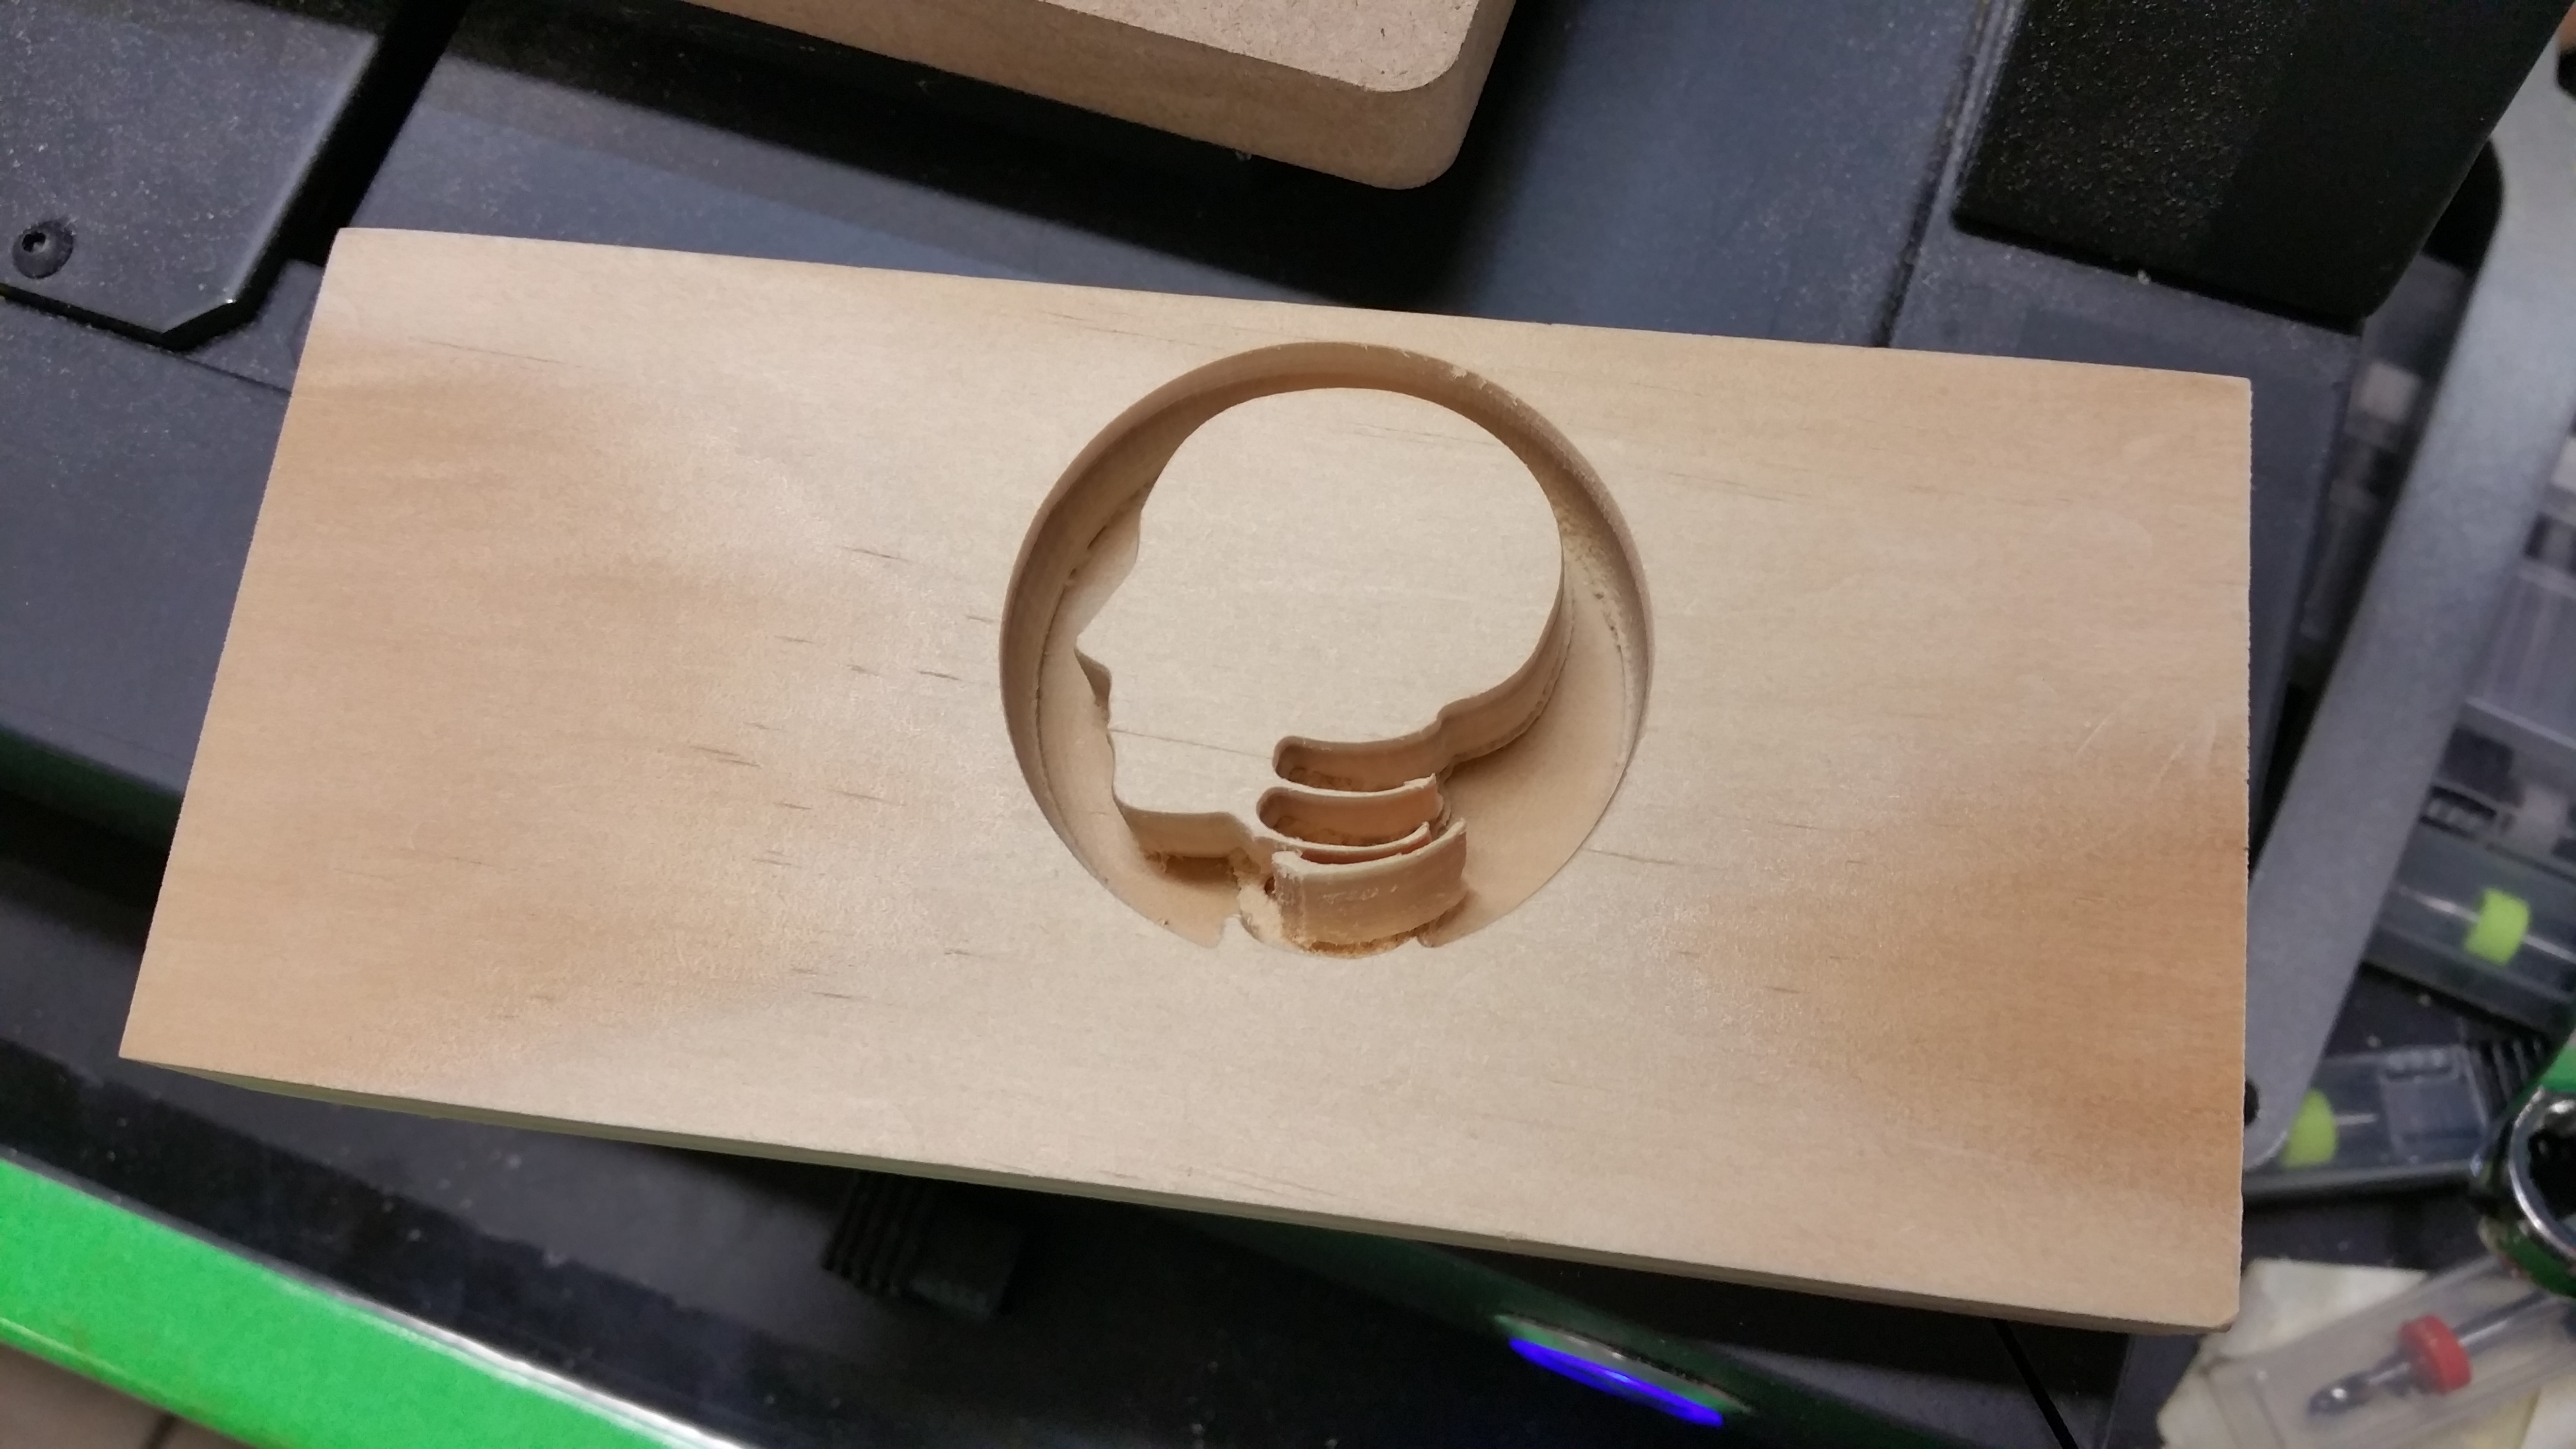
First cut, with broken “neck” piece visible.
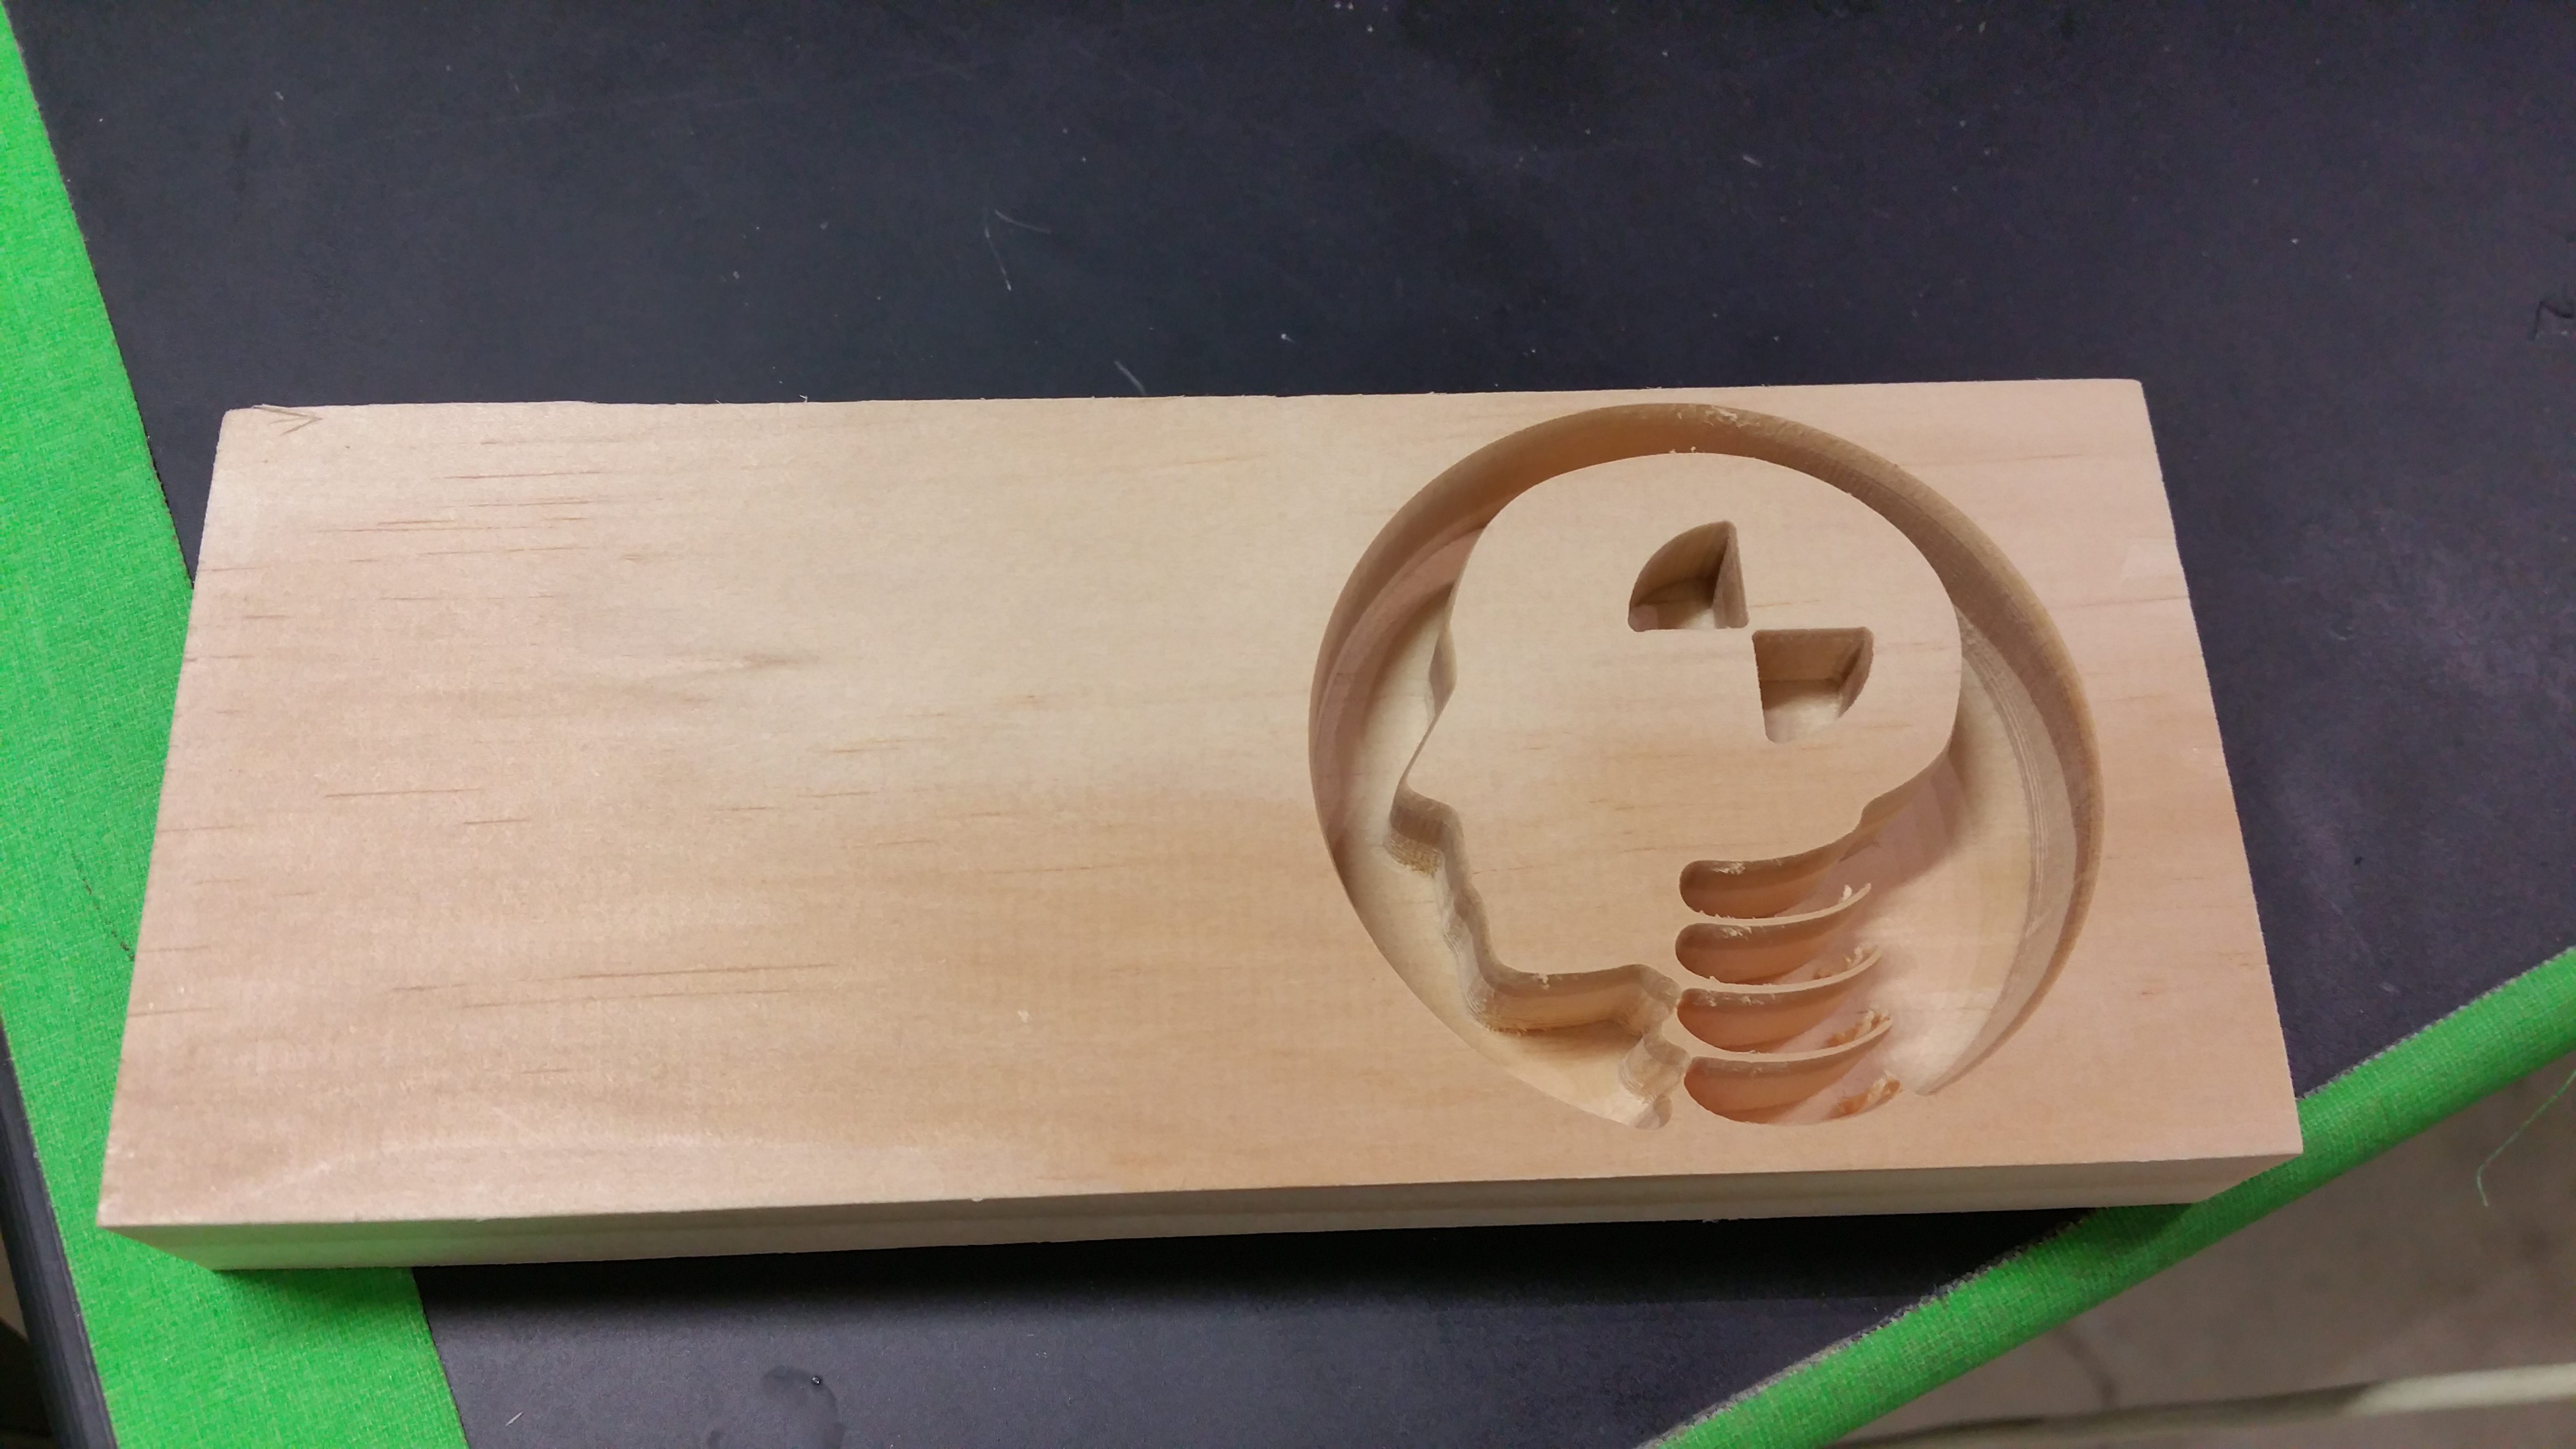
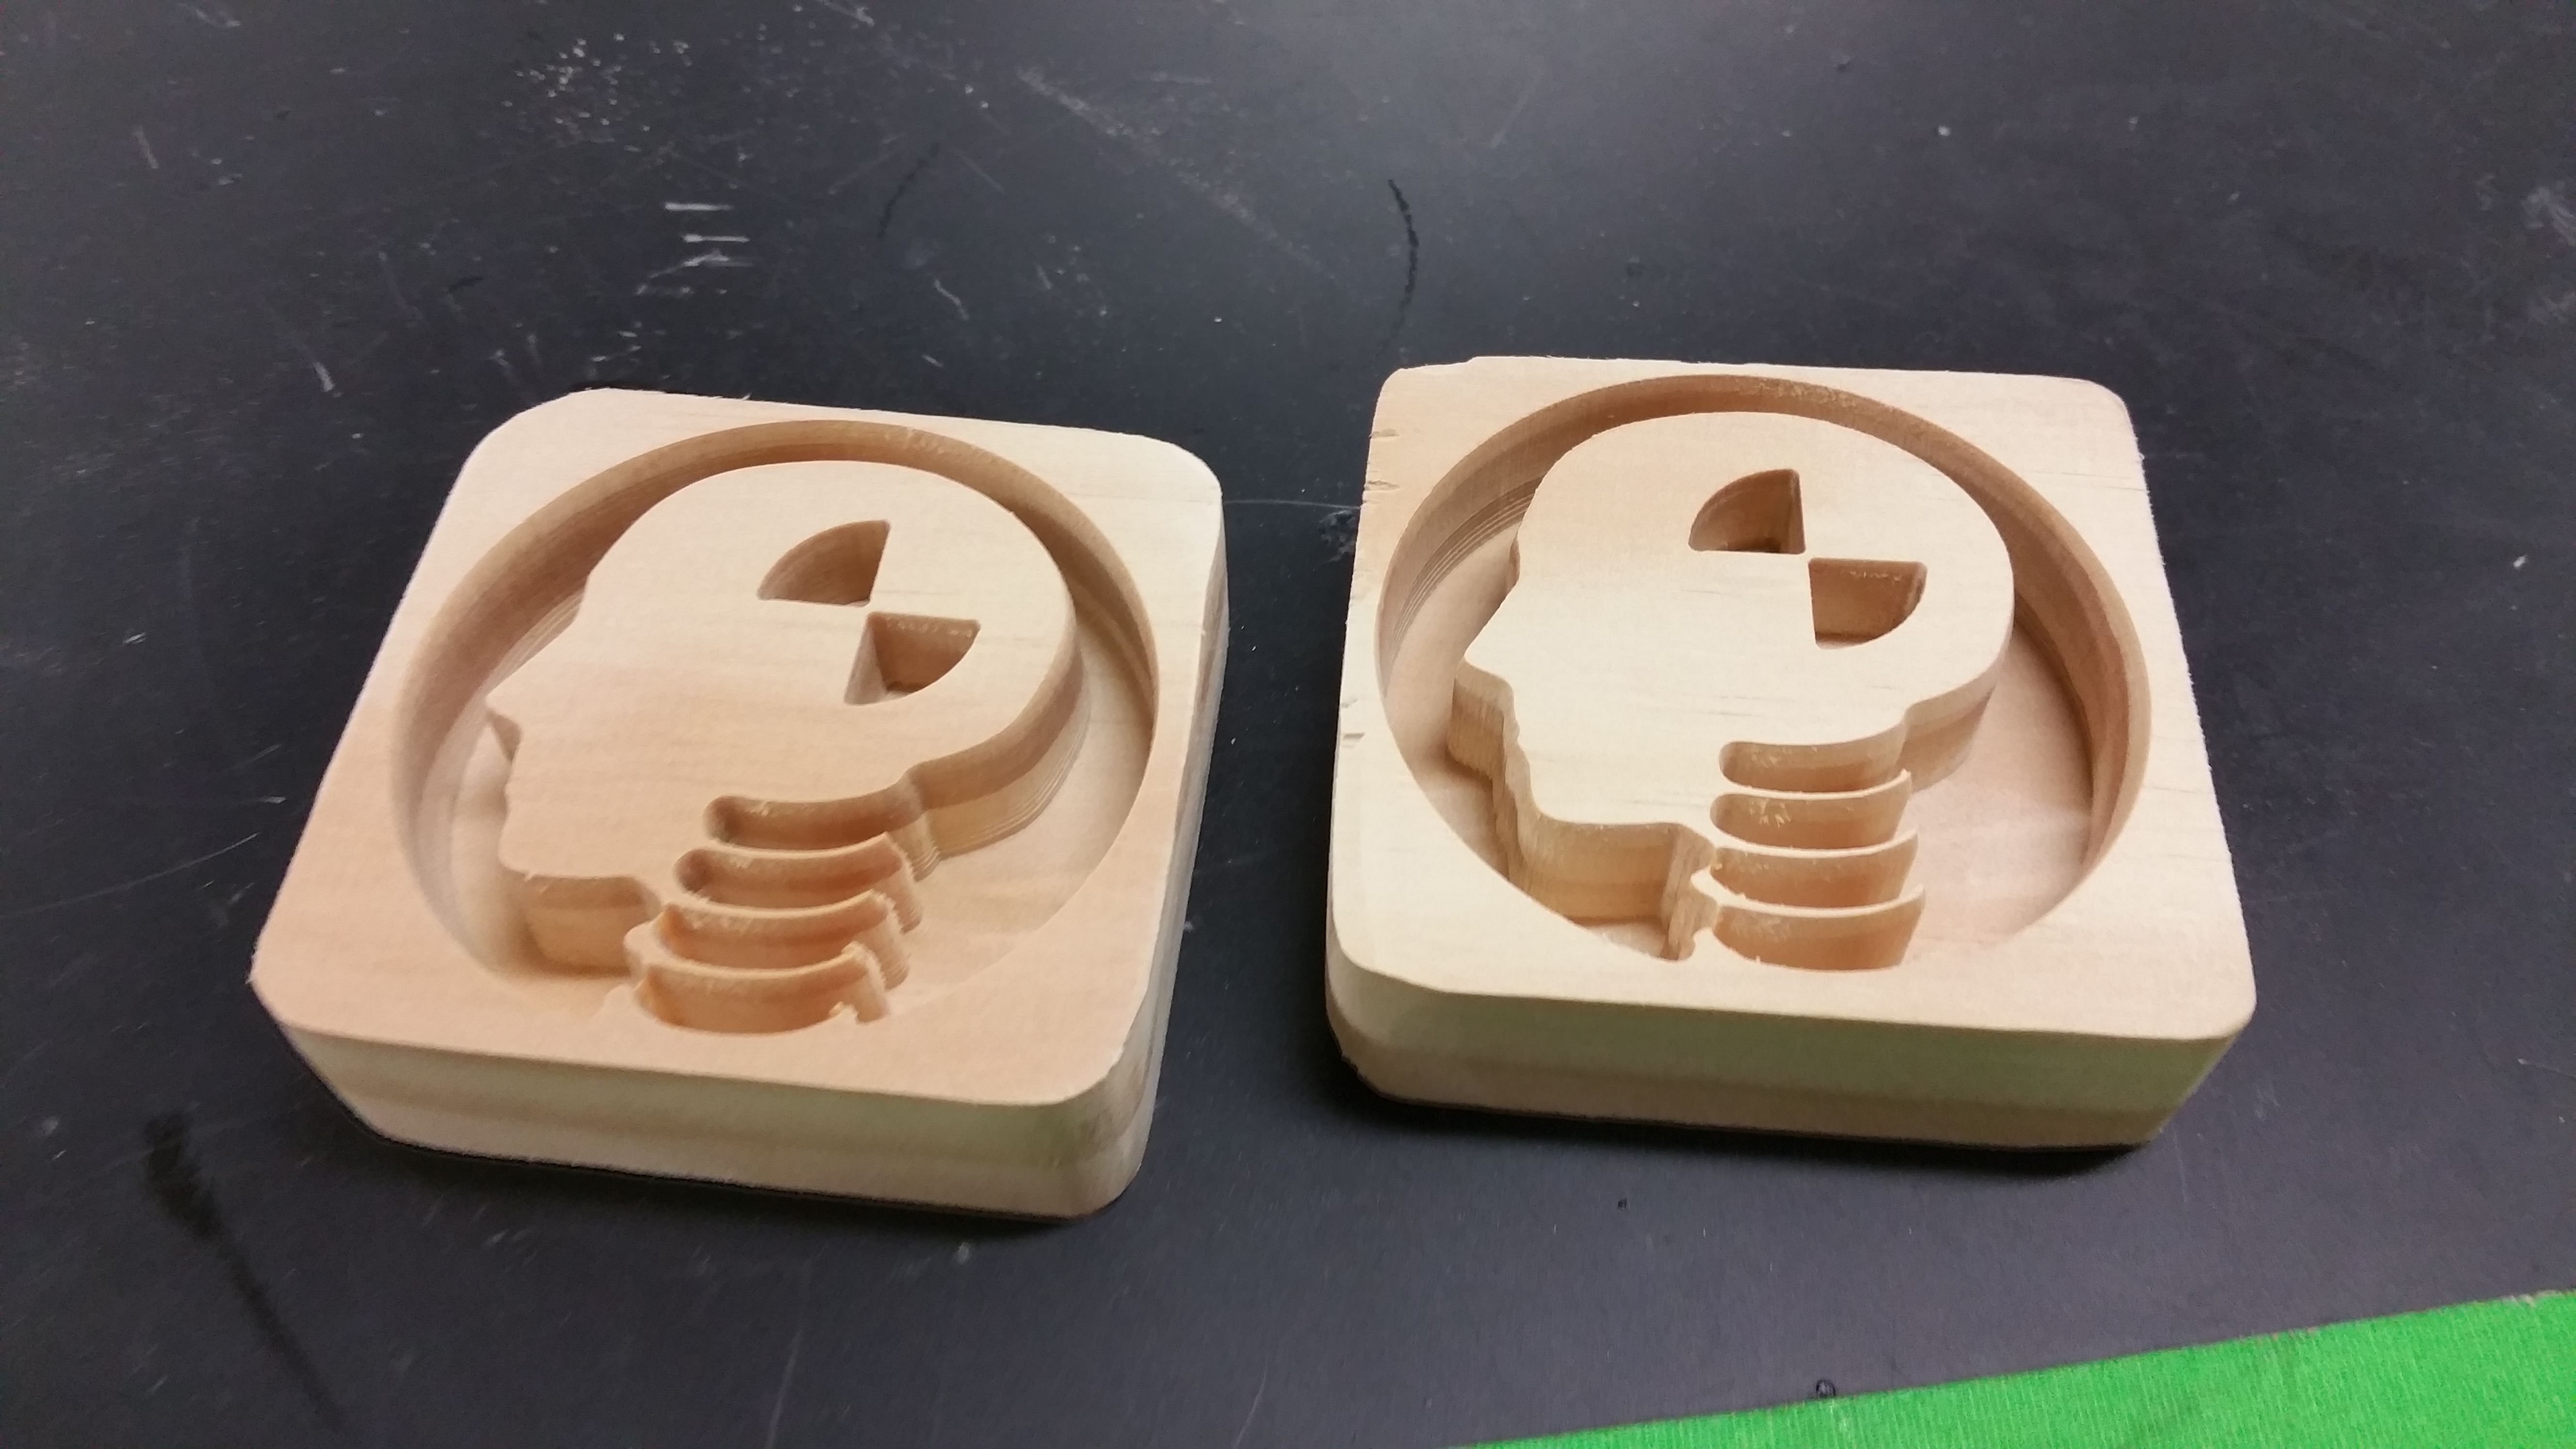
For the second cut, I followed Andre’s advice on a new block of wood. To save material, I decided to cut both dummy faces in opposite sides of the same block. This meant I would have to push the design as close to the right edge of the block as possible, to ensure that when I cut the piece in half, I would not saw through one of the dummy faces.
The new bigger cut came out great. But I did not realize until later that the 1/2 inch depth I used for most of the design was actually really deep. It meant both cuts took about 40 minutes each. However, the end result still looked good.
It looked less good after I sawed the wood block in half. The two designs were closer to each other on their respective sides of the block than I realized.
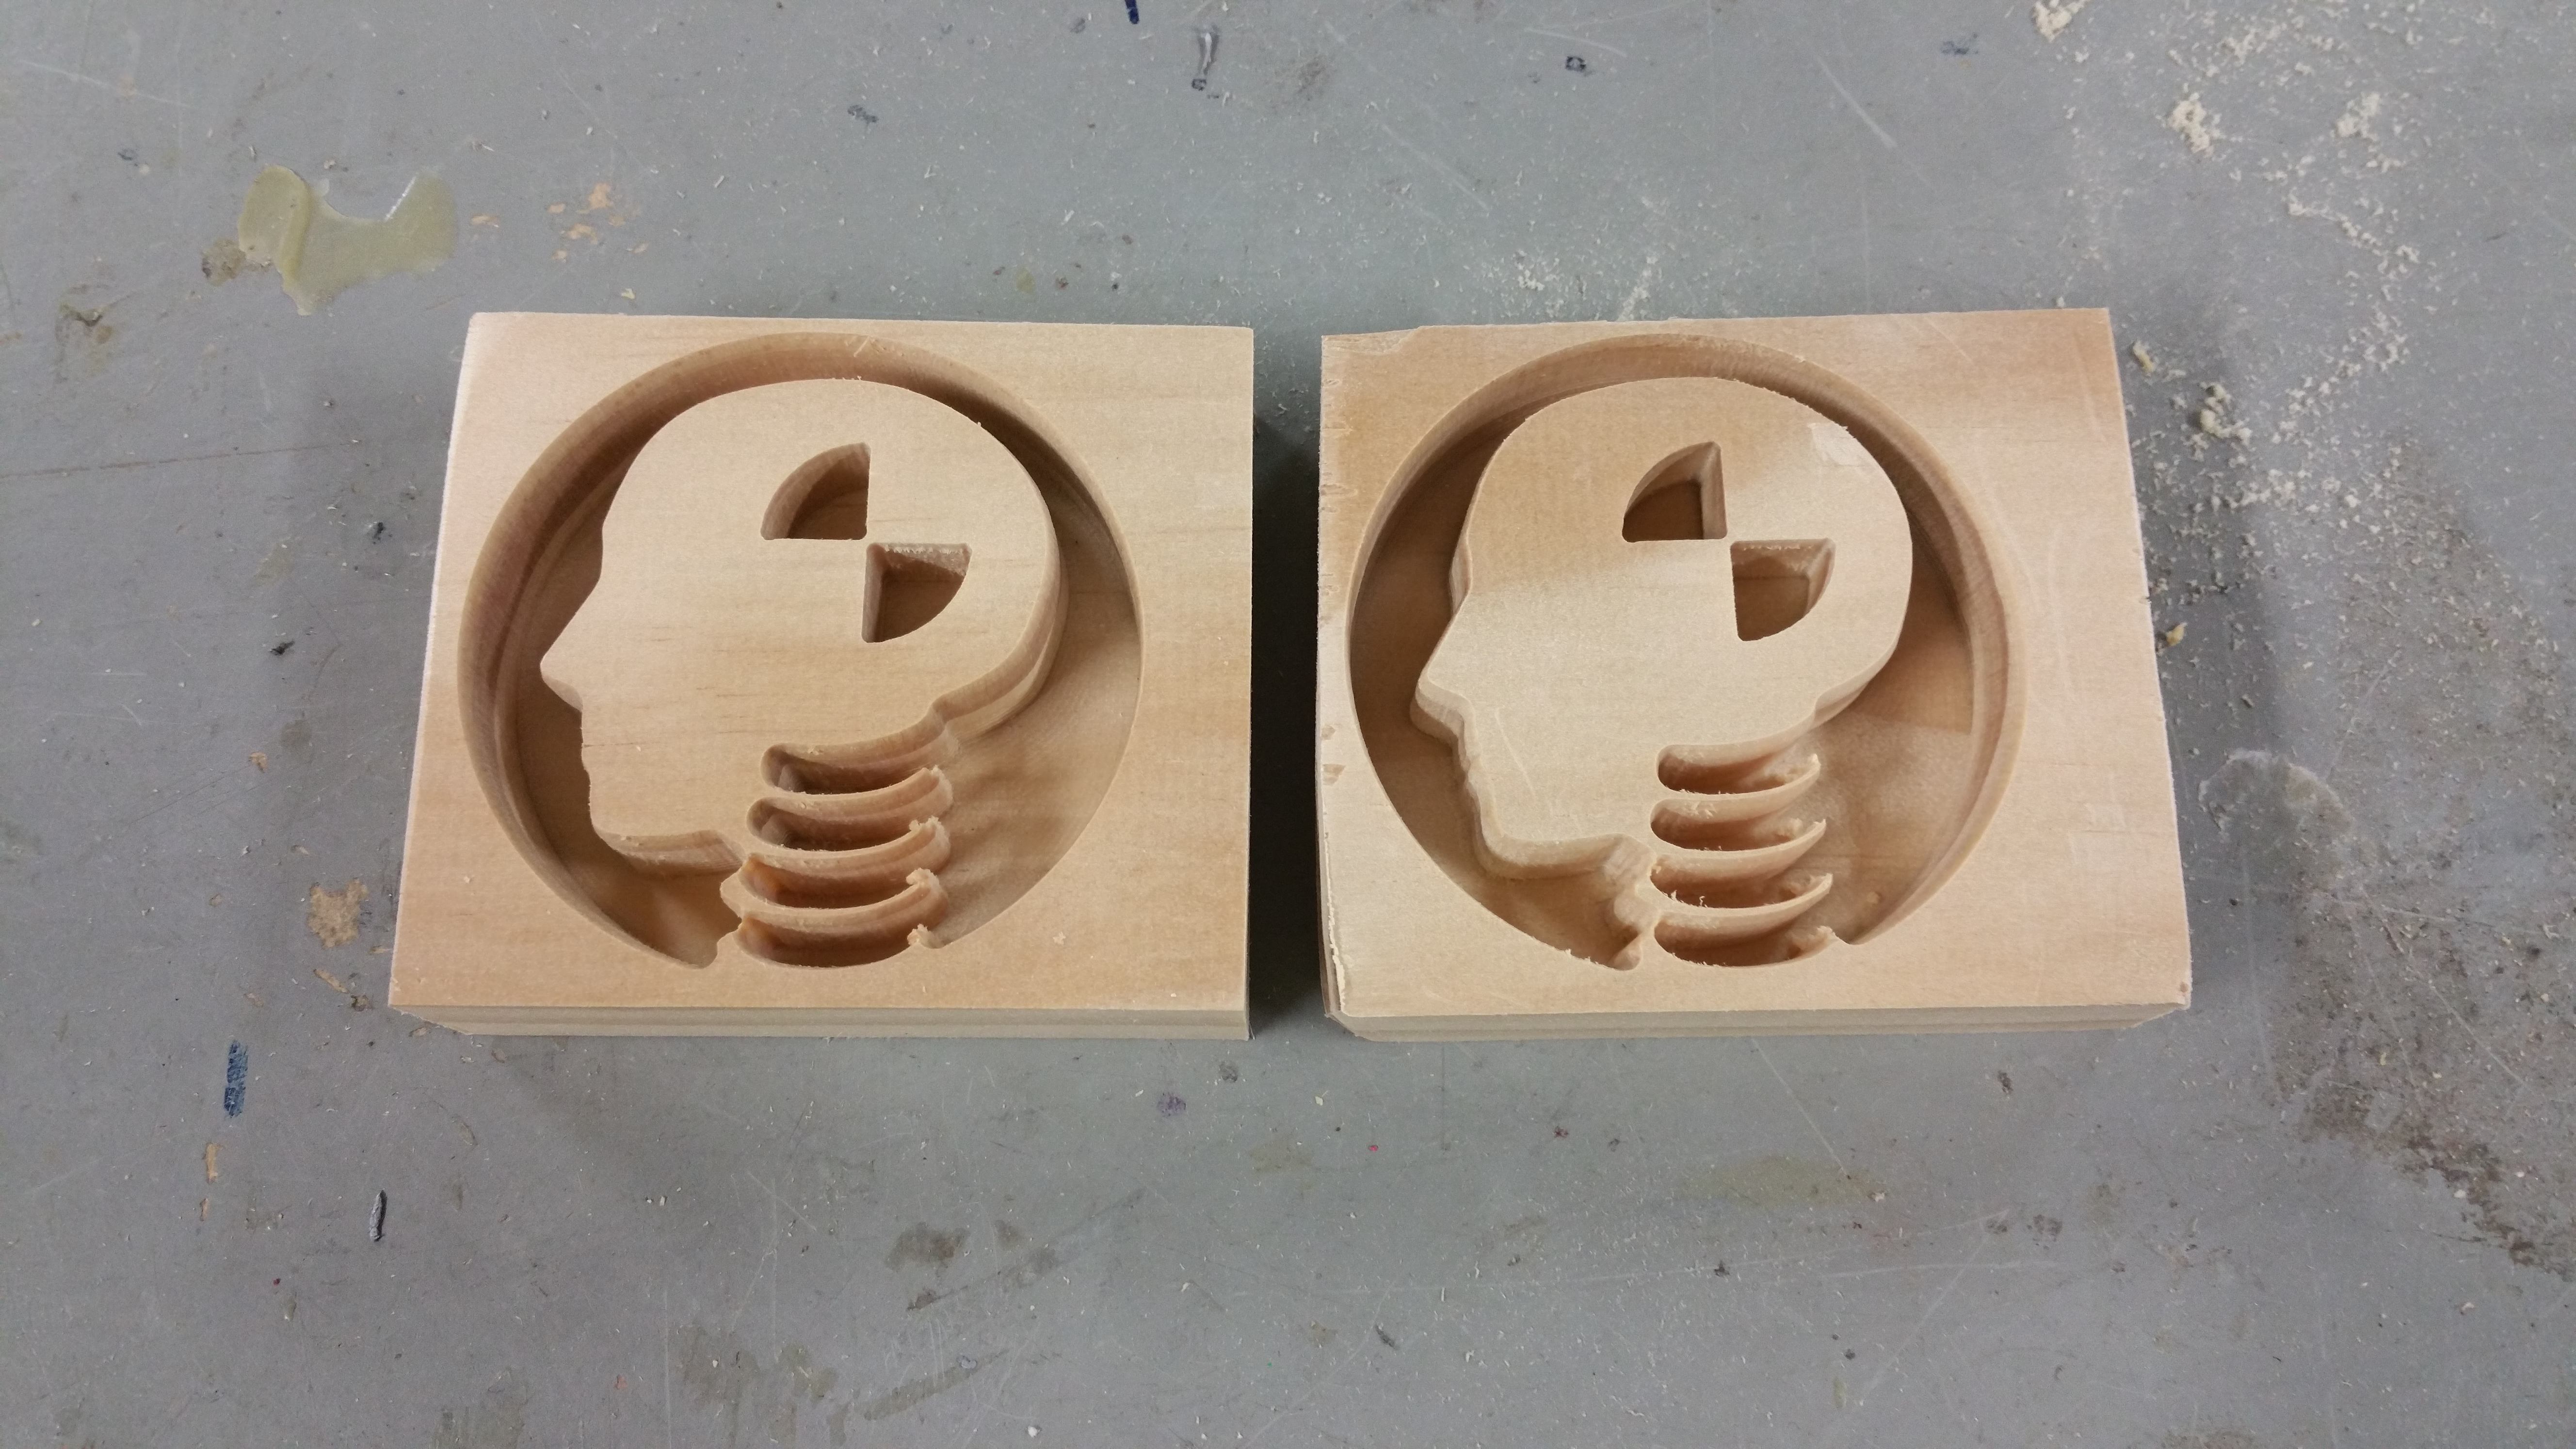
Two pieces after the wood block was sawed in half. Saw tooth marks are visible, as is the fact that my cutting line was not perfectly straight.
Luckily I was able to sand away most of the rough edges and cut marks that came from the saw. I even opted for the belt sander to round out the corners of the wooden block.
Wood blocks after having corners rounded off on the belt sander. I would go over the surface and the design itself with sand paper later on.
Next came the paint! I know some people used spray paint on their pieces, but the deep cuts I used on the circular design meant spray paint probably would not be effective. I decided instead to use regular old black paint to cover the bottom and side walls of the cut. Then to create the distinctive yellow pattern on the dummy’s heads, I used boiled linseed oil, making sure not to let it pool at the bottom.
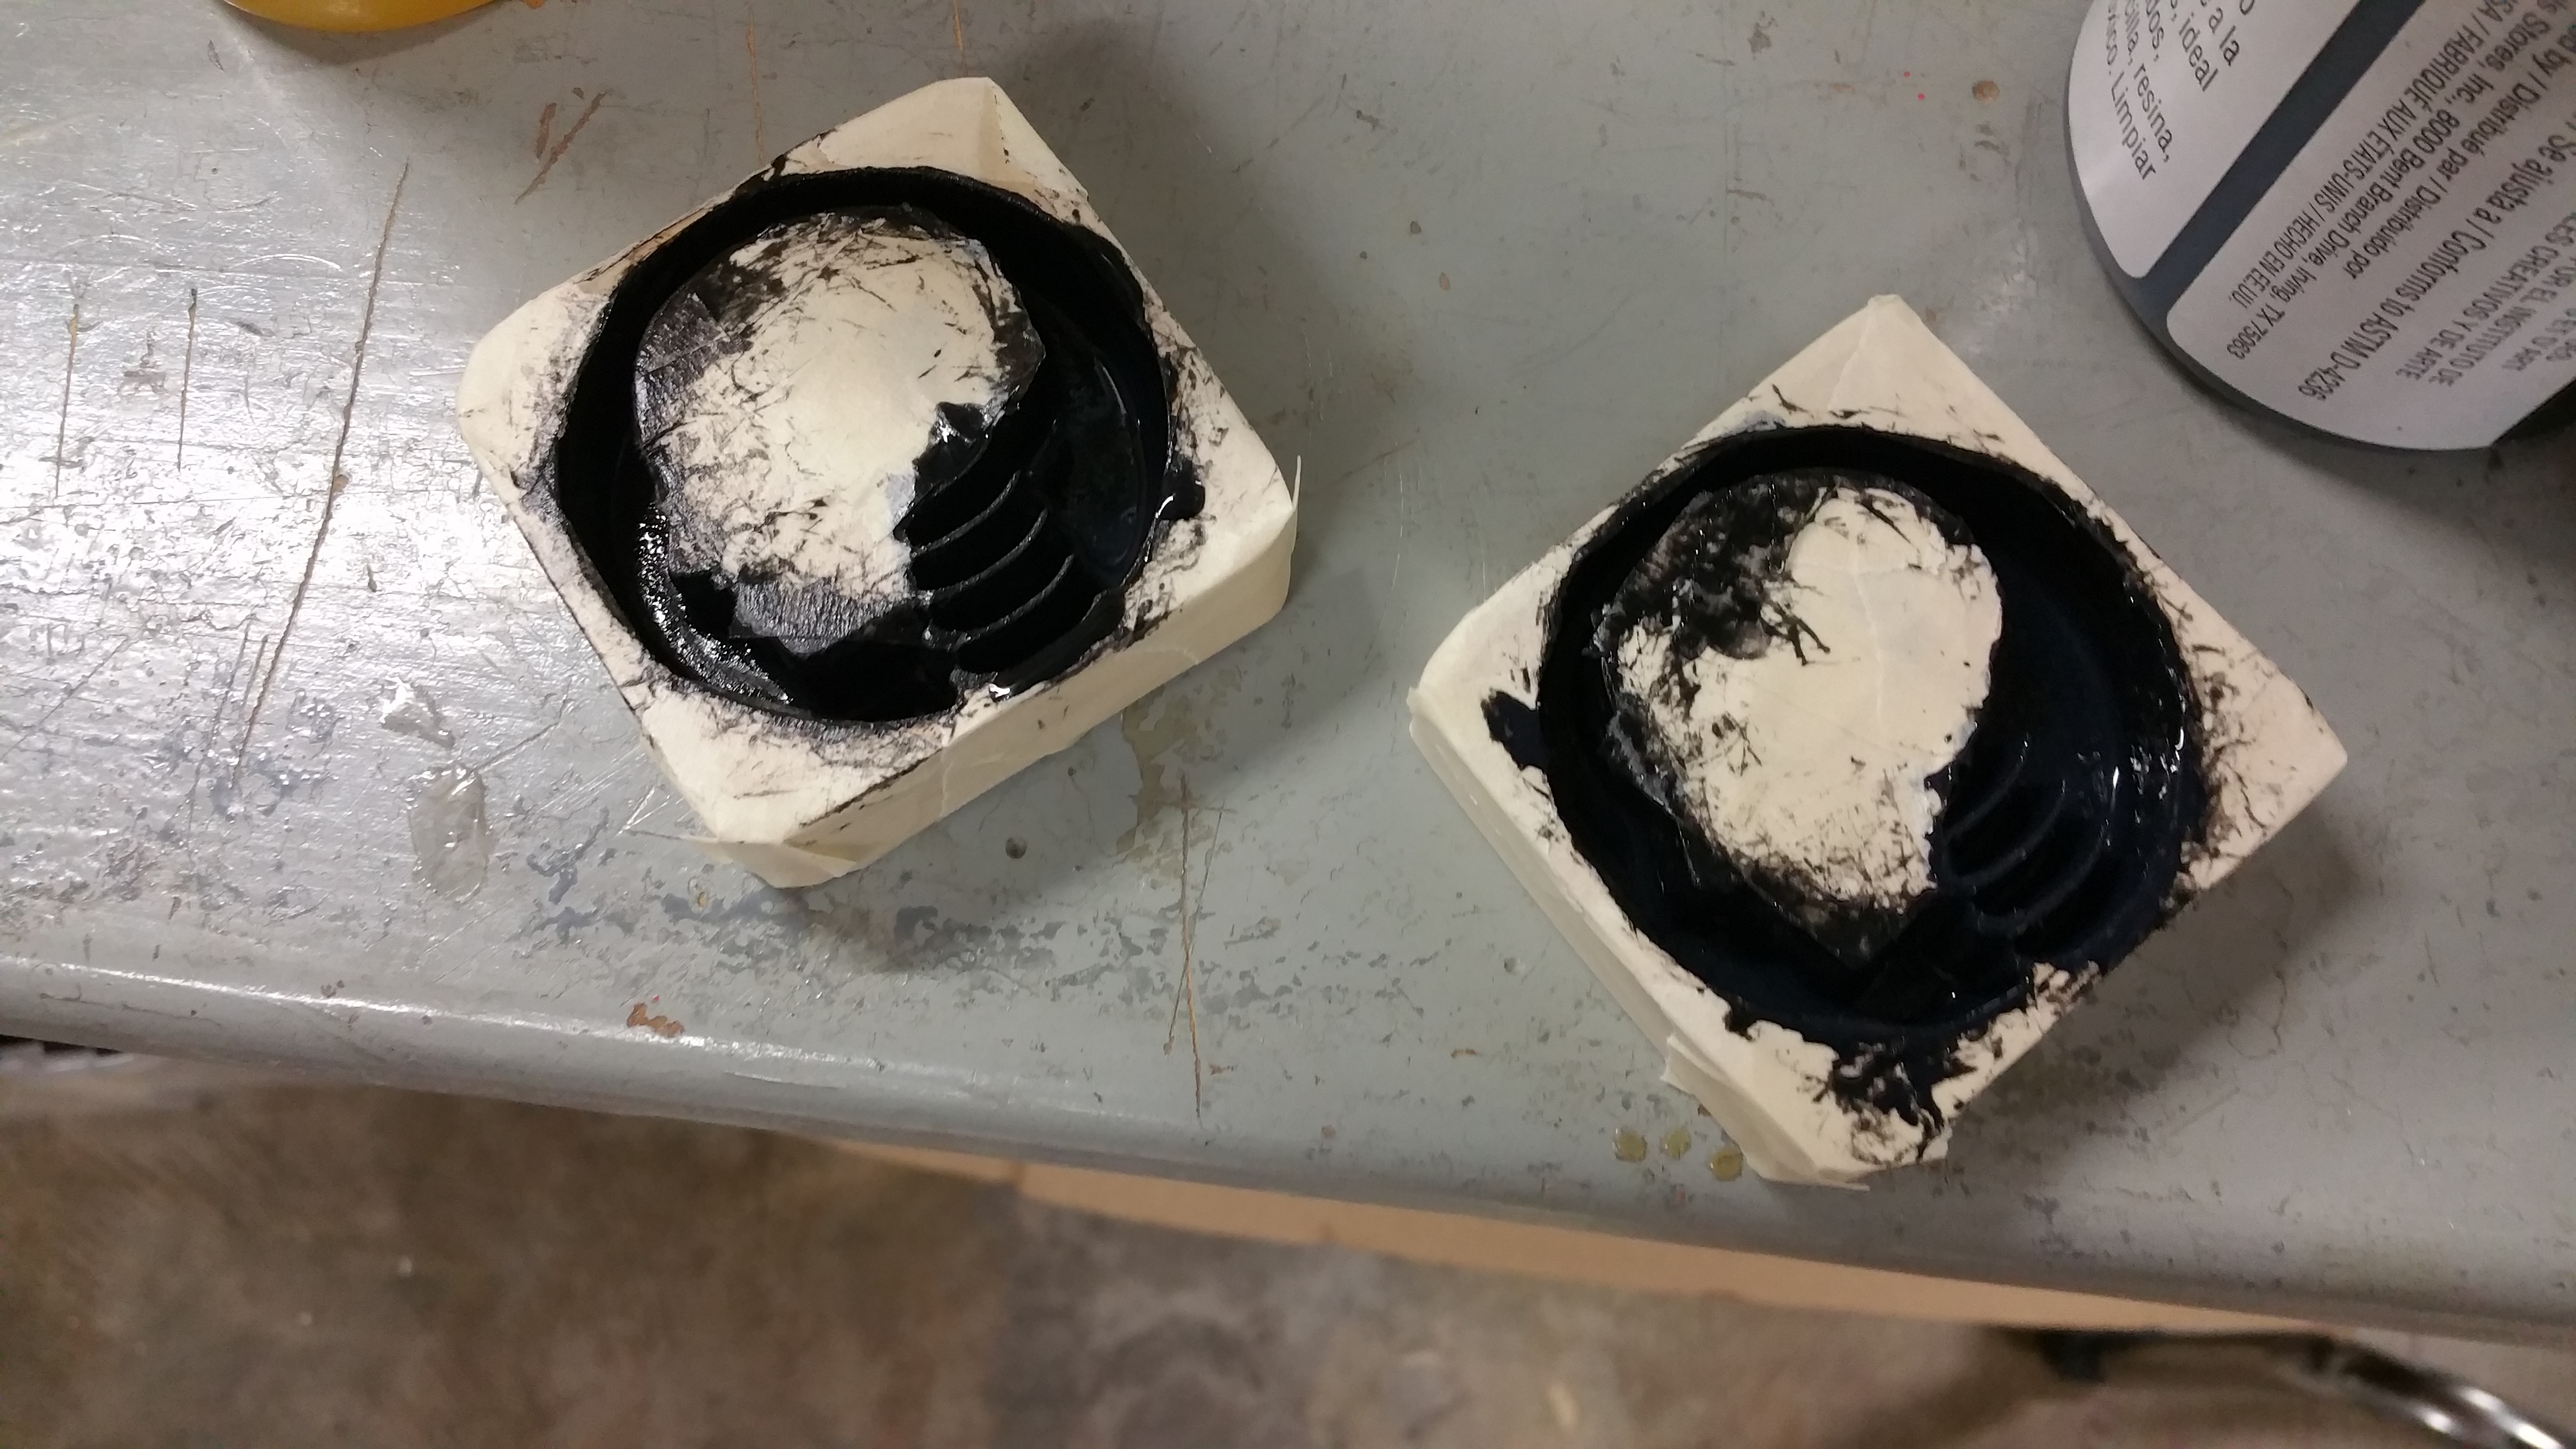
The two pieces after being painted.
My inexperience with the paint and oil came out here. However, I still had a lot of fun working with the Carvey and think it’s a powerful prototyping tool. I’m thankful I had this excuse to make use of it.
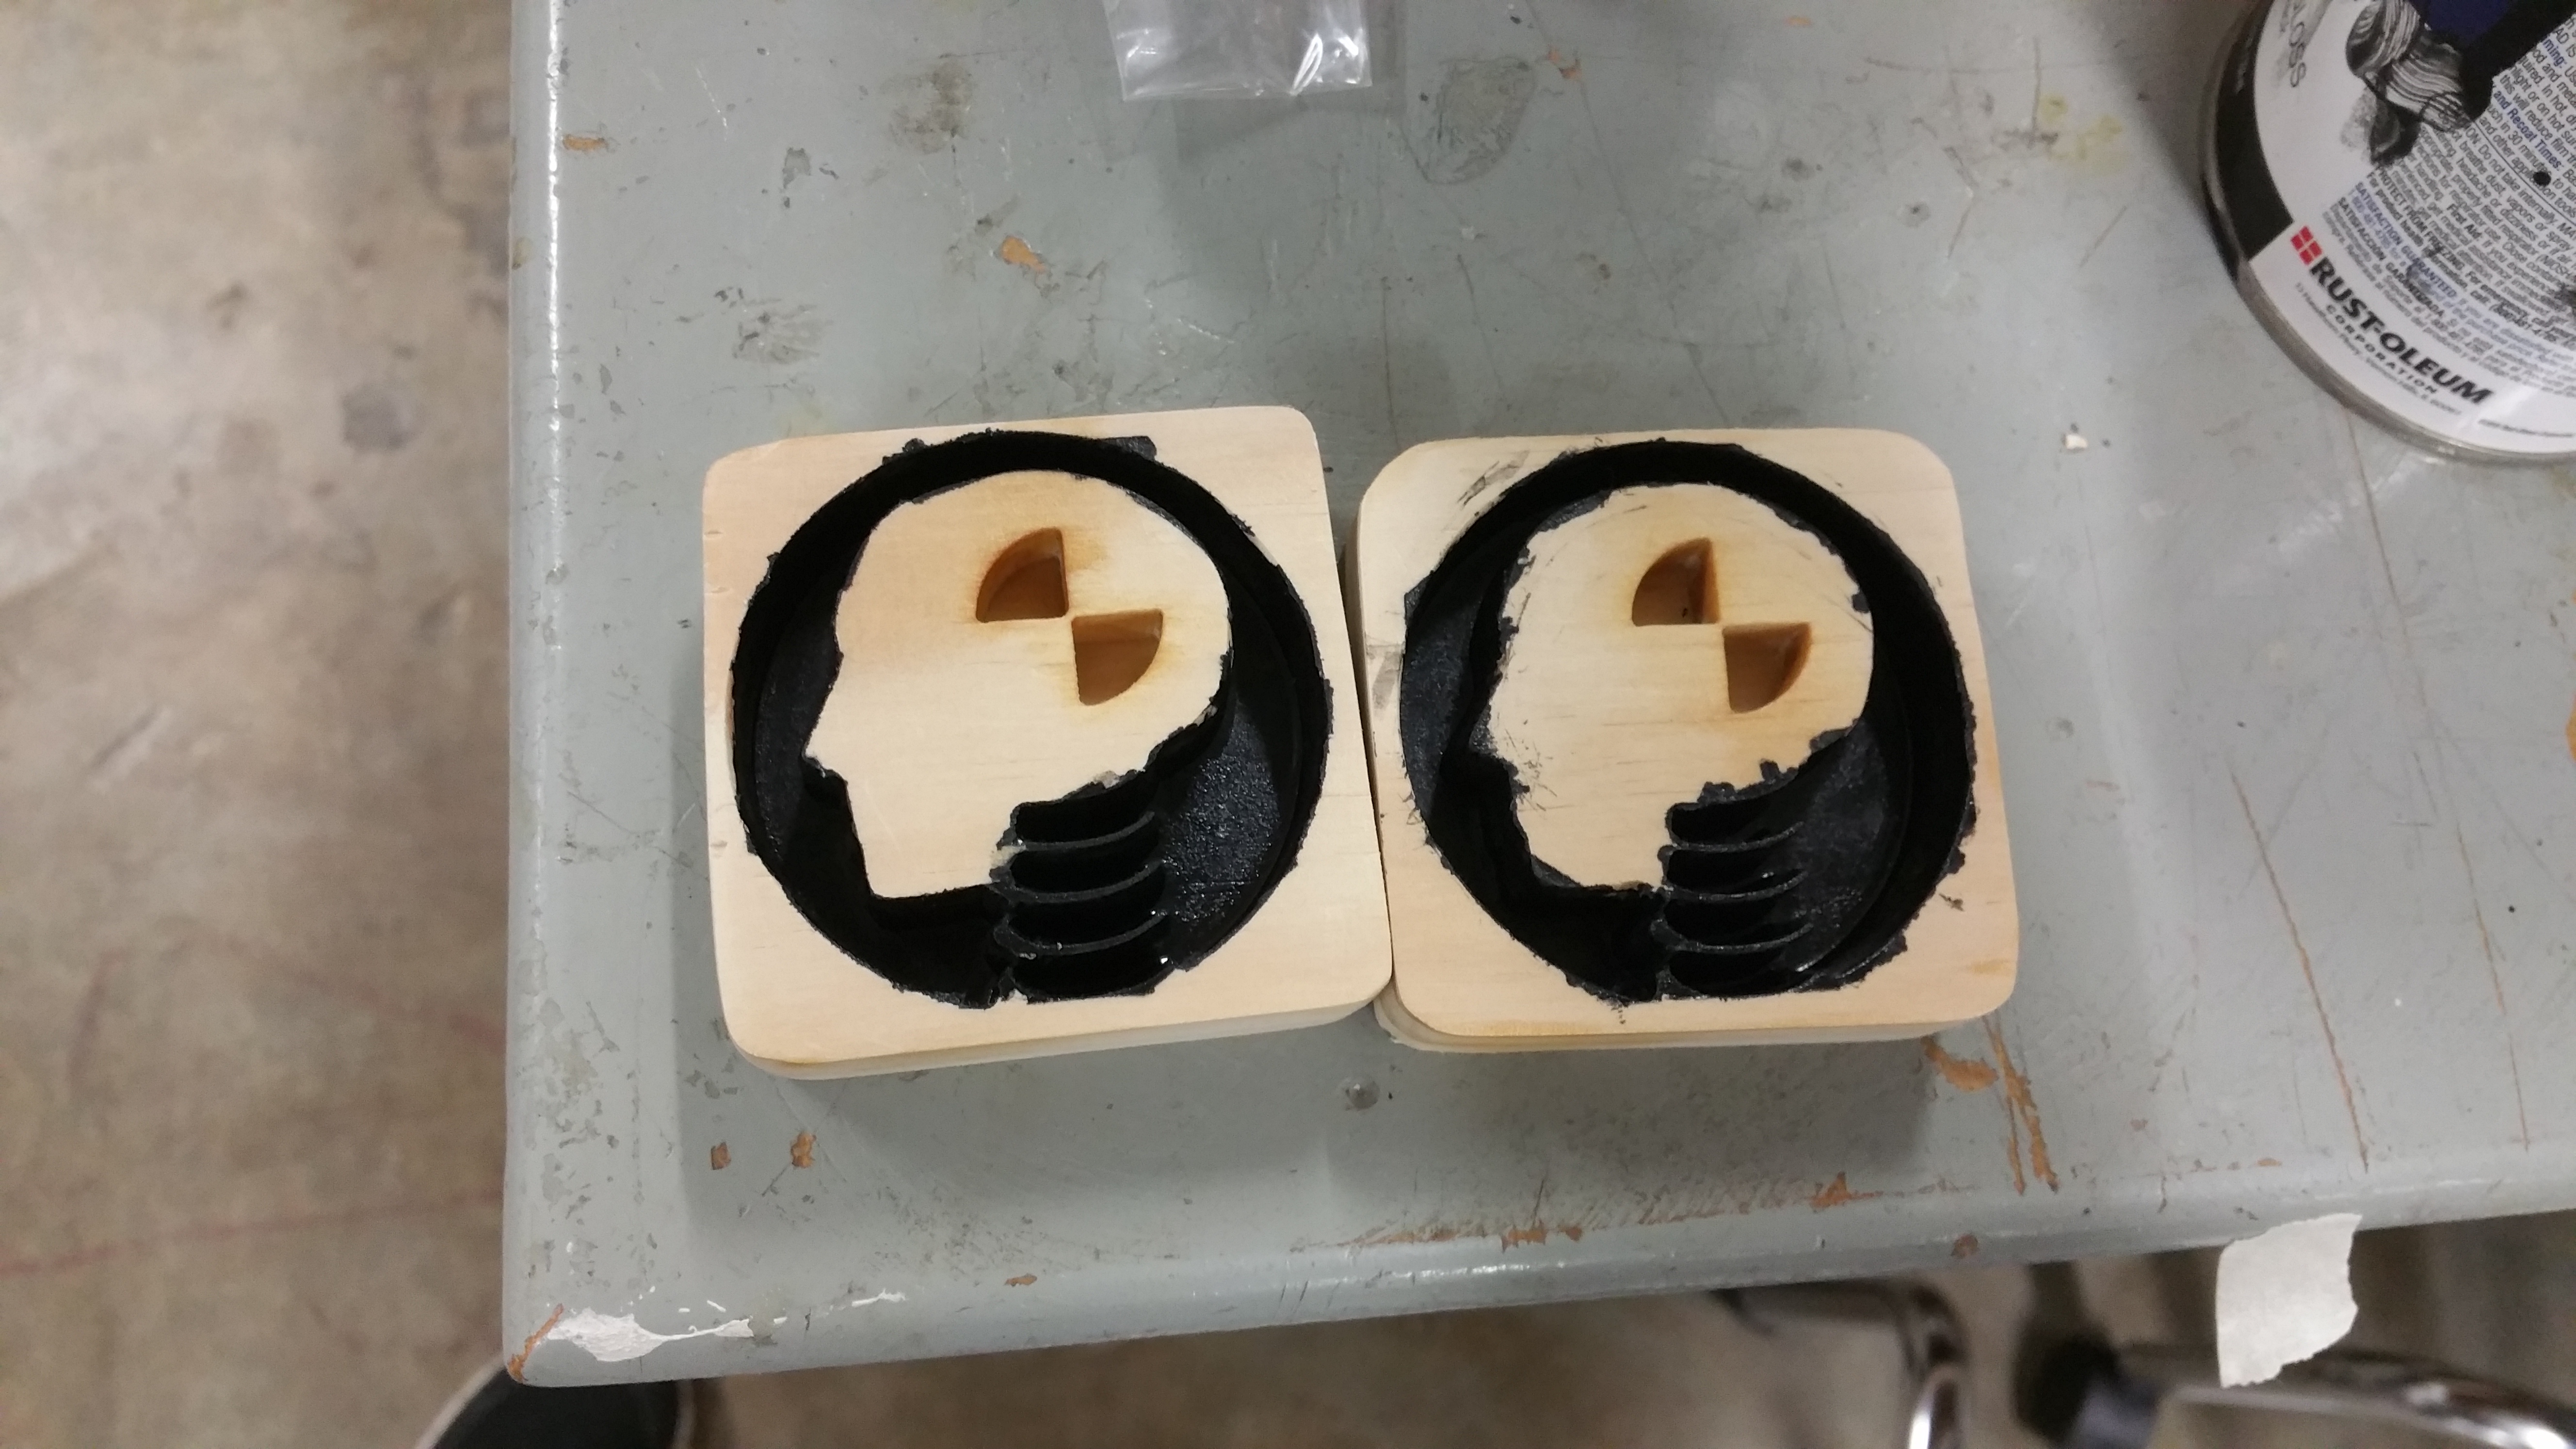
The final pieces.
