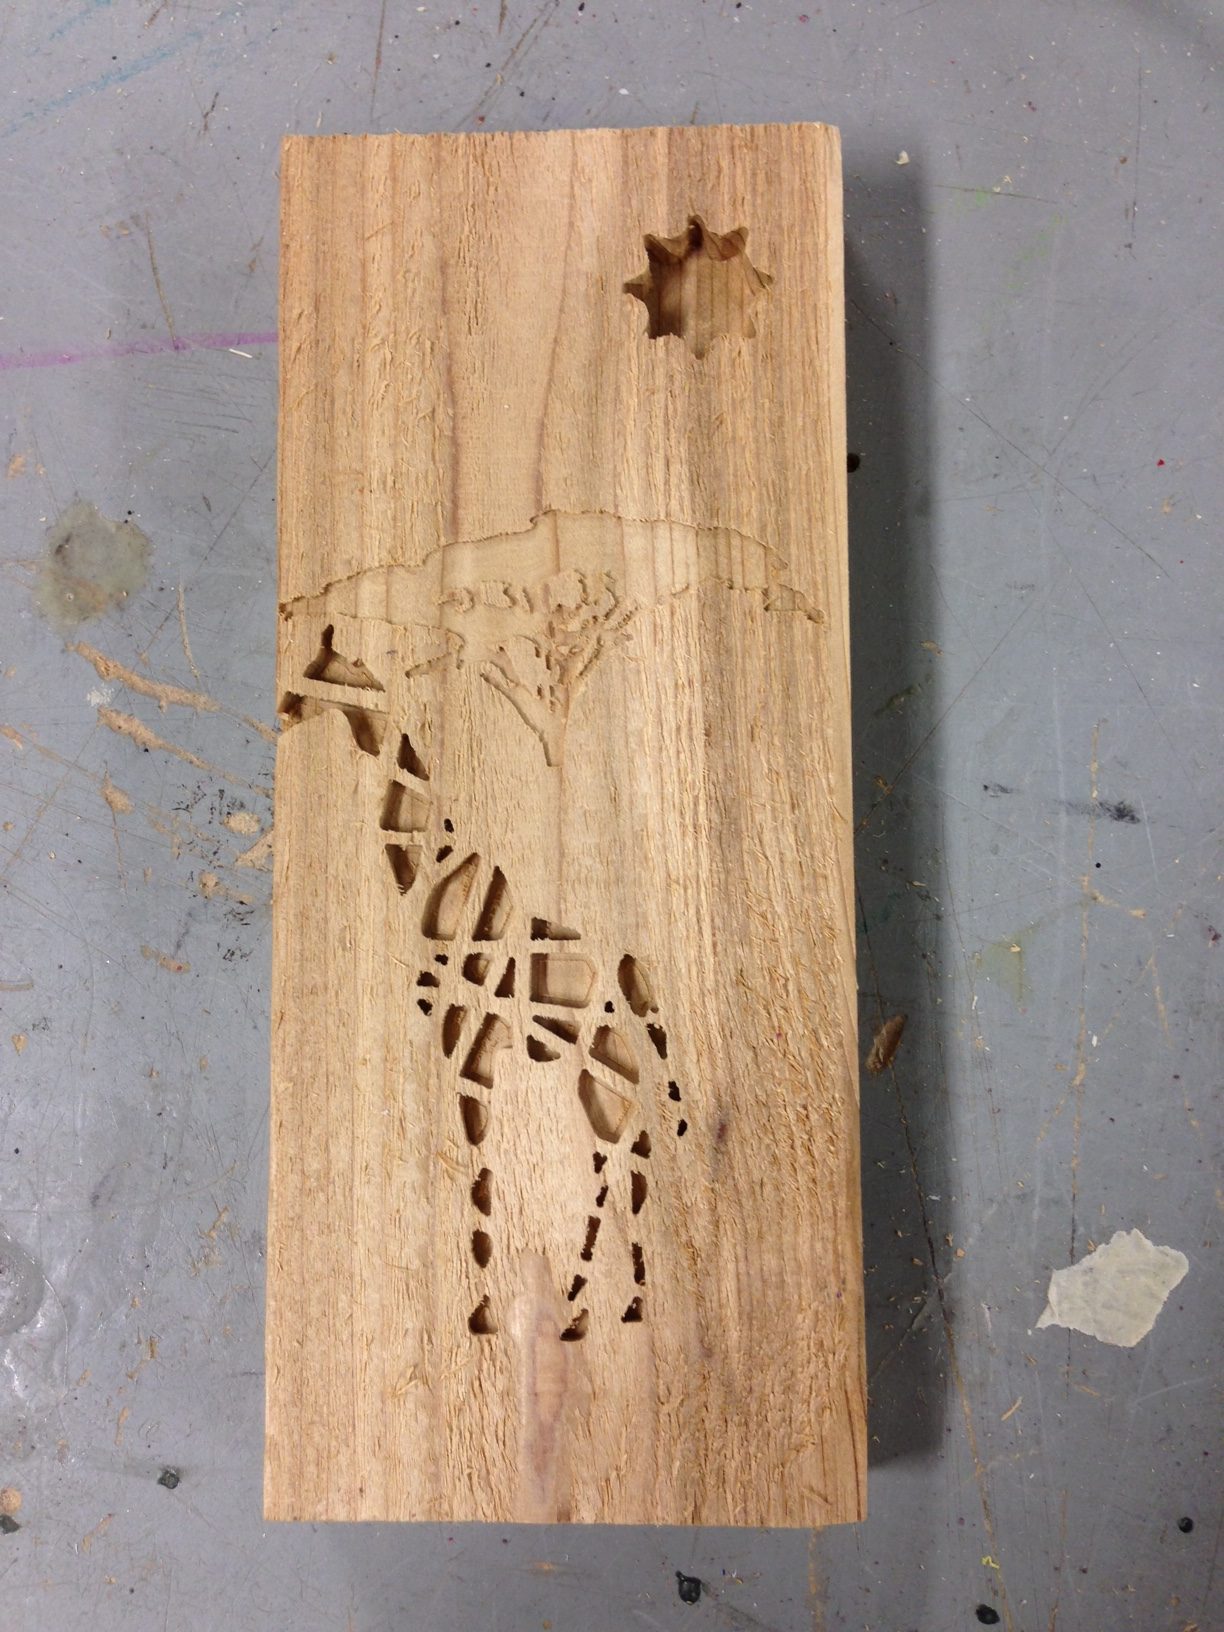
Figure 1: Giraffe
This week, we were tasked with using a CNC machine to create a 2D object with at least two different depths. I created a giraffe with a landscape, as shown to the left.
I went through many iterations for this project. The first, I had cuts that went way too deep, so the CNC took a long time to cut the part. After making one, (and messing it up when staining it), I decided to make the cuts slightly more shallow, but still noticeable.
You can see the first iteration below.
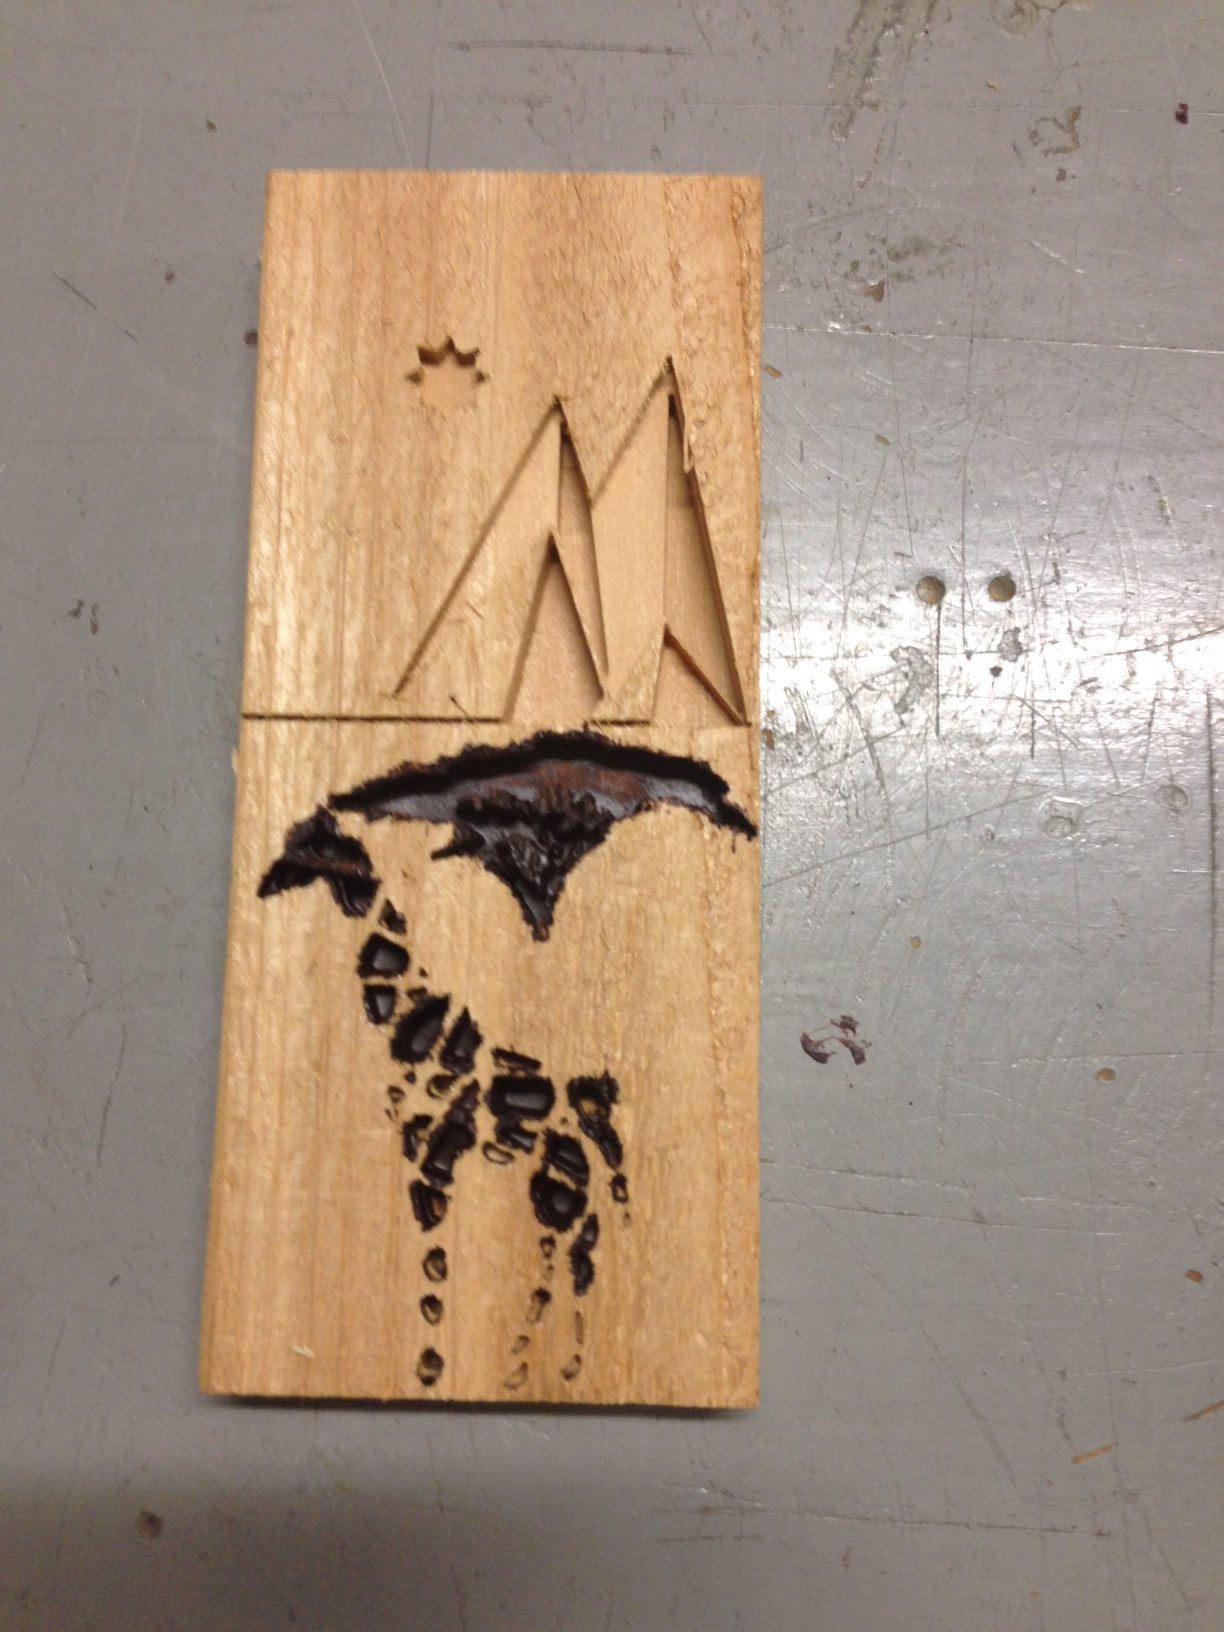
Figure 2: First iteration
I decided to redo this piece due to the sloppy paint job. I masked off the parts that I did not want to paint, and then used an exacto knife to make the cuts more exact. However, the paint still managed to leak onto the surface and blur the boundaries. I did not want to sand the part to get rid of the excess paint because I wanted to keep the rough cedar aspect. Also, these cuts were a lot deeper than I had originally thought, so a redesign was required.
In the interest of time, I decided to nix the mountains, and make the cuts more shallow. This allowed the CNC machine to go faster, and to allow for more contrast for which parts of the piece I wanted to emphasize.
The second iteration did not last long. I had the idea to stain the surface first, and then to CNC the block to make the cuts stand out. However, when machining the part, I noticed that the sawdust tended to stick to the stain, so I decided against pre-staining the part.
The third iteration was the most successful. The cuts were shallower, so they did not take a ridiculously long time to cut.
Figure 3: After post-processing
After cutting, I needed to sand the part to take away some of the rough edges. I used 400 grit sandpaper to sand all the edges and make them cleaner. After sanding, I wanted to make the tree stand out a little more, as the cut was rather shallow.
I used linseed oil to give the tree a deeper shade, as well as a slight reflective finish when it is angled differently. The results of the linseed oil can be seen below.
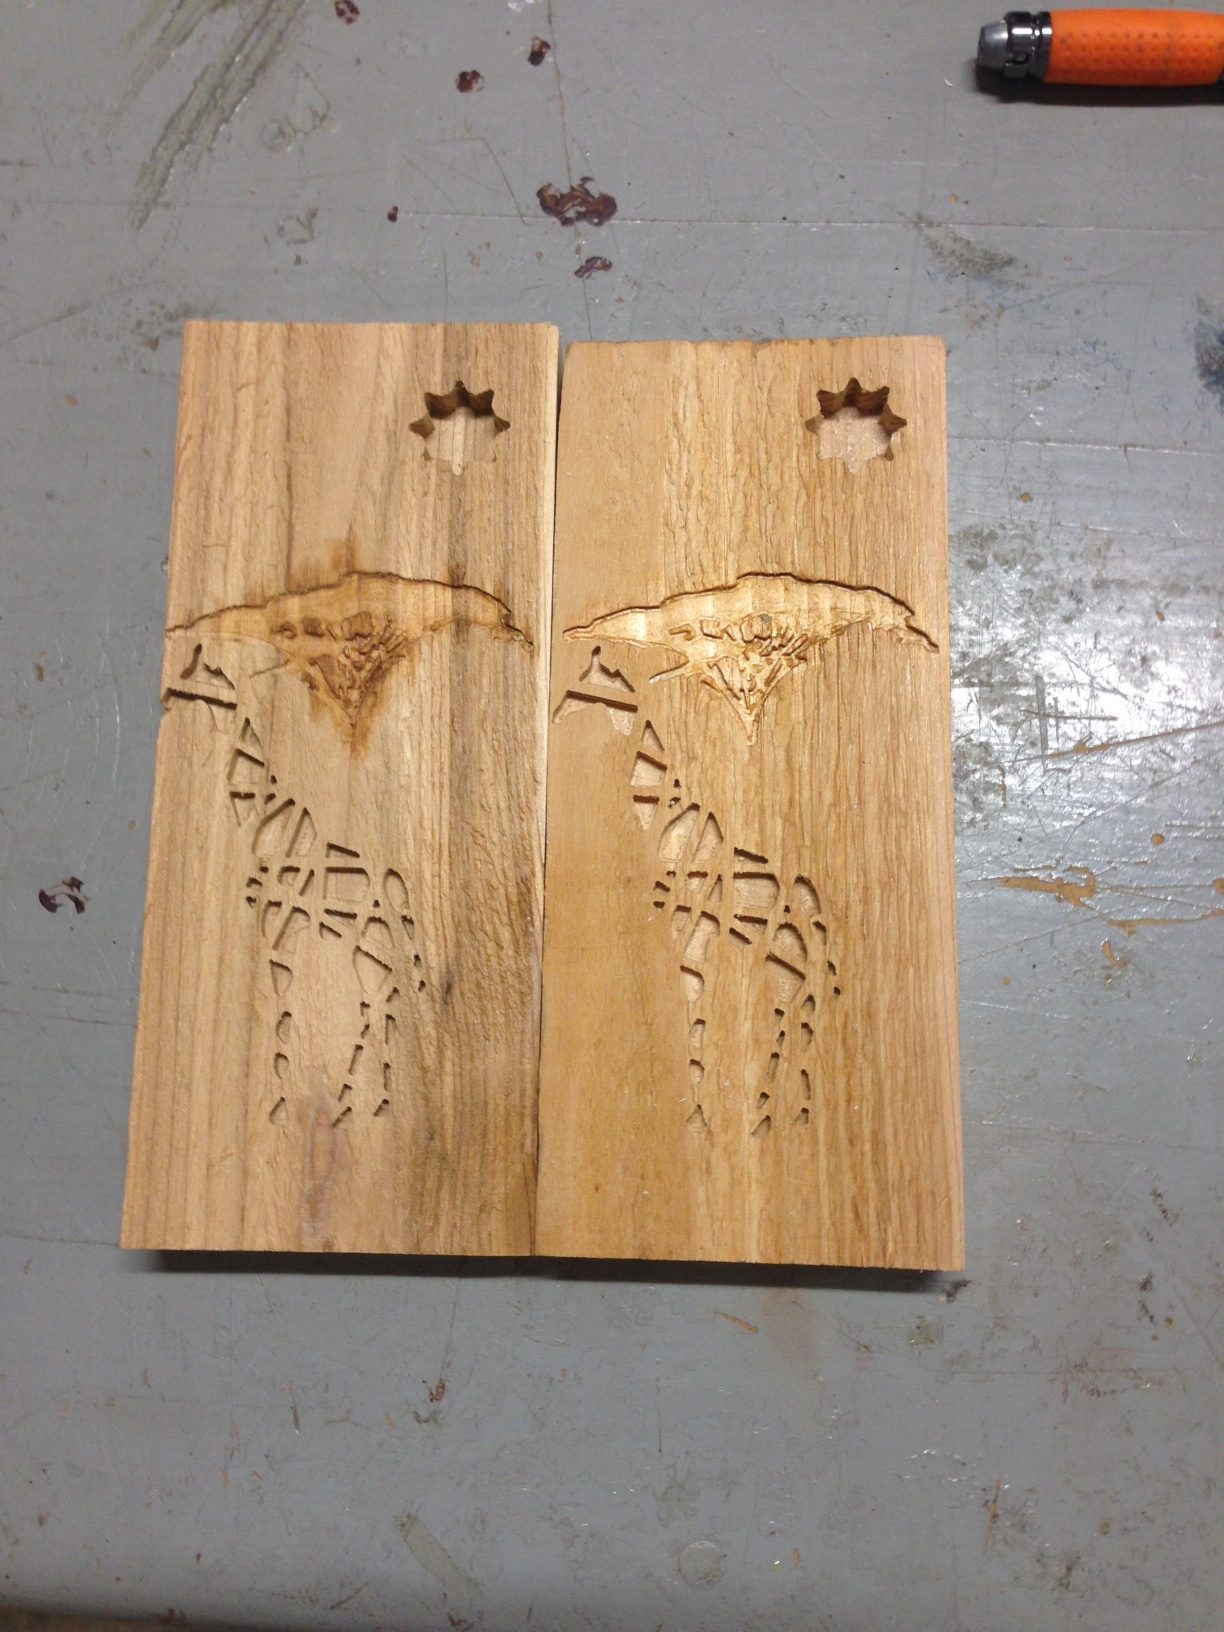
Figure 4: Linseed oil
As you can see, some of the linseed oil still bled through the tape I had put over the rest of the part to mask it. I tried to take the borders off by sanding it down, but it had soaked in too far.
All in all, I learned that you don’t need to make really deep cuts to make something stand out (1/8″ is plenty deep). Also, it was fun to learn how to use the Carvey.
