Back at ENGI 210 again, this time with a hotly anticipated, brand-shiny-new CNC machine. I’ve been excited to learn the Carvey and X-Carve this entire semester, and this project showed just how easy they can be. The ease of use, combined with the green-tape nature of the Carvey, means that I will be coming back to these machines many times in the future.
Master dual depth plan
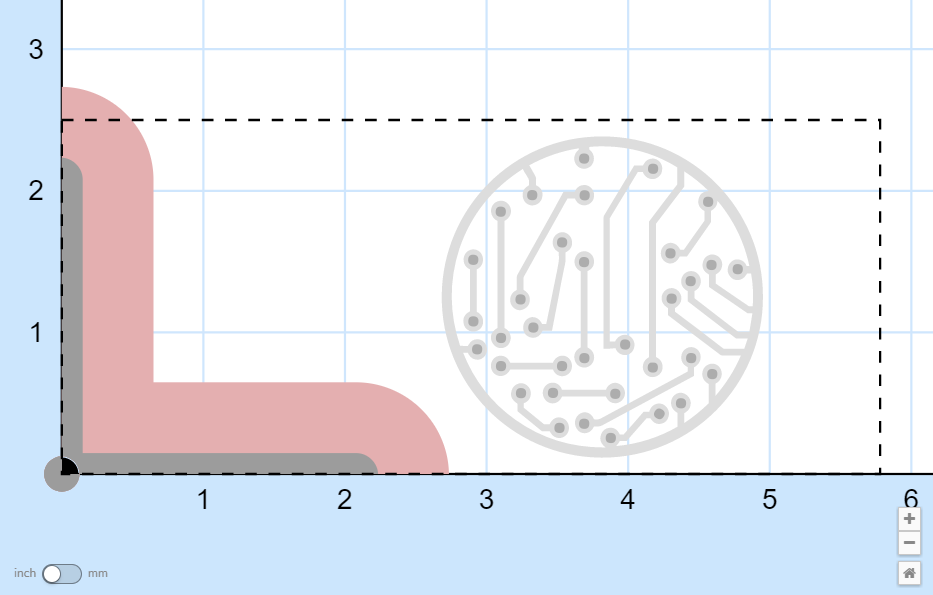
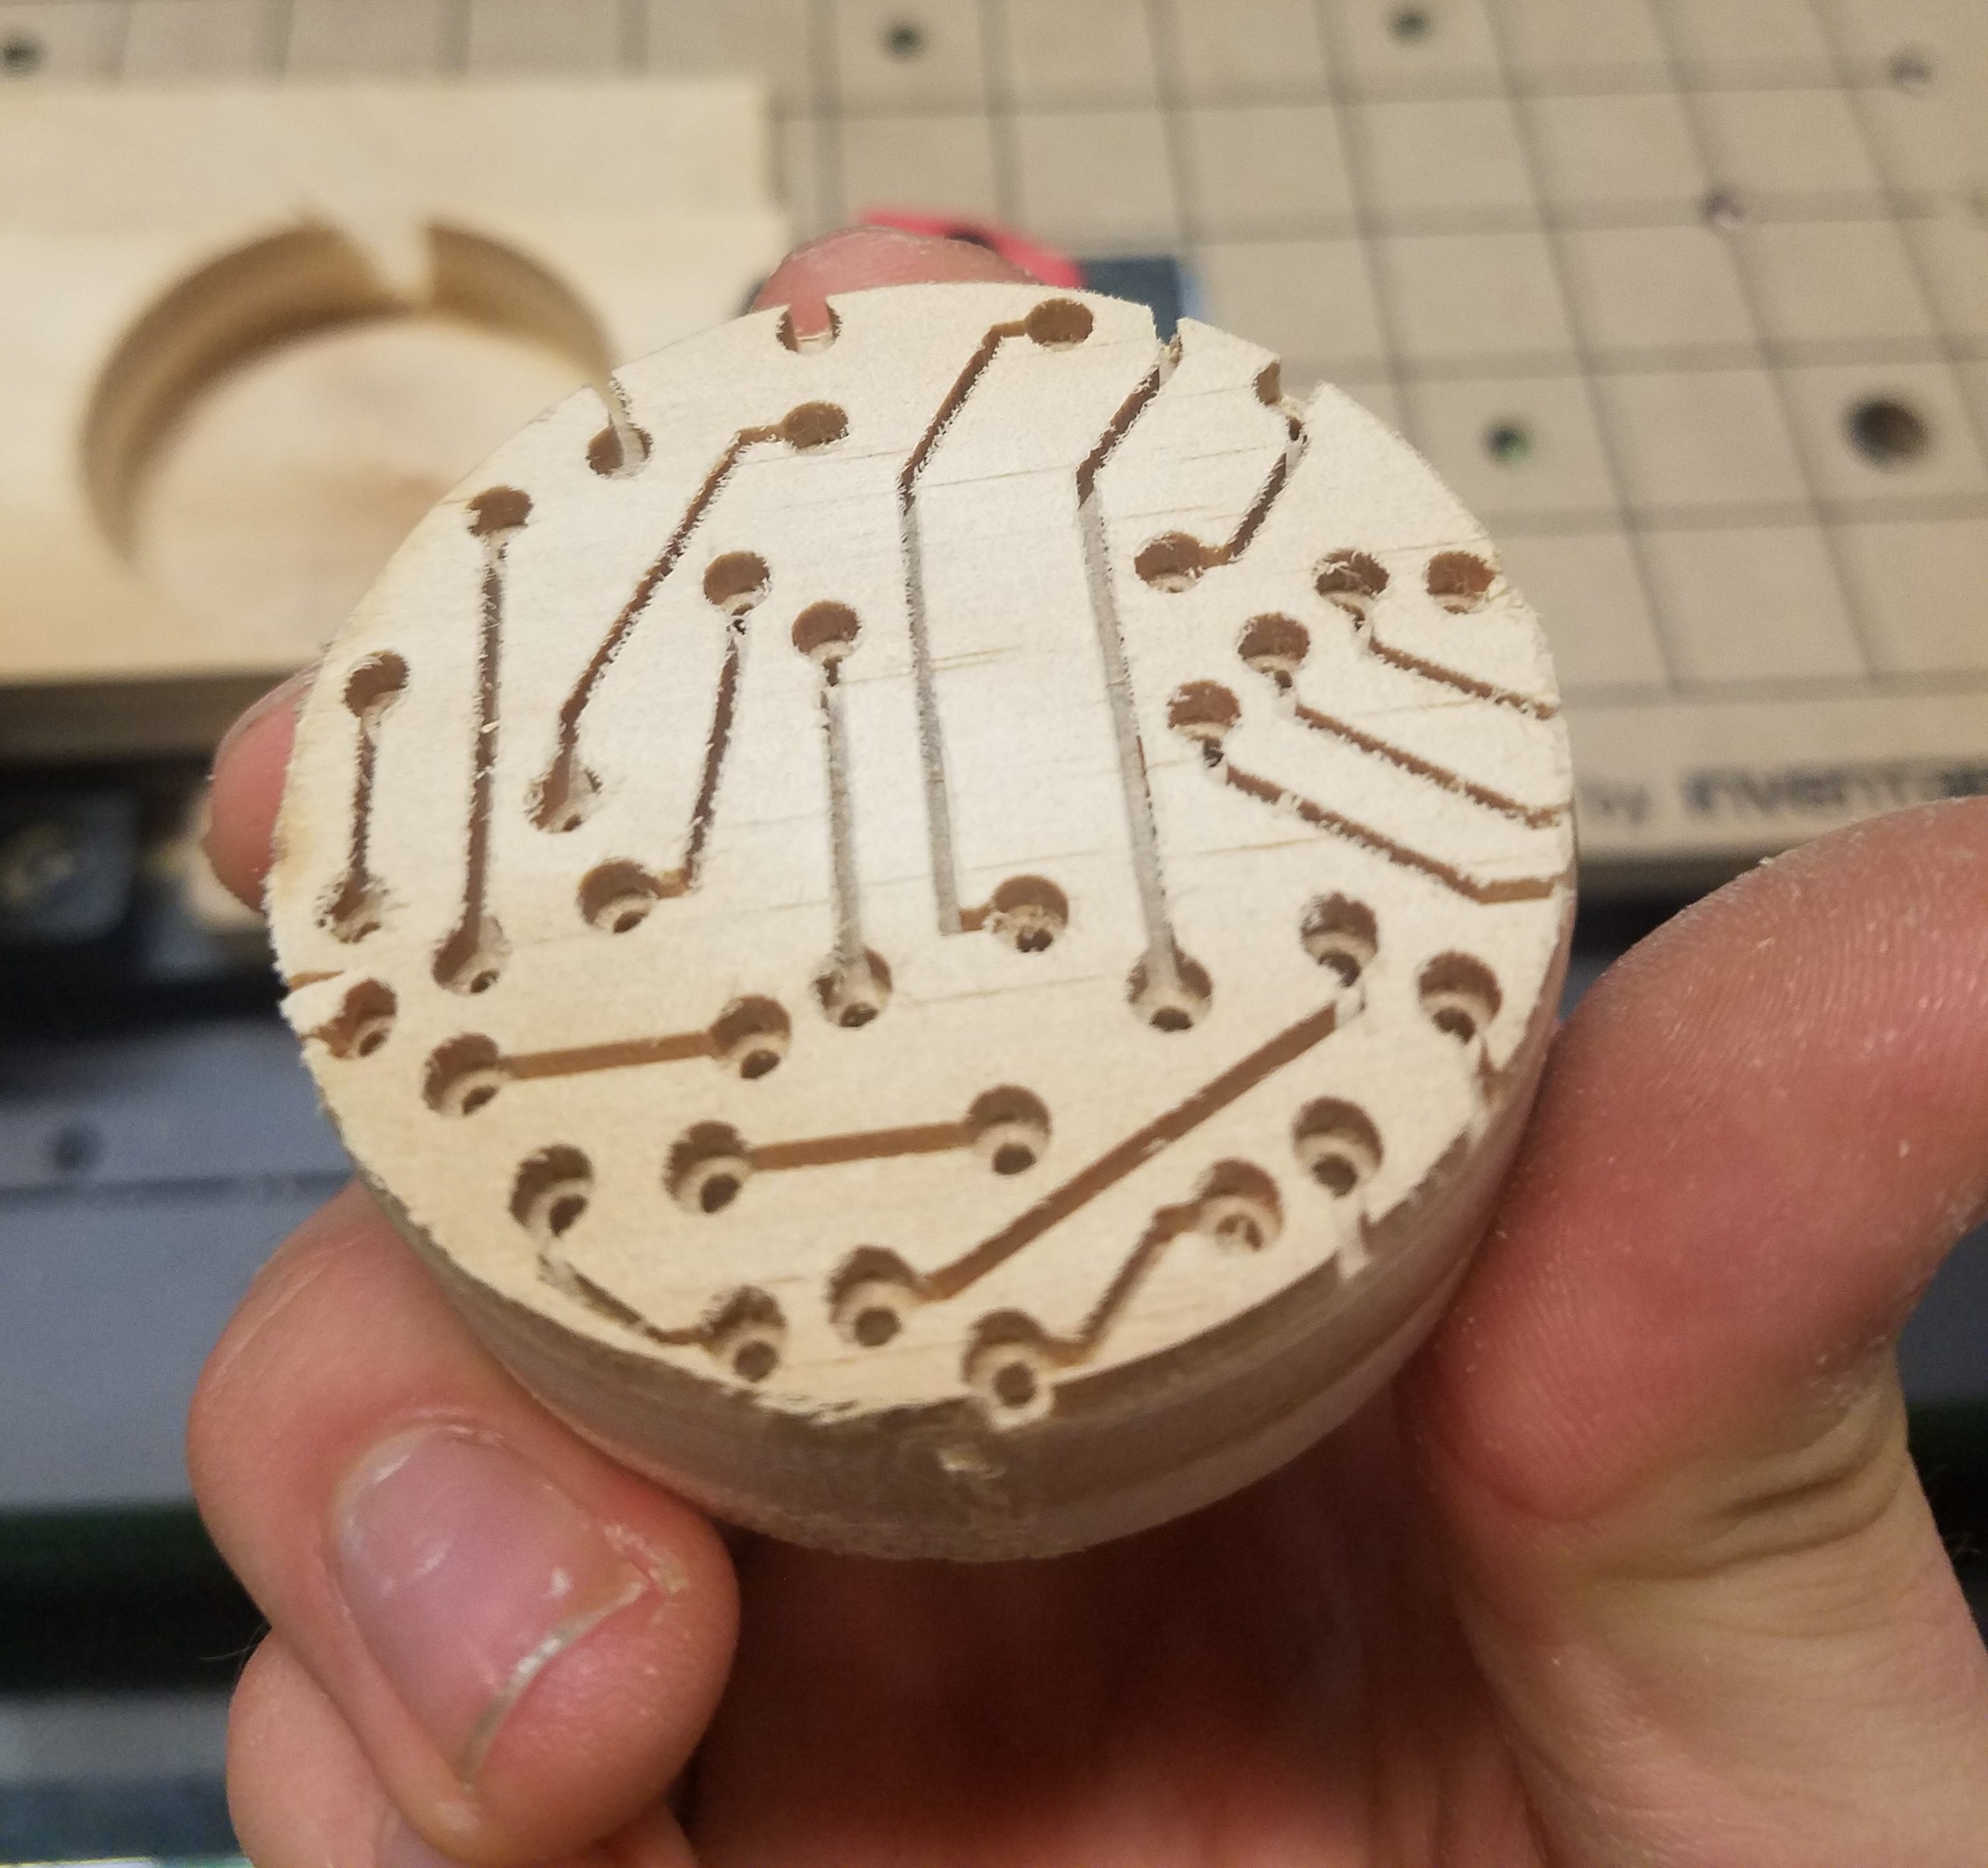
For this project, I cut a noun from a piece of pine. I chose to cut a bare PCB board, mainly because I thought it looked cool while scrolling through some svg files. On a deeper level, though, creating a completely nonfunctional circuit board out of wood seems oddly symbolic, given how many electronic projects I do as a Mech-E. After choosing an svg file and uploading it to Easel, I added some extra features to make it more interesting. To add another layer, I added extra depth to the holes of the “PCB”. This would mimic the real holes through a PCB.
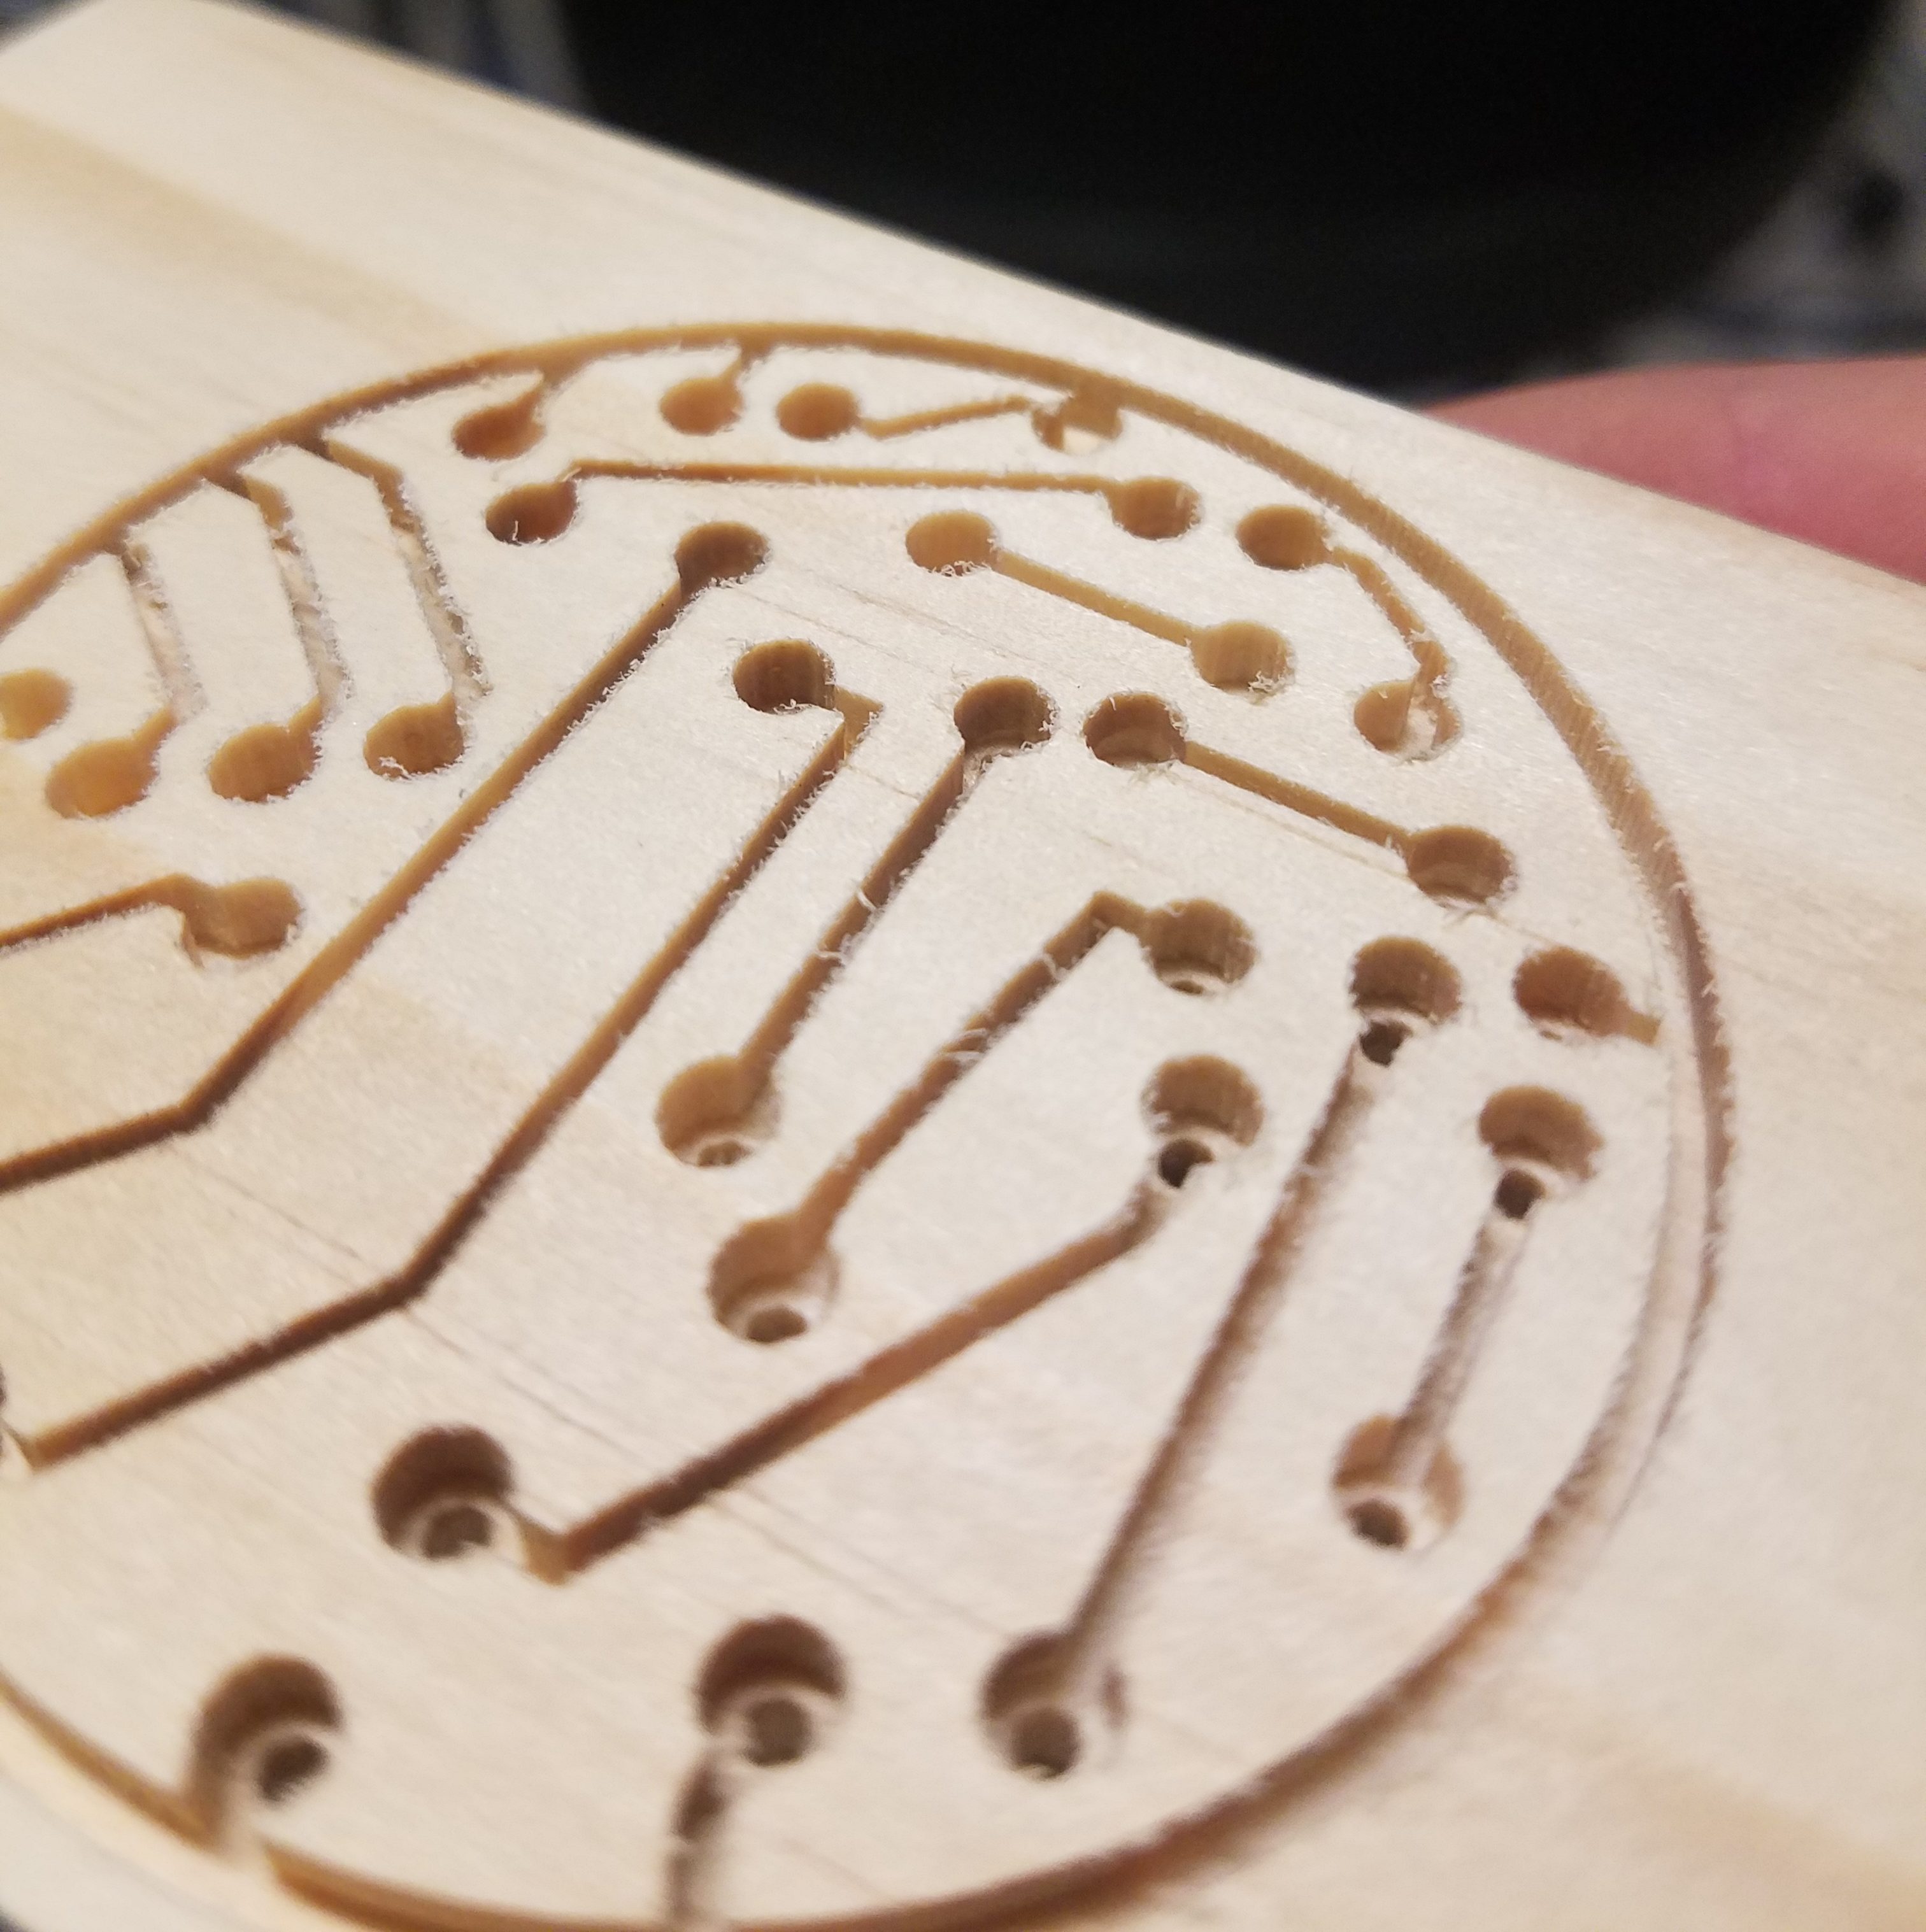
Good depth, clean cuts
I spent much more time cutting the pieces than I expected. Since there were a lot of fine details, my hand was forced to use a 1/32 bit in order to not lose detail. On my first cut, this led to a 90 (!) minute cut. After sitting through this monstrosity, it turned out that I didn’t really like how deep the cut was, so I halved all the depths. However, the cut did go smoothly and showed good detail. The next cut after this modification was 34 minutes, much more amenable. I quickly (relatively speaking) cut two more circuits with these new settings.
Since my noun is a circle in a square chunk of wood, I had to pull some extra shenanigans to cut it out of the stock piece. My original plan was to use the bandsaw, but I was informed that the turning radius was too tight. I had to go high tech and use the Carvey to cut the circle out. I glued a .2″ sacrificial piece of wood to the bottom of my piece and locked it into the Carvey. My first attempt, using a normal 1/16 bit, was less than successful. Turns out that the actual length of that bit was less than 3/4″, the depth that I needed to cut at. I really should have seen that coming, but I didn’t, and the plastic of the bit shot into the wood, melting it into a pancake. Take 2 used a longer 1/8 bit, and success was had.
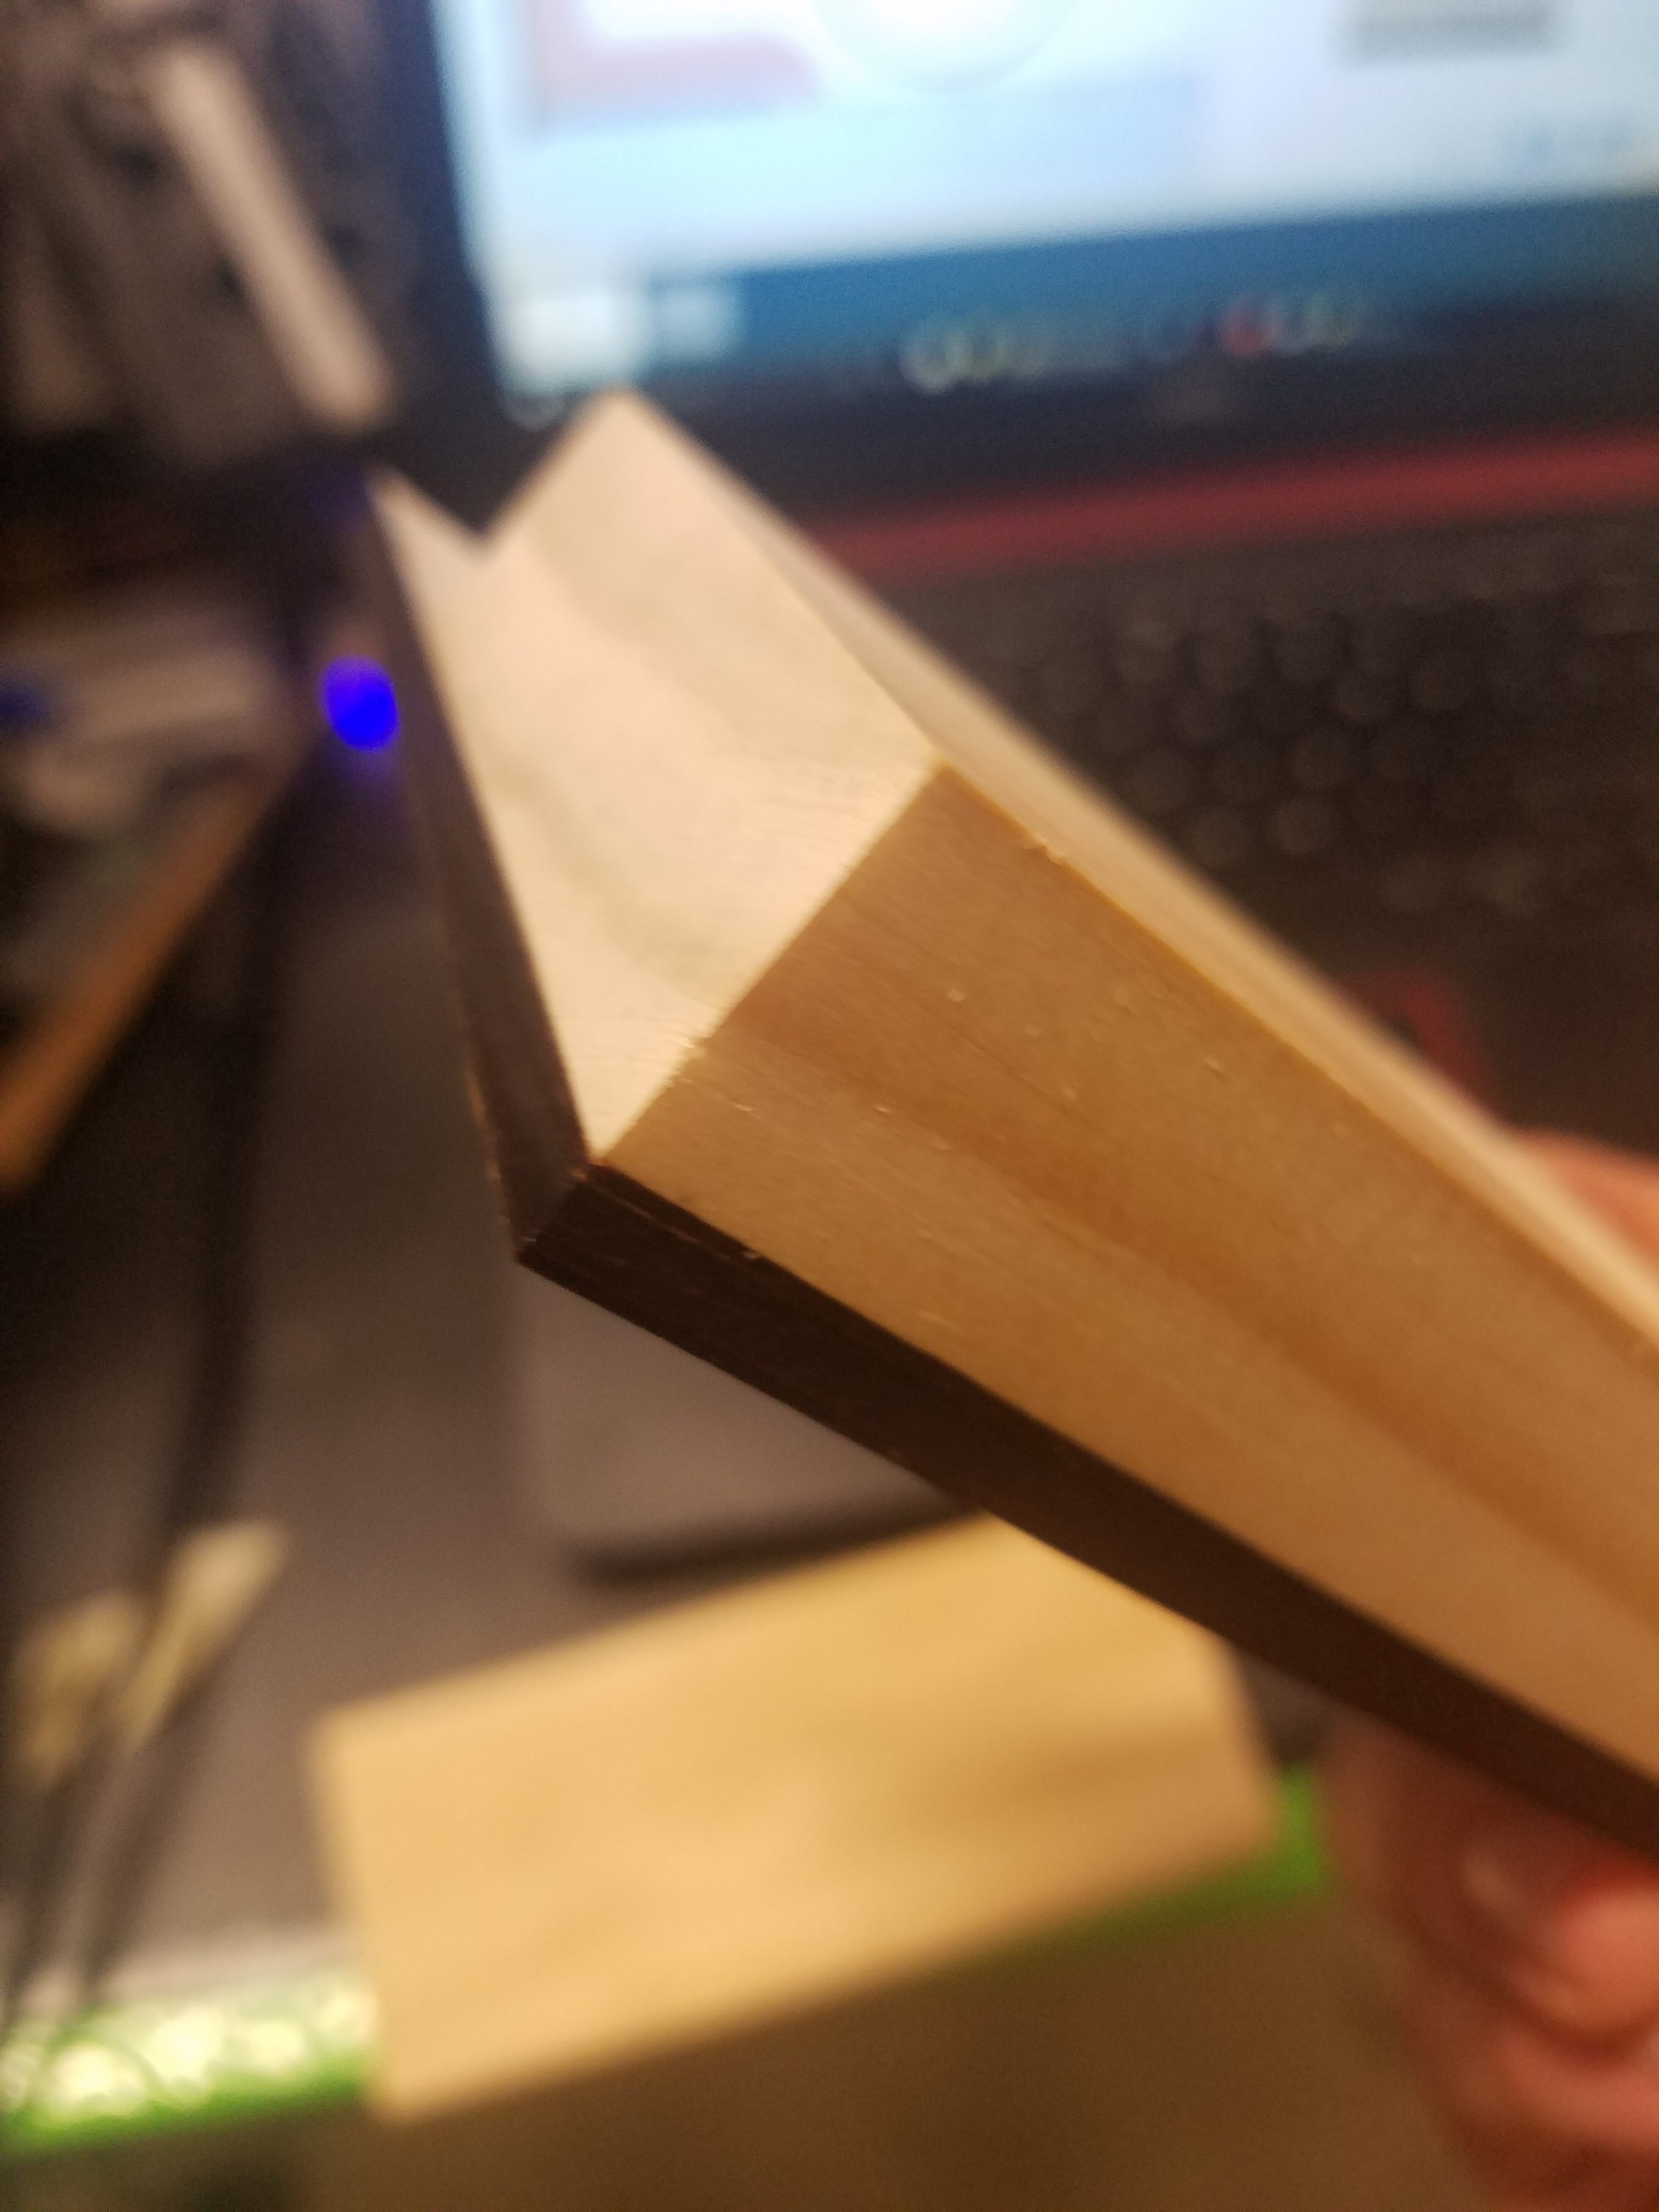 Sacrificial wood piece |
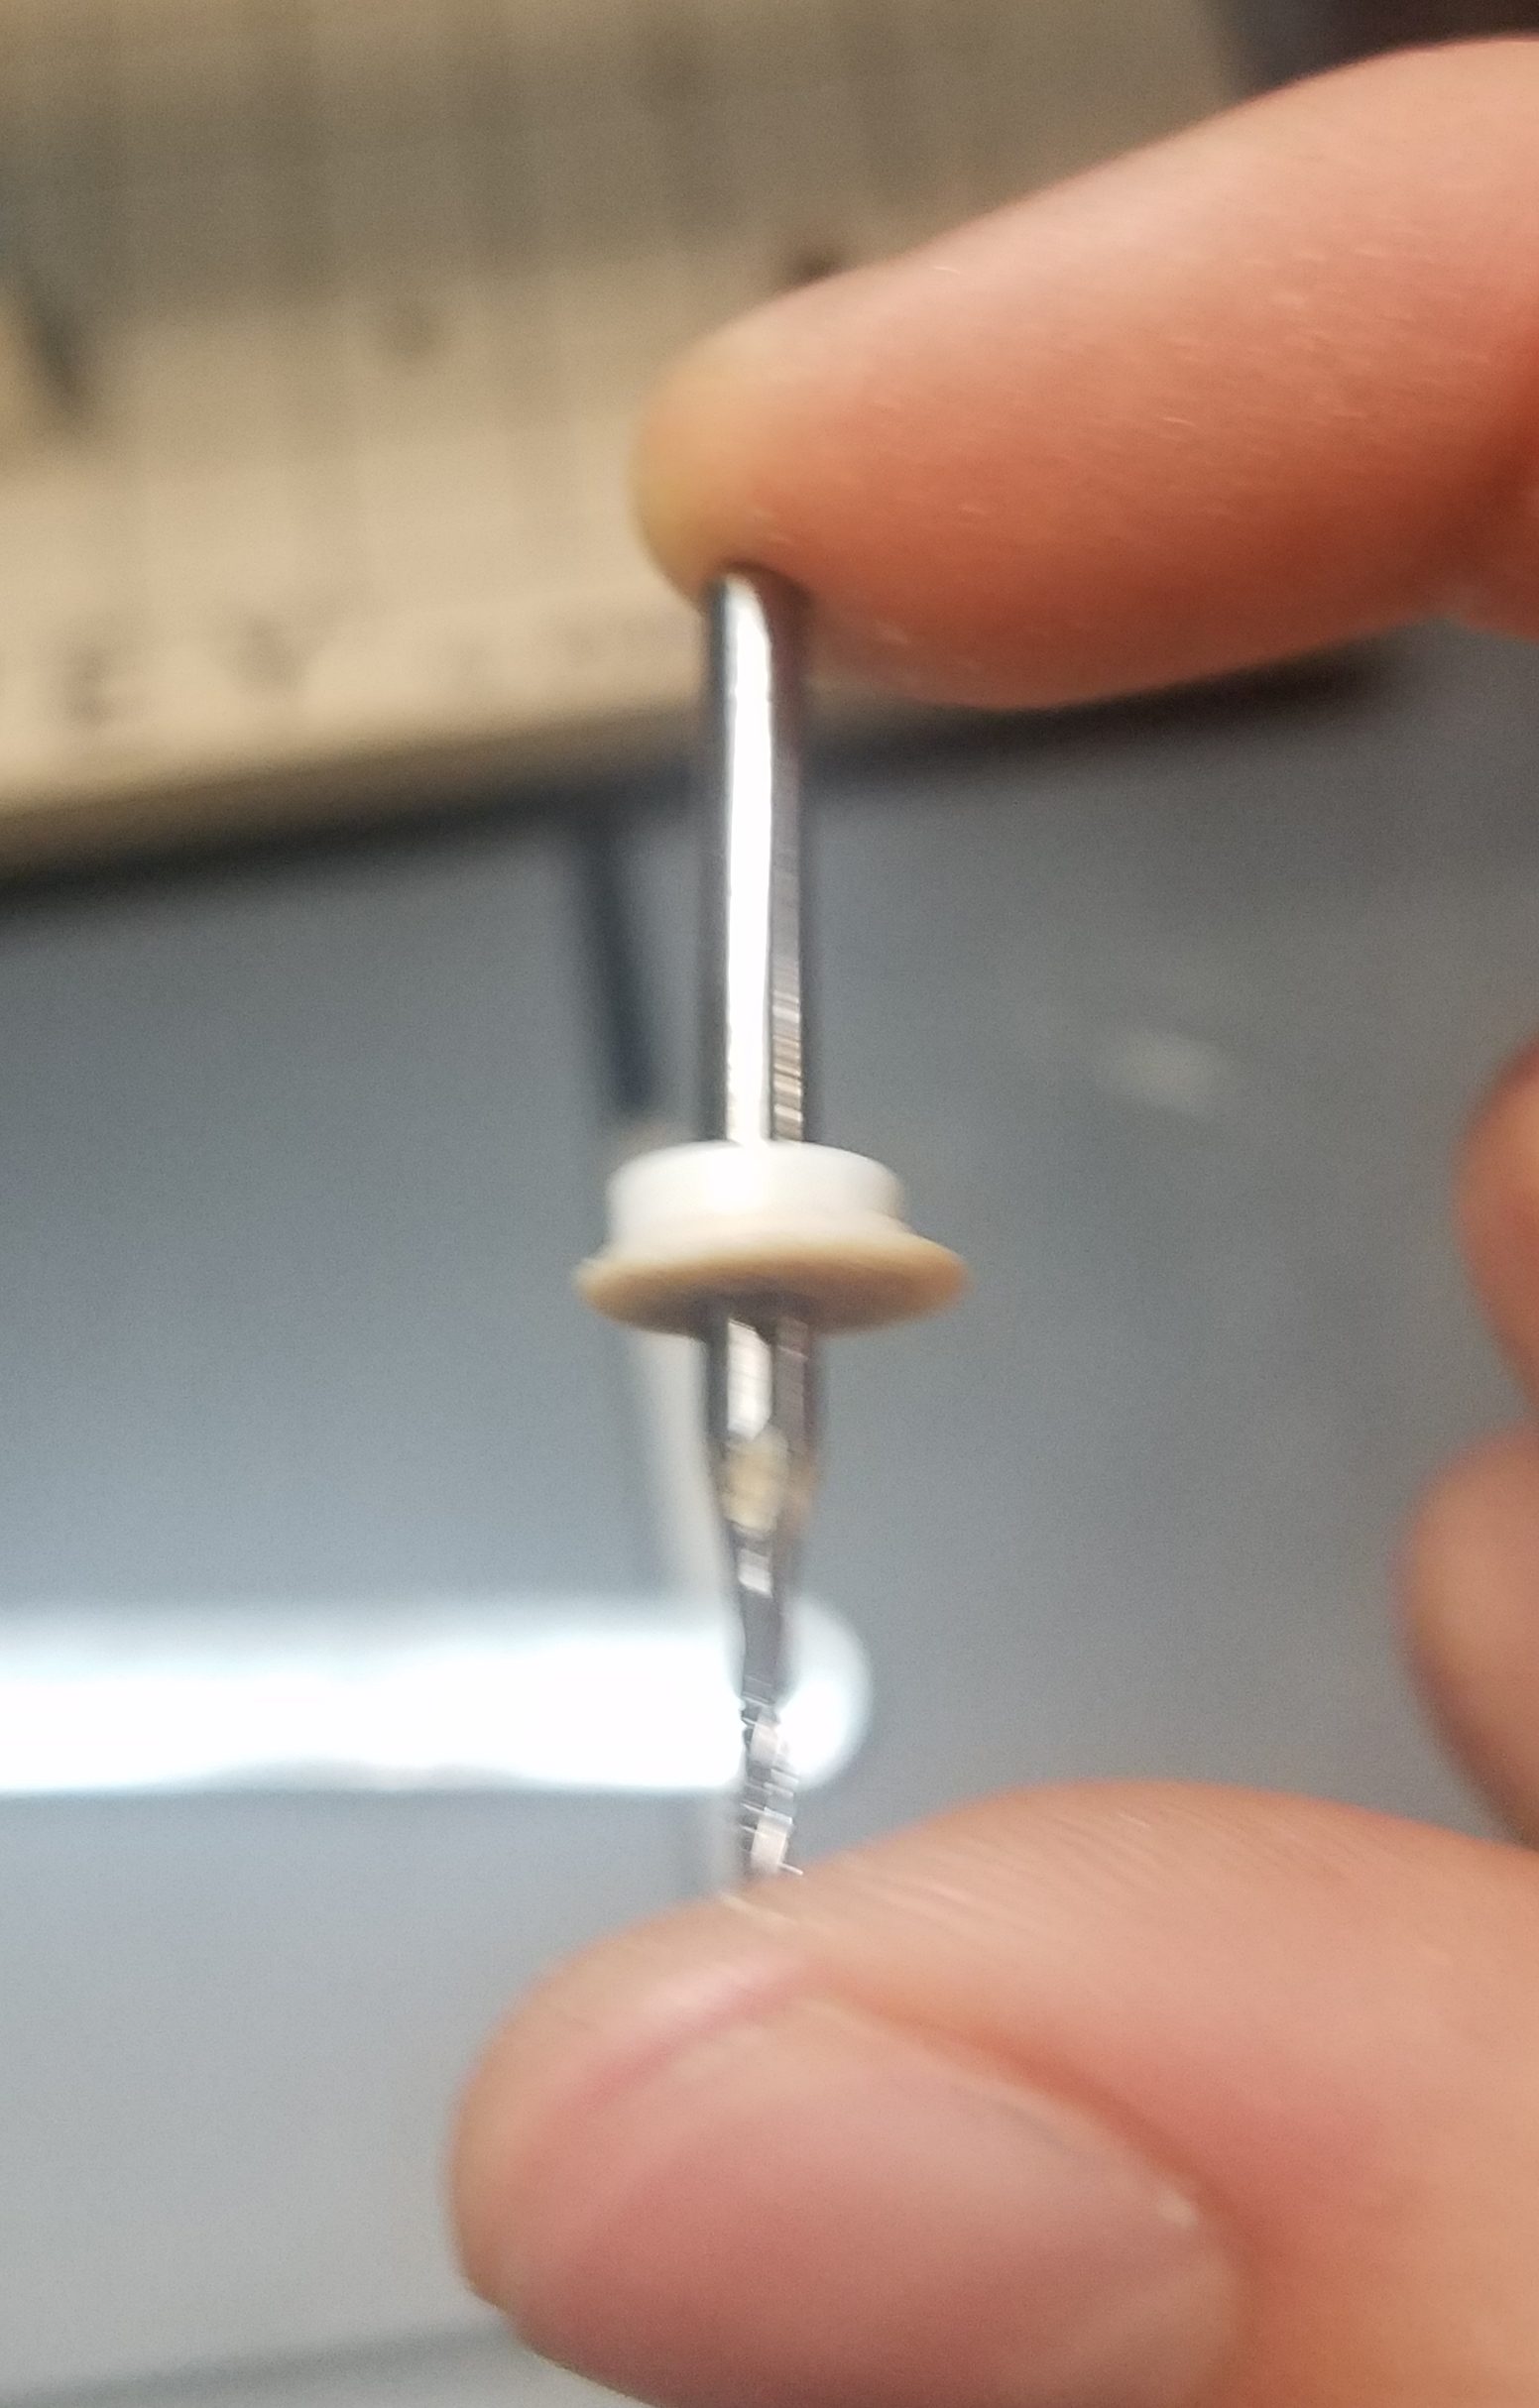 Sacrificial drill bit |
 Circle cut success! |
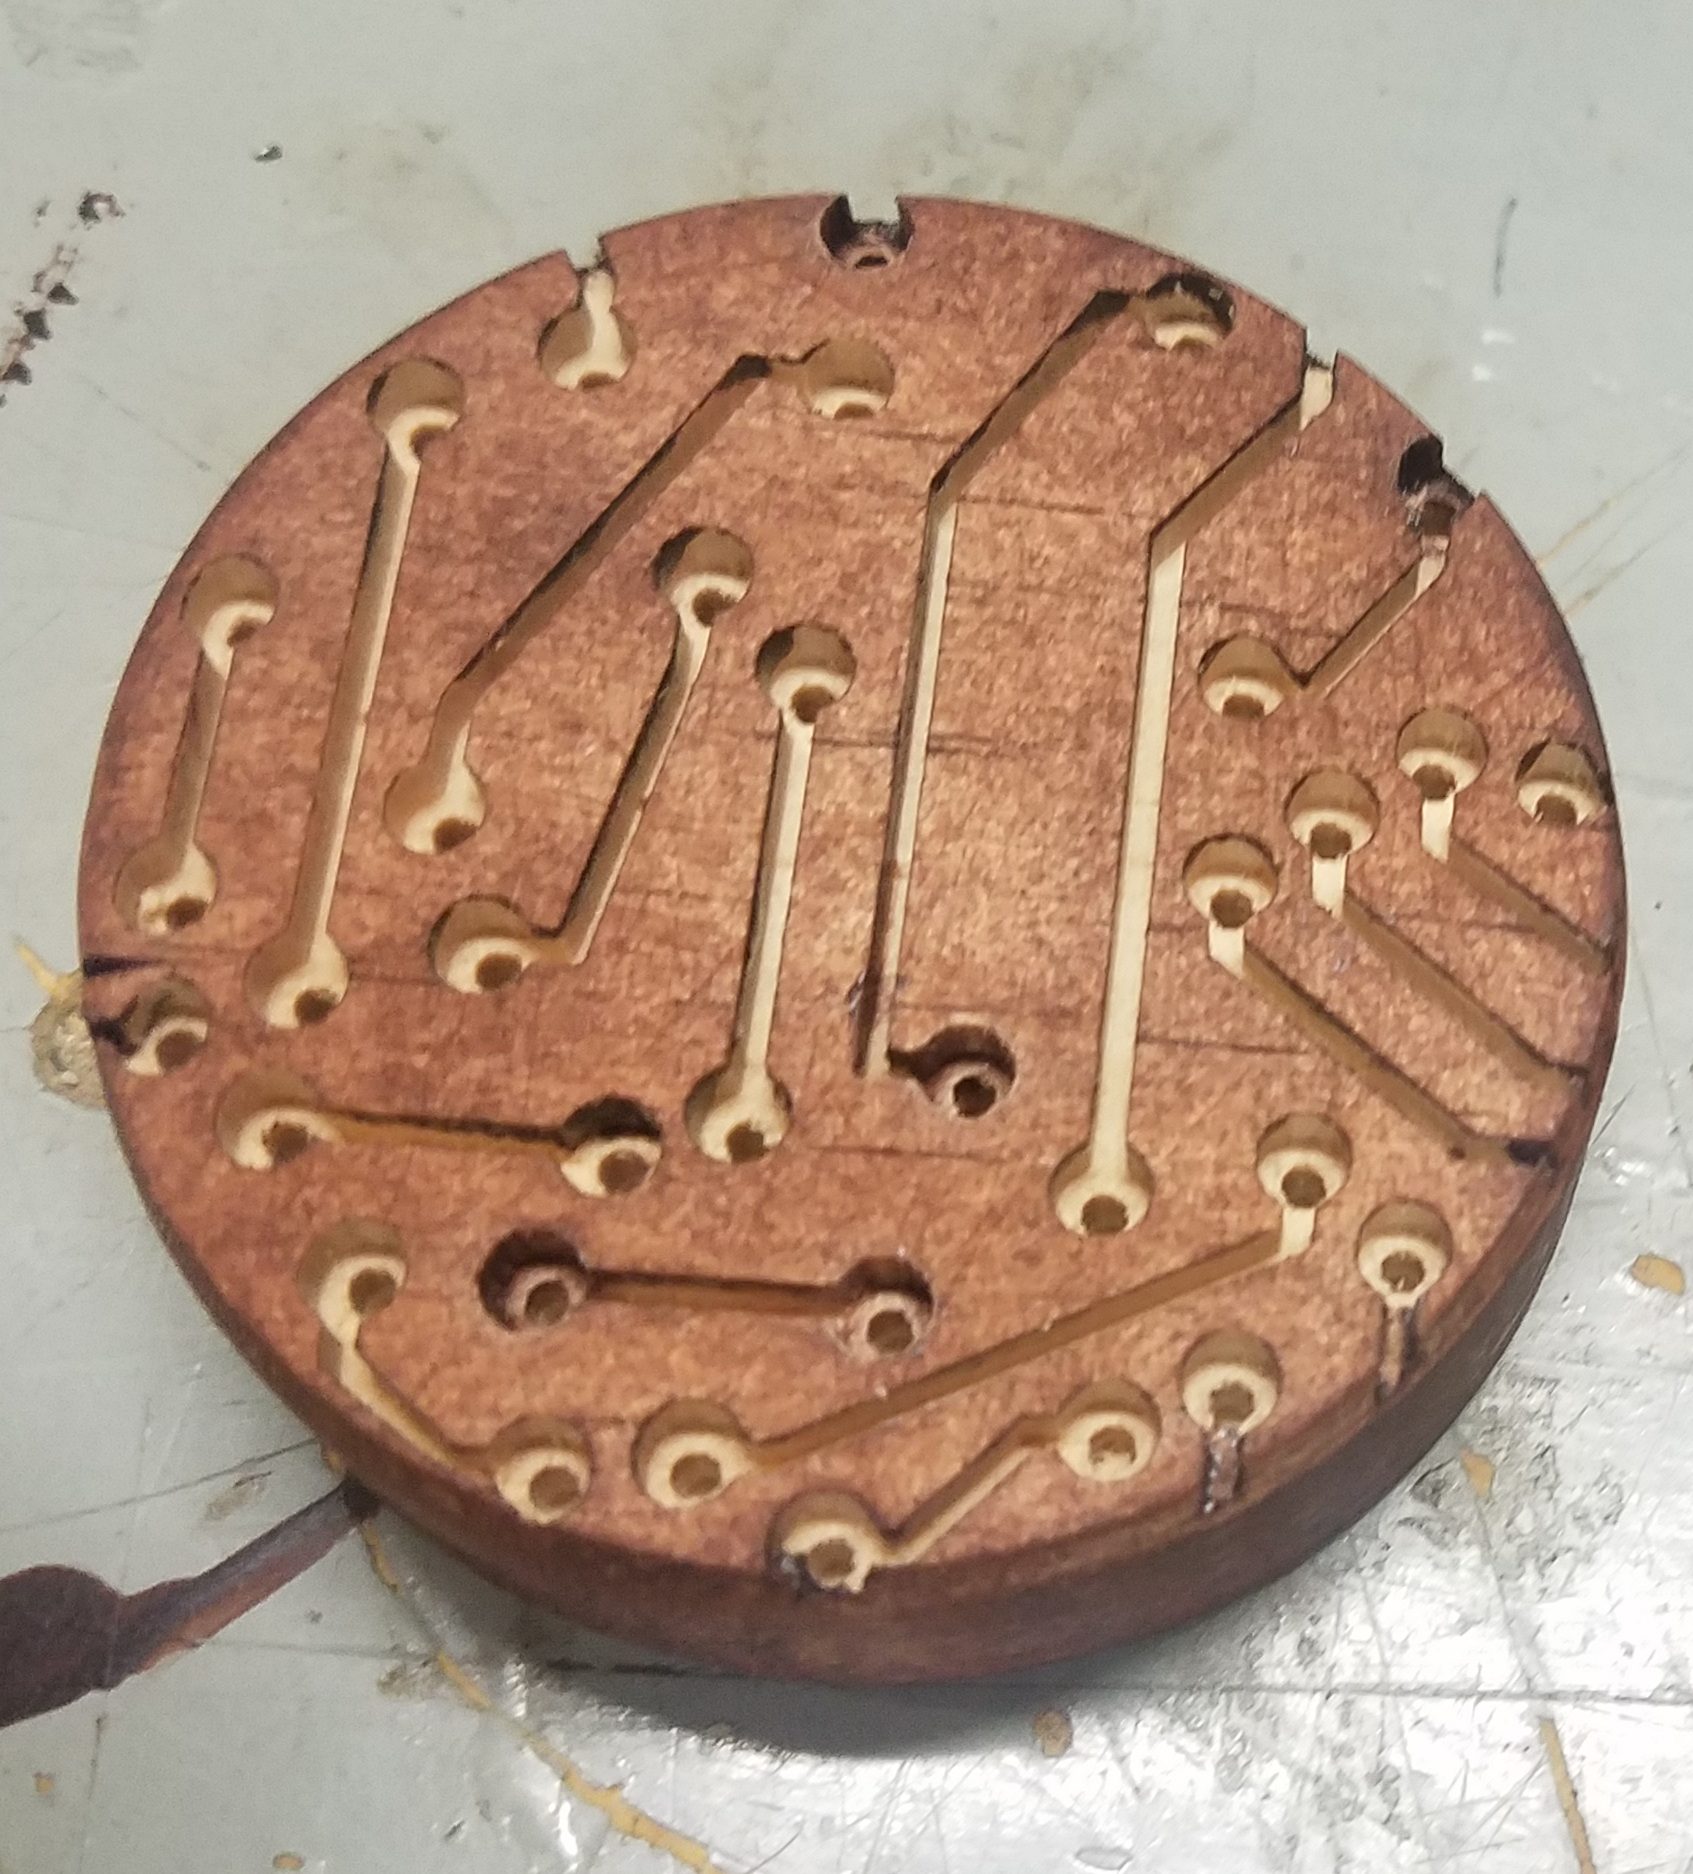
The final 100 wood circuit board
To begin post-processing, I sanded down all the sides with the finest grit the OEDK has, which, unfortunately, was about 400. I cleaned up the tiny crevices pretty well, especially for such a tiny shape. I then took the circuit boards upstairs to finish them. Ideally, I would have painted the inside depth with acrylic and the top with green spraypaint, but my artistic creativity proved to be … limited. I then went for a contrast look, staining only the top layer with mahogany and leaving the depth cuts bare. Here I faced limited success. Some stain dripped down, leaving an “ok” final product. If I were to do this again, I would find another way to apply stain or paint, maybe stamping it on and holding the piece upside down. As it was, I cleaned up the traces as well as I could, and the end product still looked solid.
Overall, I liked learning how to use the Carvey a lot, but the shape I chose lead to lots of unrelated troubles that I could have easily avoided. The tiny traces forced me to use a 1/32 bit, I wasted 2 hours on a too-deep cut, and the tiny shapes didn’t lead to post-processing and finishing very well. My next use of the Carvey will be a simpler shape, hopefully one that is functional rather than aesthetic.
