This week, we ventured into the unfamiliar waters of casting and molding. Our task was to create an alginate mold from one of our fingers and then produce a cast using Smooth-Cast 300 that could potentially be used as a wall hook. Of course, some post-processing would also be necessary to make the part presentable. For once, though, we did not need to produce two identical objects, meaning that we didn’t need to worry about breaking the alginate mold when removing our cast finger.
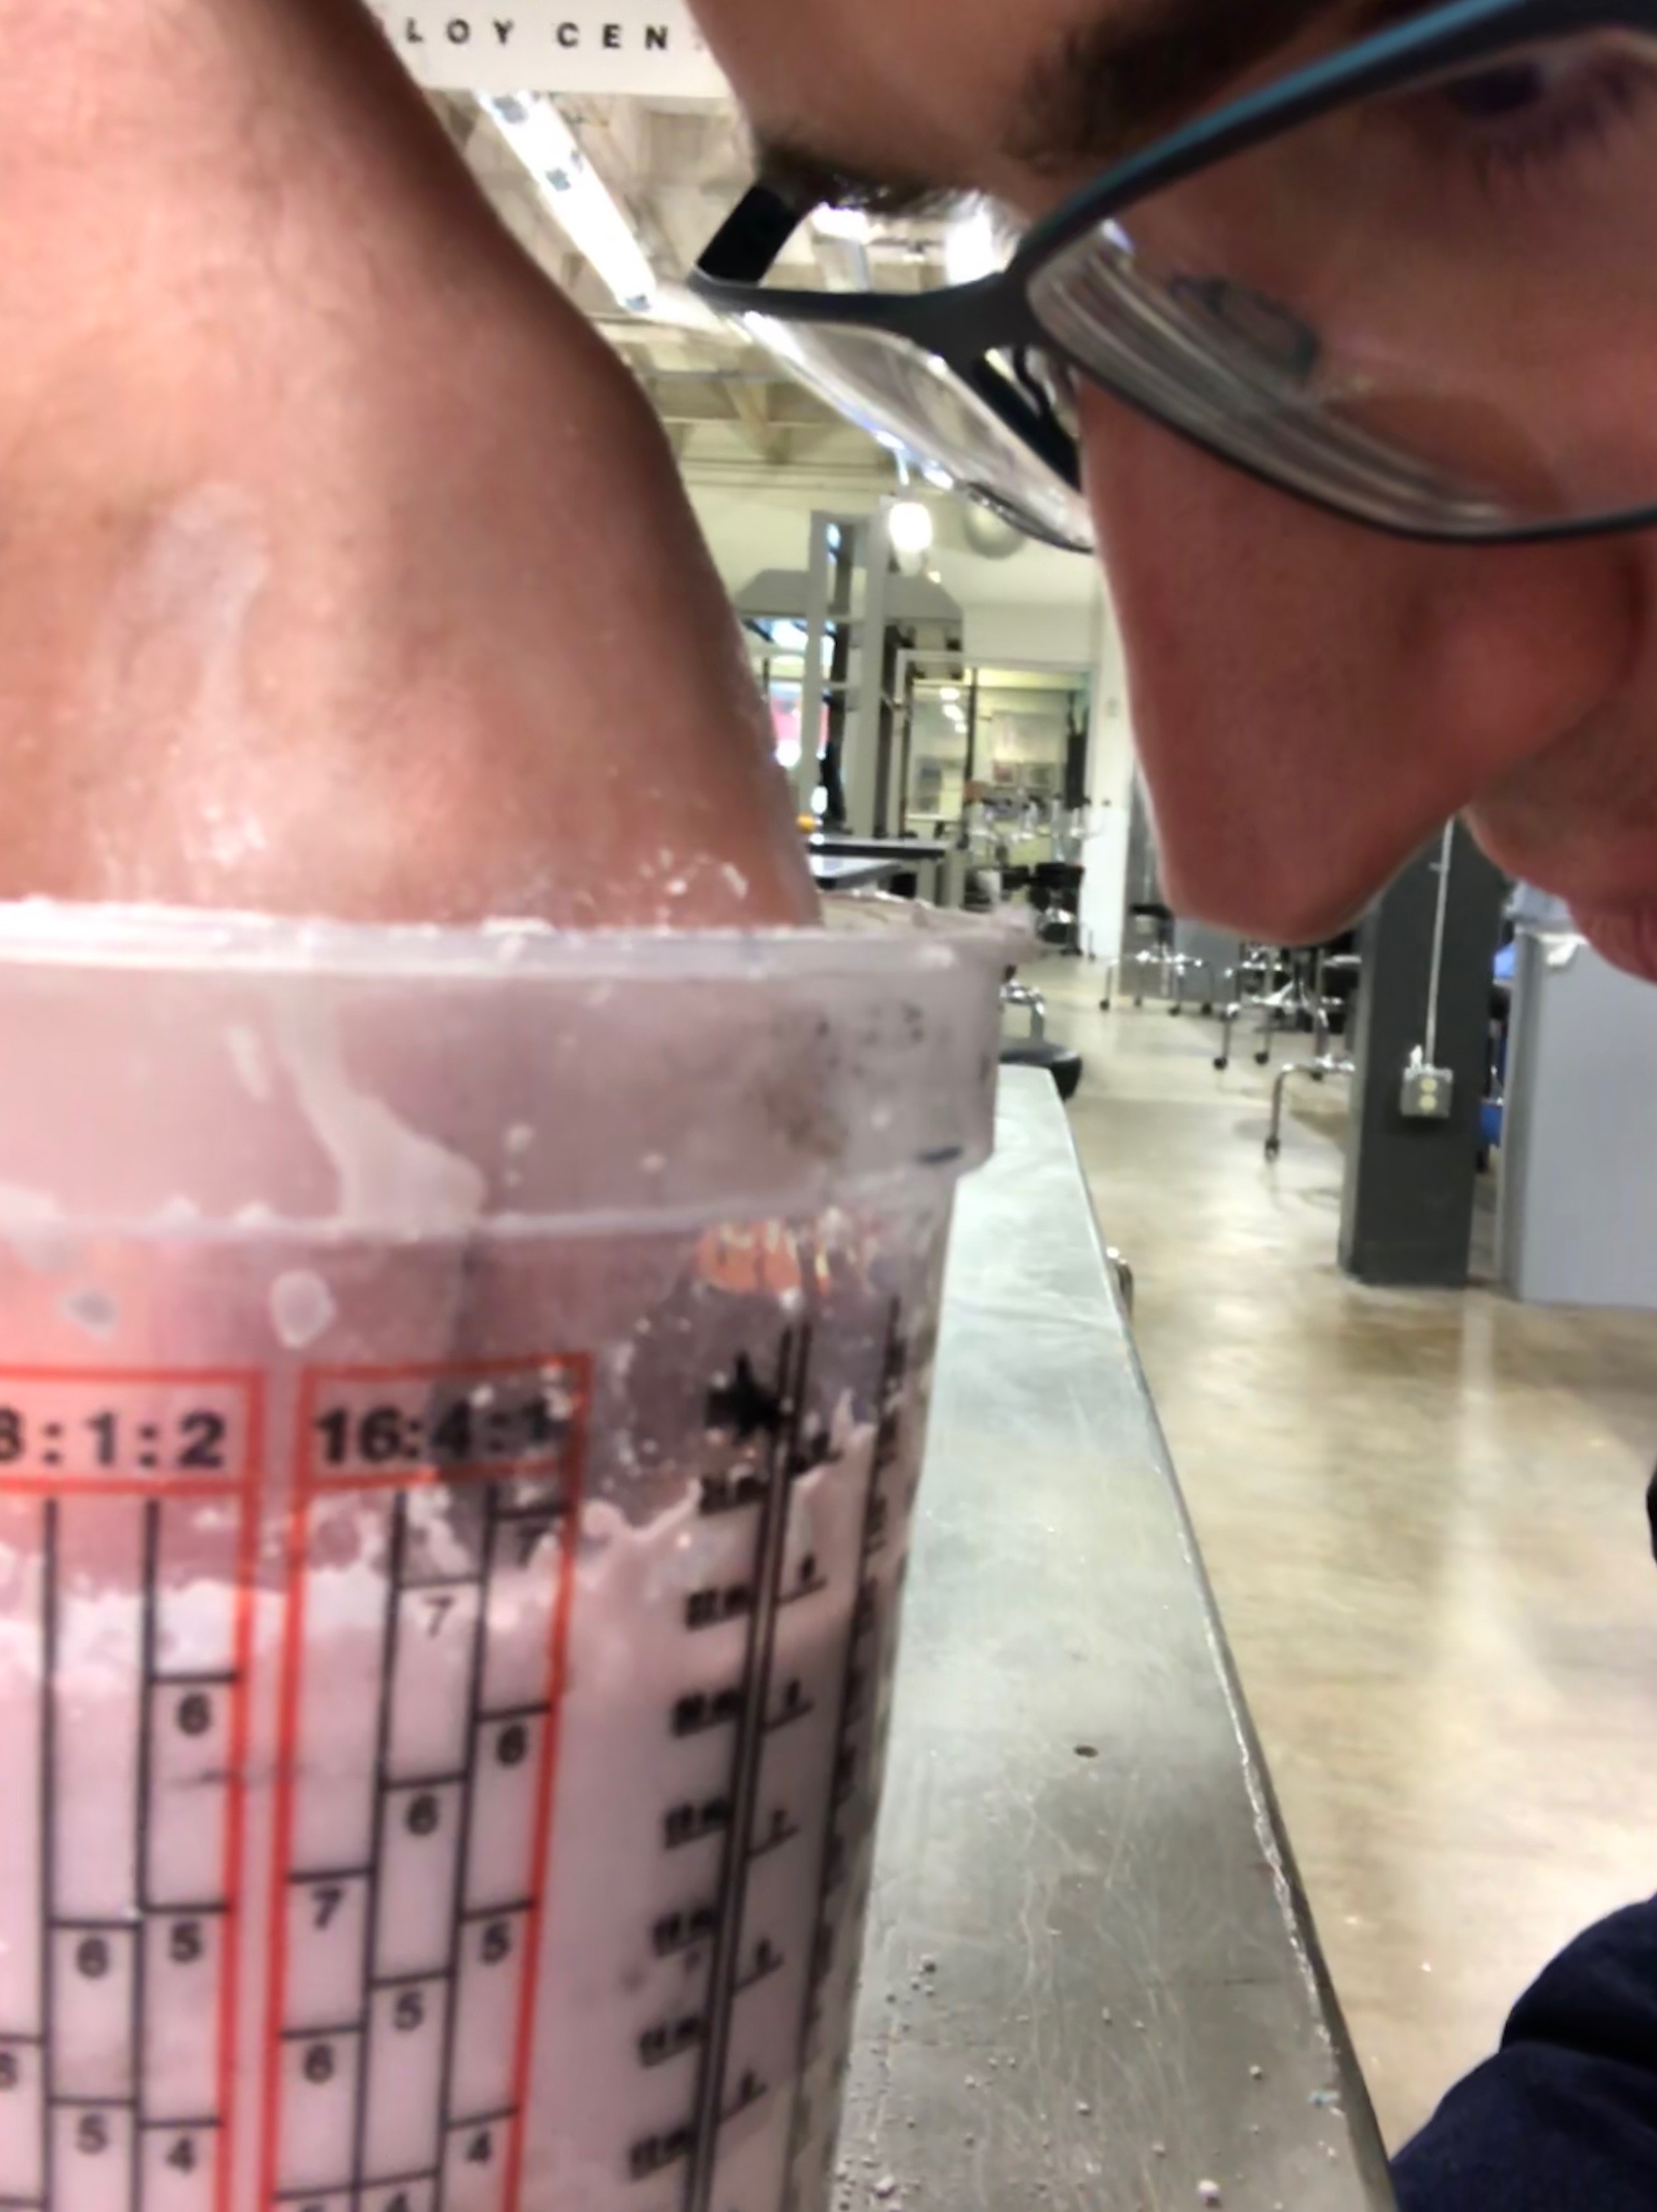
Waiting for the purple prison to petrify around my pointer
I began by finding two of the plastic measuring cups we had used in class, one for alginate and one for water. I could only find one smaller-sized cup, so I decided to create my mold in that cup so as to use less material. I wanted my finger to be pointing outwards but slightly bent in order to prevent things from sliding off of it if were it attached to the wall as a hook. As such, I placed my finger in the measuring cup with this configuration and, with a bit of estimation, determined that it would require 600 mL of liquid to submerge my finger up to the base. Since approximately equal volumes of alginate and water are required, but because mixing alginate into water barely adds to the water’s volume, I decided to measure out 500 mL of either substance. I then mixed the alginate into the water using a popsicle stick (to help scrape alginate chunks off the bottom) and a whisk. Once the mixture reached a sufficiently thick consistency, I stuck my pointer finger inside in the predetermined “pose” and waited for the alginate to solidify.
When the alginate was finally solid, as determined by poking its surface, I removed my finger with the classic and unsettling alginate *slurp* that I remember so clearly from the old days at the orthodontist’s office (although it’s considerably worse when you’re literally gagging on the alginate). And with that, my mold was complete. However, the hole was so deep and narrow that there was no telling whether it was a good mold until I tried creating a cast.

Completed alginate mold
At this point, I poured equal volumes of the A and B components of Smooth-Cast 300, stirred them individually per the instructions, mixed them together, stirred the mixture, and poured it into the mold. In less than a minute, the mixture solidified into a solid cast. I then removed the cast from the mold, ripping apart the alginate in the process. My finger came out surprisingly well, as shown in the photo below.
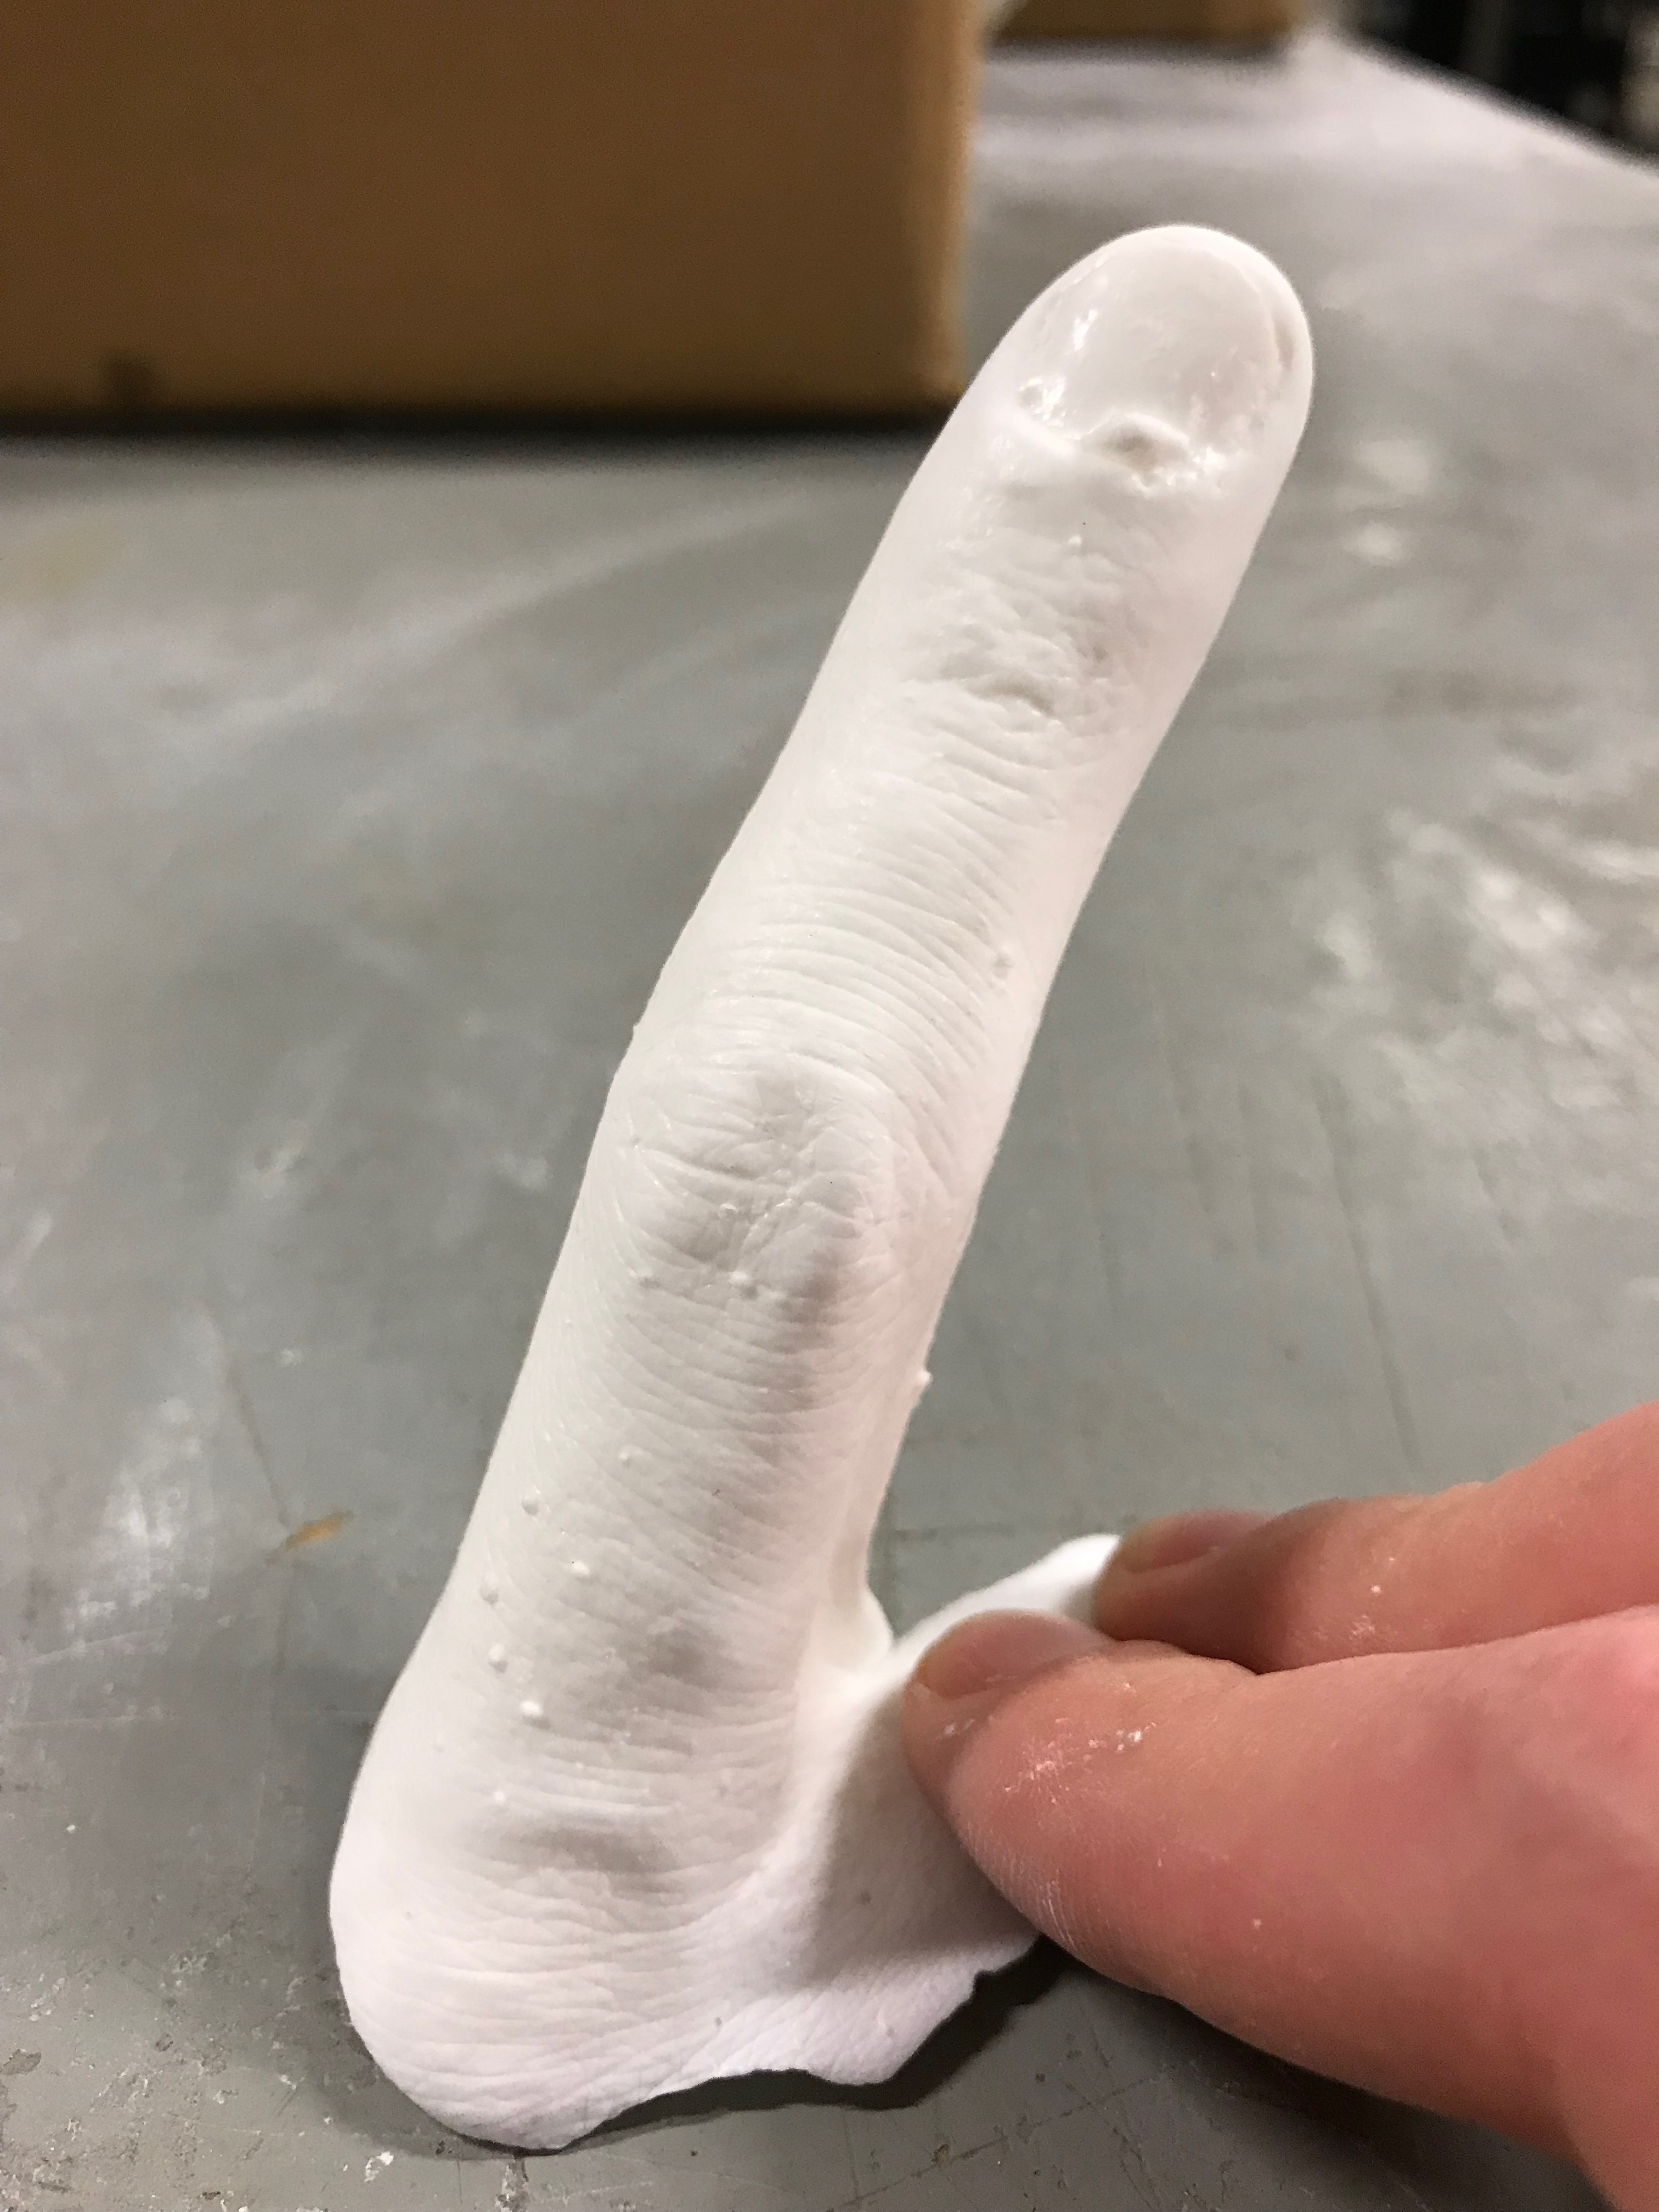
Cast finger immediately after being removed from mold
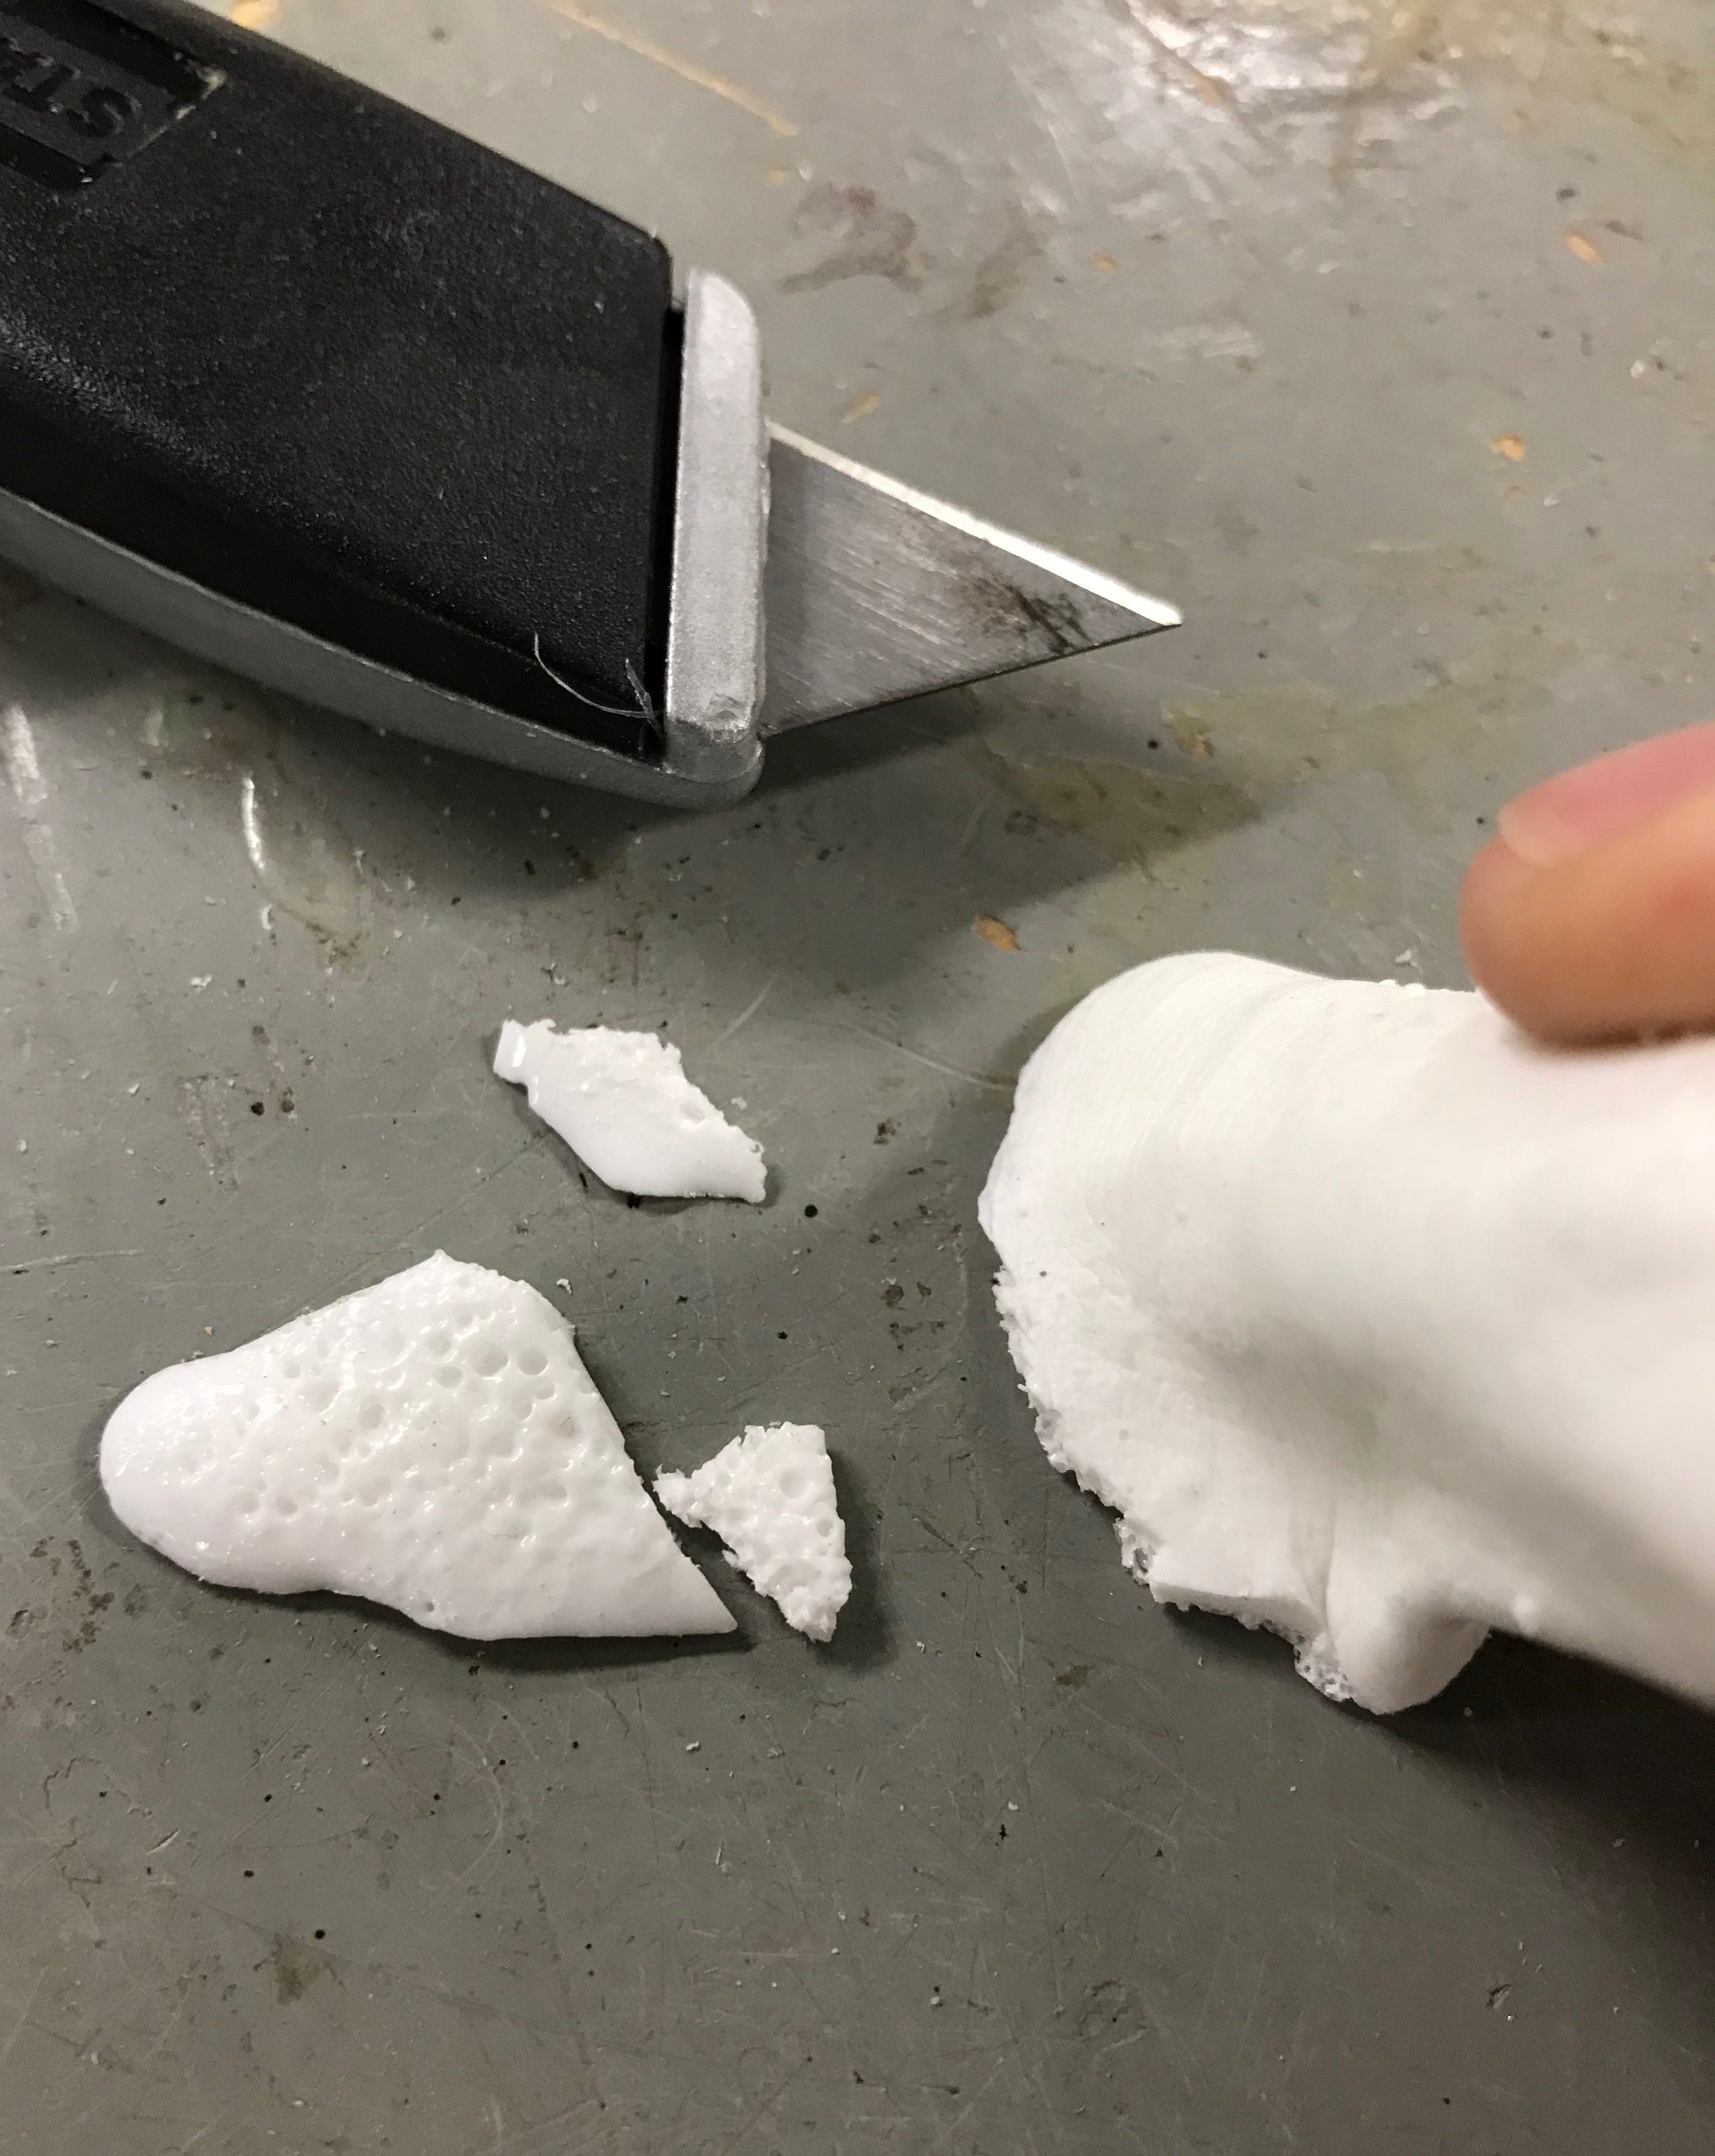
Removal of excess material from the base of the finger
As for post-processing, the first order of business was removing the extra material at the base of the finger (the part I was holding down in the previous photograph). This extra material was very thin, so I used a box cutter to remove it with ease. This left the edge quite rough, however, so I used the belt sander to smooth it down.
The remainder of my problems now consisted of the several small bumps running up and down the finger due to small air bubbles. I was hesitant to sand these bumps because they’d reduce the cast’s high level of definition in the process, but it needed to be done in order to make the part look presentable. I found that, for most of the small bumps, a couple passes of rough sandpaper would remove the blemish. I would then smooth out the area with fine-grit sandpaper. Nevertheless, one particularly troublesome bump can be seen in the first picture of my cast, in the bottom-right corner of my nail. The sandpaper was not particularly effective in wearing away this large bump, so I figured that, since the bump was taller than the rest of the finger’s surface, I could speed things up by belt-sanding most of the bump and then using sandpaper on whatever remained. This was relatively effective, but I unknowingly sanded away some of the surface of the fingernail in the process. Thus, after sanding away the last of the bump, I had to try and evenly sand the rest of the fingernail. This initially didn’t seem very effective, but after sanding for quite a while, I had a semi-rounded fingernail that I was satisfied with. With that, the post-processing on my cast finger was complete.

Fingernail after bump removal and remedial sanding
At this point, I wanted to restart the molding and casting process to try and minimize air bubbles and to apply my newfound wisdom about the importance of sanding carefully. However, this was not worth the consumption of more materials when I had a perfectly good and finished part. All in all, although it was a completely new process for me and had its ups and downs, I really enjoyed the molding and casting assignment, and I look forward to using these skills to complete the final project.
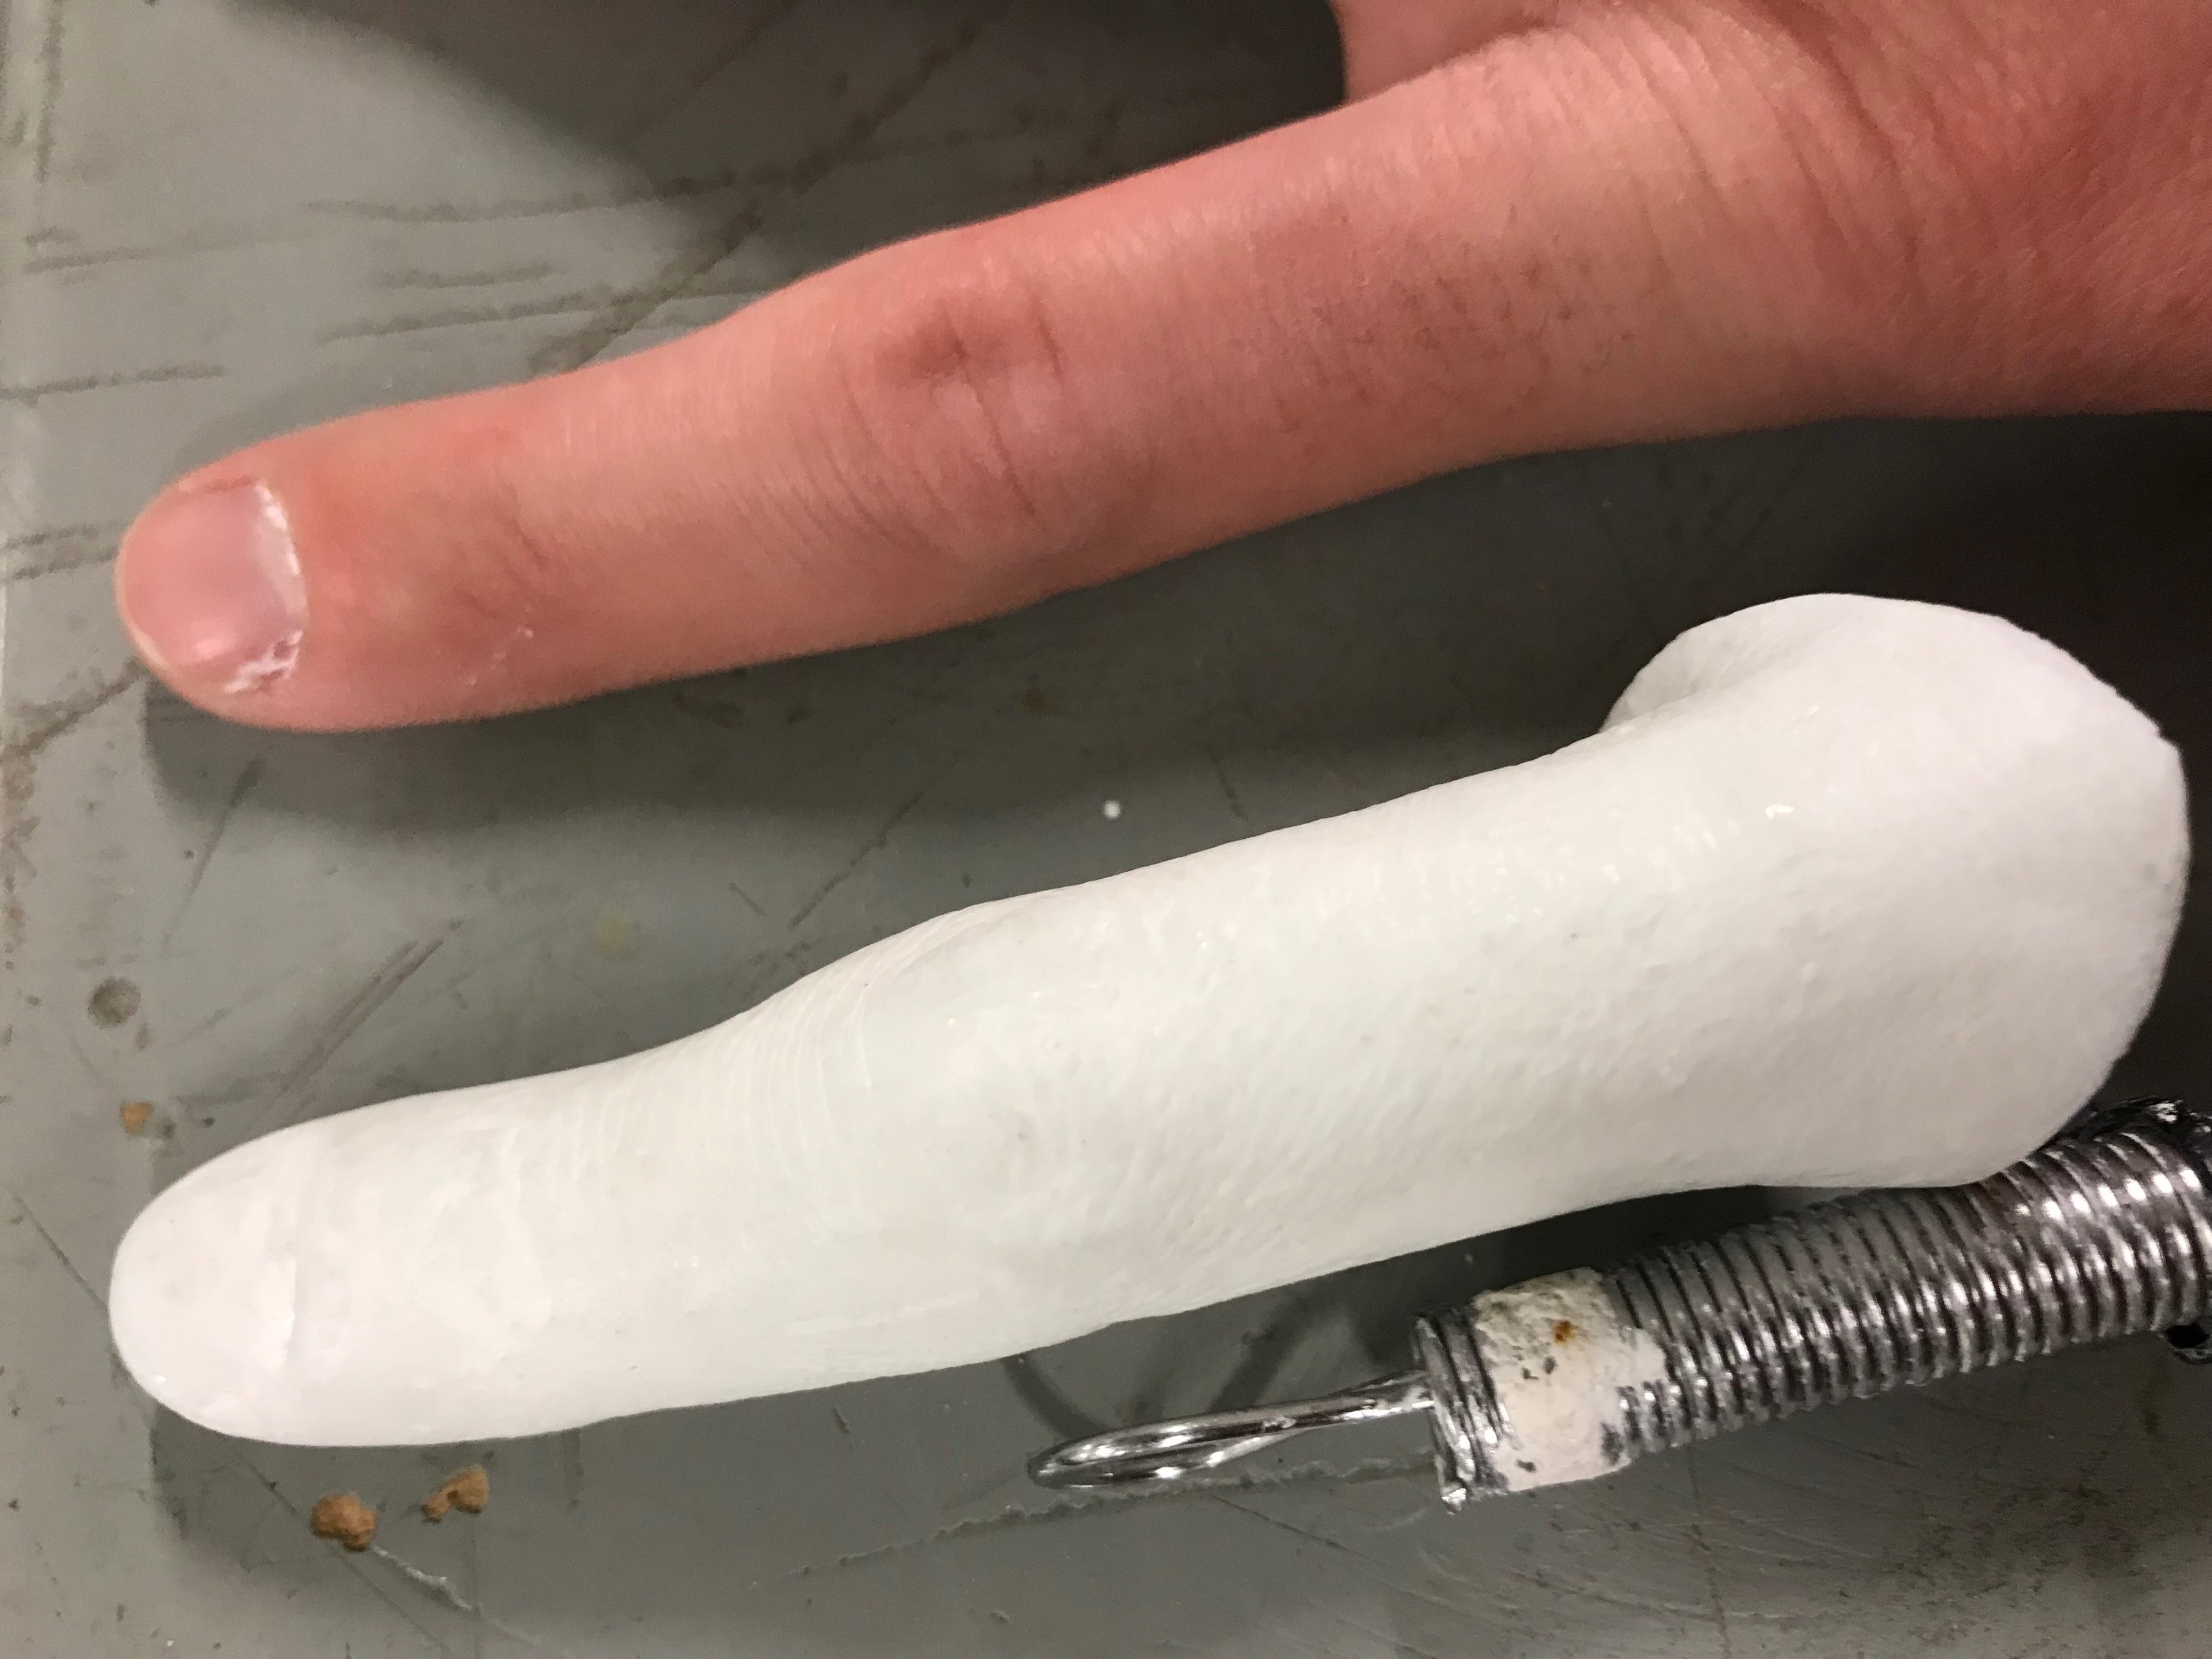
Side-by-side comparison between my real finger and my cast finger
