Introduction
While this was certainly not my first experience in casting, it was certainly my most successful. In the past, the only thing I have ever attempted casting with was molten metal, which was far trickier to work with and never resulted in anything more than mediocre successes. So, I was excited to finally have the opportunity to make some cast creations of relatively high fidelity using straightforward, easily employed materials!
Attempt #1
I began by following the steps outlined both in class and on the homework handout, conserving materials by using a small plastic cup and filling it with equal amounts of alginate and warm water, then stirring vigorously. Because I didn’t want to get my phone dirty, and both of my hands were covered with powder, I was unable to take a picture of this step. I did also make a mistake that was more of an annoyance than anything; I put my finger into the mixture immediately. While this wasn’t actually a problem, I tried to maintain my hand position for the full number of minutes required for the material to set up, which of course was very difficult. I then realized that the mixture would not begin to solidify for a good while, so I actually pulled my finger out, cleaned it off, then waited for the mixture to stiffen ever so slightly before I put it back in. In the end, I was actually able to make a halfway decent mold negative from this first attempt!

At this point I was ready to begin the positive casting process, for which I used the plastic mold-cast 300 product. This involved mixing equal quantities of the two components, which I accomplished by using two more plastic cups with sharpied lines to ensure identical amounts were poured. For this process, I estimated the volume of my finger. Once this was completed, I mixed the two thoroughly and promptly poured them into my mold, making sure to swirl it around and tap it lightly to attempt to get bubbles out. Below, the poured cast can be seen.
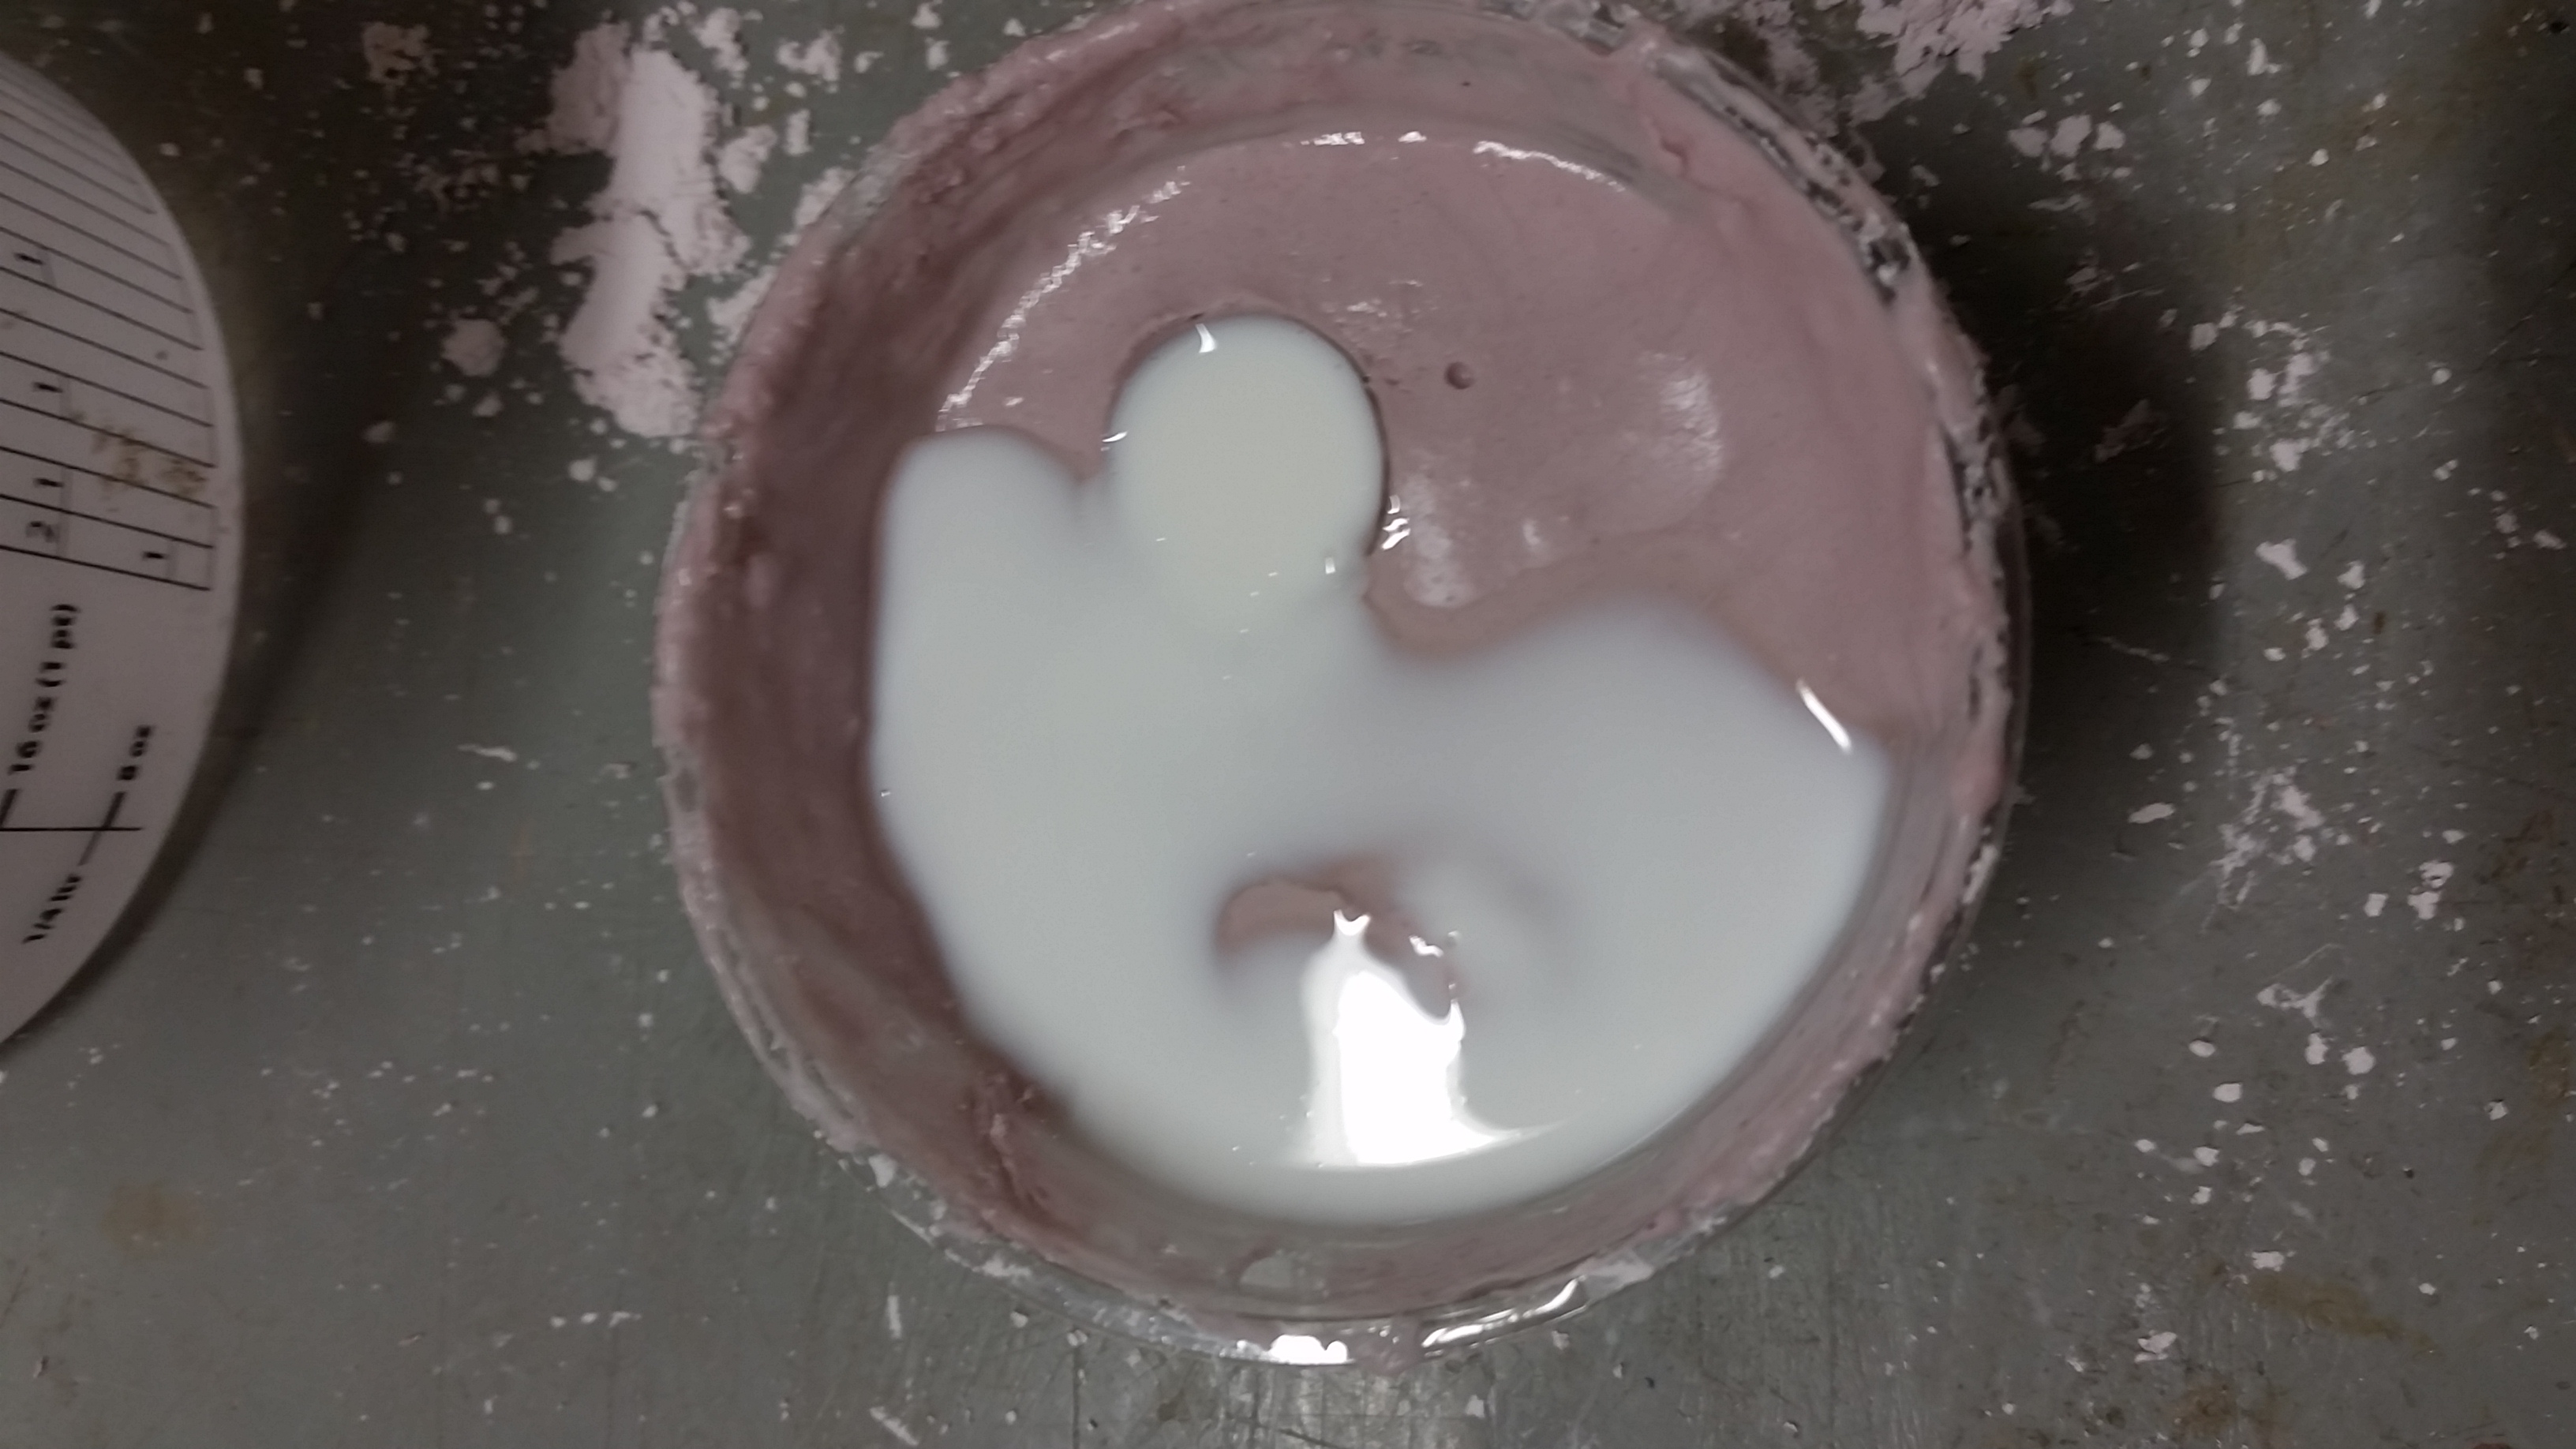
Because of how quickly the plastic set, I was unable to get a video of the process occurring. This cast worked relatively well, and the result can be seen below.
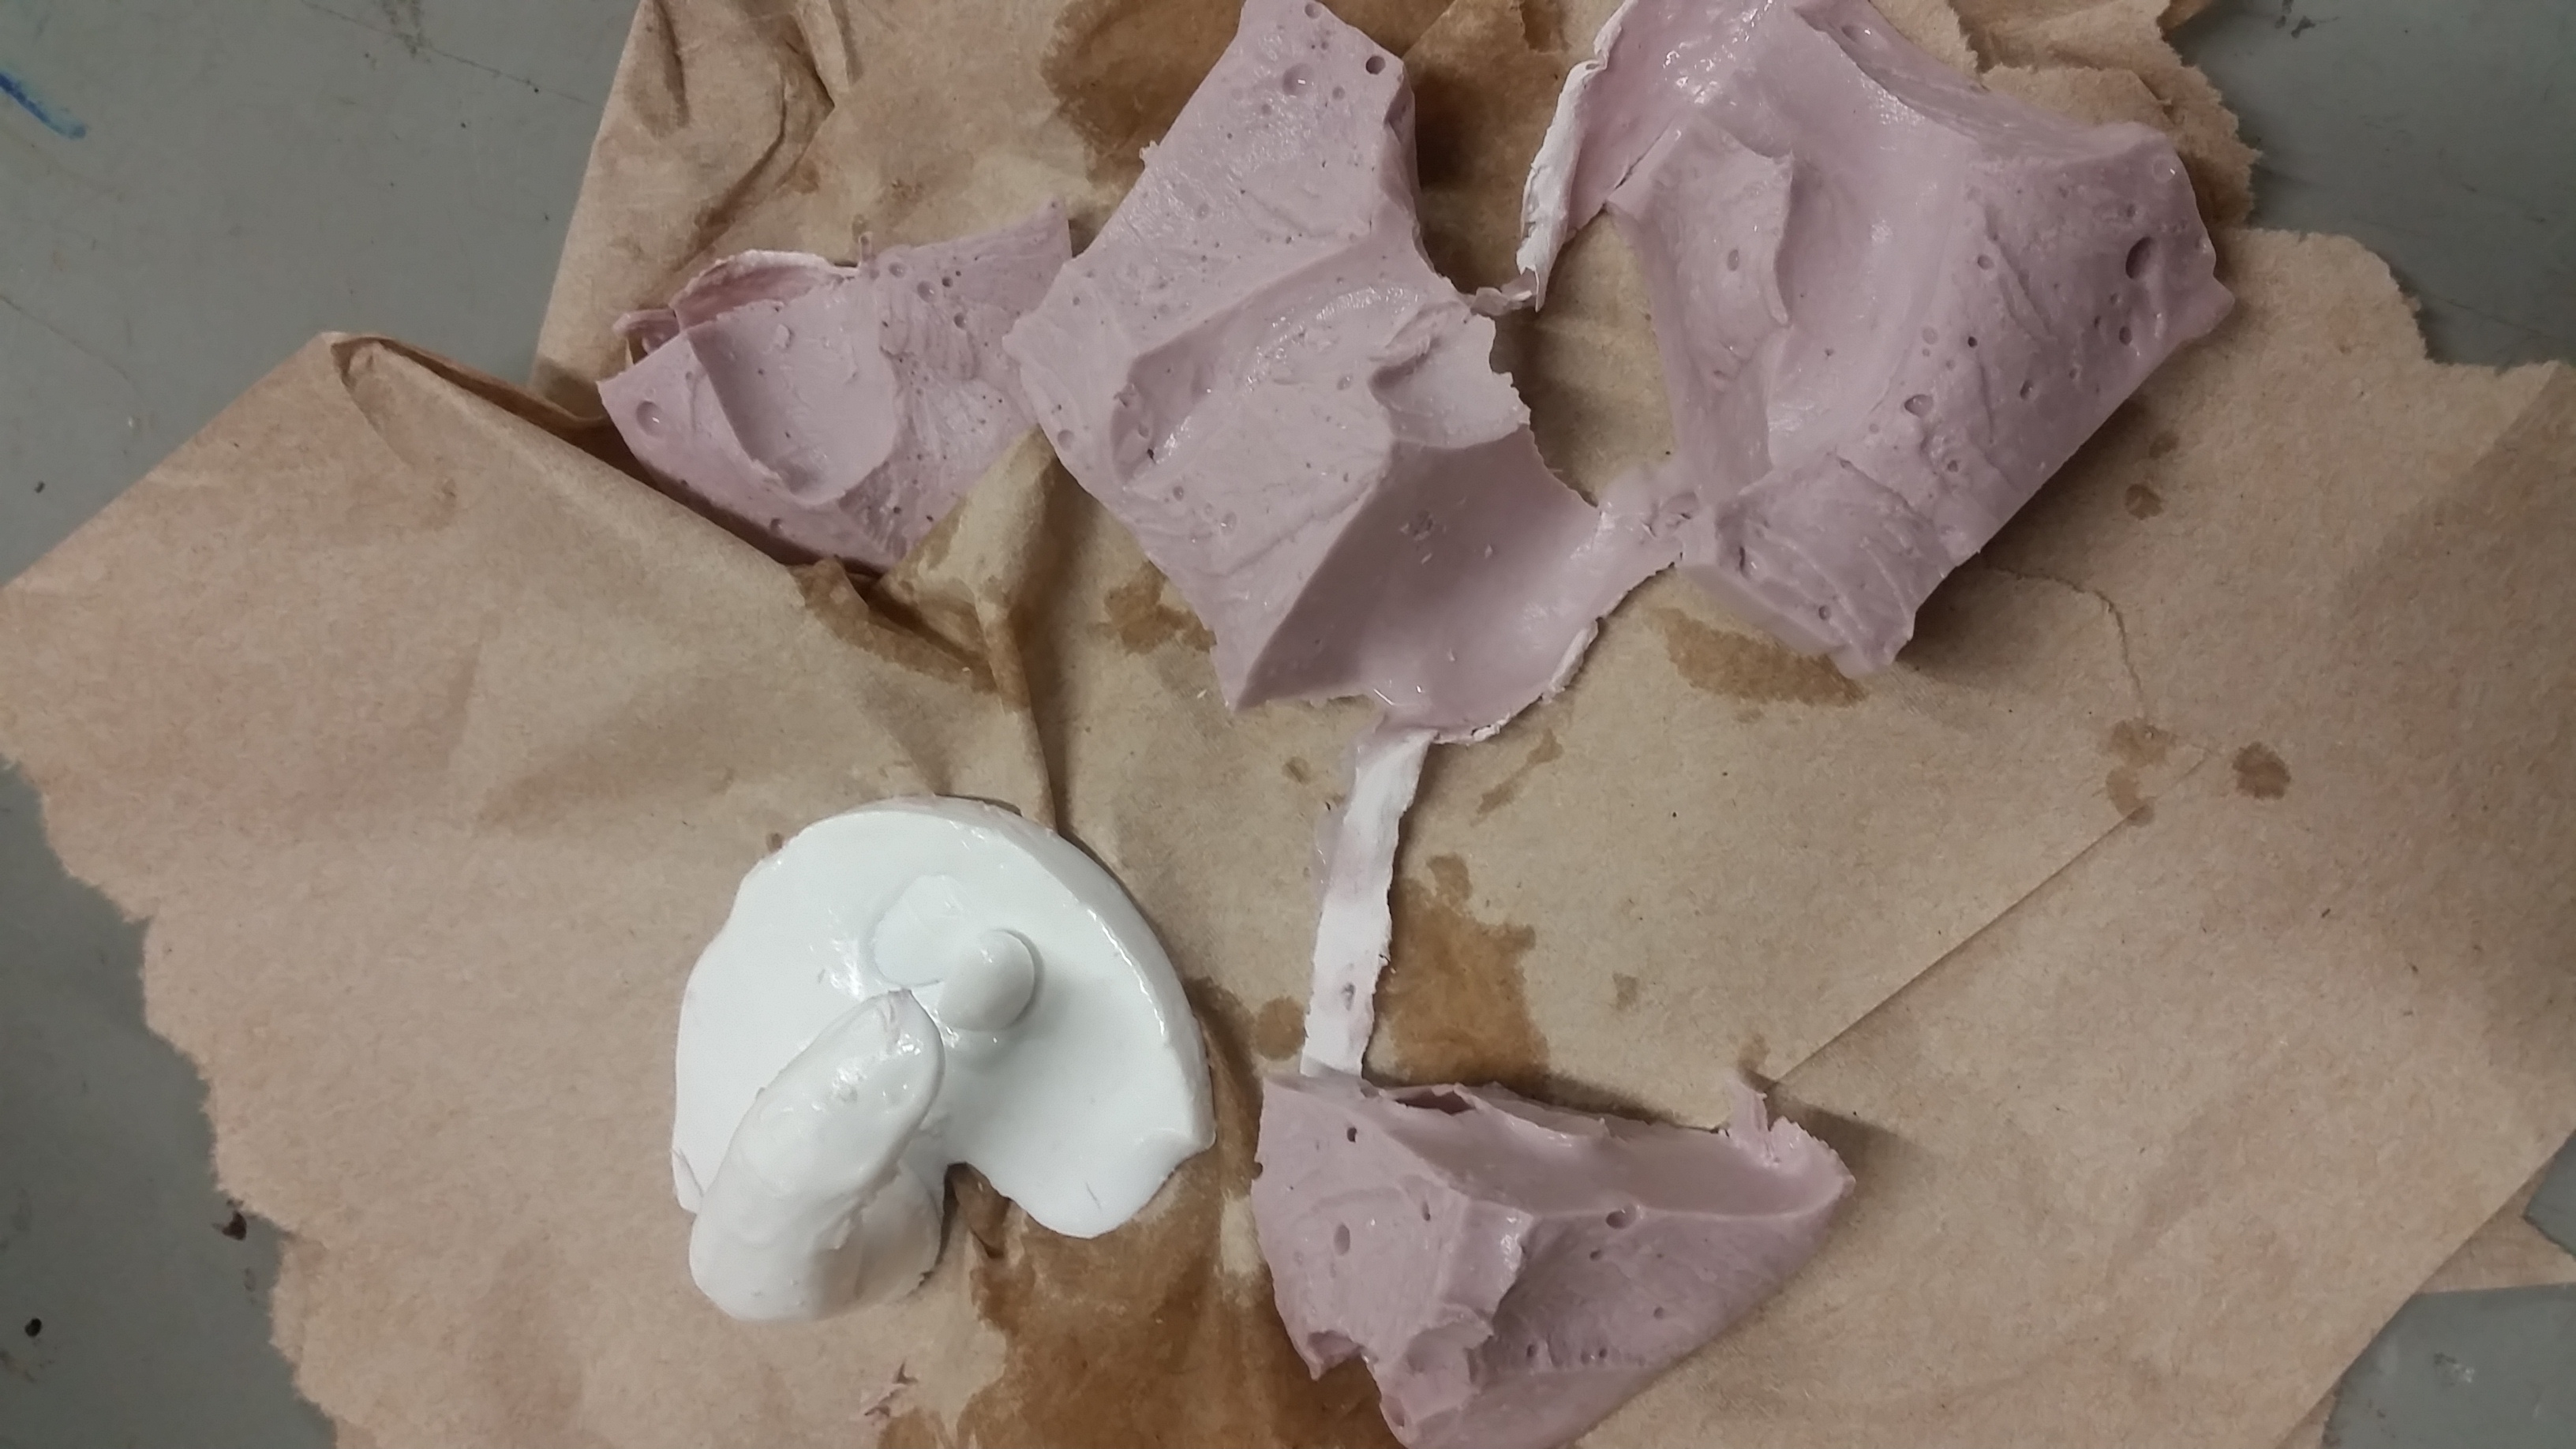
As you can see, however, this finger had numerous aberrations, along with too much plastic used, and so I decided to redo the process, taking these lessons to heart and producing a better finger.
Attempt #2
For the second attempt, I followed an identical process with a few distinct changes. First and foremost, I decided to straighten my finger out, as removal of the first curved finger during the negative creation process had been difficult. I also kept my finger as clean as possible, and waited til the alginate began to set before inserting my finger. I also mixed significantly less plastic, conserving materials. This second process resulted in the creation of the finger that I am turning in as my final product, which I believe to be superior to the first.
Post-Processing
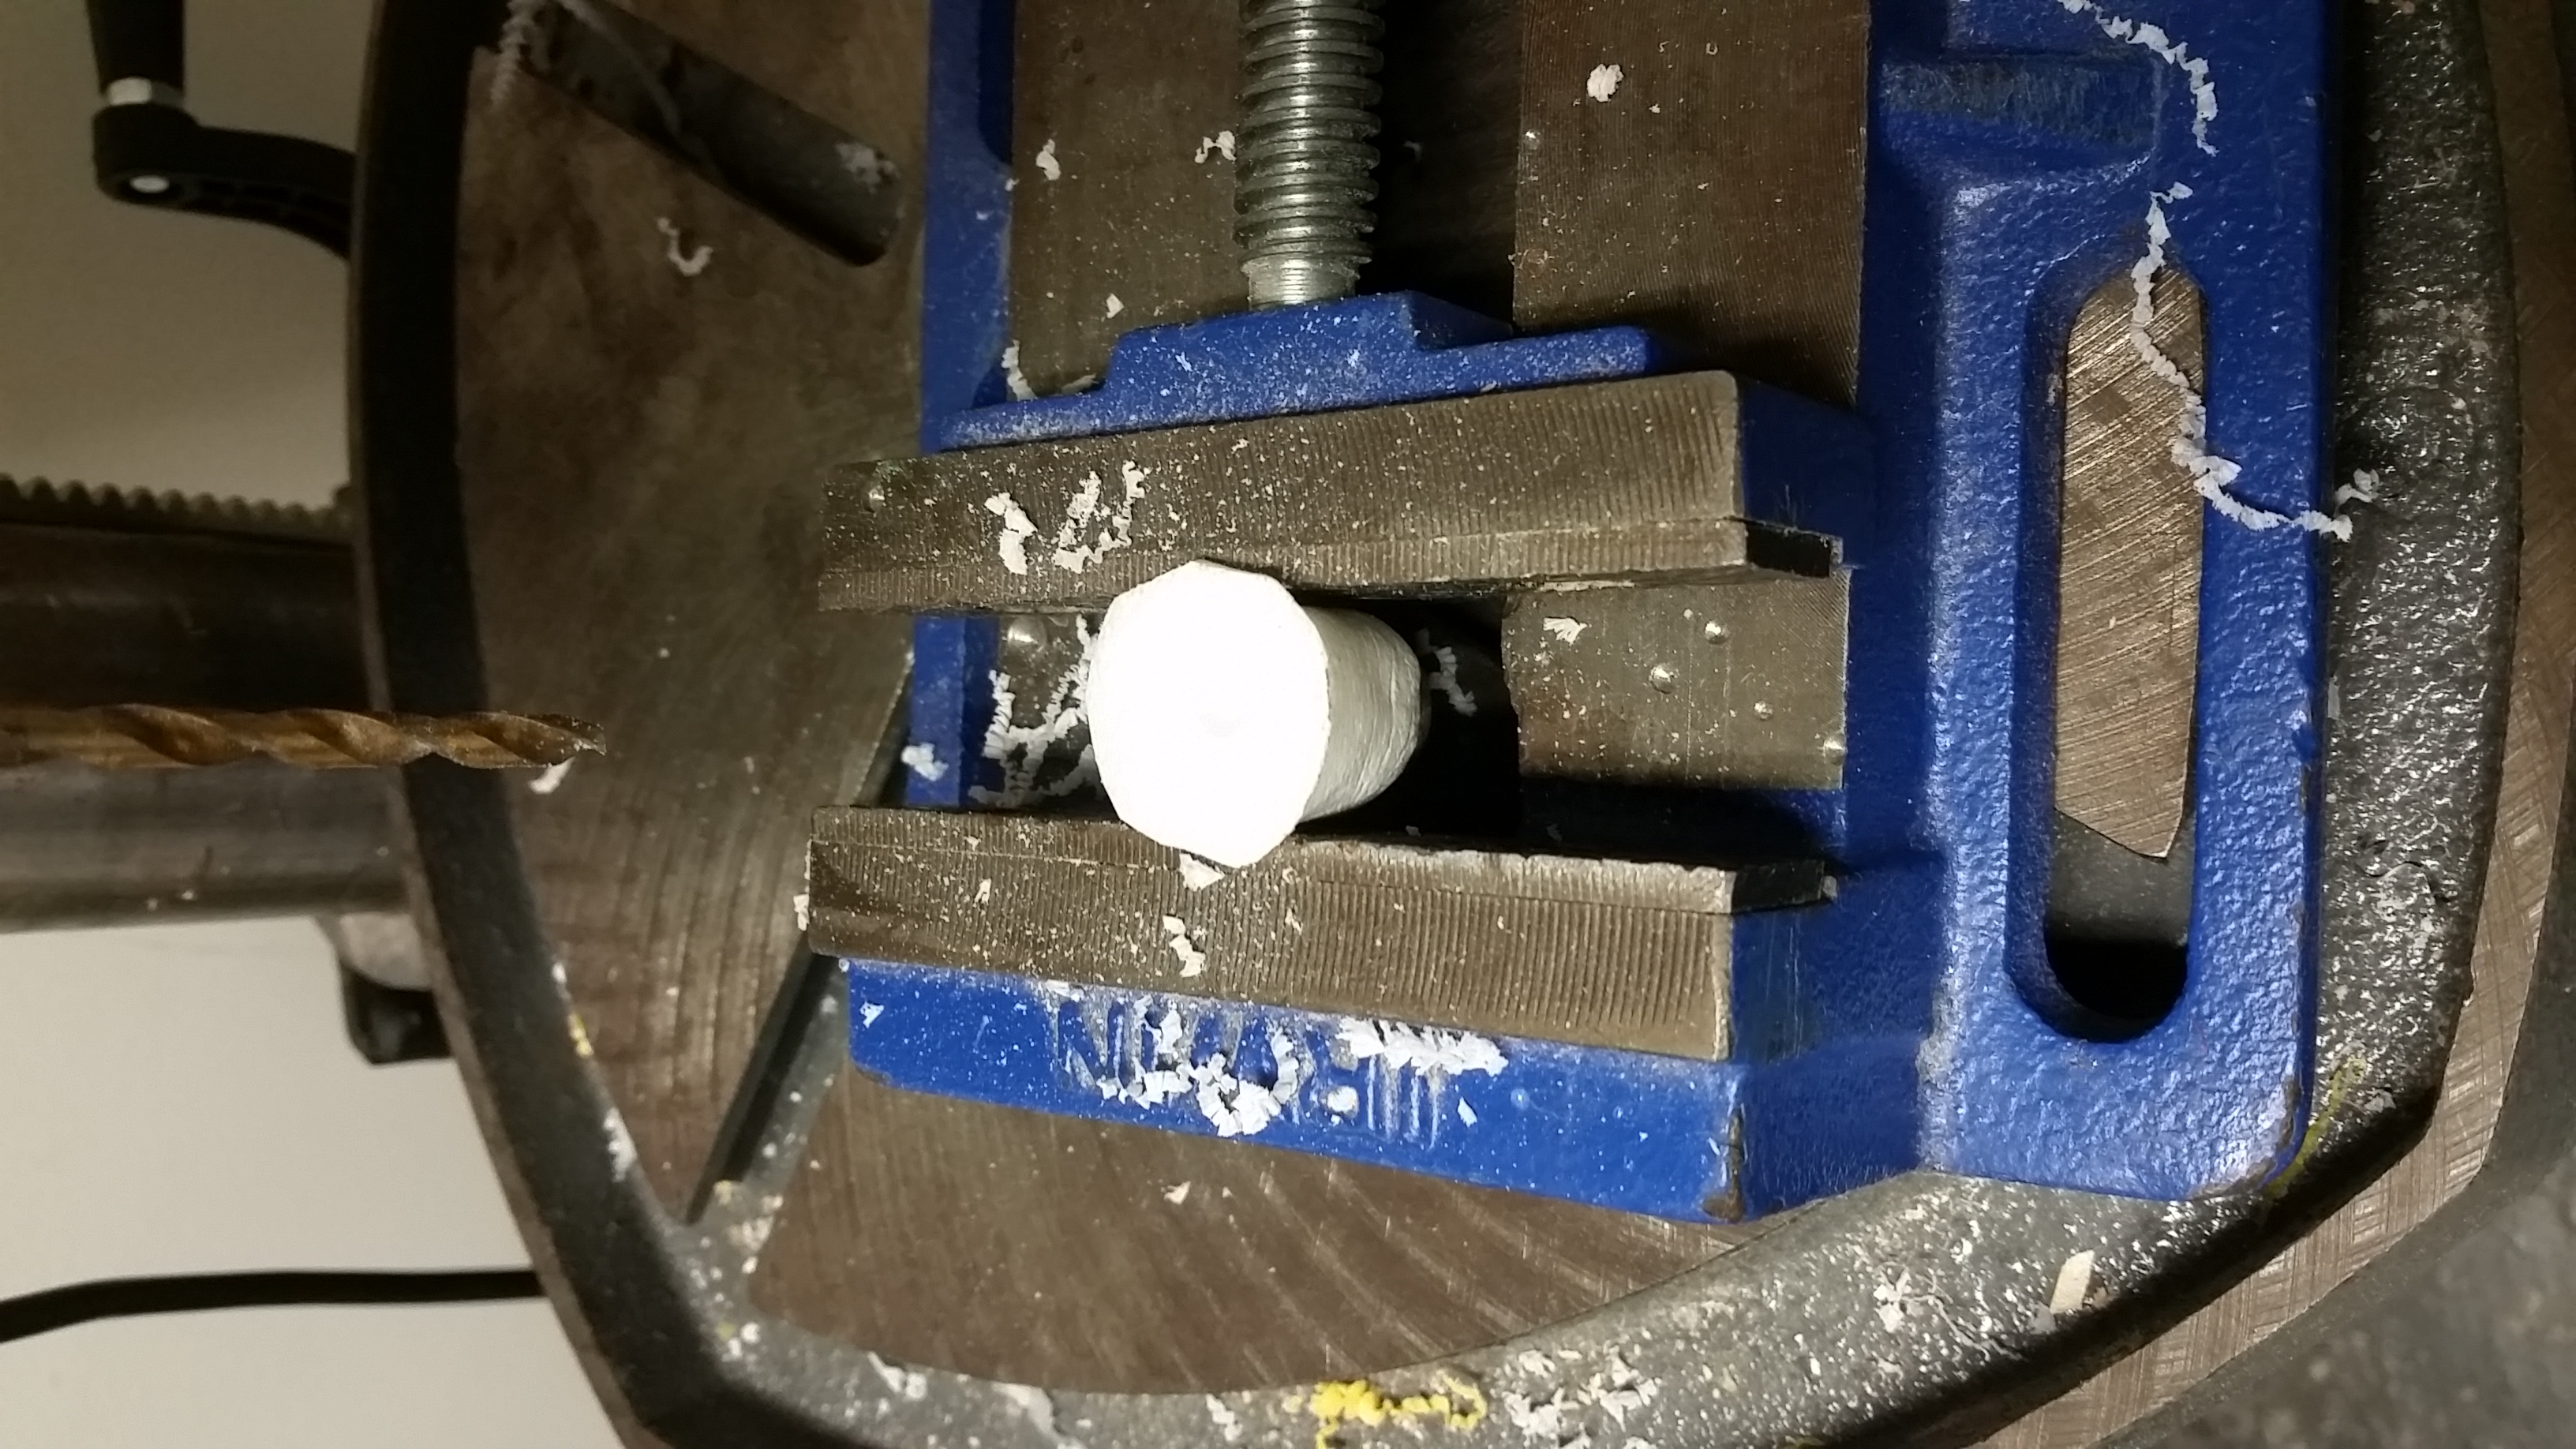
Of course, casting the finger alone was not sufficient for this project, and I decided to make the finger actually usable. I began by trimming the base of the finger away using an exacto knife. I then used the drill press downstairs and put a small hole in the base of the finger, seen below.
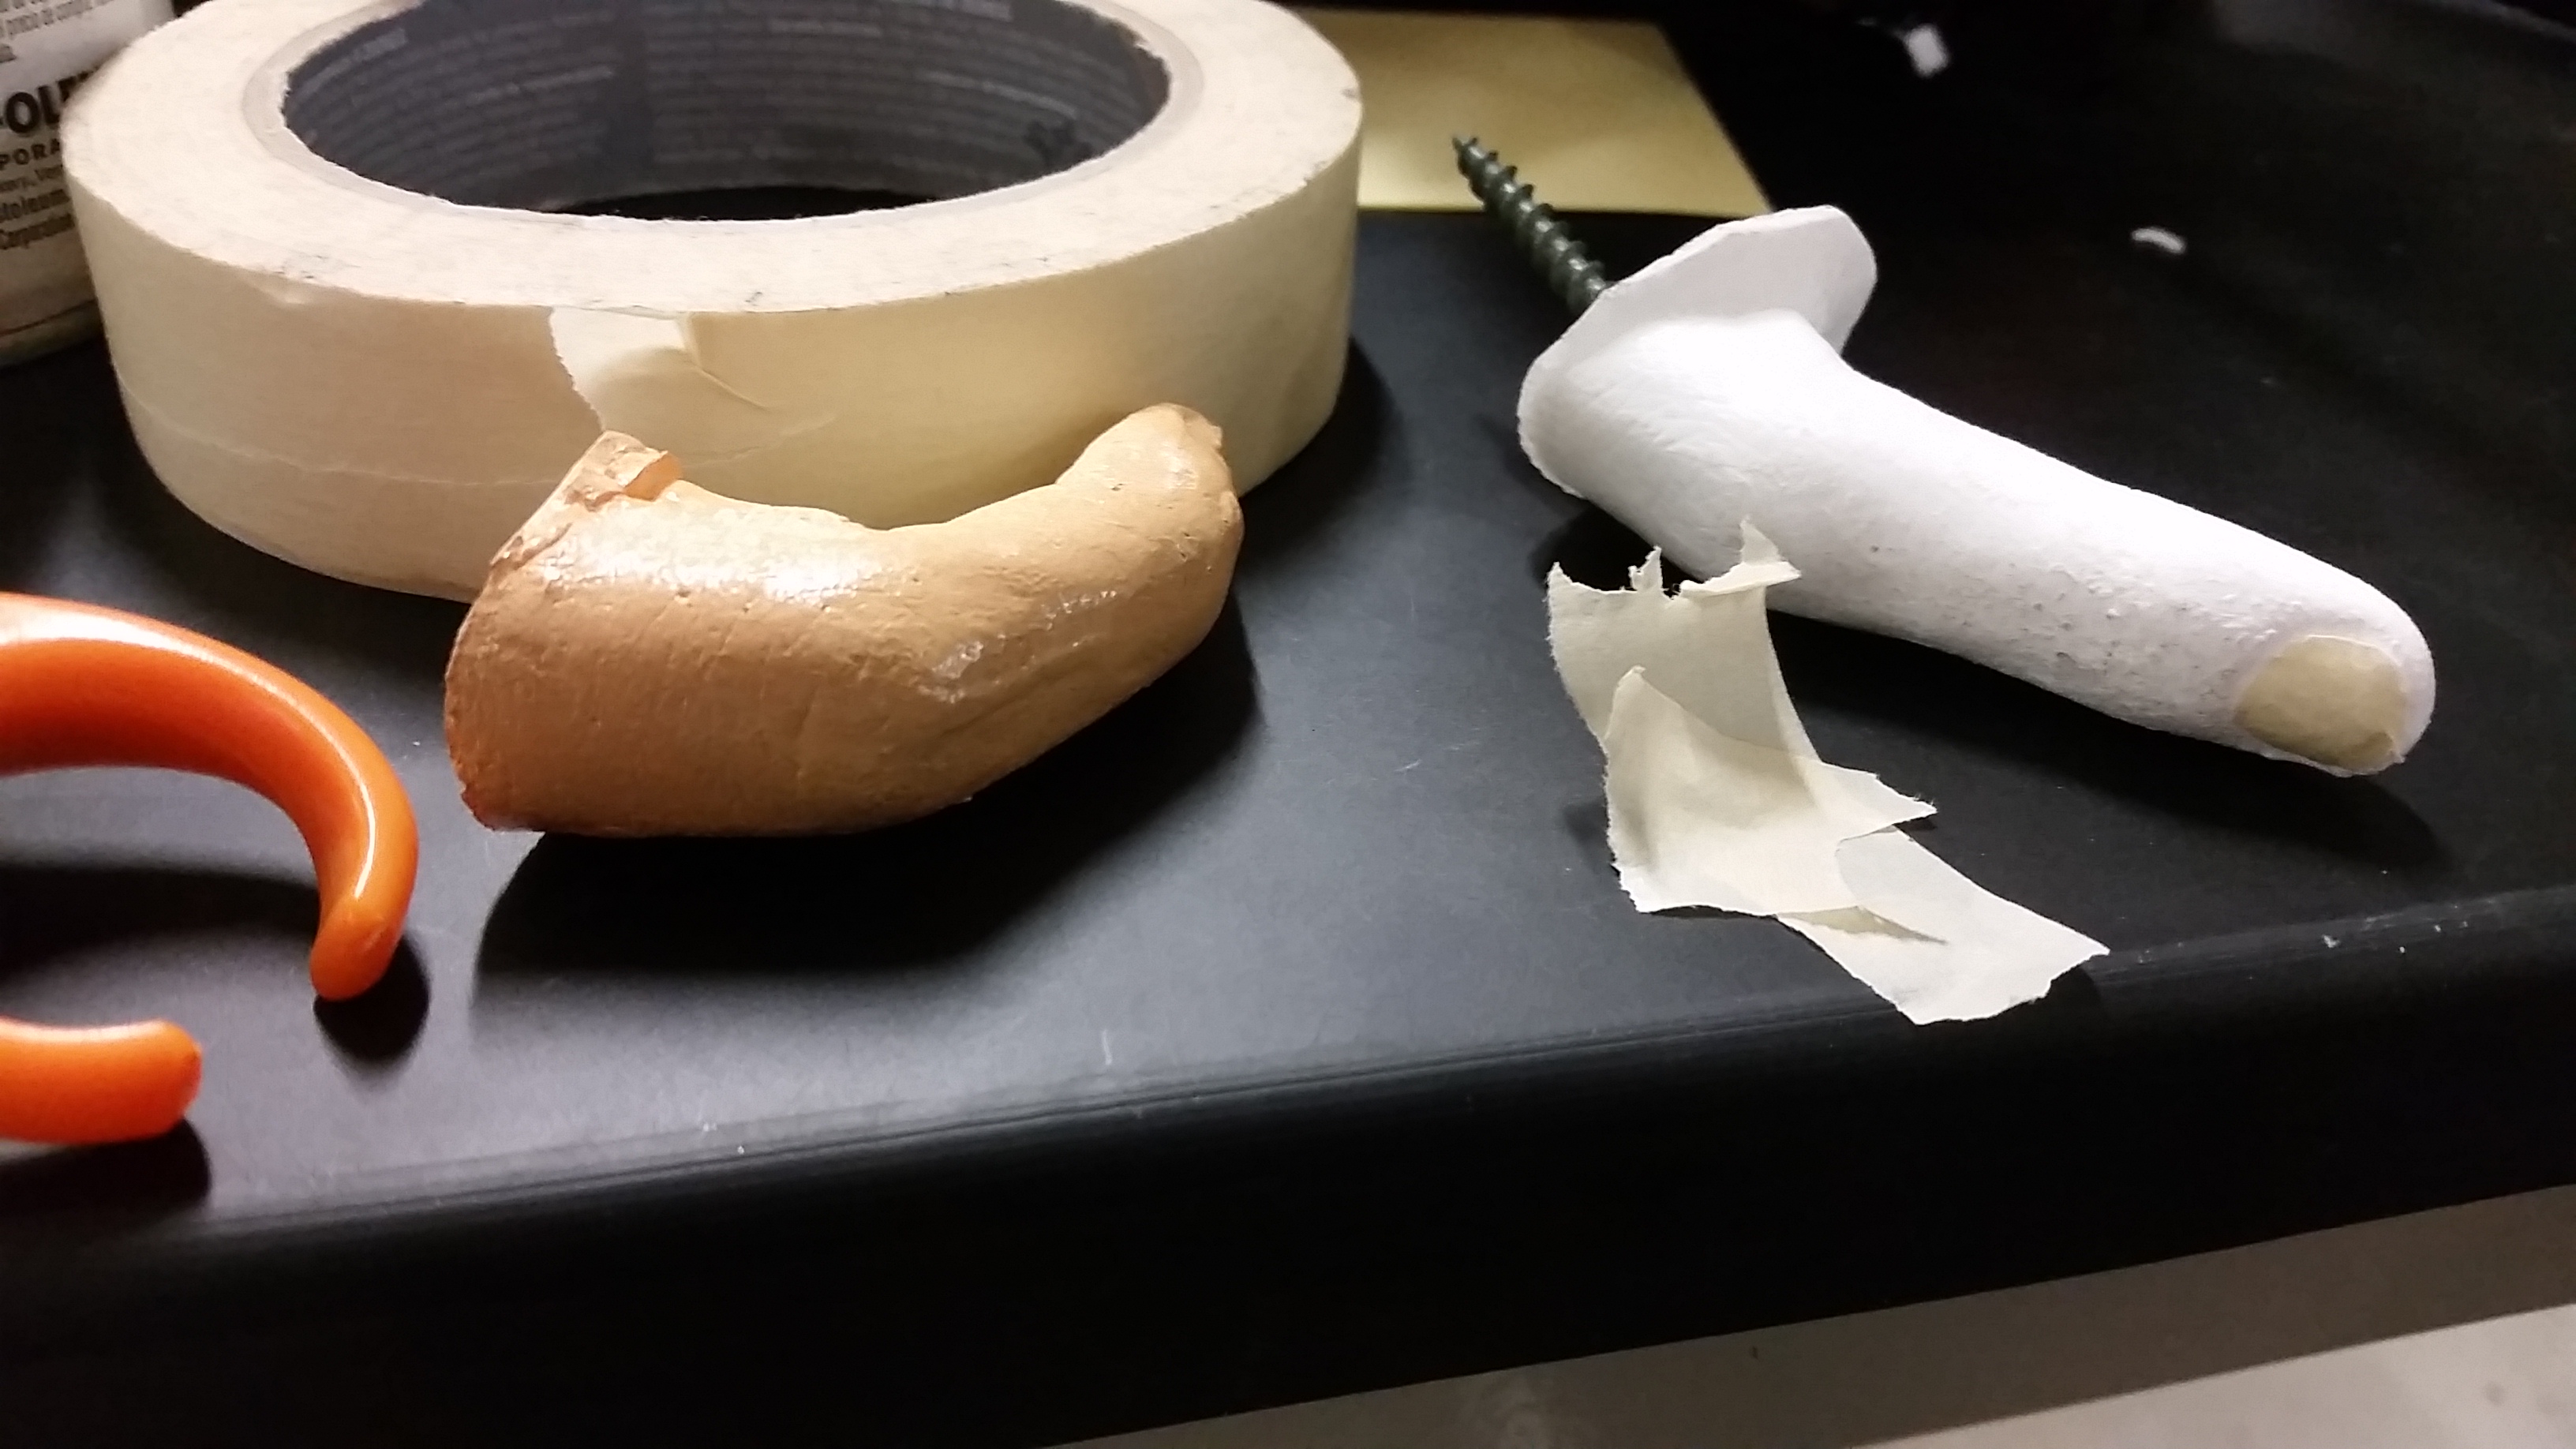
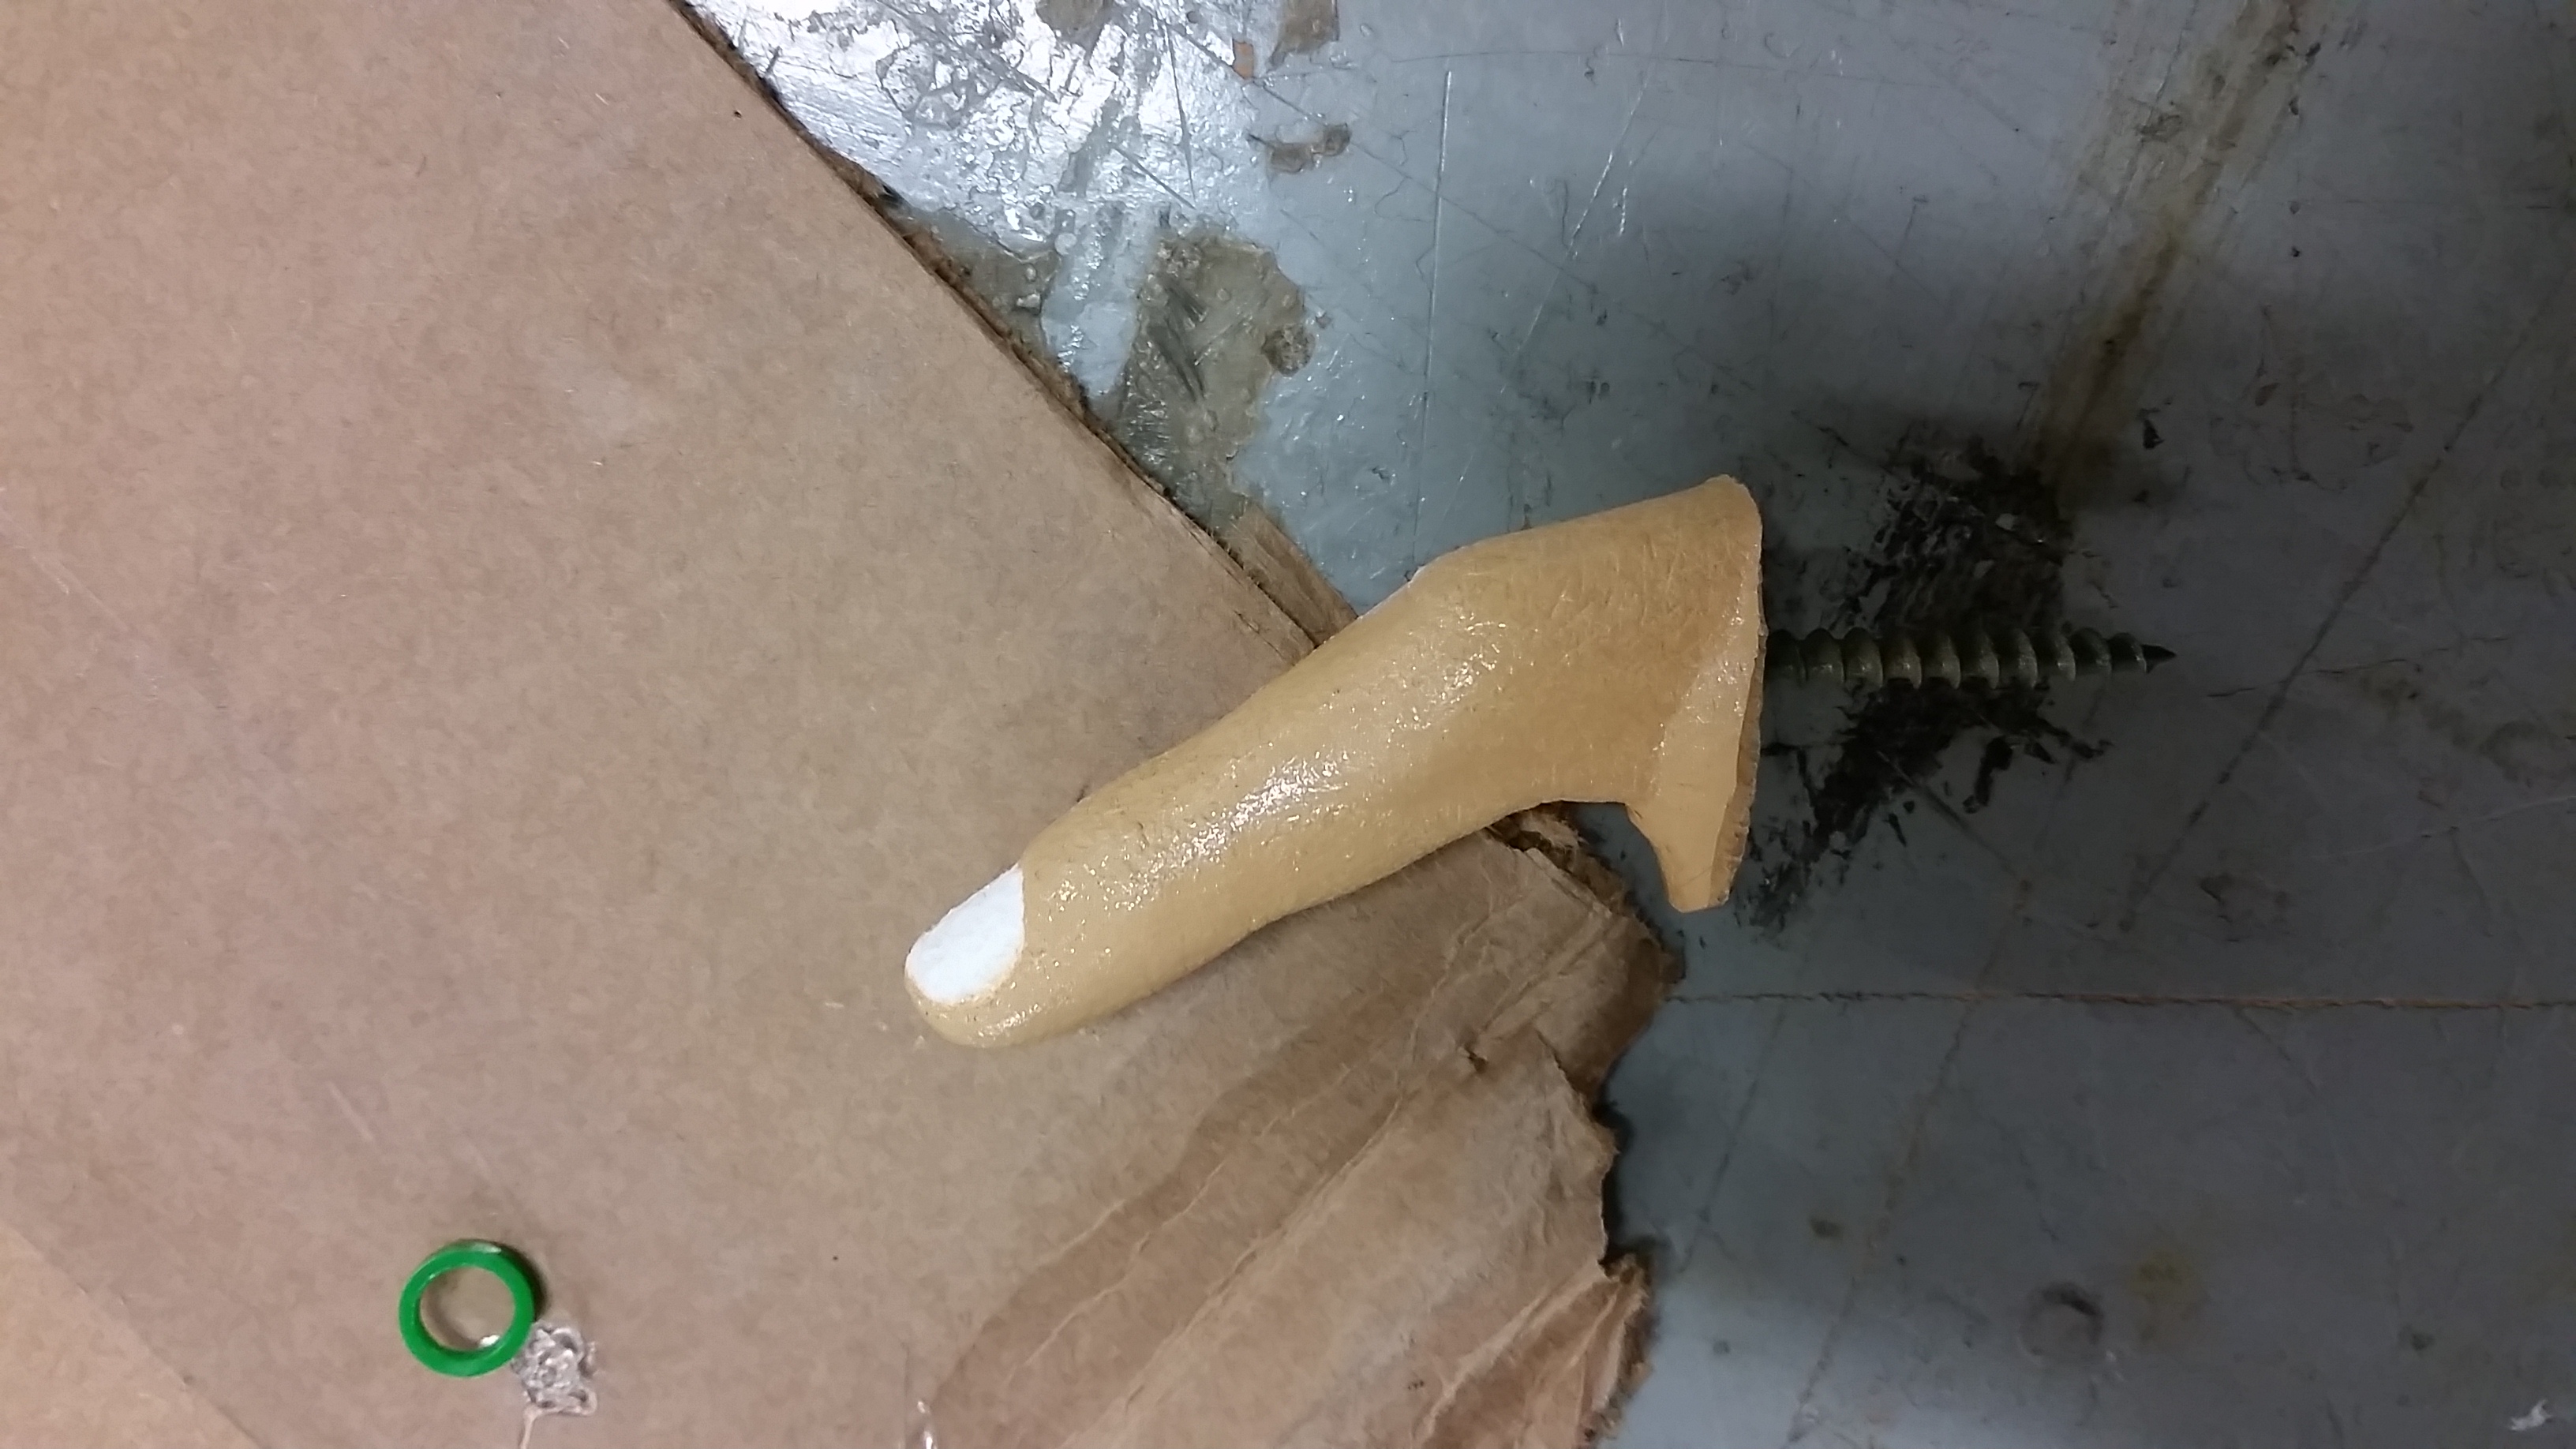
I then proceeded to file the head off of a wood screw, and insert this piece into the bottom of the finger, locking it in place with the use of super glue. In the future, rather than going through this whole ordeal, I think I would rather bring the screw at the time of casting, then attempt to actually cast the screw into the base of the finger. I think this would make both a prettier and a stronger connection. Below, this completed step is visible.
From here, I decided that the piece was not yet done, and I decided to make the finger as realistic as possible given my more limited finishing options. I first flirted with sanding, but soon realized (after testing on my first attempt) that sanding removed the casting abnormalities, but also the fine detail that was actually desired, so I decided to simply use an exacto knife to shave off major aberrations but leave the majority alone for fear of reducing the cast quality. In addition, I also decided to make the finger look as finger-like as possible, using spray paint. I first tested the coloration on my failed cast, which can be seen above. With this completed, I then carefully taped over the fingernail of my final piece (also seen above) and proceed to give it a light coating of paint, attempting to make it look somewhat realistic. The result is visible below:
Interestingly, when I removed the tape over the fingernail, the adhesive on the tape actually appeared to have melted the plastic underneath, and it actually made the nail surface squishy and rough. I was not expecting this, but simply tried to smooth it out and called it good enough. as a very final step, I applied a nice layer of clear coat to seal everything in and give the nail a glossy finish, hoping to make it more realistic. This is seen below.
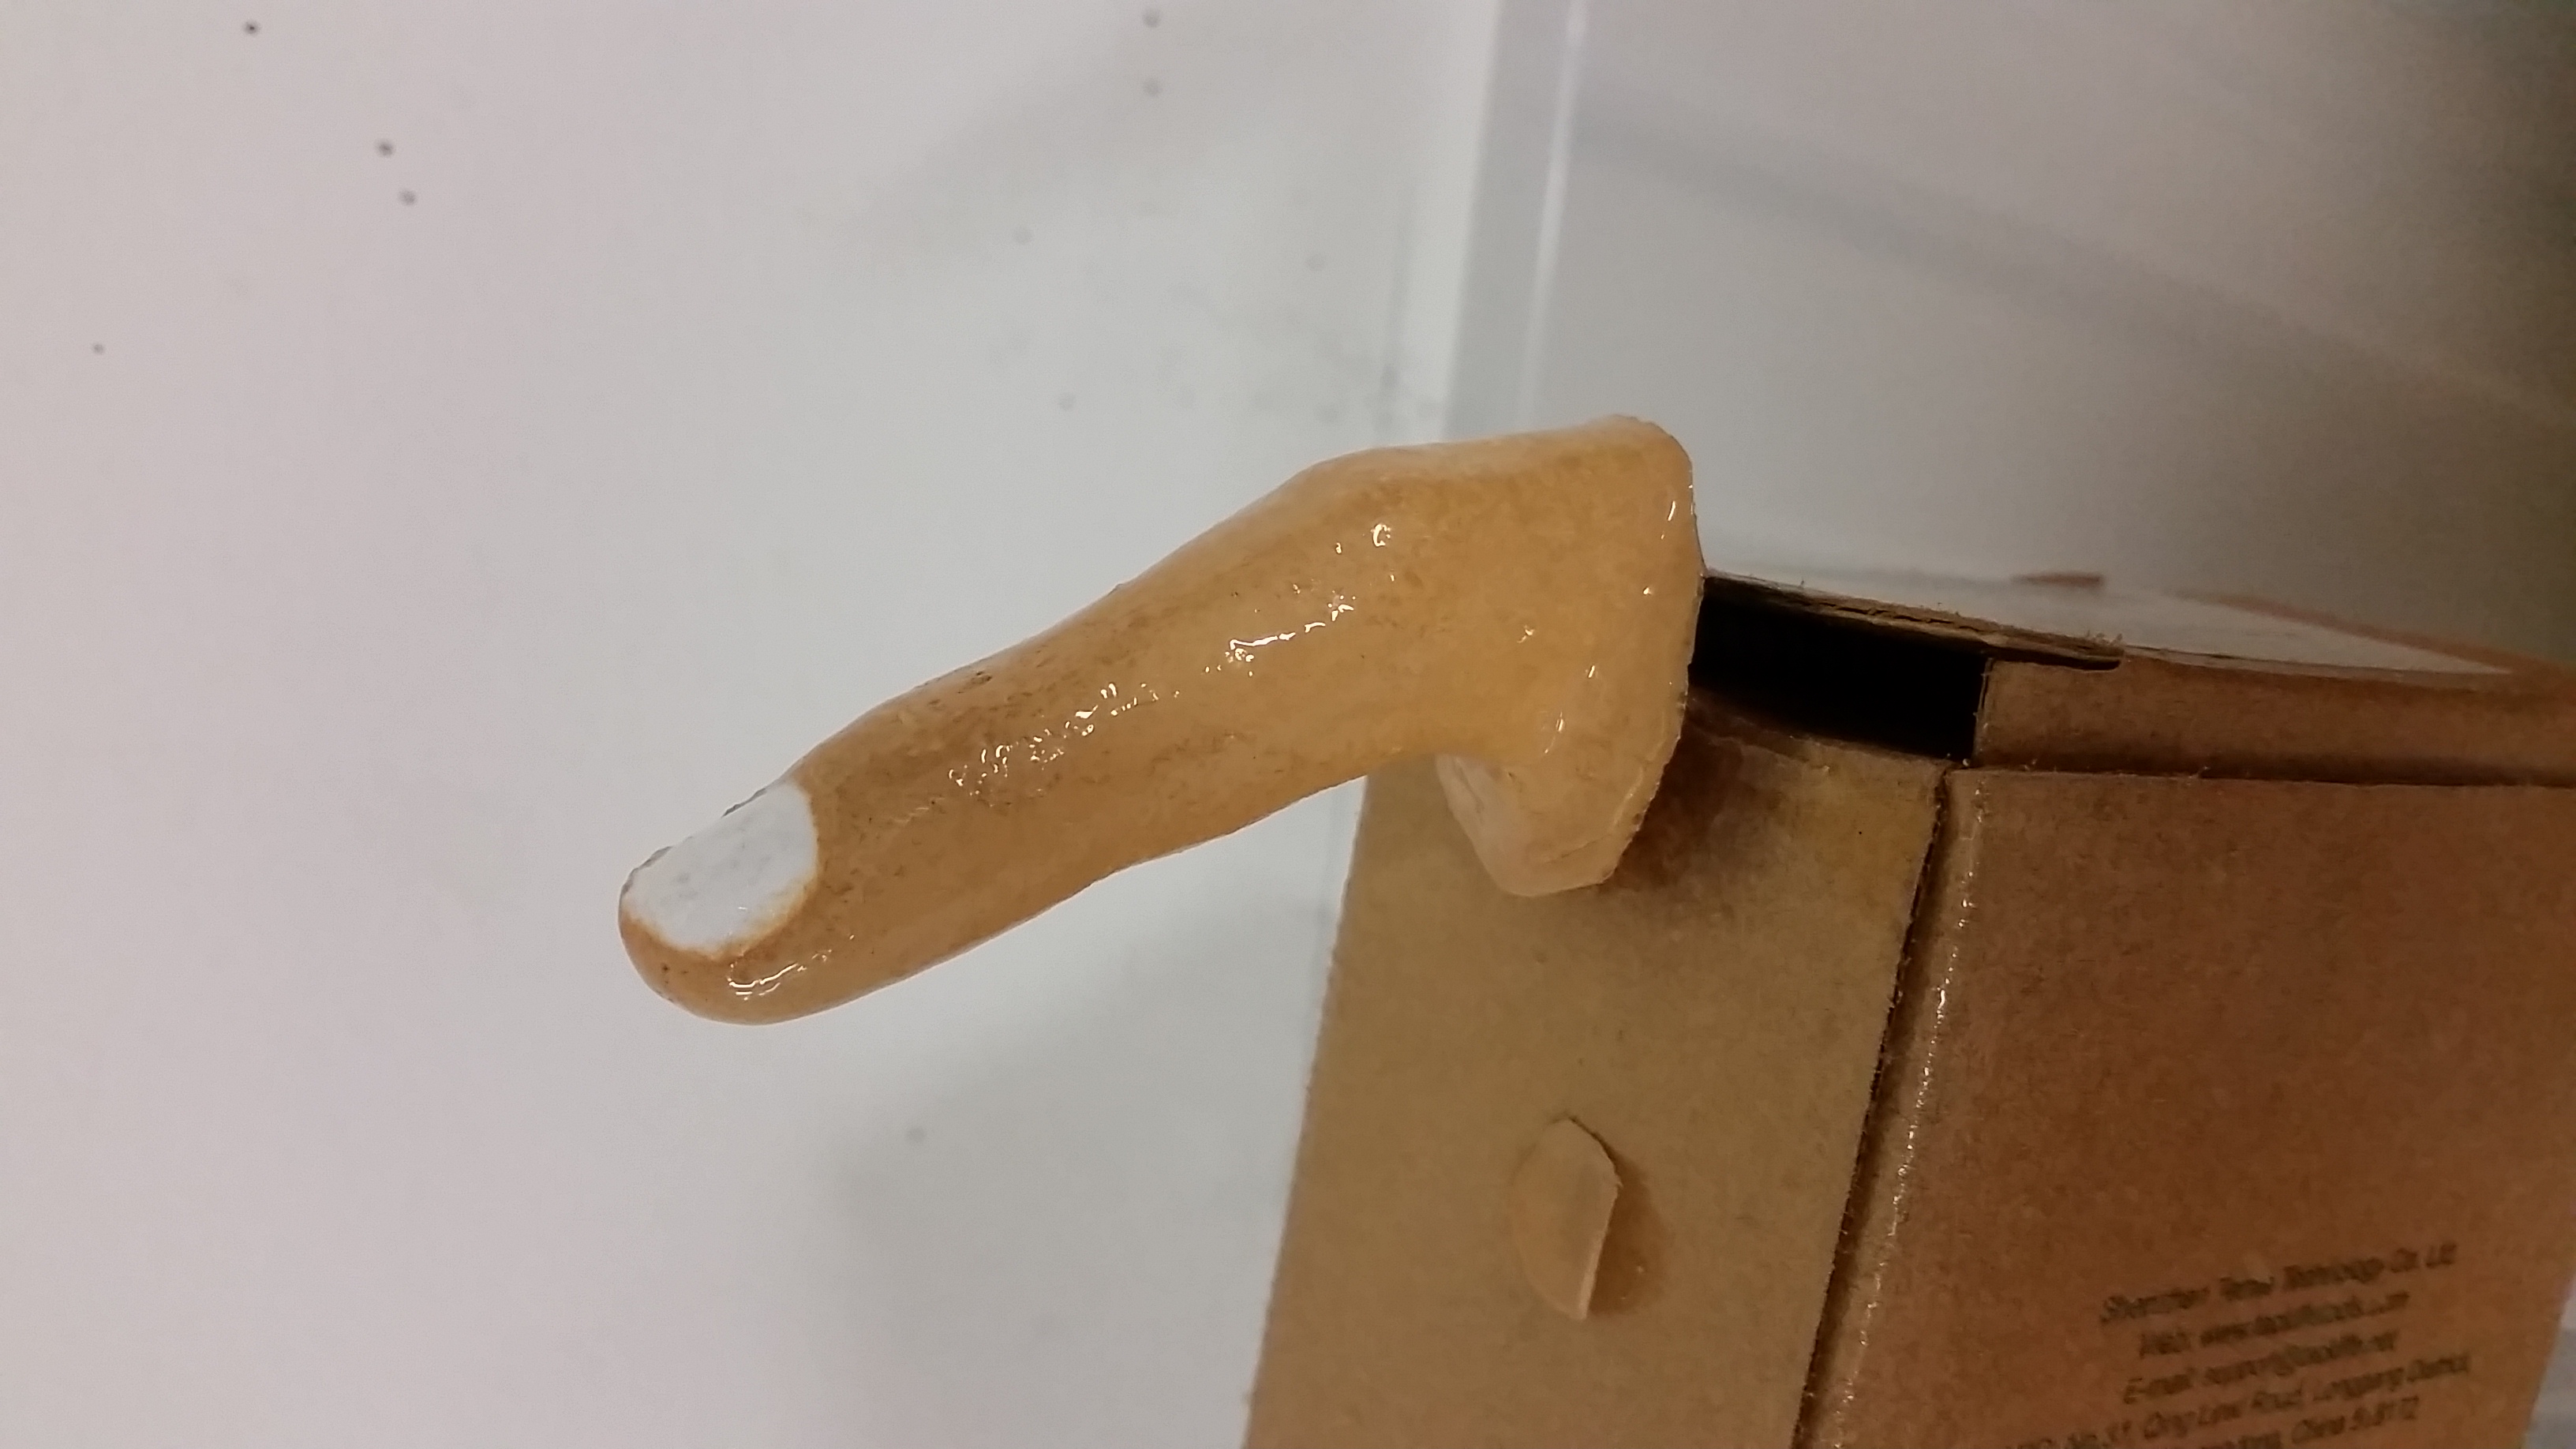
Note the rough nail surface caused by the tape as discussed above. With this completed, I decided that the process was complete!
Conclusion
I definitely learned a lot of small things through the course of this project. In addition to being introduced to many new synthetic materials and casting components, I was also able to learn more about the overall process. Lesson number one was to be completely ready BEFORE you mix your casting materials. For example, I wish that I had had a screw at the table when I made the plastic cast, as I would have been able to simply insert it at the top of the mold before the plastic set. In addition, I also learned that paint, while often a great finishing touch, can also remove fine features. My plastic cast actually showed the fine lines of my skin, but by painting the finger I actually lost much of this fidelity, which is impossible to undo. In the future, I may avoid this step or find a way to apply paint in a much thinner layer than is possible with spray paint. Last but not least, I learned that masking tape adhesive reacts poorly with this type of plastic. While this is a relatively niche lesson, it may be applicable as we move into the developments of our final pieces! In the end I had a ton of fun learning to create this new piece using a technique that was new to me.
