This week, we were tasked with creating a life-size model of one of our fingers. To do so, we created a mold out of alginate and used it to pour in filler. We used moldstar instead of plaster of paris.
The first step was to create the mold out of alginate. Alginate comes in a powdered form, so we need to mix it with water to activate it. I used two cups to measure out equal volumes of alginate powder and warm water, making sure that the alginate was fluffed up and not packed down. After equal volumes had been measured, I mixed the alginate and water completely until no more chunks of powder were visible. Also, the pot life of alginate is a bit longer than the pot life of the moldstar, so I tried to tap the cup on the table repeatedly to get all the bubbles to rise to the top. This strategy effectively eliminated the bubbles near the bottom of the mold, as after it set, I could not see any bubbles in the indentation.
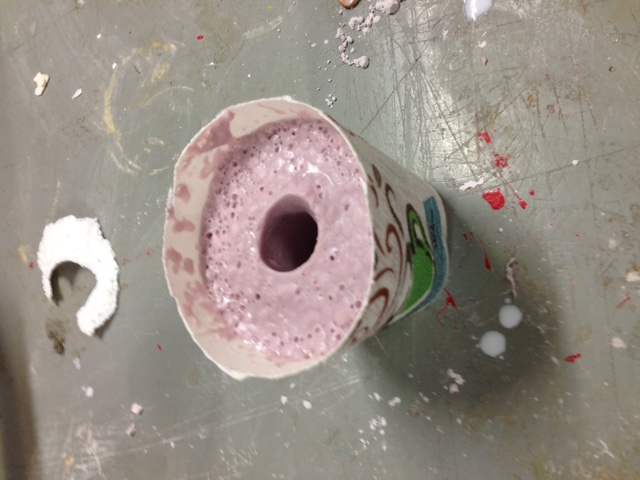
Figure 1: Alginate Mold
After the alginate mold was set, I mixed equal volumes of moldstar A and B, then mixed them thoroughly in a cup, and poured the mixture into the alginate mold. I let it sit for 5 minutes after observing the color change, then pulled out the finger. The finger actually turned out really well, as there were no “bubble bumps” on the surface. I used the belt sander to sand off the edges.

Figure 2: Mixing Moldstar
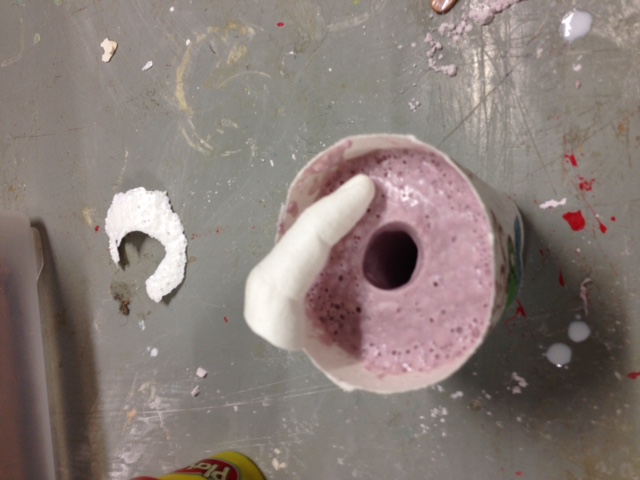
Figure 3: Finished part with alginate mold
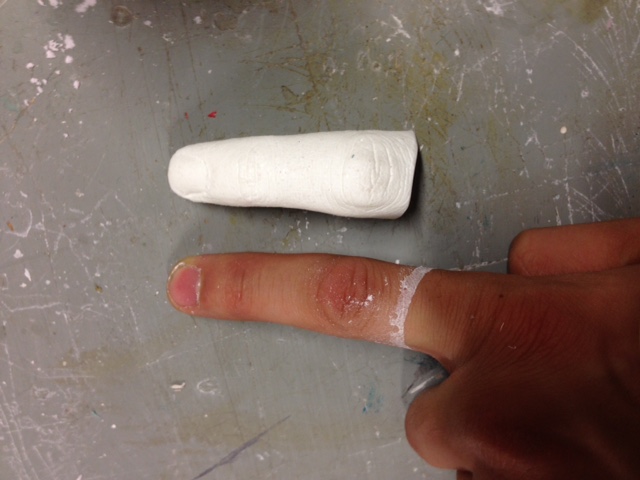
Figure 4: Comparison
