For this assignment, I was put in the advanced group and we were instructed to laser cut a box with multiple compartments that would fit together without any glue. Okay. Harder than just cutting a normal box, but doable.

box outline
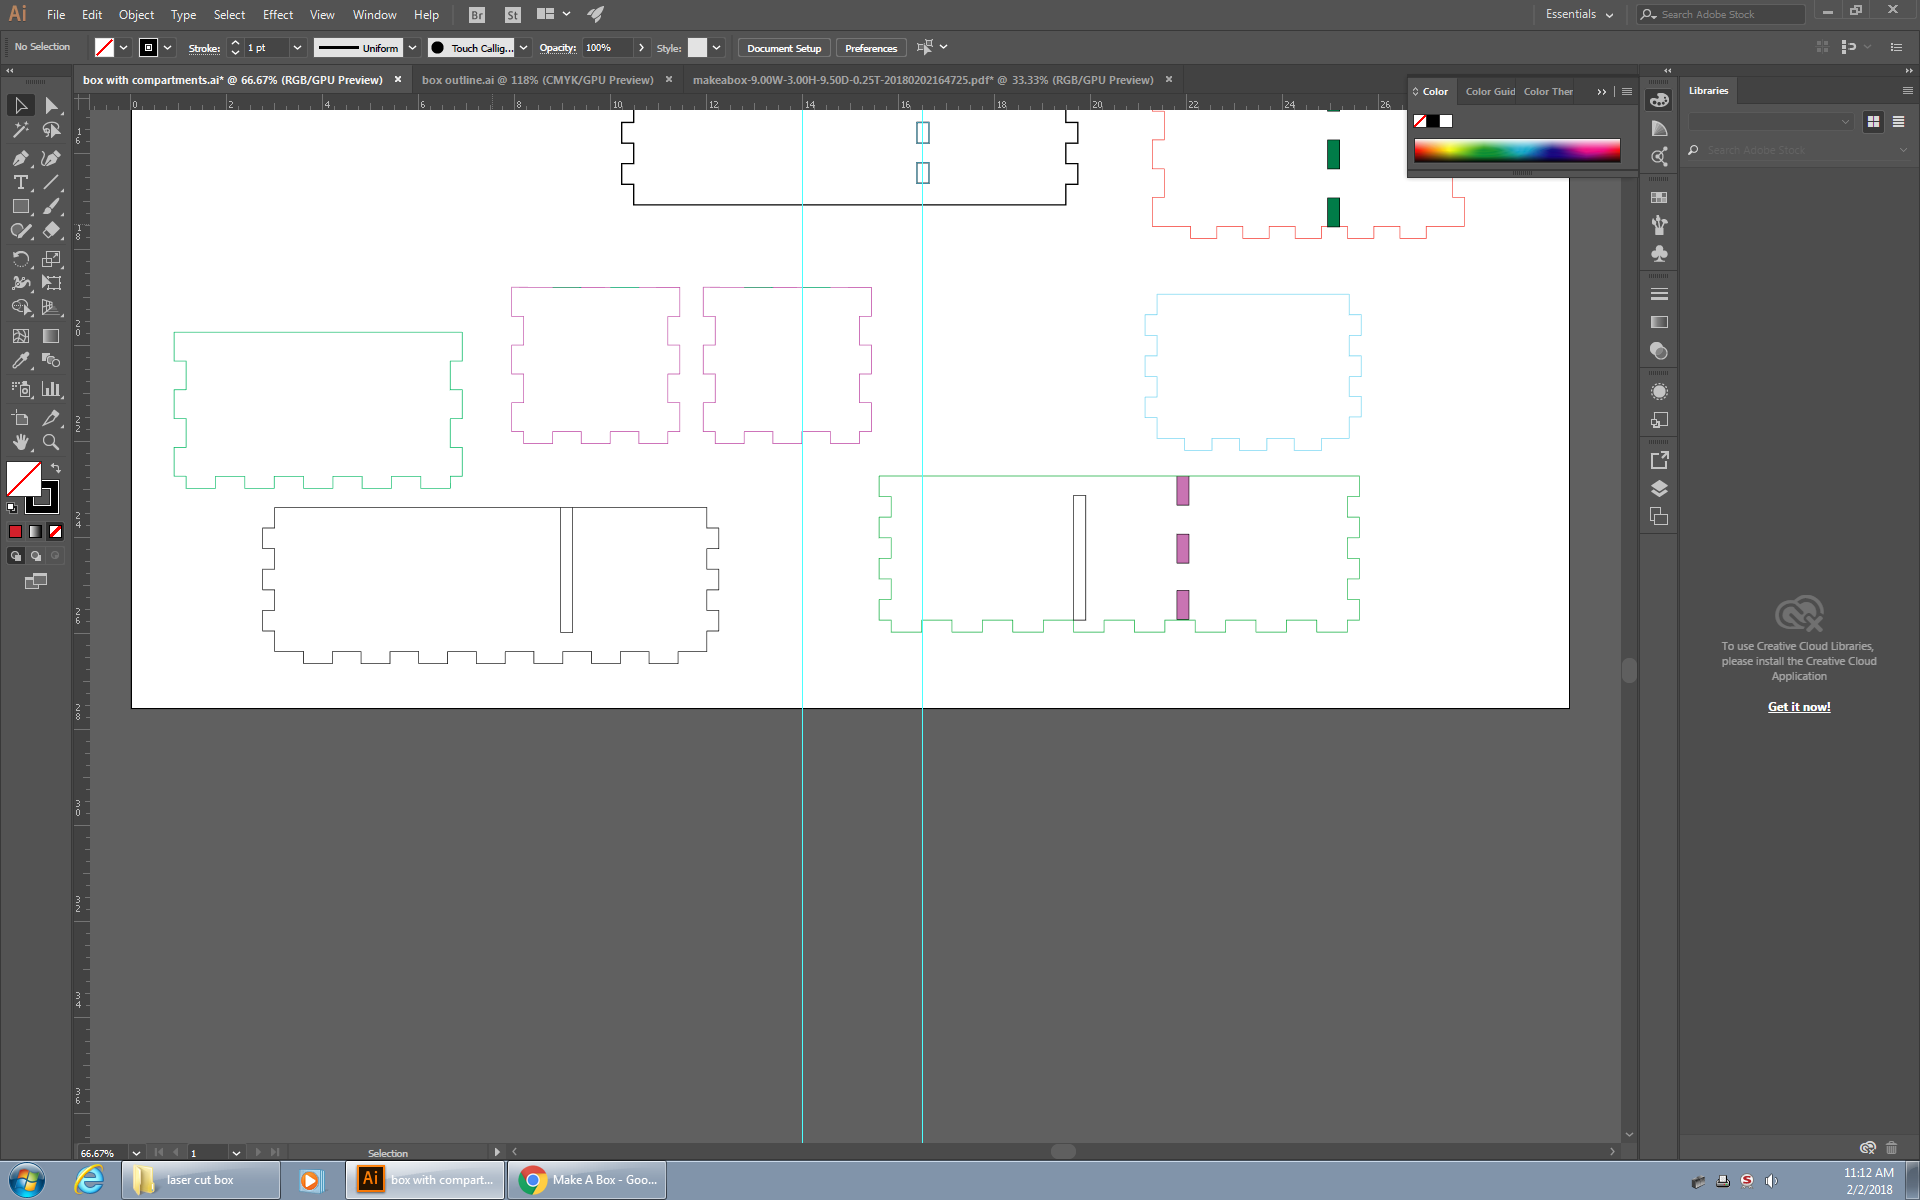
I started off by making the outline of the box on illustrator with the dimensions specified. This way, I could know what dimensions to put into makeabox.io to make the separate boxes. I quickly realized how much I missed the “measure” tool that SolidWorks bad because on Illustrator, the only way to know how long a line is is to trace over it with another line and then remember that measurement. So, I traced over the lines and took that time to mark what different separators I needed to cut.
First, I cut the outer box that will encompass all the separators. Makeabox gives you a PDF file so I had to import it into illustrator and then use shapemaker to make all the different lines into a shape. After that, I started cutting the inside separators. My biggest issue was the 4 way intersection because I would somehow have to fit four different pieces into the same point. I thought about it for a while and then I realized that I could just modify the separator so two long separators would fit over each other.
making the connector that would fit the two pieces together
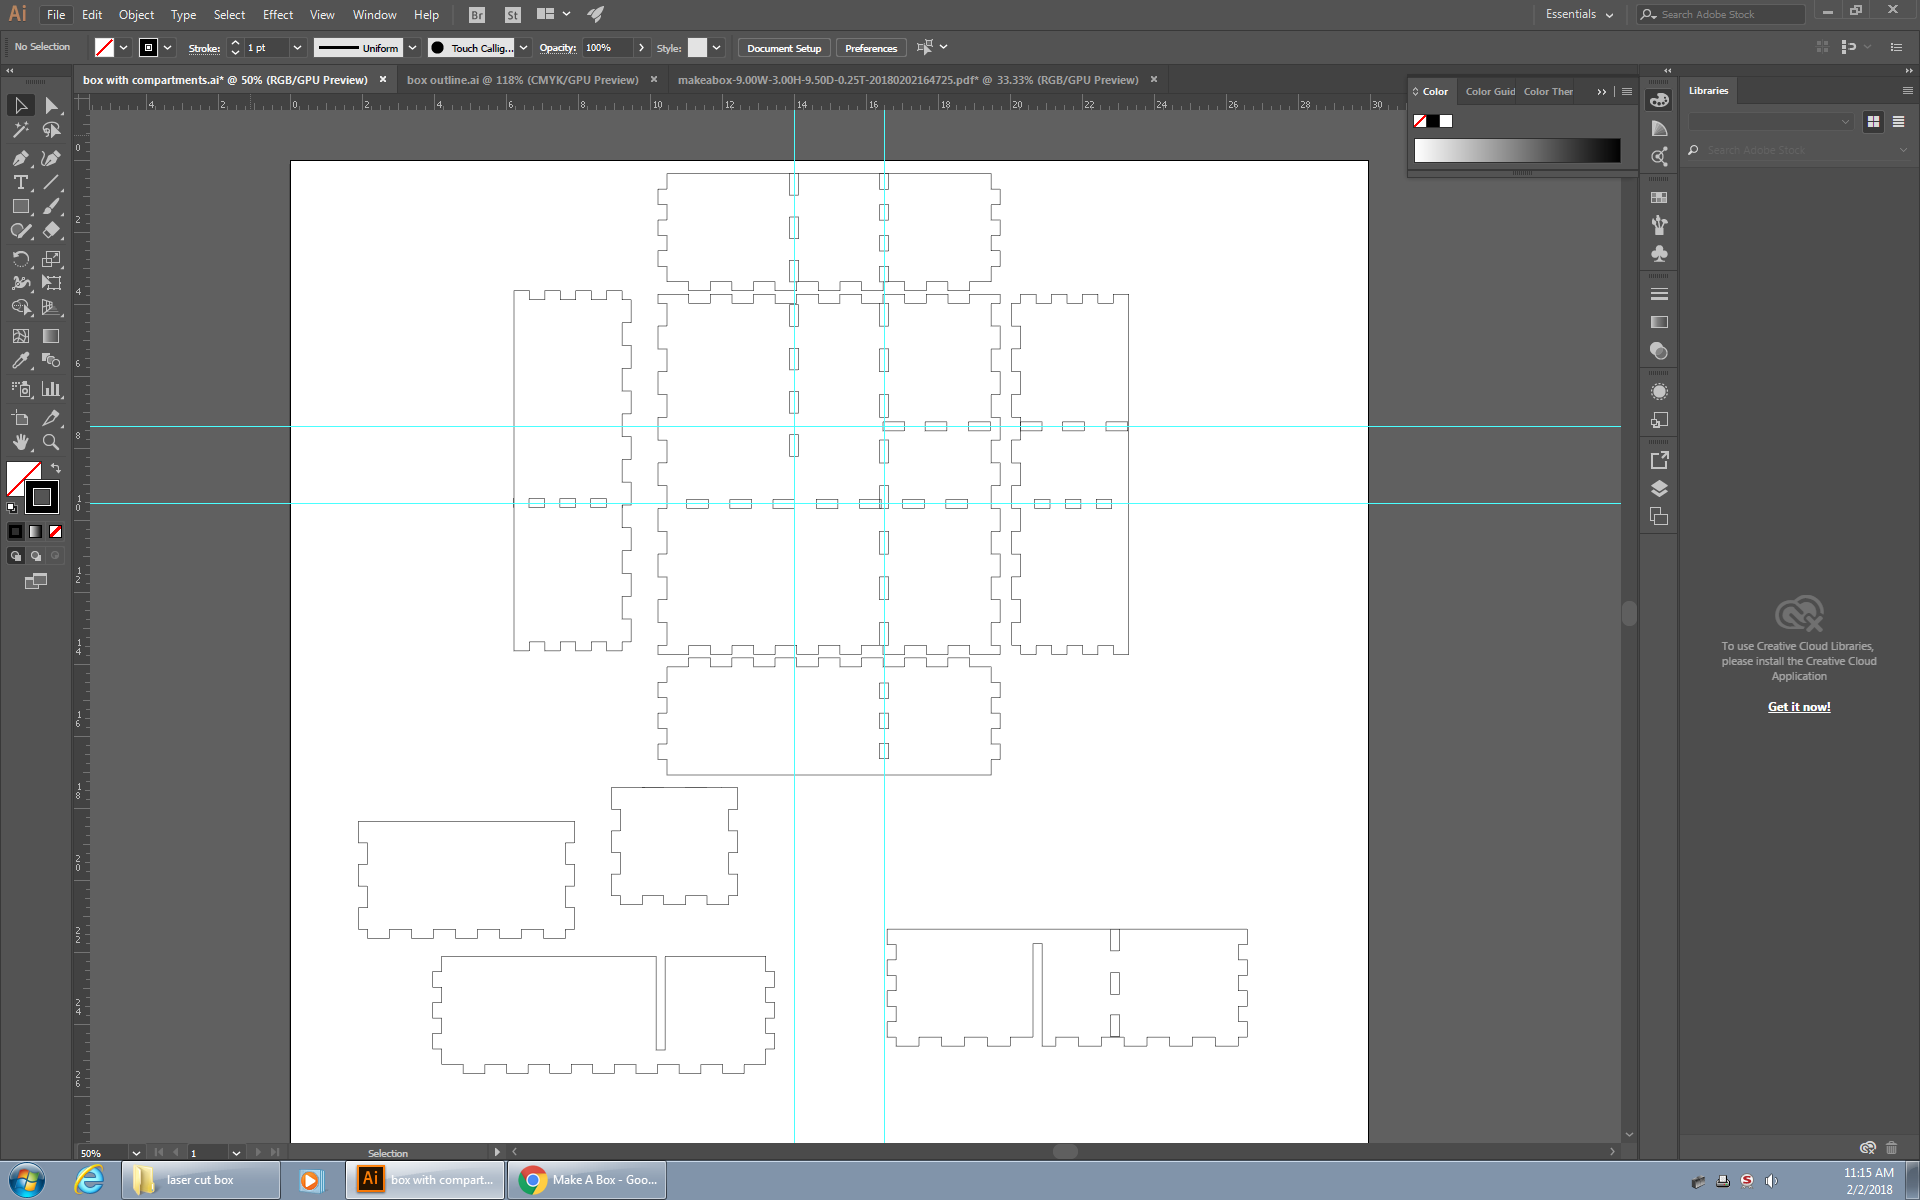
After making all the separators, I had to make the joint holes in the big box. I did this with a lot of guides to make sure that they were in the correct location. I put guides where the separators are supposed to go using the outline to help me. To make the holes the right size, I traced over one of the joints and the just copied and pasted it into the right location. However, I realized that some of the joints were different sizes so I figured out a new approach where I duplicated each of the separators and then drew a line to divide the joints and then used shapemaker to separate the joints. Then, I took the joints and placed them in the big box. Wow, what a process.

separating the joints from the separator
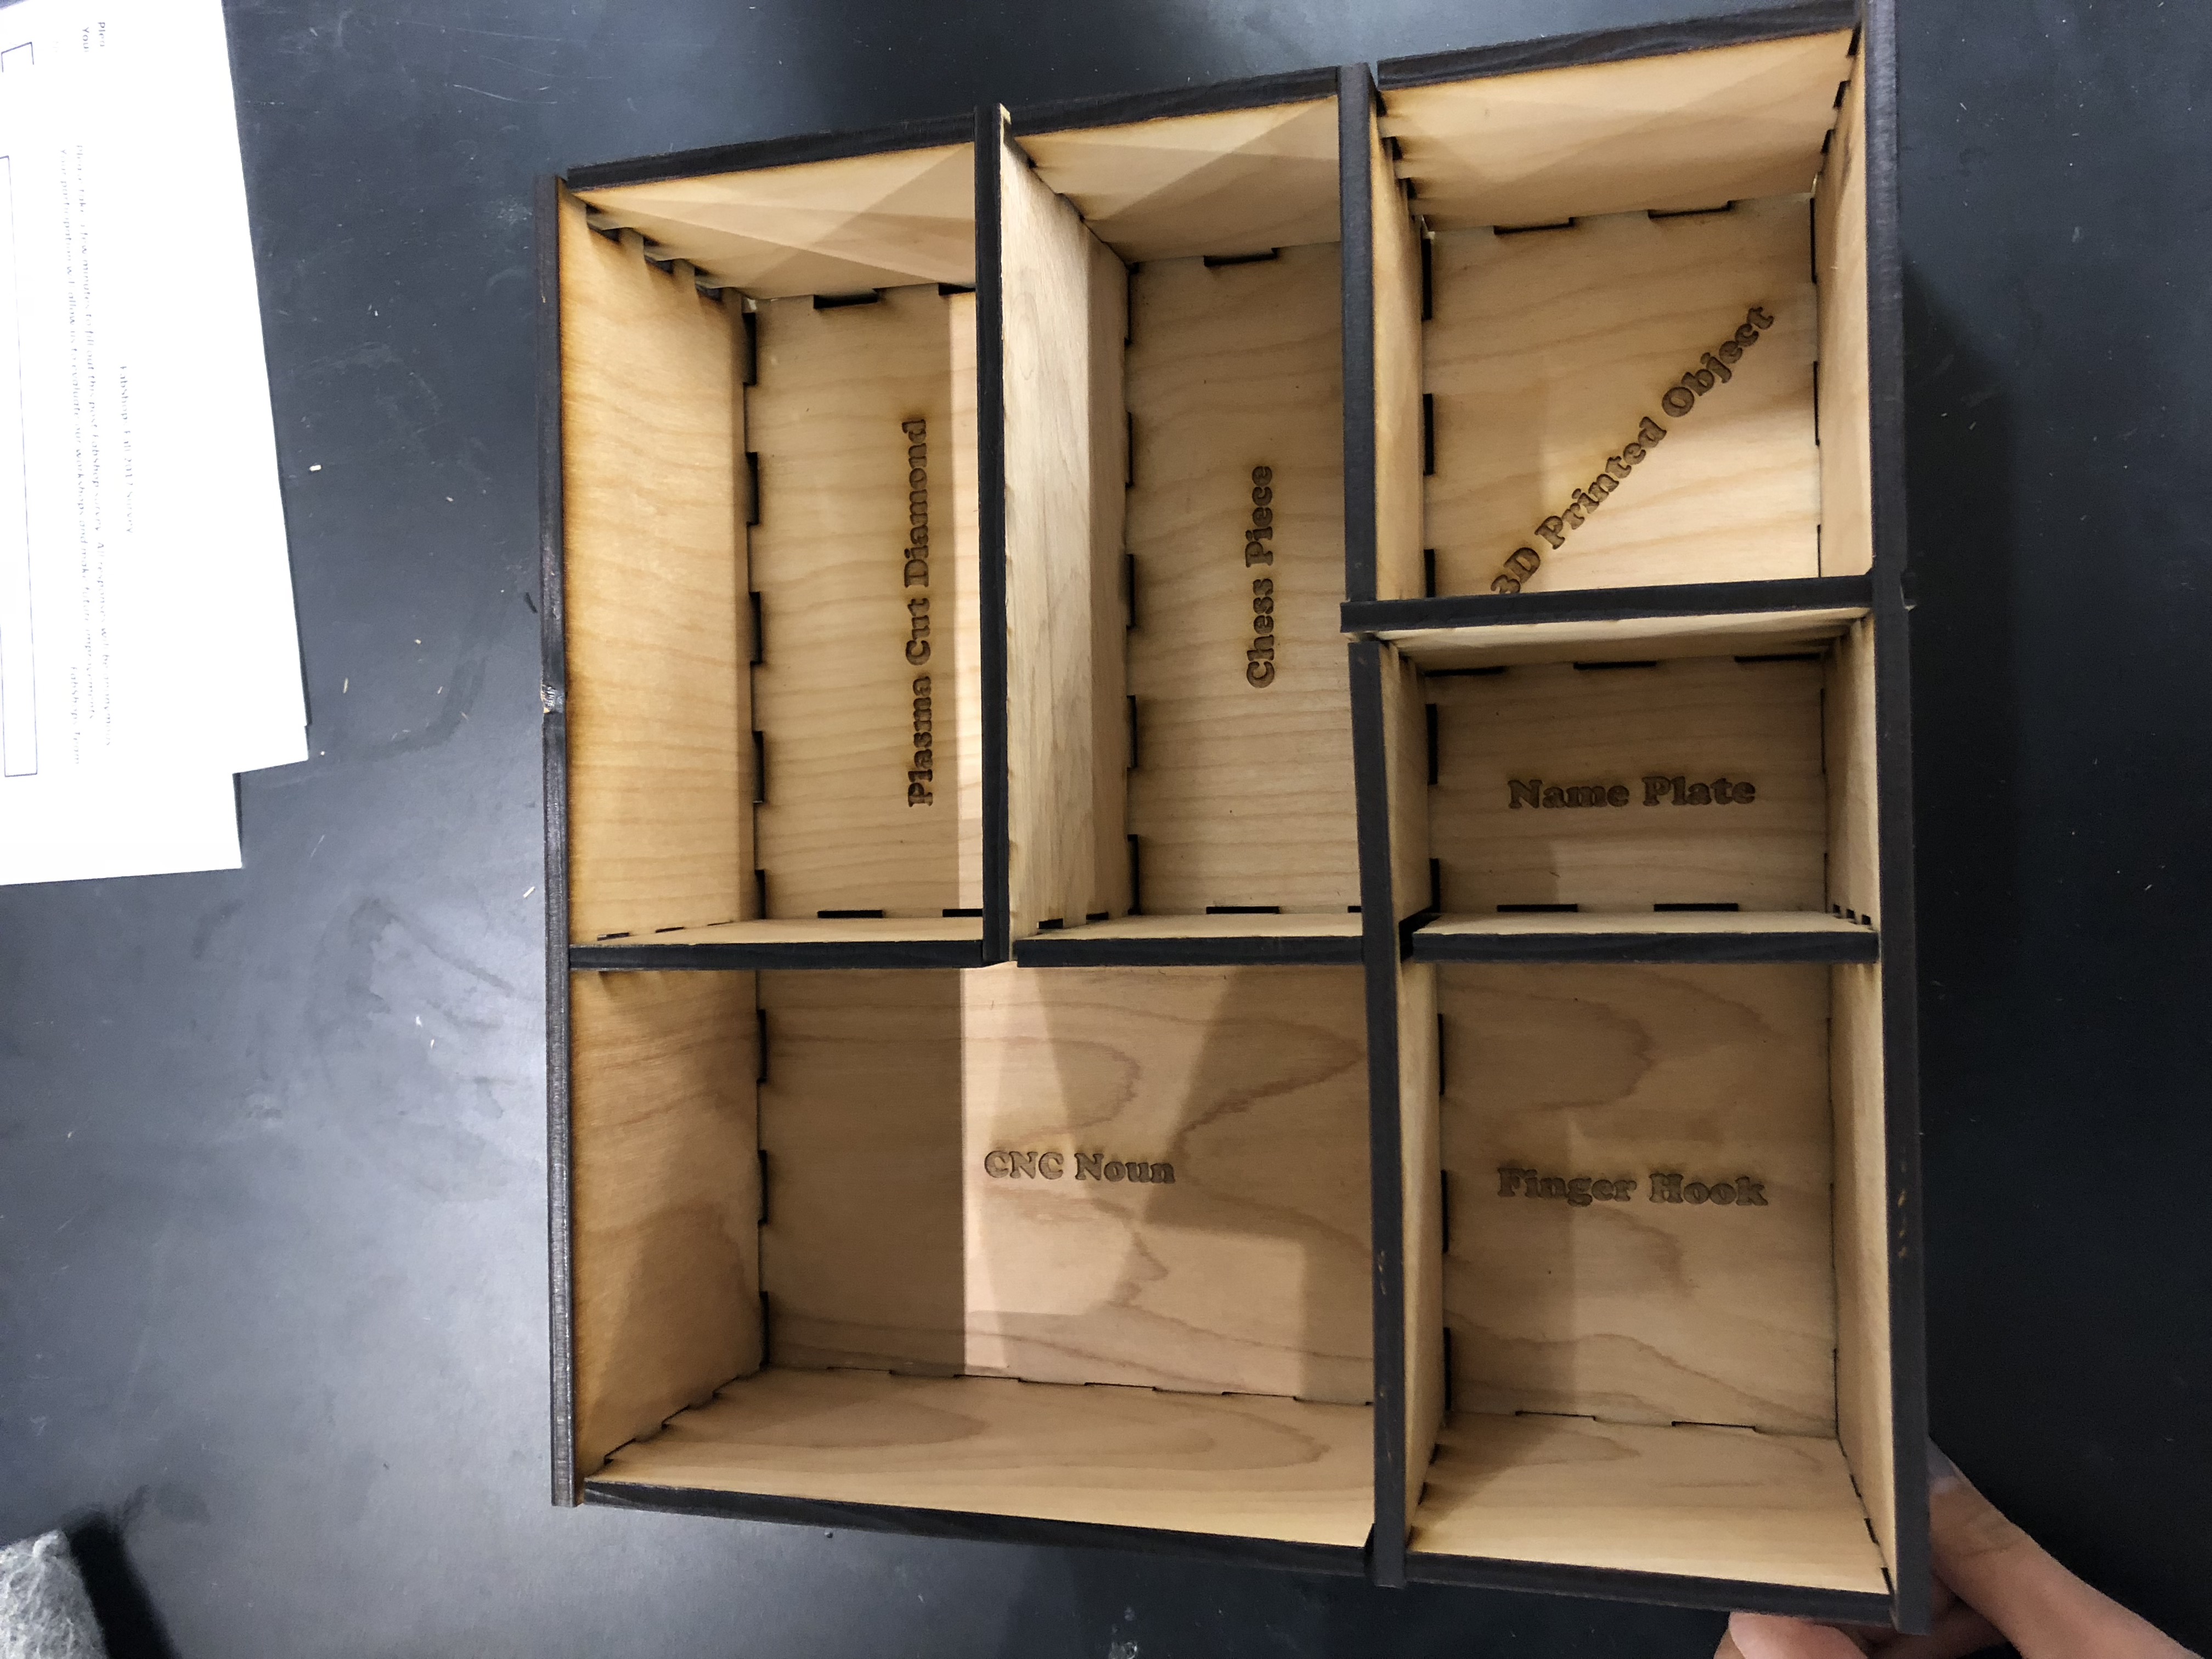
After all of that, it was finally time to laser cut. My first iteration was mainly to tell me what I was missing. It turns out, I forgot some of the holes, some of the holes were mismatching and the 3 by 3 separator was too big. Not too bad for a first try. So I went back and fixed the mistakes and then reprinted it. I also added names to the compartments so I know what goes where.
file to be laser cut
forgot to cut these holes

the top left separator (3 by 3) was too big
the joint holes were the opposite of what they should be
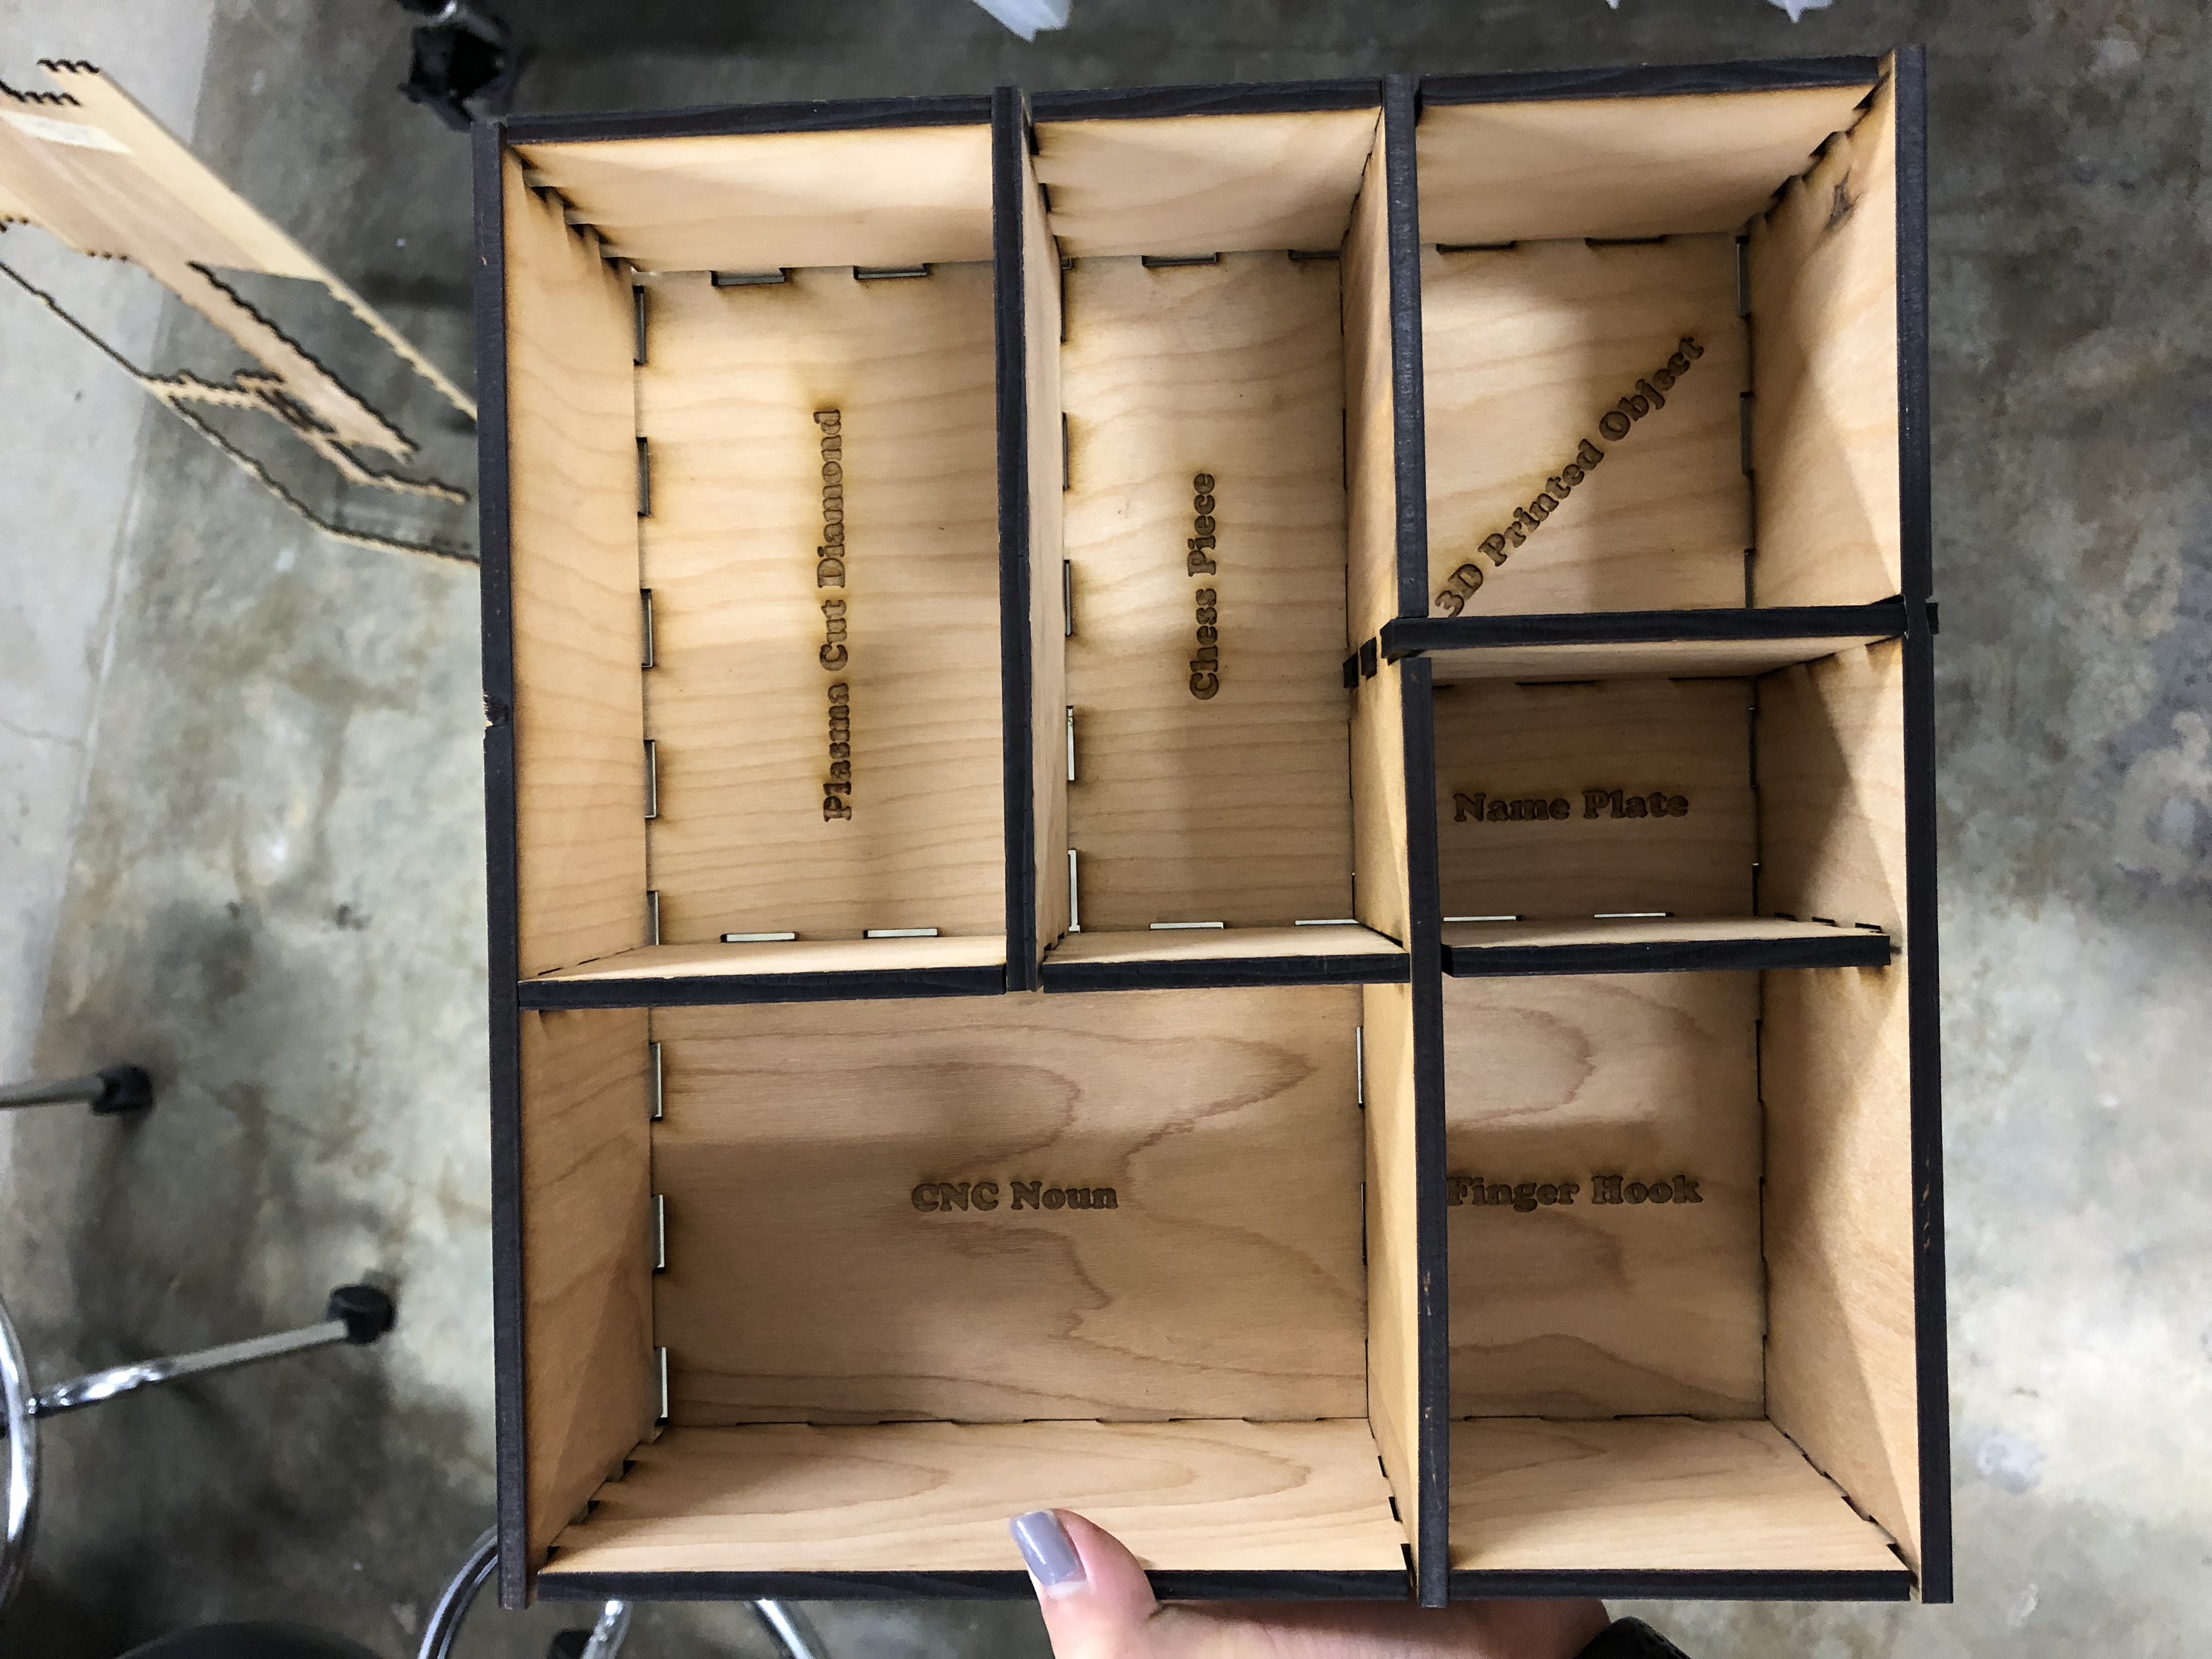
The 3 by 3 separator was still too big and I noticed that the joint holes were a little off, so I repeated my process and recut the separator.
I jammed in the 3 by 3 but you can kinda tell the long separator is misshapen because the separator was too big
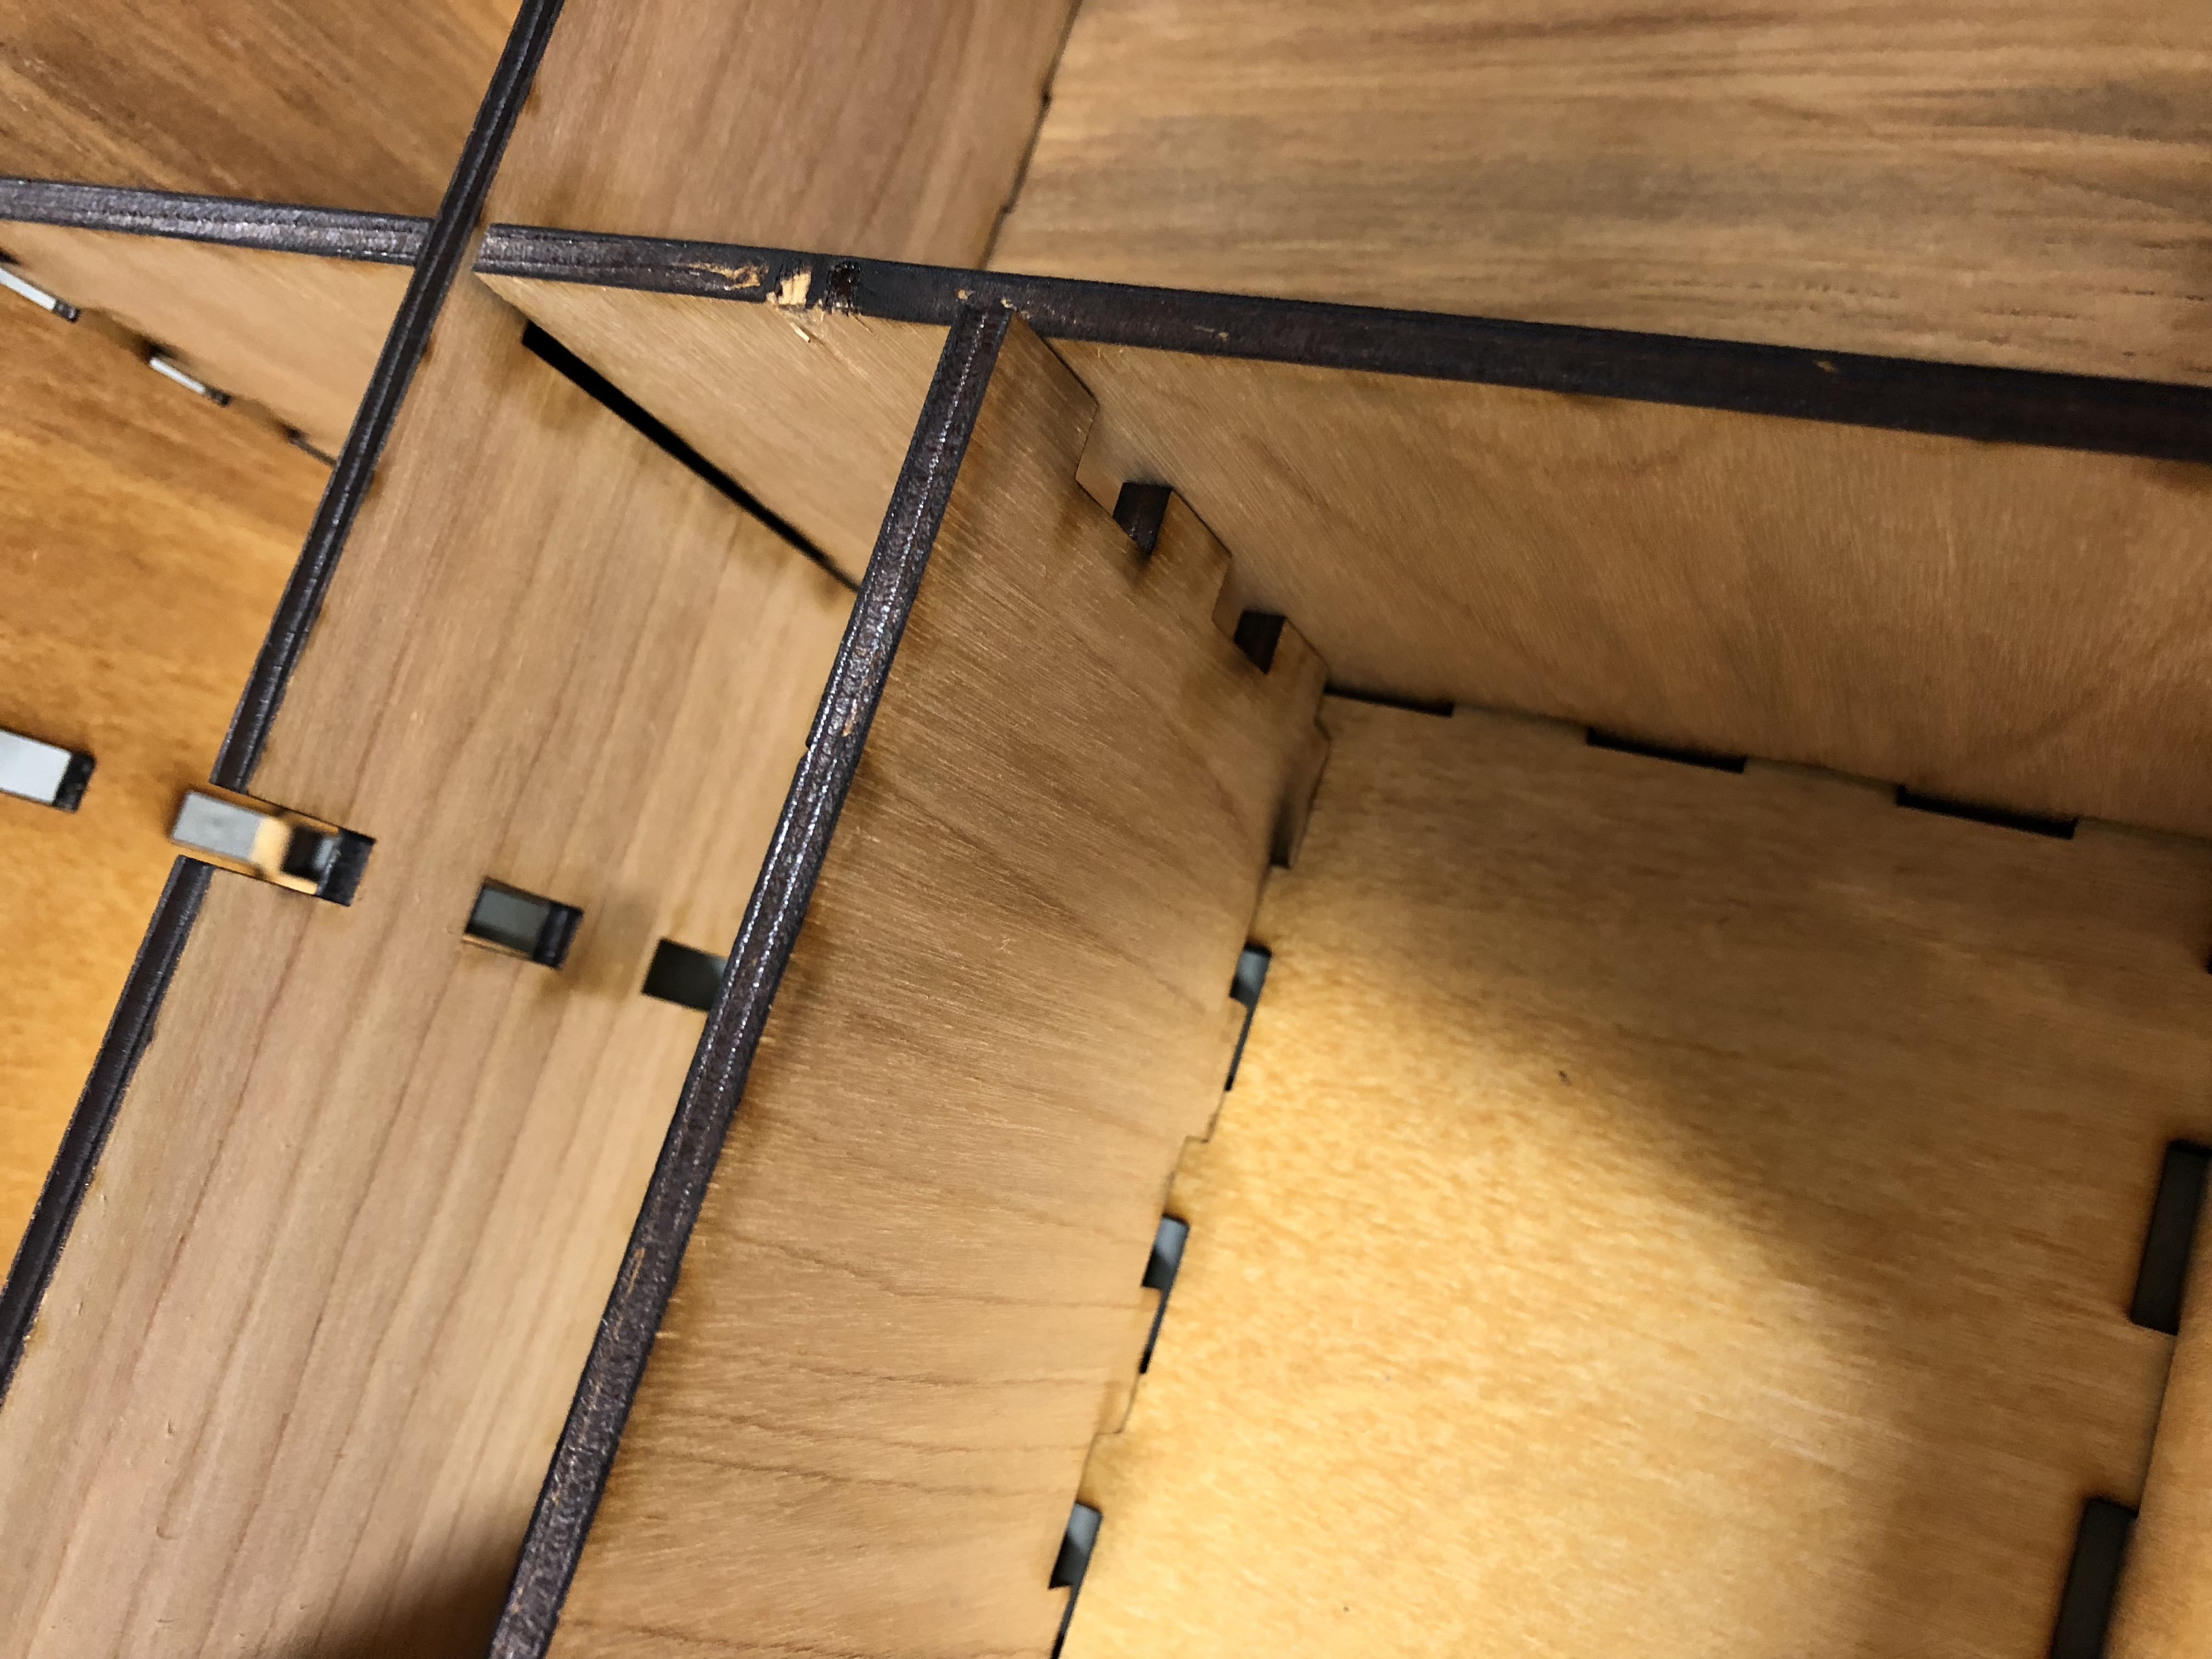
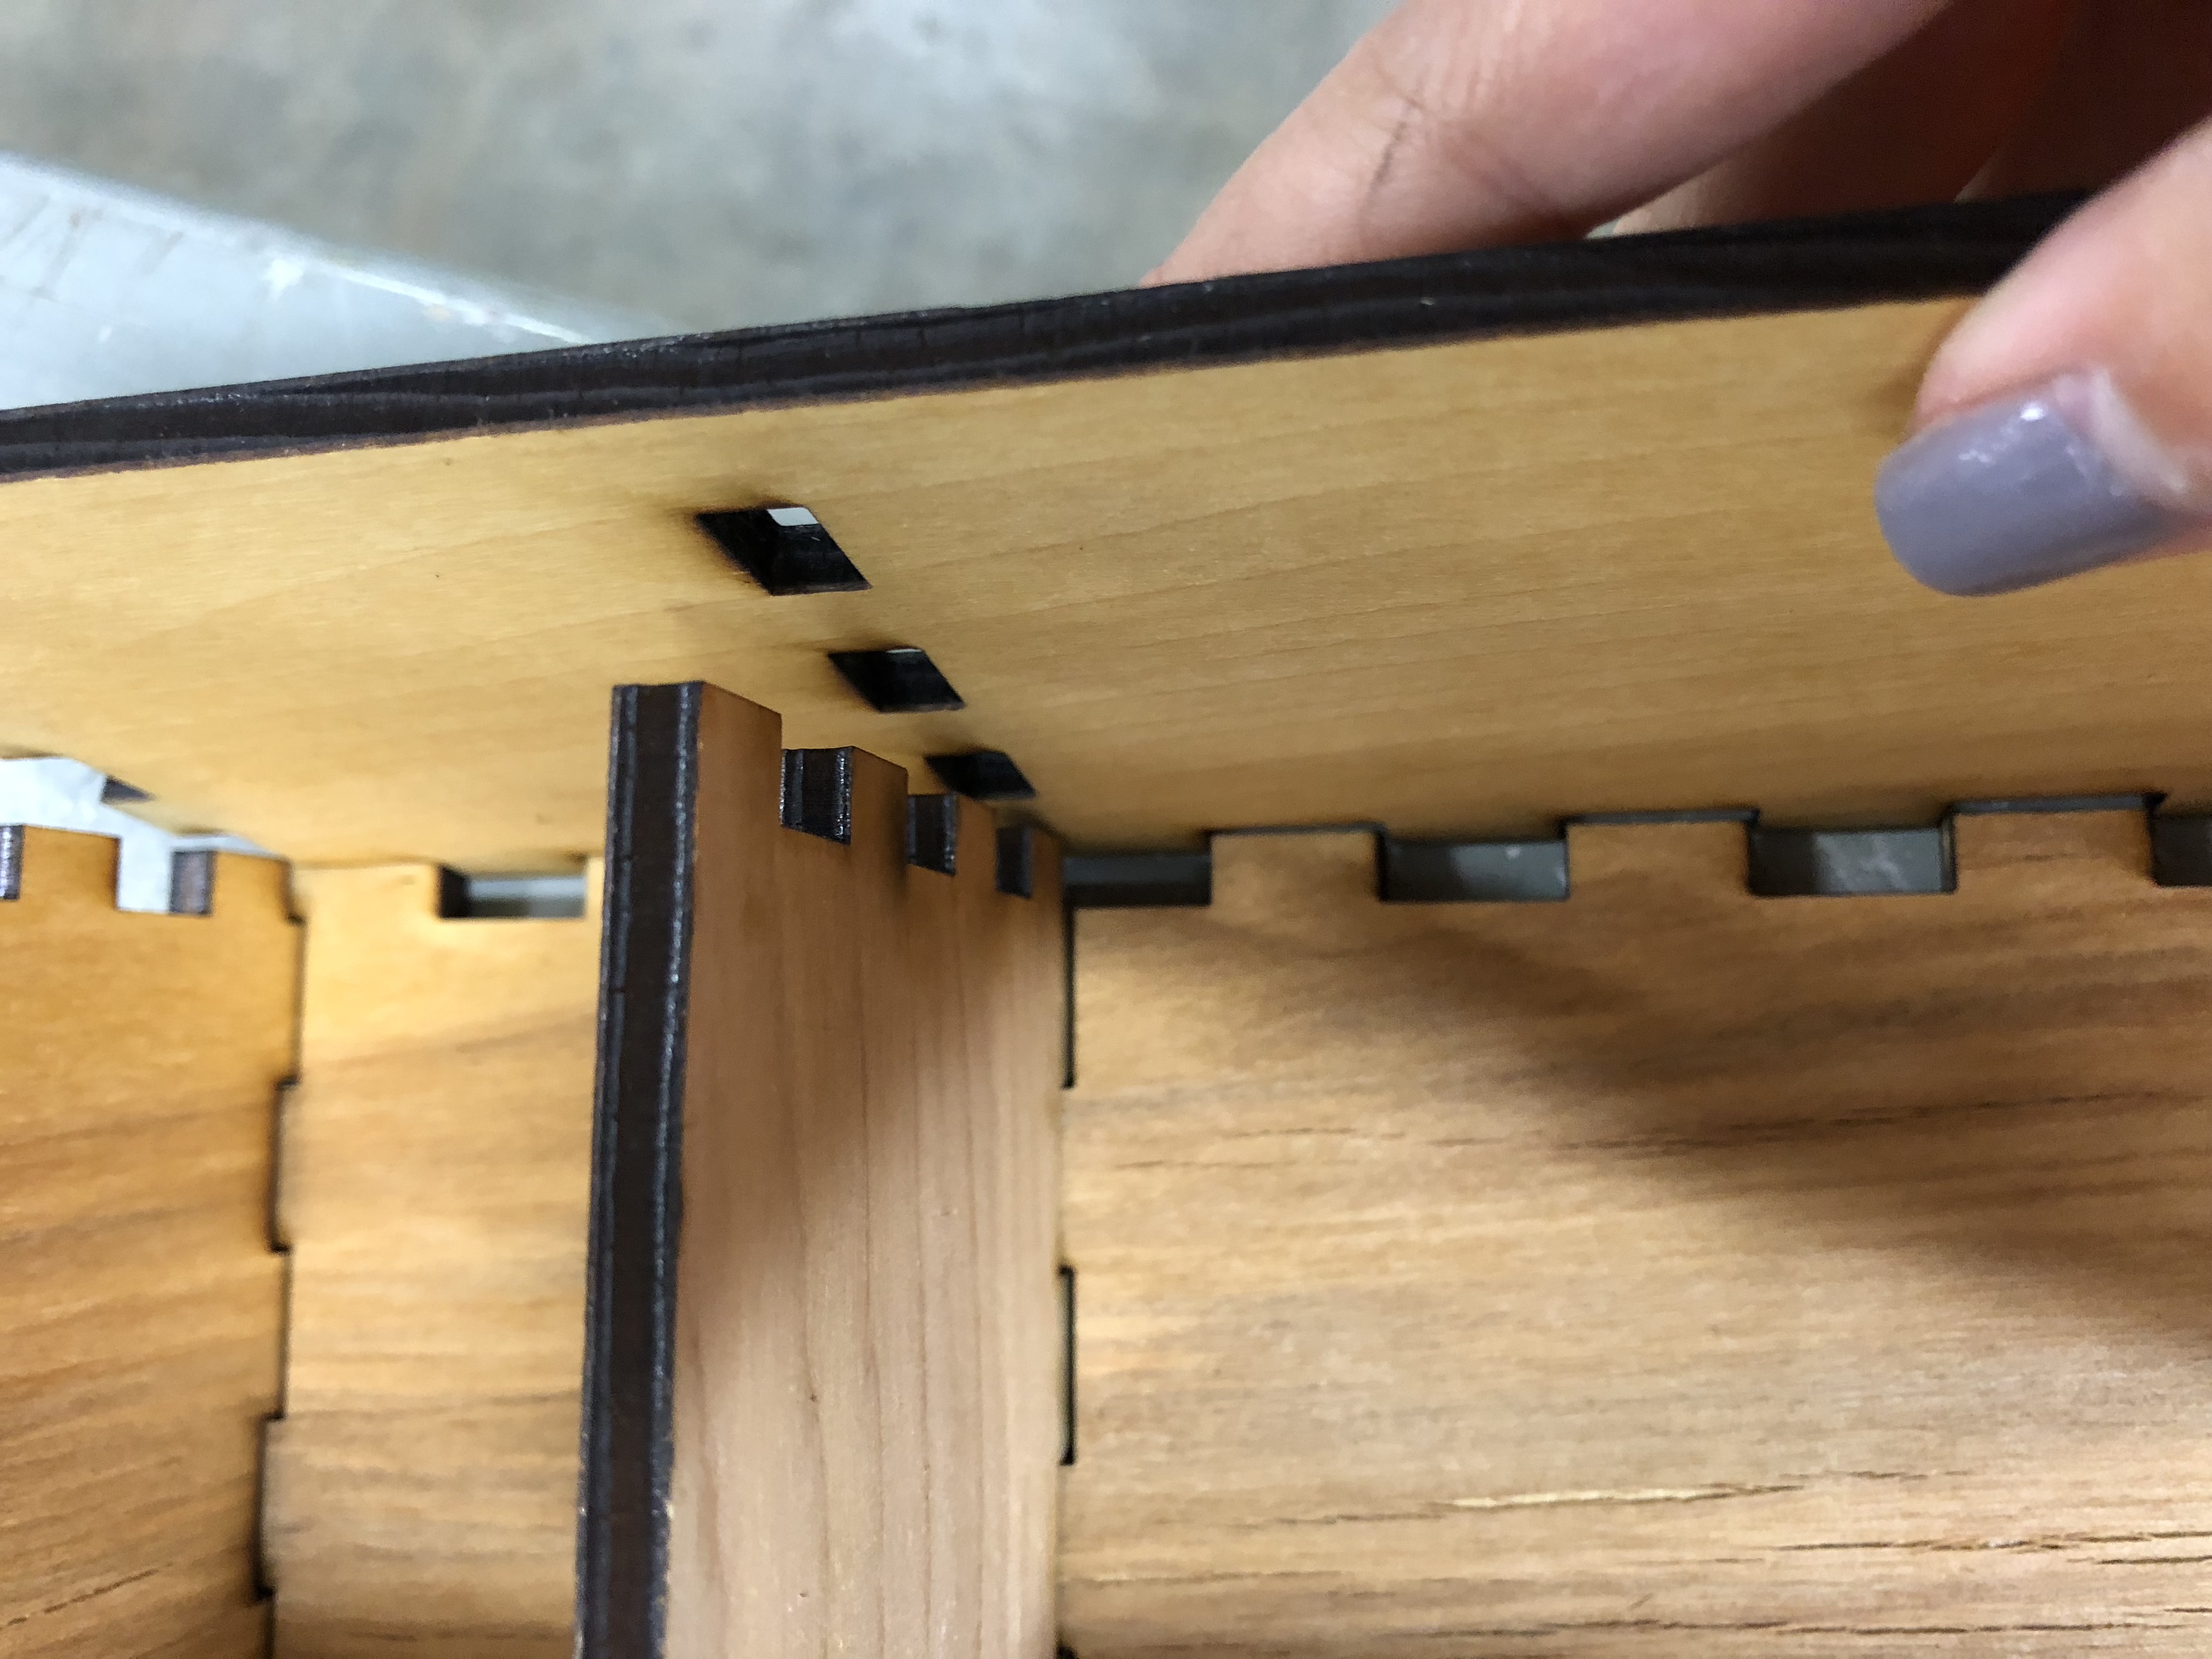
Now, the separator (kind of) fits in there. Now, I had to assemble the rest of the box, which was a little bit of a struggle. It was like putting a puzzle together because all the pieces looked the same. But, with a little bit of work, everything fit okay.
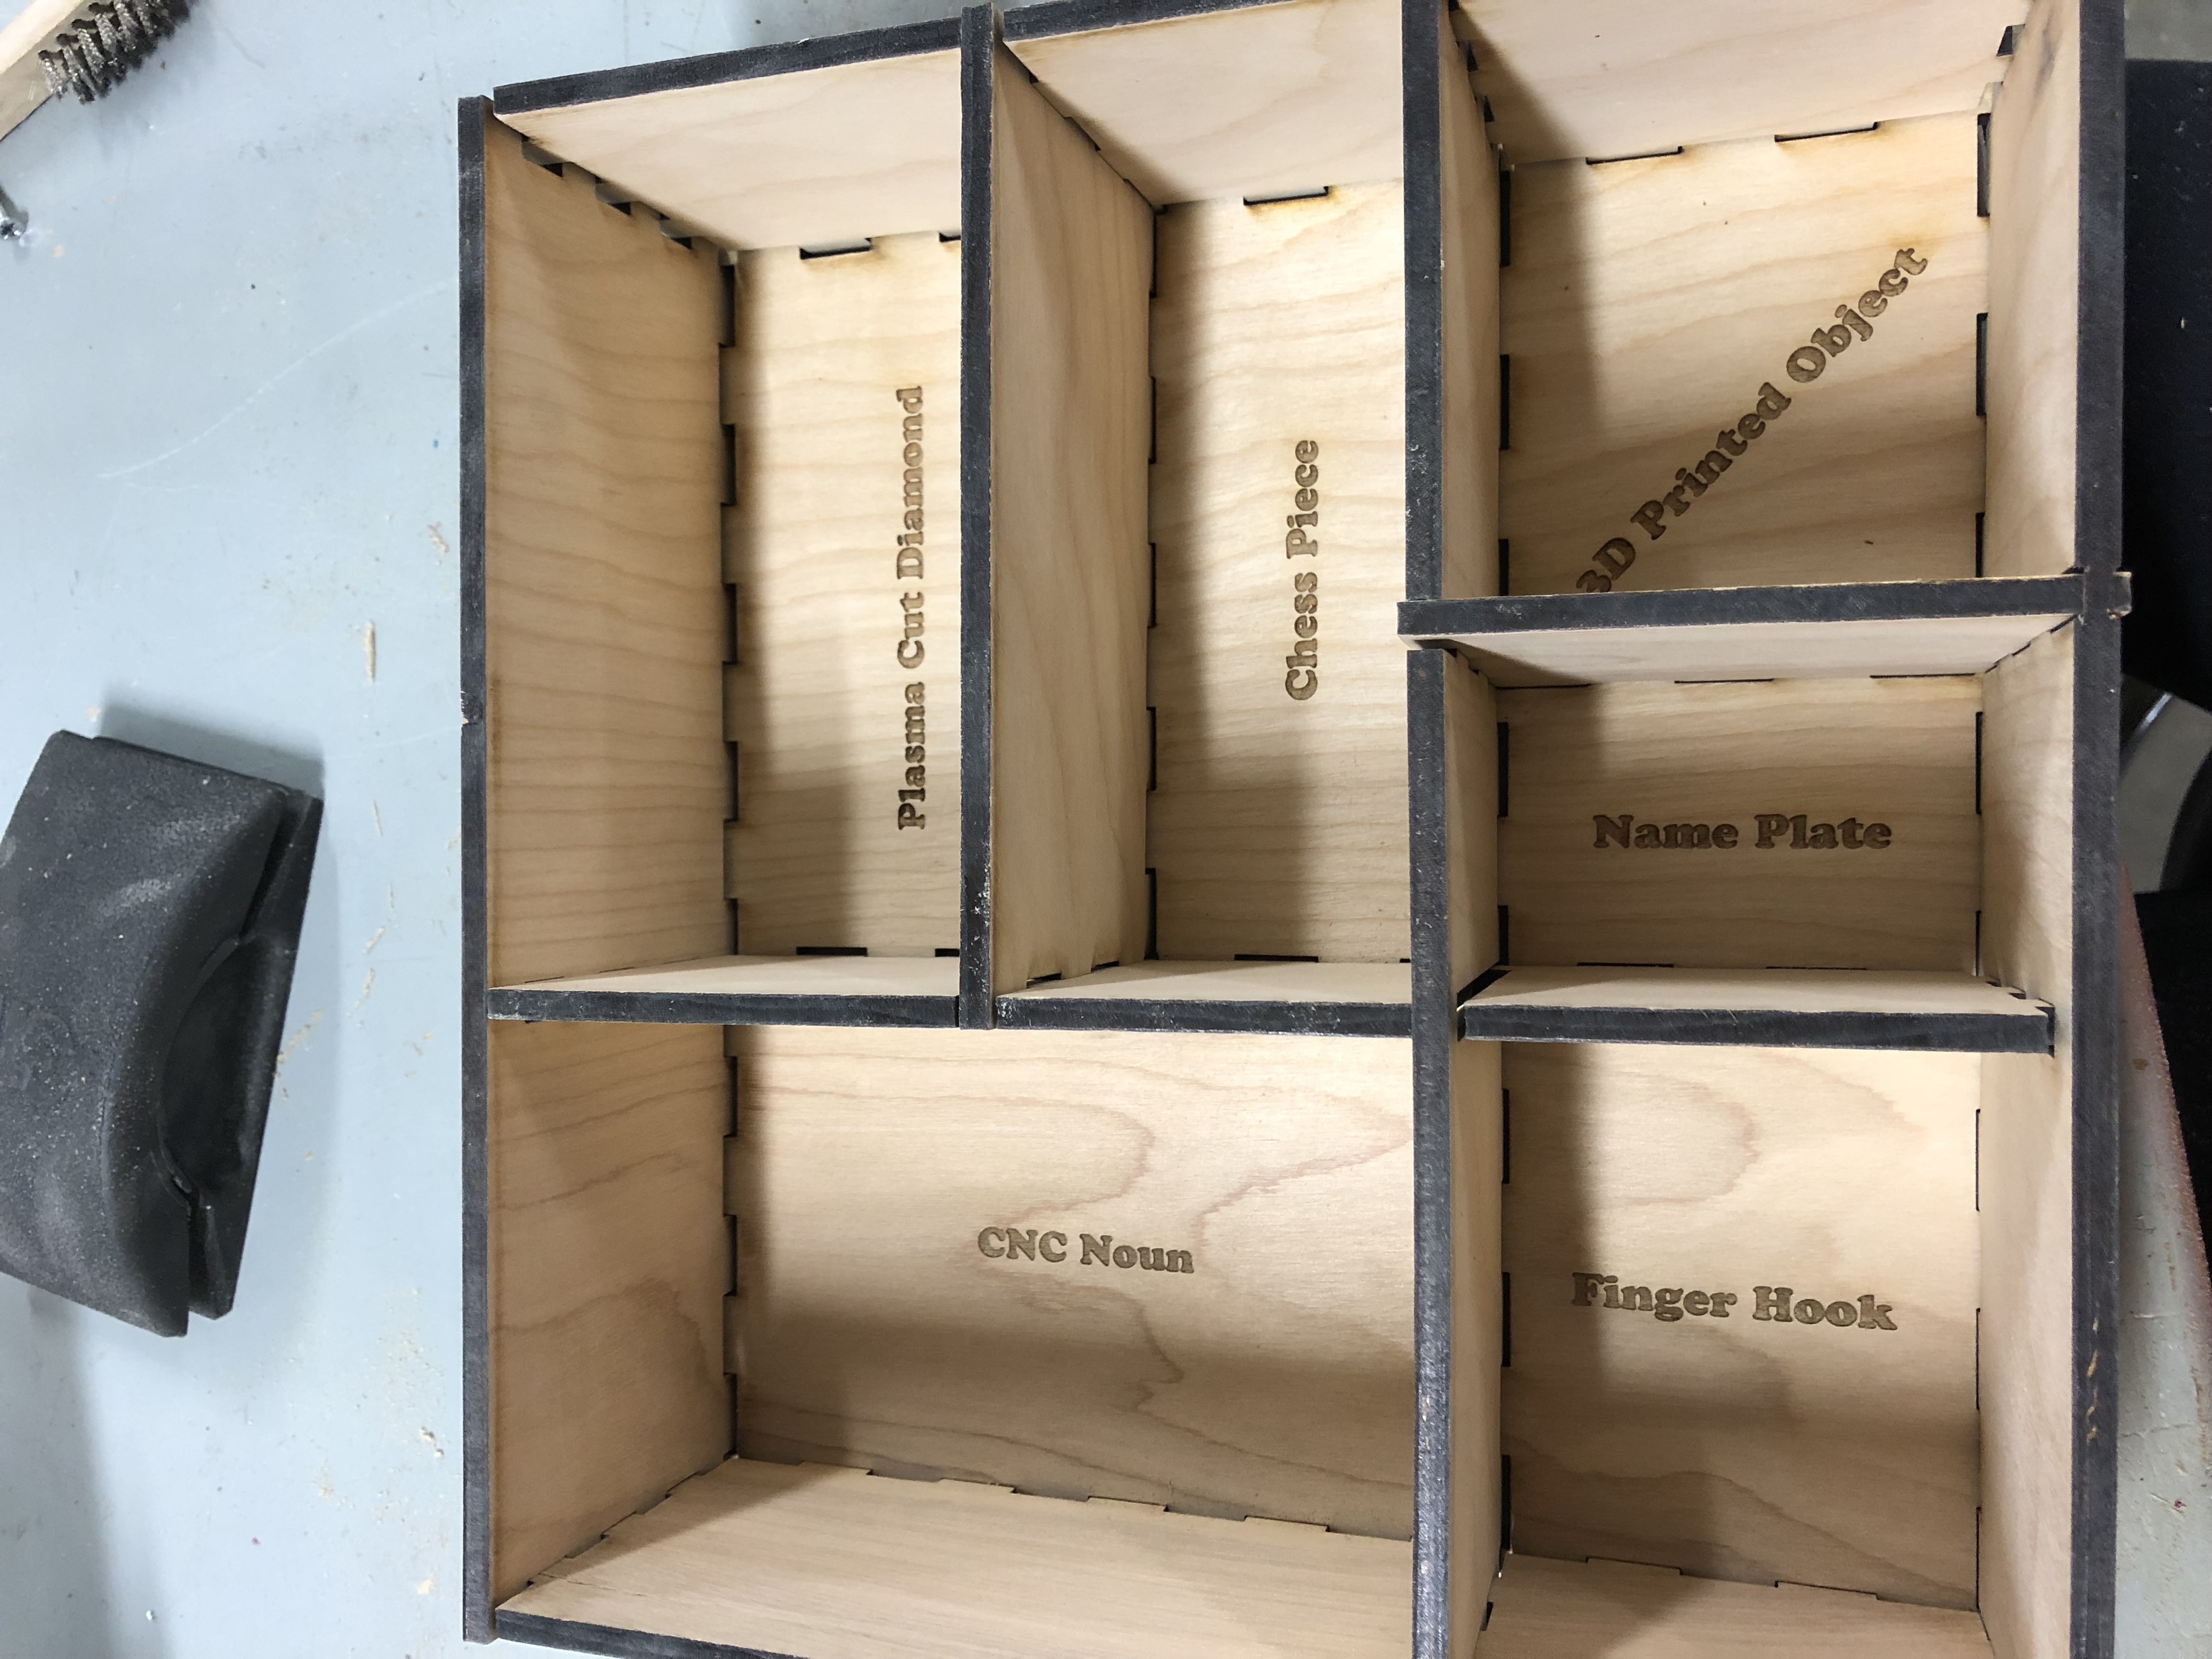
after fixing the 3 by 3
After making sure that everything fit, I sanded the box going from a rough grit to a really fine grit (I forgot which ones) so that the box would be really smooth.
after sanding. most of the scorch marks are gone.
After this assignment, I can confidently say that I know how to use illustrator, although I definitely prefer SolidWork’s engineering features. Also, if I were to do it again, I would measure the wood before making all the sections because the wood was not exactly 1/4″ so the joint holes were a little big.
