All of the previous assignments from this semester have revolved around tools/processes at the OEDK that I am familiar with: laser cutting, Adobe Illustrator, basic hand tools, etc.
However, this week’s assignment was to use the plasma cutter to cut two diamond shapes and post process them identically. The concept of the plasma cutter is similar to the laser cutter, but it’s less accurate, involves more technical setup, and is just a little bit gross (more on that later).
As always, I started by creating a geometric pattern for my diamond in Adobe Illustrator. We were already given the exact dimensions, so I layered some rectangles on top and worked a little shape builder magic. A couple minutes later, TA-DA!

Plasma cut diamond template
An hour later, I met up with Tori and Dr. Wettergreen at the OEDK to learn how to use the plasma cutter independently. Tori already had a ton of experience from the past summer, and Dr. Wettergreen was merely supervising, so I was the rookie. But the detailed instructions were easy to follow and I cut 3 pieces without any difficulties.
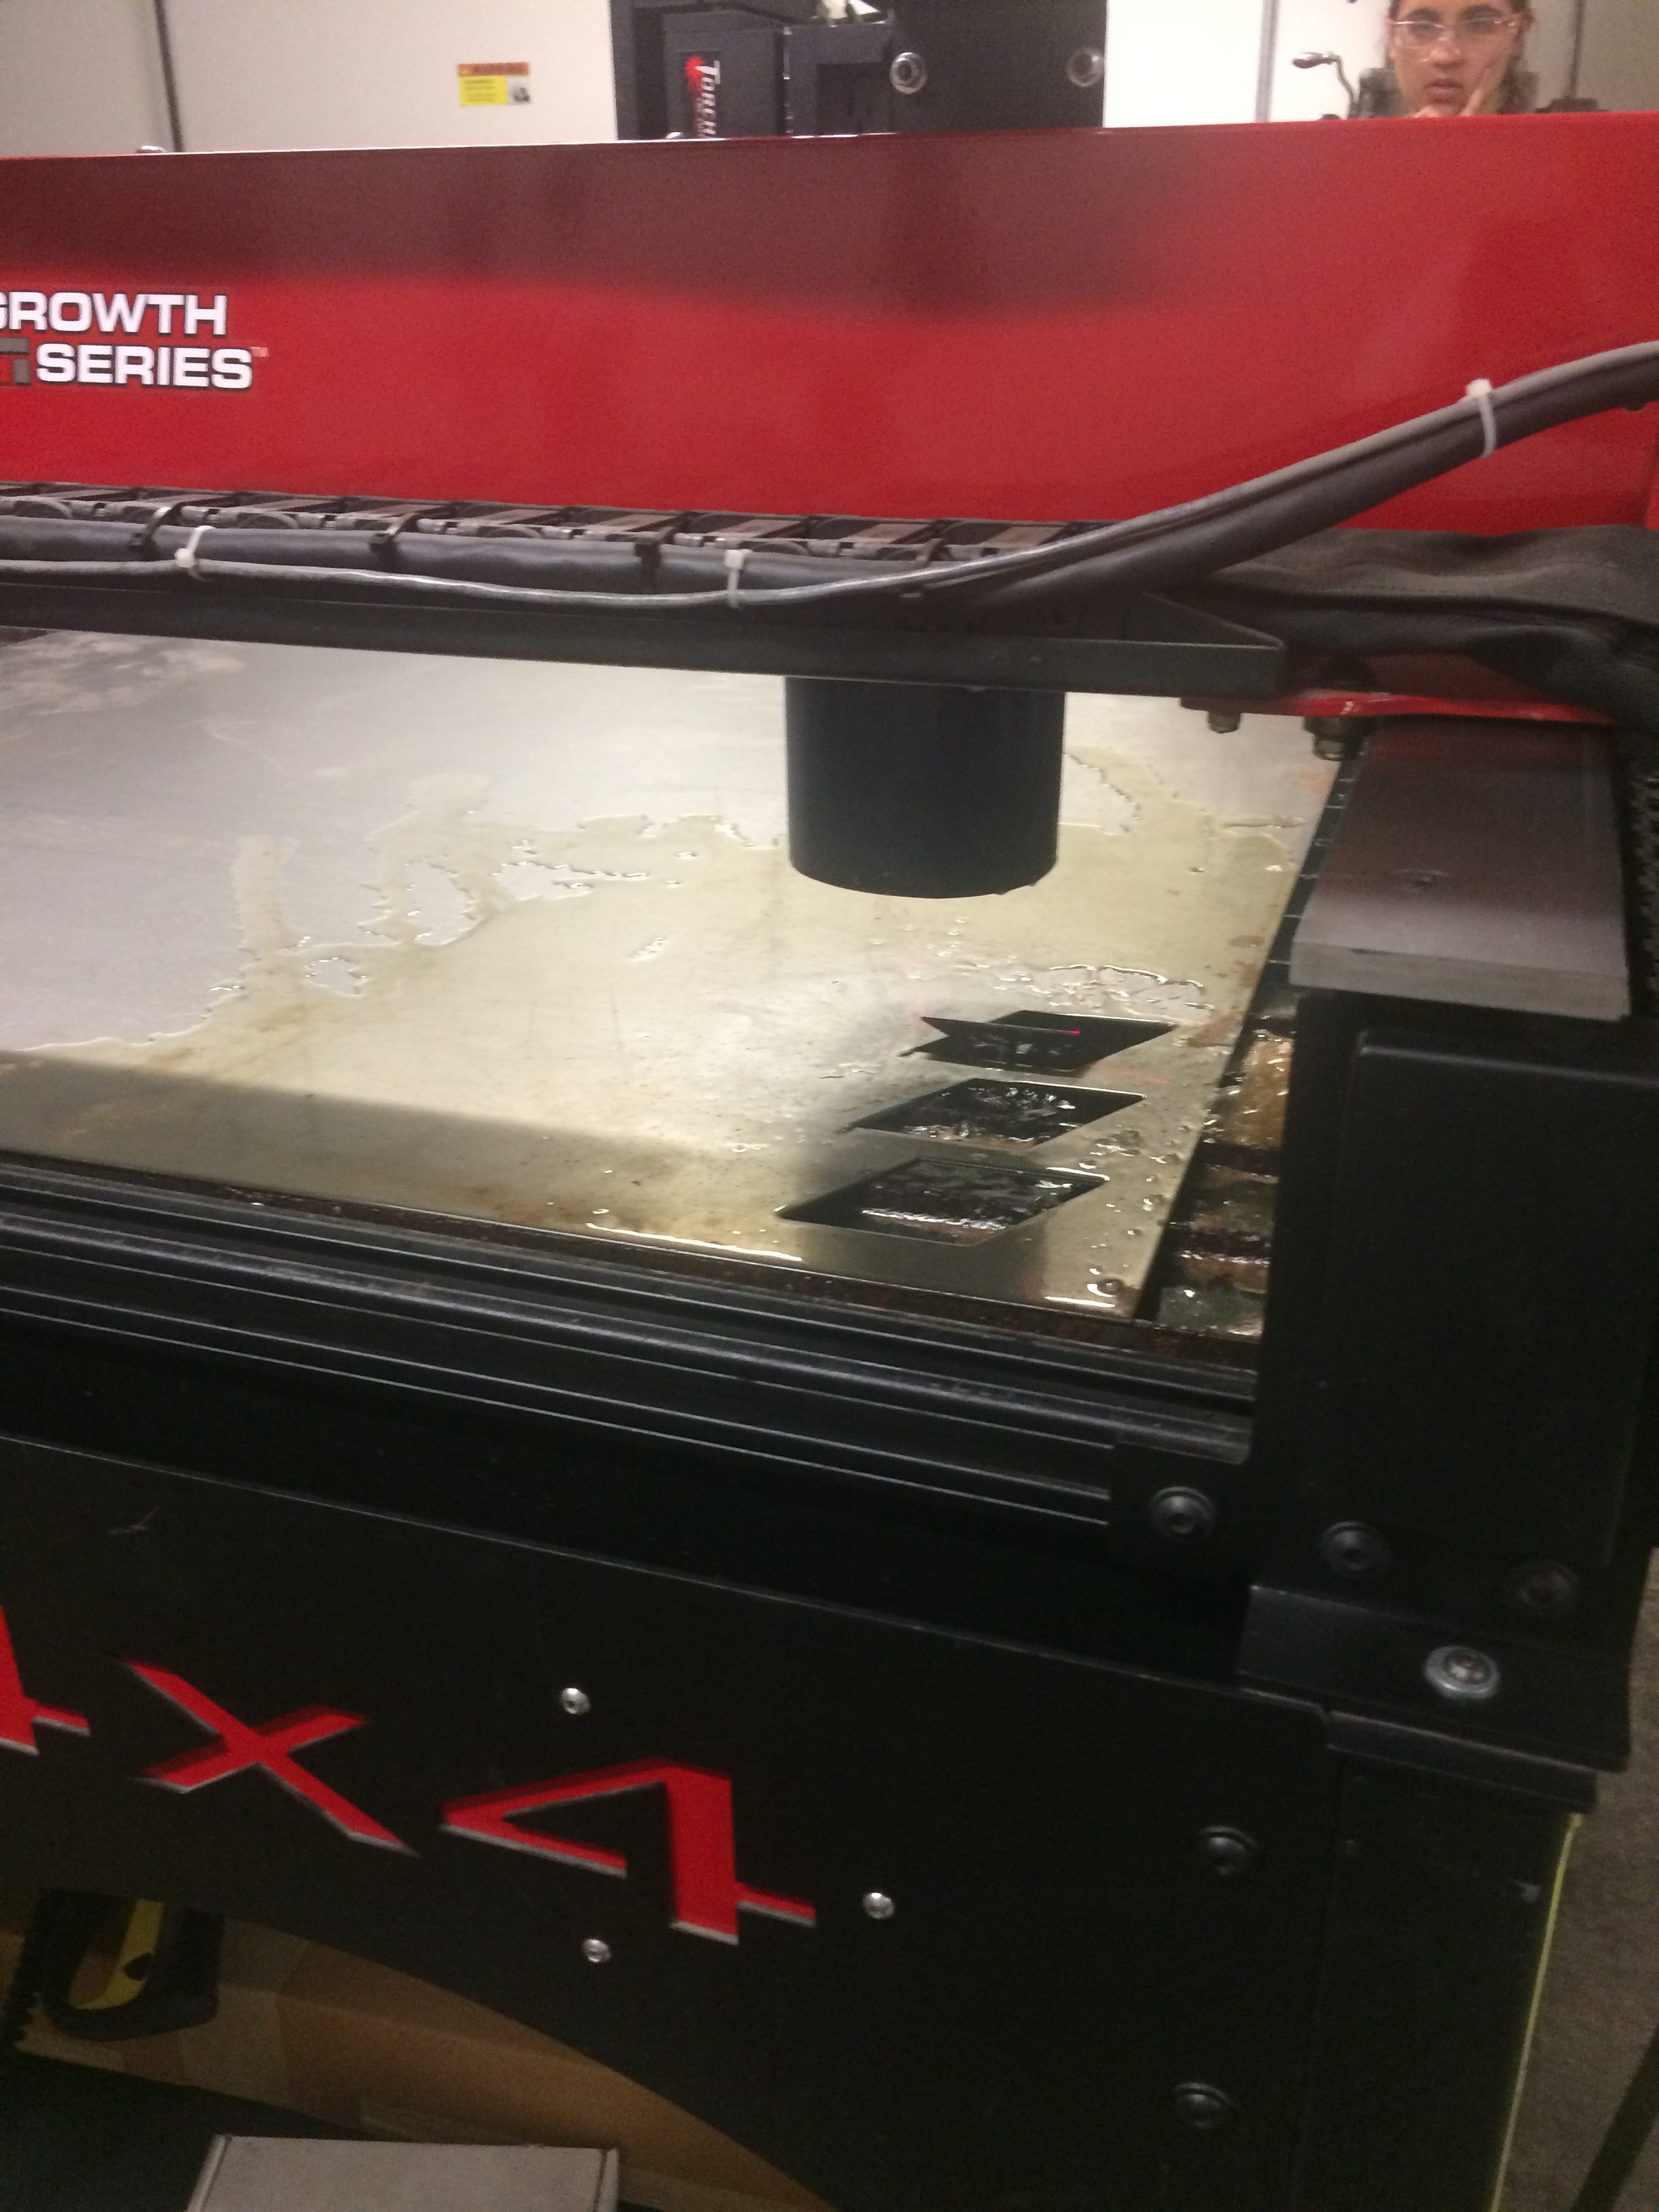
Plasma cutter in progress
Dr. Wettergreen also took the time to cut out a little goat from the steel. It’s proof of how inaccurate the plasma cutter can be, but its still cute.
Oh and why is the plasma cutter gross? Well unlike wood, when a piece is cut out it doesn’t just rest of the bed. The bed of the plasma cutter is pretty non existent as there are multiple slats about 3 inches apart. When your metal is cut, it falls directly into this nasty, soapy liquid mixture. And the only way to retrieve your piece? Yep.. by rolling up your sleeves and fishing around for it. Definitely not the highlight of this week.
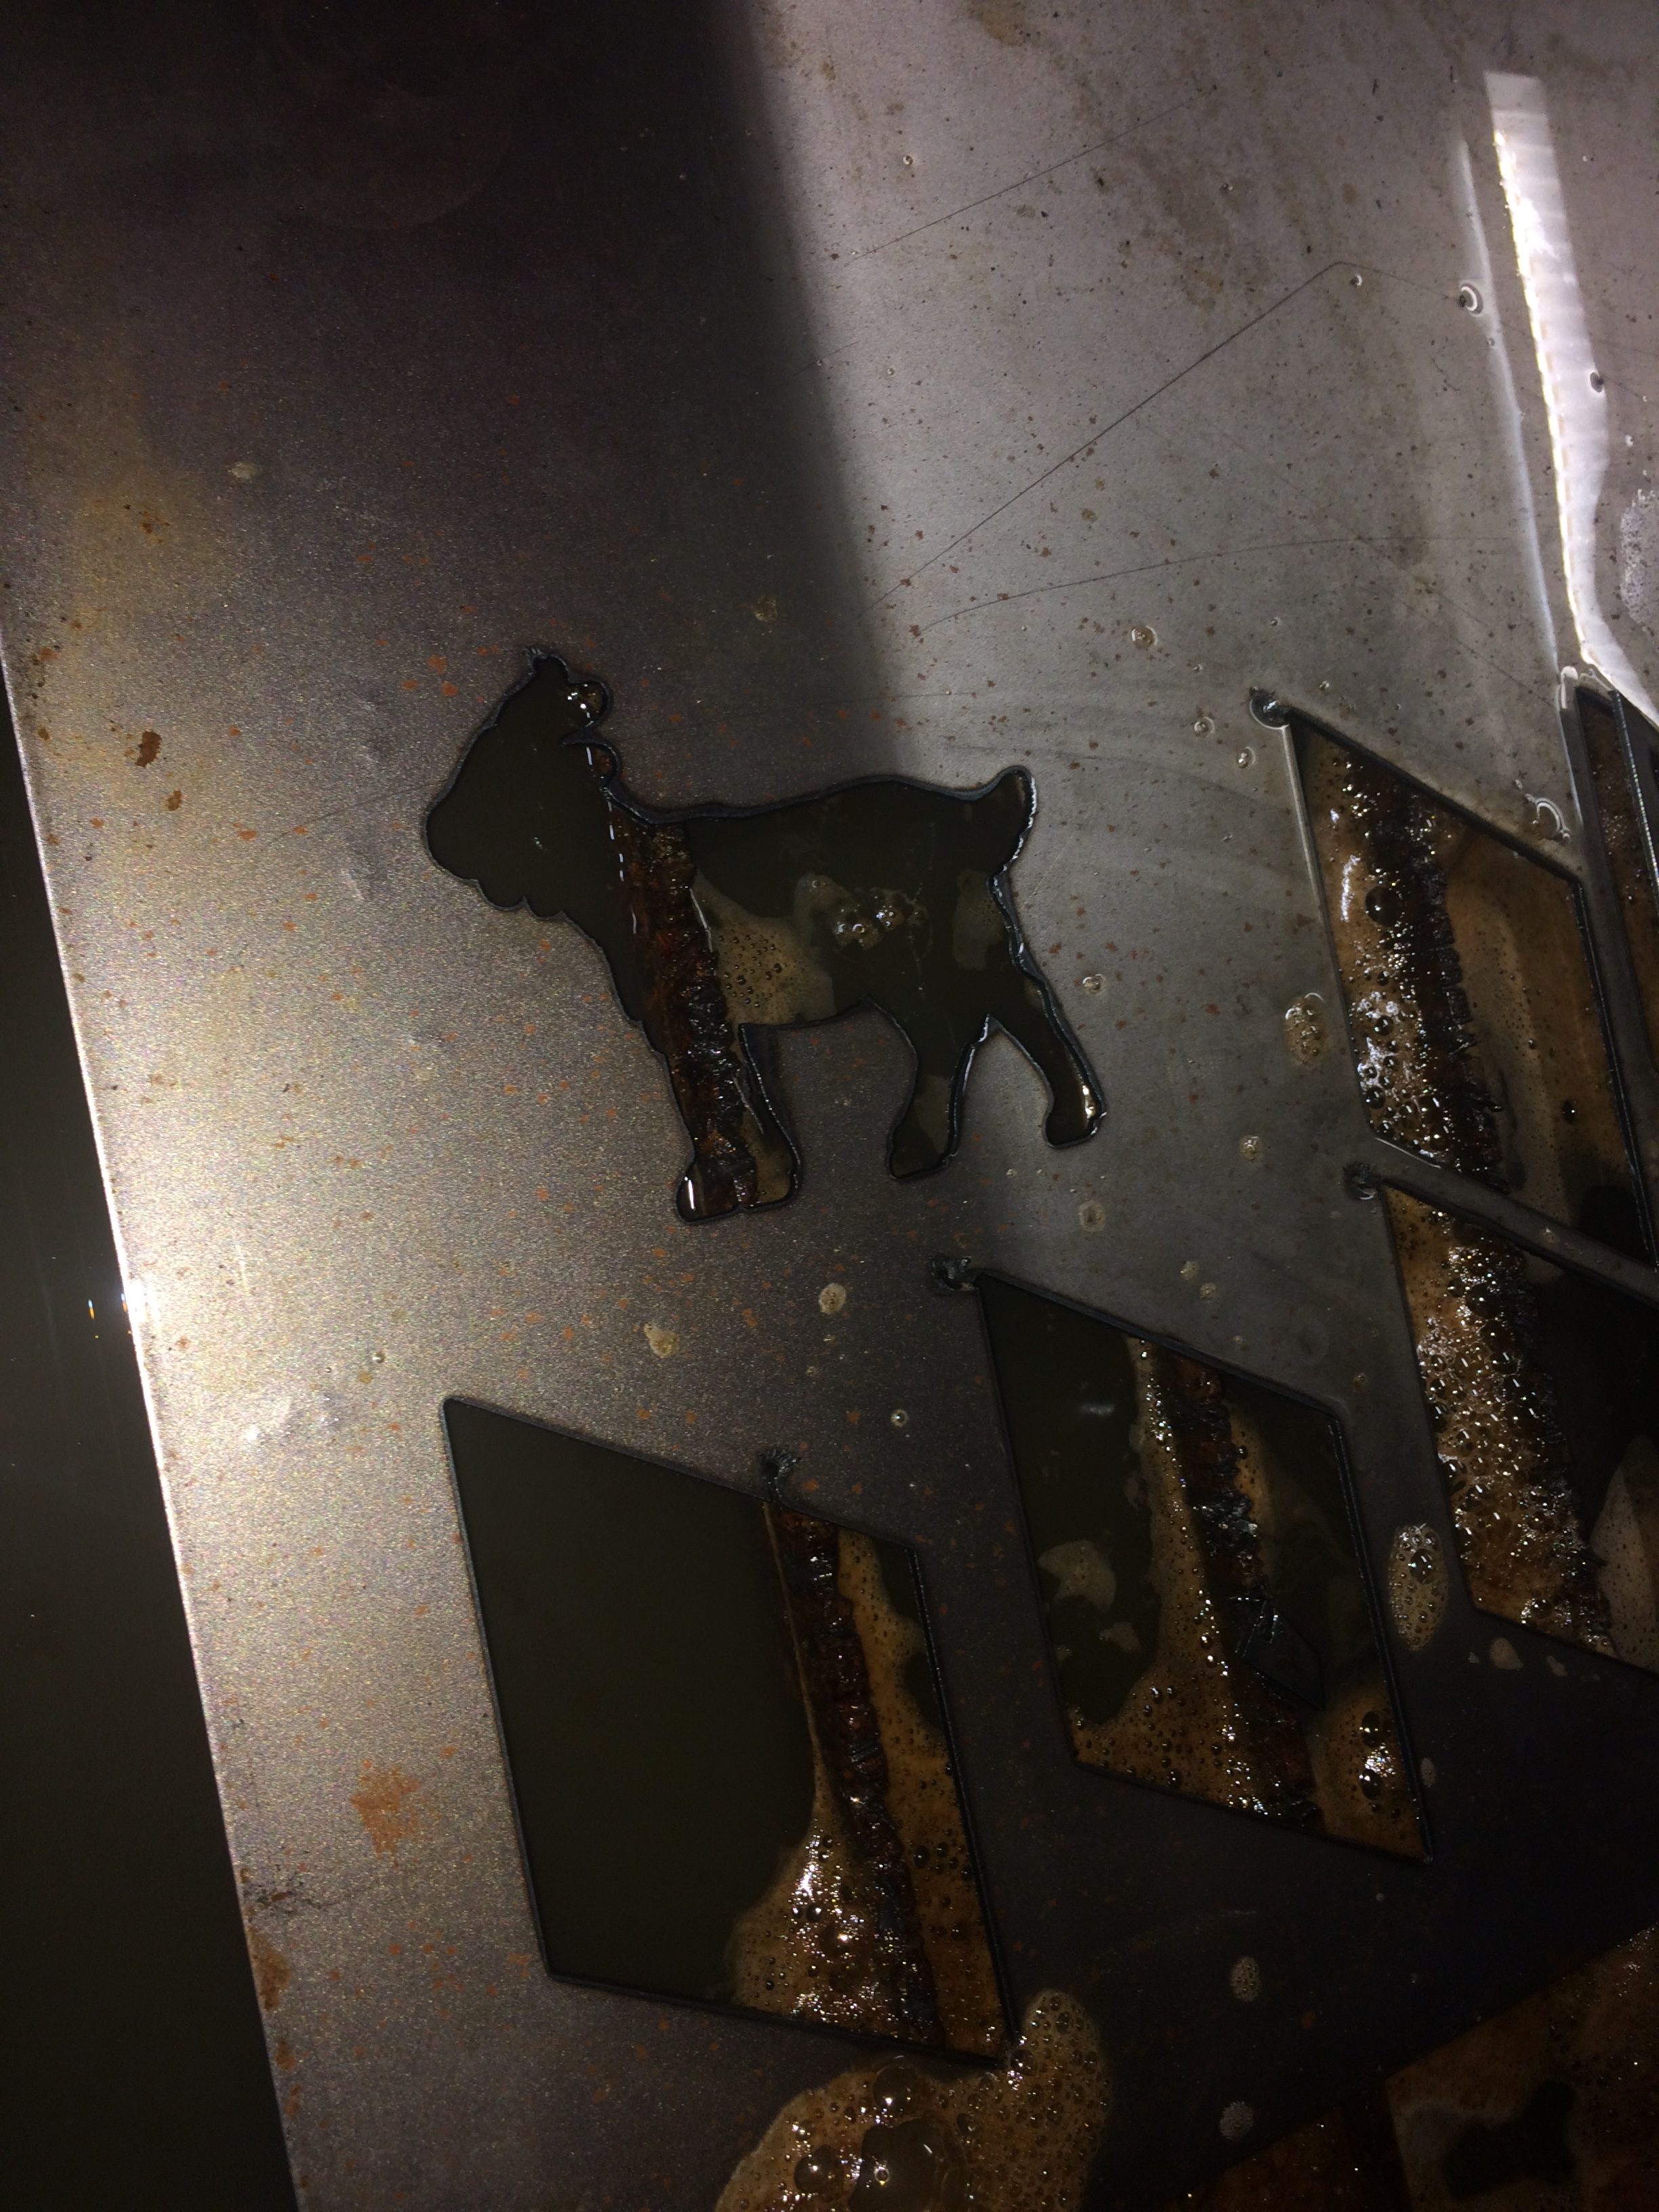
Cute little metal goat
With my pieces cut (and 1 extra for good measure), I moved on to processing. First, I used the belt sander to smooth out the edges of the diamond. Then, I used the angle grinder to remove the drag from the piece of metal. When you laser cut, you end up with burn marks sometimes on the edges. When you plasma cut, you end up with crusty metal leftovers called drag. Unfortunately, I don’t have pictures of the angle grinder but that’s probably for the better since there were sparks everywhere.
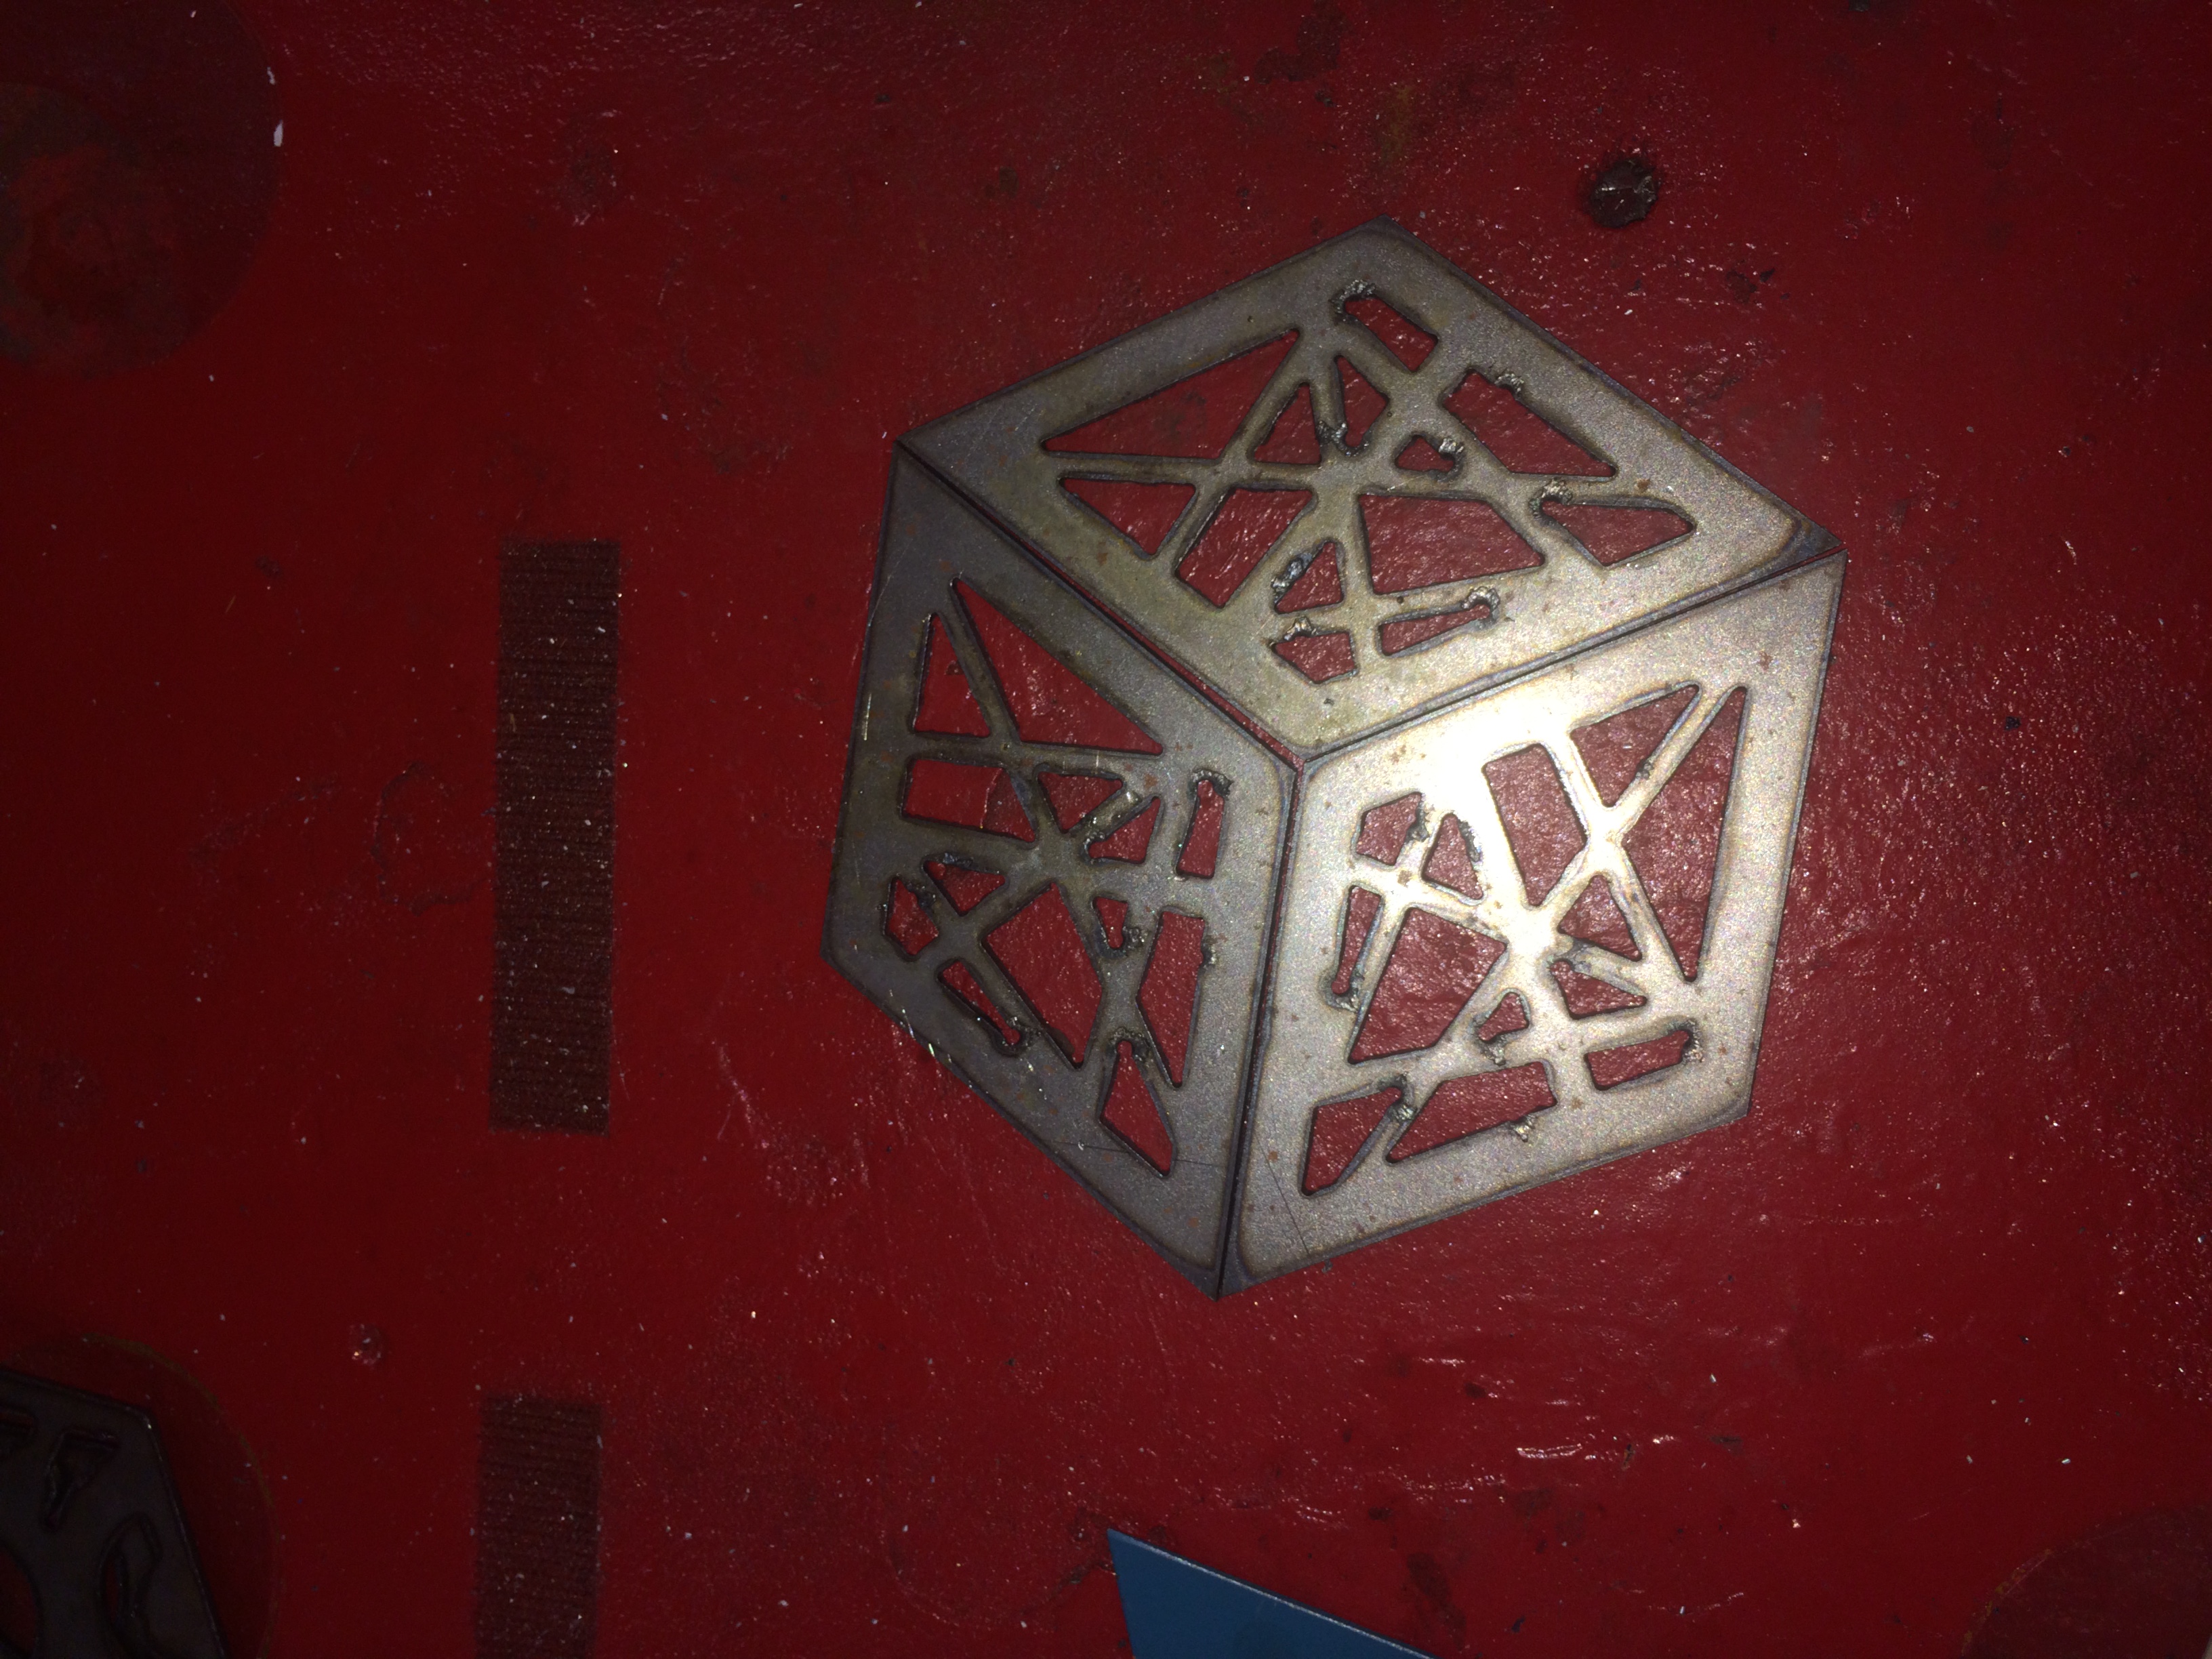
The drag accumulates along the edges of any cuts
Once my pieces were completely flat and even, I began sanding. Personally, I like the look of unfinished metal. I prefer shiny, clean metal as opposed to metal that is sandblasted or painted. Thus, I used coarse sand paper and slowly worked my way up to fine sand paper. This allowed me to achieve an even finish.
The last step of this assignment was to somehow label the post-processing steps on the piece itself. Since I didn’t have much space to work with due to the geometric cutouts, I decided to simply print the steps on small strips of paper and attach it to the larger areas. I used Illustrator again to get the right positioning and used some spray adhesive to attach the labels.
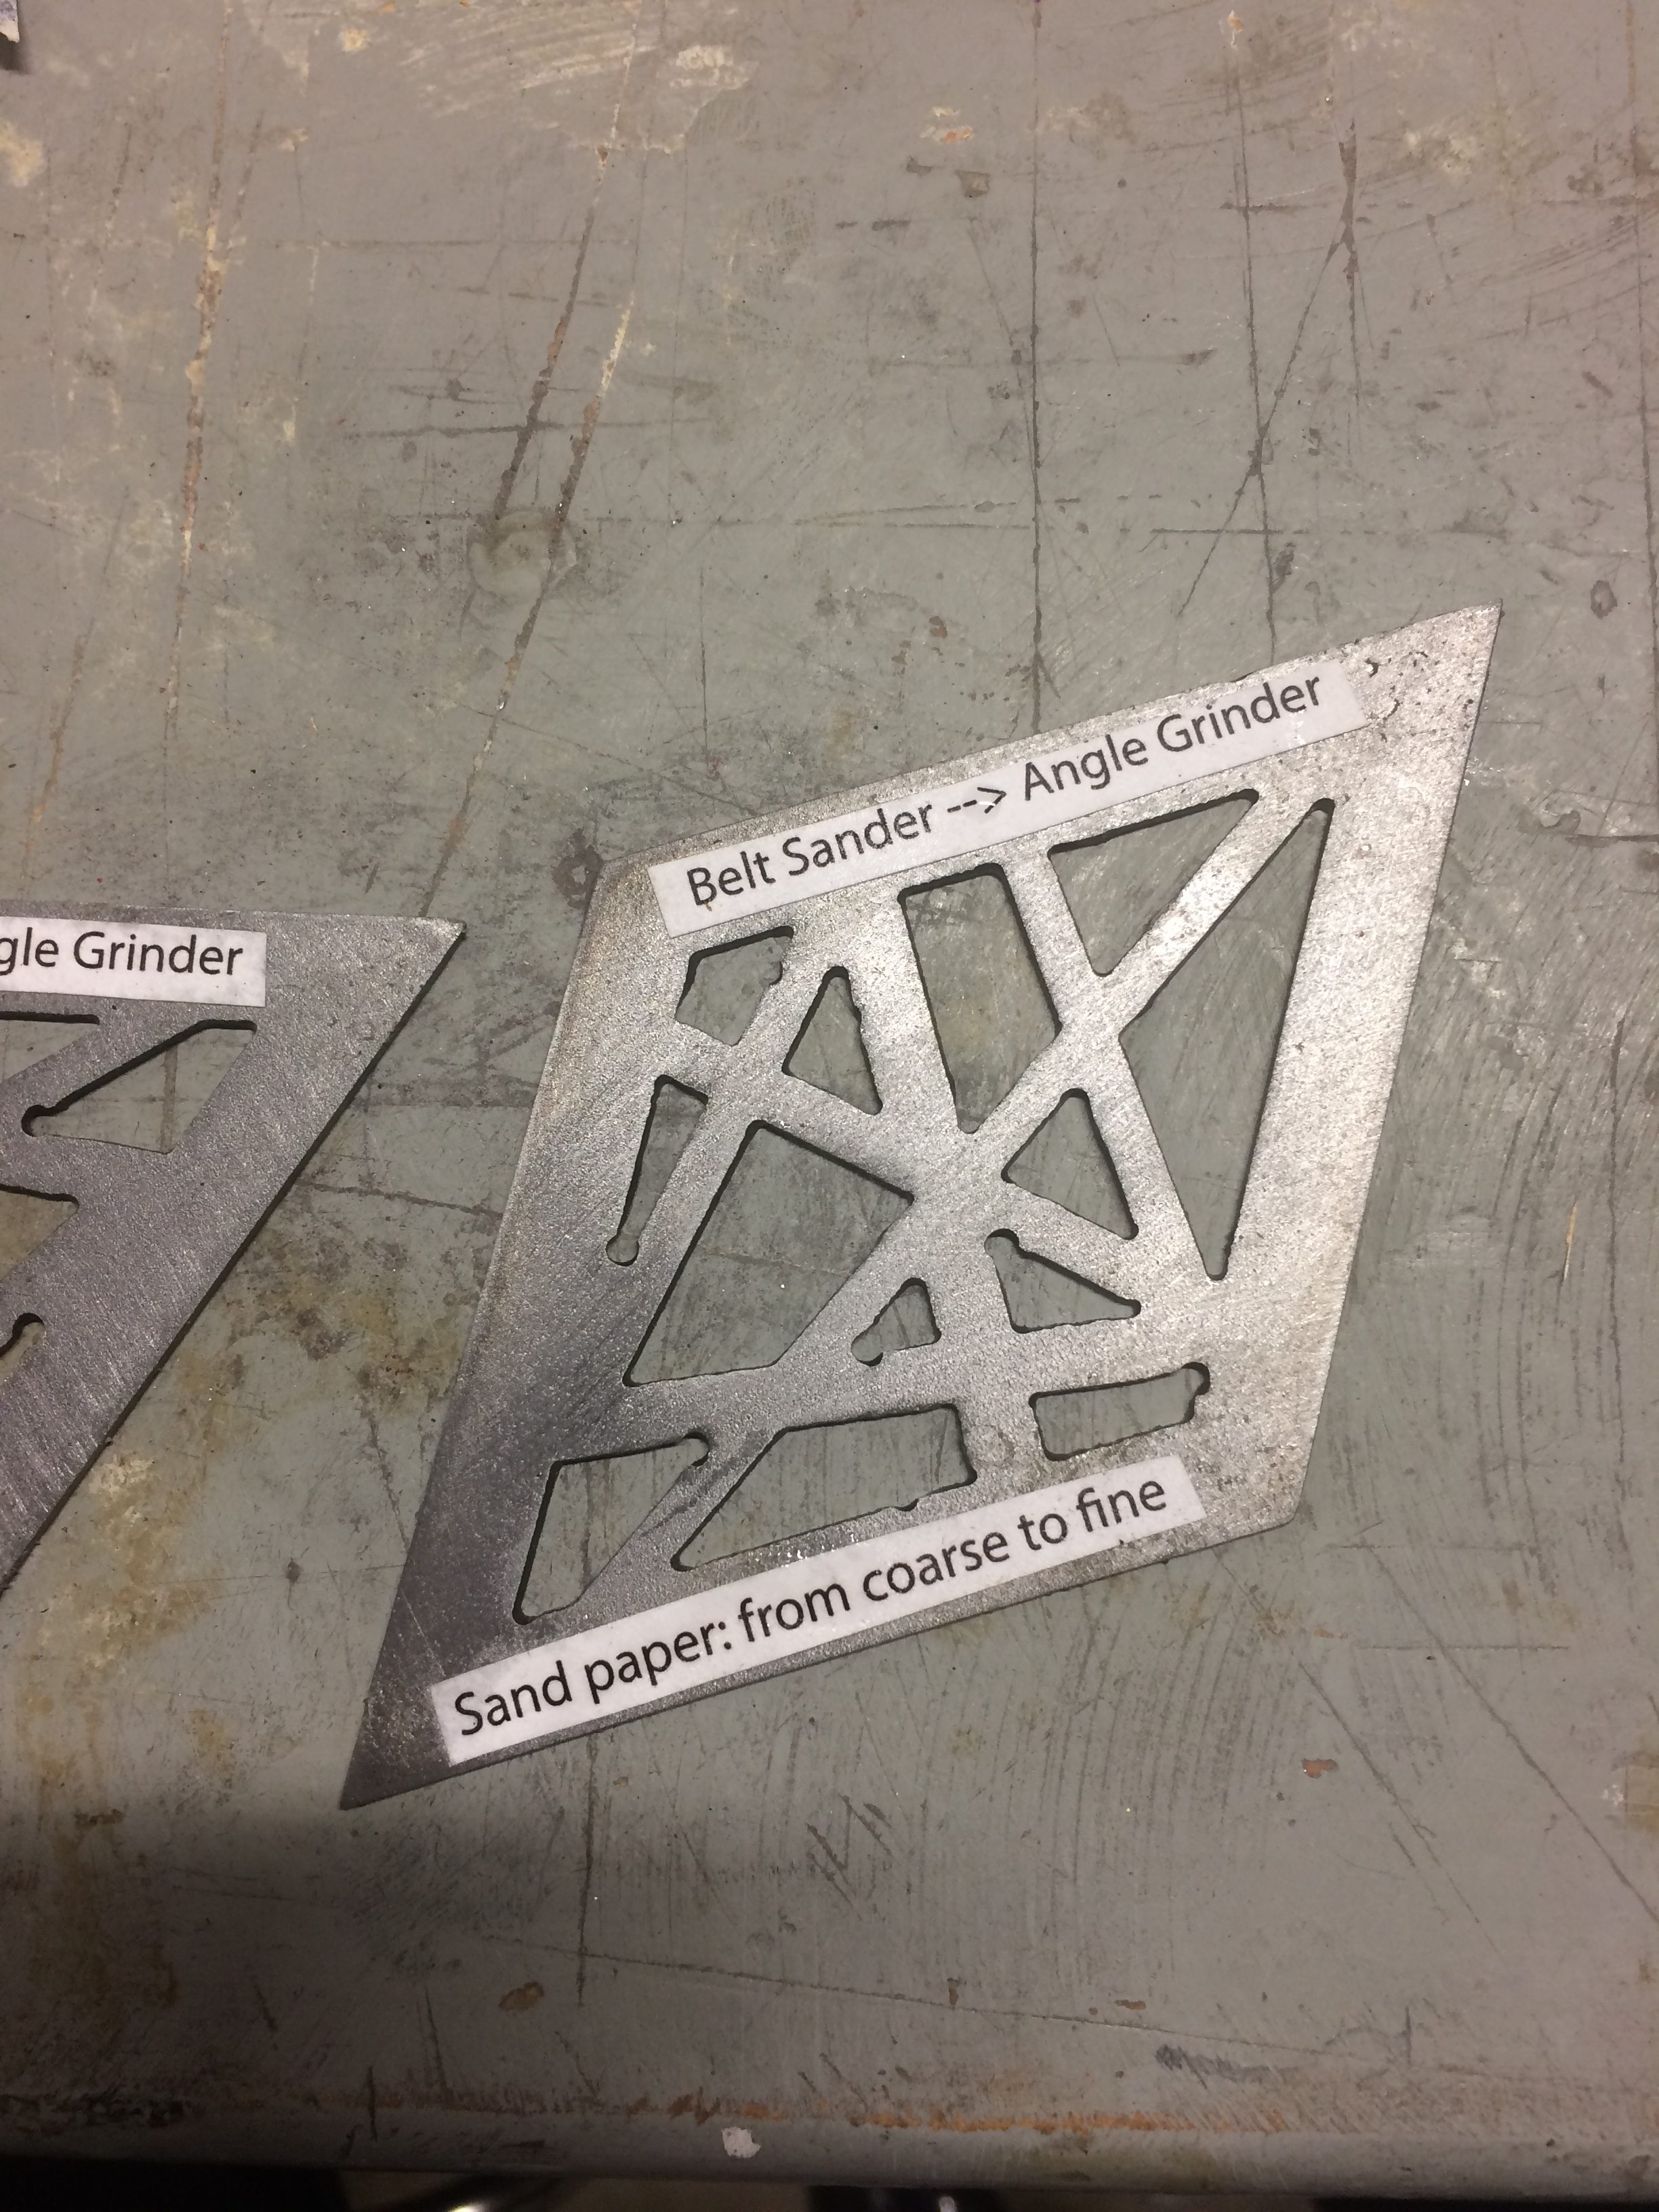
Instructions for post processing
Unfortunately, the OEDK’s last can of spray adhesive was almost done so the back of the diamond is a bit sticky. If the instructions come off, I plan to respray with new adhesive when it is ordered and apply a protective coating.
At the end of the day, this project showed me how easy it is to work with the plasma cutter and how cool it is to create metal designs. I think I definitely found a new toy to play with here at the OEDK.
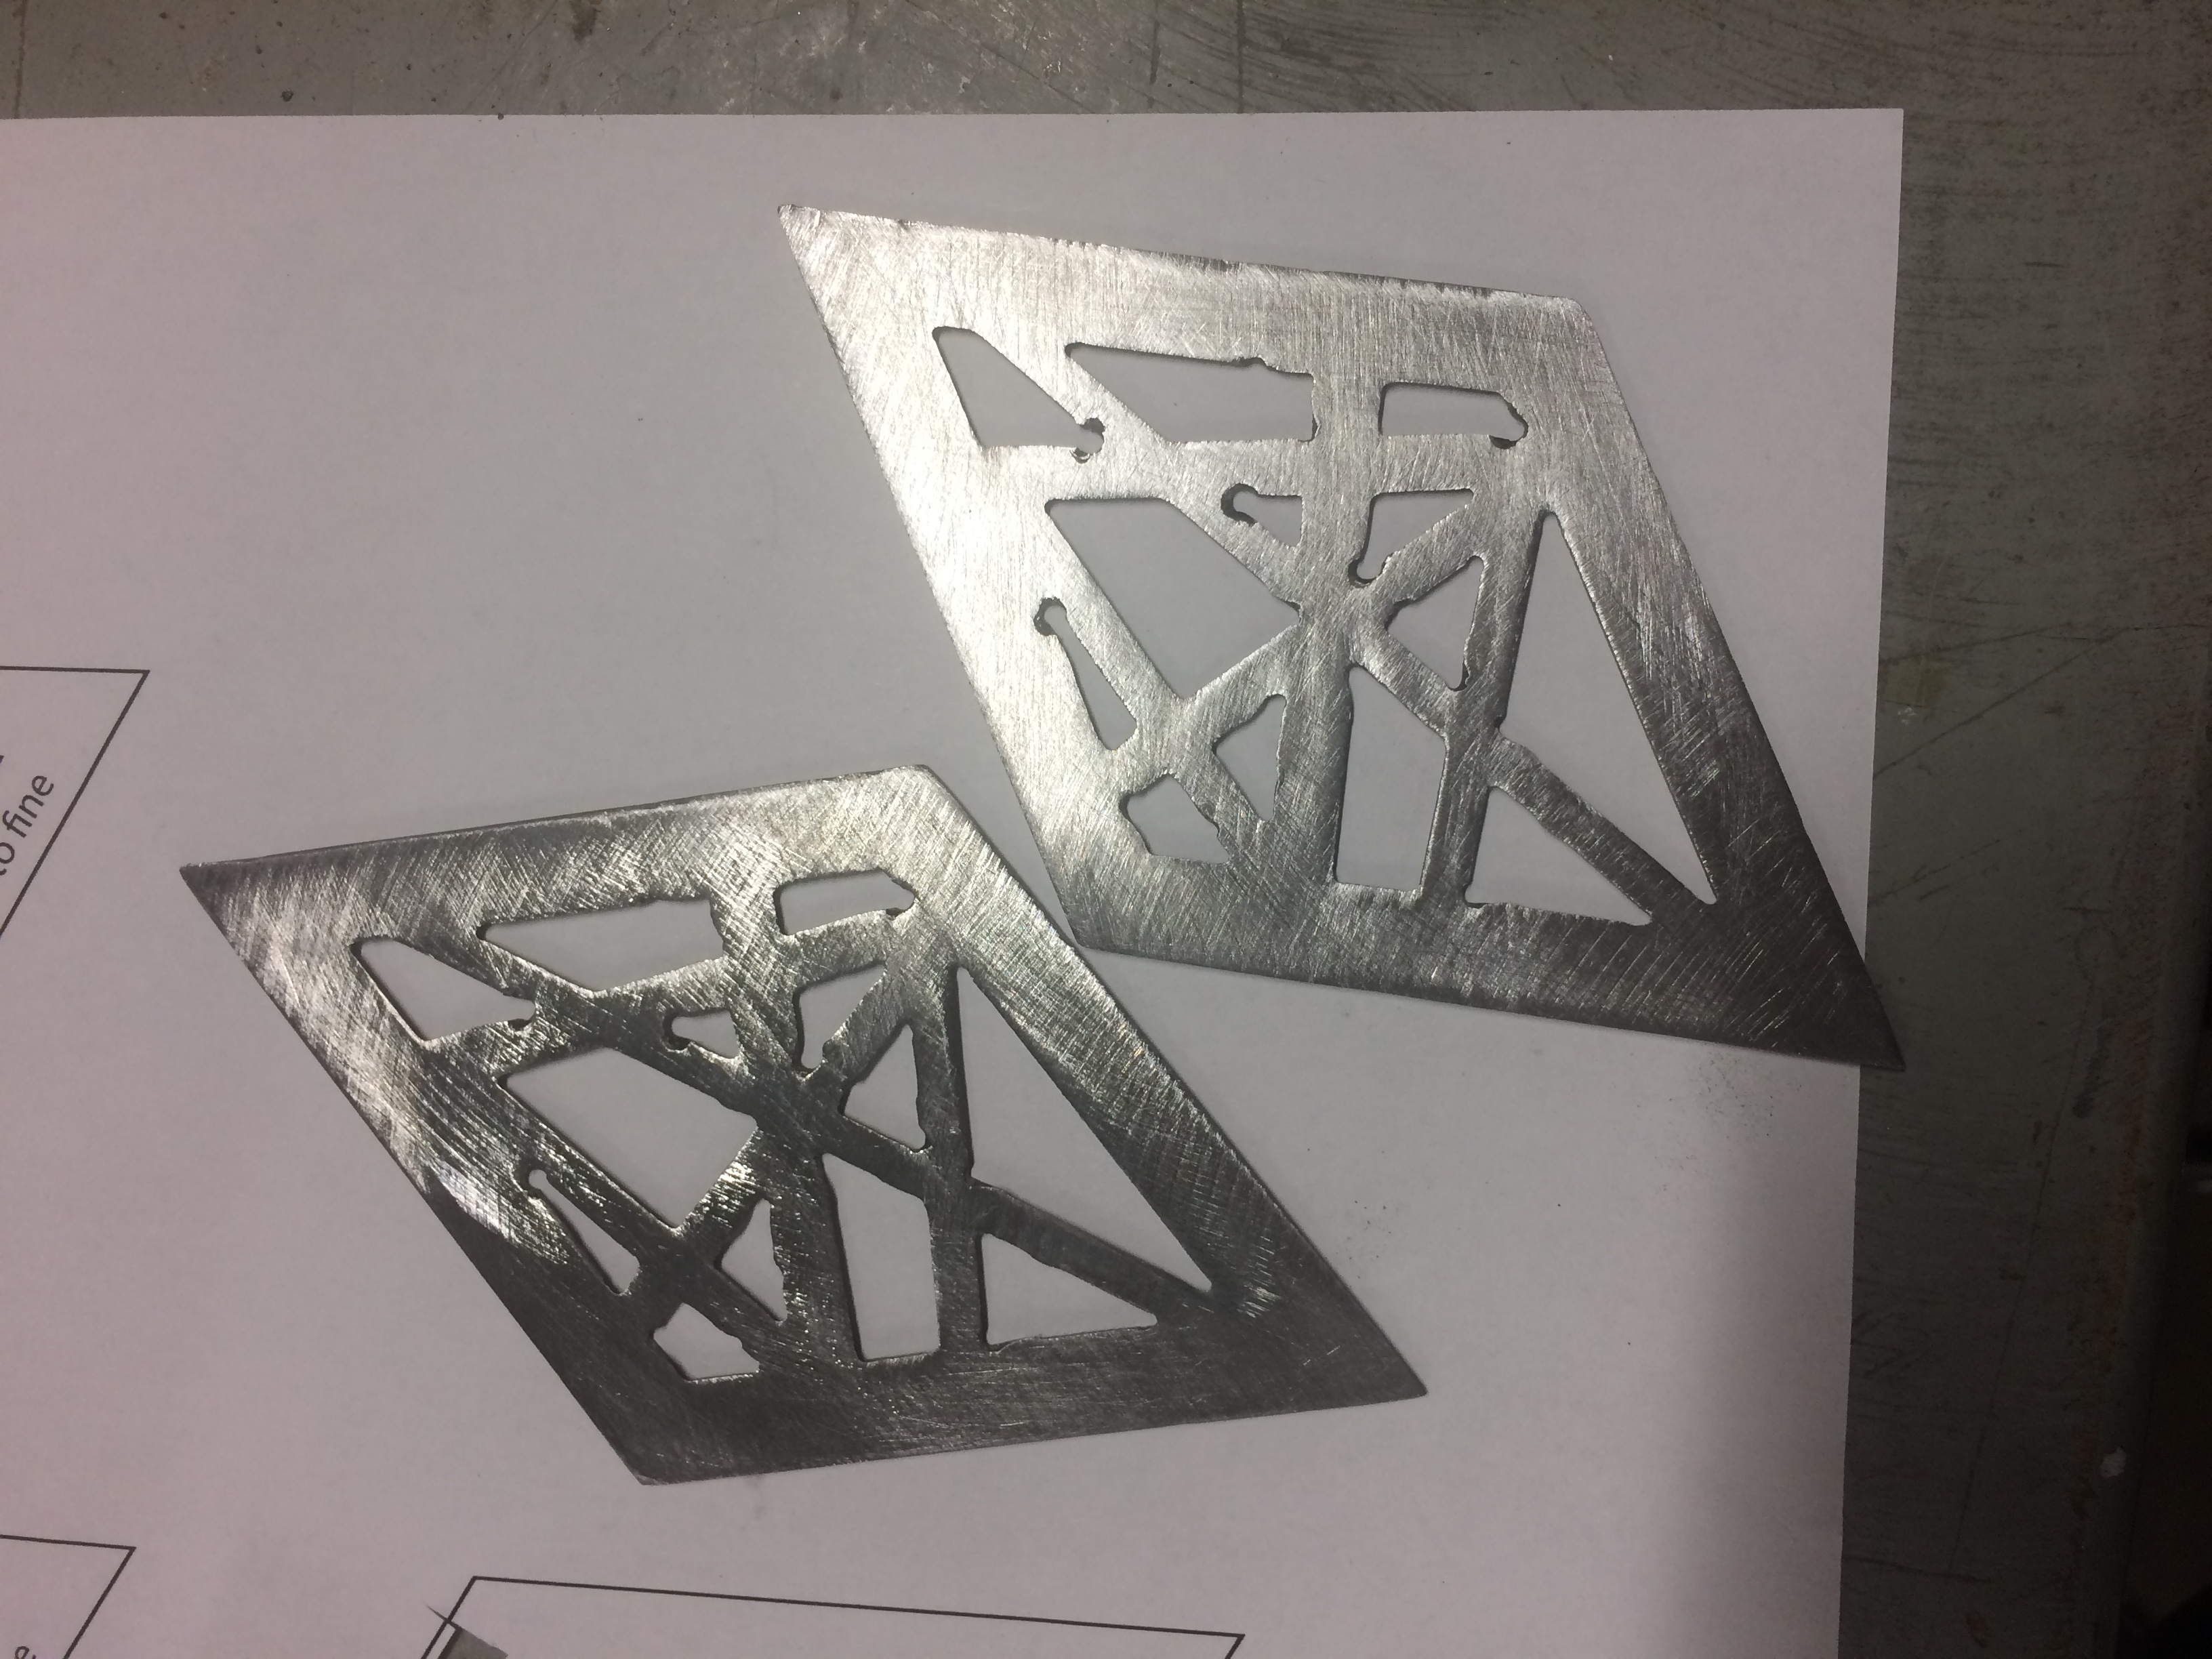
So shiny, so clean
