In this lab, I was tasked with creating a diamond shaped piece of steel with a design of our choosing and post processing it so that it looks nice and presentable. The logo chose to choose was the logo for the San Diego Los Angeles Chargers, my favorite football team.
Logo for the Los Angeles Chargers
I had planned to cut the outline of the logo out, leaving the thunderbolt as the final logo, post process it, and spray paint it some combination of blue and yellow, depending on the colors available, because I figured that they had to have at least yellow or blue spray paint somewhere in the OEDK. Guess how that assumption goes? Anyway, first thing I need to do is create the Adobe Illustrator file of the logo. At first, I tried to use image tracer even it never worked last lab for anyone, because worst case scenario, I would just have to make the piece anyway, right? So I try image tracer, and…
…this happens.
So I begin create the thunderbolt myself. First, I try using the arc tool, but the bend in the arc was not rounded at all, and if there is a way to change it, I don’t know it. However, since my problem is the lack of curvature of the arc tool, what if I used circles (and ellipses) to create the large rounded sides and have straight lines connect all of the arcs.
Using circles to create lightning.
Unlike with the 2D Drawing, the cut and intersect tools were working perfectly fine, meaning that creating the piece was an overall smooth process. I then threw that into the diamond shape given to us and was ready to plasma cut.
![]()
![]()
It took a while to make sure I was operating the plasma cutter correctly, but I finally got a few cuts in. I began by making 2 diamonds with the logo, mostly making sure that the cut looked good and actually made it all the way through the material. Turns out, it did!
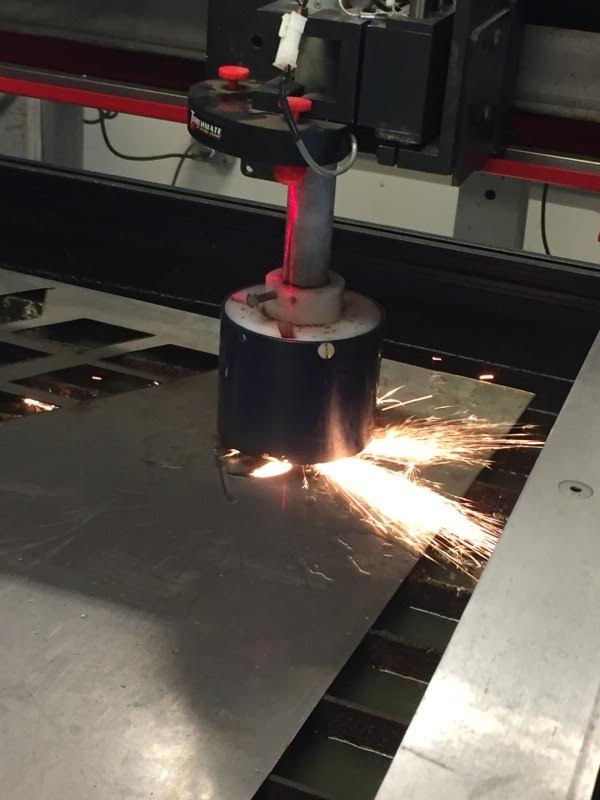
Plasma Cutting my part
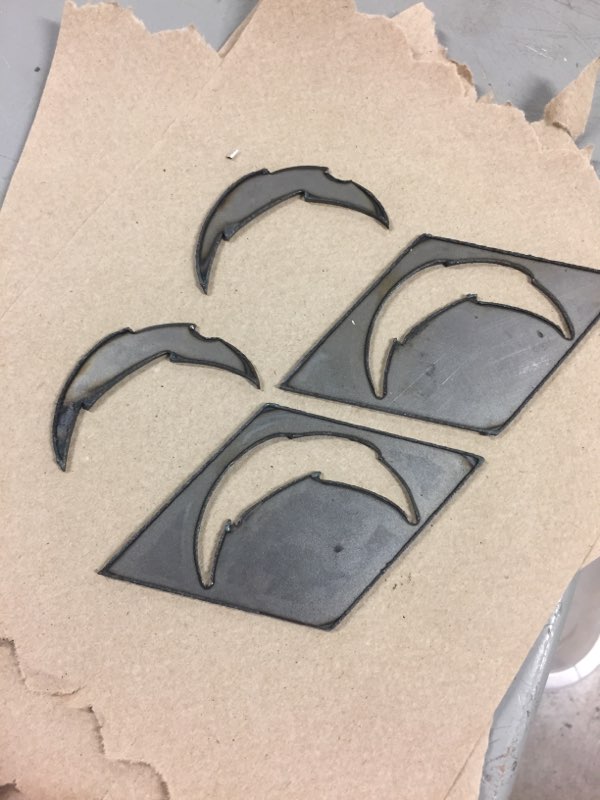
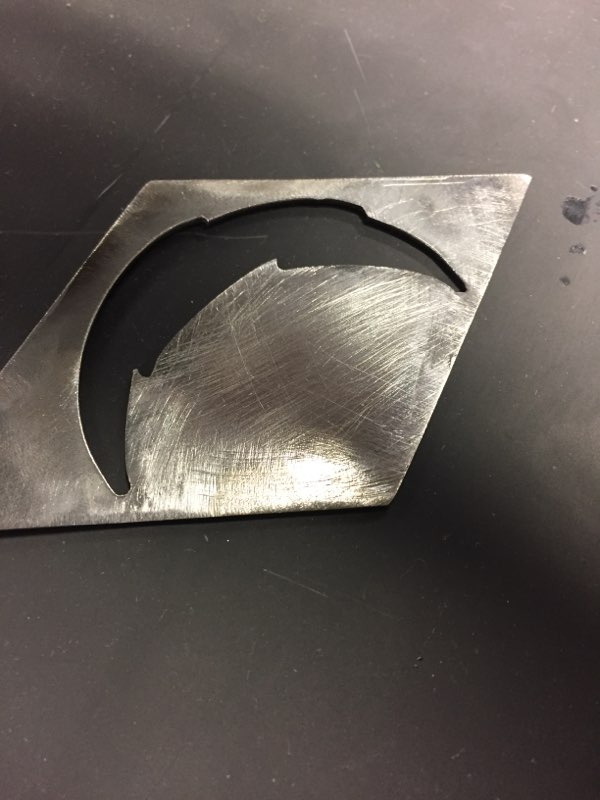
Piece made; Post Processing begins
I decided the first move I would make is angle grinding. This part went pretty smoothly, but I wasn’t a fan of how it looked out in the end.

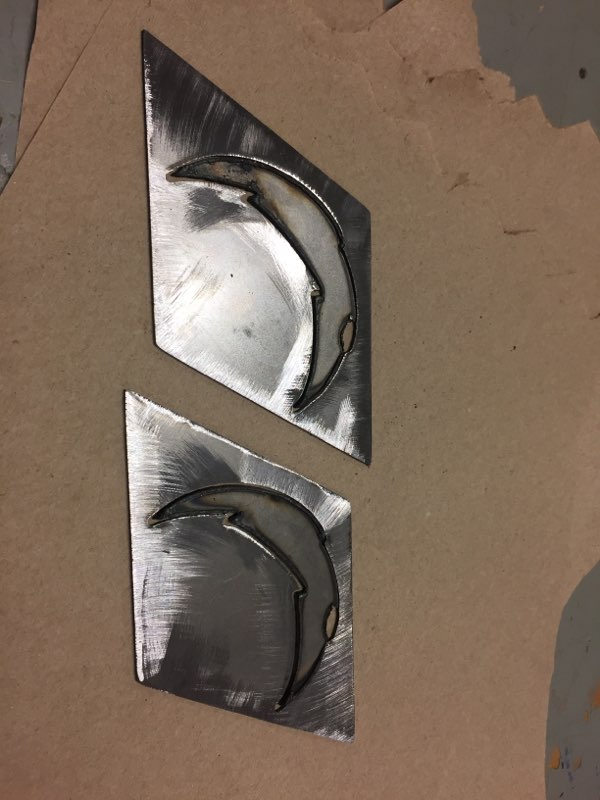
While it got all of the dross off, half of the backside was scratched in all different directions. I then made the decision to test one piece against a lot of post processing techniques and see which ones would be the most effective at masking the scratches. I put it on the belt sander, wire brush belt, and some sandpaper. I decide that just the belt sander and wire brush would suffice. I then put some primer spray paint on the piece, to test how it looked with the spray paint on it.
The test piece after putting it through all of the post processing
I then plasma cut a third diamond and put both the surviving diamonds through the previously determined post processing procedure, including the primer, since I determined it a BEAUTIFUL job of covering up the small problems I had tried to deal with earlier.

Pre-paint diamonds.
As I was letting the primer dry, I decided that, to keep with the color scheme of the Chargers, I would have yellow near the lightning and blue in the area in the middle. However, my previous assumption that they had said colors was false, so I had to make a decision, either pick another color to paint my diamonds, or just leave them the grey primer color. I found some green paint, and decided, well, (insert title here). I then painted the front side only green. I then typed up the instructions and put them on the back of the diamond.
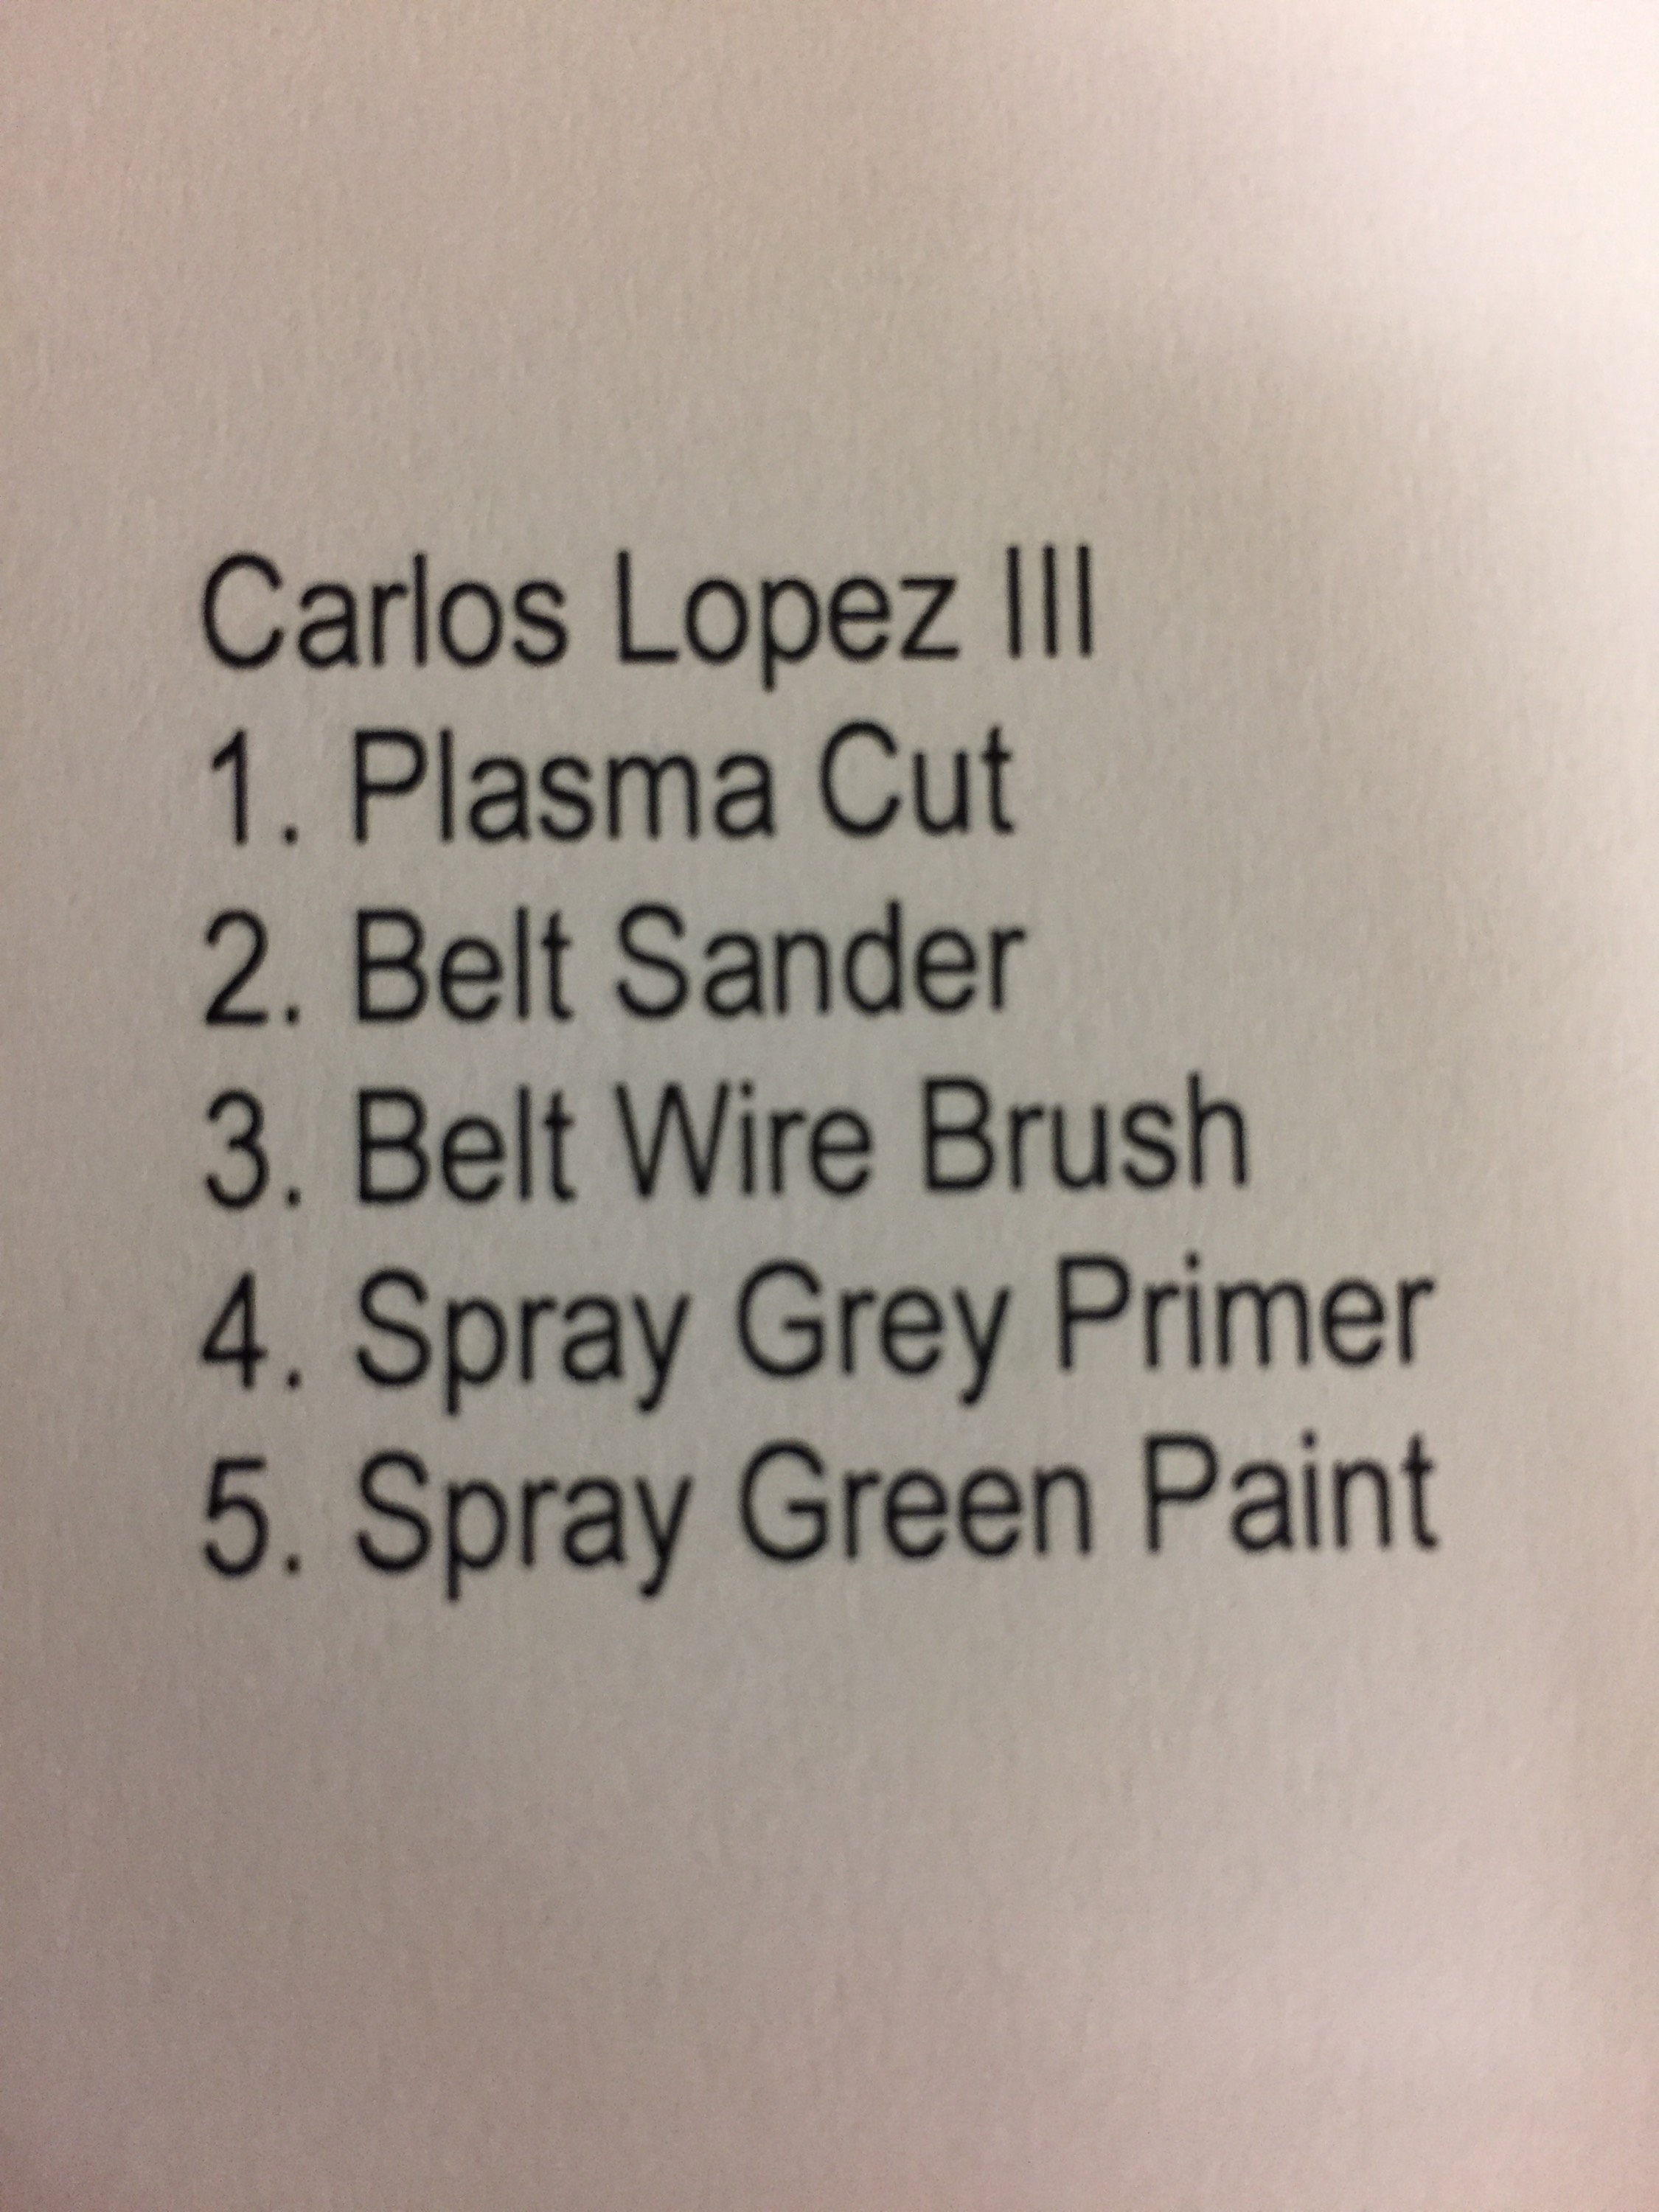
How I made my diamond
I would say that this project seemed easiest, since the majority of my problems only came about from my having to decide what color my diamond should be. Also, it turns out that spray paint does a beautiful job covering up any problems, so while I still needed to do all of my post processing, I probably wouldn’t have sweated it too much if I were to do this project again.
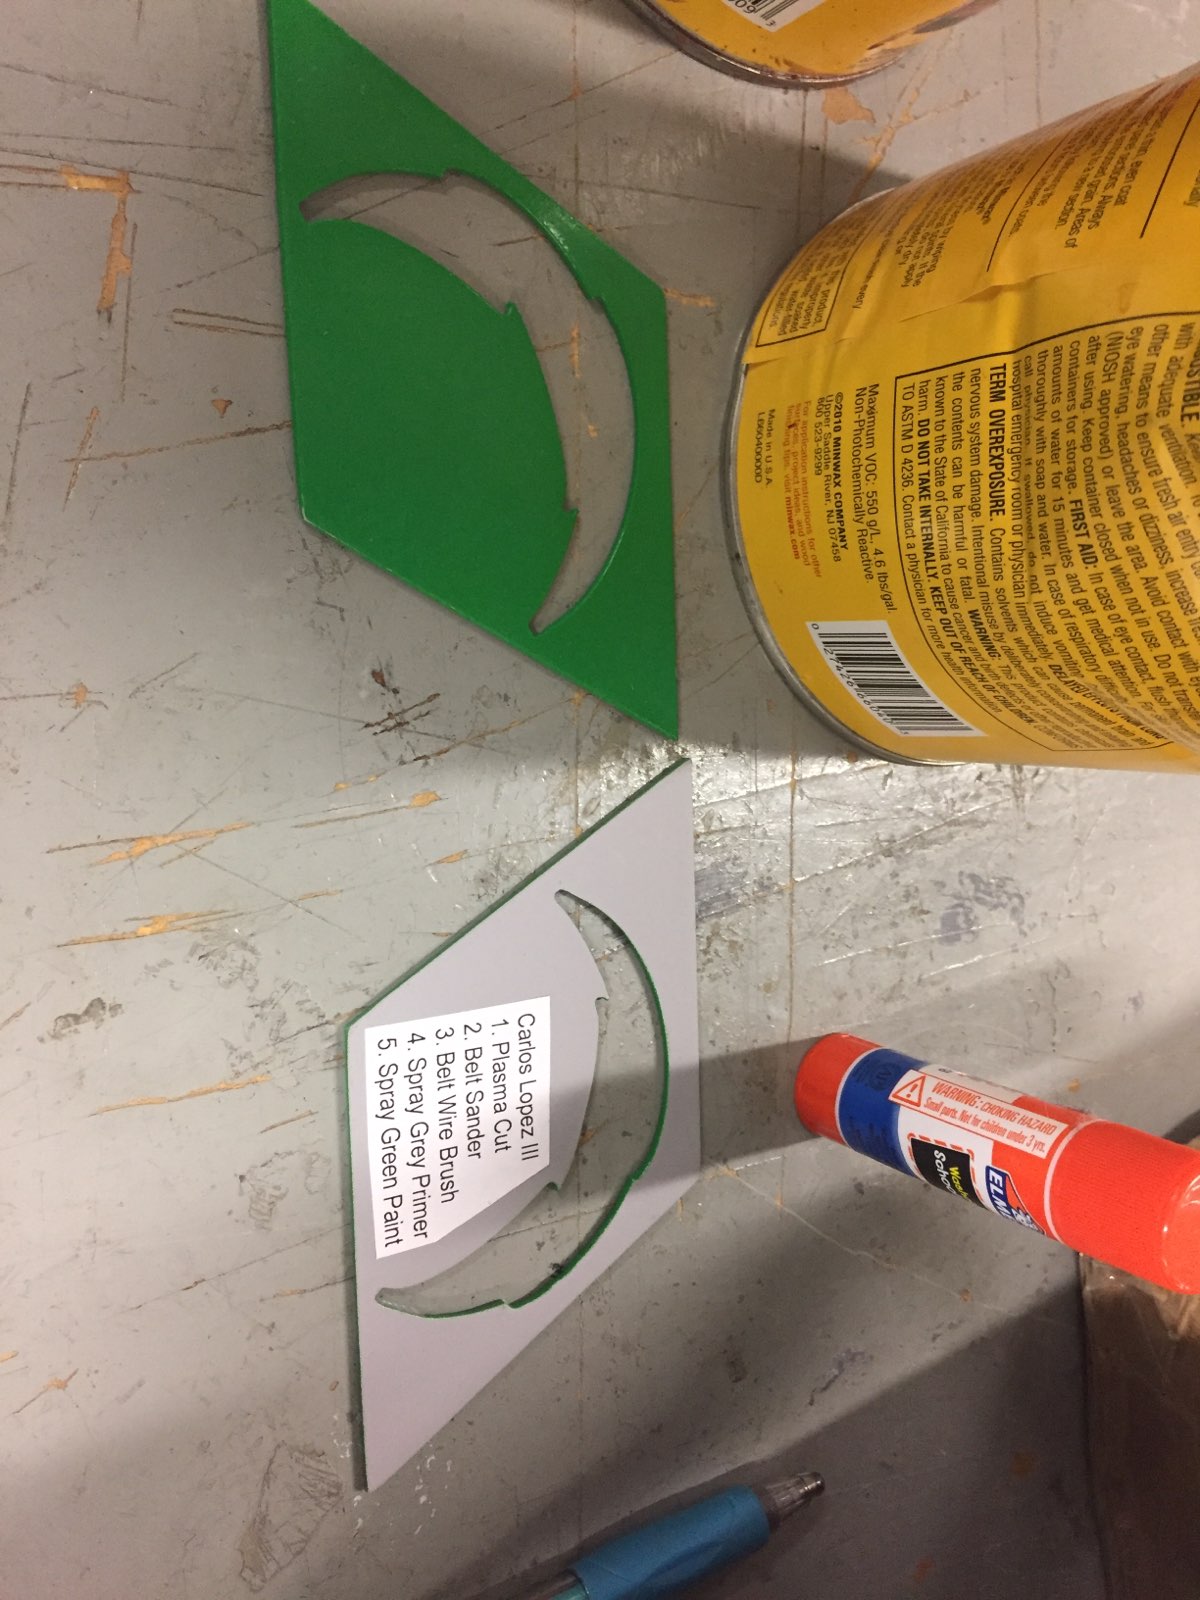
Front and back of the final piece
