Happy Valentine’s Day! Anyone that knows me well knows that my ideal Valentines date (or anytime, really) is eating tacos at a Spurs game. I live and breathe Spurs (I didn’t write this post last night because I was mourning our loss to the Nuggets). Hence, when we were told to redesign a diamond using the plasma cutter and post processing techniques, I ~obviously~ chose to put the Spurs logo right in the center of the diamond.

Go Spurs Go!
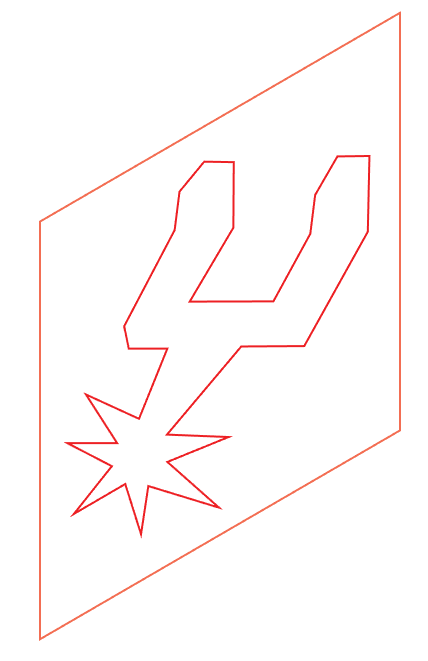
First, I started with the oh-so-glorious Spurs logo and traced it in illustrator. I added in the diamond template provided and positioned the spur in the middle.
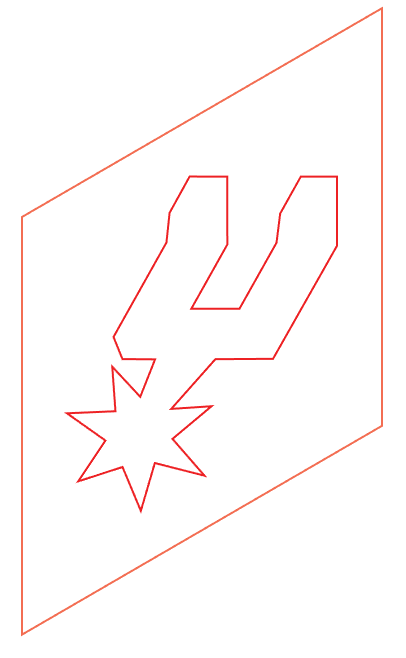
1st tracing
Next, I took the file to the plasma cutter, tried to remember all the steps on how to prep and import the file, freaked out that I was doing something wrong, and looked up the step by step guide online. I chose steel as my material and Joe suggested I use a speed of 80. I compared this to the example cuts and it looked good so I went ahead. I cut the first one, and realized that the width of the cut made the outline edges run into each other, rendering the sacred spurs logo as more of a blob than the greatness it deserved to be.
Attempt 1
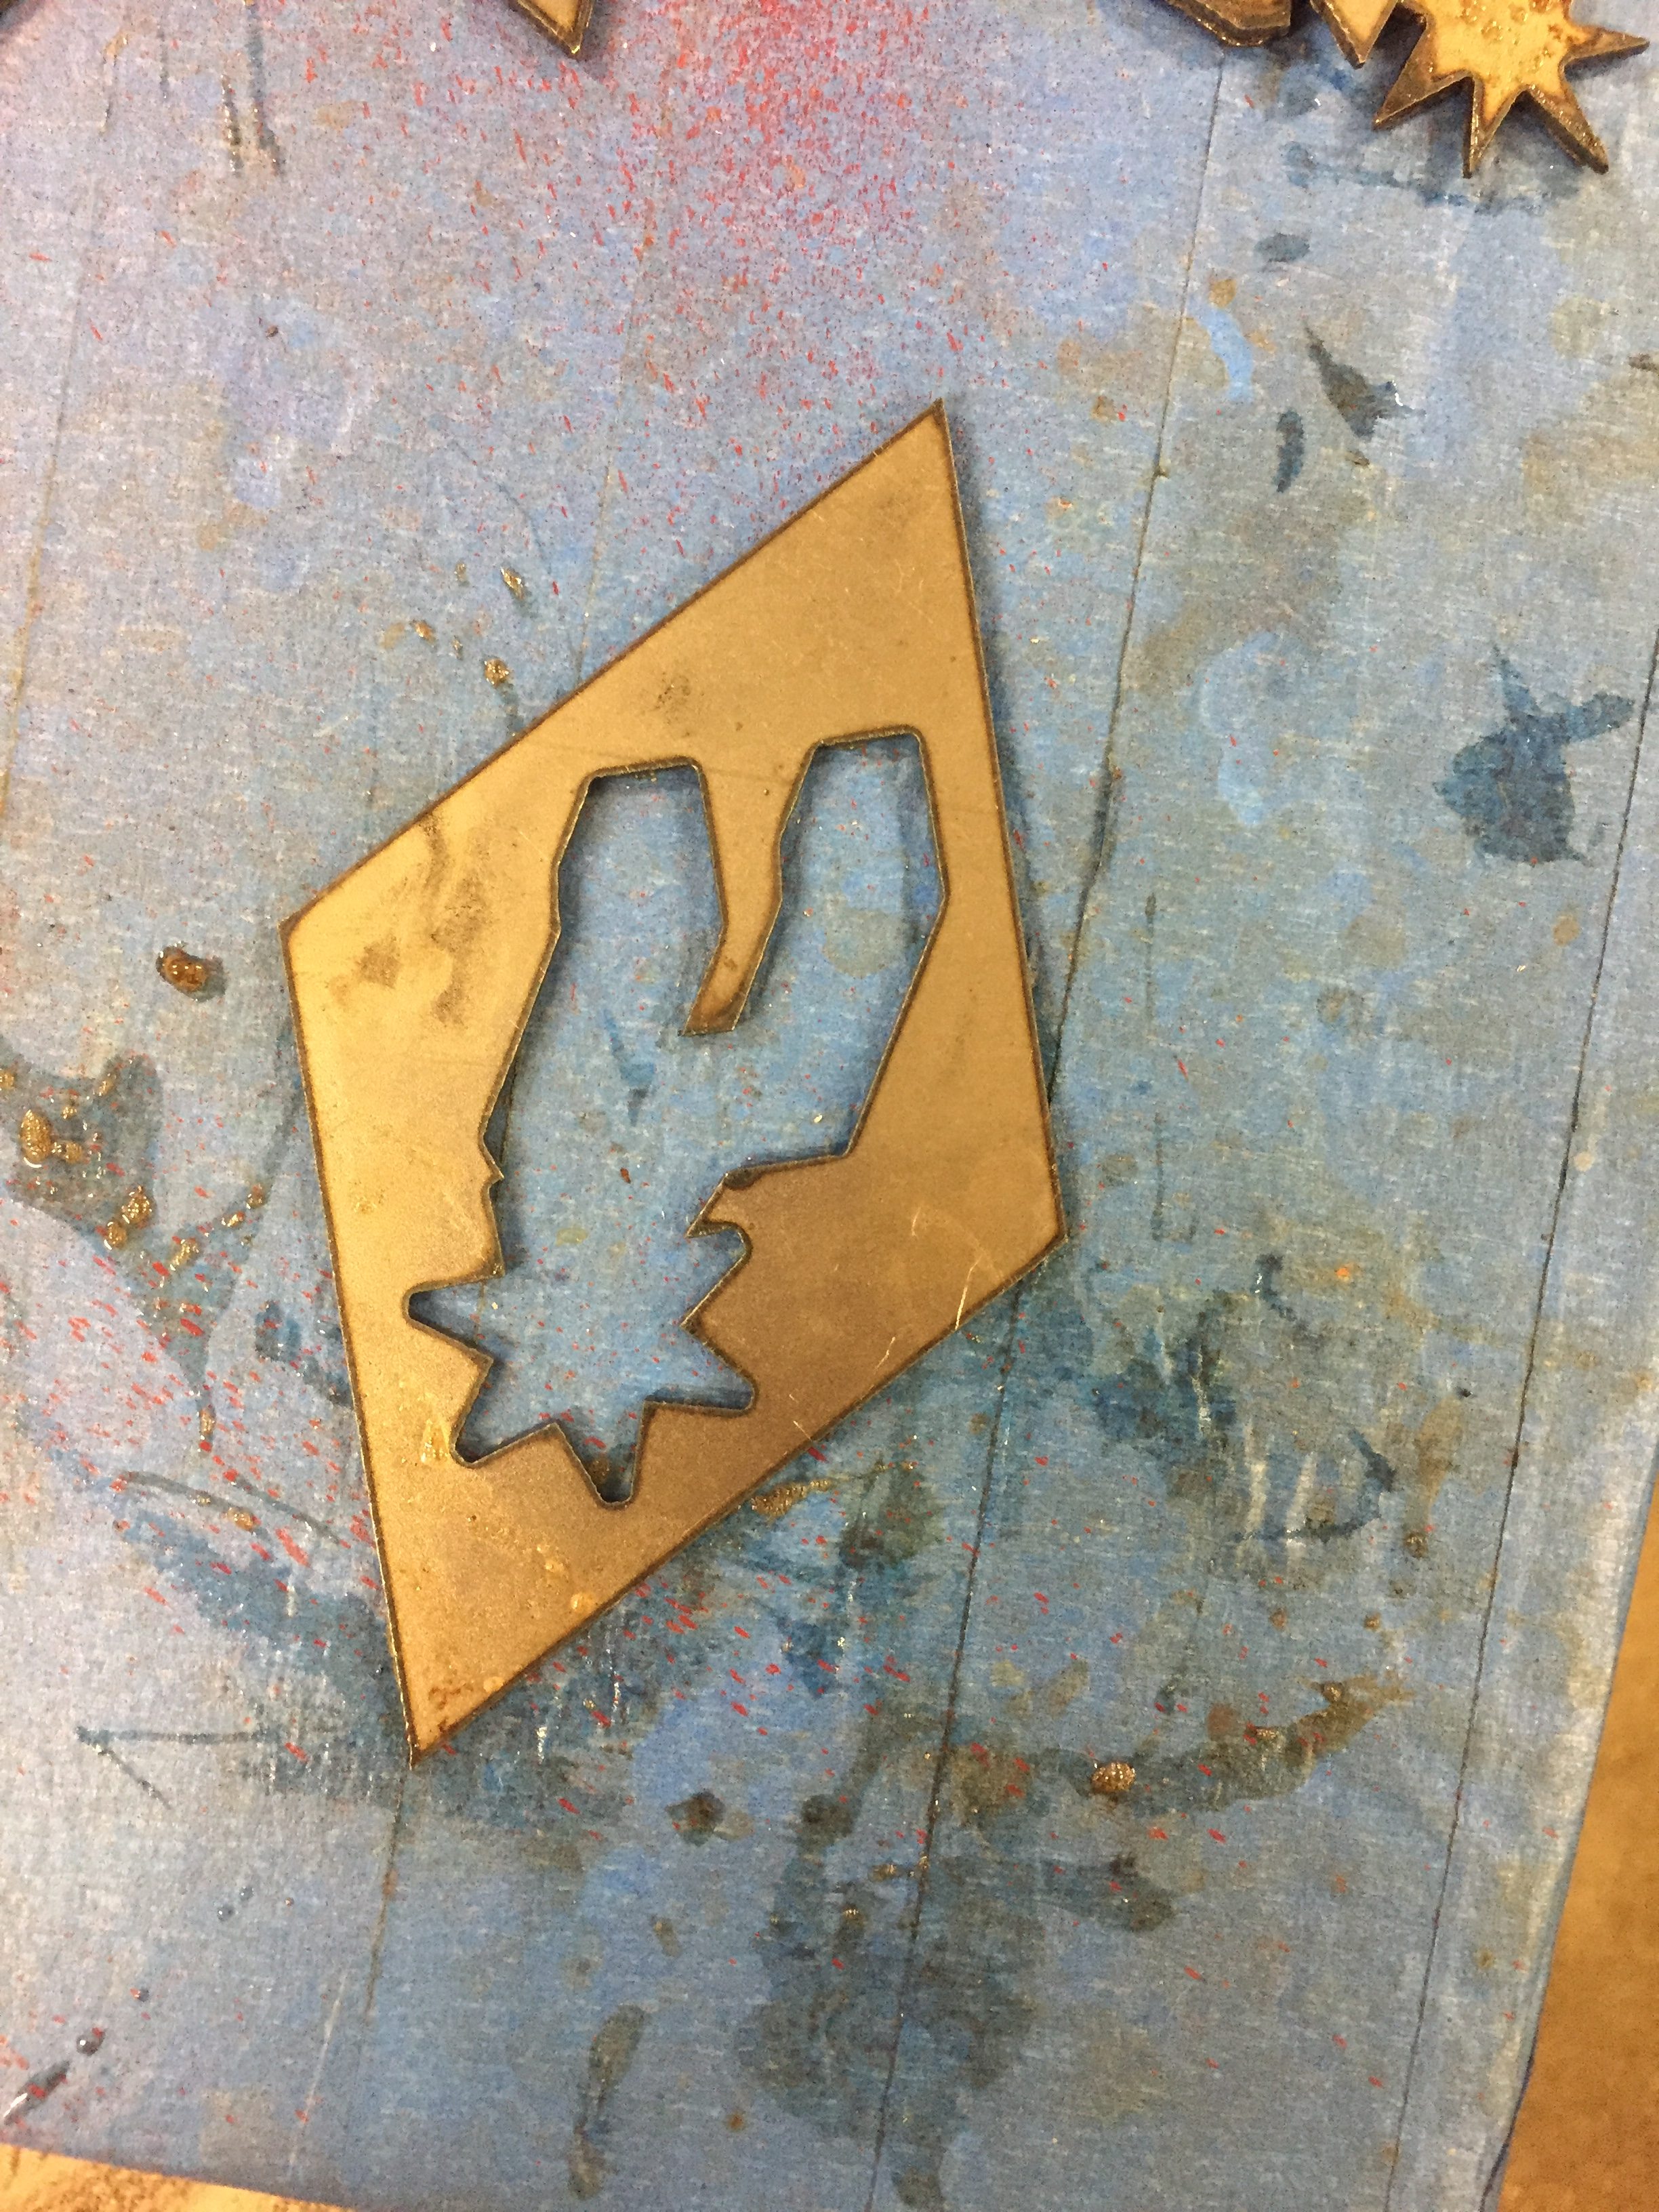
So I went back to the drawing board (aka Illustrator) and edited the file to make the top spike of the spur a little shorter so hopefully it wouldn’t merge with the U shape of the spur again. It turned out like this:

Drawing 2
Attempt 2
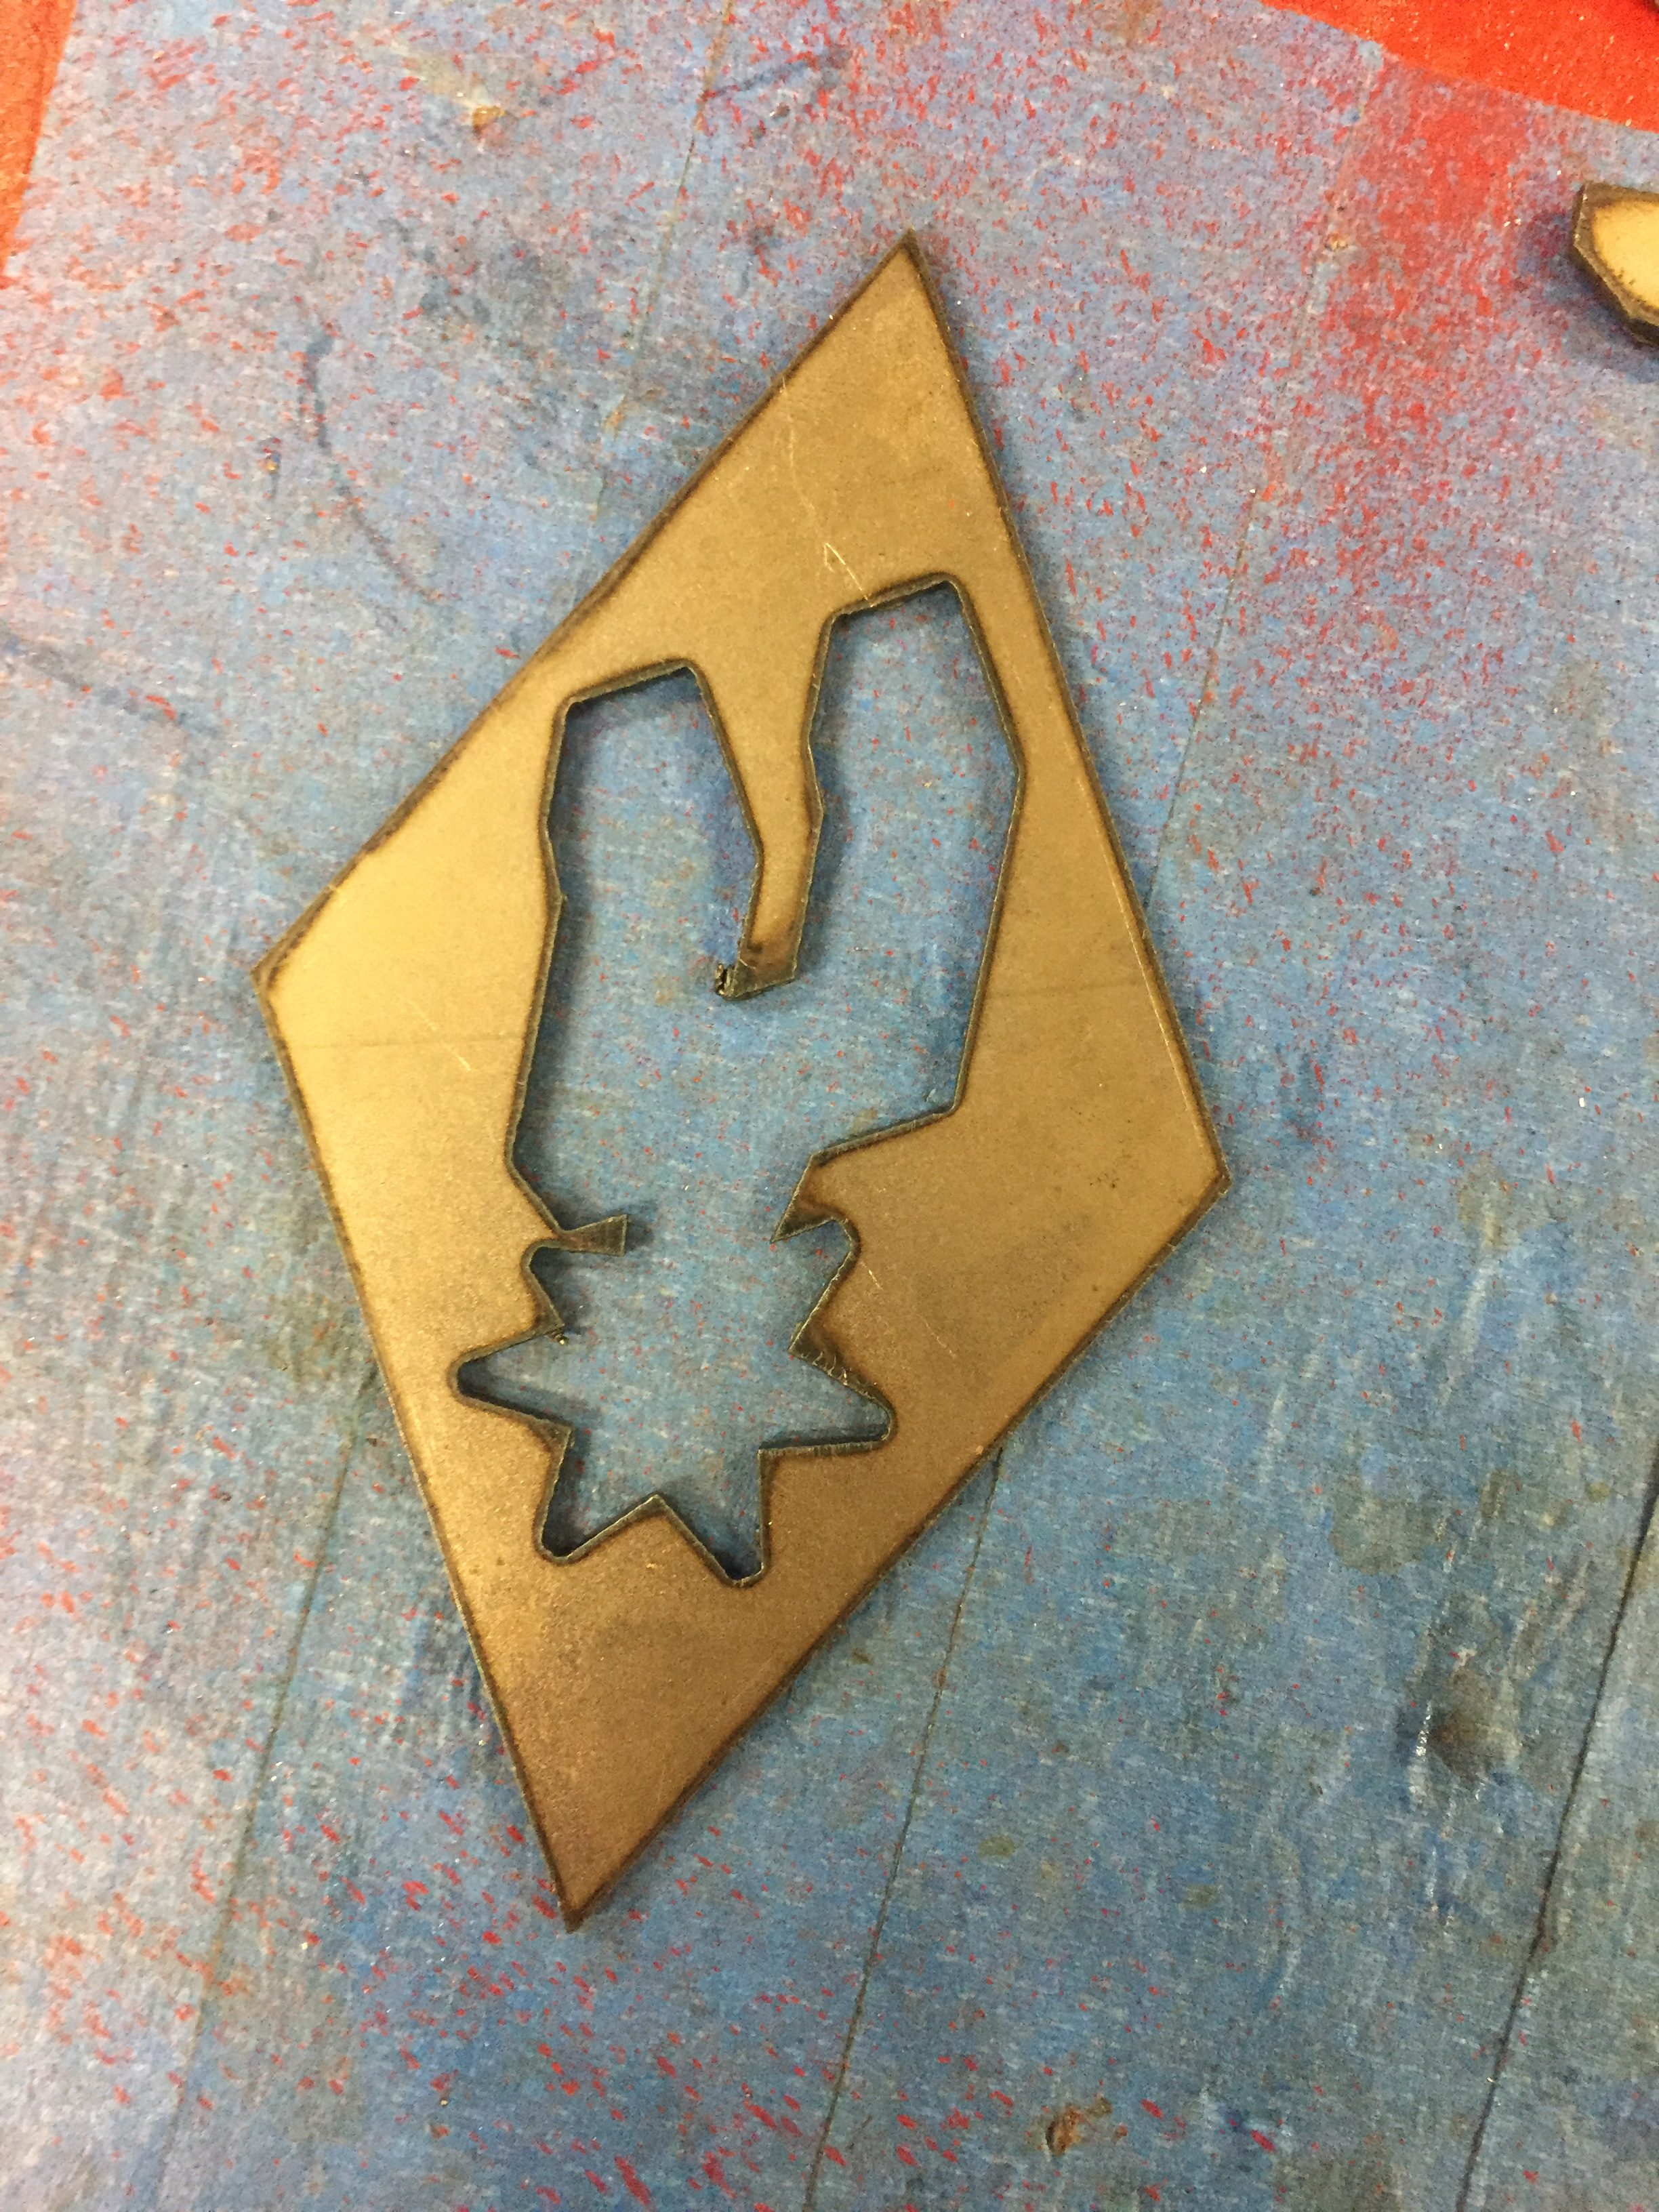
Not terrible but the shaft part of the spur could definitely be more defined. Since the cut width was wider than I had anticipated all around, I decided to edit my original tracing to make it skinnier in all dimensions. Retrospectively, I should have tried my original file as a female path rather than male path and see if this fixed the issue, but it was easy enough to retrace the logo with skinnier dimensions and an exaggerated shaft to get the cut that I wanted.
Drawing 3
Cut 3
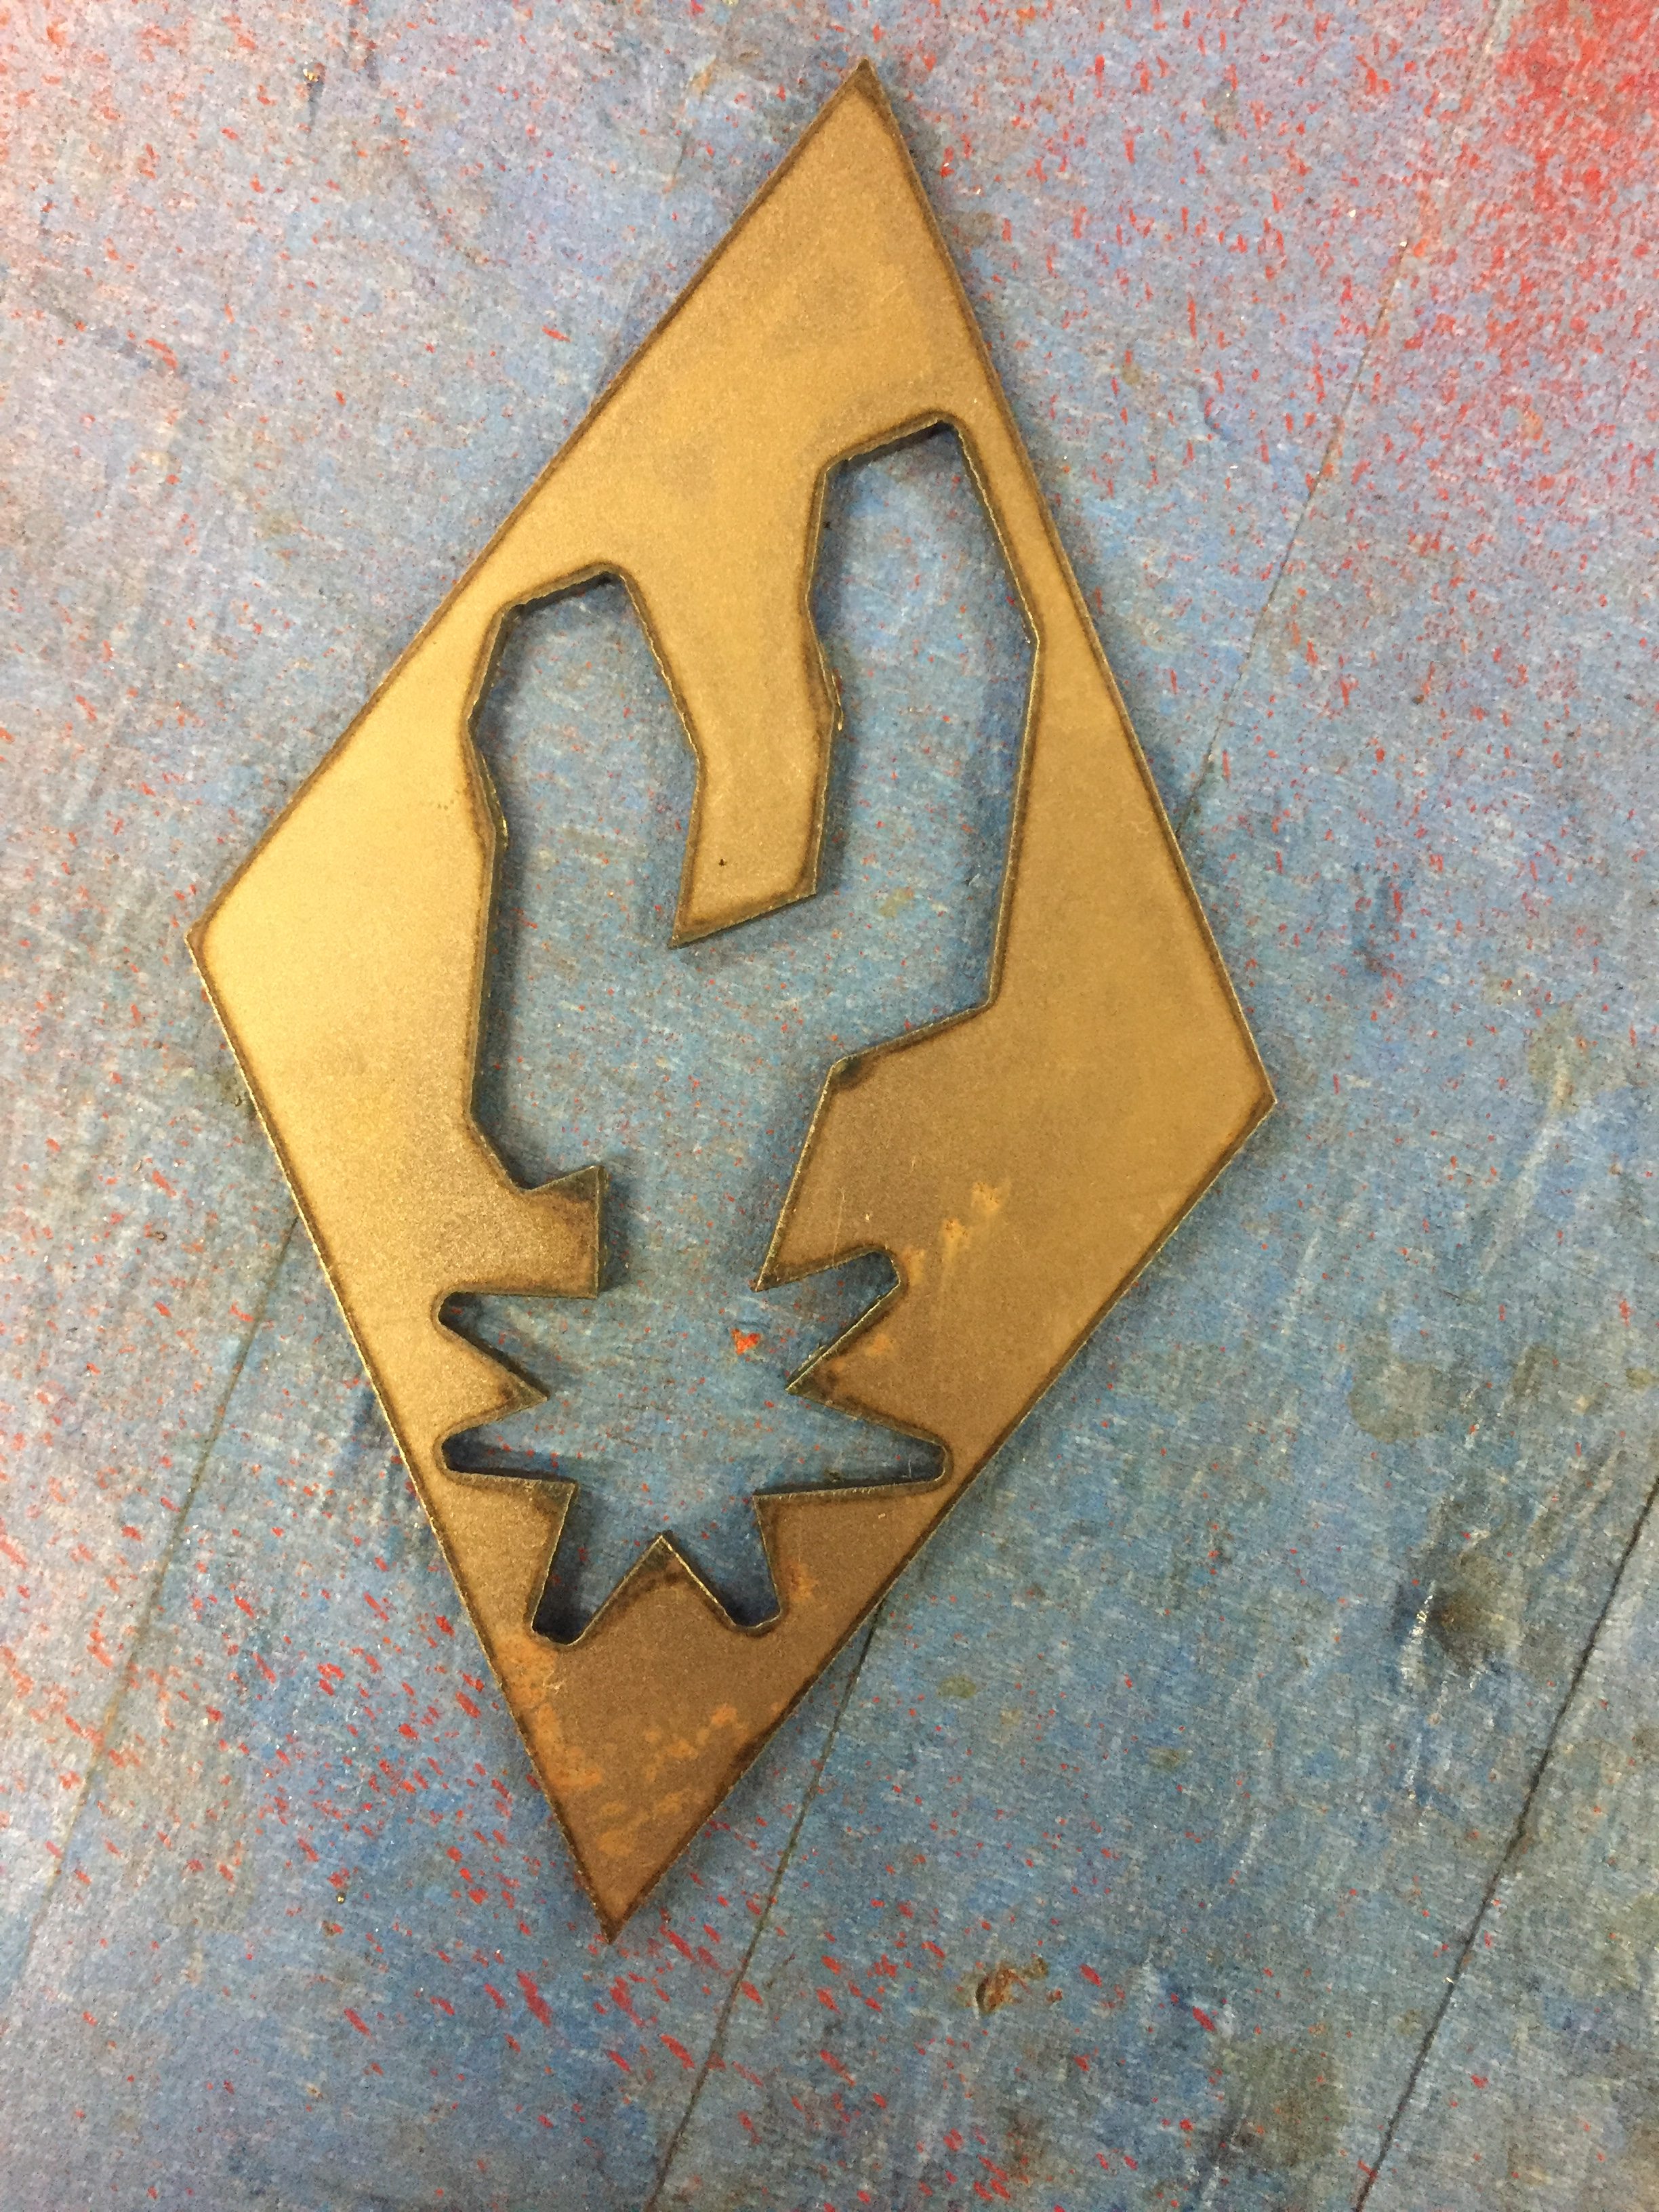
After I was satisfied with the shape, I cut out 3 more, just so I had a few to experiment with or screw up. Next, I jumped into post processing. First, I angle ground the parts to remove the slag around the edges and around the spur cut out. I noticed that angle grinding the pieces left some scratch marks ( I guess you can call them that) — I decided to see if spray paint would mask this rather than using the buffer wheel. In addition to angle grinding, I filed and sanded the edges of the diamond and the edges of the spur to make them a little cleaner and less sharp. I couldn’t use a dremmel because the bit was too big to fit inside of the spur shape to get at the edges and corners that I wanted to work on.
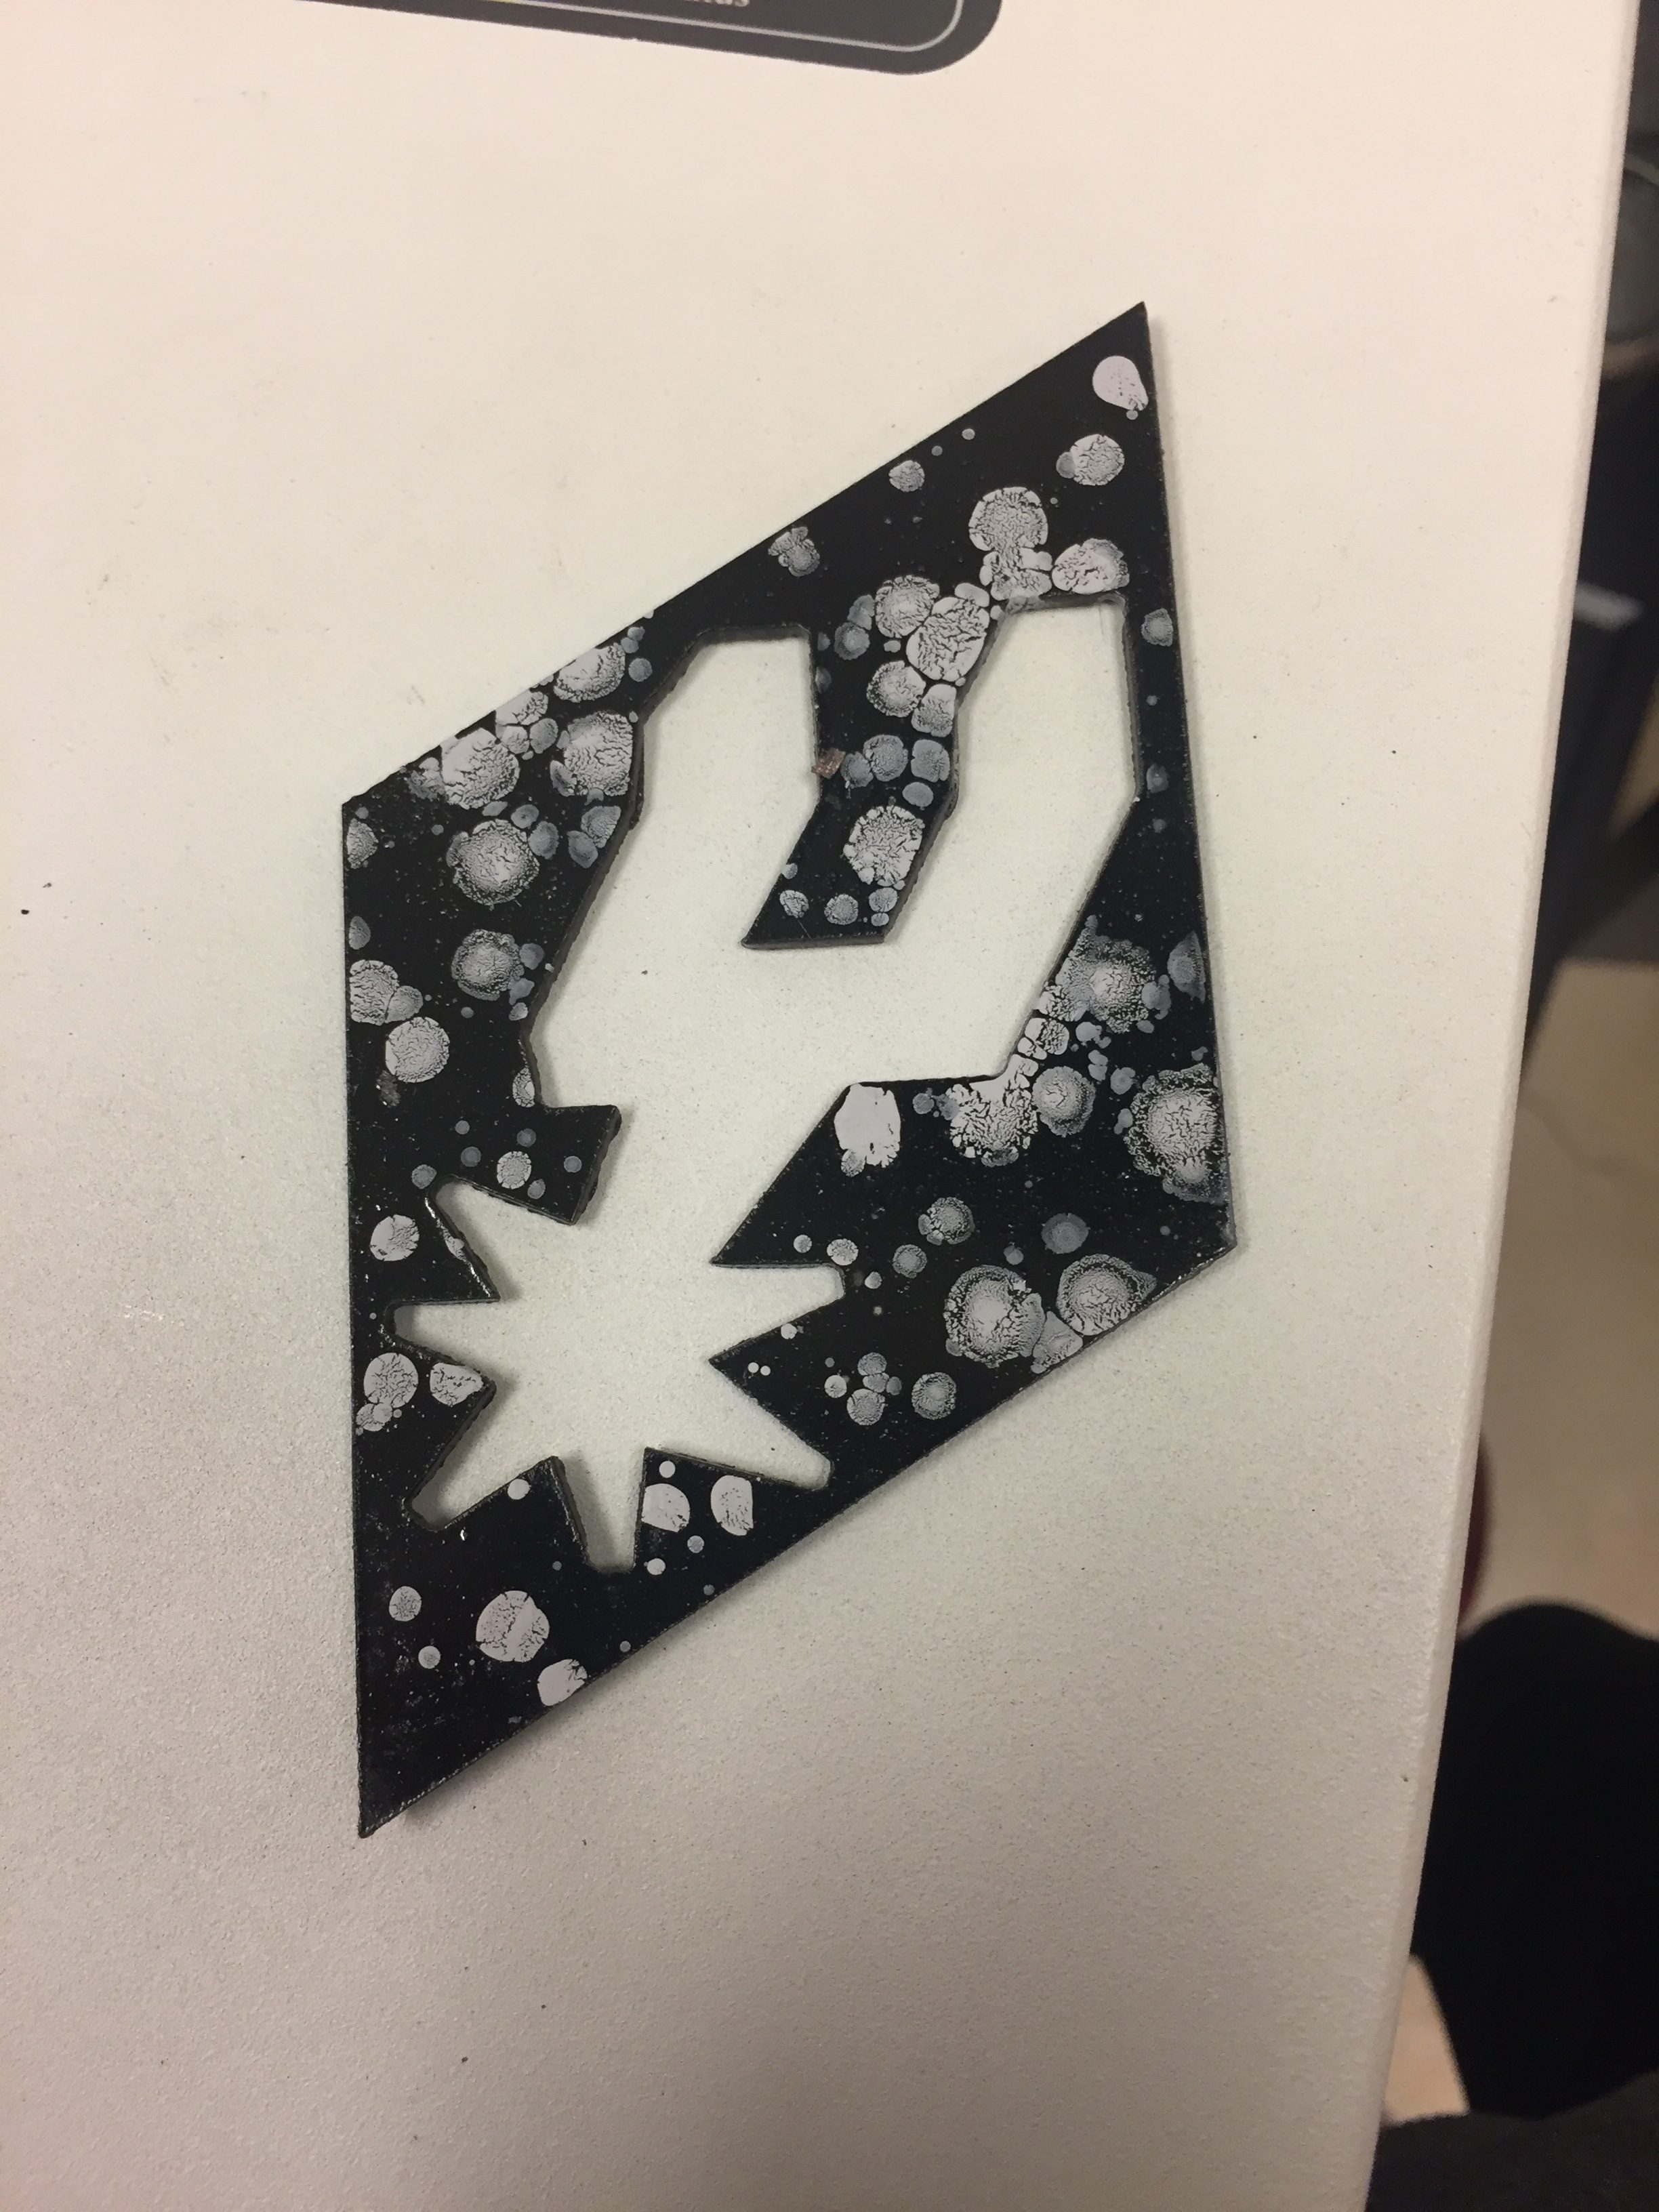
Next, I began painting. First, I coated the front and back sides with a glossy black spray paint. Next, I applied a splatter paint treatment to the front side with gray paint. I did this by spraying my gloved hand with paint until it was dripping, and then flicking/twisting my hand, thereby flinging the paint onto the surface. While this technique is technically not “reproducible”, I’d like to consider my spurs diamond art, and every piece of artwork is unique! Lastly, I applied a clear coat.
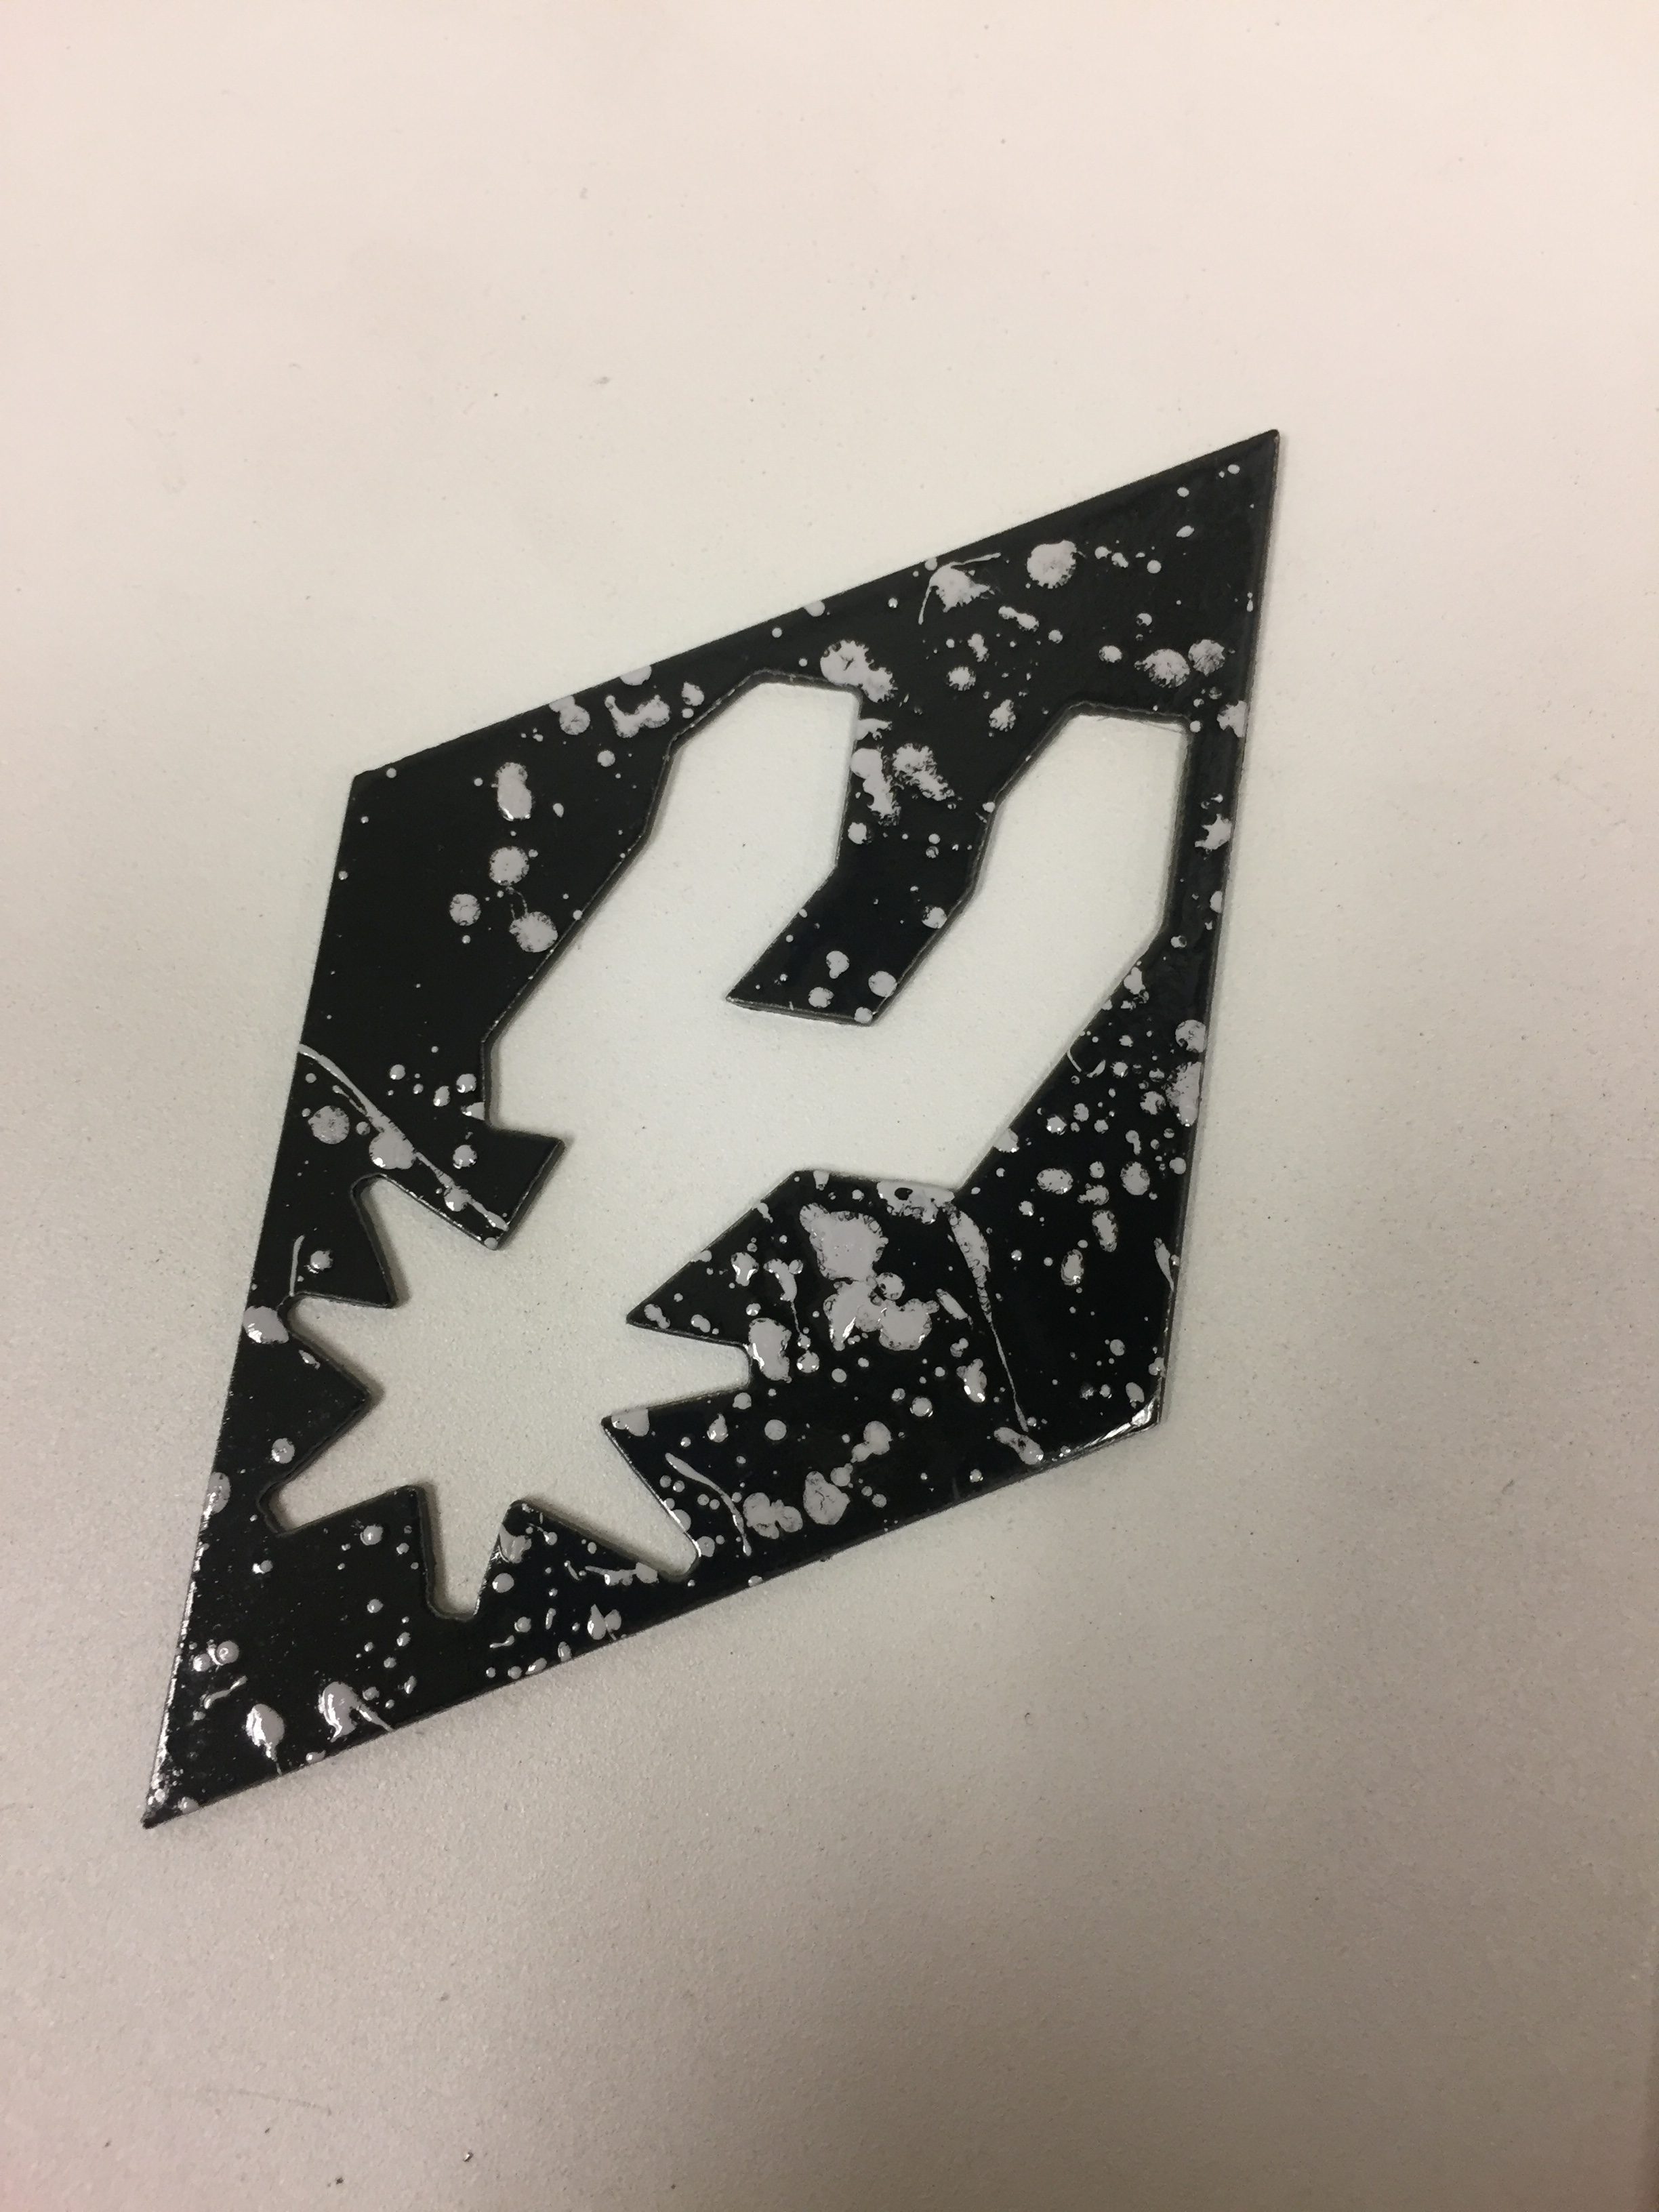
6 Splattered!
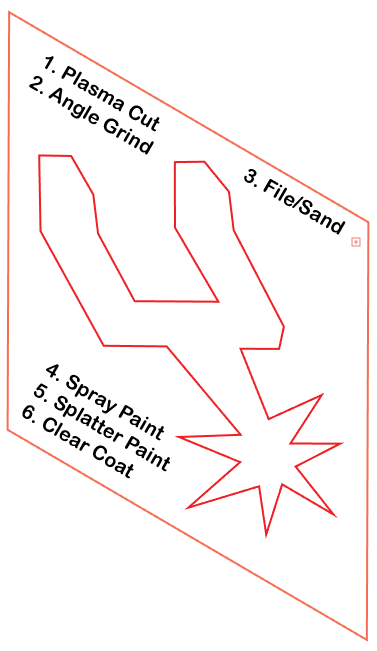
The last step was to label the back of the piece with the steps that I used to post process. To do this, I used the laser cutter to etch off the paint on the back surface. I used a speed of 100 and power of 80.
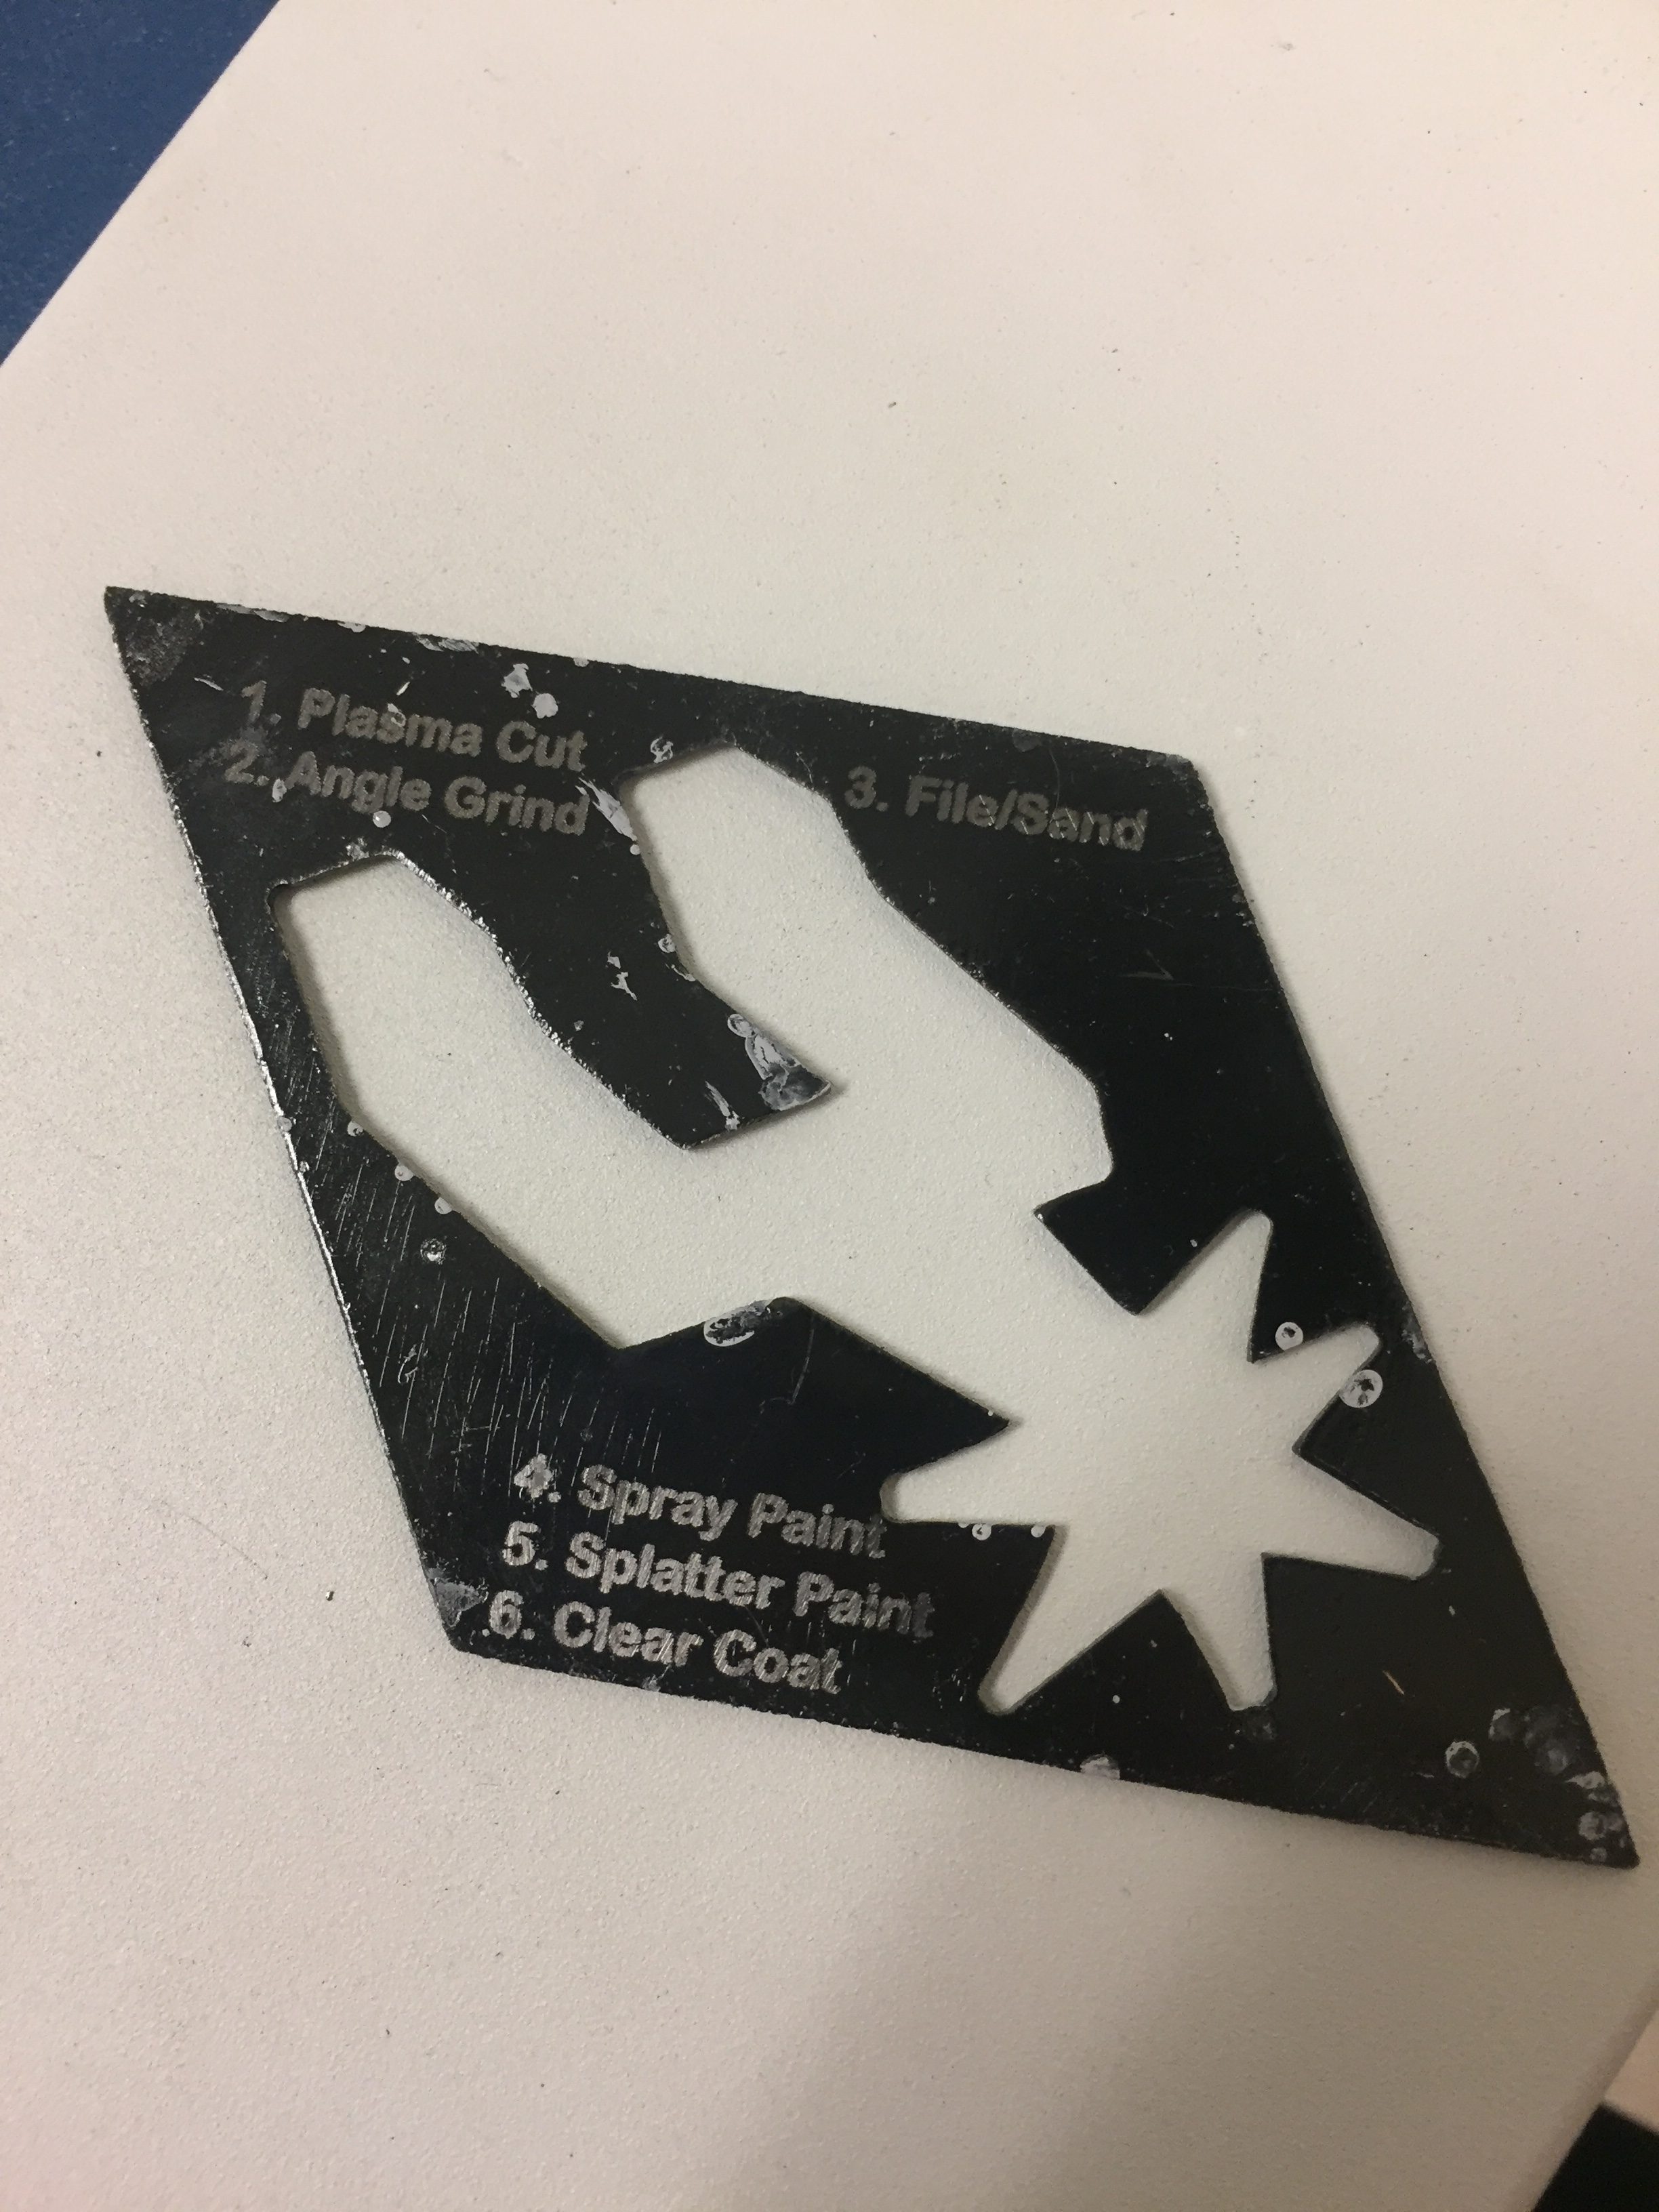
Overall, I had a great time with this project and became a lot more comfortable with tools like the plasma cutter and angle grinder. I also liked being able to be a little creative and have free reign over what to design and how to post process.
Bonus: In my first attempt at splatter painting, I didn’t wait for the base coat to dry before splattering, and the colors kind of ran into each other and looked pretty cool.