What up peeps. Cole here writing another blog post from MECH 420. Lots of fun. This week (last night) we worked on both plasma cutting and post processing methods. To learn these skills we first designed a diamond to plasma cut and then we worked to finish it using a variety of techniques.
For my diamond I decided I wanted to so some sort of rocket (obviously). Within Illustrator I used the shape building tool and a couple of shape tools to get the design:
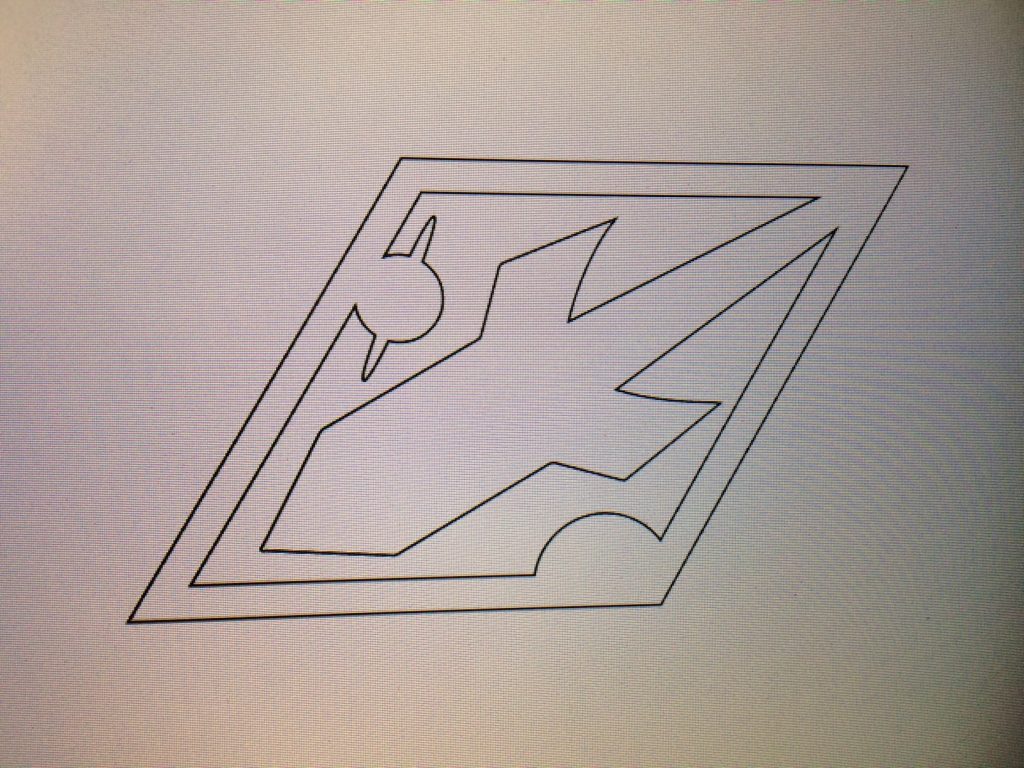
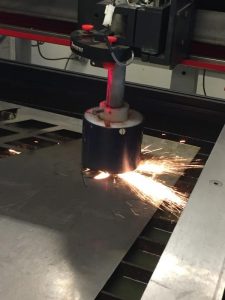
Pretty sweet right? After saving it as an .ai file and saving it to a USB thumbdrive, I went to the plasma cutter to cut it out of the steel plate we’ve been using. I quickly realized something was wrong though when I applied a male path to the entire design. When using a male tool path on both the inside and outside closed paths, it took off way too much material on the inside. I realized I needed a female cut on the inside portion, and a male cut on the outside portion in order to get the shape I wanted to get. After messing around with the program for a while I realized that I had to first apply paths to each closed loop individually and then it would allow me to create a different tool path for each closed loop, giving me the shape I wanted. Then I began to cut the shape out:
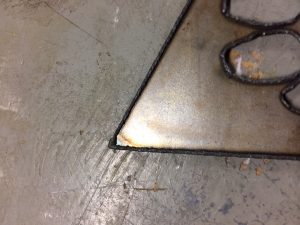
Thus begins the lack of pictures (again) that I took of this project. Thus I’m gonna rely on using some pics from other people’s diamonds to get my point across. Anyway, after plasma cutting I had a good amount of slag that needed to be taken off which looked pretty much like this:
Using the angle grinder in the machine shop and the magnetic vise that Joe has, I ground off the slag (dross technically) until both faces were both nice and flat. Take a look at this picture that is totally me grinding down my diamond.

Now though, due to the angle grinder and the plasma cutter, I had some sharp edges on both the outside and inside of my diamond. So I took it into the machine shop and used the spinning wire brush motor in the back to clean up the edges, and then I finished it out with the buffer with standard polishing compound to smooth it out a little bit more. Now I was ready to paint! I decided that I wanted to used spray paint for as much as I could, so I taped everything but the outside outline of the diamond and painted that black:
Then I taped up everything except for the rocket exhaust and painted that a bright red:
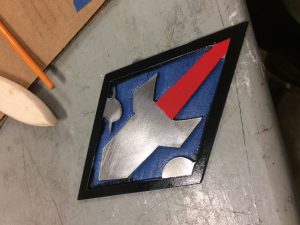
For the remaining planets and accents I went ahead and used some acrylic paint that was laying around the 210 table to give me a finished paint job. I painted both planets, and added a yellow accent to the rocket exhaust. I decided that I wanted to keep the rocket as just natural metal so I sanded it in a vertical line to give it a nice brushed finish. Finally I sanded the back with first 400 grit sand paper and then 800 grit to smooth it out since it had gotten a rough since I had buffed it in the beginning (rookie move buffing it early).
Viola.
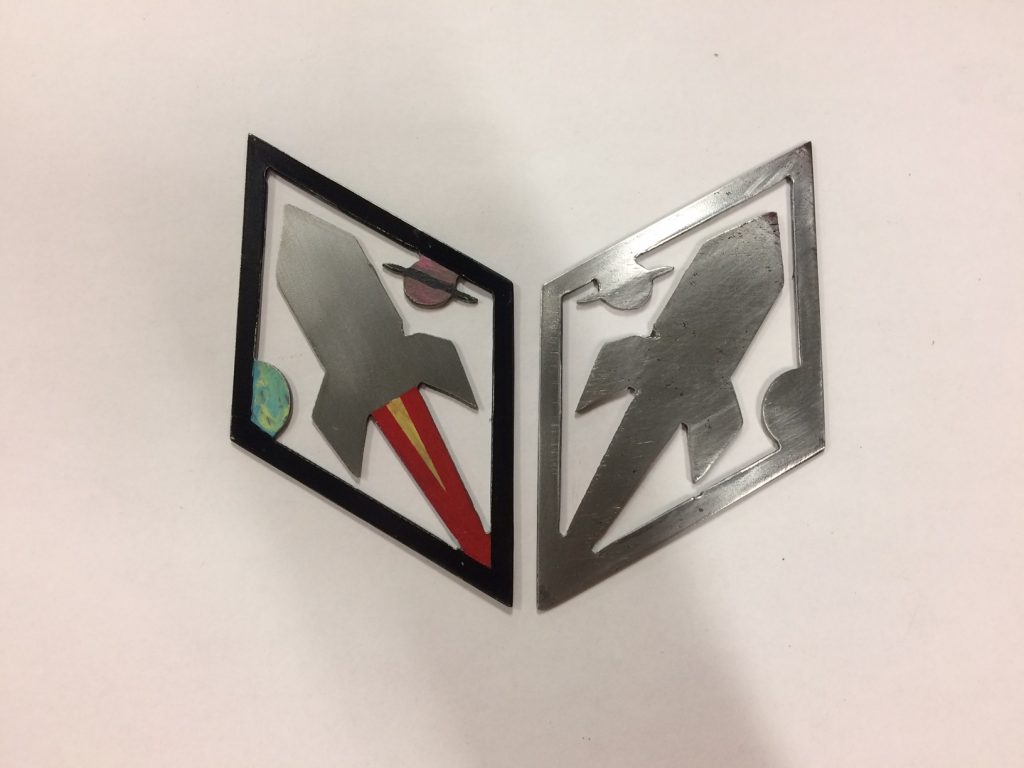
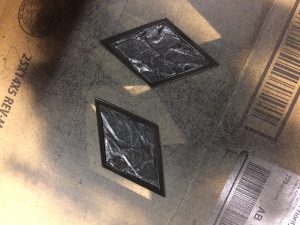
The only things remaining were to give it a quick clear coat to protect the paint and metal and then add labels to the back to describe the process that I went through to create these beauties. I realize now that in my sleepy stupor I completely forgot to include angle grinding as the second step in the process. RIP. But you know I did it through this blog (I’ll fix it on the diamonds in a little while).
I was able to make them pretty damn identical, but on the backside of one some black flecks of dust (not sure where they came from) decided to hop onto the clear coat and ruin the finish. Other than that, I think they came out pretty nice.
Until next time…
