The prospect of casting fingers seemed like a good idea for making clothes hooks. That is until, the fingers came out of the molds. The accuracy gave the appearance of a stray finger subjected to taxidermy by an avid coat collector. Not only did the fingers have a great number of defects, I decided to use bolts as the fasteners and accidentally dipped them in the cast liquid the wrong way. This was not a great issue when post-processing as the plastic can be removed easily from the bolt.
Another mold was prepared to make an even better coat hook. For this batch, instead of 8oz. of water and 4oz. of Alginate, I went big…64oz. of water and 16oz. of alginate (sorry Dr. Wettergreen). The mix had to be stirred using a hand drill with a 1/2″ hole bit and it did not mix very well. The powder was poured in smaller batches to facilitate mixing and still ended up forming bubbles of dry alginate.
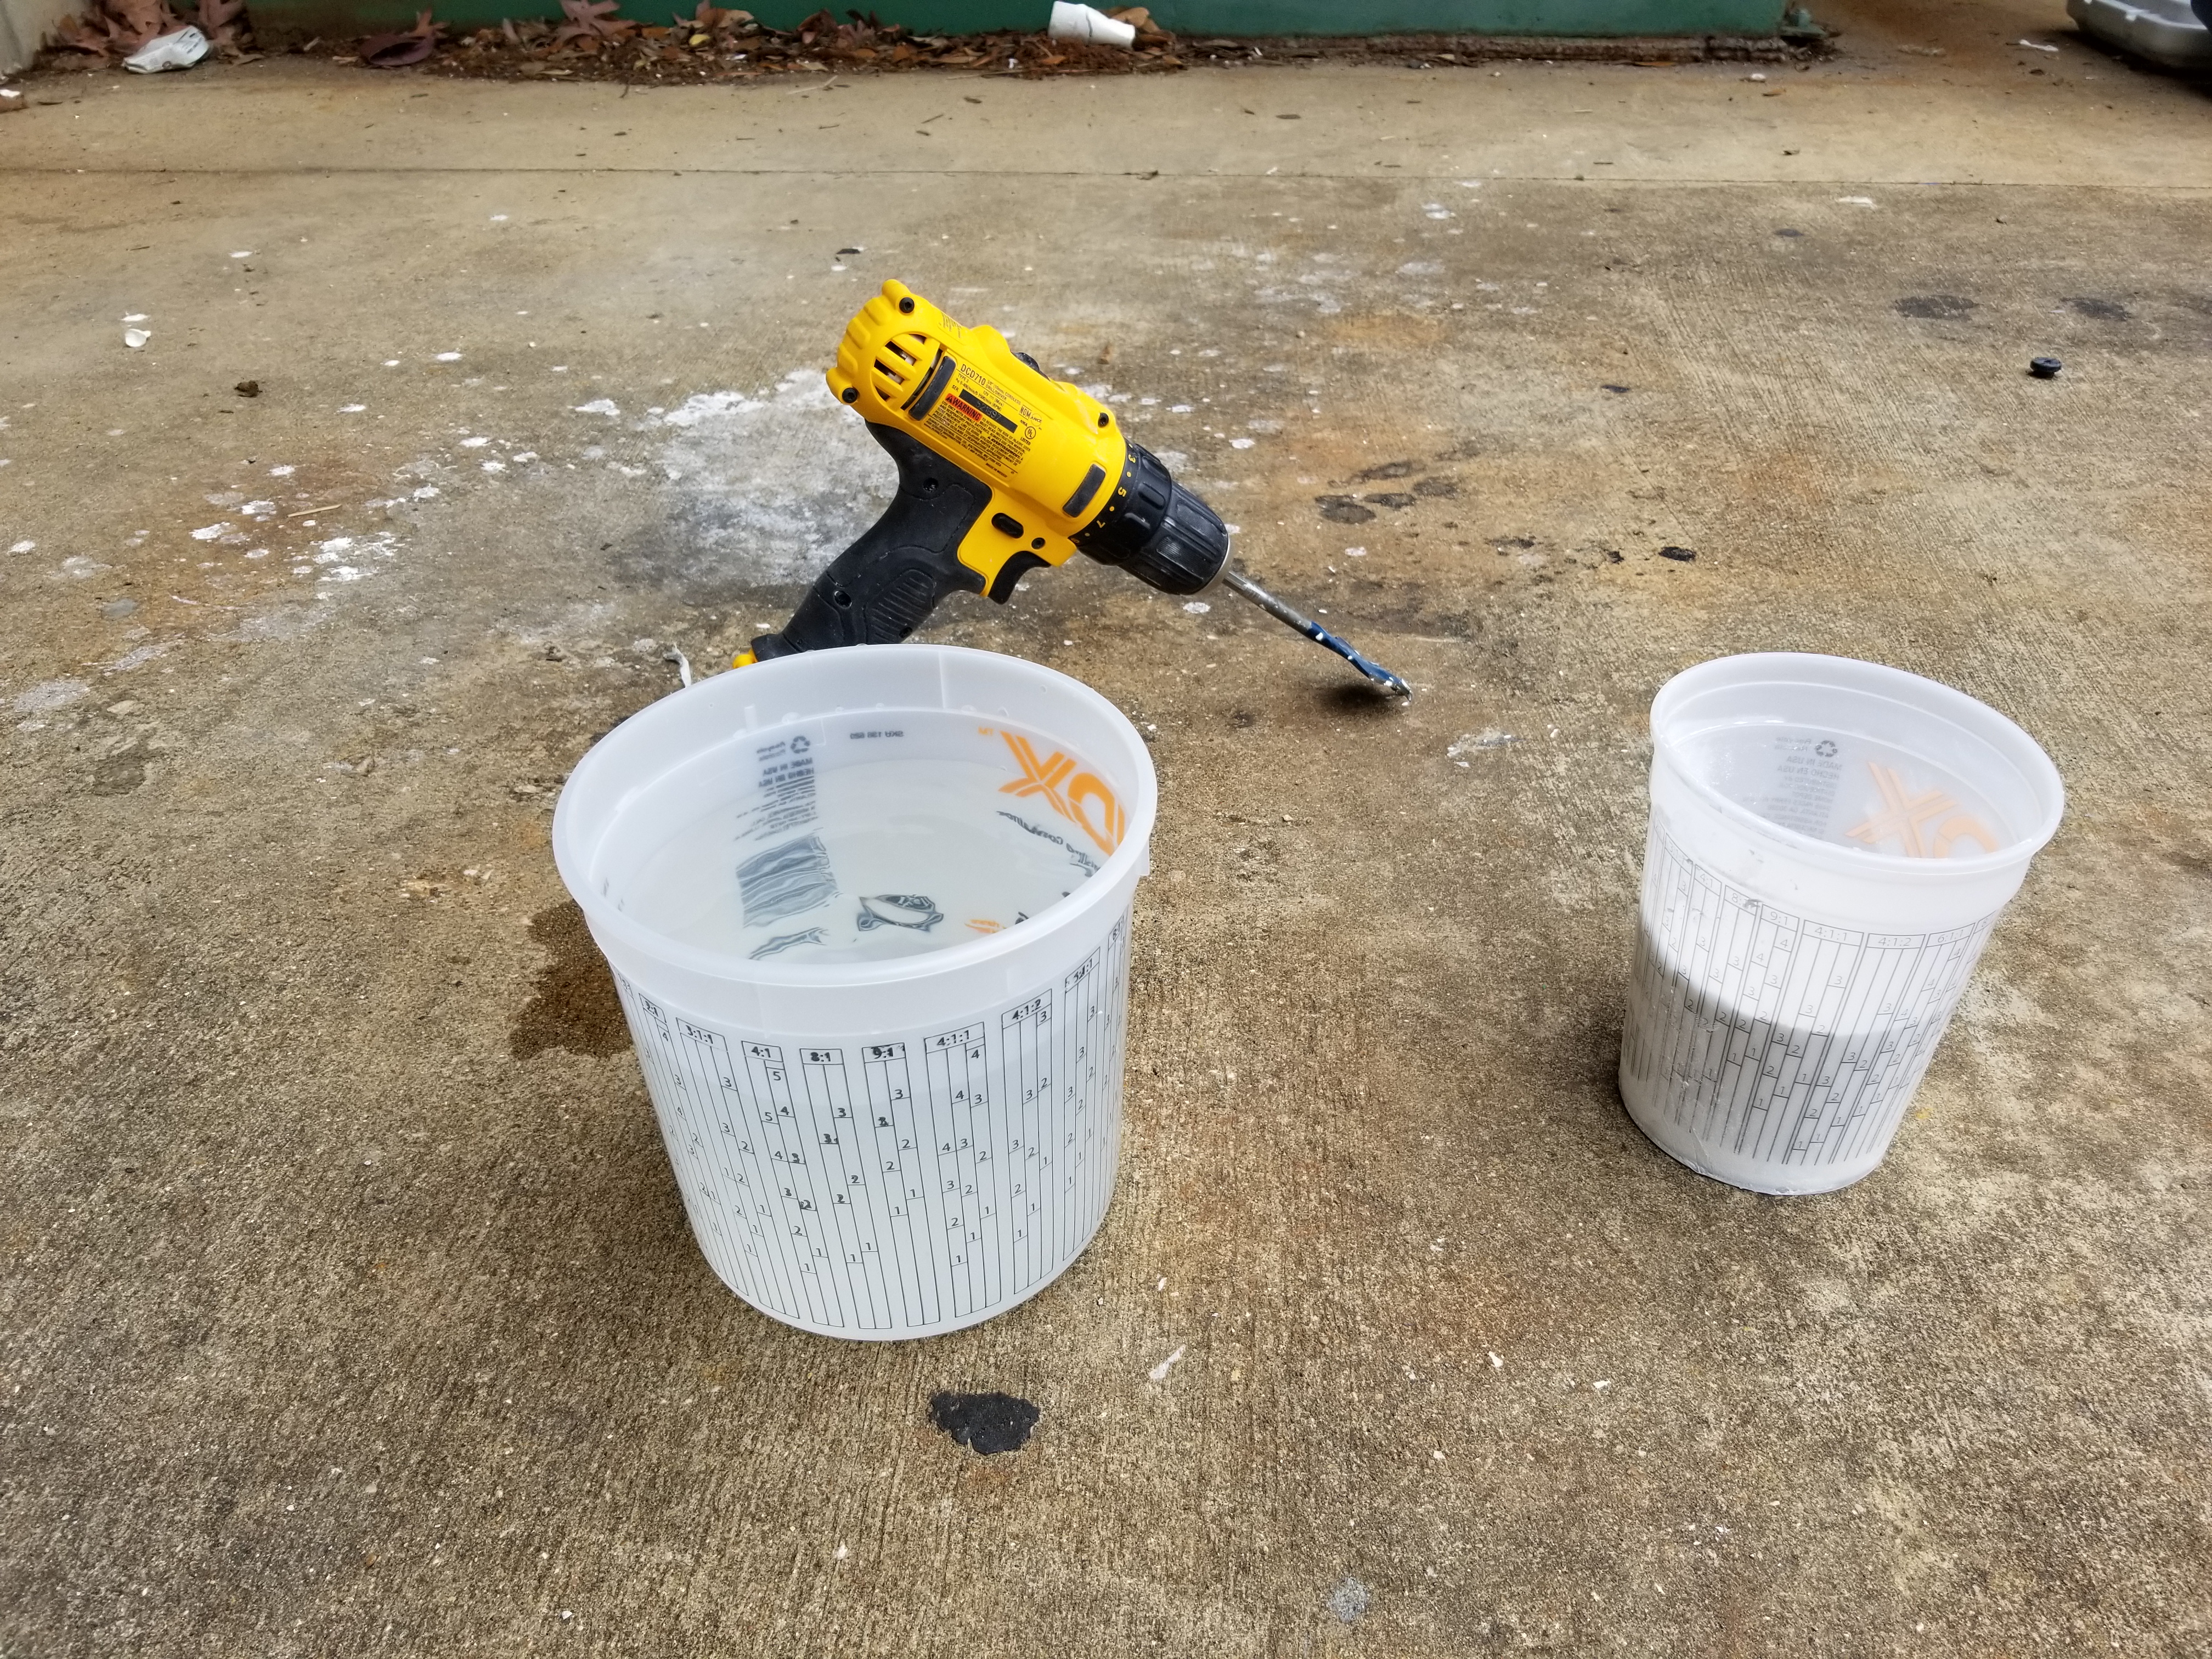
Mixing the materials.

Still not ready for mold making.
After the mixture turned white, it was time to dip my hand in it to create the negative cavity. This took about two minutes…two whole minutes of staying still without moving my hand as this would potentially damage the parts that had begun to solidify. You can tell when it’s time to remove the hand because it becomes a lot less heavy and movement becomes quite difficult.

Ready for finger dunking.
Removing the hand is best accomplished by wiggling the fingers, then lifting your right leg, and singing La Cucaracha. It is crucial to hit the right notes as the vibrations synchronize perfectly with the natural frequency of the solidified alginate. An alternative if you don’t know the lyrics to La Cucaracha is to sing Despacito. The reasoning here is different as this popularized latin song actually breaks down the bonds nearest to the singer’s body, more research must be conducted to determine the nature of this phenomenon.
Regardless, after successfully removing the hand from the mold, the plastic may be mixed and poured to create the solid part. The recommended mixing ratio for the plastic is 1 to 1 by volume, or 1 part of A to 0.9 part of B by weight. To fill up the cavity completely I put my fist inside the containers to determine the appropriate size and estimate the correct amount of total plastic fluid components. I found that about 16 oz of total mixture was necessary, which I mixed using the volume lines on the mixing cup. The plastic has to be thoroughly mixed for about 30 seconds, scraping the bottom and sides the whole time and becomes hot after a few seconds. Pour the mix and hold the screw in place (tip facing out) until the mixture turns white. It’s best to continue holding the screw in place until the screw stops moving as the mixture solidifies on the larger volumes first. This means the area between the threads takes much longer to solidify than the rest of the volume.
Fifteen minutes after letting go of the screw it was time to take out the hand, this process would come to destroy the mold, as the hand gesture was quite complex and made a loop with the fingers. The cast part had some degree of defects as had happened with the finger. Which was odd since I decided to attempt tapping out the bubbles (Kelly told me using the handheld sander did not work either). A hand saw was used to remove excess material on the wrist, after which I decided to sand down the remaining defects. This was quite difficult as the plastic is very soft and any sanding easily removes the features of the final part. I mulled over painting the hand but thought it would accentuate the defects even more so the work was done. The finished product is quite the addition to any rocker’s bedroom to say the least.
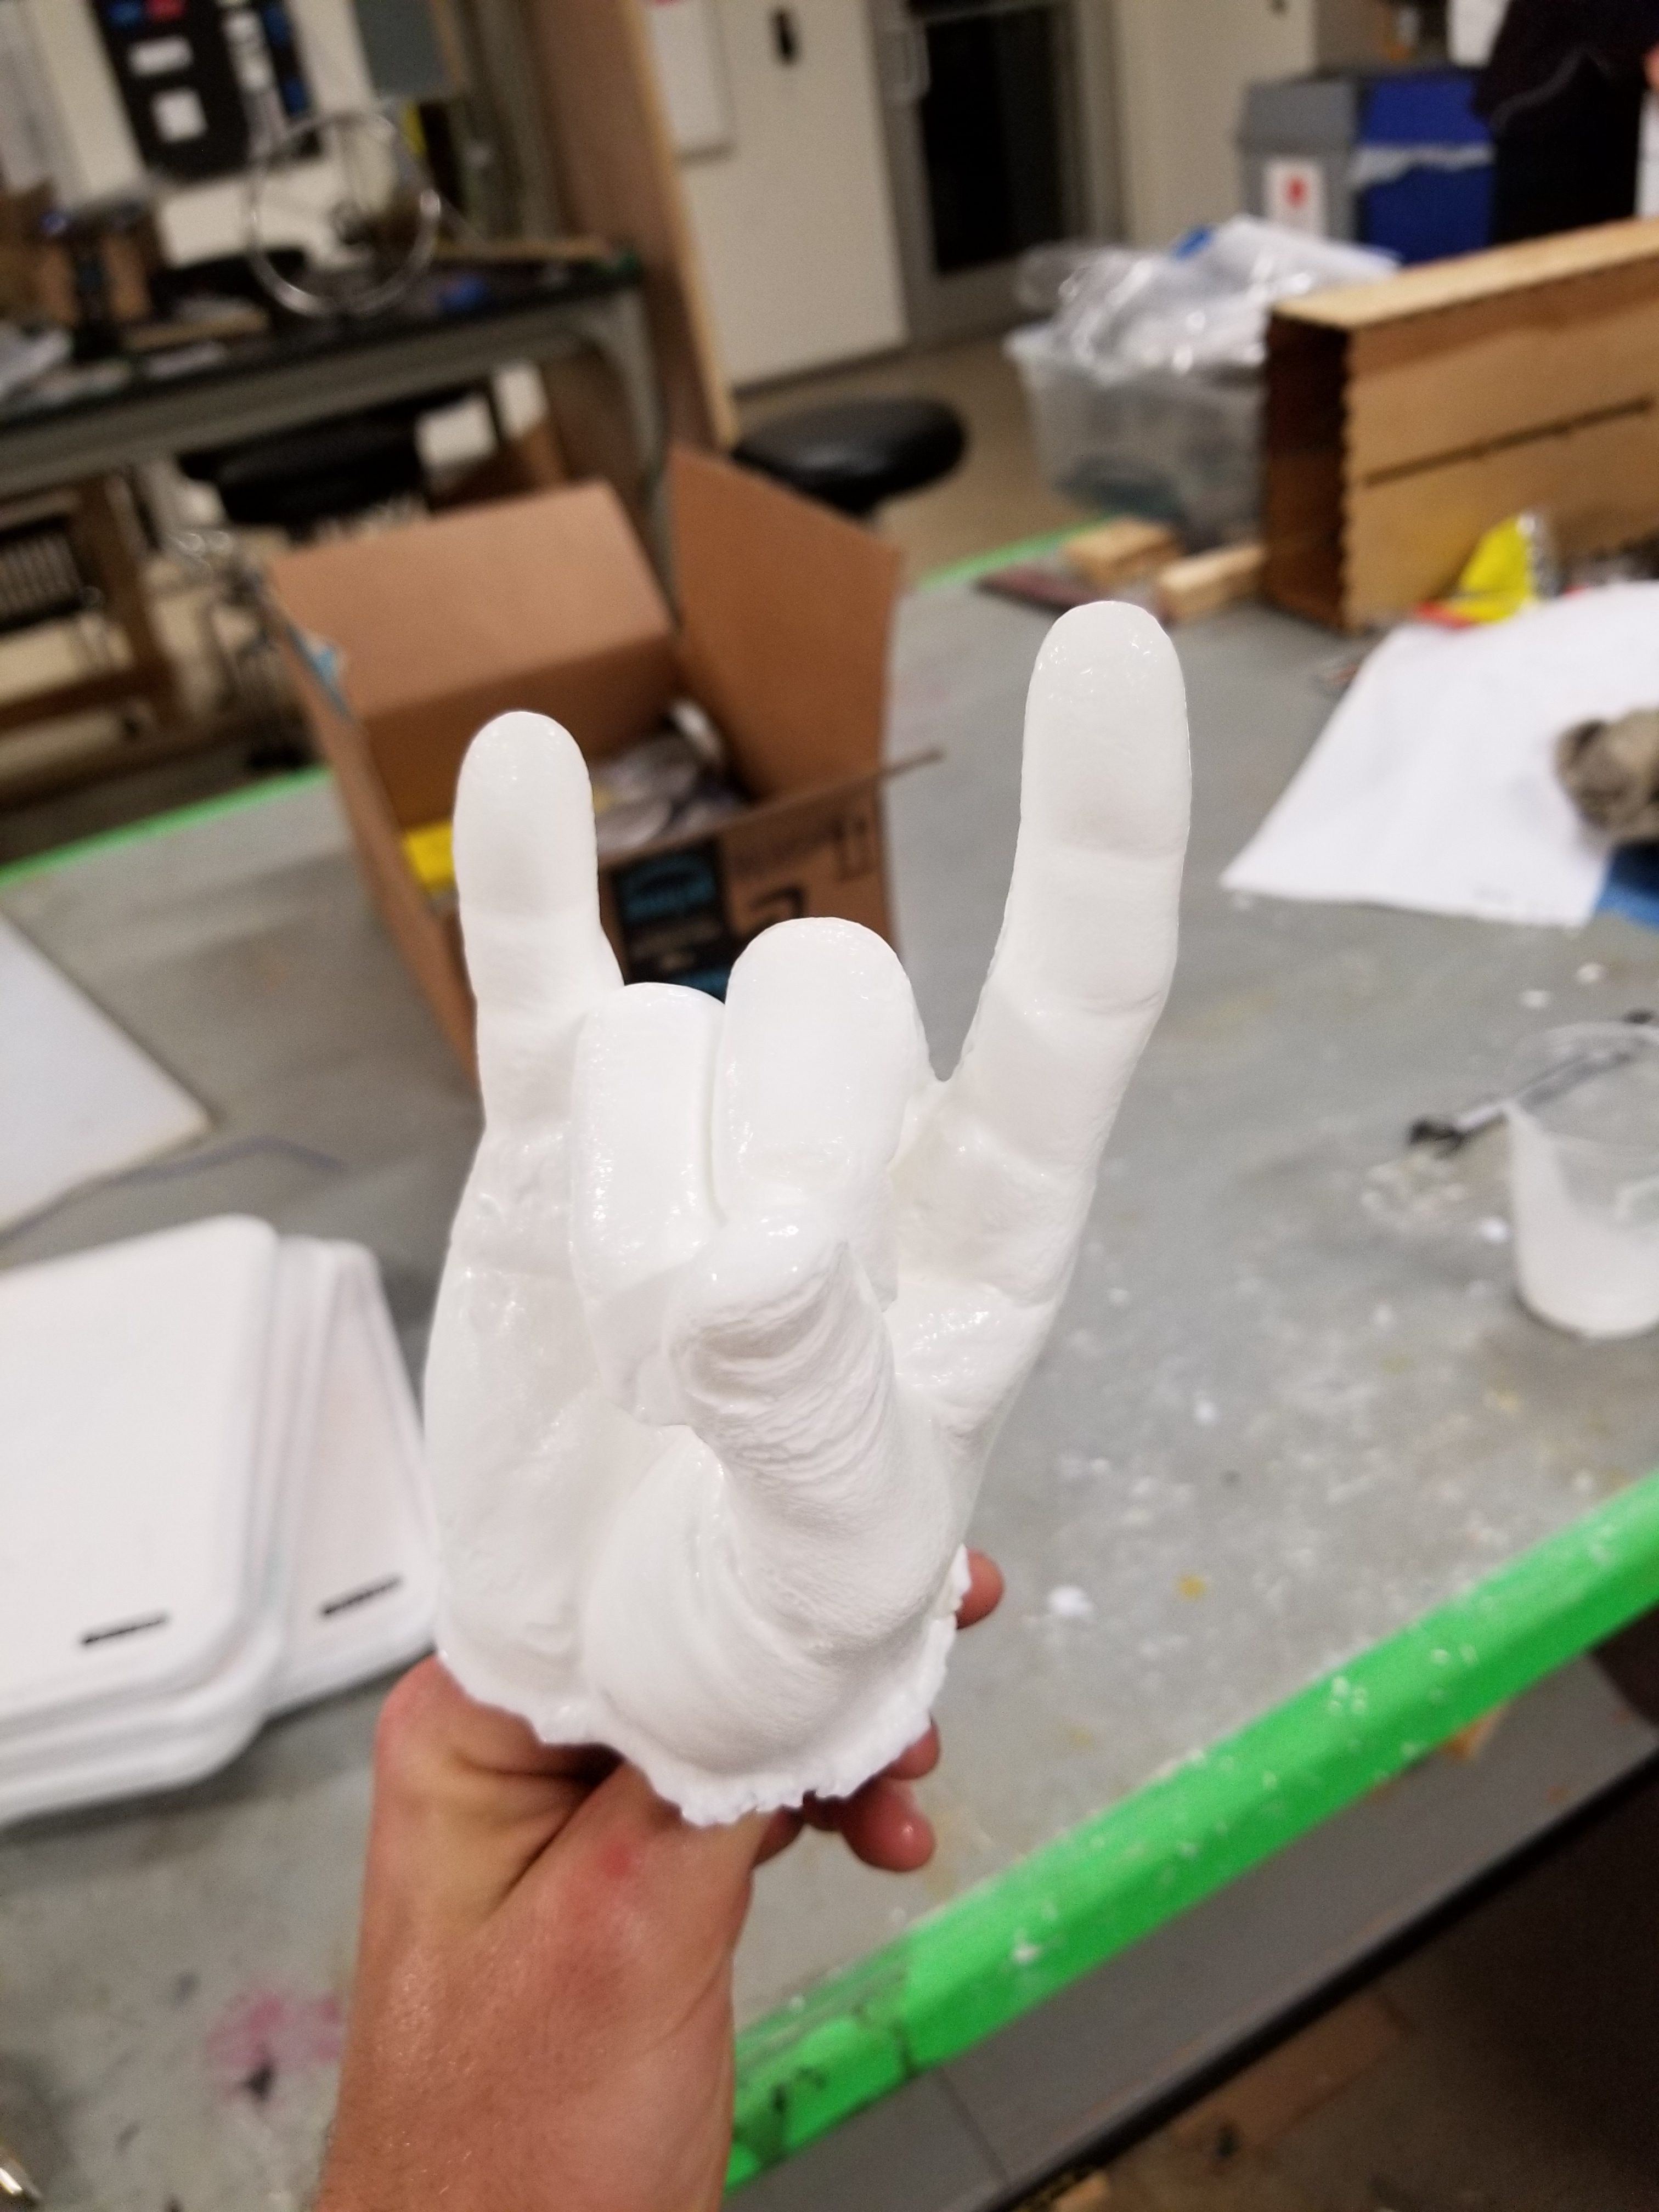
Rock on man.
I would like to point out that the alginate should be closed after each use as moisture could activate the top layer and cause a huge mess.
