Cast your finger and make a wall hook out of it. Okay. A little creepy, for sure, but very doable.
After class one day, I decided to go ahead and make the fingers. The entire molding process was pretty straightforward. I mixed the alginate up with our 1.5 inch drill bit-spatula, stuck my finger in, waited five minutes, and pulled my finger out. Simple enough. Casting is what really gave me trouble.

Watching the first finger harden.
The first went cast great; defects were minimal. The second one was a mess. The tip of the finger didn’t completely form and what had was marred by solidified drips and cavities. I figured this was because of the water that had came out of the alginate between the two casts. It had interfered with the drying process of the plaster and made a mess. I made a third cast, but it just confirmed my theory. Plus, at that point the mold was somewhat damaged from removing the previous fingers. I called it a day there.
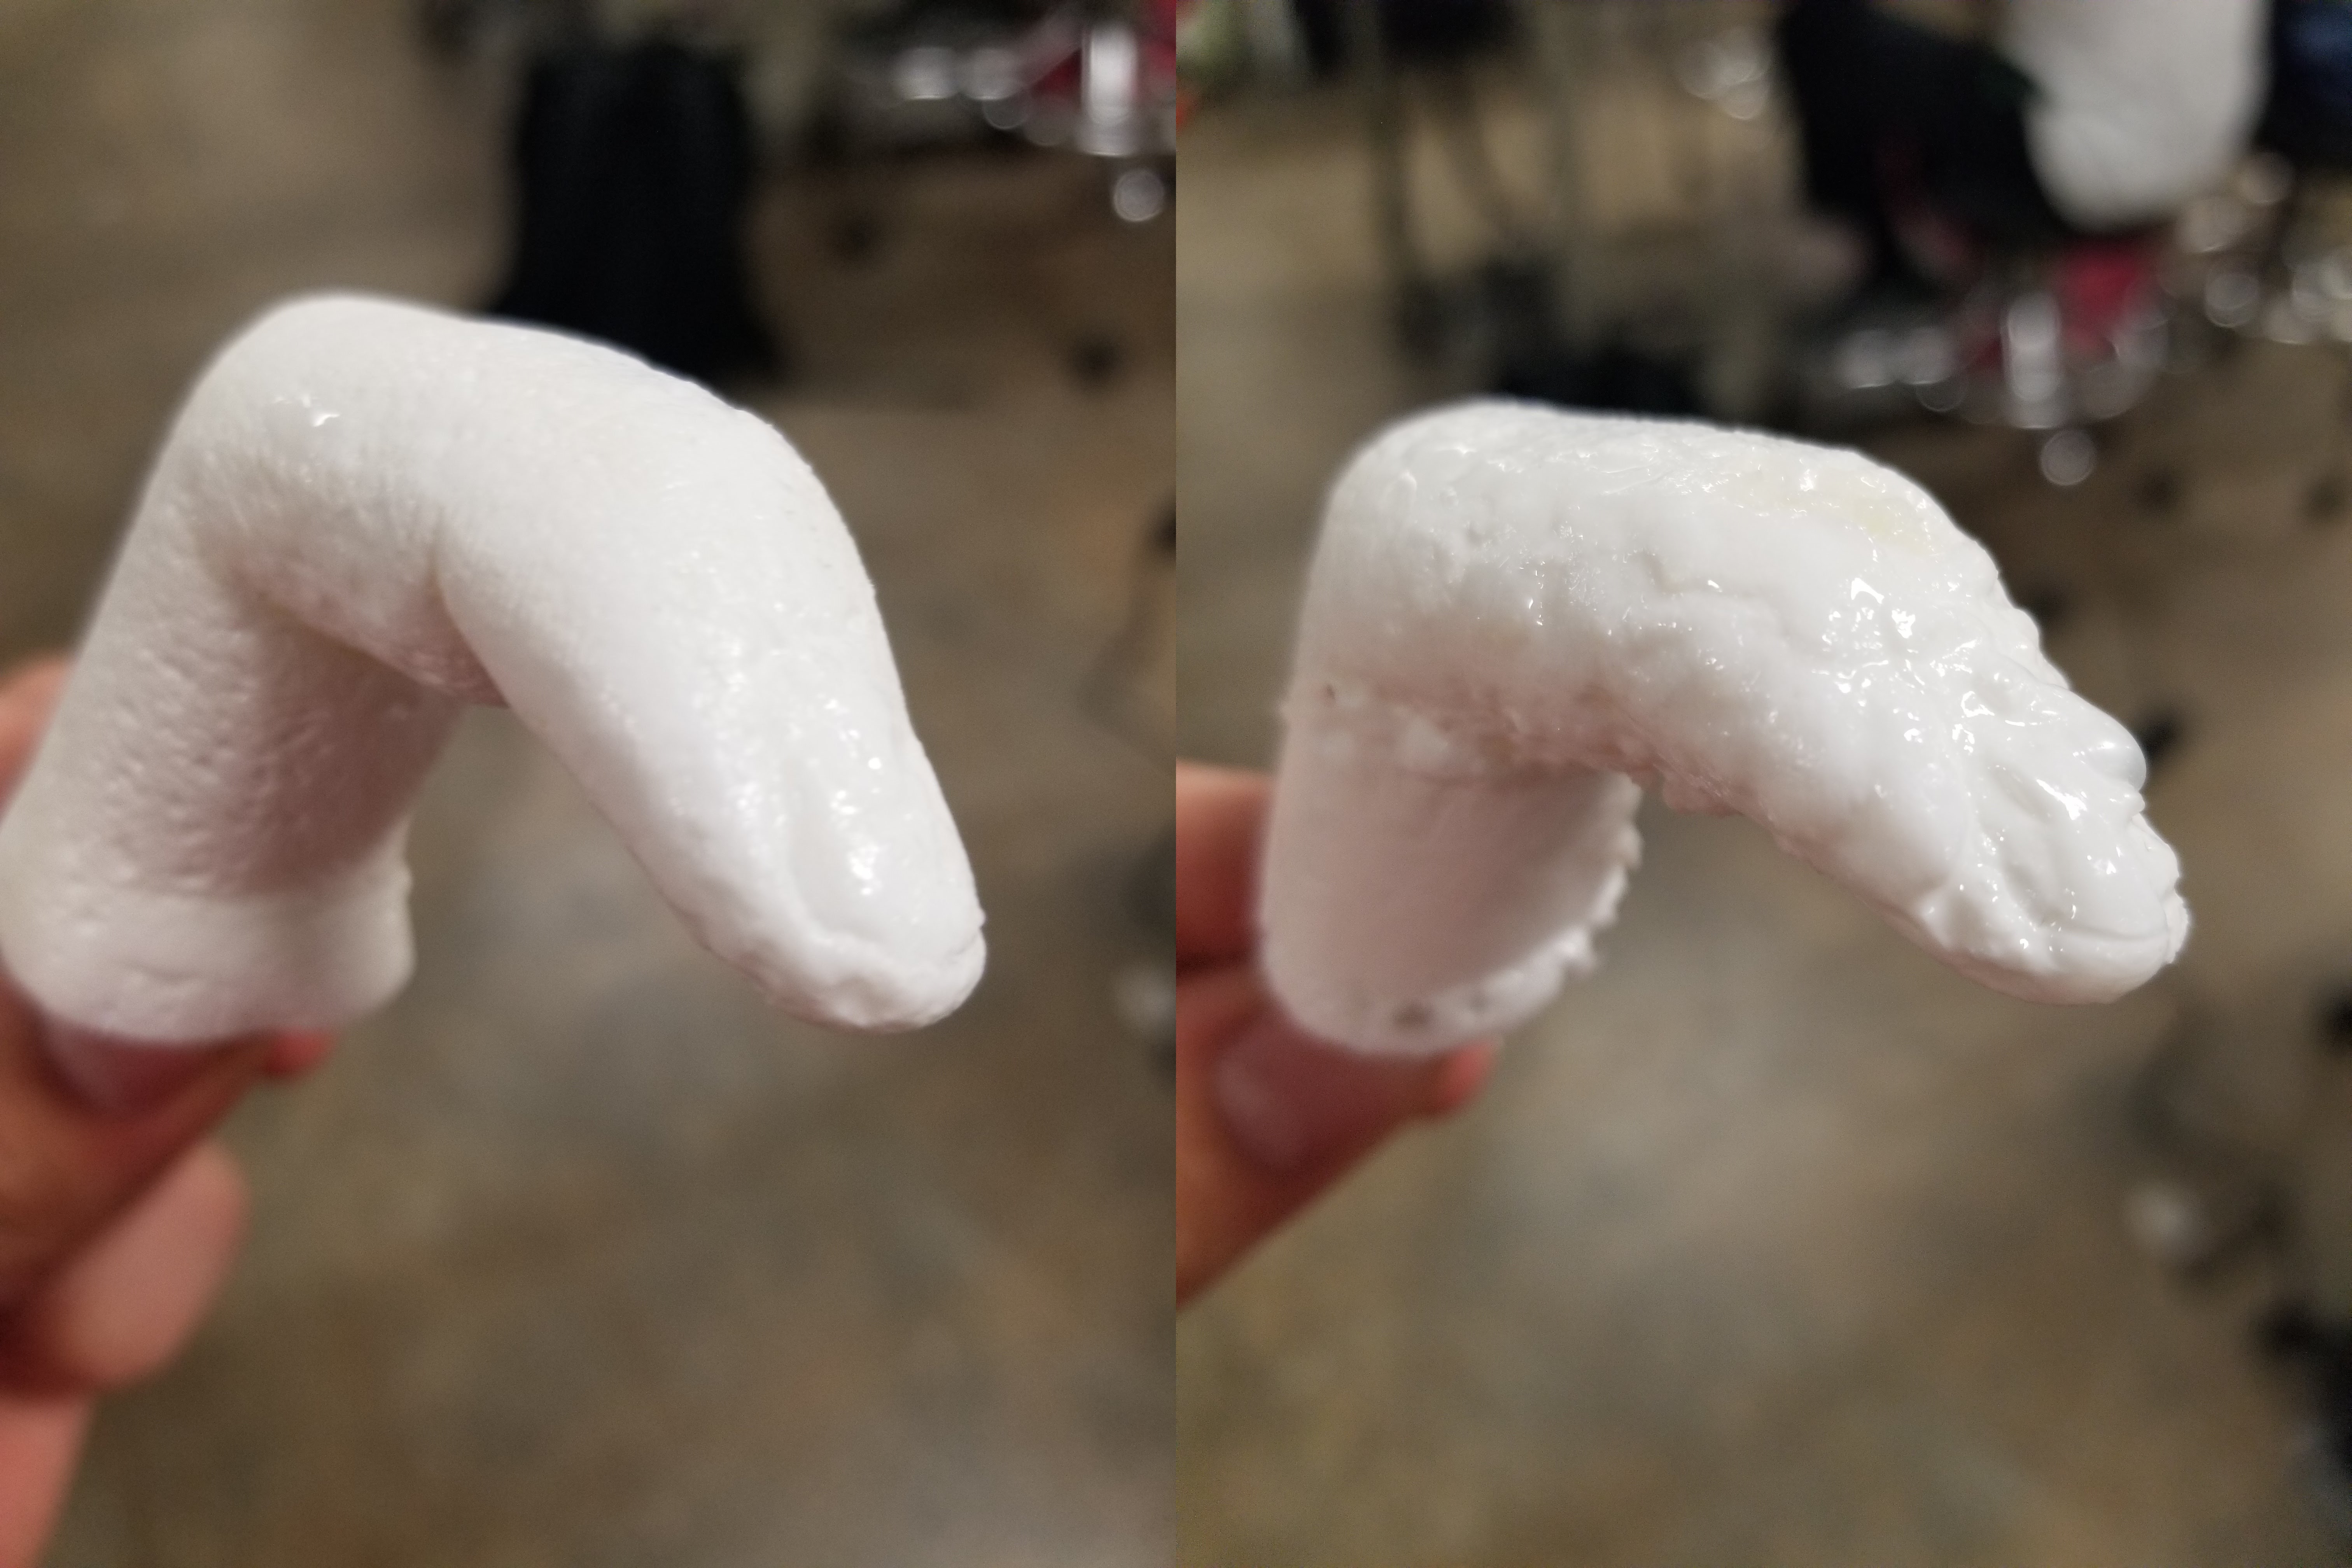
The first cast on the left versus the second on the right.
I returned a couple days later, with the intention of using the assignment as a study break from frantically cramming for my Organic Chemistry exam. I made an entirely new mold, but I used the exact same finger and pose as the first time to create a match. For some reason, this one took an absurdly long time to solidify. Maybe it was the weather, or maybe it somehow knew I had a test to study for and wanted to spite me. Who knows. When I finally had enough, an hour or so after I poured, I pulled it out to discover it didn’t completely harden. There were cavities unfilled, and the nail hadn’t exactly formed well either. I’m really not sure why this happened, considering I was careful to move around and disrupt air bubbles. Regardless, I needed to move forward instead of trying to source the error.
I decided I didn’t have enough time to cast another (especially at that hardening speed) and opted instead to fill the holes. I decided caulk would work as a good filler and spent about as long doing that and drying it out as I would have if I just made a new finger. Then, because the caulk wasn’t exactly invisible, I decided to paint over it.
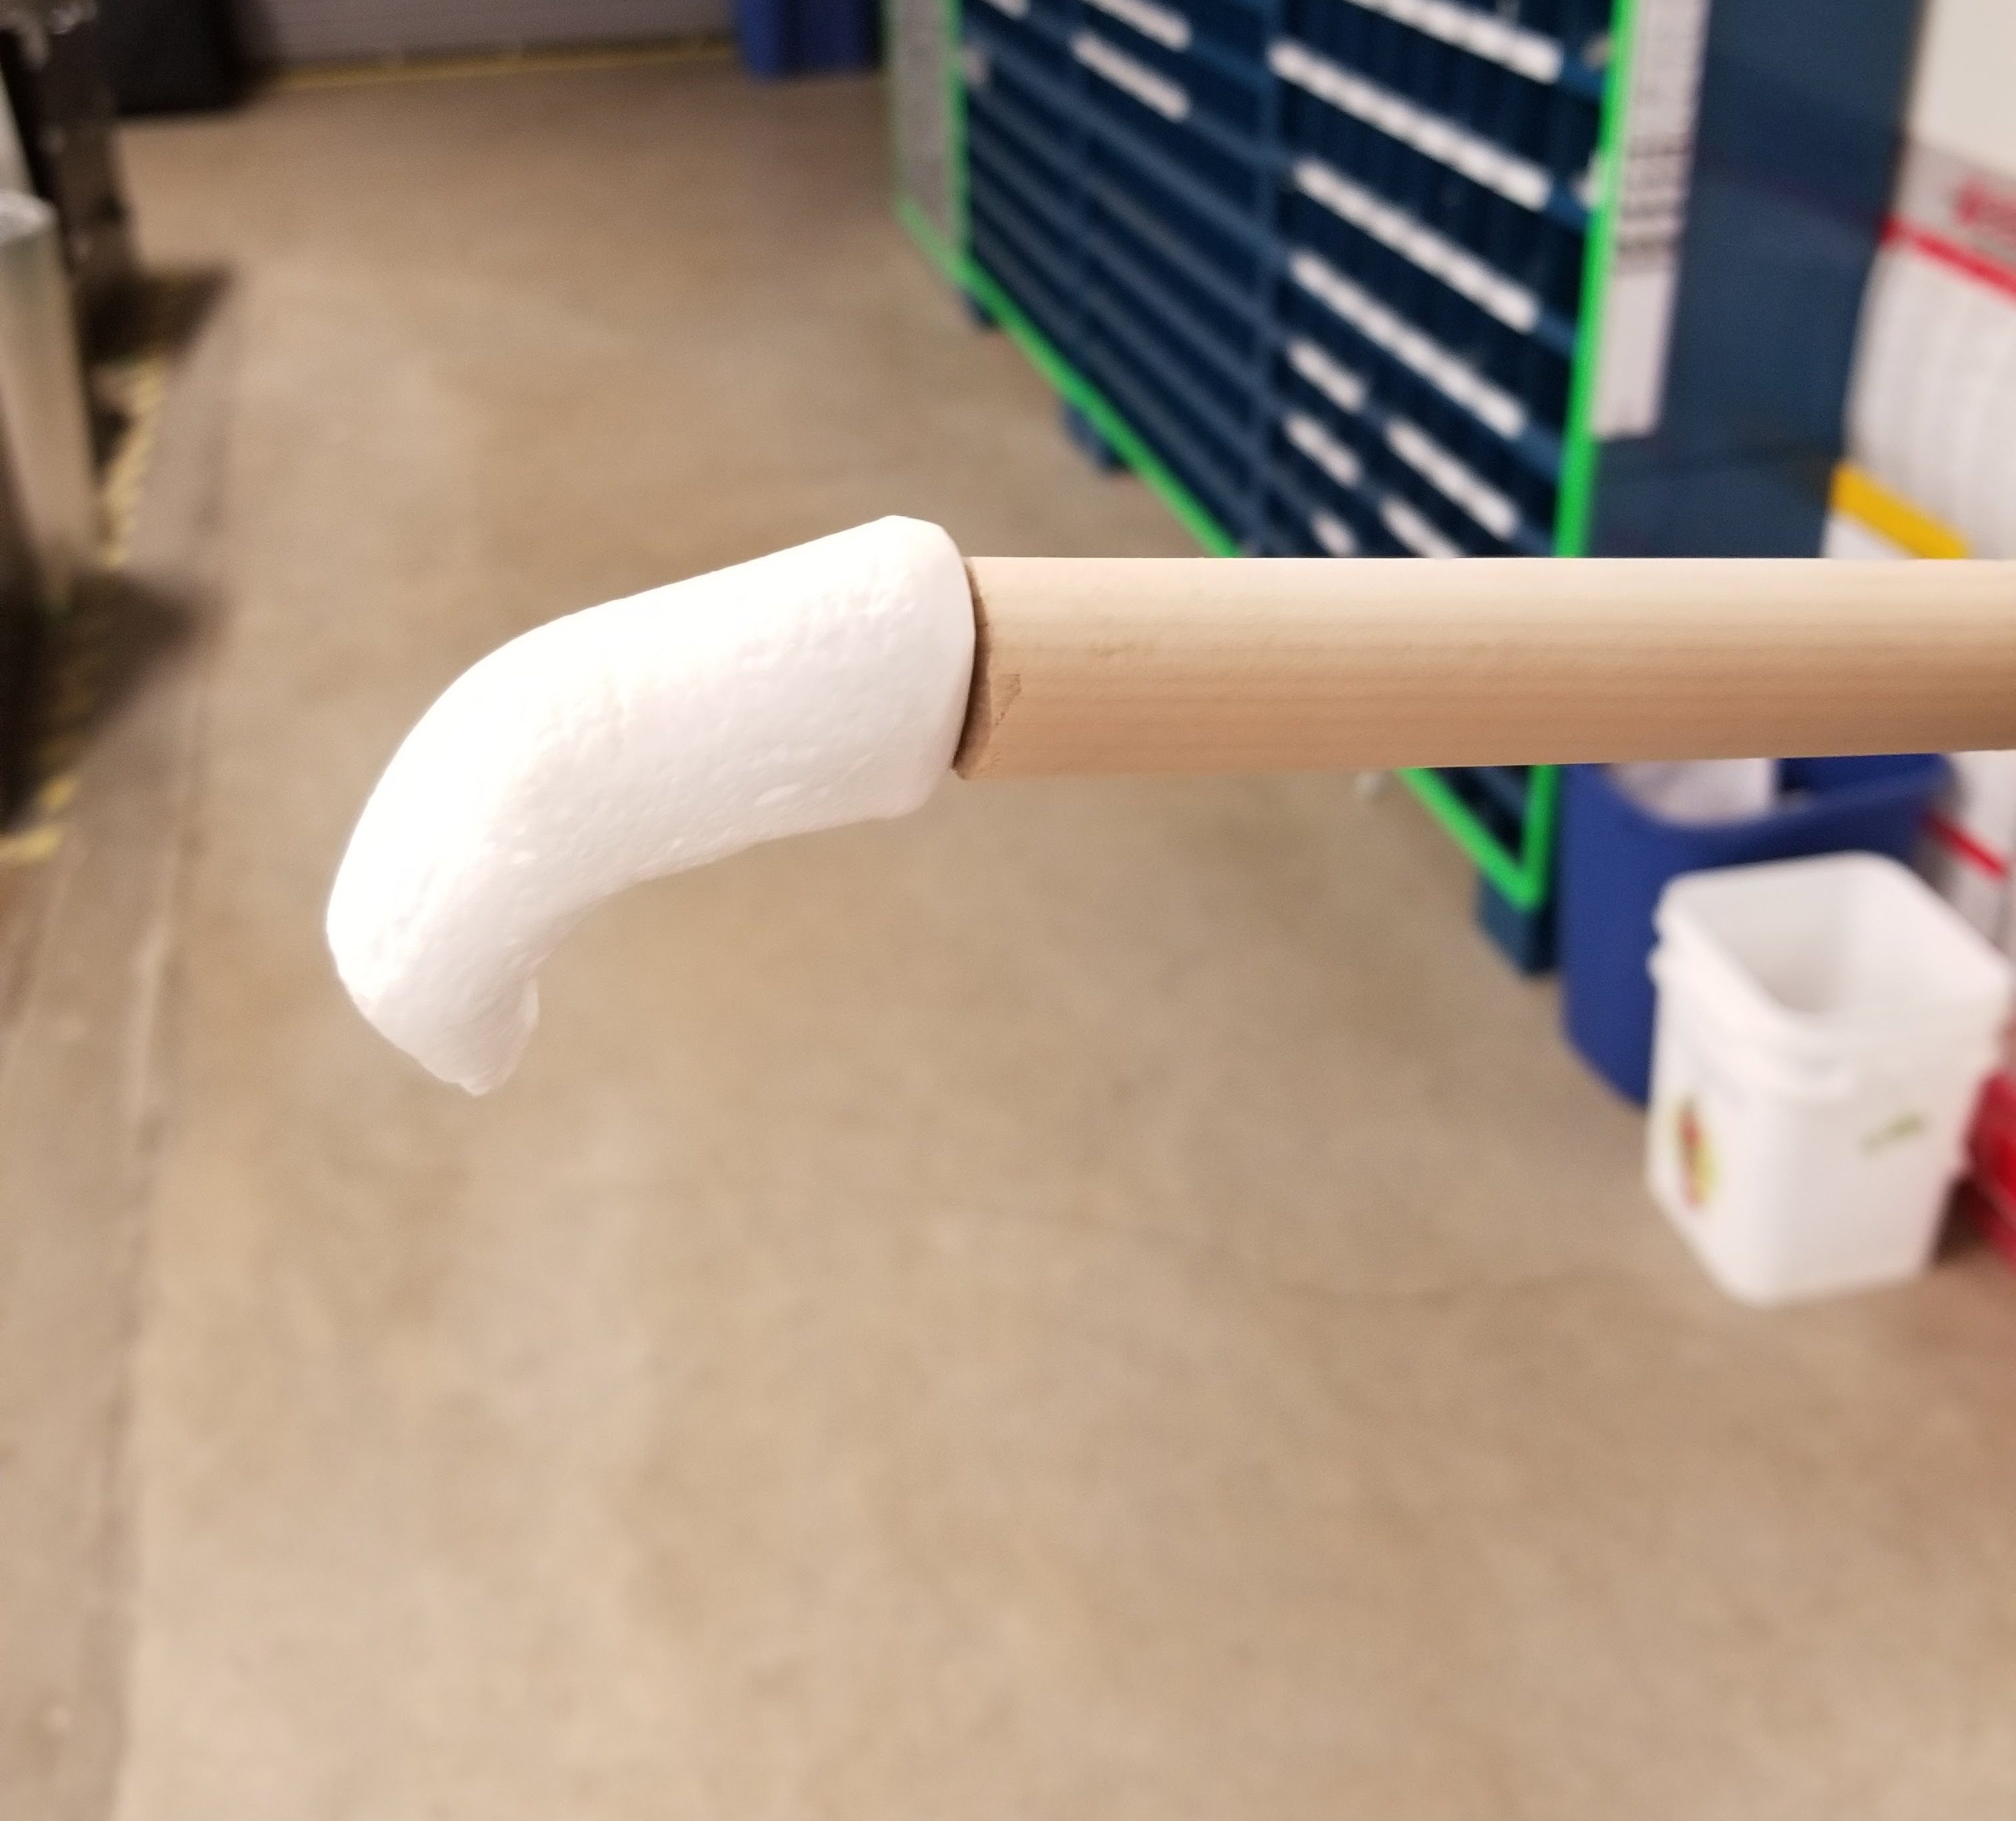
Finger 1 on the dowel mount, ready for painting.
All these decisions amounted to a time investment probably 2.5 times what it would have been to cast a new finger, but I was already committed. I biked back to my dorm and grabbed my spray paint, and returned to the OEDK. I wanted to spray paint the entire finger at once without having to set it down, so I took dowel rod and made a couple handles to hold the finger away from my hand while spraying it with the other. Waiting for the paint to dry was about as boring as, well, watching paint dry. I took a heat gun to speed things up a bit and it worked, for the most part. The paint began bubbling up in a couple places, but I smoothed them out and took care to not get so close after subsequent coats.
Both fingers were now Simpson’s yellow, but the nail looked odd as the same color as the skin.
I only had spray paint, but this was a precise job. It didn’t take me long to spray the paint into a cup and use a brush to paint it on. A coat of clear gloss later, and the fingers were finished.
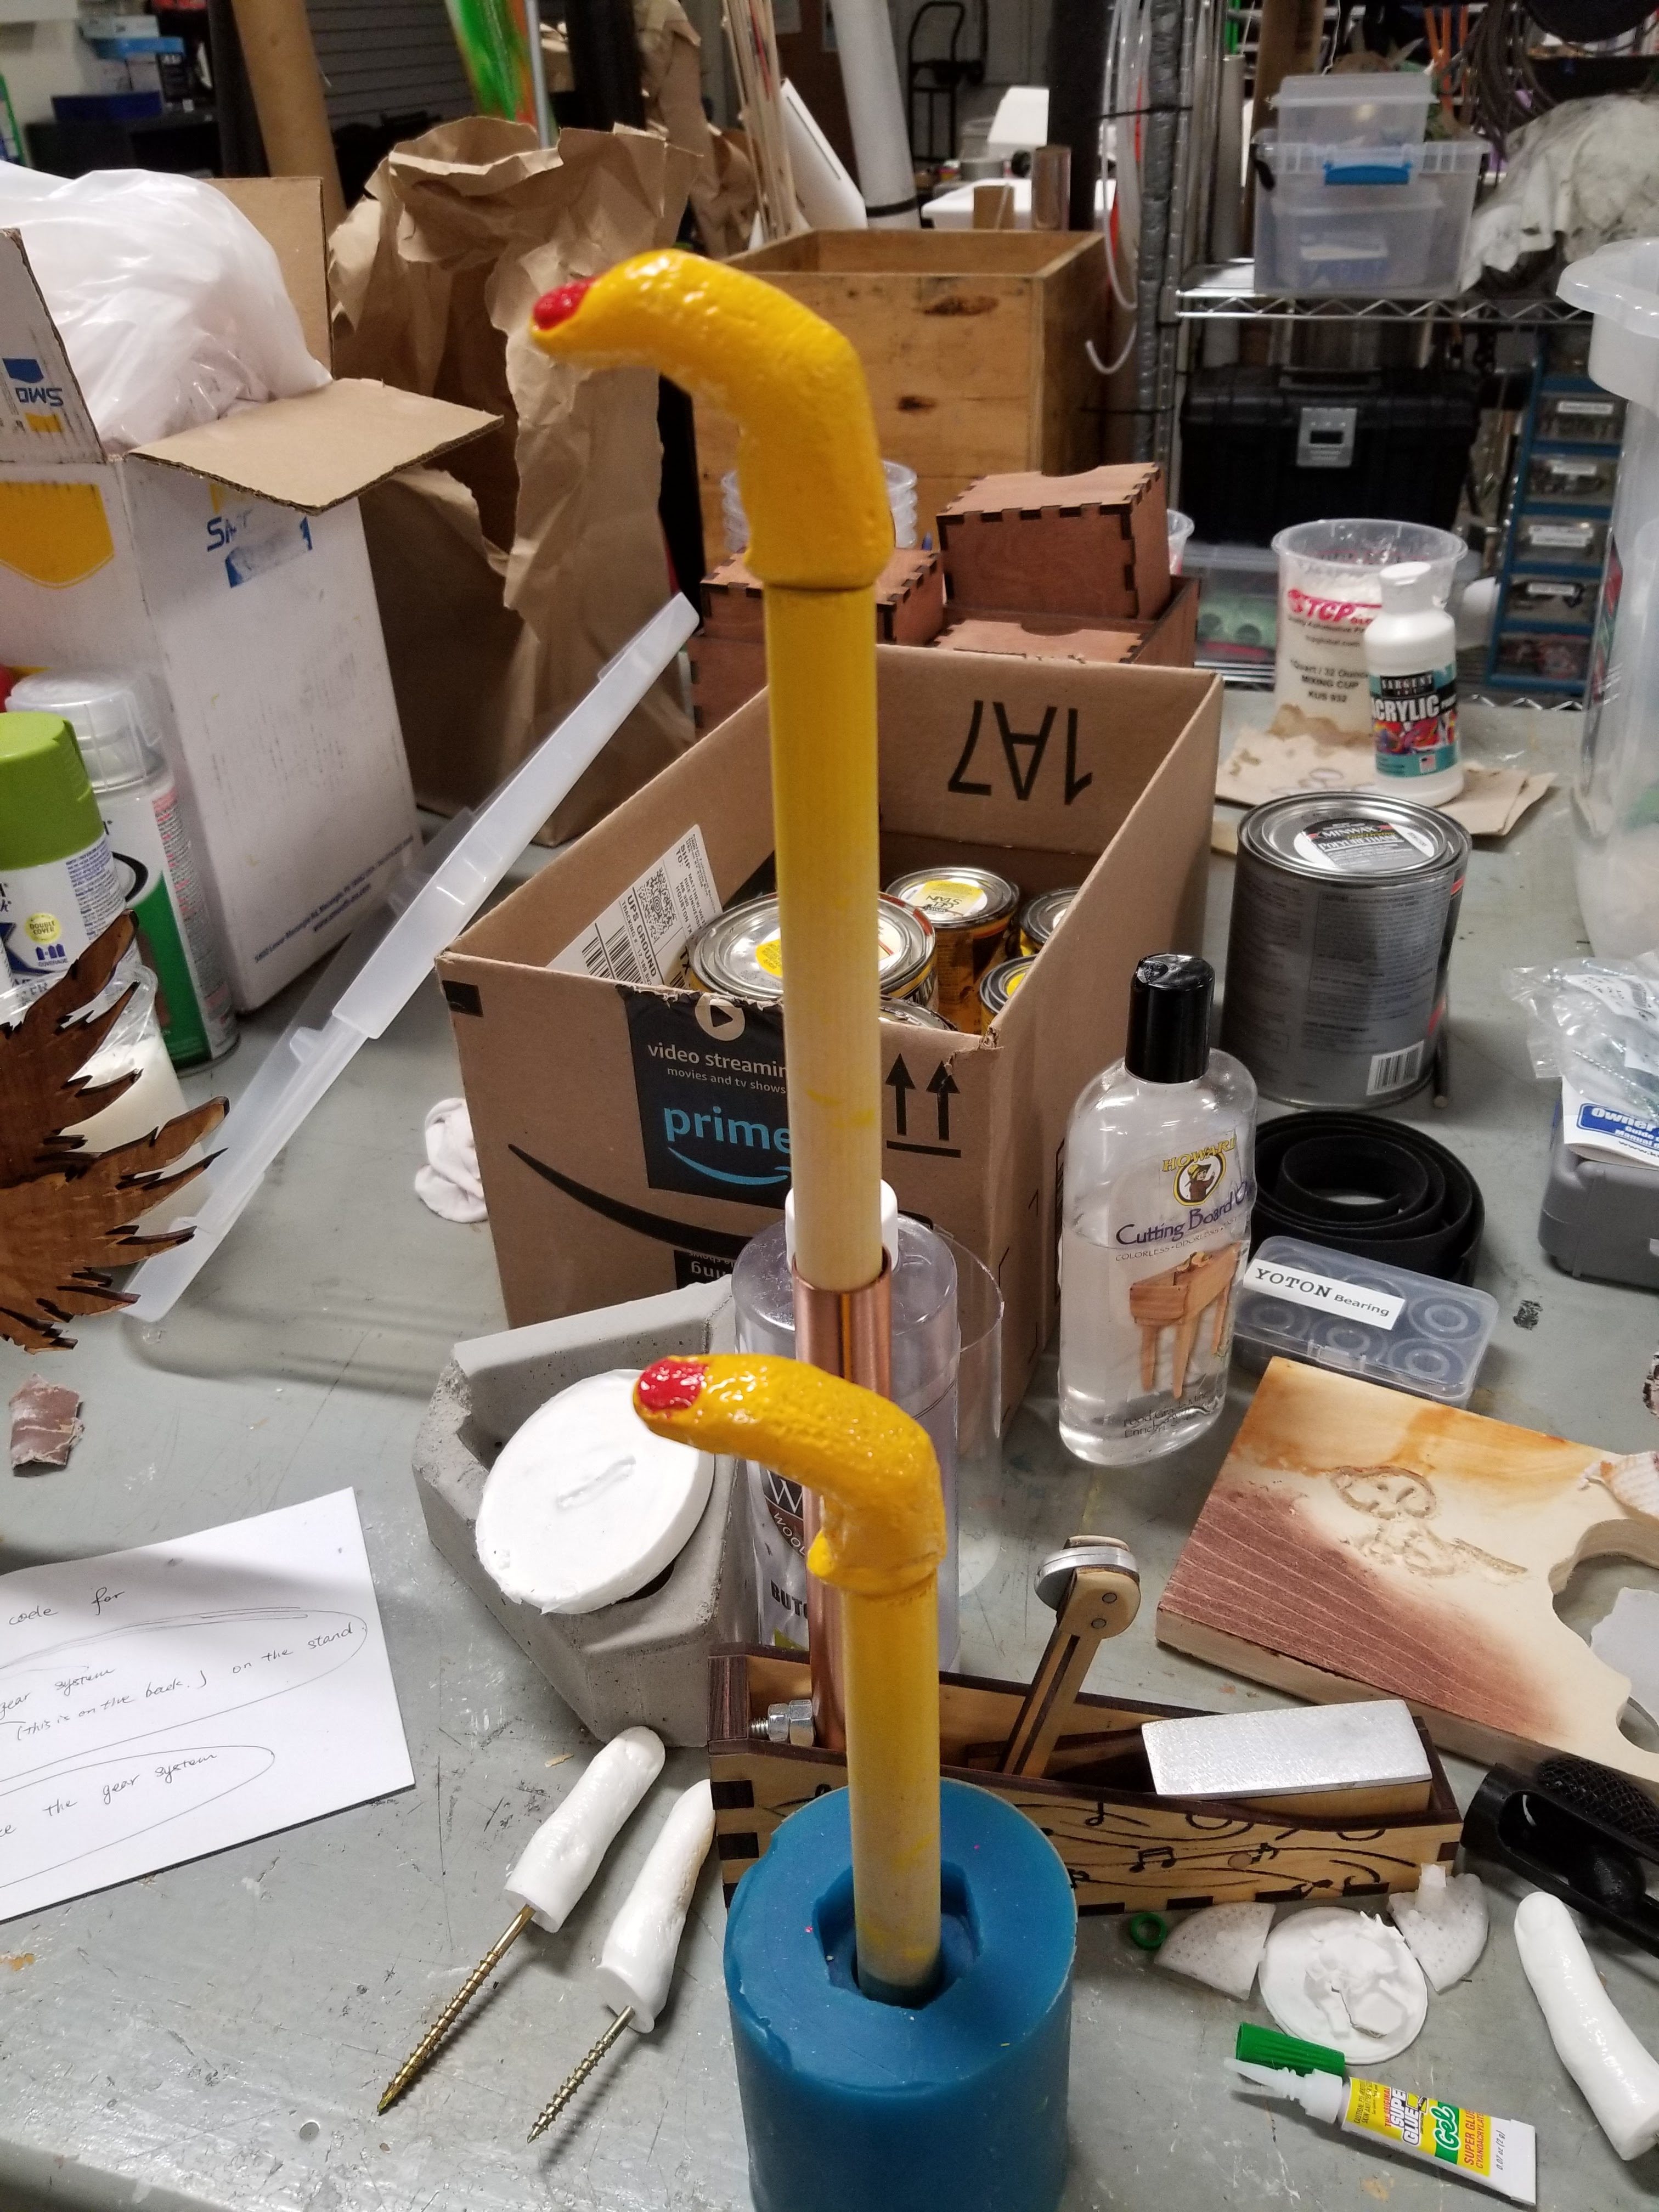
The fingers drying after the paint. I improvised some stands for the dowels.
I like the first cast, but I’m not too happy about the second. Though the caulk filled in holes, it also erased details on the finger. Overall, the project was all right. It would have been more fun if I didn’t have bigger things on my mind, pressing me for time. Speaking of which, back to studying!
