This week it was back to the woodshop and CNC routers, my personal favorite. I really got to have some fun with this one and make something that I could hang up in my room and not be freaked out (@ creepy plastic fingers/hands). For our homework, we were tasked with routing a “noun” from the noun project in a piece of wood, using either the Carvy or X-Carve.
To get started, we needed to pick out a noun, or design that we particularly liked. Since I’m still a boy at heart, I decided to go with a rocket flying above the Earth. This design is pretty fire if I do say so myself.

So once I had this downloaded, I decided that I wanted to tweak it a little bit. First of all the lines on the Earth were tiny and would require a 1/32″ bit which I did not want to use since they break so easily. After thickening up the lines in the Earth, I quickly realized that even with these thicker lines, This object was going to have to be very big if I wanted to use a 1/8″ bit and have everything showing up. Thus I decided to meet in the middle and create something larger than just one small plank together. This, however, left me in a pickle. I wanted to be able to use the Red Oak since it looks beautiful, but all of the Red Oak planks are too small. Well if one plank wasn’t wide enough and we had plenty of the planks, why not glue them together to form a larger plank?
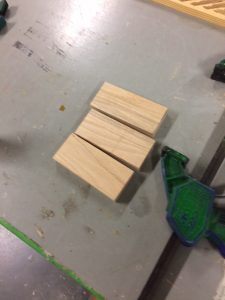
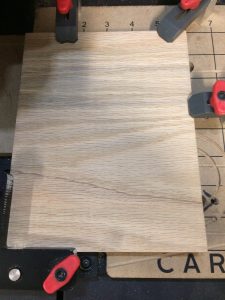
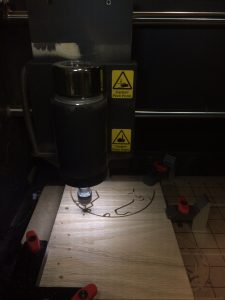
Thus I glued all of the touching faces of the planks together and clamped them with 3 of the hand tightened clamps. After about an hour I took the plank out and sanded it to get rid of any rough edges. Now I was finally ready for using the Carvey. I loaded it in just as they told me, using 4 seperate clamping mechanisms to hold it down. However after looking at the design and seeing the piece of wood all loaded up, I new that it needed something. After thinking, I arrived at the idea of adding in stars in the background of the spaceship. After adding in all of the stars I arrived at the following design:
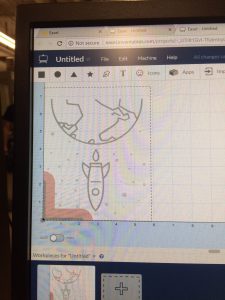
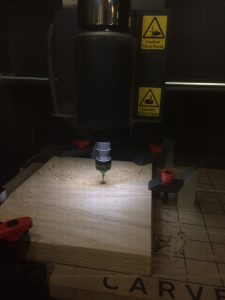
One thing that you really have to watch out for is the zeroing clamp in the front left corner of the Carvey. Due to it’s dimensions I had to flip the entire drawing 180 degrees in order to make sure that no shapes interfered with with that clamp. Now that everything was loaded up I was finally ready to carve! I chose a 1/16 inch downcut bit (because it gets you clean edges with wood), loaded it into the machine, and clicked through the procedure for using it. Then the Carvey took over and kicked serious ass on this thing. I was so happy that the Carvey didn’t screw up or break. That would have killed me to make another plank piece of wood.
After it was done routing, I knew I was only halfway home. I needed to sand this bad boi and finish it off with some stain or paint to make it beautiful. I started sanding with 120 grit, then moved to 220, then 350, then finally 400 grit sandpaper to get a silky smooth surface. Since I went with the Red Oak for the grain, I opted to go with a Mahogany stain to darken the “space” of the piece. Then I added a tiny bit of Red paint to the flame to make it pop.

Honestly at this point, I was already super happy with how this piece came out. You literally can’t see the lines in the wood at all it meshes so well. However I really wanted to make sure that the piece lasts as long as possible. Thus I finished the entire thing up with a coat of polyurethane.
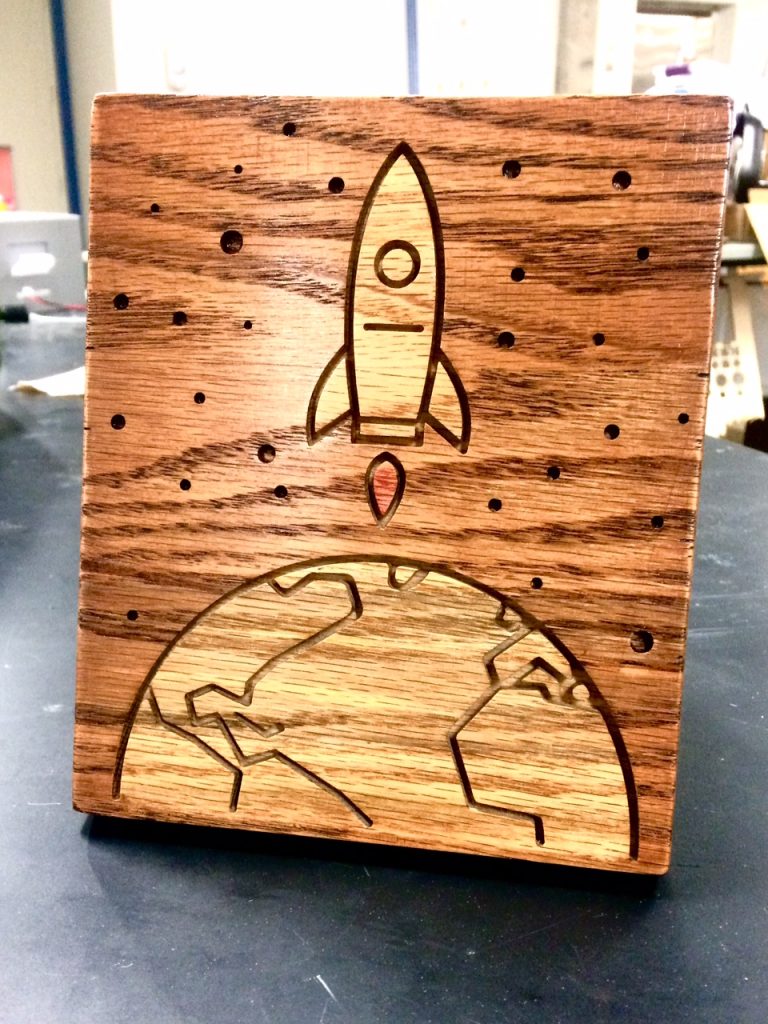
This thing is beautiful. I am so happy with how this thing turned out and I can’t wait to hang it on my wall in my room. This was a really cool homework as it let me combine some pretty cool techniques and subjects. I was able to work with wood, and use one of the CNC routers to create something awesome. I was honestly surprised at how well the cut turned out, it looks sooooooo clean. Altogether this project was super dope.
