This is the first part of the final project. Arturo and I decided do a low poly knight chess piece. Before we can mold and cast our chess piece, we must import the .stl file into Fusion360 and generate g-code for the carvey to cut out.
After importing the file into Fusion360, we followed the document to generate the g-code (https://docs.google.com/document/d/1YgrosdLoDG-iVnS2tlfWHDx2zIQw4lnjGy9ZauxM9v4/edit). I won’t go into the details of how to generate g-code because it’s all in the document (although the document is a mess in itself) but I will go through all the mistakes I made in doing so.
- We mismeasured our chess piece and made it 5 mm in diameter, so we had to redimension everything and resize the chess piece. It’s still a little small but not as tiny as before. The advantage of this is that our chess piece did not take 3 hours to cut, just 75 minutes.
- For my chess piece, I set the origin of the cut to be the lower left corner instead of the top left corner and that caused the carvey to not know where the wood was and not cut in the right place.
- I forgot to add the pour hole but Arturo saved that one and added it to his side.
- using fusion 360. this software was so confusing to understand. I don’t know why I can’t edit extrusions once I made them but that resulted in me having to delete and readd extrusions like 3000 times.
I also had to add an air vent and some keys to make sure the final cast would look good. I did those by making sketches and extruding.
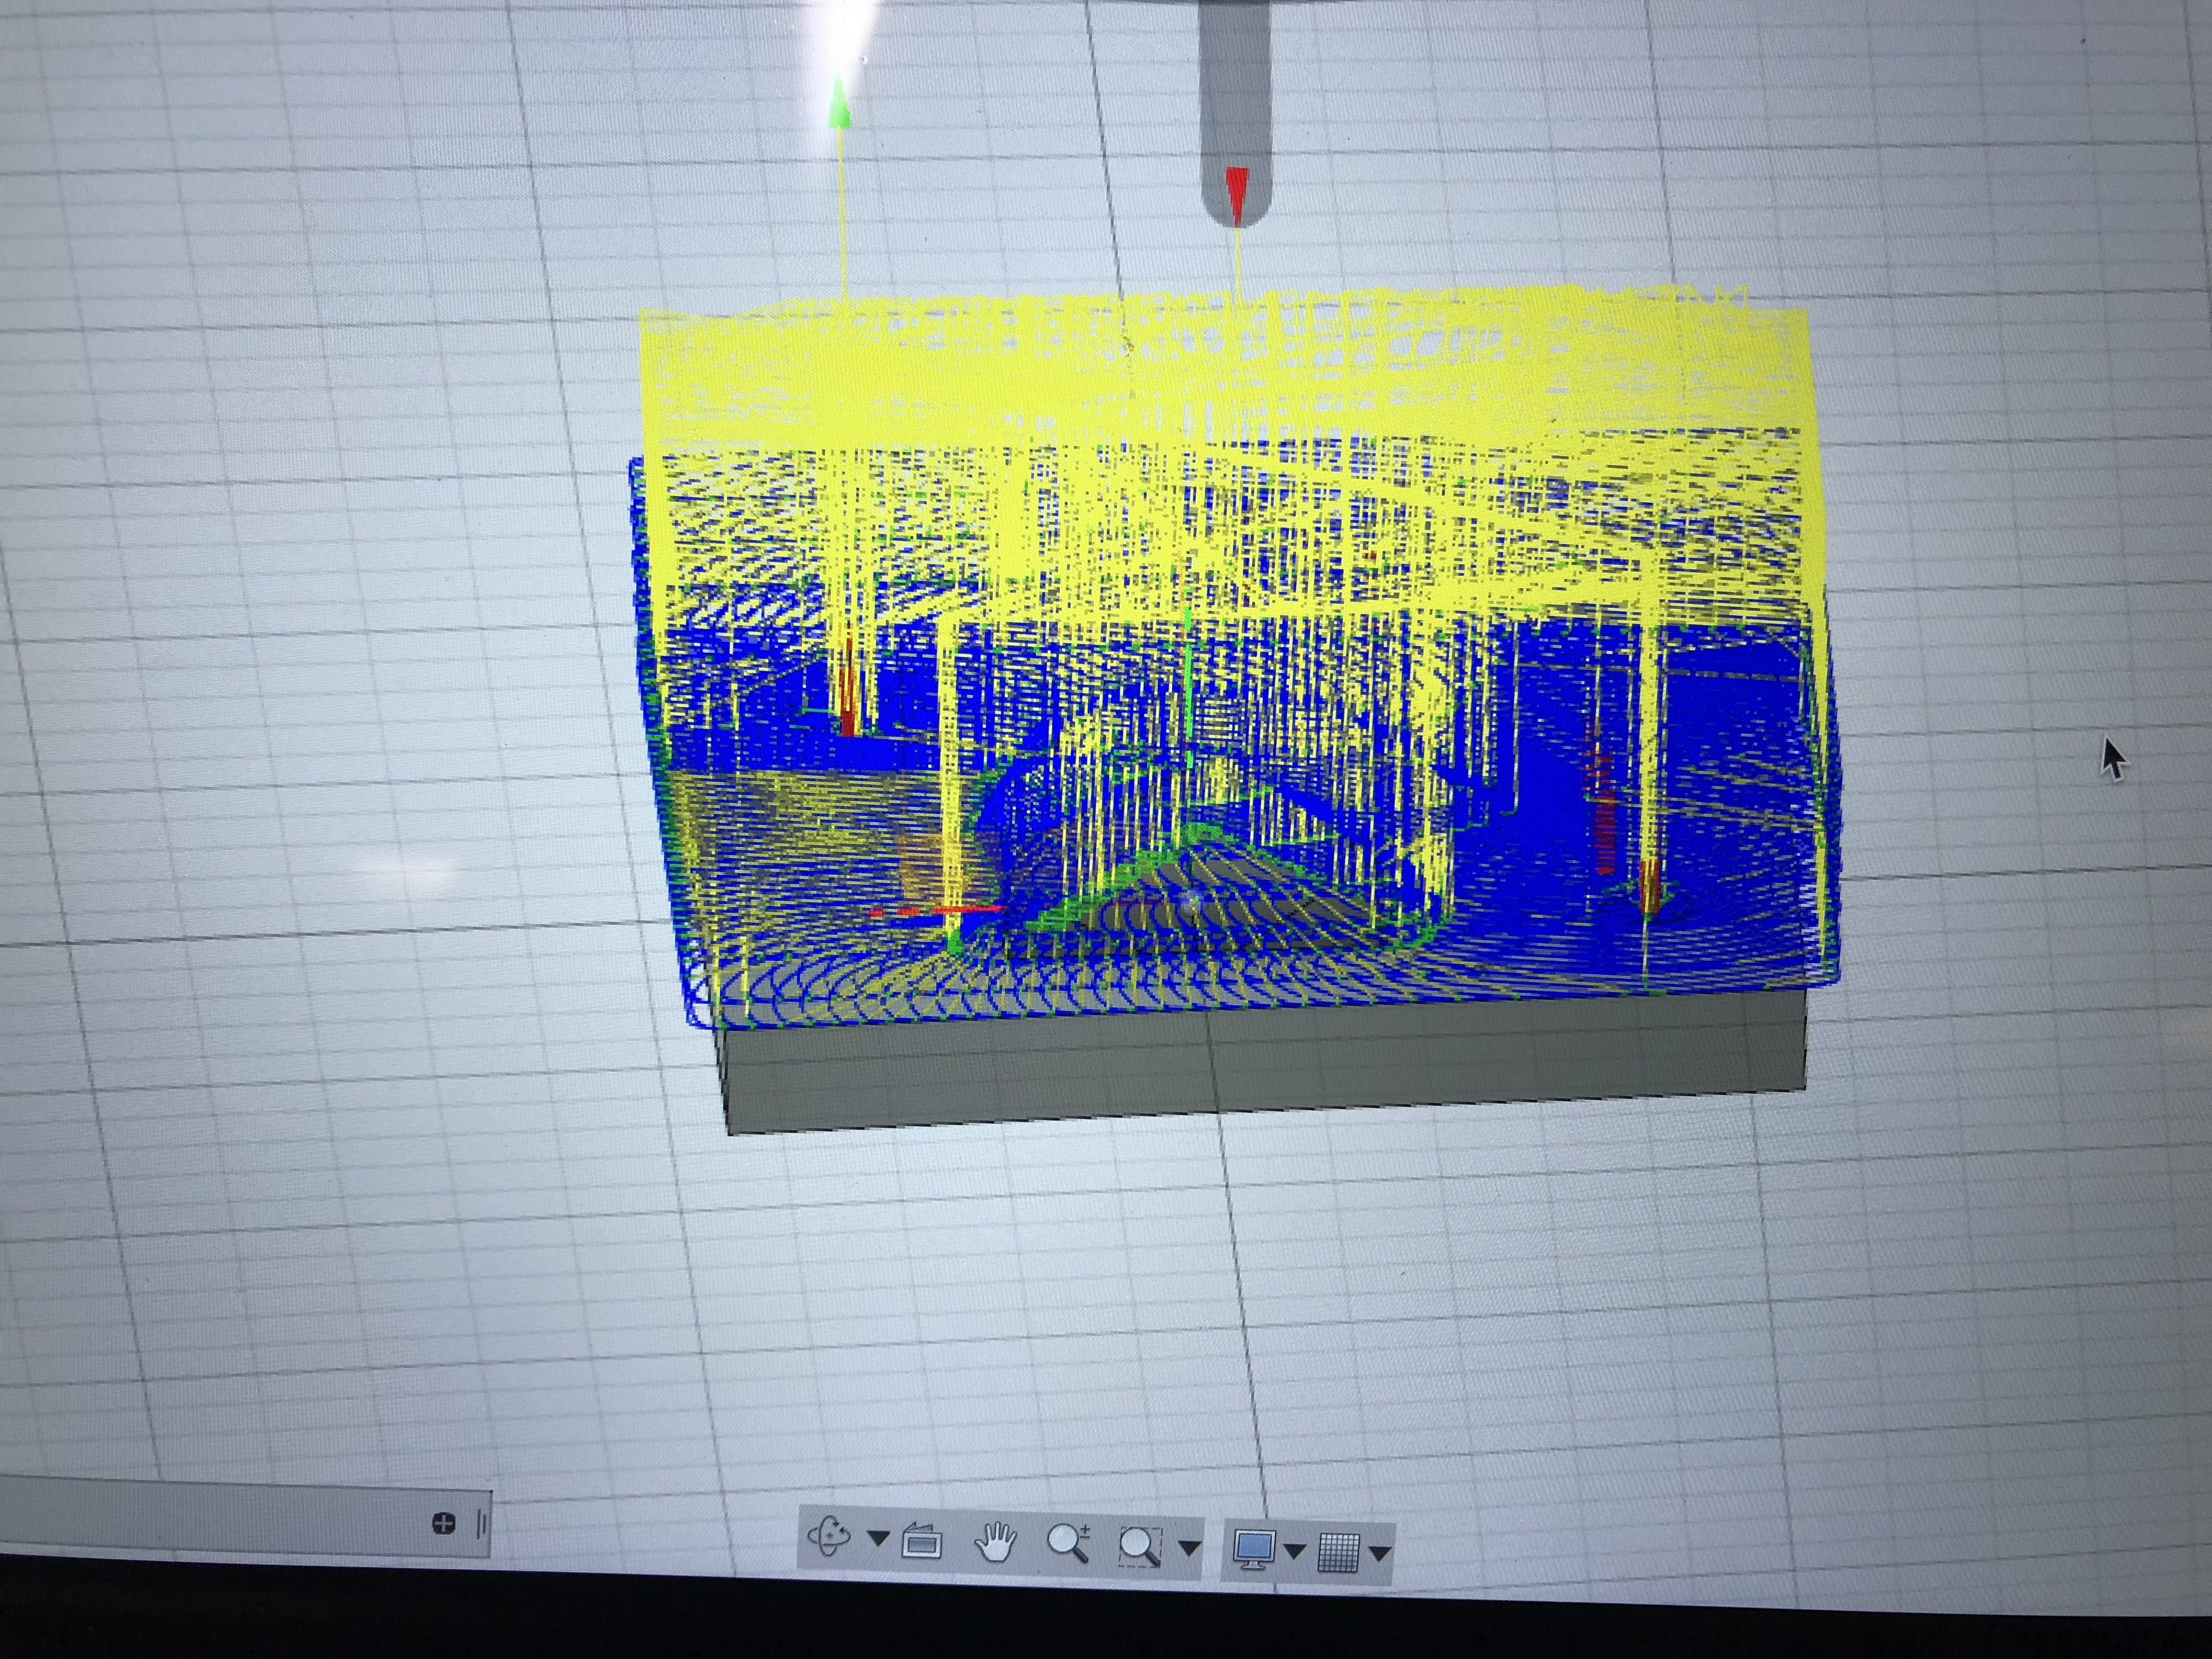
the g code! i set a 2 mm roughing cut and also added the smoothing at the end. I used an 1/8th downcut bit. This took about 75 min to cut
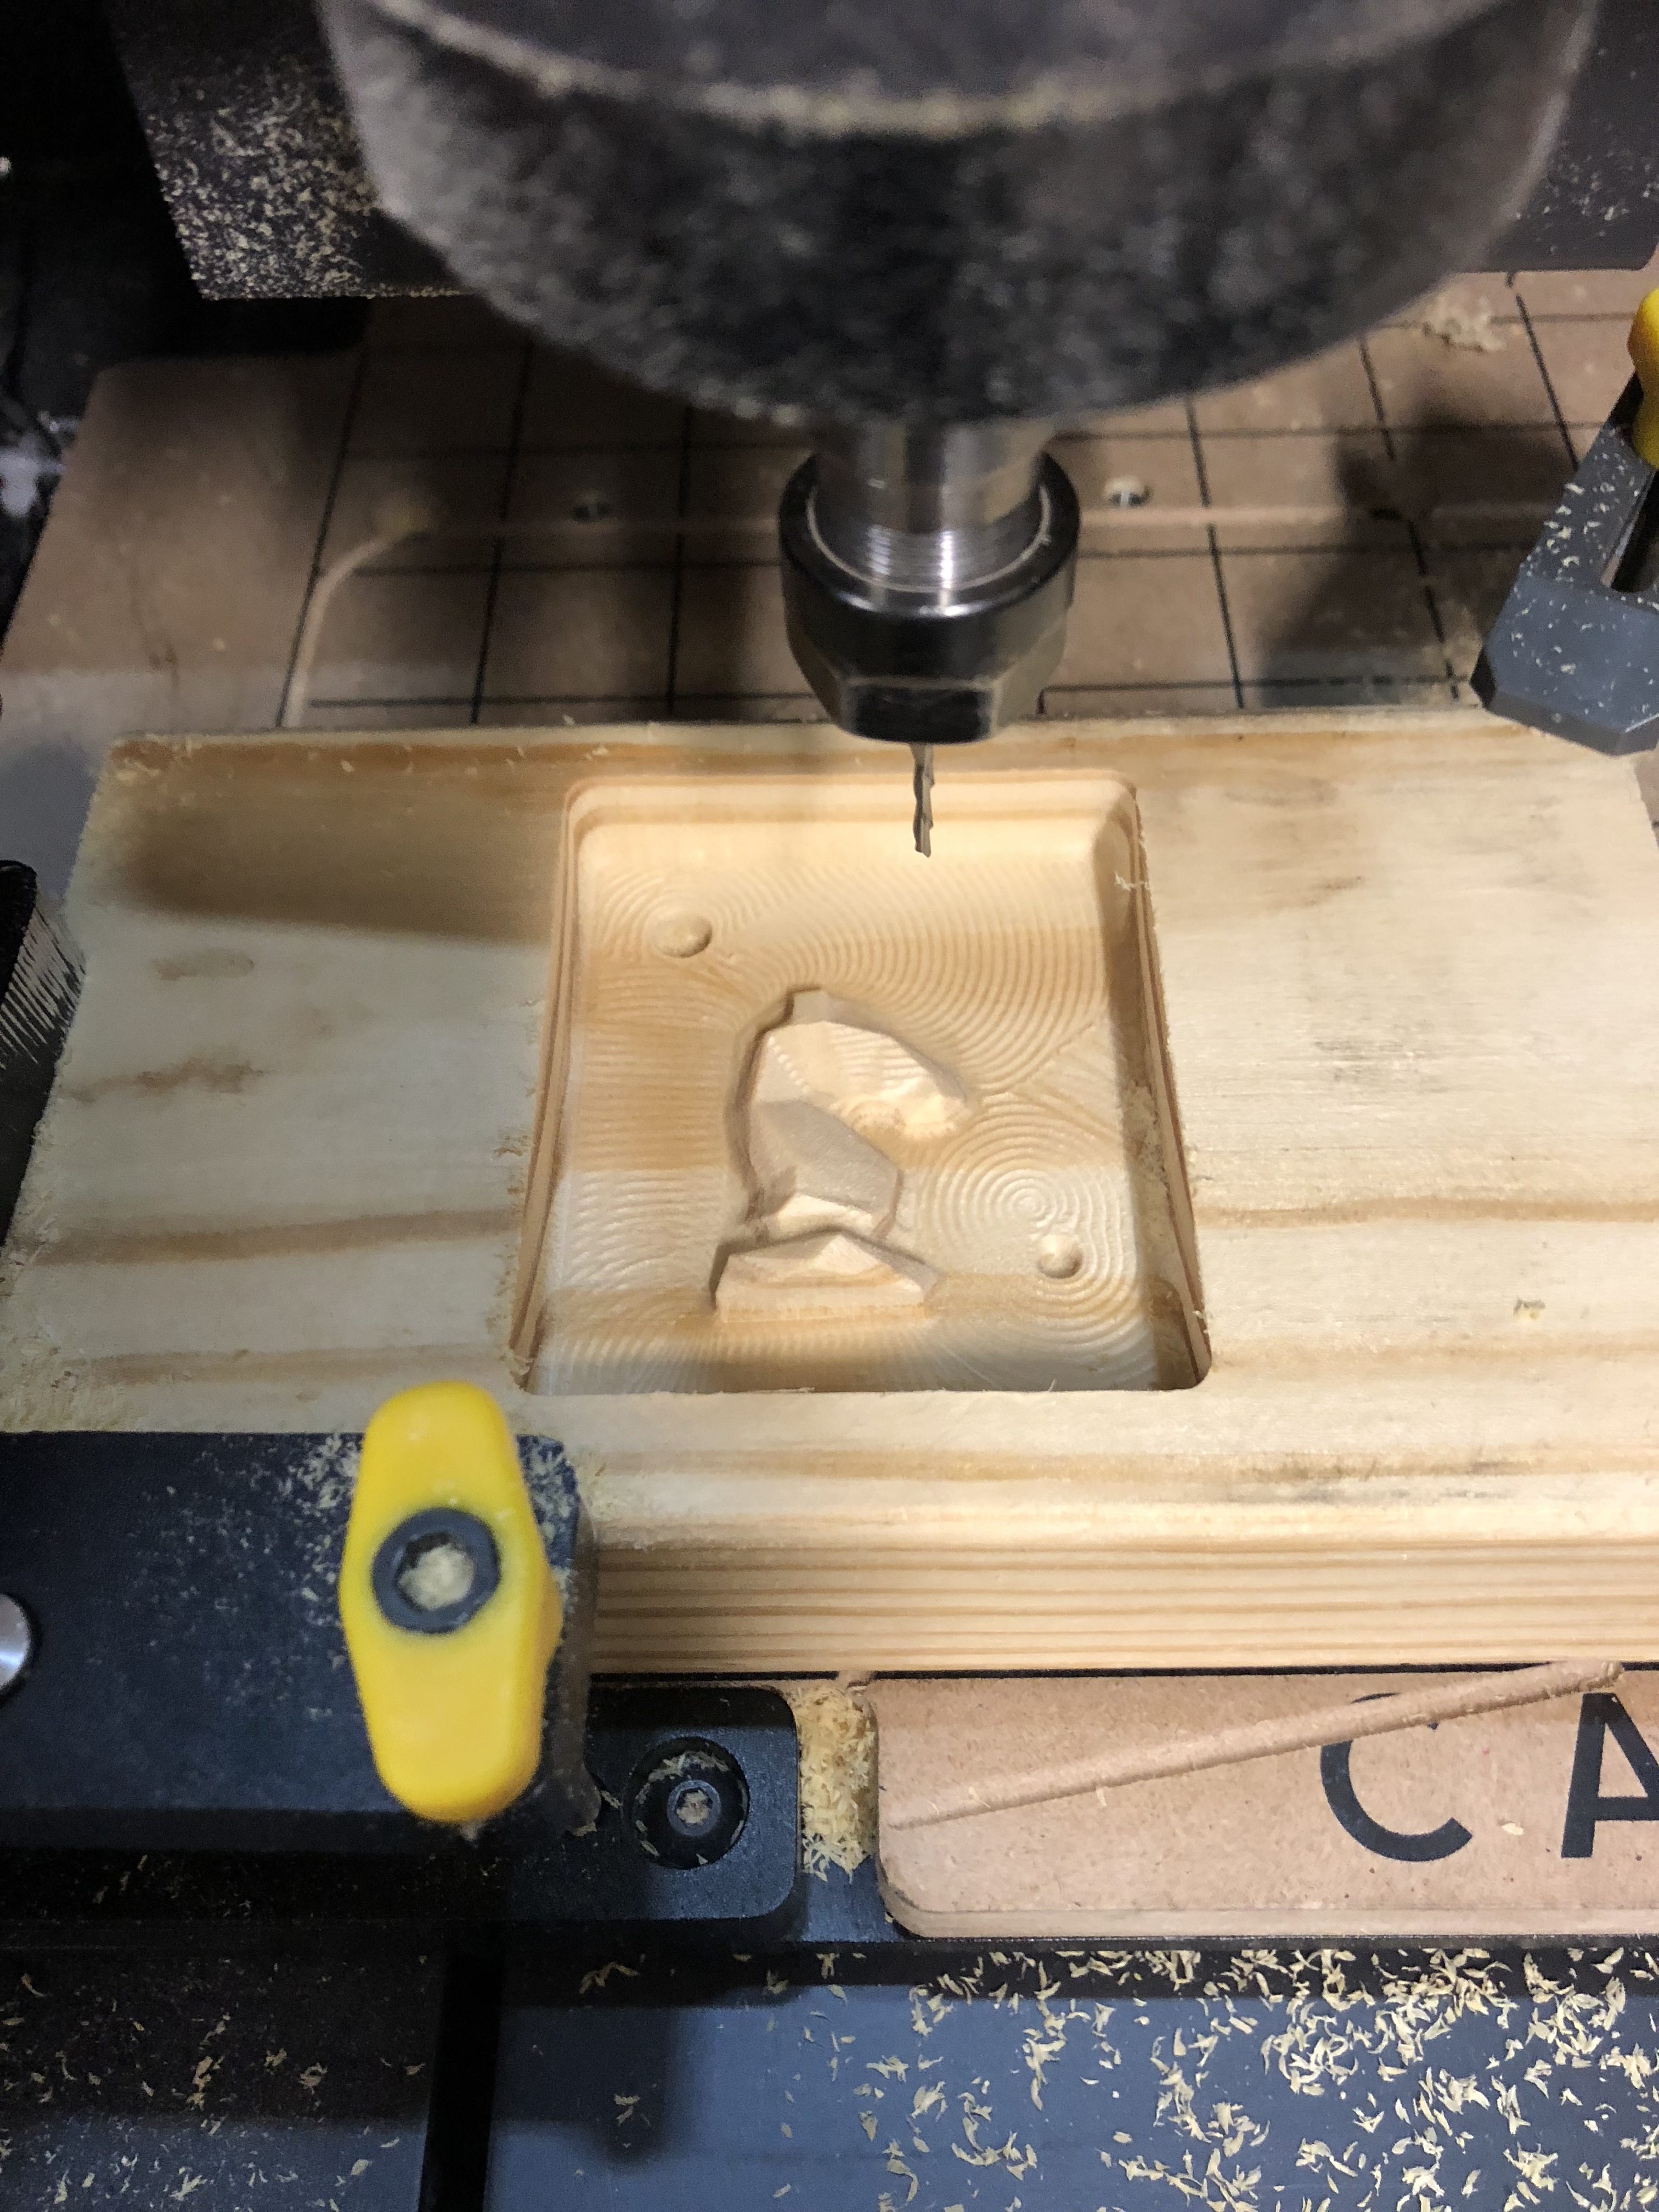
final product
After cutting out the piece, I used the compressed air in the machine shop to get rid of the leftover sawdust. Then, I mixed the silicone and poured it into the mold and let it sit for 4 hours. I should have sprayed mold release but I forgot. It ended up being fine, just a little harder to pull off the silicone.
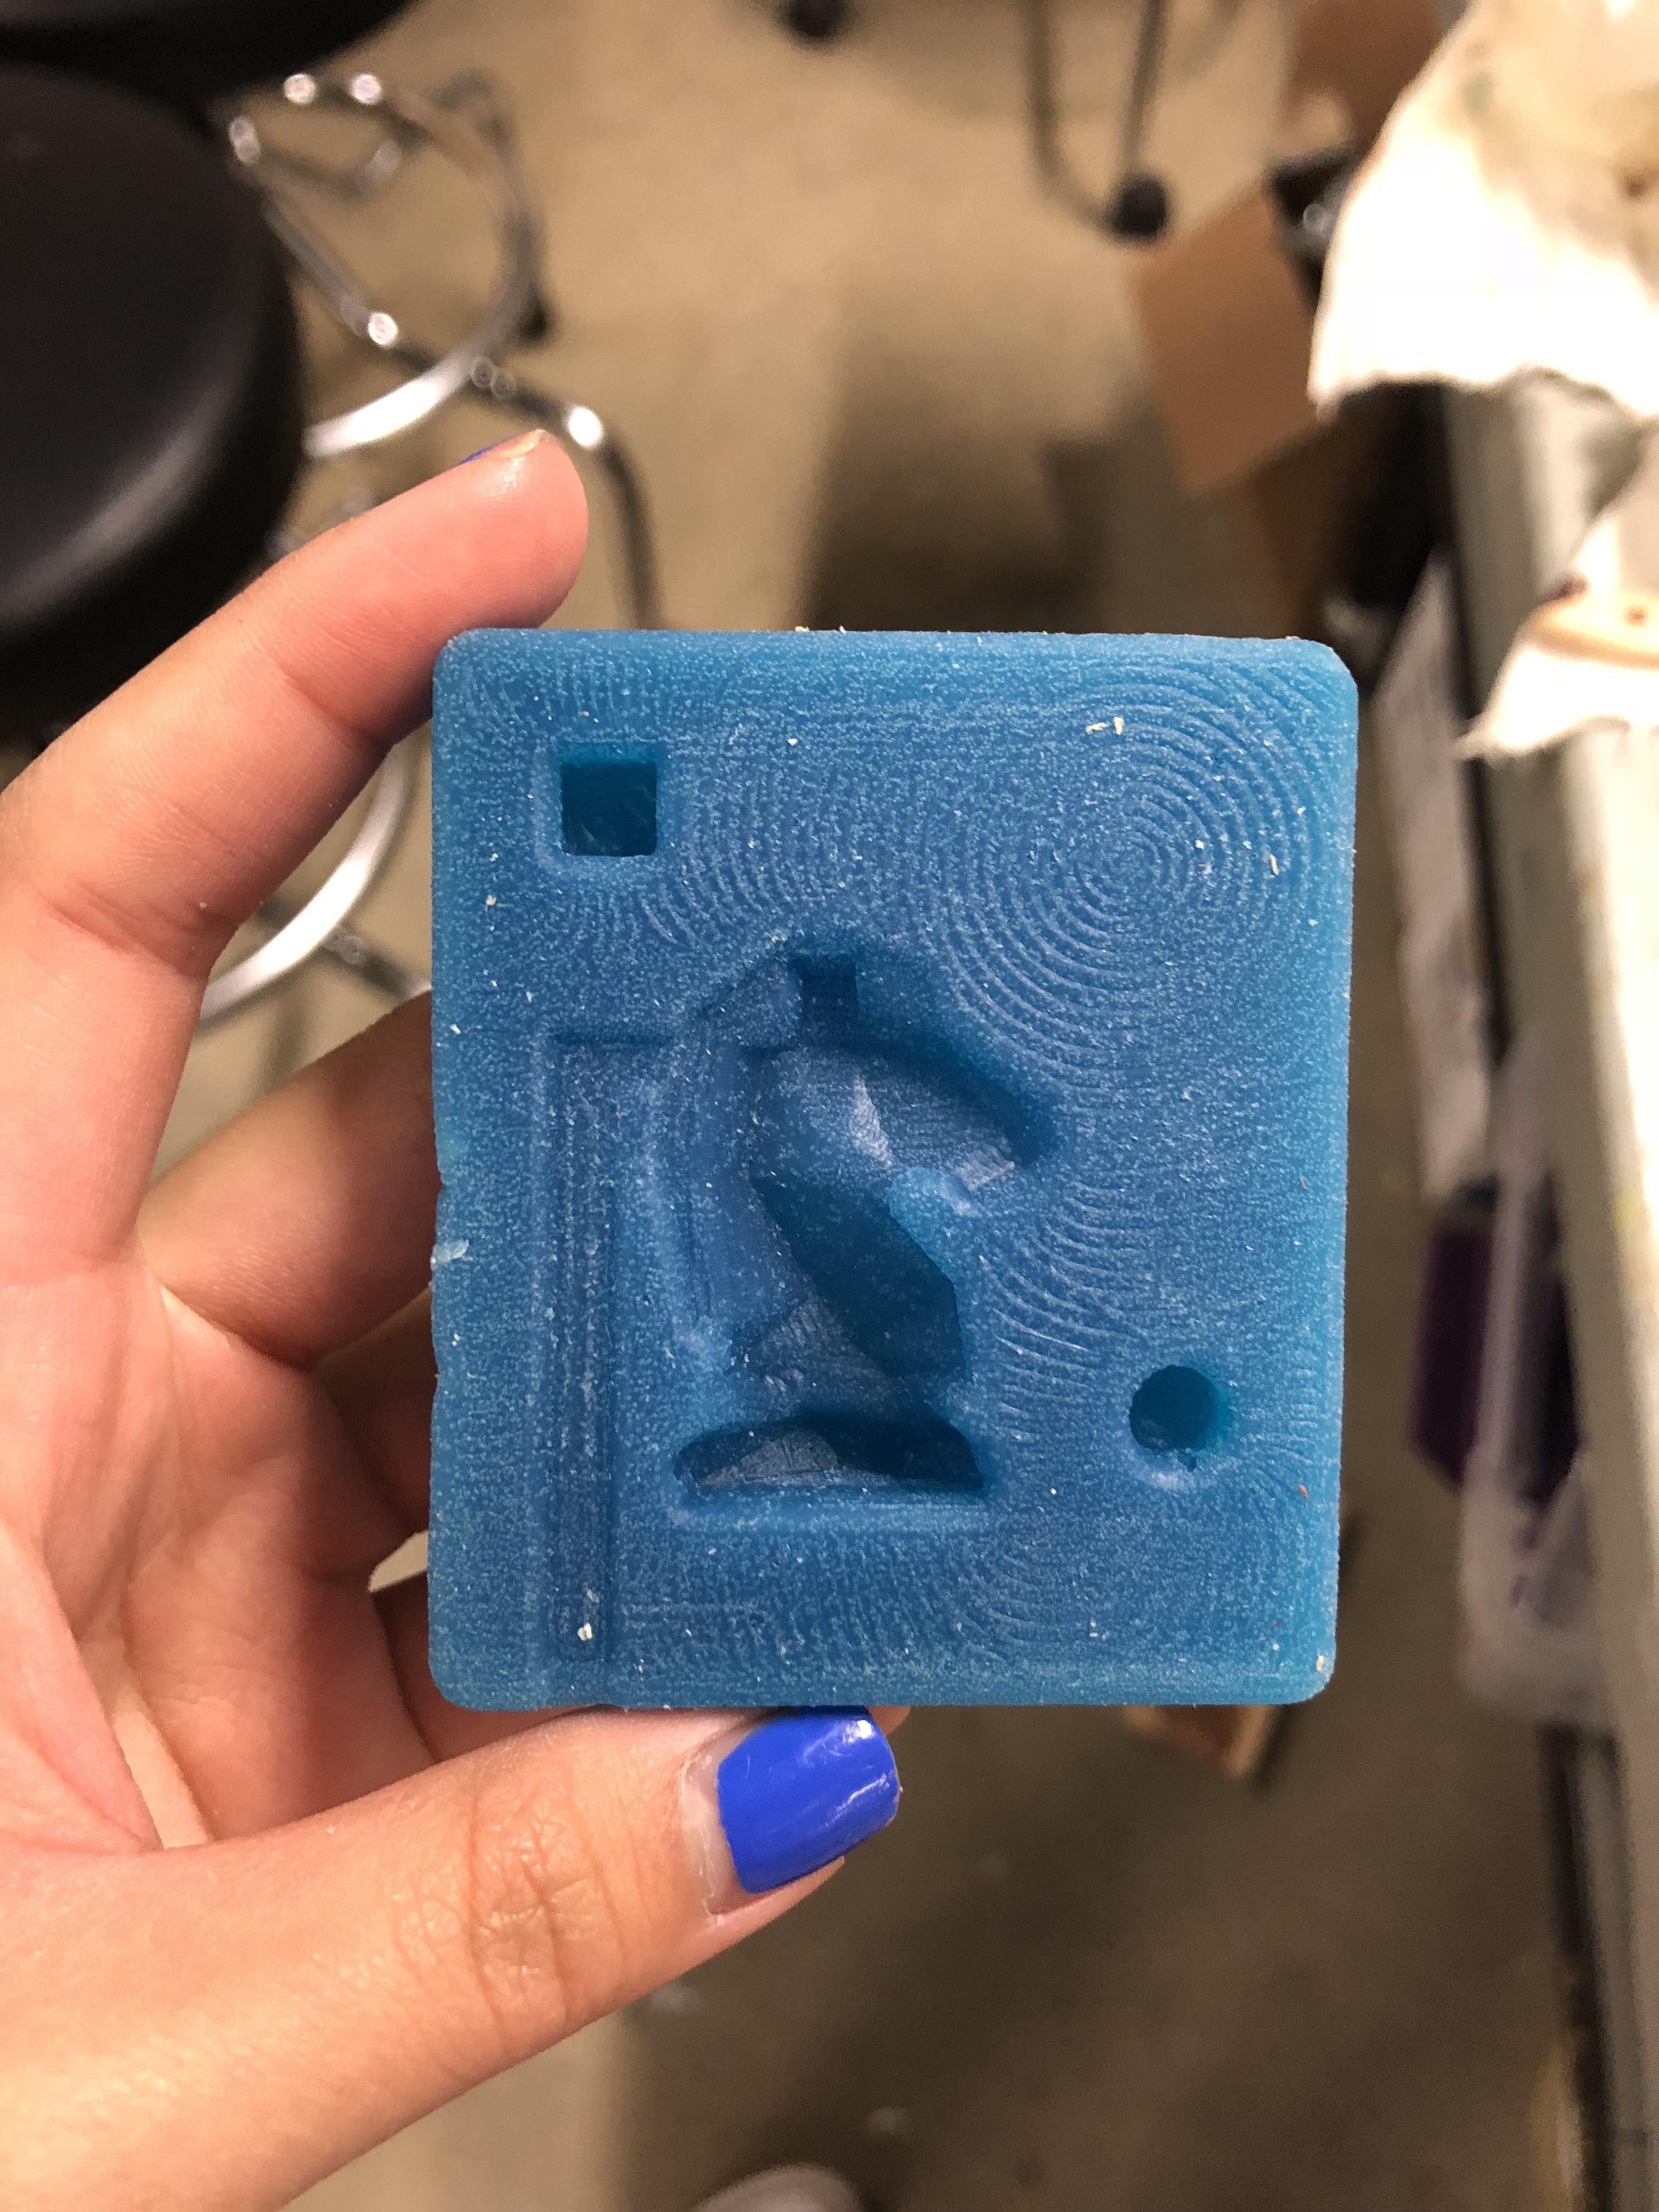
my half of the mold!
After Arturo finished making his silicone mold, I started casting the final product. My first one was a mess. I spilled the plastic mixture everywhere trying to get it into the mold. However, the end result was okay, there was just a little hole at the bottom of the nose of the horse where its hard for the liquid to reach.
I tried a few more times. Some of them still had holes at the bottom of the nose but I figured out that by pouring in smaller increments and tapping and rolling the mold as I go made the air pocket go away. I also put the cast in the vacuum because I saw Josh doing it and he told me it would help get rid of air bubbles.
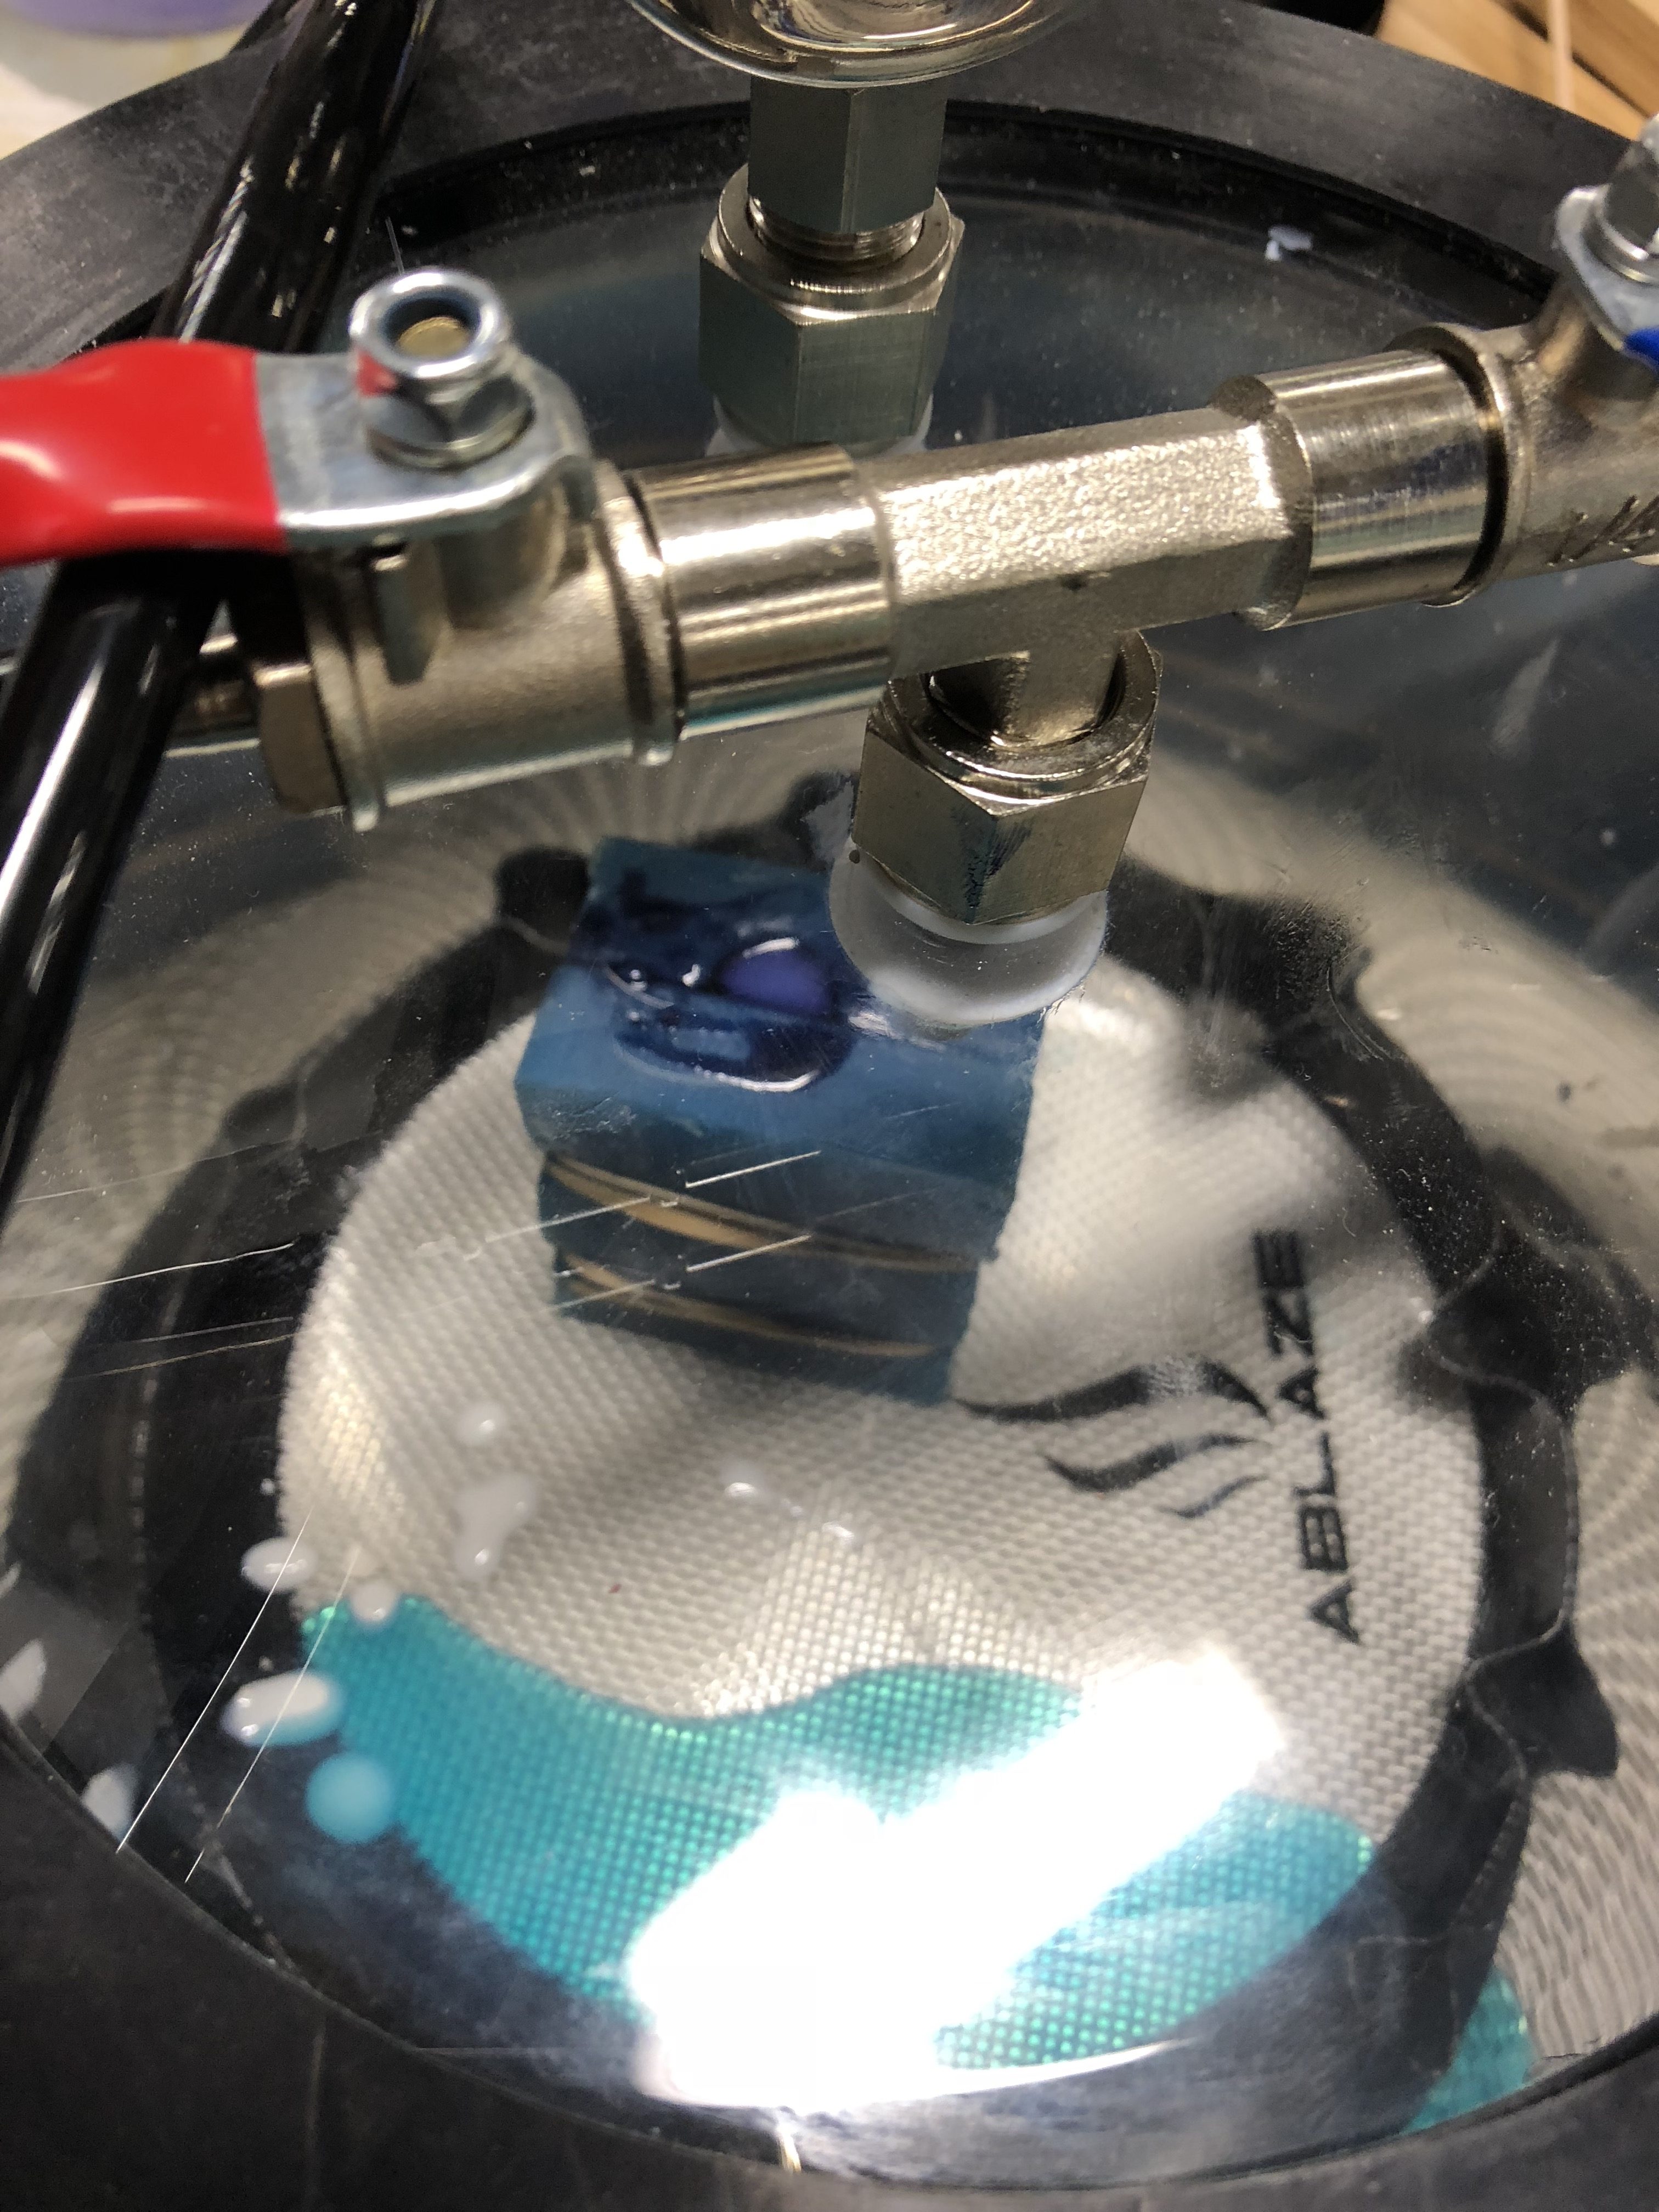
the mold in the vacuum
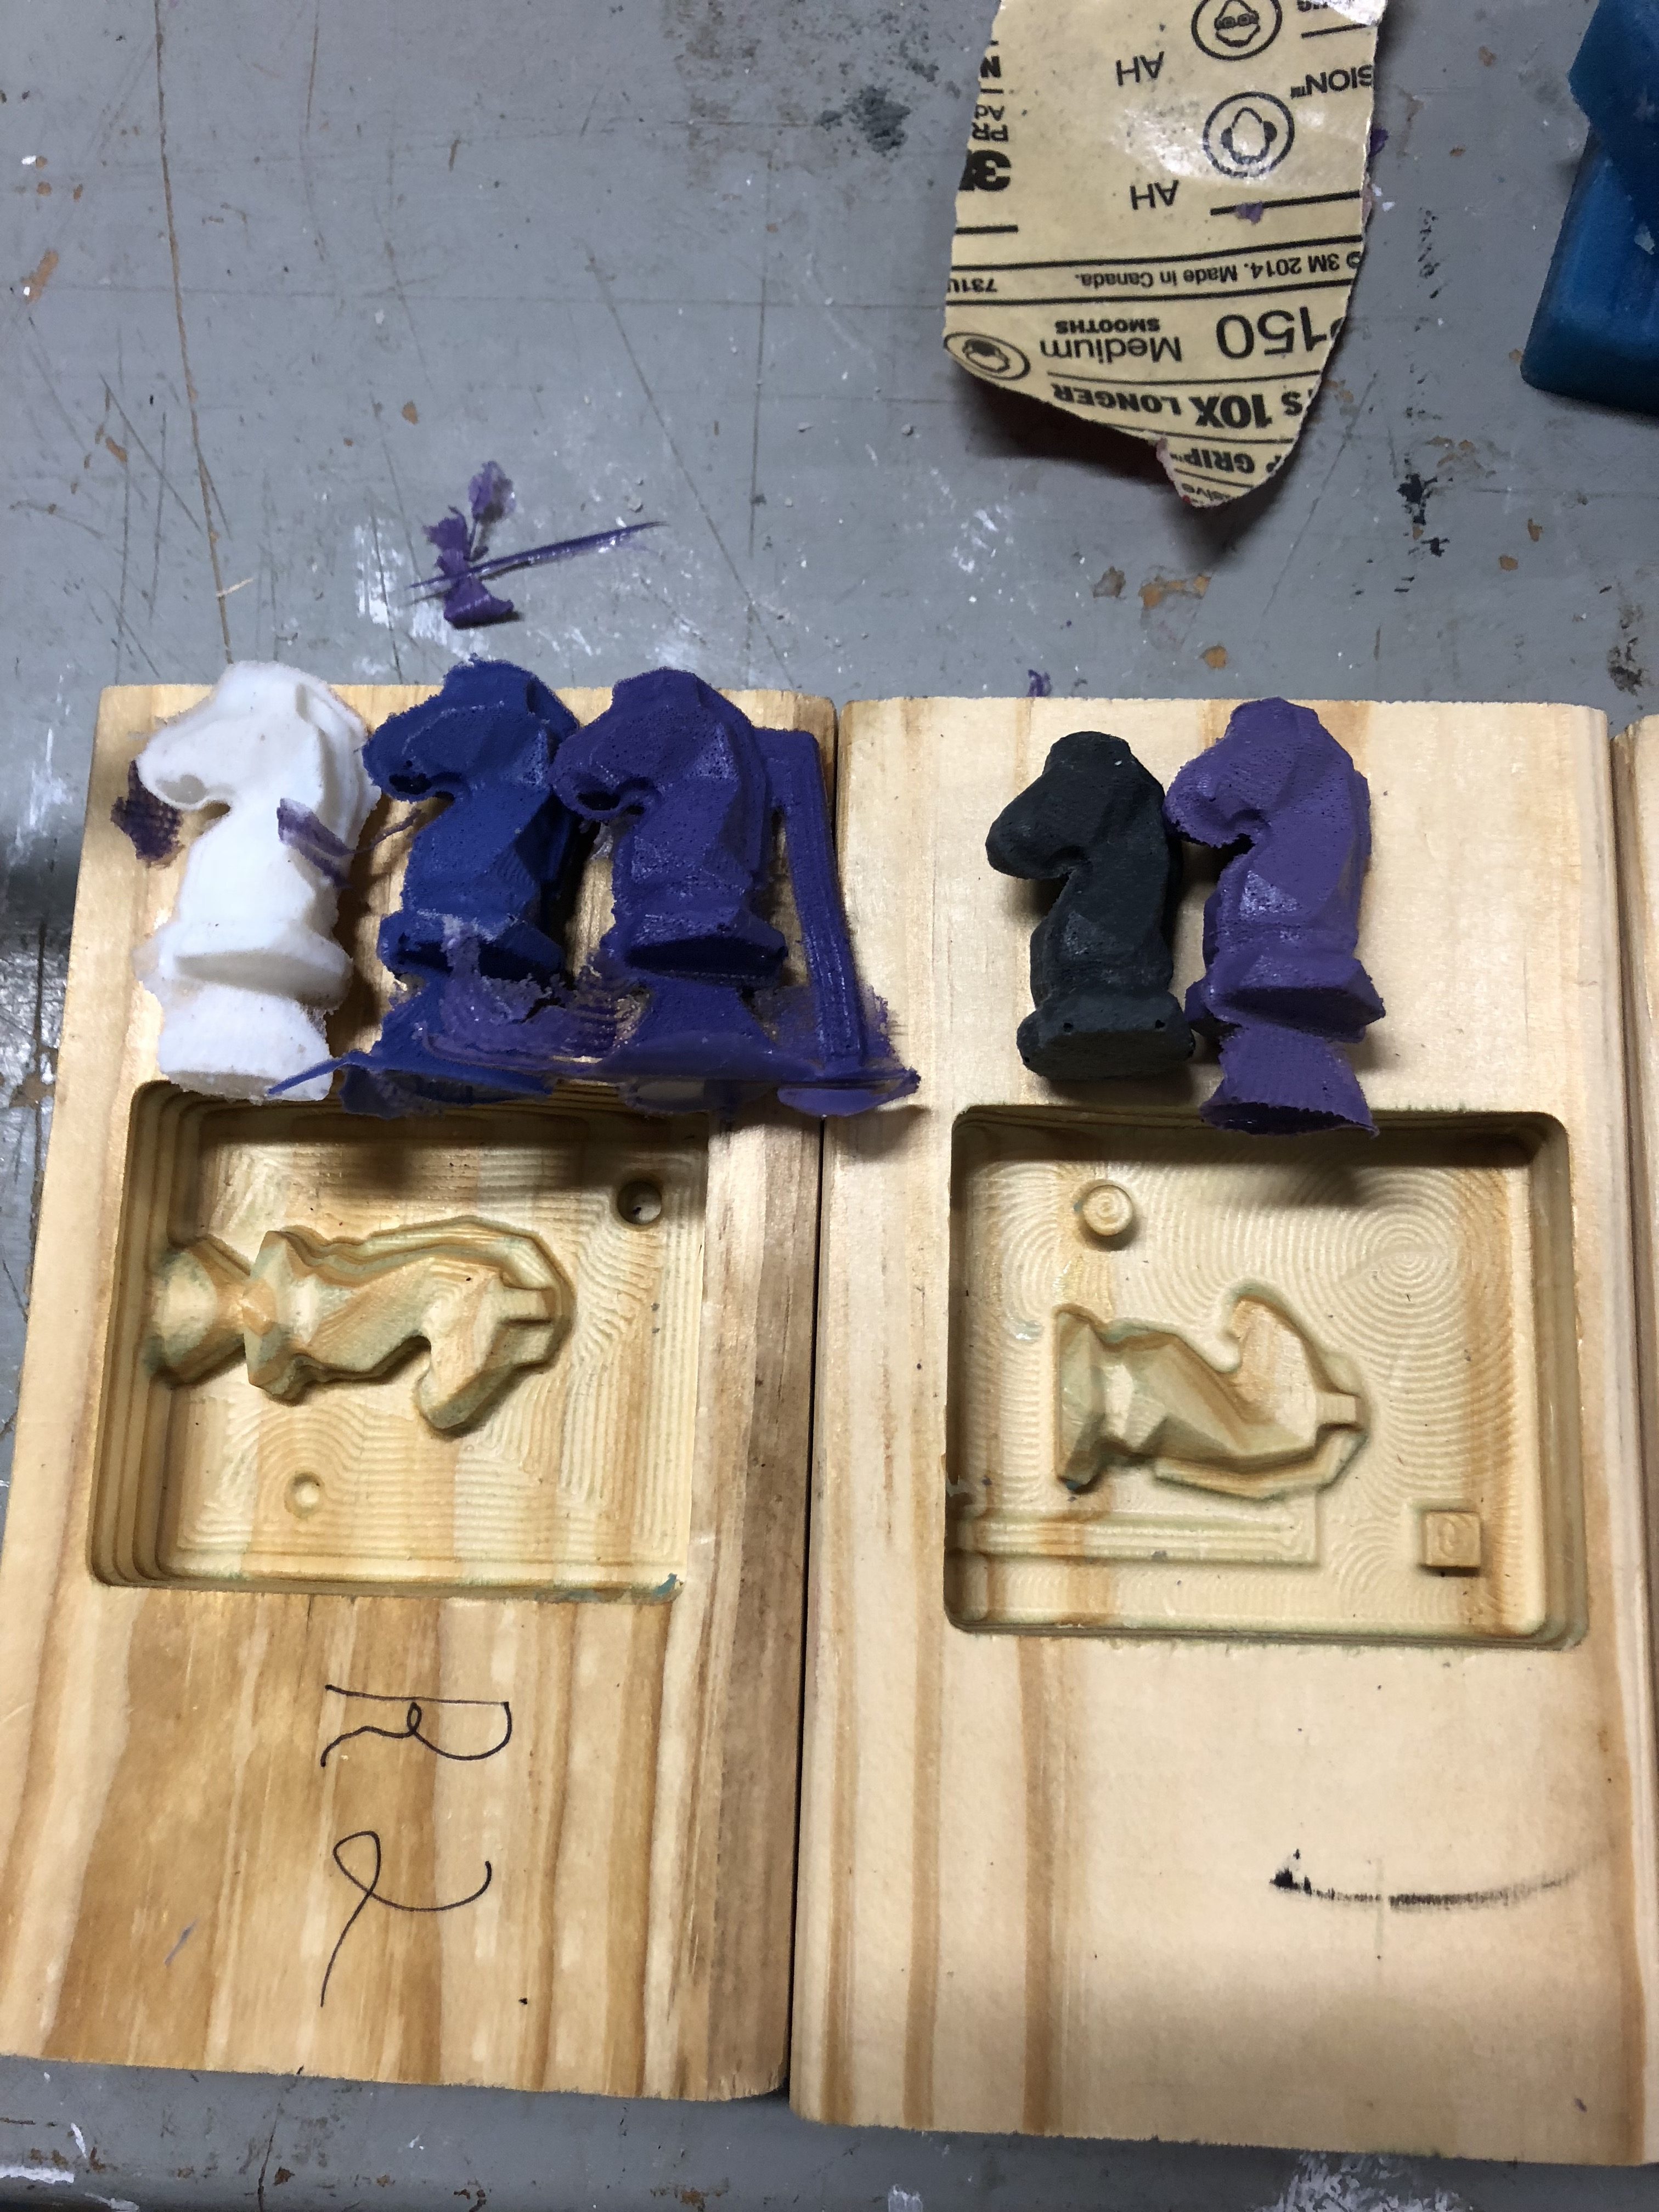
progression of the low poly knight
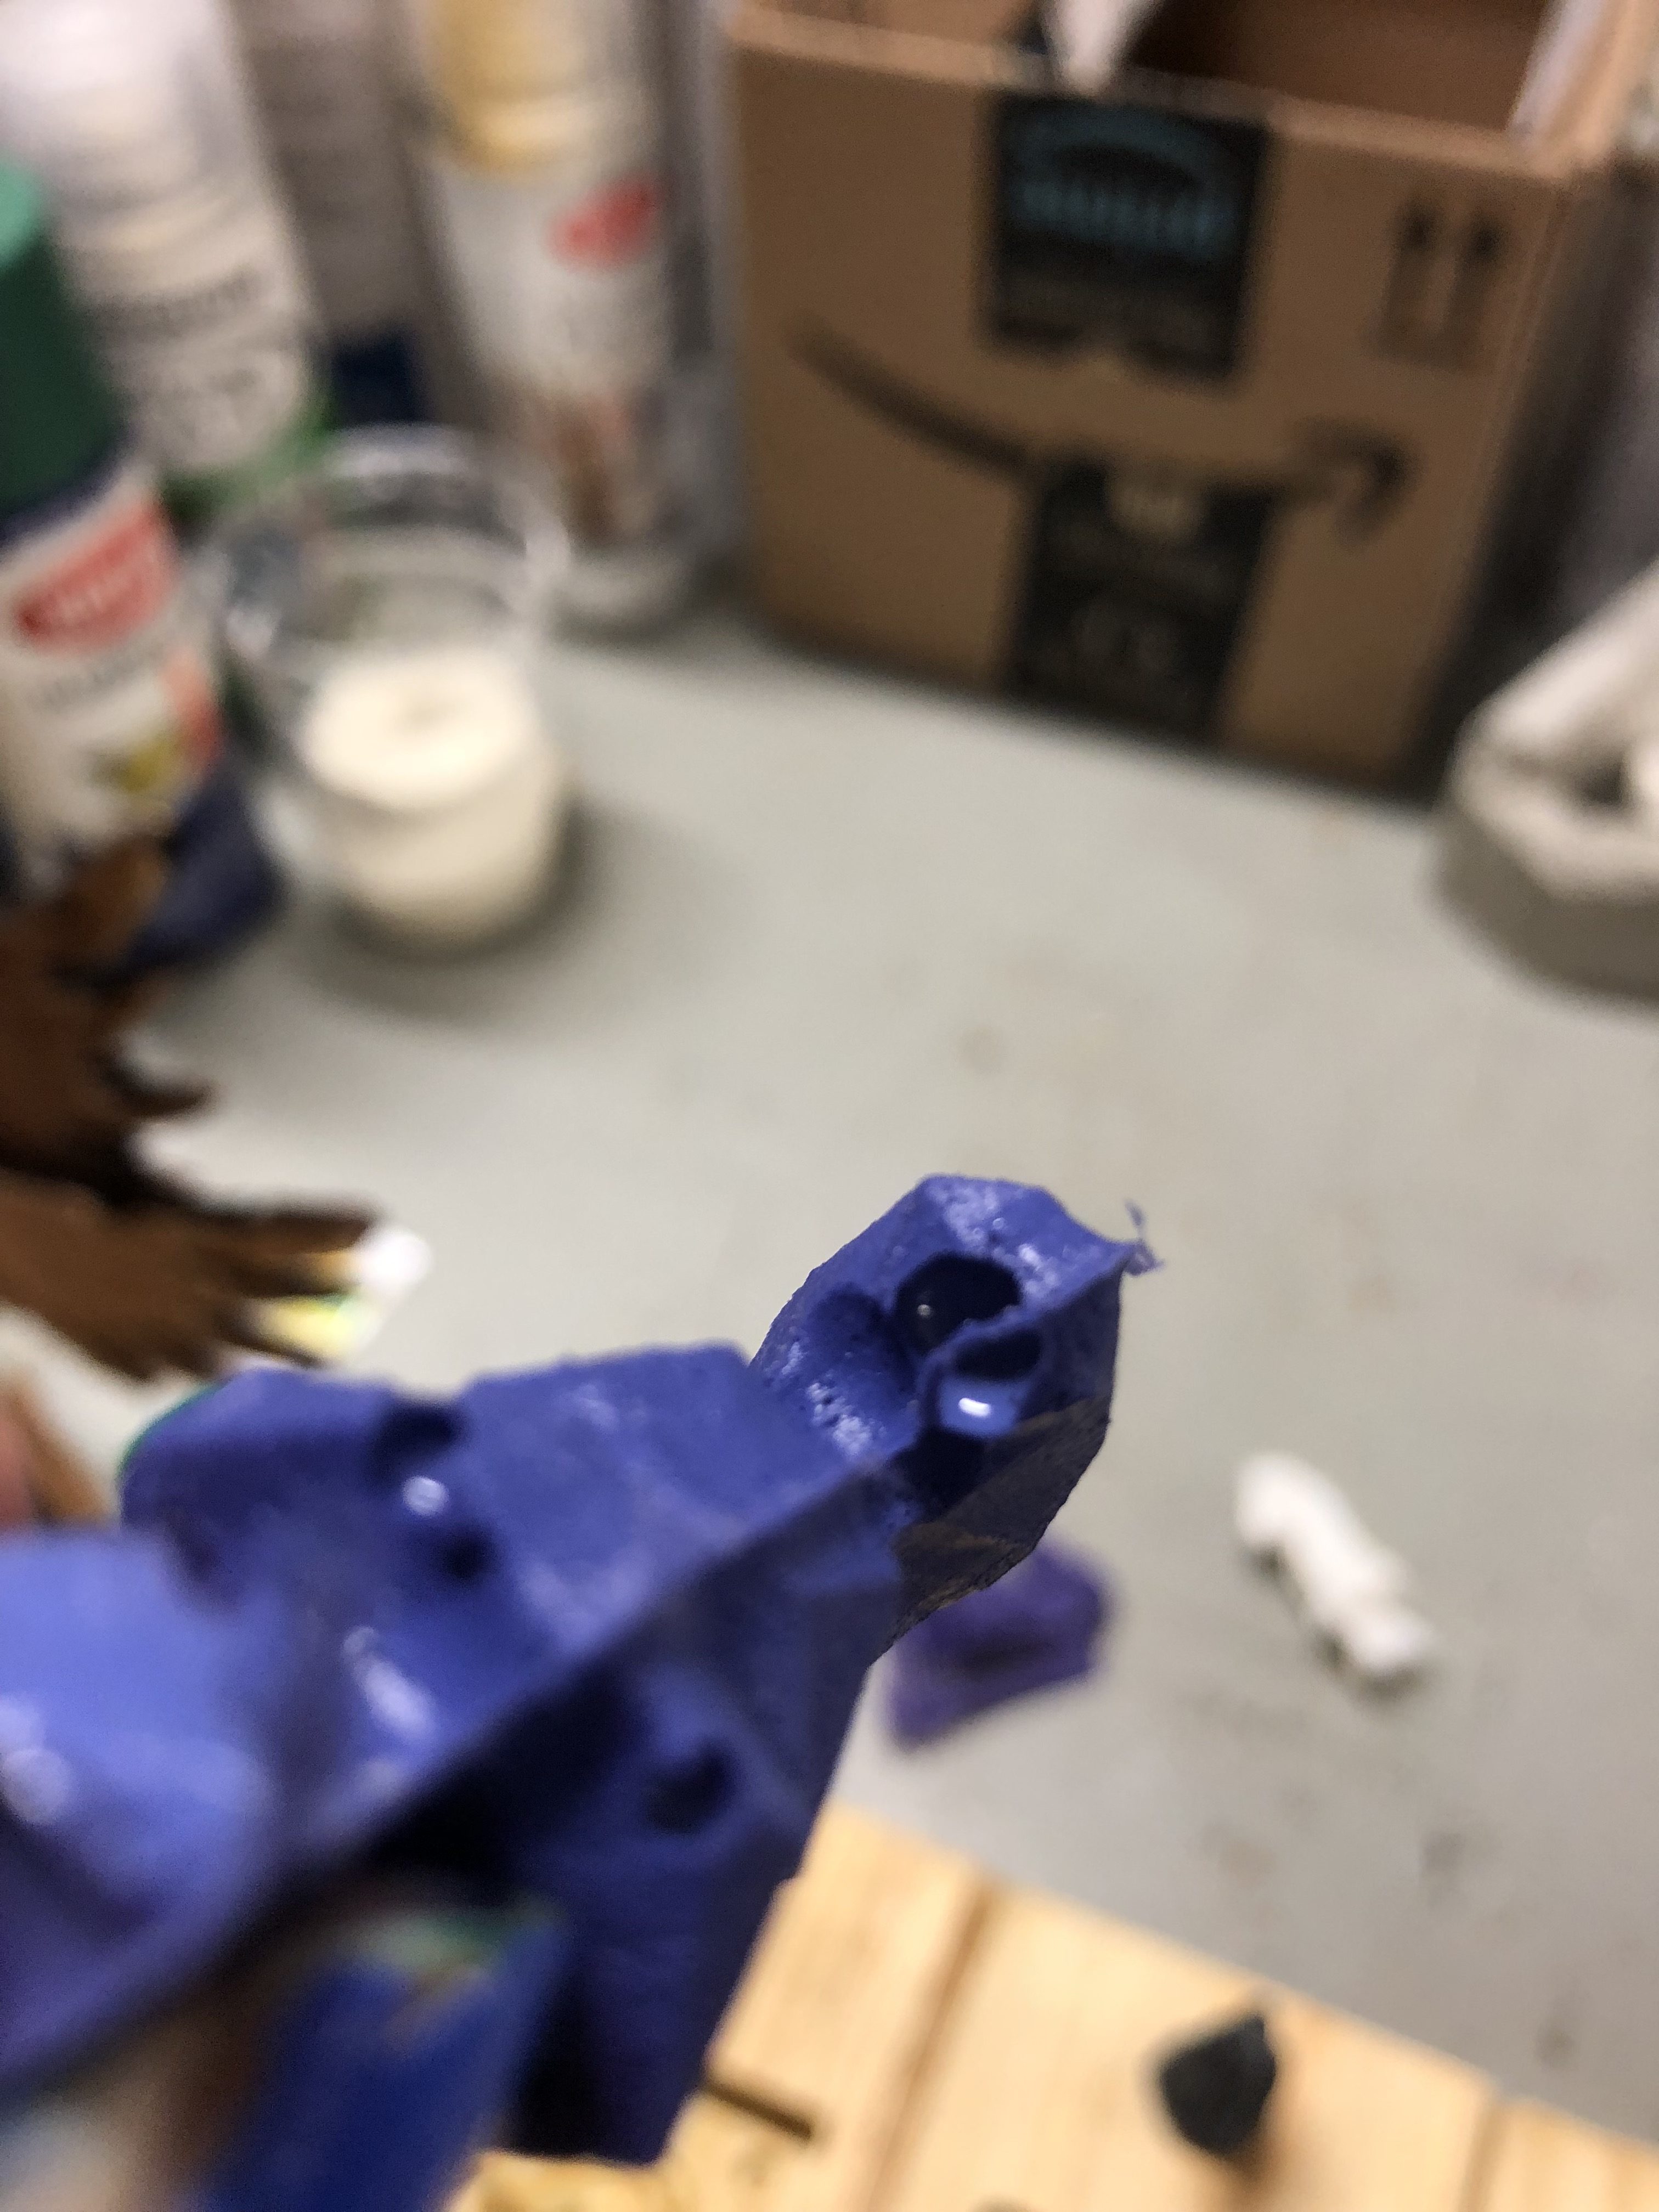
the annoying air pocket
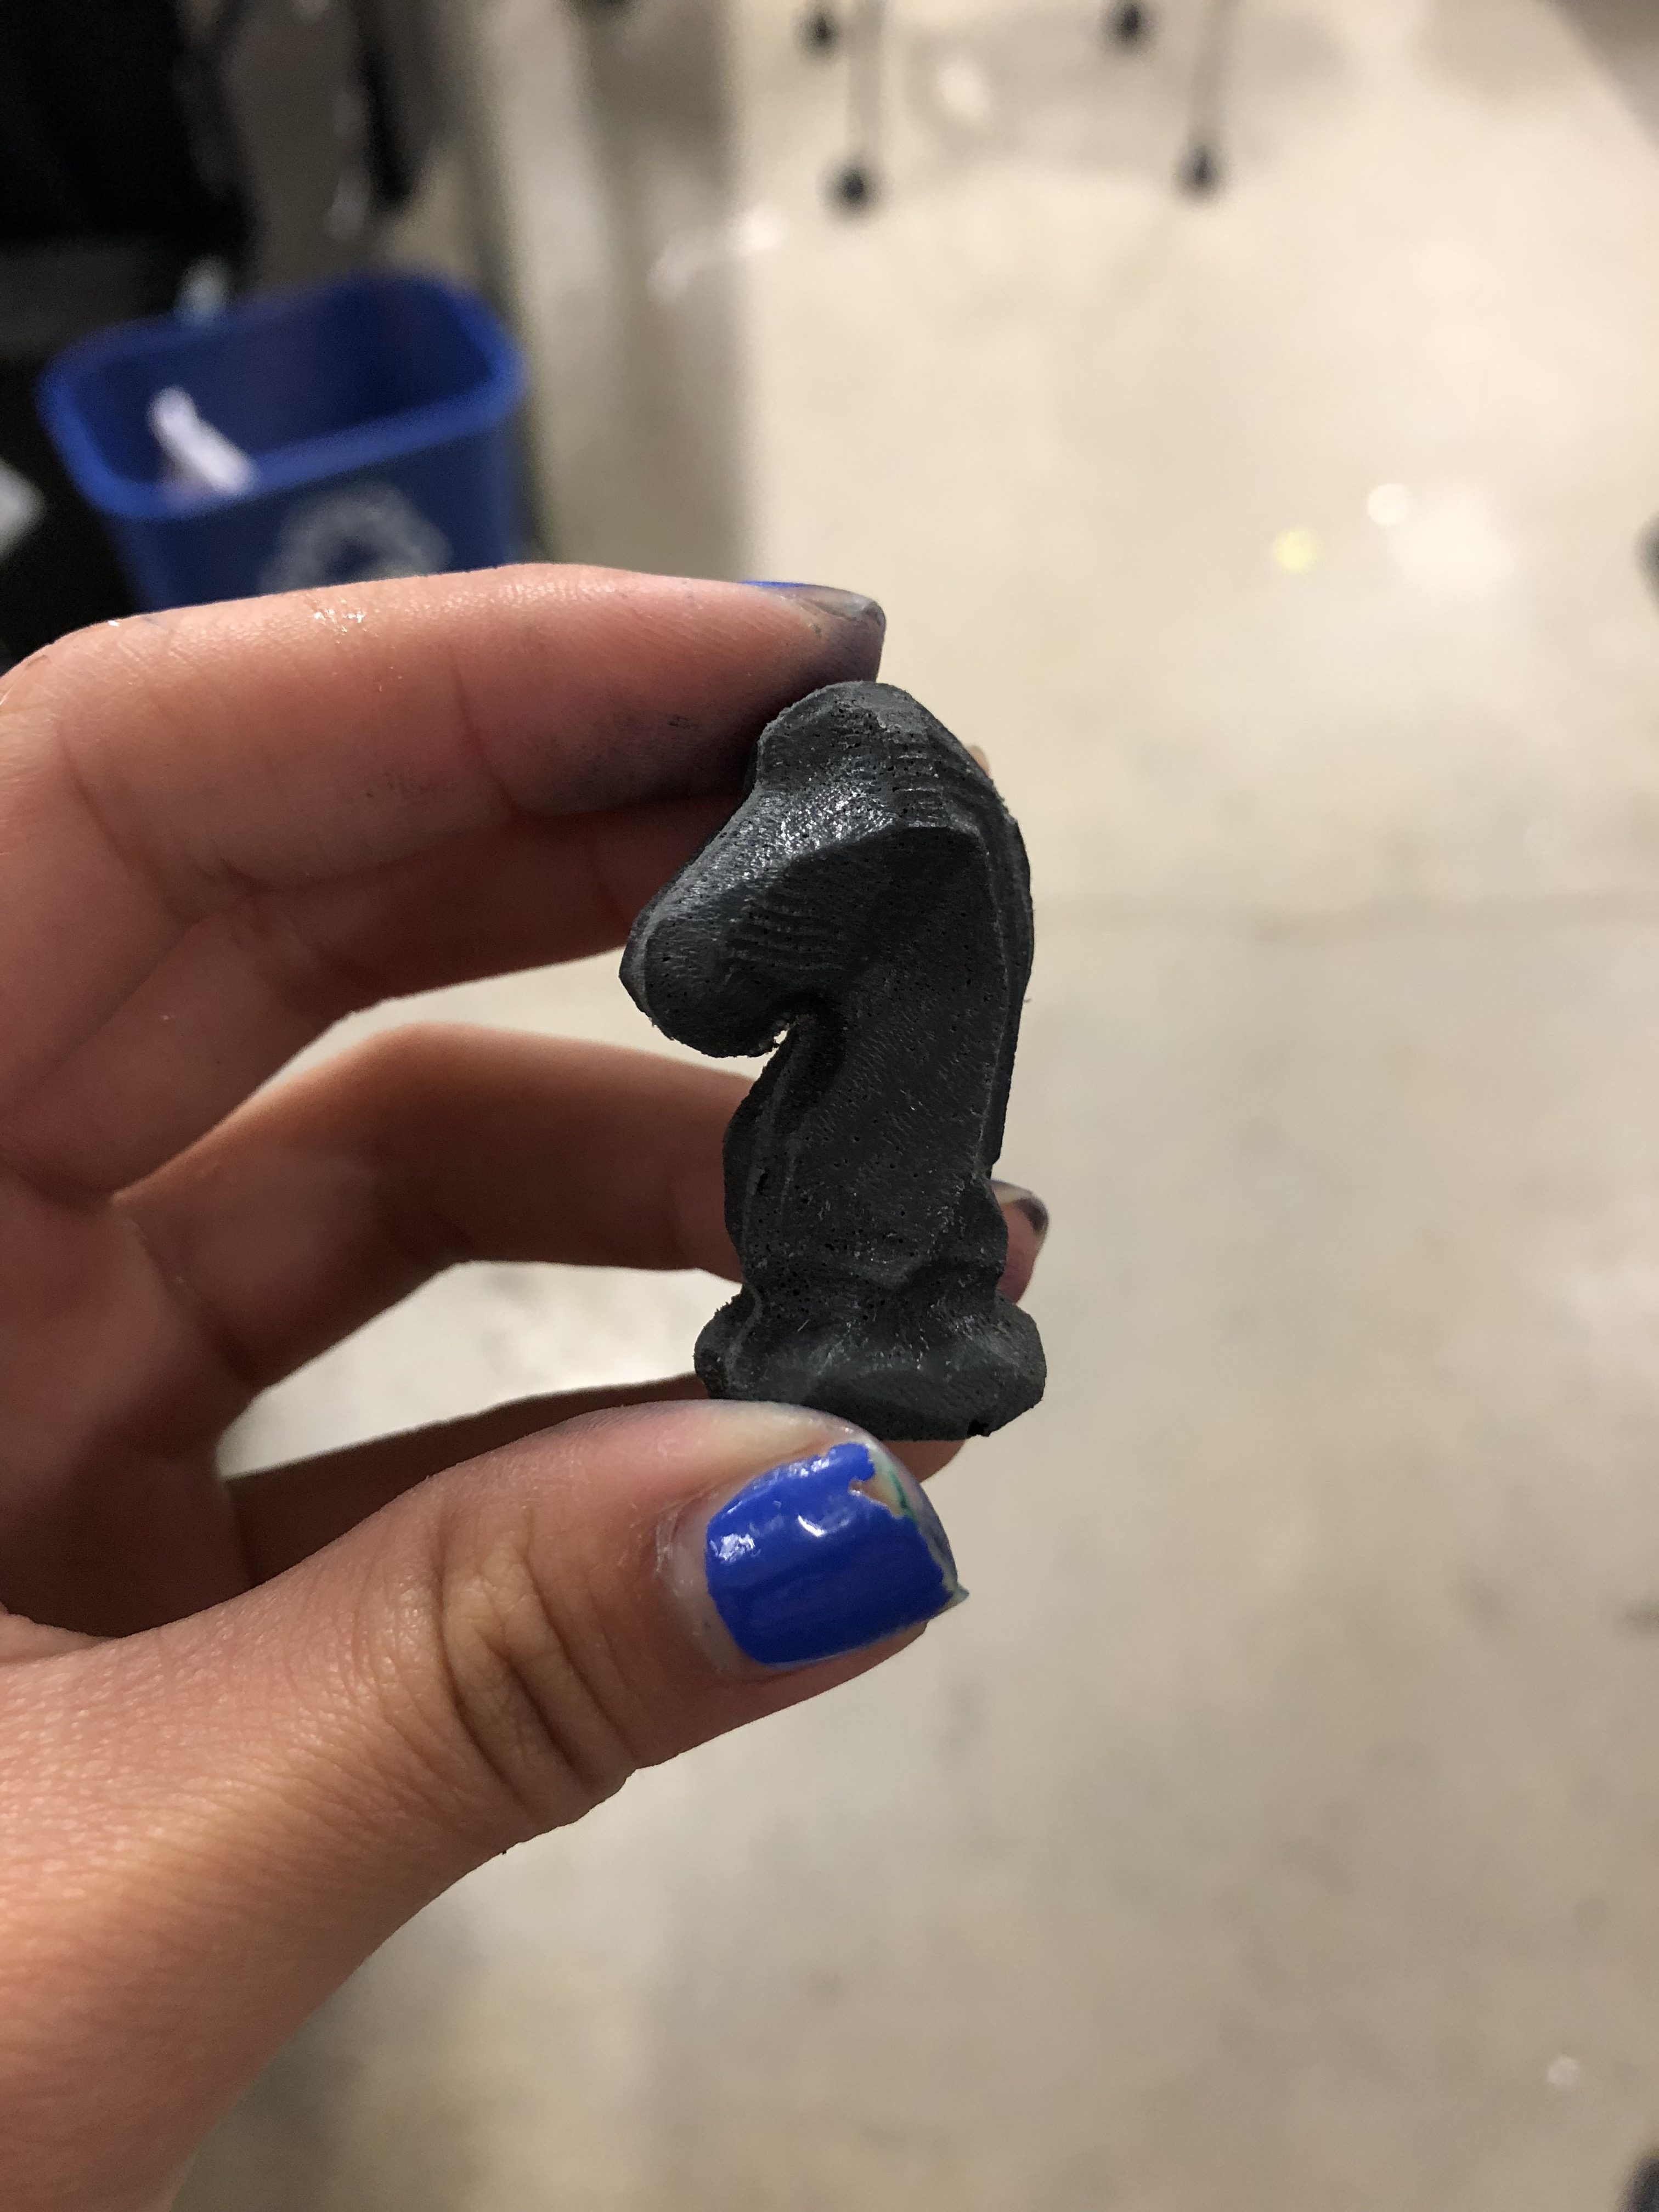
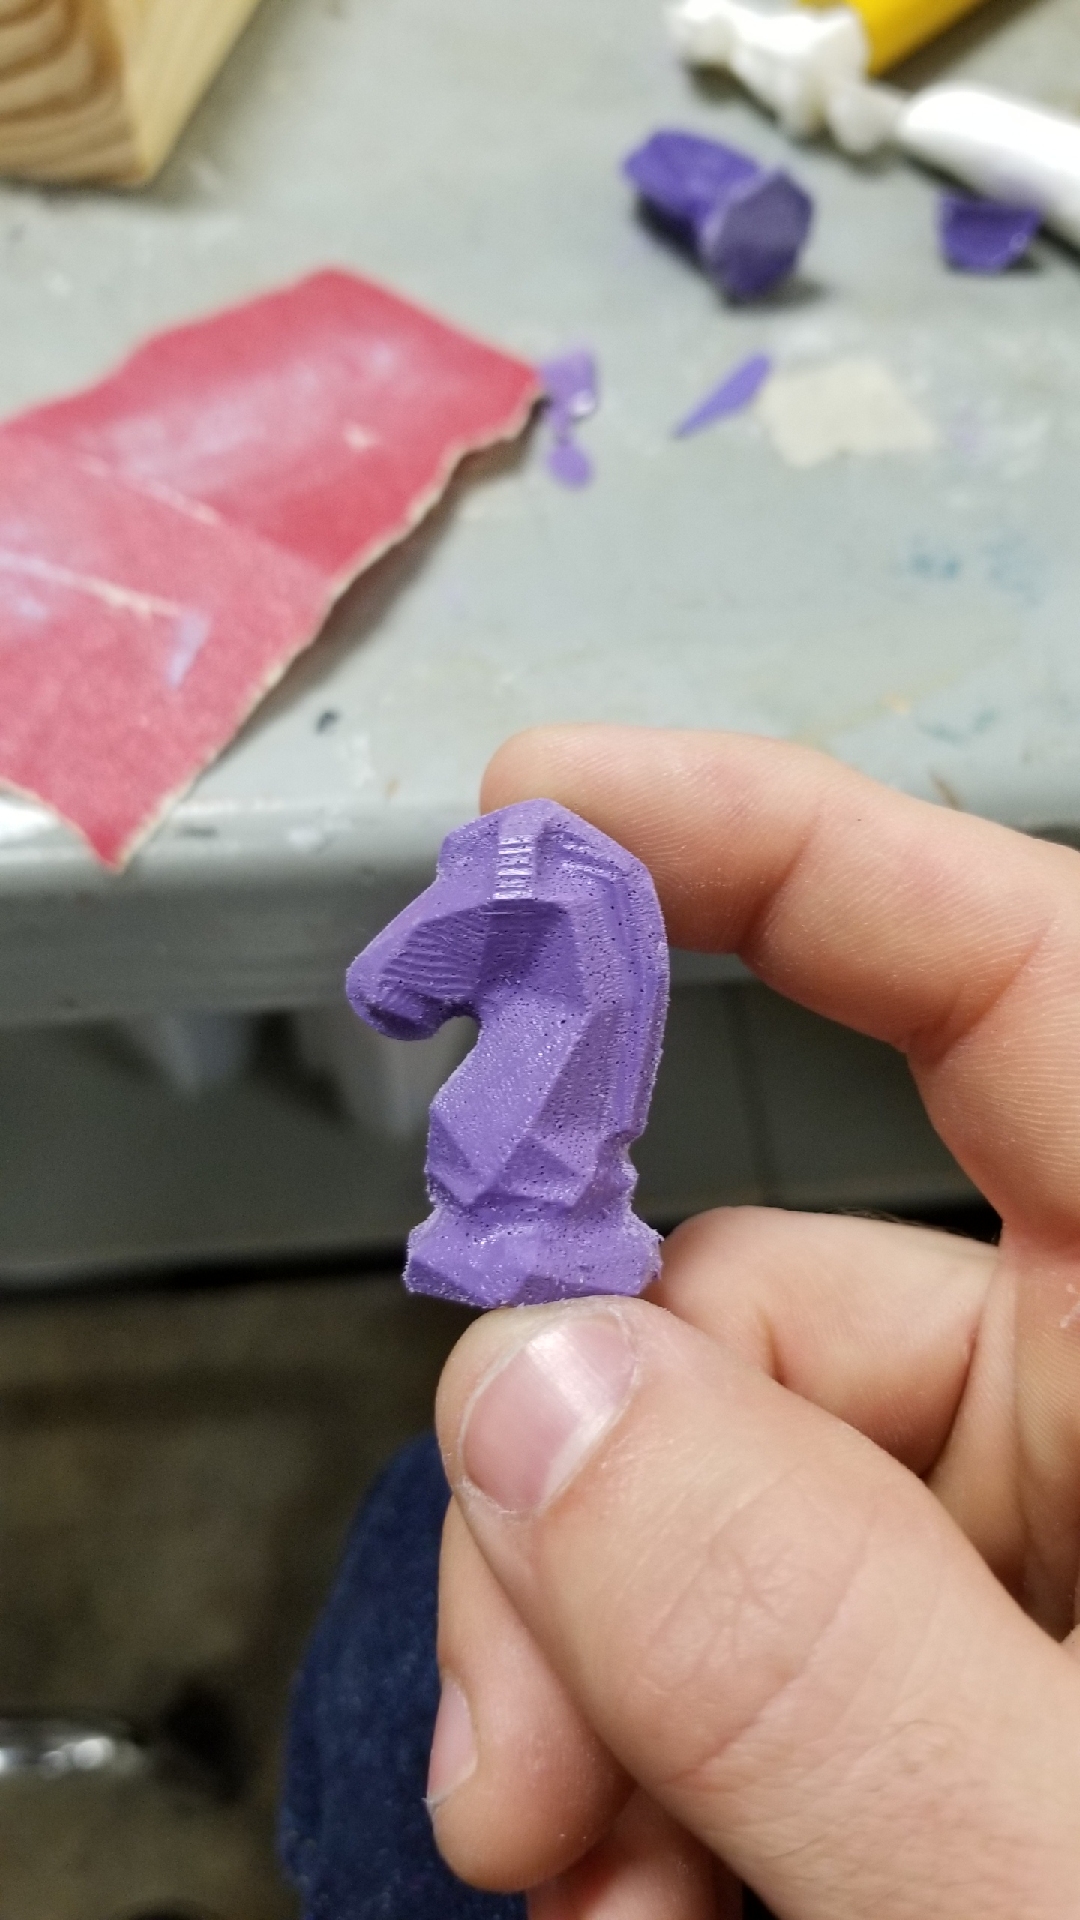
I ended up getting two successful knights that looked pretty high quality! Arturo post processed them by just sanding down the seam so that the knight would be smooth.
Wow. That concludes another semester spending 15+ hours in the OEDK each week. Looking back at ENGI 210, I can say that I learned more than I thought I would about prototyping and fabrication in the OEDK. I also learned the importance of starting early to account for the mistakes that will happen along the way. This class was refreshing in a semester filled with hard math classes. Being able to actually make something trumps mind-bending math anyday, although, I guess you need the math behind things to actually make working devices in the future.
Anyways, peace out, OEDK. See you next semester!
