The journey has been long and fruitful, but we finally arrive at its end. To greet us at the end of our path is one last challenge to overcome: the king.
The final project: cast a chess piece. This was to be done in partners, so Scout and I teamed up. As you can probably tell, we were given the king as our piece. I was pretty happy with this because it’s an iconic piece; chess is centered around capturing the opponent’s king.
Scout and I started off with some more ambitious ideas for the king. The running included an undead pharaoh, the Iron Throne, and this really spindly thing. Ultimately, we went with a more conservative design, similar in style to the Staunton standard set. The other designs were a little beyond the scope of the project; they were riddled with tiny details and plenty of overhangs that would make the cuts impossible on the Carvey.
After selecting our design, Scout and I entered the nightmare that is Fusion 360. “CAD should not be the focus of this project,” said Dr. Wettergreen. “You shouldn’t spend most of your time in Fusion 360, said Dr. Wettergreen. Turns out that about half our time on this project working in various software packages, from Meshmixer to Fusion 360 to SolidWorks to Easel. The other half was sitting on our butts, waiting for things to cut or cure.
In retrospect, Meshmixer wasn’t too bad. We imported our mesh, cut it in half, a only struggled a bit with alignment and reducing triangle count. It’s to be expected when using software for the first time. What isn’t expected when using software for the first time is the unintuitive mess of Fusion 360. From the moment I imported my mesh, (which isn’t under File>Import, for some reason,) I was lost in an overwhelming slew of information coupled with confusing controls. What is left click doing? Why is it drawing some pseudo-line thing? Why do I have to middle click to move my part? Why can I select different parts when my mouse is in the same location? (It seems to be dependent on the direction and speed of approach? Still not sure there.) Nevertheless, Scout and I persevered, with me in the driver’s seat (Scout had used Fusion 360 once before, so his trial had expired). We trudged through the digital swamp with the crudely drawn and constantly changing map that was the Fusion 360 tutorial, trying to navigate while others were making live edits to the process. After we finally got a part ready to cut, it was another challenge getting it aligned for Easel and the Carvey. Those “Smart Clamps” have the most awkward gap in sizes so that a standard 2-by-4 board doesn’t quite fit neither the yellow nor the orange bolt length. With a bit of struggling, we got a couple threads from the yellow bolt to fit and called it good.
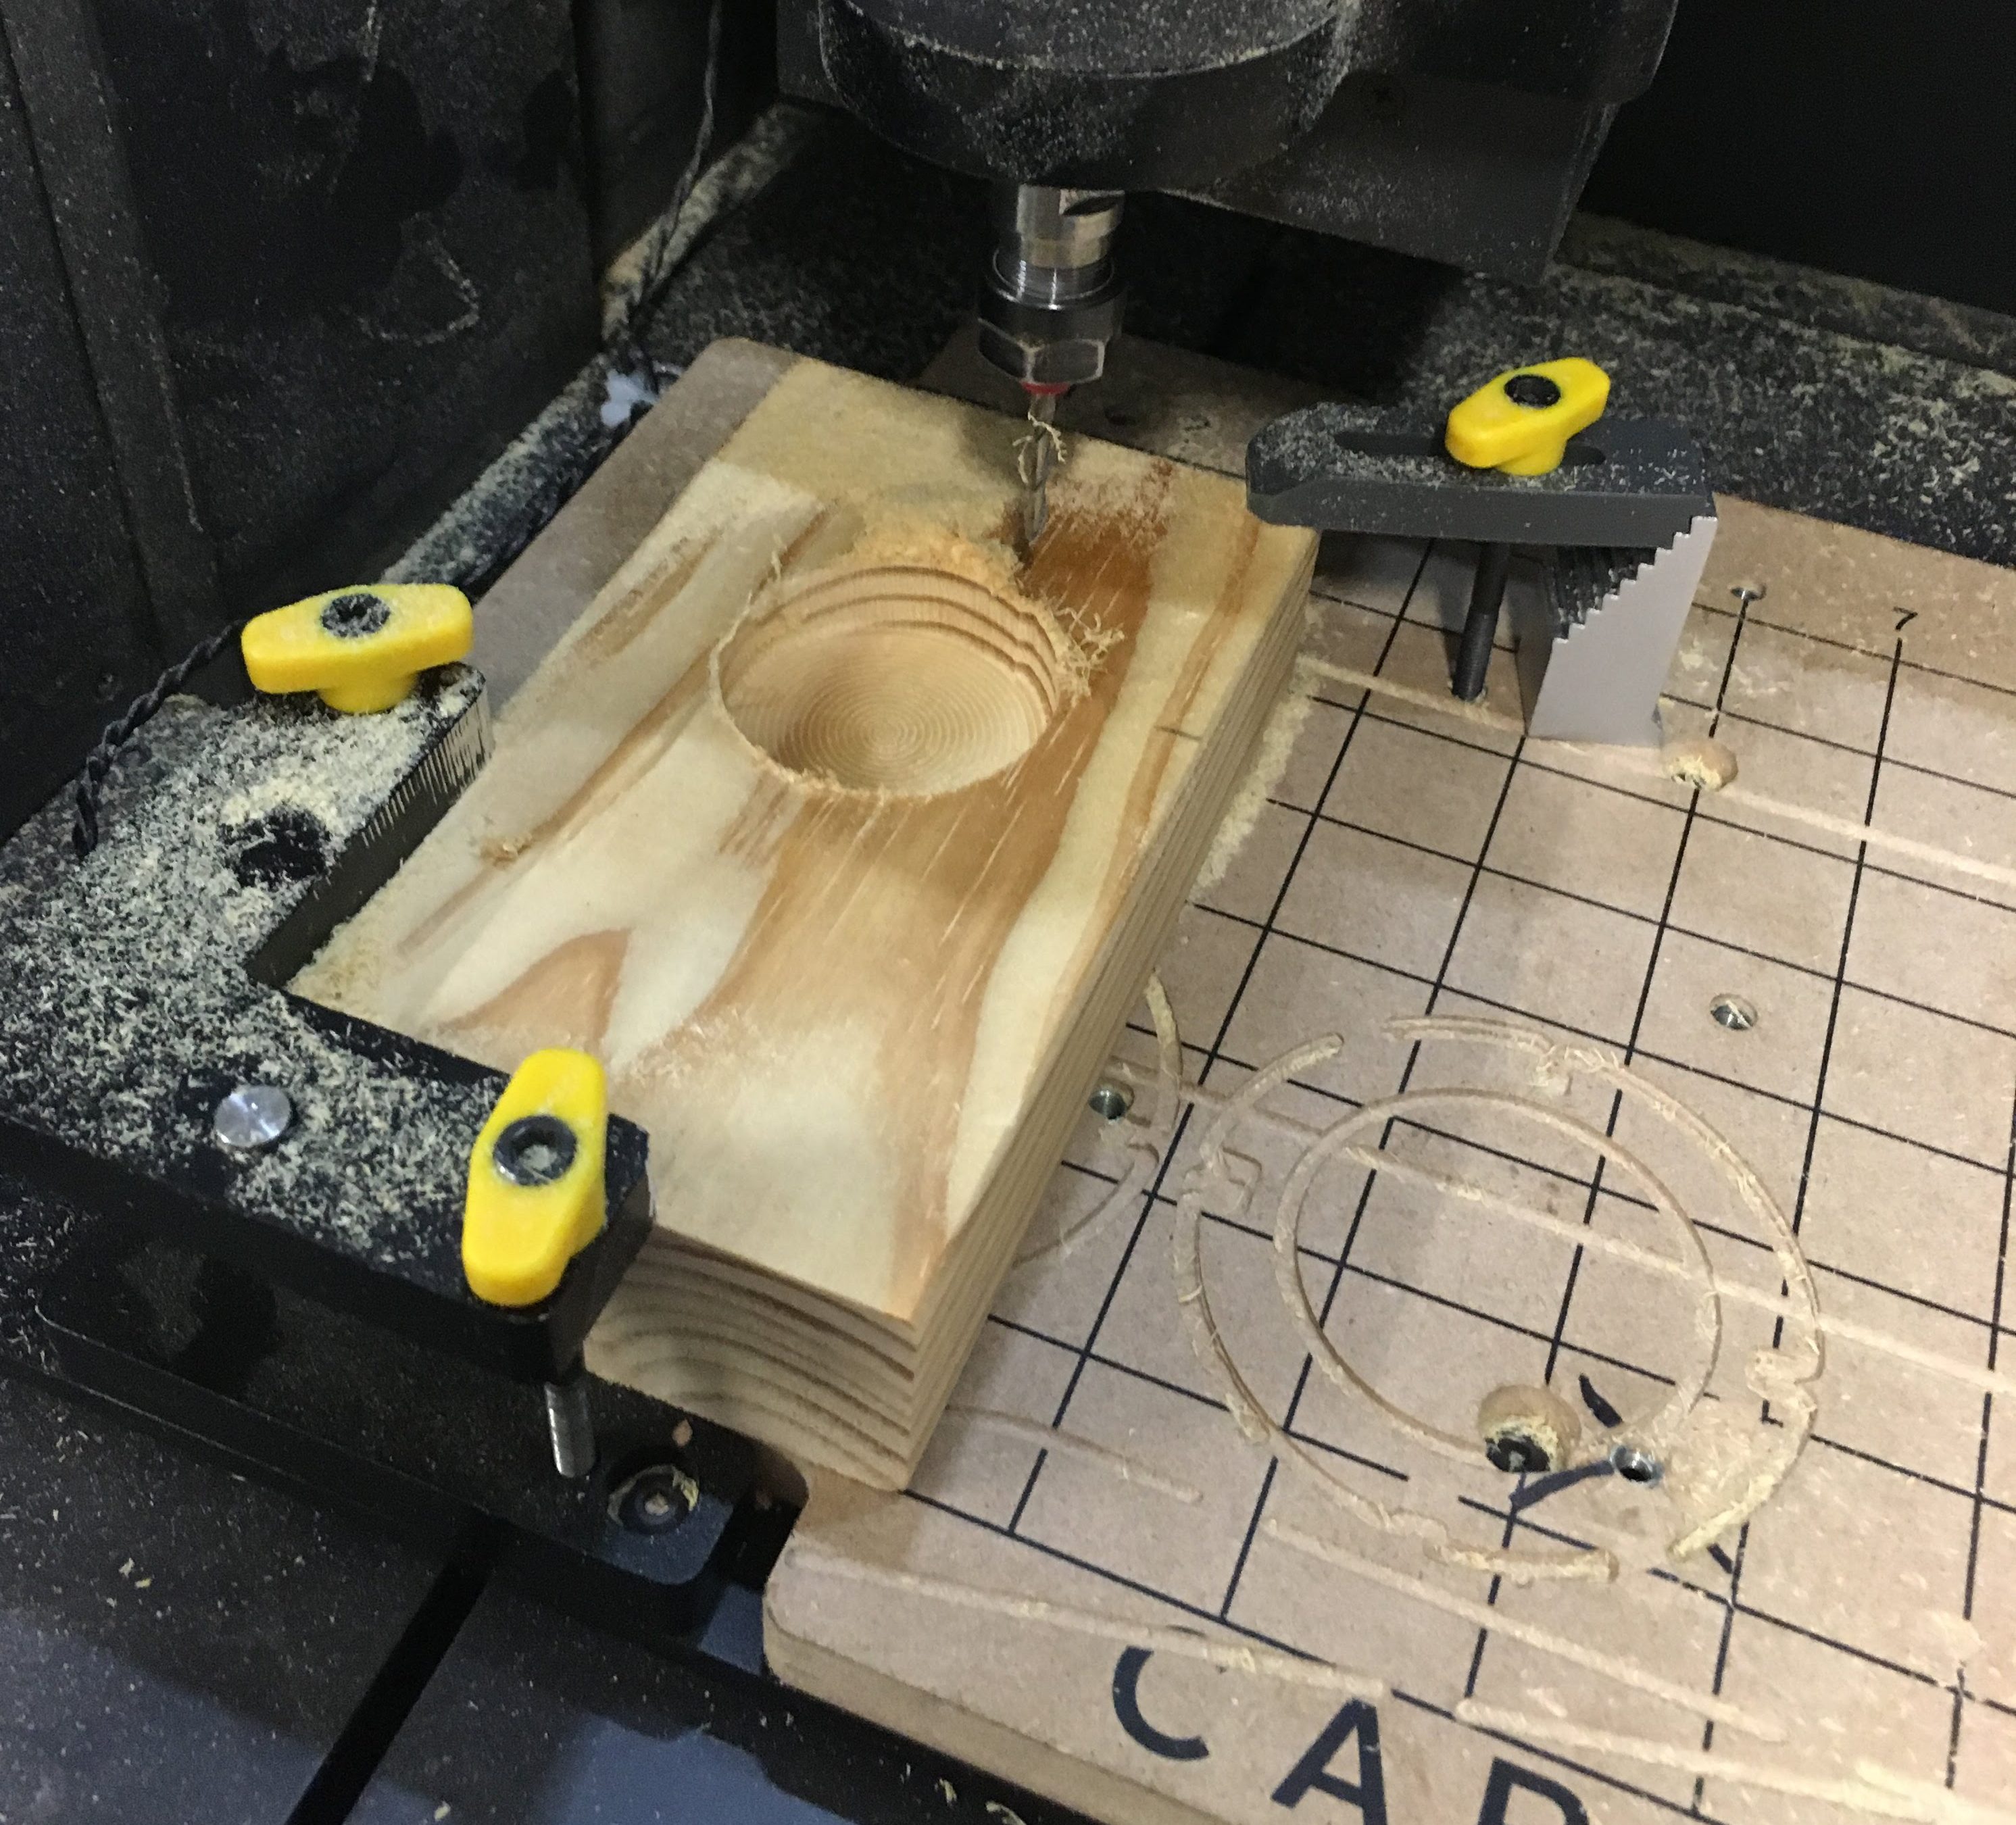
The first (failed) cut, tenuously held by the Dumb Clamps.
Of course, things go awry on the first cut. This is to be expected. I had placed the piece at the bottom of the block instead of the top, so the Carvey was trying its hardest to dig through what must have been an inch of wood to unearth our piece. Scout and I stopped the cut, frustrated, and couldn’t stand returning to Fusion 360 at the moment. We called it a day there.
We came in Monday evening, refreshed after the weekend and ready to try again. In a way it was a good thing that our previous cut failed, because we had forgotten to add an air channel and alignment pins to the design. Scout had the great idea of coming in sometime over the weekend to fix that by going through the entire process again in SolidWorks. Unfortunately, he couldn’t figure out how to get the file back to Fusion 360 to prepare for cutting. While he tried to figure it out, I spent the time learning how to draw elements in Fusion 360 and made something similar to what Scout had done. After this, I began to become comfortable with Fusion 360. I’m still not sure how I feel about that. On one hand, I (kinda) learned CAD. On the other, I would have probably been better off learning any other program. Okay, TinkerCAD would be worse, but you get the point.
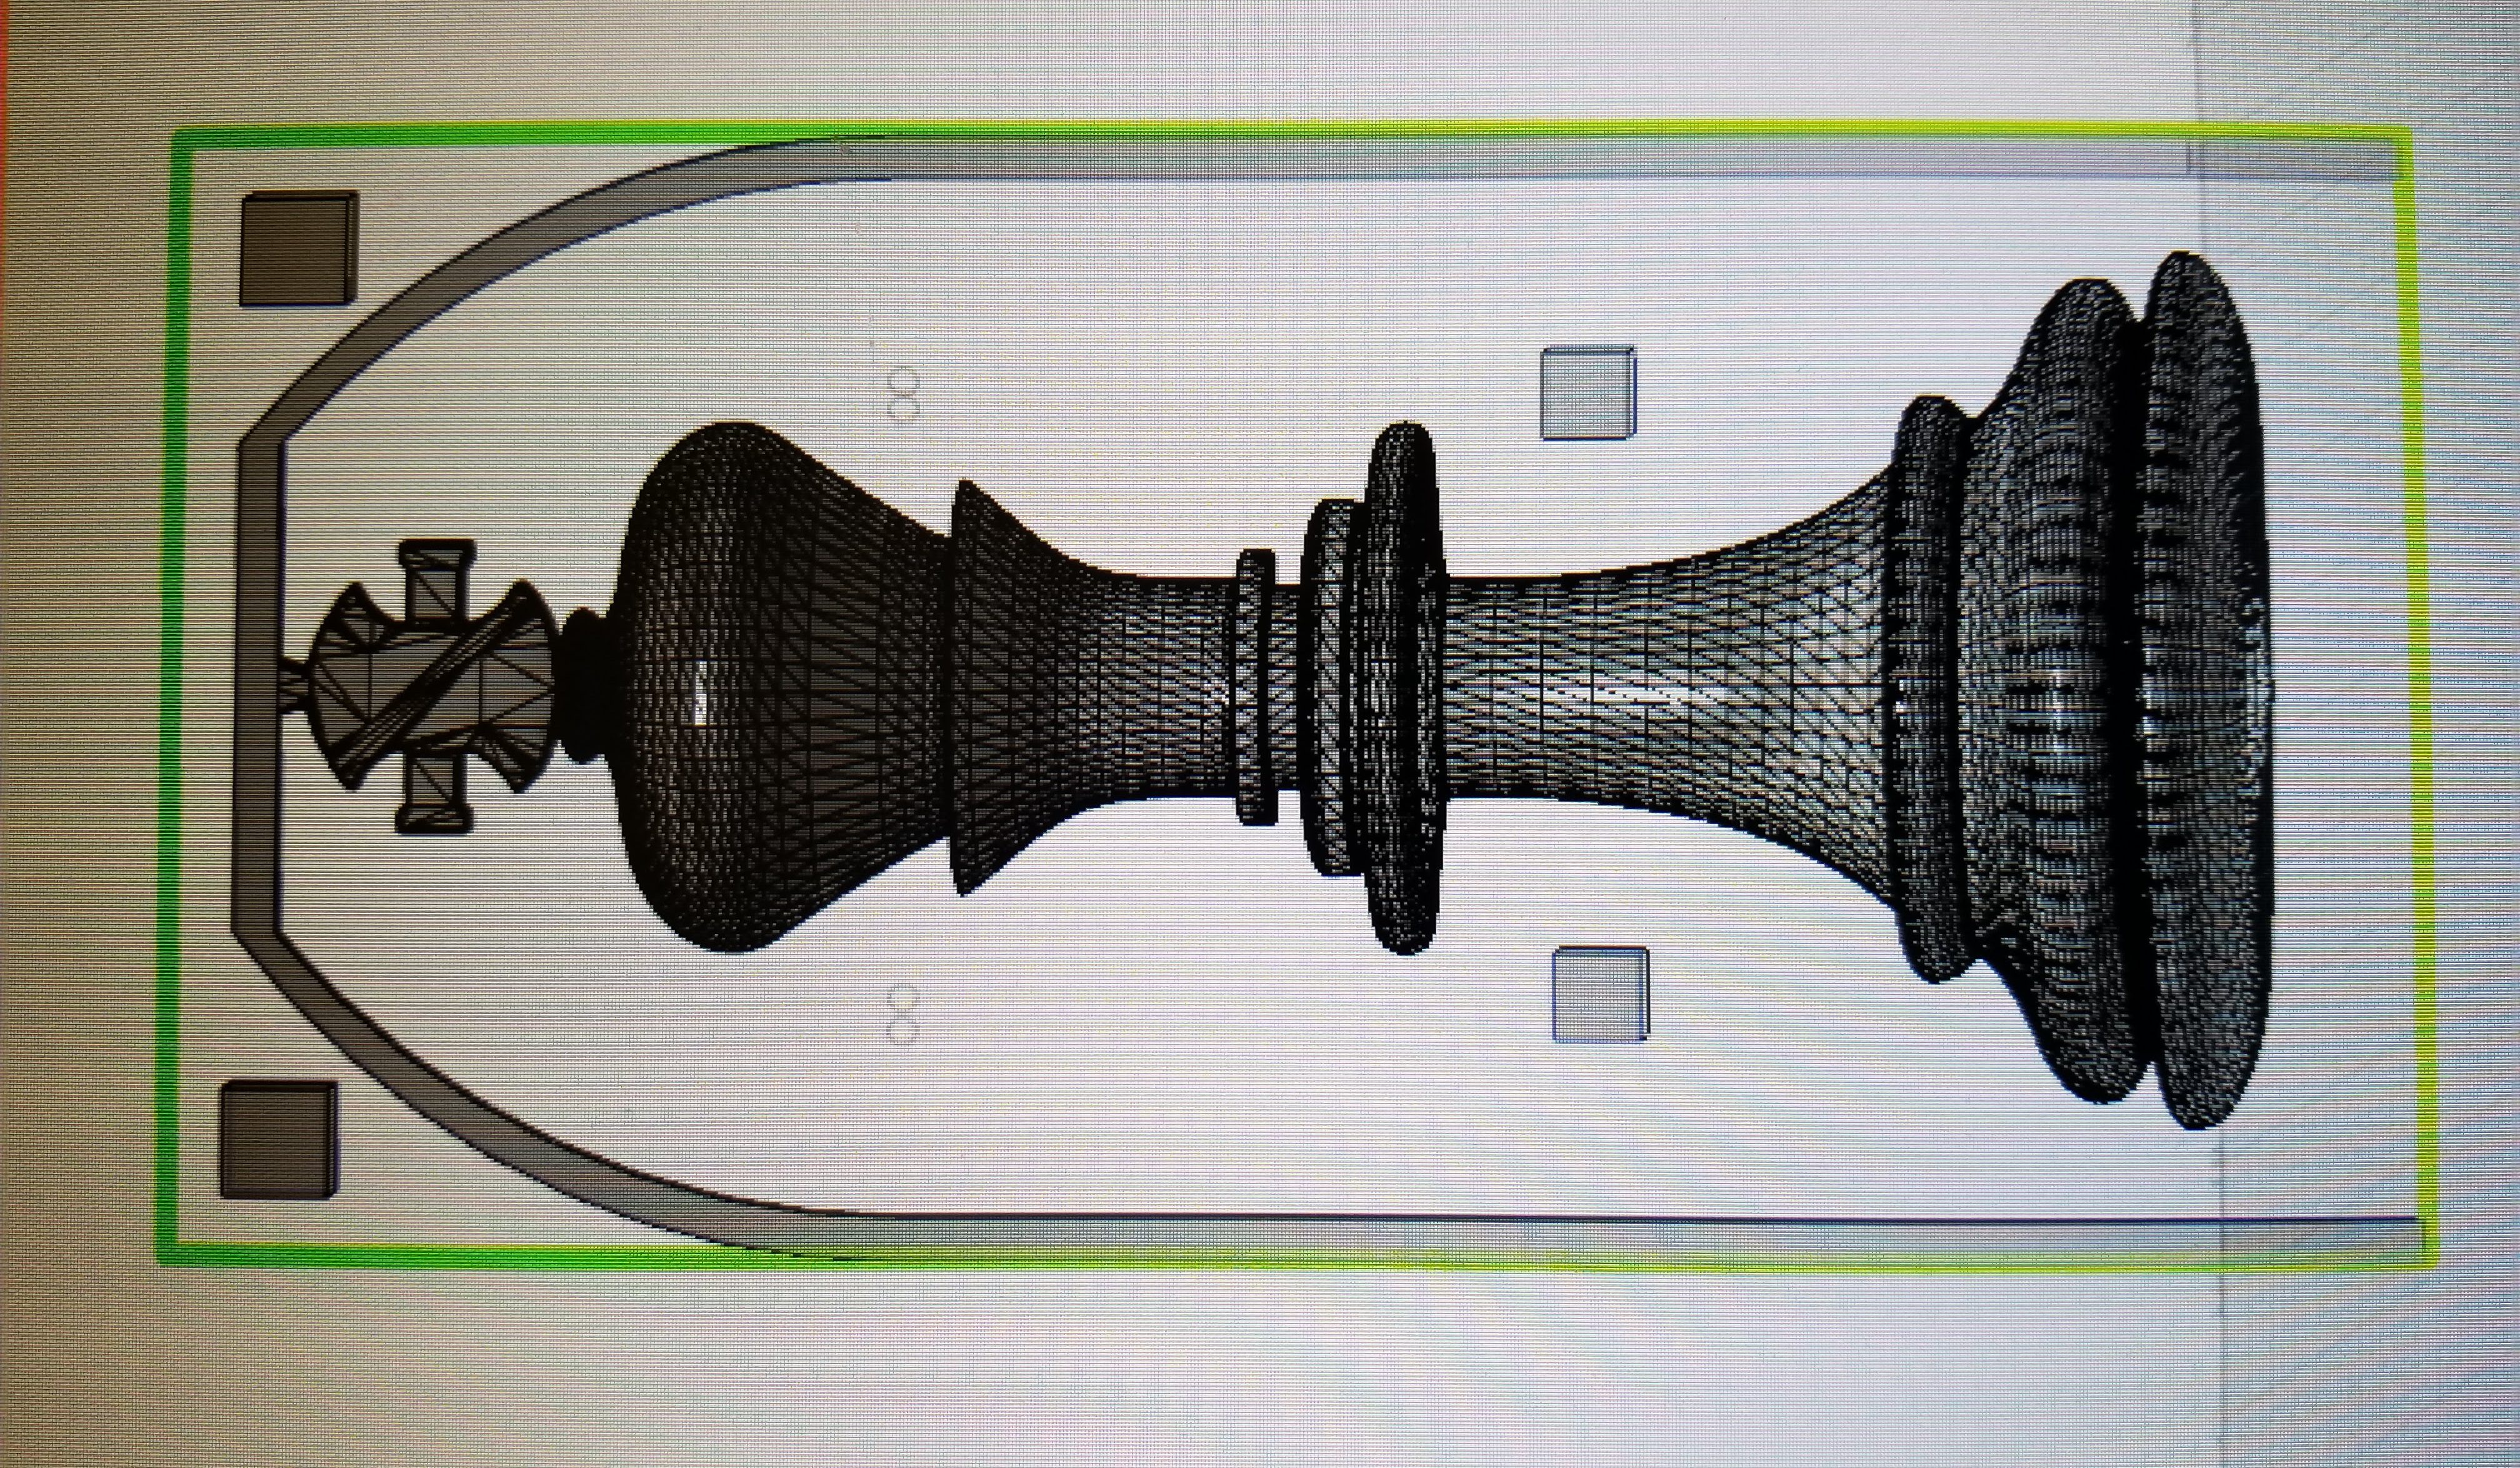
The chess piece, ready to cut, in Fusion 360.
We proceeded with the file I made. It was estimated to be a three or so hour cut, and it was already some ungodly hour that we should not have been up at. Scout, being Scout, volunteered to spend the night by the Carvey to make sure the cut would finish. I reluctantly agreed, And left to go sleep in my own bed. Scout, my man, you have some kind of dedication to your projects that’s beyond me. Props to you.
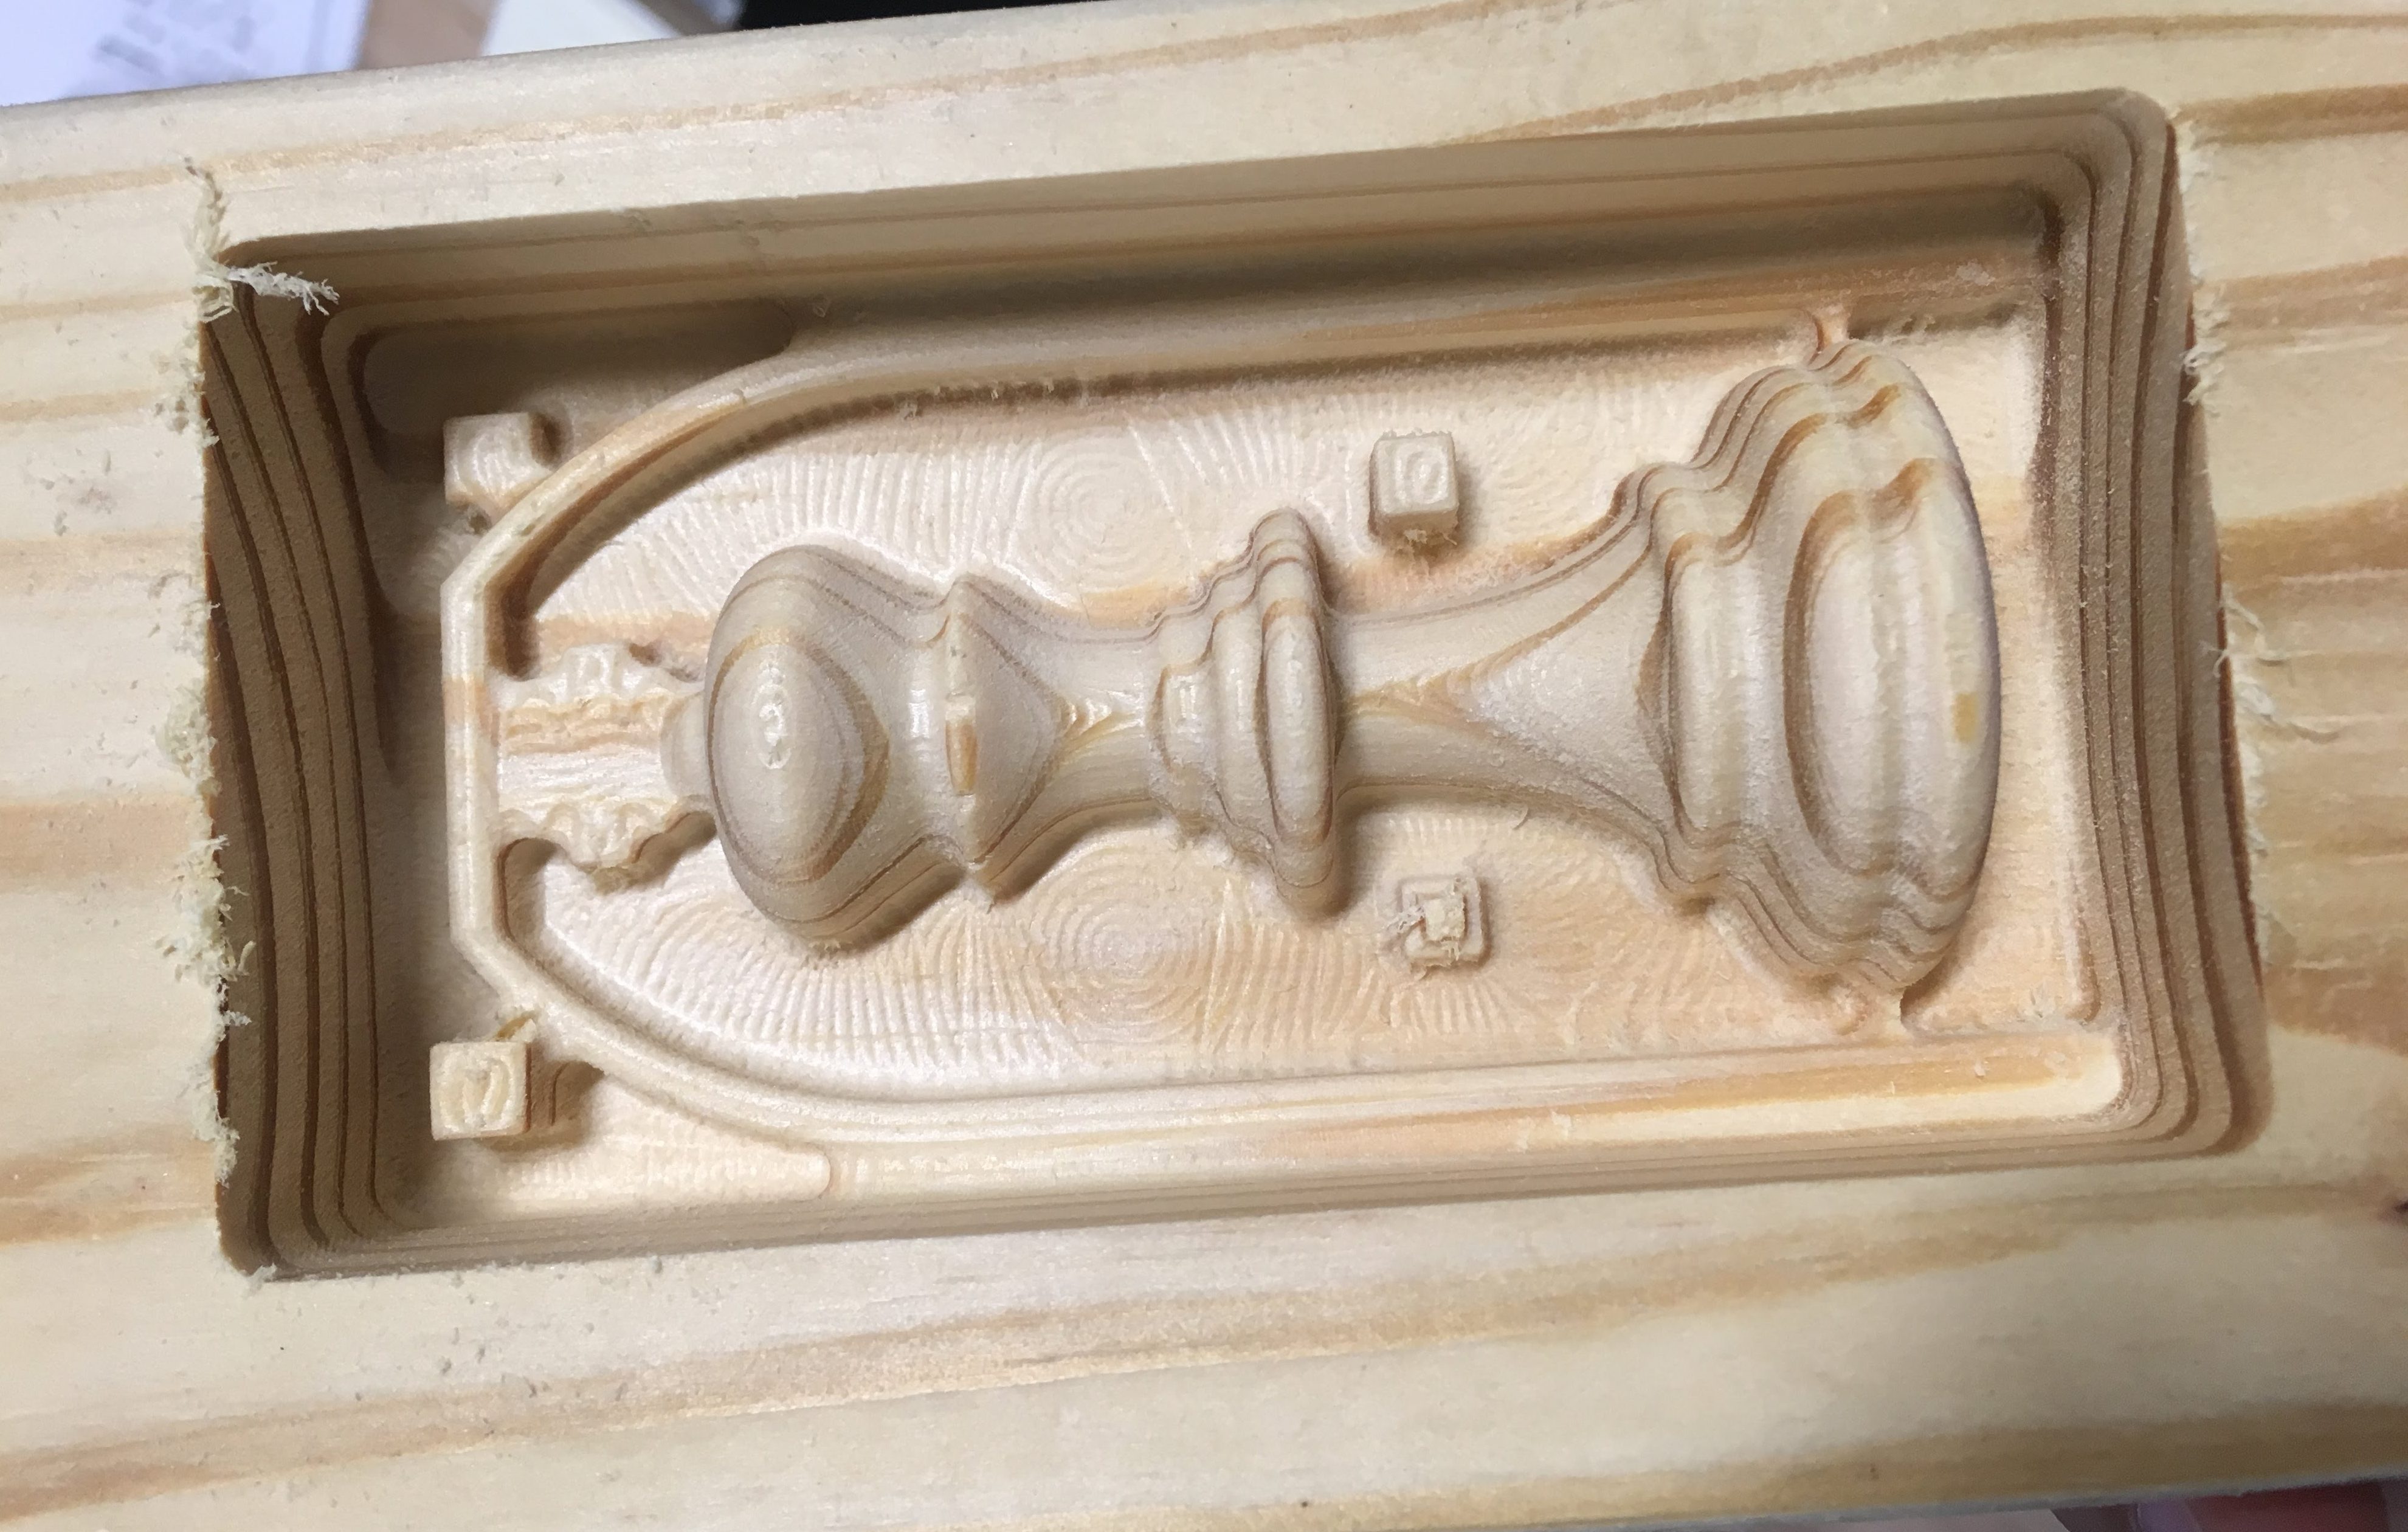
The cut from that night. You can see both the pins and holes are extruded.
Unfortunately, there was an error in our cut file that we didn’t realize until it was too late. I had created the holes for the alignment pegs as solid objects instead of holes. The Carvey cut extra deep, leaving only what should have been the hole. Tuesday was dedicated to studying for math, but that became painful enough that I decided to take a study break with Fusion 360. I fixed the file with surprisingly little frustration, but I finished around midnight. I texted Scout to just let him know, but instead he came running over, eager to get the piece cut. At this point, I didn’t really question his decision to spend yet another night in the OEDK. It’s just something that Scout does and I had come to accept it.
Scout wanted to add in a smoothing and detailing pass as well on top of the first cut. I had done everything I could to optimize the initial cut for maximum quality (smoothing on, lowering stepover, increasing passes on steep curves, etc.), but there were things an eighth inch bit simply could not cut. I agreed, and we went looking for a suitable small bit for the job.
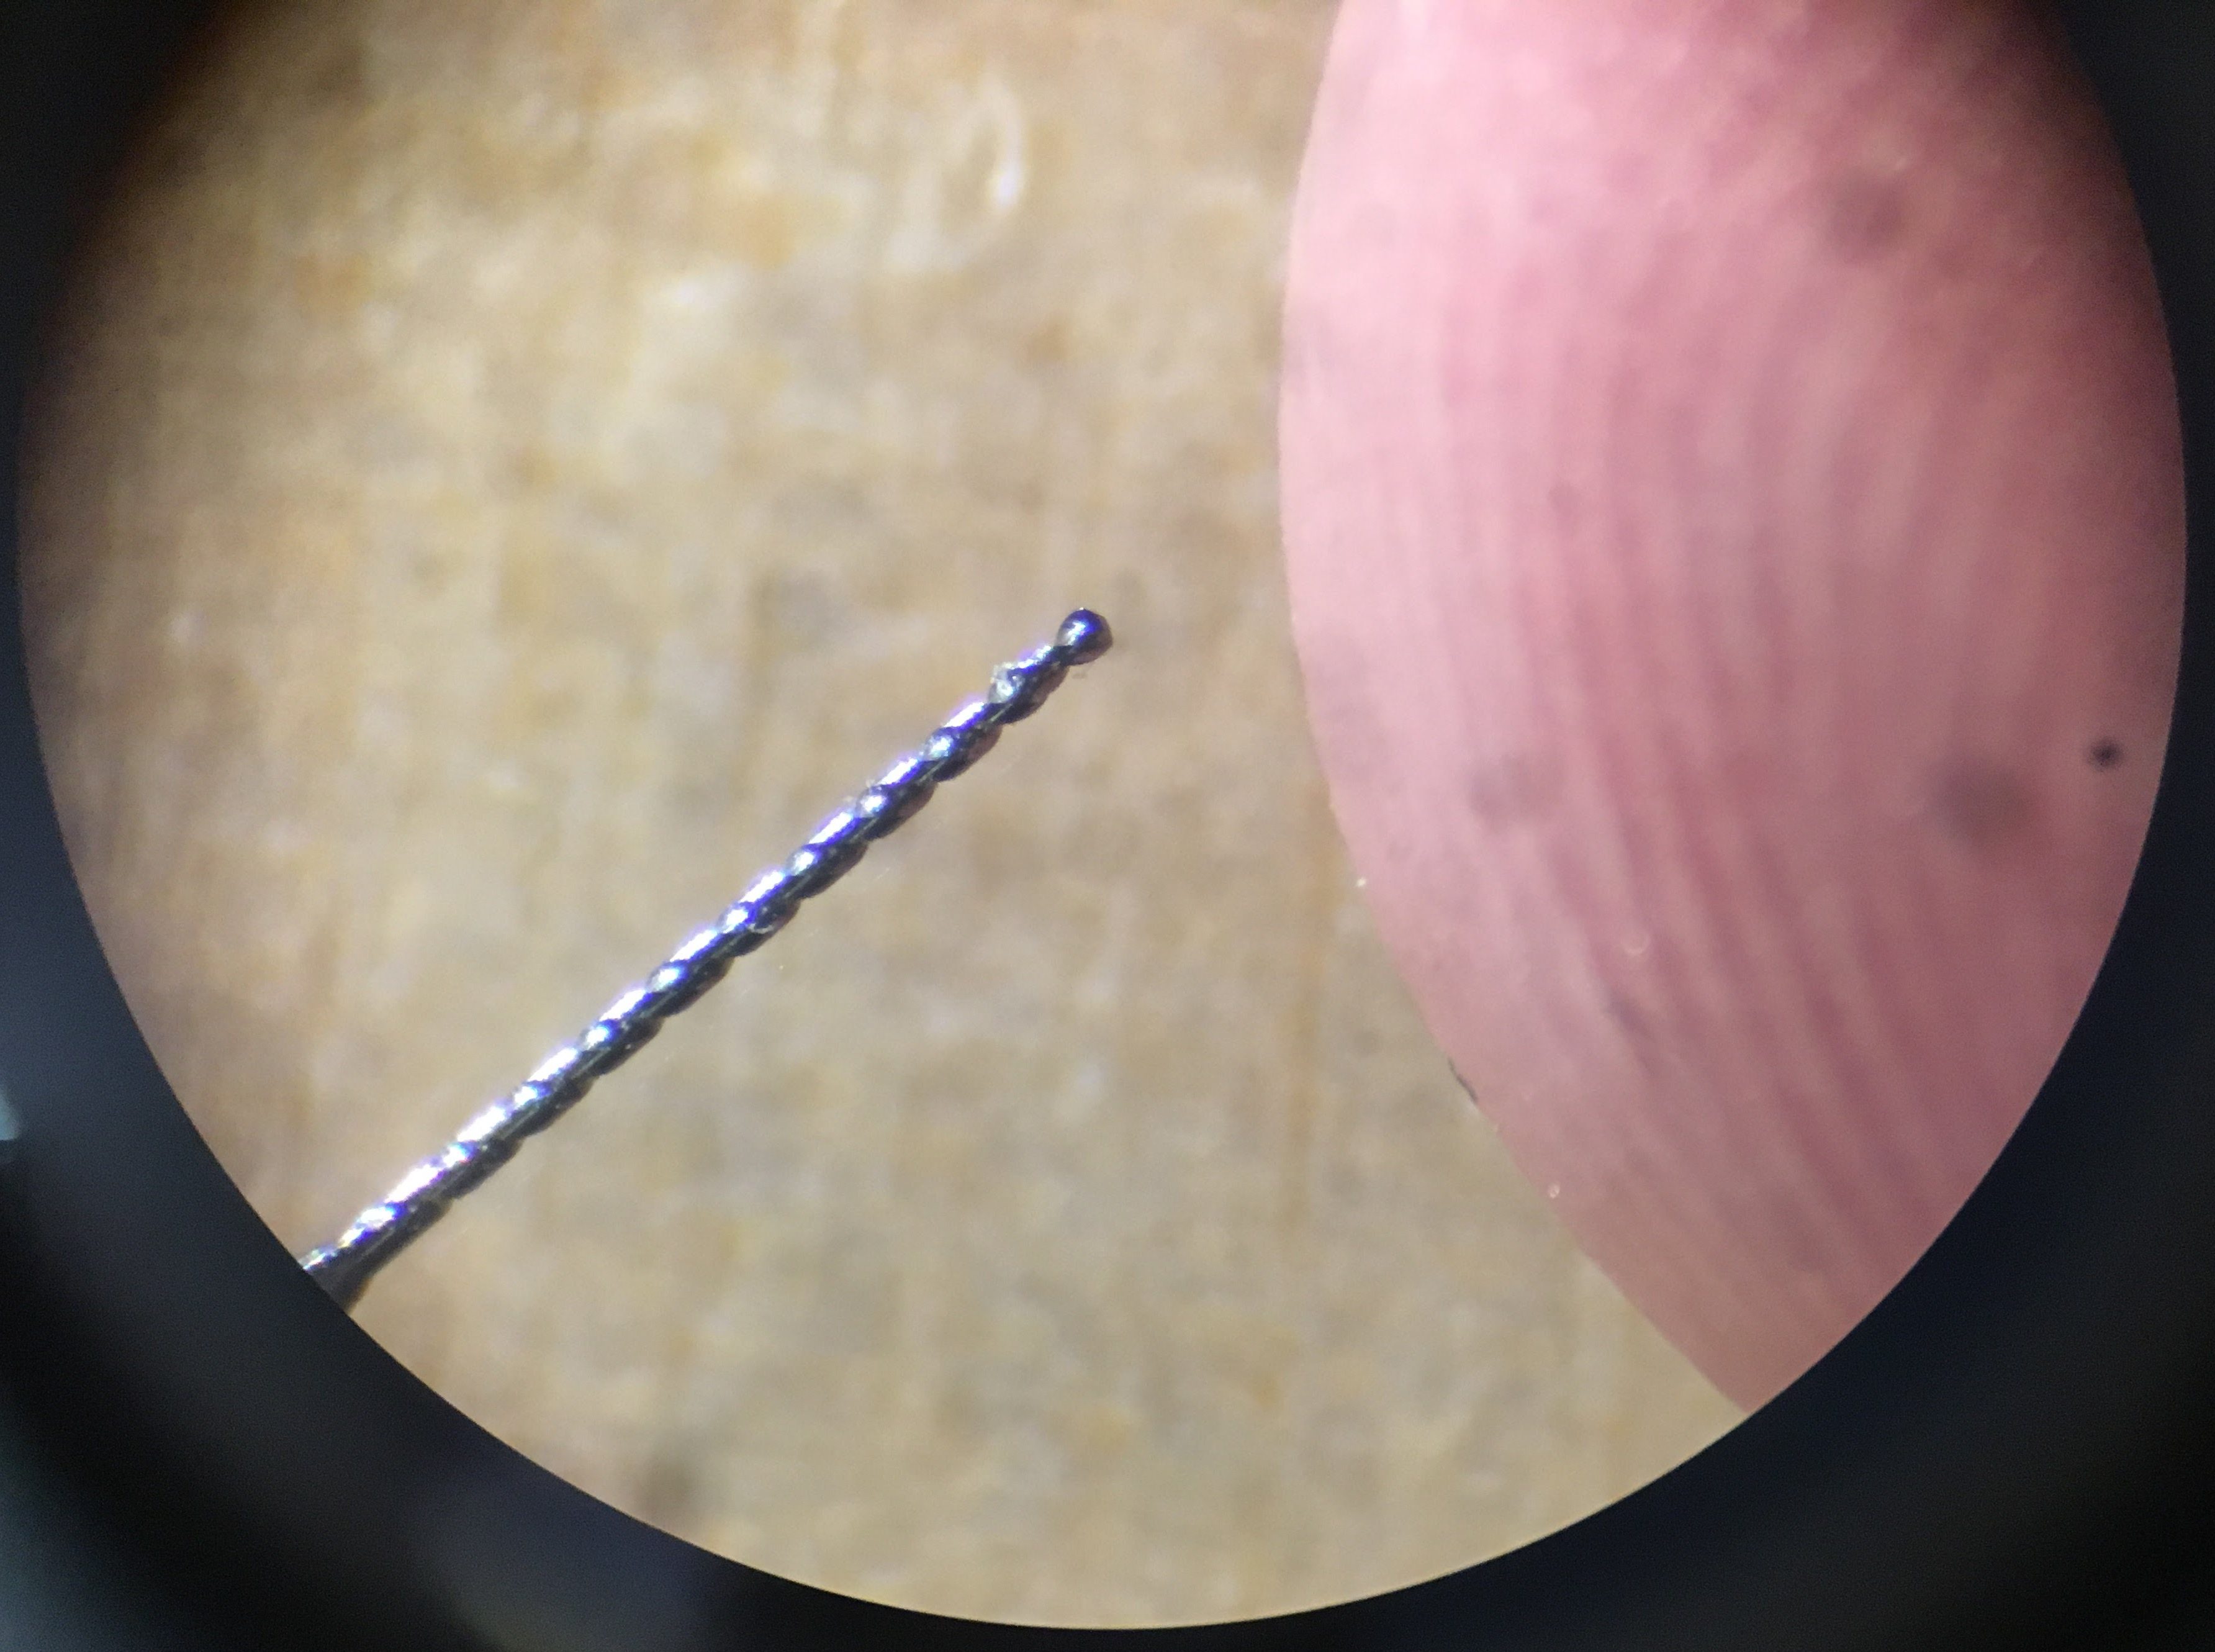
The 0.4 mm drill bit next to my finger. Look how tiny it is!
That picture is through the microscope downstairs in the electronics lab. I was entering the bit specs into Fusion 360, but wasn’t sure what kind of bit it was. After studying it at 100x, I’m pretty sure it’s a ball, but I’m still not completely sure. Regardless, I entered in the cut, pulled the file up on Easel for Scout, and called it a night.
The cut was a success! We were finally free from the chains of constant editing in CAD! No more waiting minutes for the G-code to generate! The only error came in the detailing/smoothing cut. Something—I’m still not sure what—caused the bit to just start drilling into our piece. It was not at all like the simulations. Luckily, Scout noticed immediately and stopped the cut before any real damage was done. I filled in the hole with a bit of wood glue to salvage the piece.
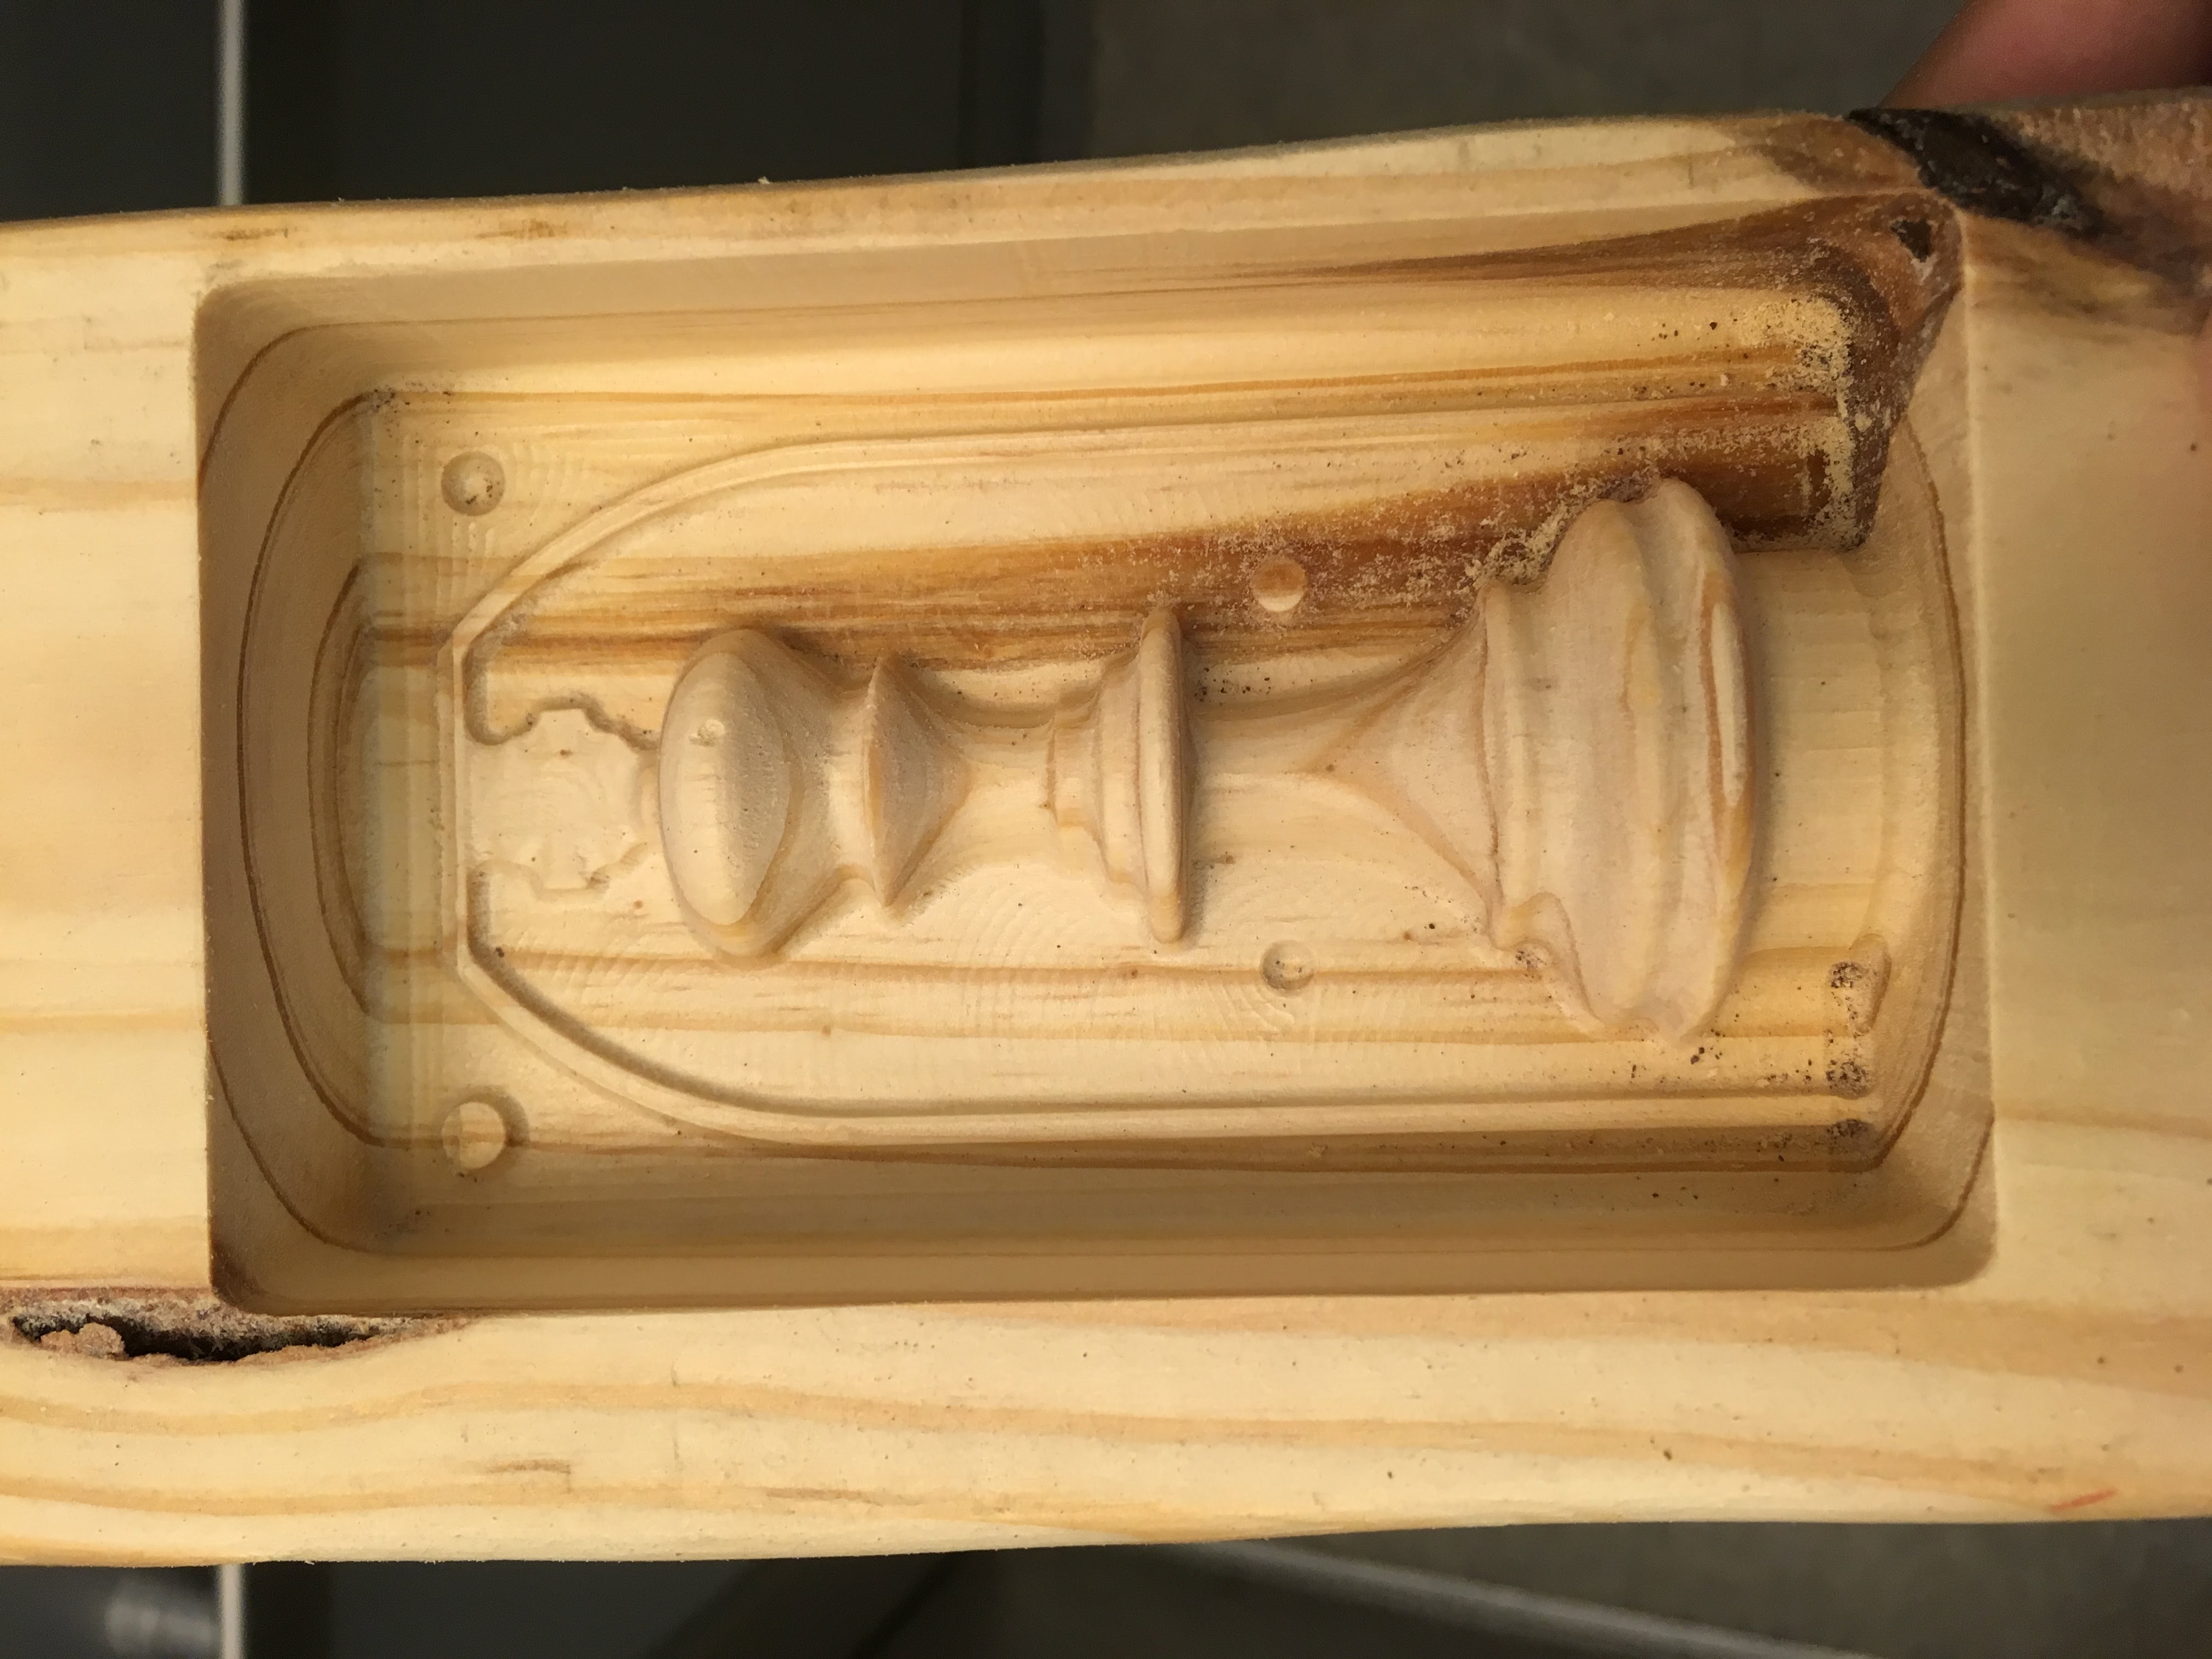
The second CNC positive, now with correct pins!
After our math exams on Wednesday, Scout and I came back in and finally began the mold. We sanded down the CNC positive, poured the mold in the vacuum chamber, and left. I was supposed to come in the next morning to do the second one, but that didn’t exactly happen. I woke up early to say goodbye to my suitemate, forgot all my responsibilities in my morning stupor, and crawled back into bed. It wasn’t until I had woken back up and gone to lunch when I realized my mistake. What was supposed to be done in the morning was now done closer to two in the afternoon. Scout came in, and I told him what was up. We agreed to come back in that evening and pour the casts before they were deadline the next day.
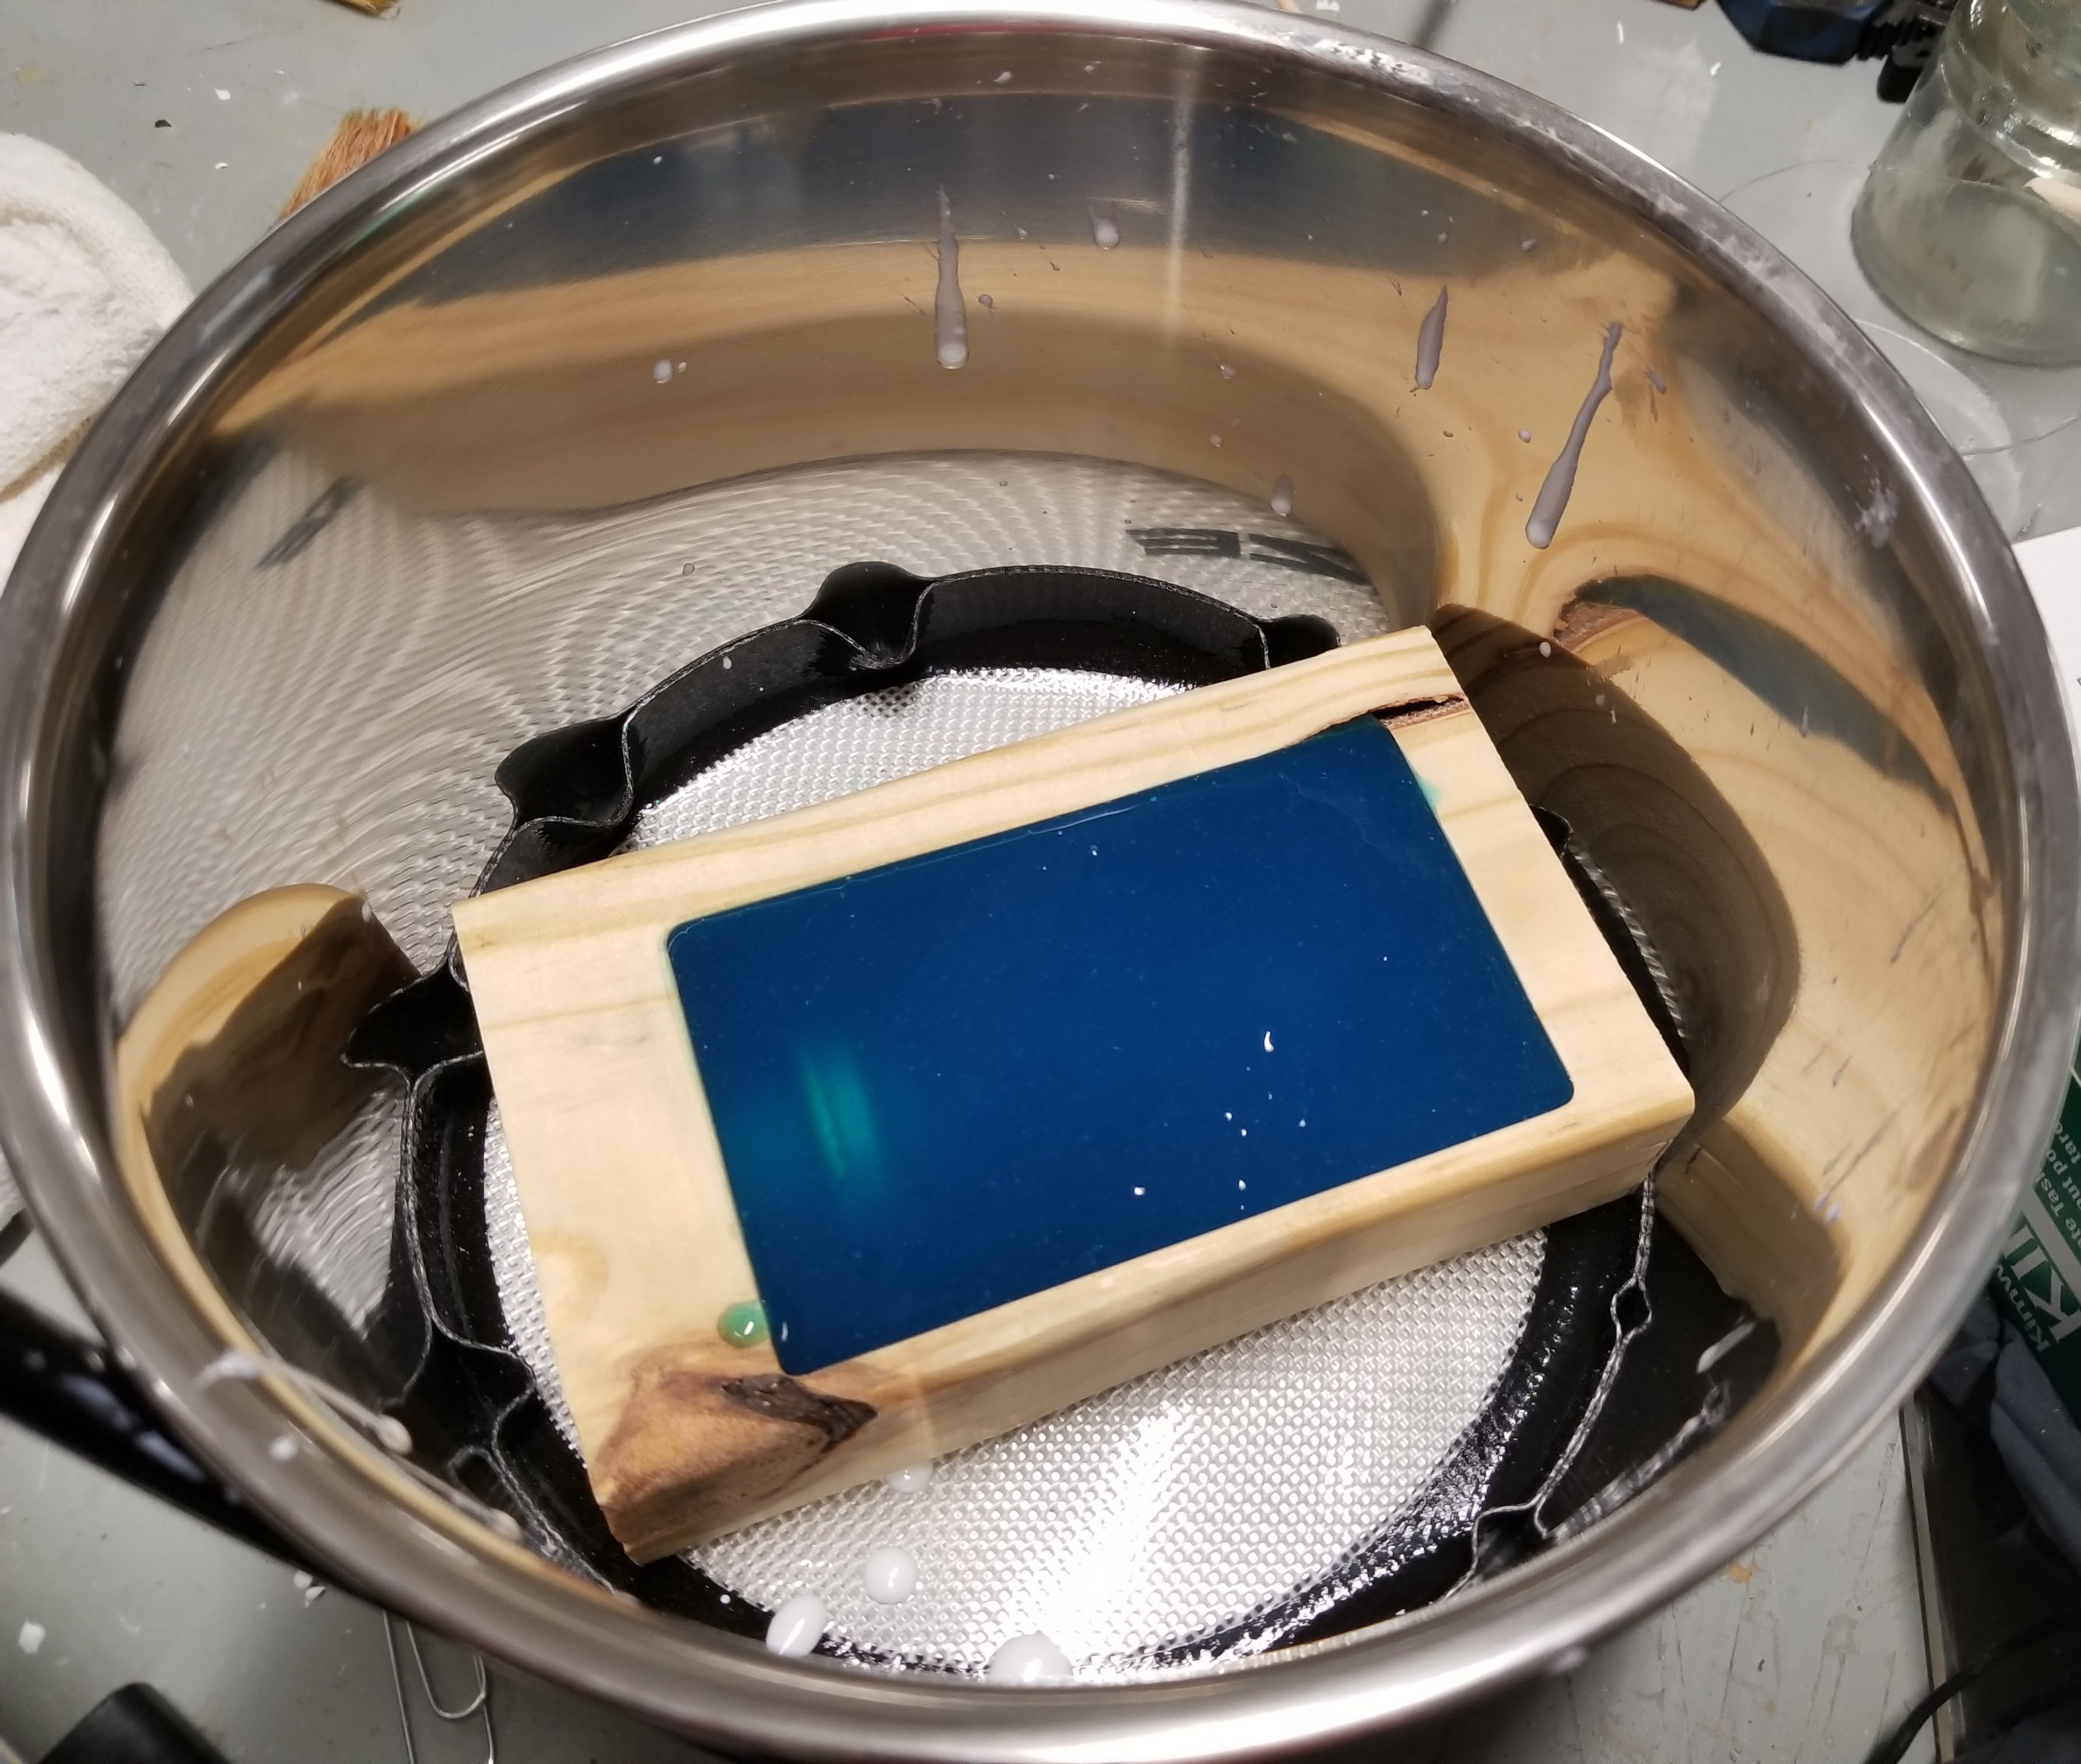
Half the mold, ready for vacuuming!
Just as I was walking down to dinner, Scout sent me a picture of the first piece. He started without me, but I didn’t exactly mind. I was still hungry, took my time with dinner, and arrived at the OEDK when I originally said I would.

The picture Scout sent me of the first piece
When I got there, Scout must have left to find food of his own. There was a piece in our mold, but I wasn’t sure how long it had been there. With impeccable timing, Scout walked through the door at that moment and answered my question by taking the piece out. Like the last one, this one had the same sky blue marbling into the white piece. For a contrasting piece, we tried to do a black piece with red. While that was curing, we set upon the meticulous work of sanding down the seam of the piece by hand.
Unfortunately, the red didn’t diffuse into the black like the blue did into the white. It still looked cool, but wasn’t exactly what we were going for. We tried three more times for the effect, all the while working on postprocessing the finished pieces. I took the pieces downstairs and used the belt sander to shape the cross and a dremel to cut it. During my time downstairs, Scout had taken liberty to apply a very thin coat of EasyFlow on to the blue piece we decided we would turn in. It smoothed out the imperfections and made it glossy again after sanding.
After the four failed attempts to make a red and black piece (the first was the best), we caved and decided to do red and white instead. I think it was something with the interaction between the two different dyes preventing the diffusion.

The red and black piece standing on the cast of its successor.
The final piece came out of the mold around eleven o’clock Thursday night. I took it down to the sanding belt, and cut the cross into it. I brought it back up and Scout did the sanding work. When the smoothing coat of EasyFlow was dry on the second piece, the project was finished. All projects were finished. The king laid behind us, defeated.
Checkmate.
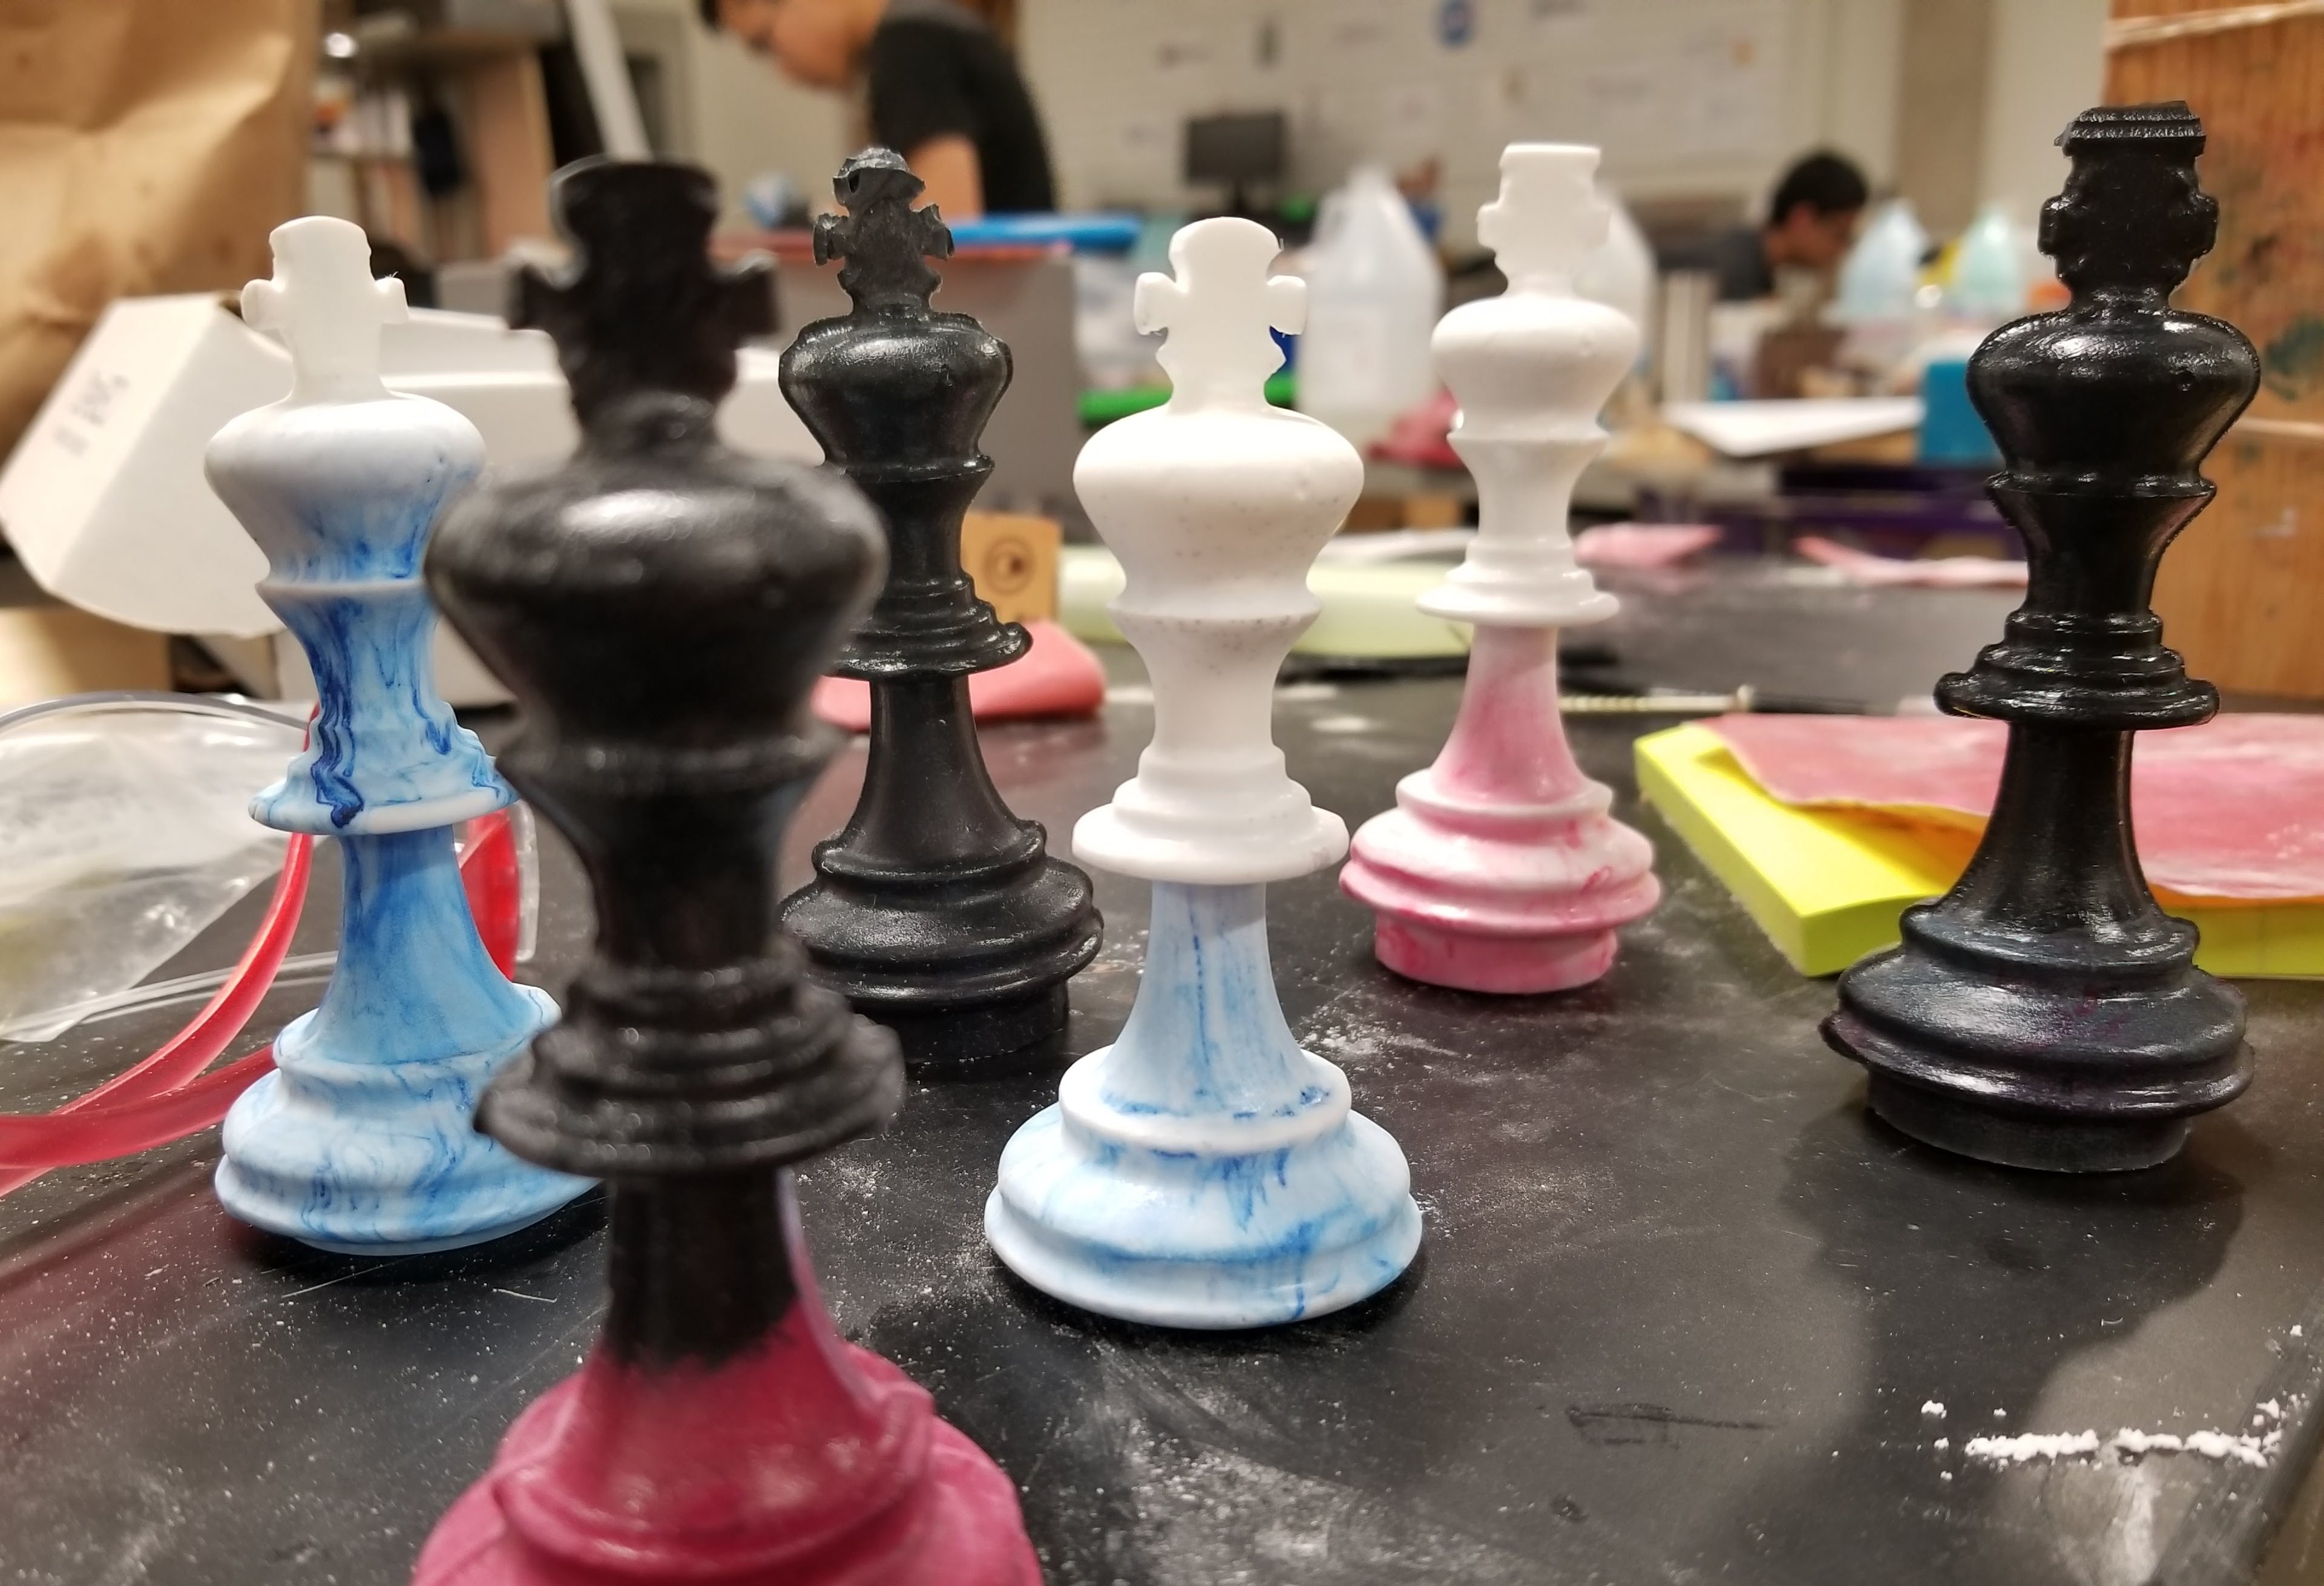
The Seven Kings
——
Is it really over? Was this actually the final project? Beyond ENGI 210, this semester has felt incredibly long, probably because it was a wild roller coaster ride from start to end. It’s been a great period of personal growth, due in part to this class. I’ve learned my way around the OEDK and how to use all sorts of machines, but my biggest lesson was learning how to accurately create products that are not just functional, but also beautiful. I finally feel confident in my ability to realize my ideas.
The OEDK. Where dreams come true.