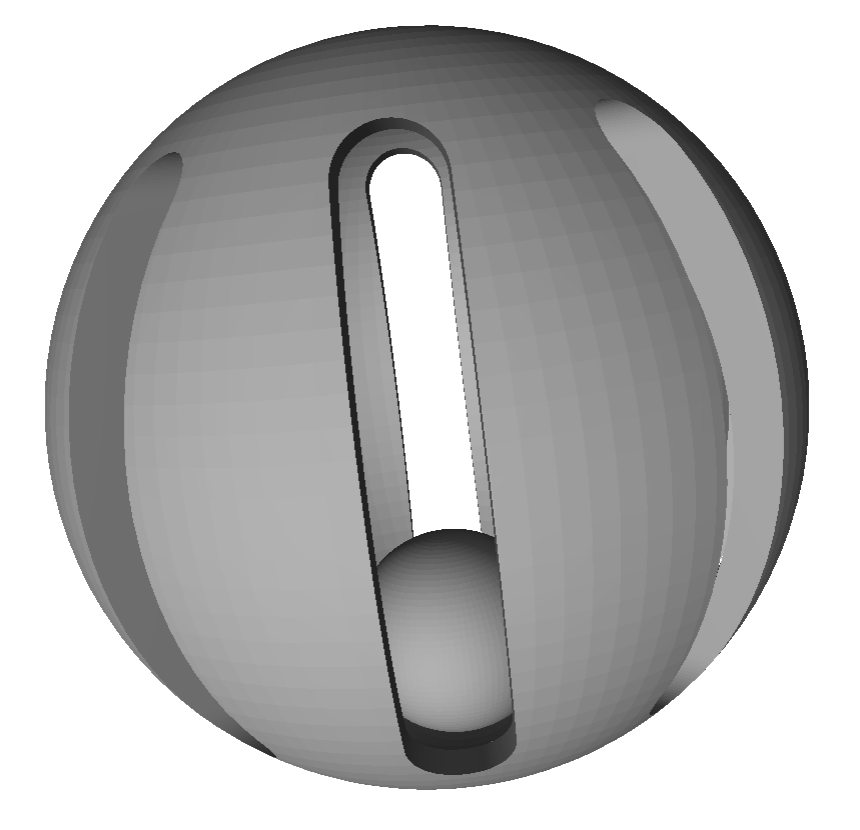
This week’s assignment was 3D printing. Browsing Thingiverse, I found many “impossible” objects that can only be made with a 3D printer. I first decided on a cat toy, which consisted of a small ball enclosed by an outer cage. Clearly, this shape cannot be made with other manufacturing techniques without assembling multiple parts together.
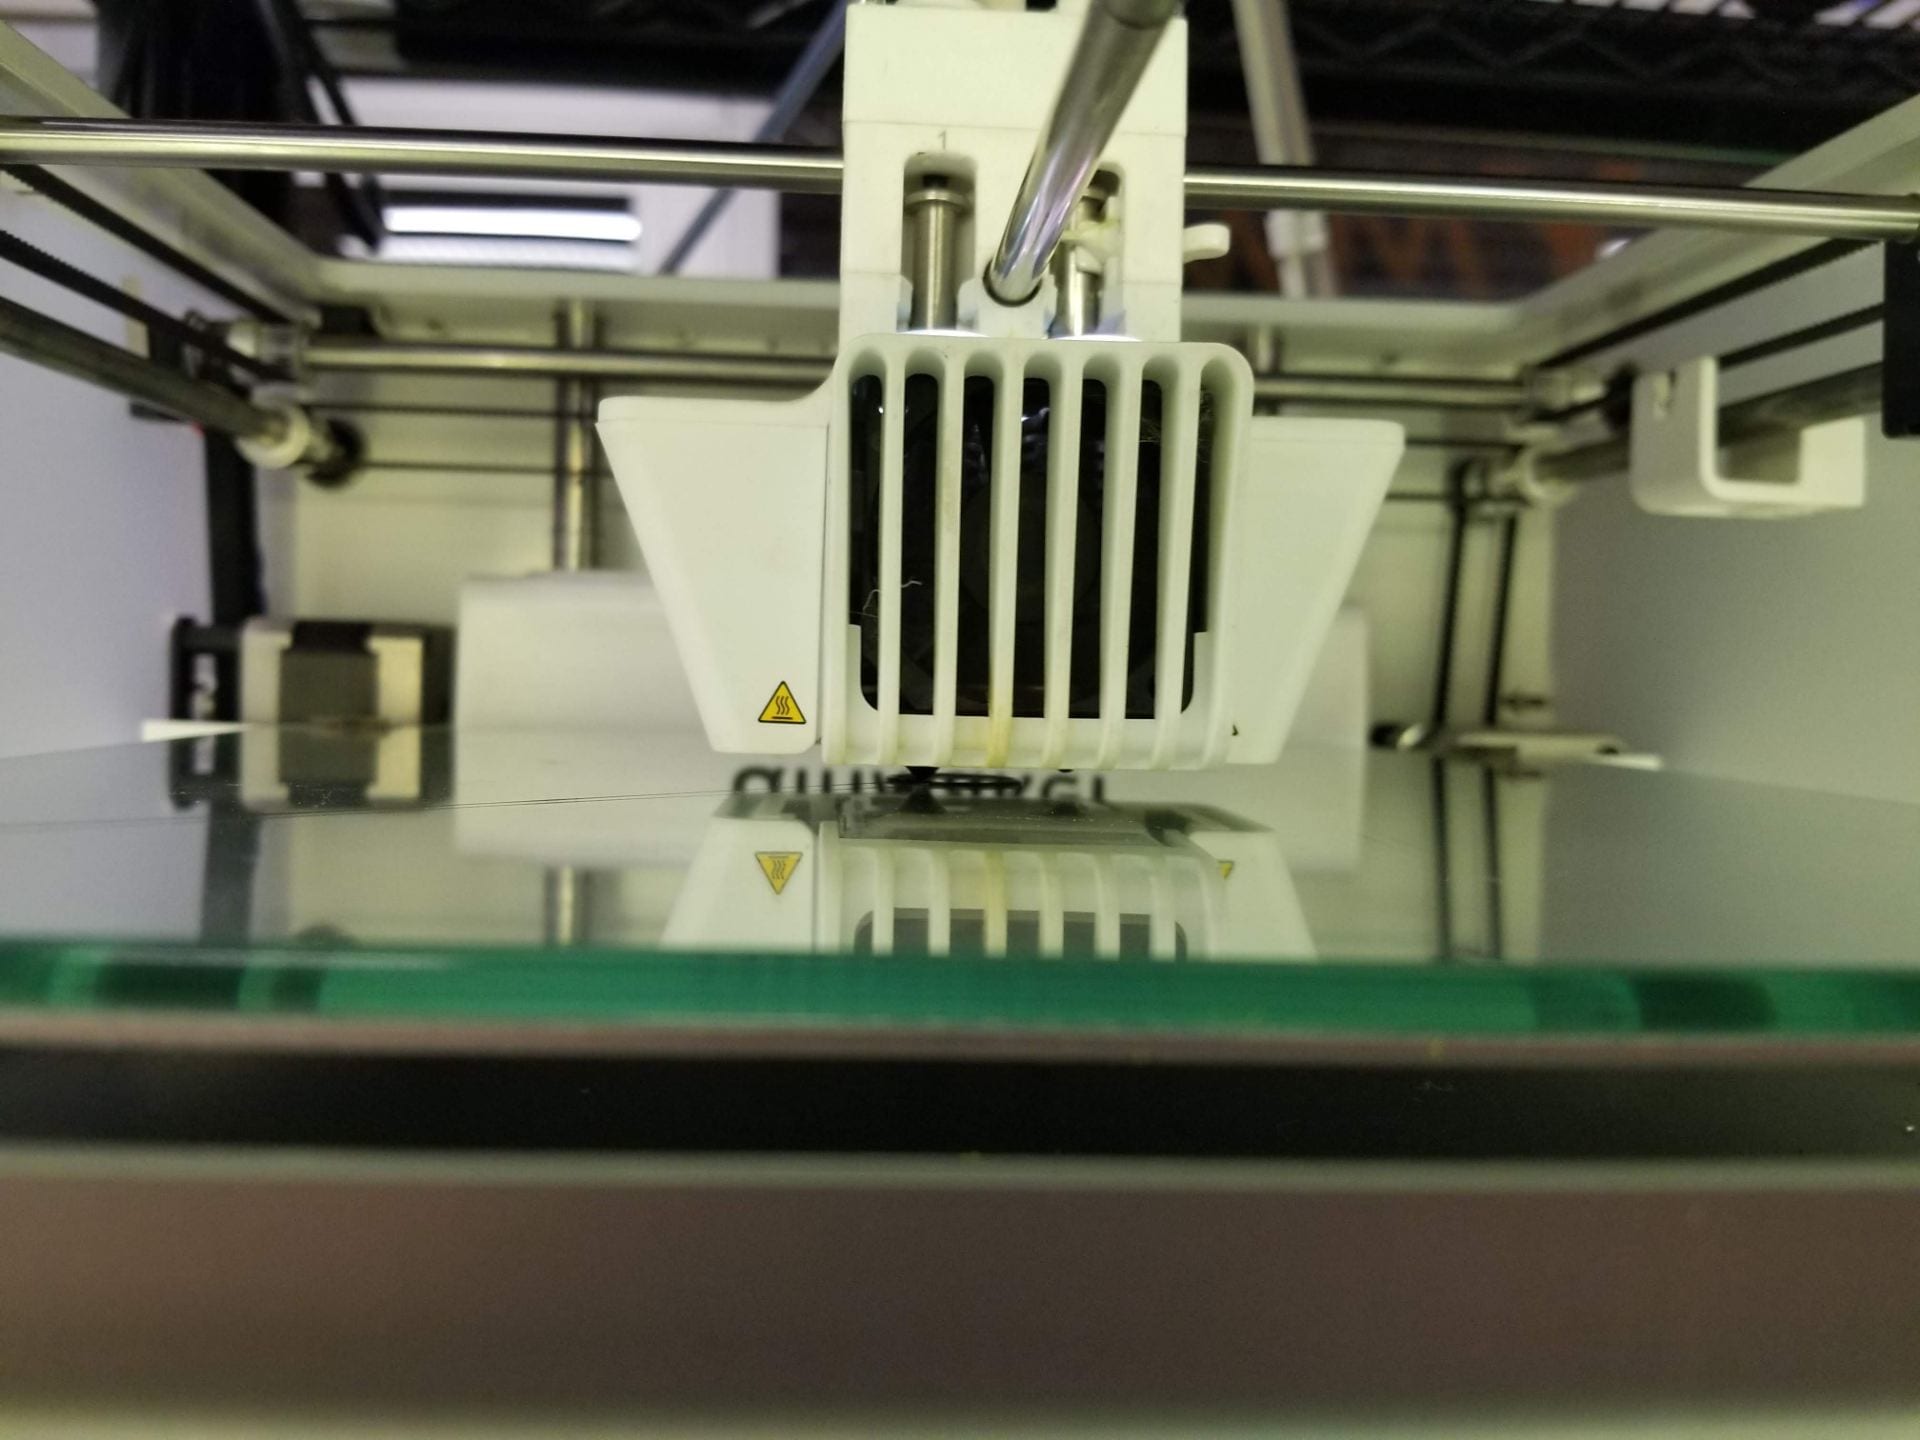
Unfortunately, things did not go according to plan. On the first printer that I tried, there was an issue with the bed height which caused the hot end to pass too closely to the print. A glob of melted PLA just ended up getting stuck on the hot end.
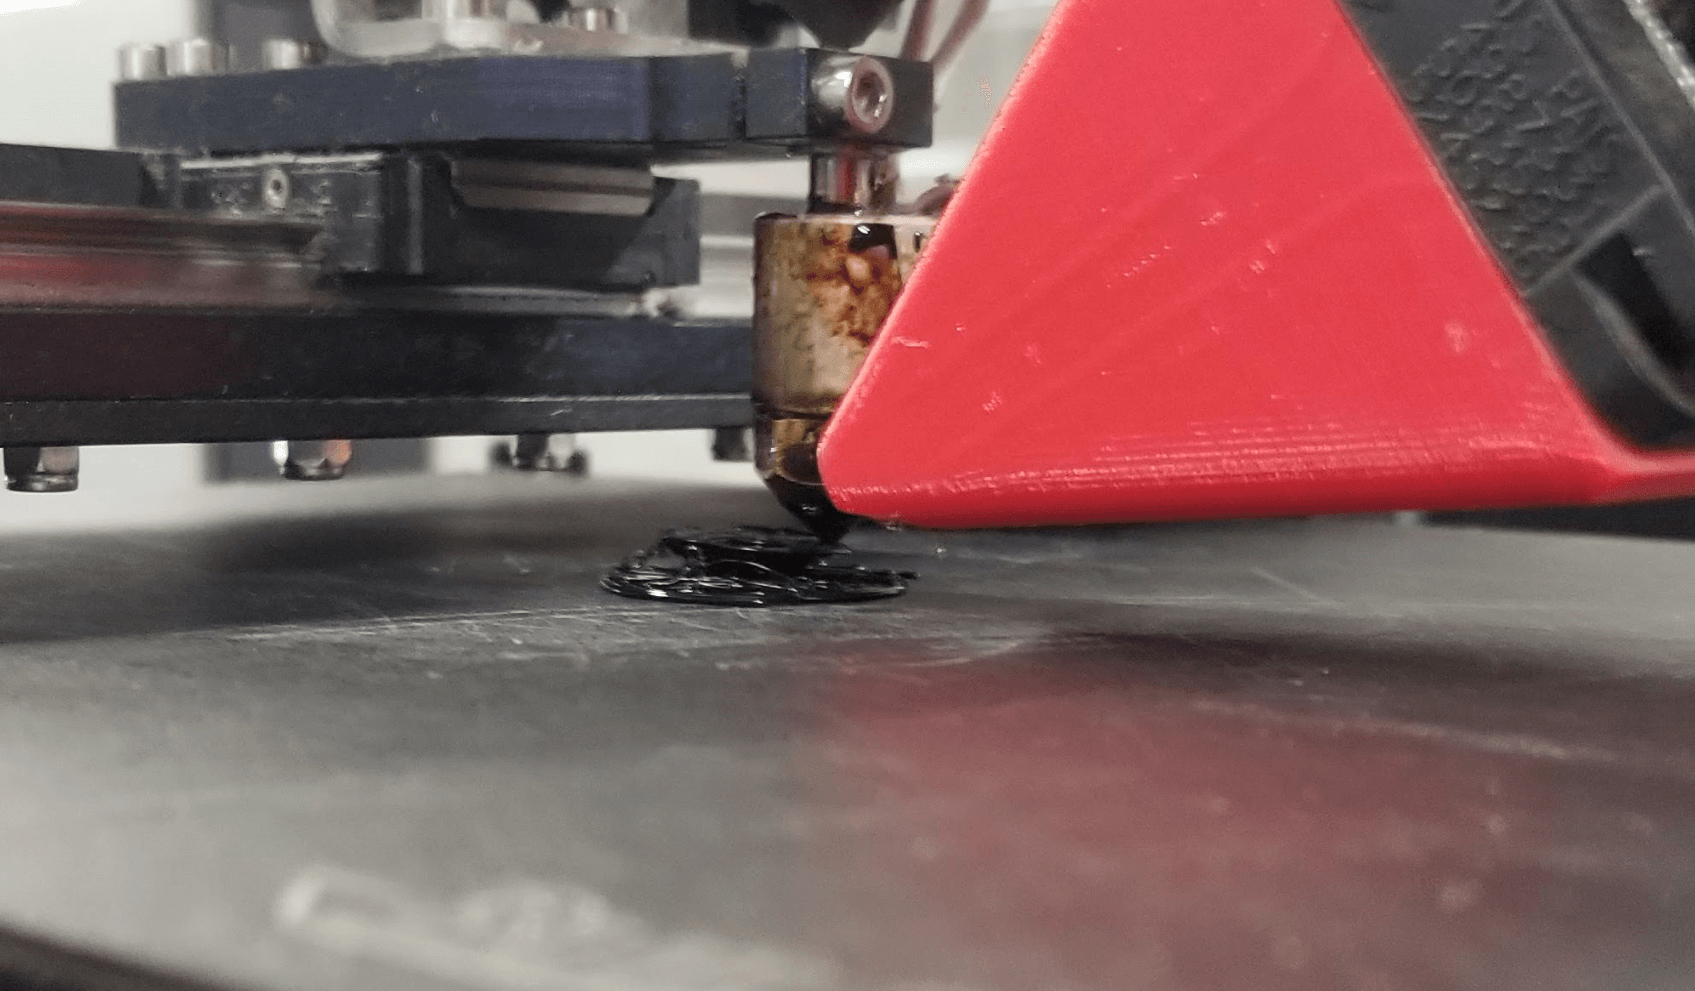
Next, I tried a different printer, where I did not have much luck either. The print would start off well, but the supports would soon break off from the bed. As a result, the model and the printer became misaligned and I ended up with another glob of useless plastic.
 I decided to change to another shape instead. I chose an Easter egg on Thingiverse. With the presence of the center column in the egg, this shape would also be impossible to create with other manufacturing techniques in a single process.
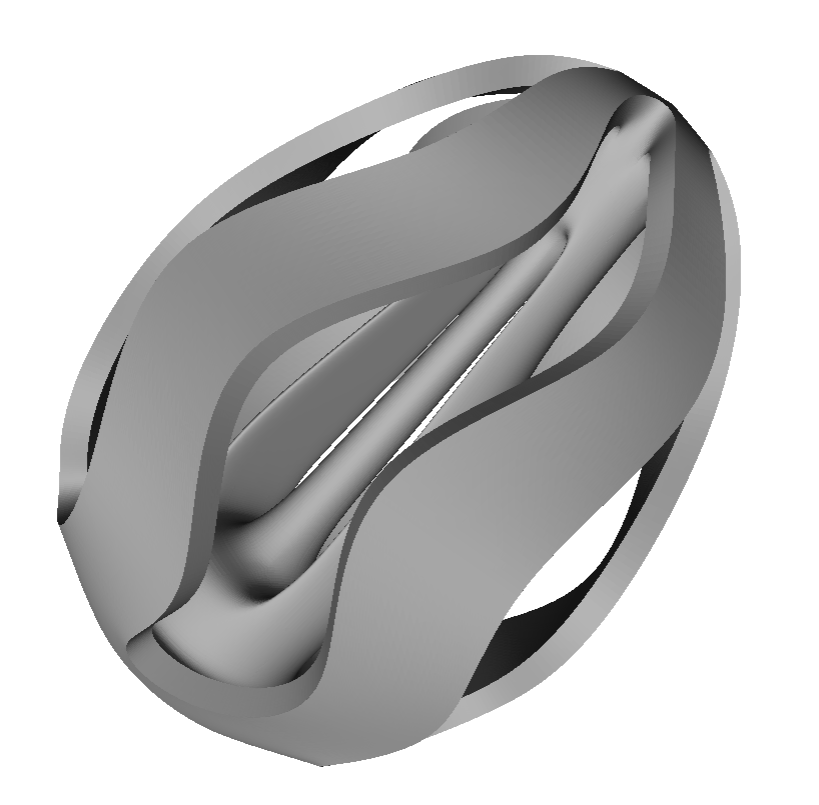 After more failed prints, it was discovered that the bed was not heating properly, so a Lab Assistant quickly found a workaround to this issue. Finally, I can see that the egg is coming into shape. Since this was the 5th try already, I was desperately hoping that nothing would go wrong.
 Meanwhile, I turned my attention to the printers in the wet lab. I was told that the only printer fully operational was the Fortus FDM printer, I went with that. The process was surprisingly straight forward compared to the printers in the Maker Bar. My print was started in no time.
As I arrived back in the wet lab to see my print, I was dismayed by what I saw. I had forgotten to scale the size of the egg properly, so it was way too big to fit in the gumball capsule. Nonetheless, the egg was put into the lye bath to dissolve the support material so I can have it as a reminder to my failure. I restarted the process on the Fortus printer again, remembering to scale the egg this time. After both the Fortus printer and the print from the Maker Bar was finished, I set out to post process the eggs. I took some sandpaper and smoothed out any bumps. I moved all the way to 1500 grit to make the sanded surface smoother. Finally, my 3D printed eggs are done. The egg from the Fortus is the ligher one on the left and the egg from the Maker Bar is the darker one on the right. To be honest, I felt like the results from the Maker bar printer are actually better than that from the Fortus. The surface is smoother and more uniform.
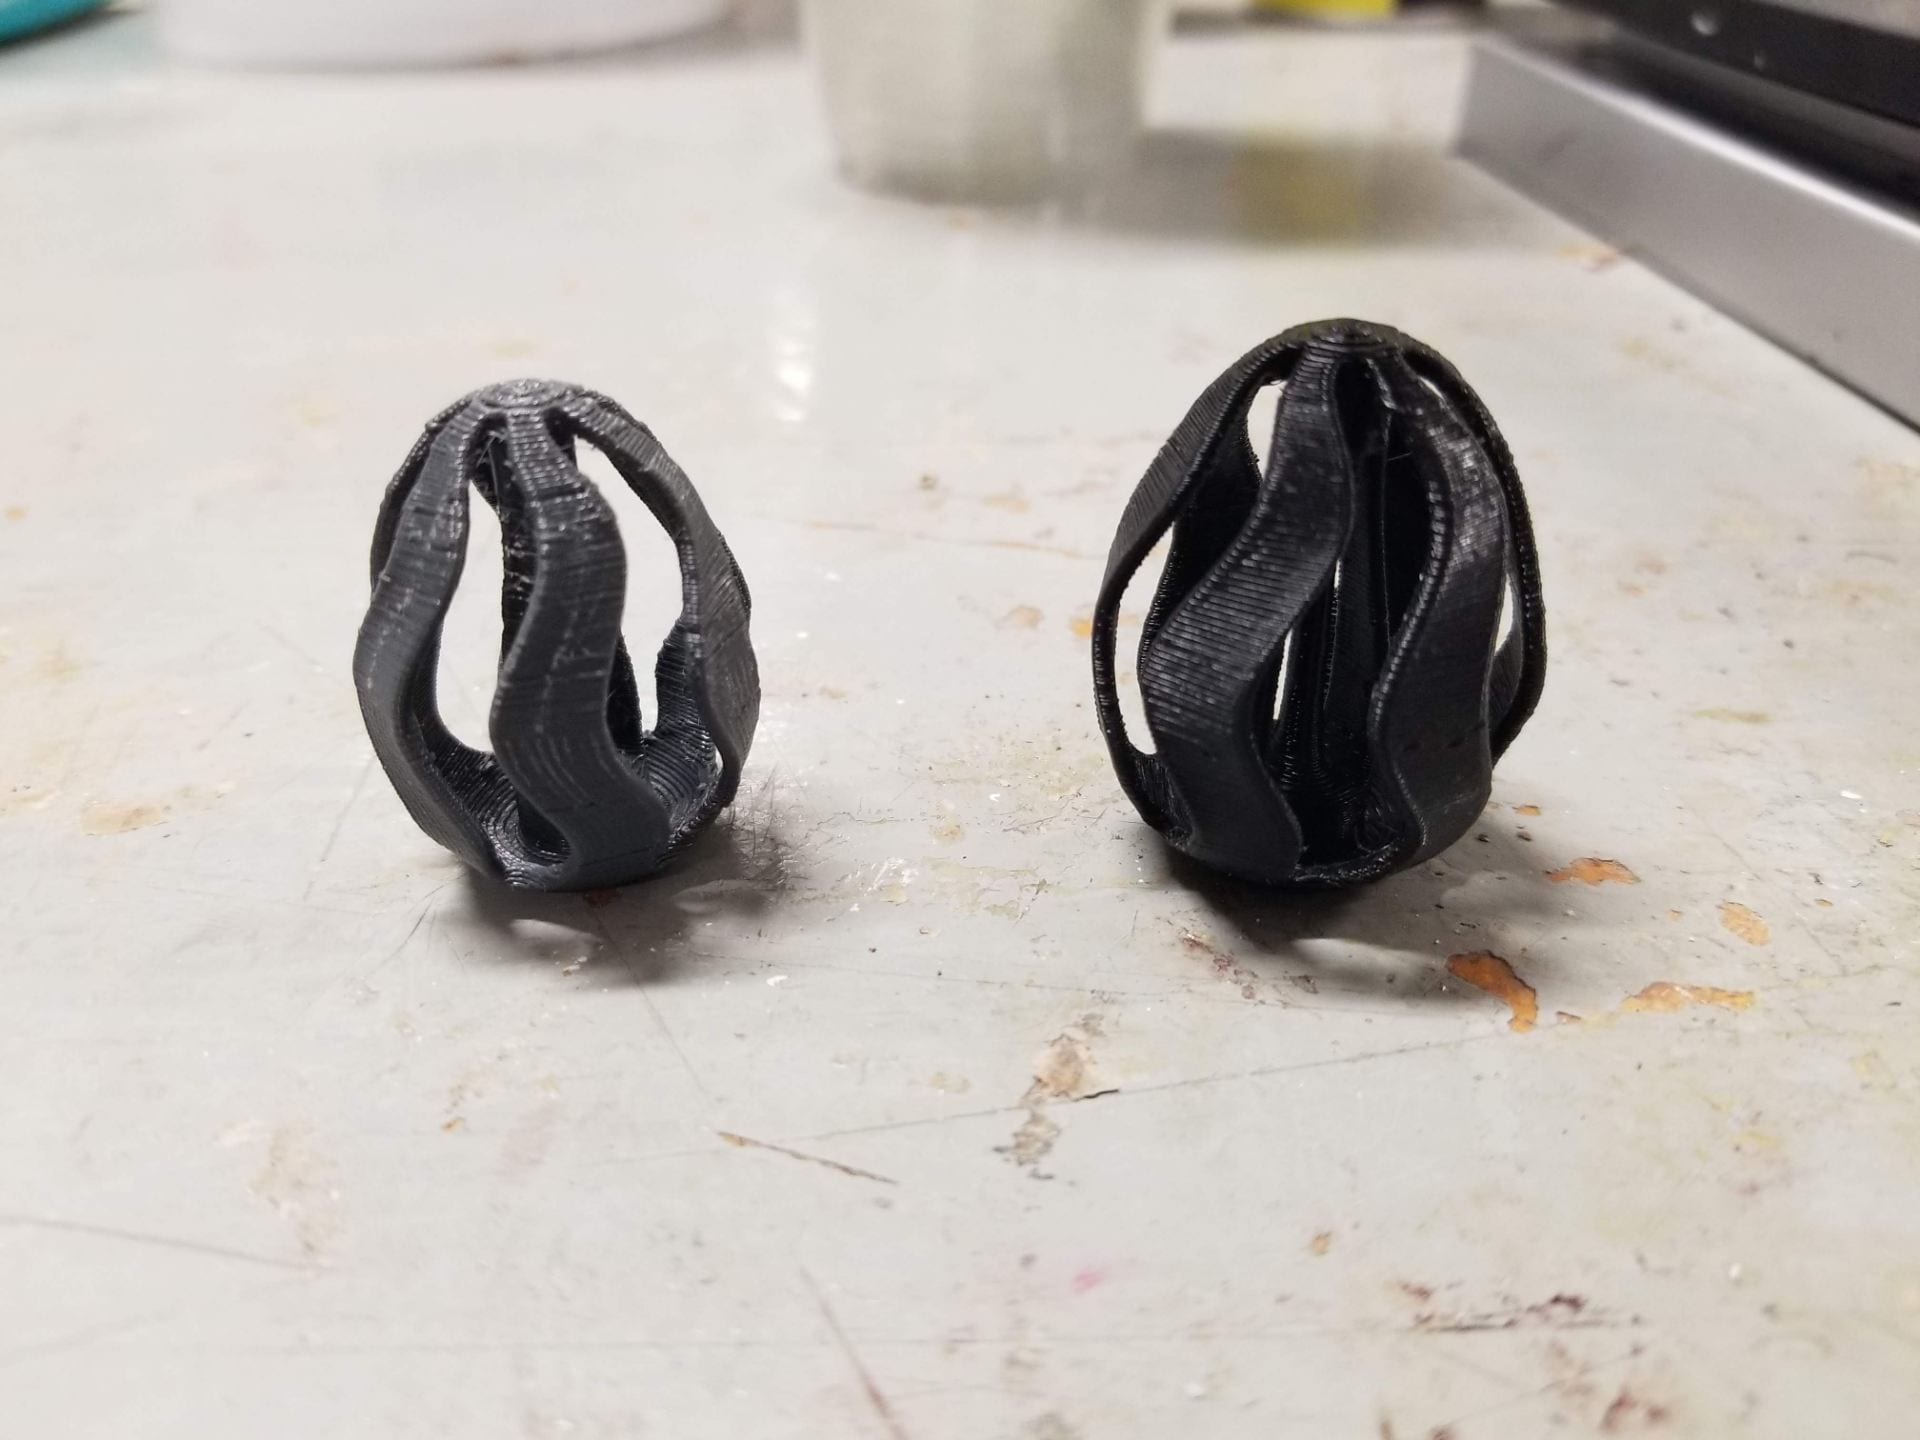 Cost Analysis.
The first print on the Fortus cost $16.28. The second print cost $7.24. Given a 3D printer costs about $30 to rent per day, the machine costs would be $60 since I used two different printers for one day. Buying a spool of filament would cost me $20 on Amazon. I spent about 3 hours on the project, not counting the printing time. If I charge $10 per hour, then the cost for labor would be $30. Therefore, the total cost of these two prints would be $133.52.
