For my 3D printing project, I manufactured a spiral rook (figure 1).
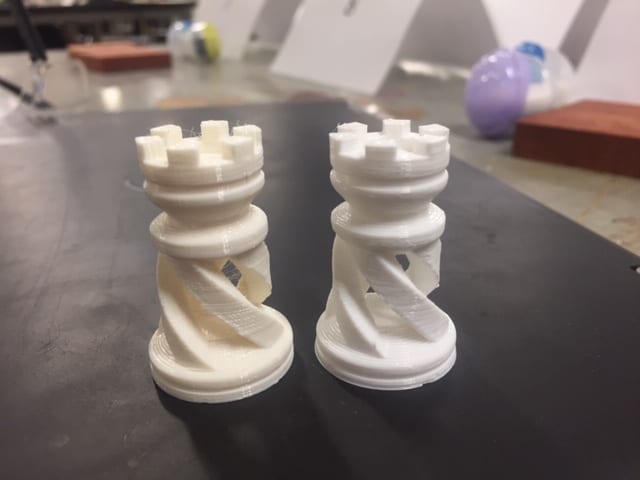
Figure 1: 3D printed chess piece
My process was as follows:
1. Obtain STL
Using a 3D printer requires a toolpath file — luckily, almost every 3D printing human machine interface can take in a standard tessellation language (STL) and develop G-Code from it. Therefore, all I needed was an STL of my object. For this, I went to thingiverse.com and downloaded the STL of my object (figure 2).
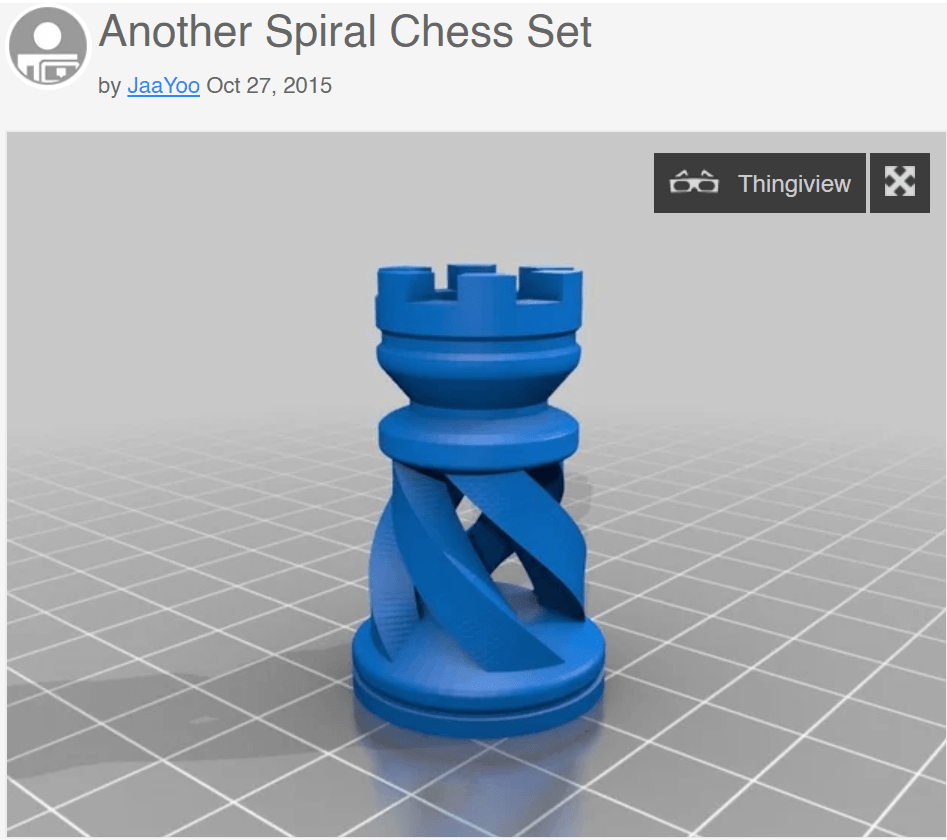
Figure 2: STL of my chess piece
2. Print
On the makerbot, this simply meant adjusting a few system settings such as:
- Layer Height: 0.3 mm
- Support: On (15% infill)
- Infill: 25%
The makerbot print took roughly 40 minutes while the Fortus took about 1 hour.
3. POST PROCESSING
This step required using pliers to remove any support material or inconsistencies in the print.
Cost estimation:
1. MATERIALS
The materials used in this model were: Polylactic Acid (PLA) and Acrylonitrile, Butadiene and Styrene (ABS). These are both quite expensive, and we can estimate the total cost to be around $40.
2. LABOR
While the print times were lengthy, the setup and post-processing were the only real man-hours (roughly 30 minutes). At $15/hour, this comes out to $7.50.
TOTAL COST: $47.50
