For this project we were tasked with creating an impossible object using a 3D printer. The object must fit inside a gumball case. We were not tasked with designing the object, only with modifying it to the appropriate size and printing/post processing it. Once with a cheaper 3D printer in the maker bar and once with a really fancy one from the wet lab.
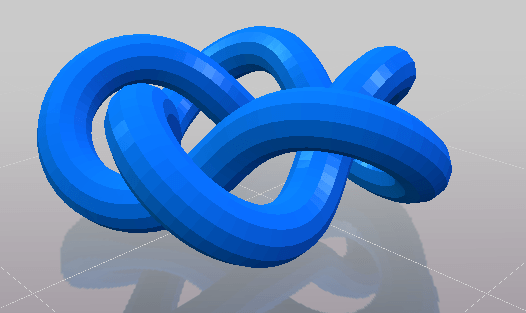
First I decided on my design. I chose to use an impossible knot because it messes with my head how the piece appears to float. This is what it looks like.
First, I decided to use the cheaper printers, I went over to BuildTak (com14) and uploaded my print. I had already resized it in Meshmixer because I was semi-familiar with that program. I made it fairly small (~26mm in diameter) because I thought any larger and it would not really fit in the gumball capsule. This print was estimated to take 18 minutes so I decided to go to the wet lab and use the only functioning printer there while this was being printed.
In the wet lab my classmate, Craig was coming at just the same time. To save one of us a trip back and forth to the OEDK, we just decided to print at the same time. The combined cost of our print was 6$ + a 5$ fee, so individually it would have cost around 3$ + the 5$ fee. The print time was meant to be 2 hours so I decided to go for a little break and check up on my first print.
I took out the first print, took off all the support material and suddenly realized that I could probably size it up 1.5x times what it currently was, so I sized it up really quickly and set it to print on the BuildTak again. Then I broke for dinner.
Upon my return I went to the BuildTak to grab my new, larger print which looked like this.
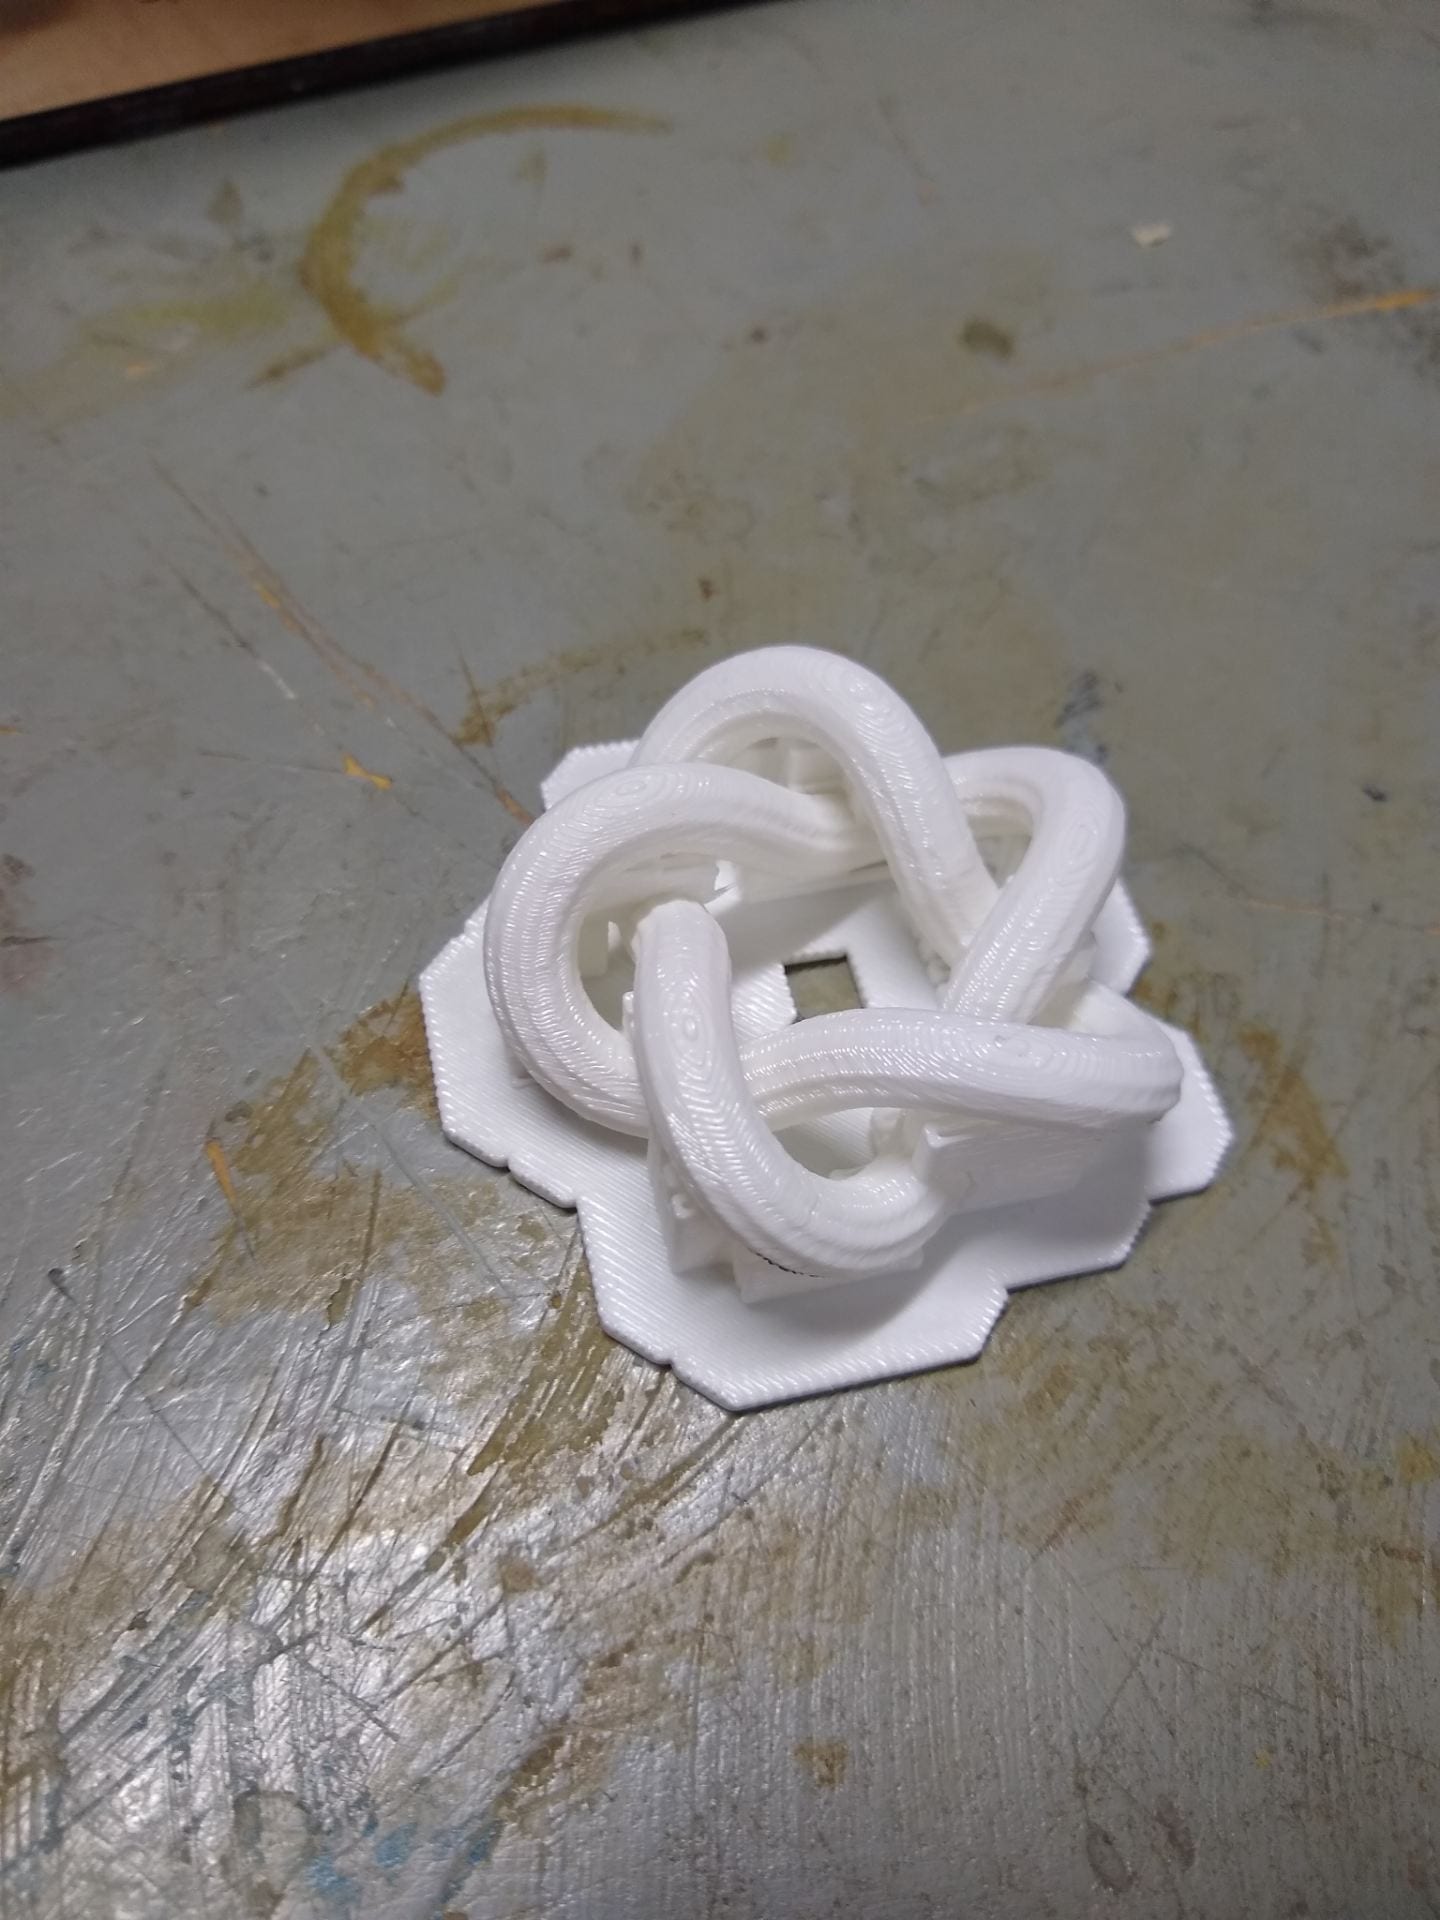
I then began the process of tearing off all the support material. I found some parts that were blackened, I am unsure of the cause but I believe it is because of the machine over heating parts of the filament and burning them. This new, larger piece fit perfectly in the capsule. It looked like this after everything was torn off.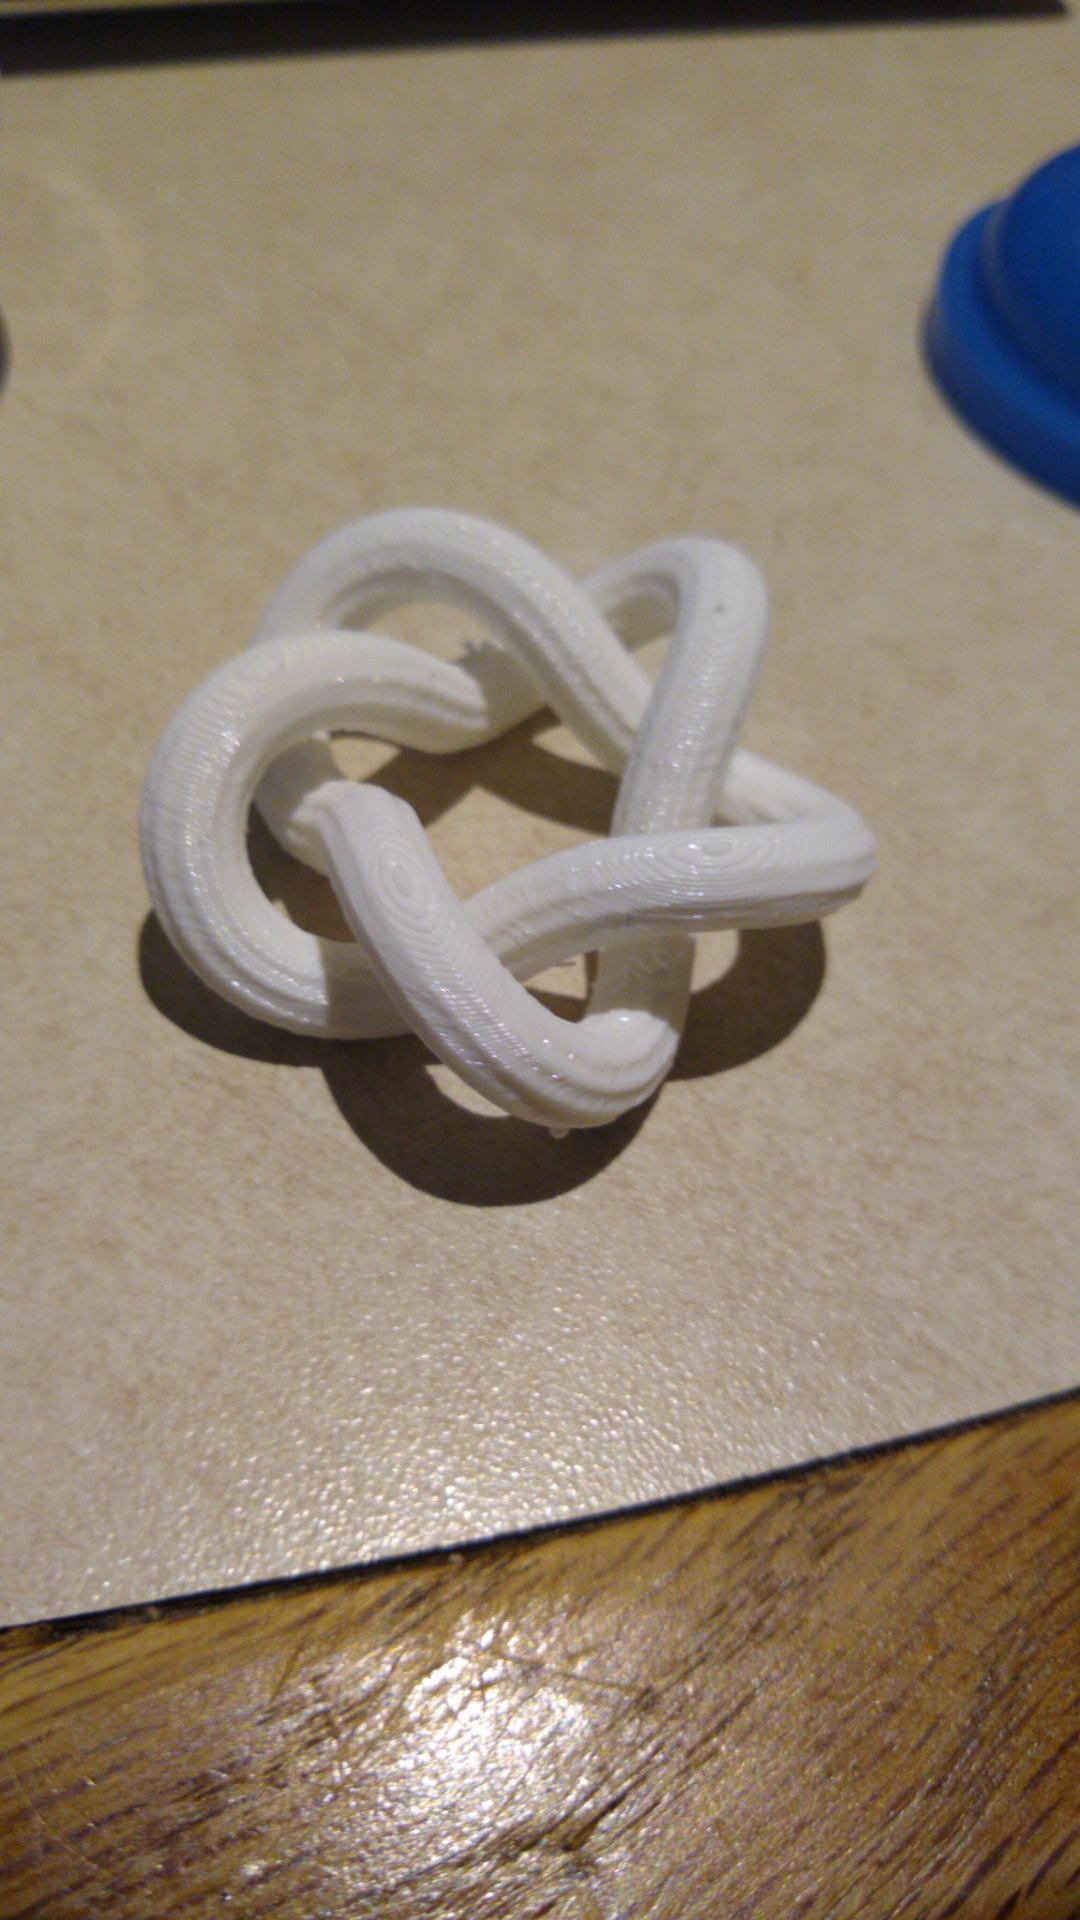
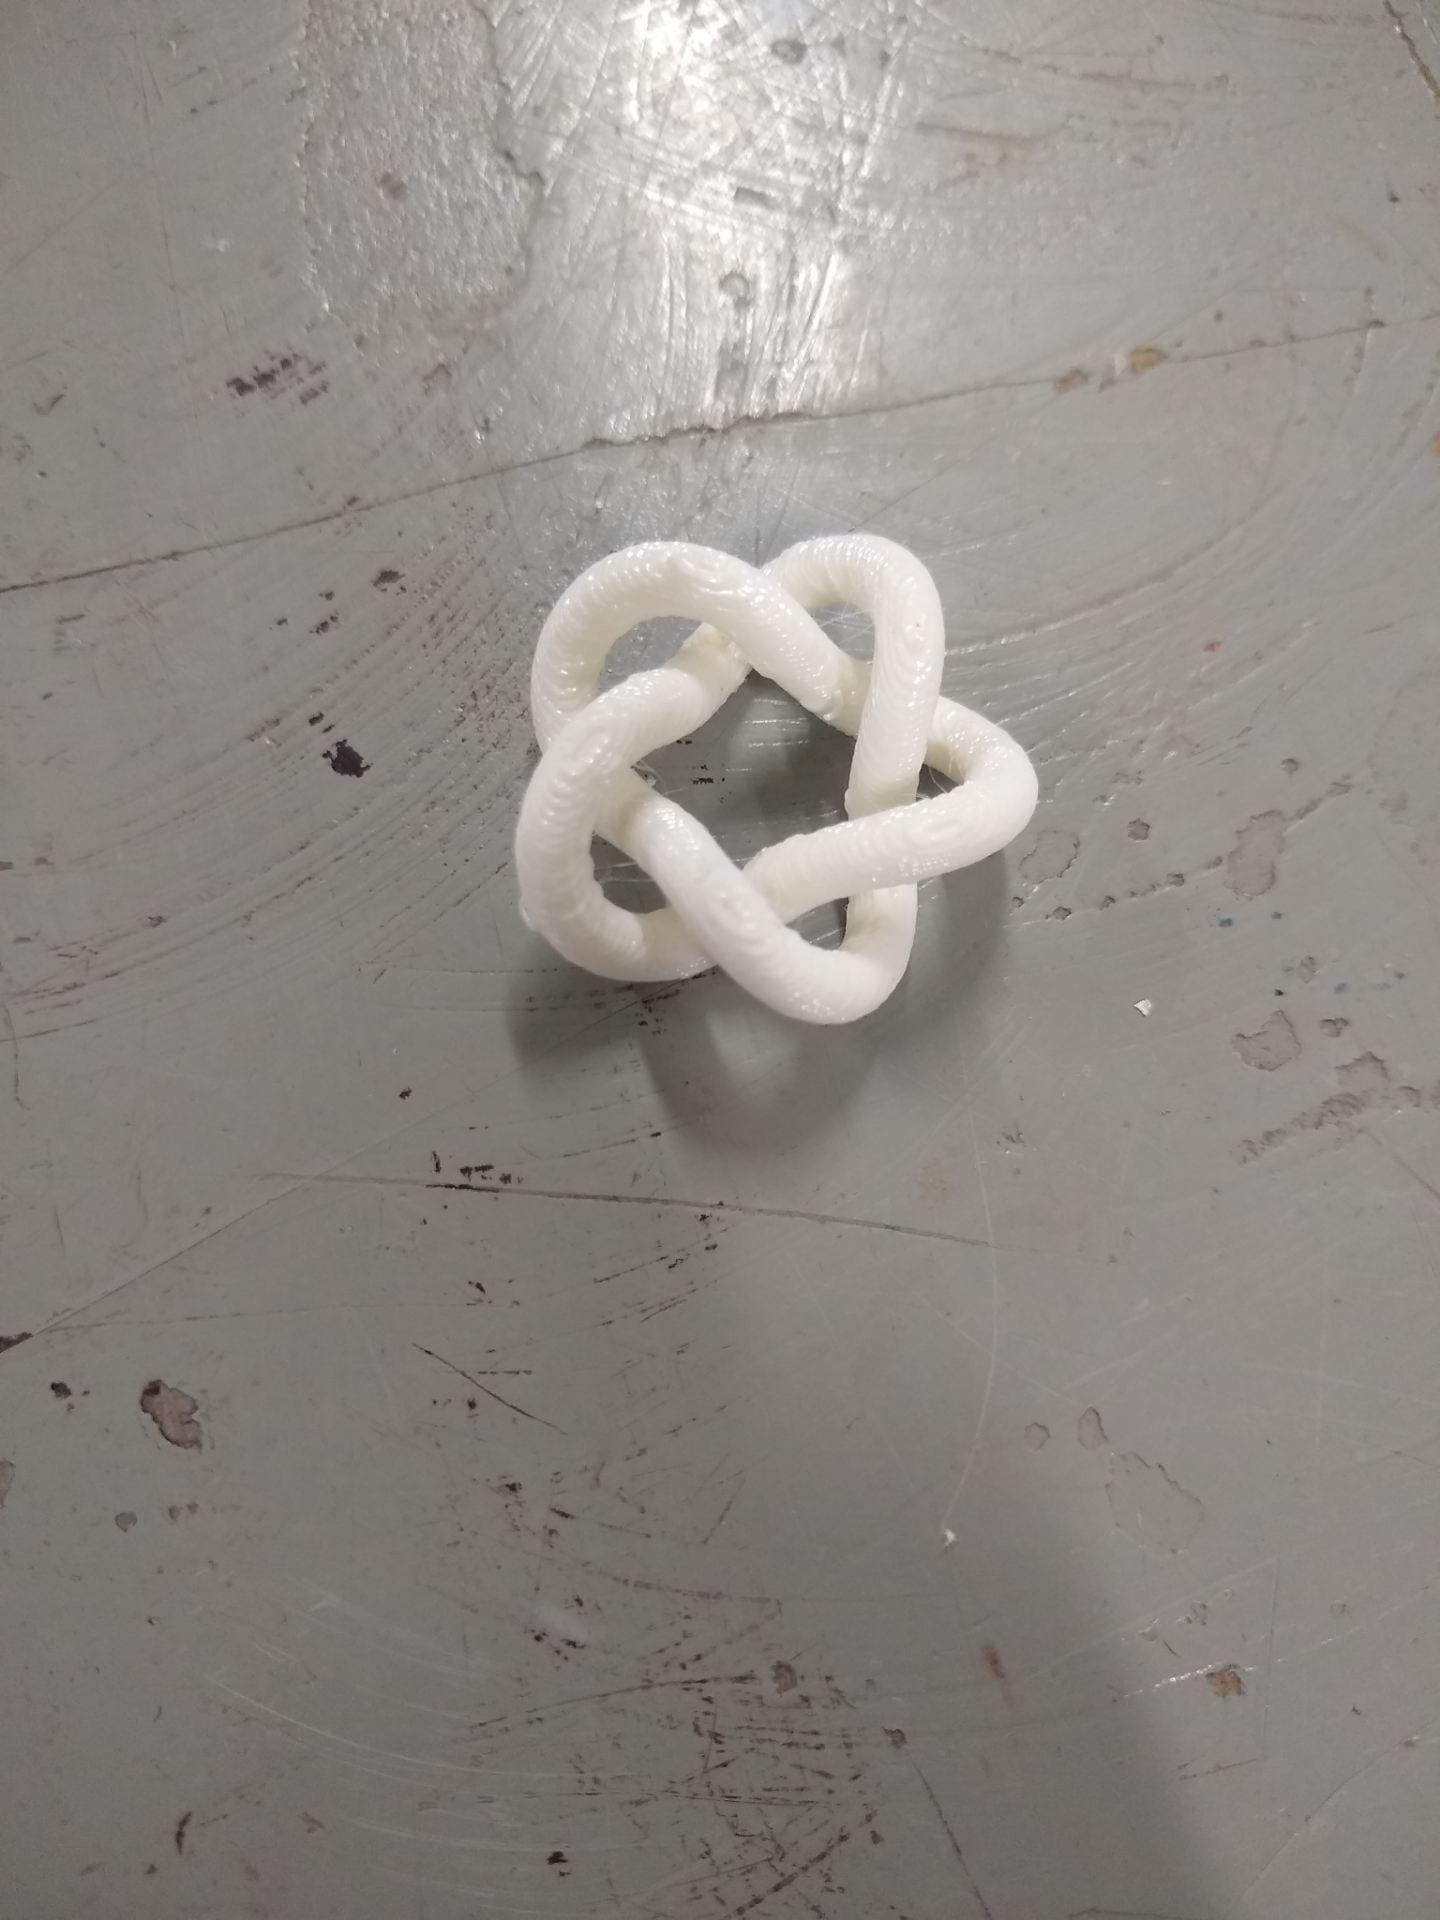
Then I stepped into the wet lab to put my and piece into the lye bath but I was horrified to find that my piece had gone M.I.A. I spoke with a lab tech and they had told me it likely just fell out of the cage in the lye bath and that I could find it tomorrow. Because of this I was unfortunately unable to take a picture of the piece with the support material not dissolved off. So the next morning I came back and took the piece, finding all the support material had dissolved. I could have printed this again larger, but decided not to due to time constraints. It looked like this.
Differences in the products–
I found that the wet lab printer generally did a better job (despite taking nearly 4 times as long). The print feels better to touch, the layers are not super apparent despite the piece being white and there is no discoloration which was the biggest downfall of the cheaper printer.
Failures —
Discoloration, I am unsure of both the cause and a potential solution to this. Perhaps using a colored filament would have been better. I was also reluctant to sand the piece because it would make it even weirder as one part of it would have a significantly different texture than the rest.
Size, due to time constraints I could not print a larger version of the more expensive print.
Cost Analysis —
This was a time heavy project because I spent a lot of time waiting. If we do not factor this in I would estimate that I spent about 2.5 hours, at 15$ an hour this brings the price to 37.50$ in addition to the 8$ charge of printing. If we were to be charged for the smaller prints I would assume it would be about 2$ total, bringing the total price to 47.50$ by my estimates.
