For our hands-on 3D printing assignment, we were tasked with making two identical objects found on thingiverse. The object must be both “impossible” to fabricate with other available techniques and must be sized to fit inside a gumball toy capsule.
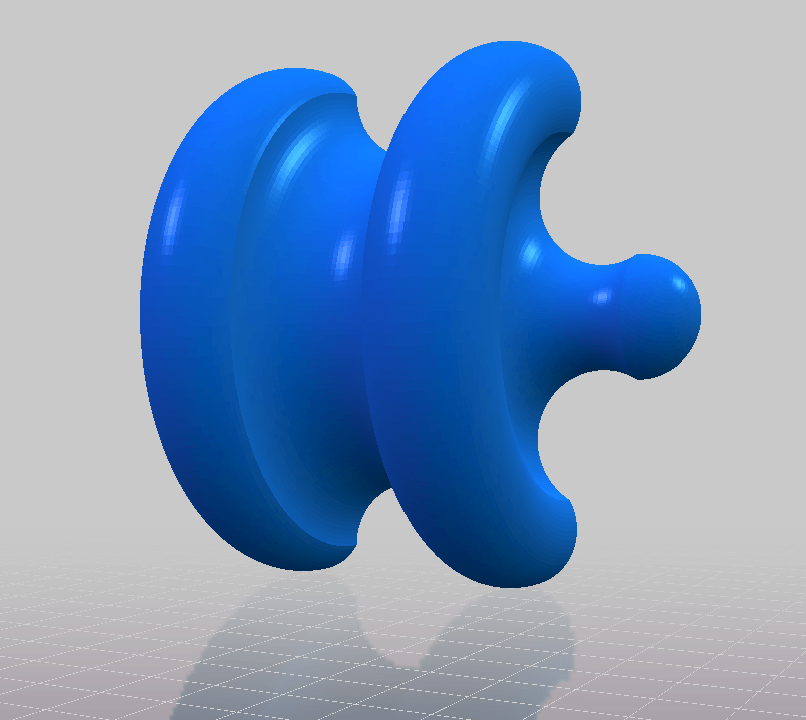
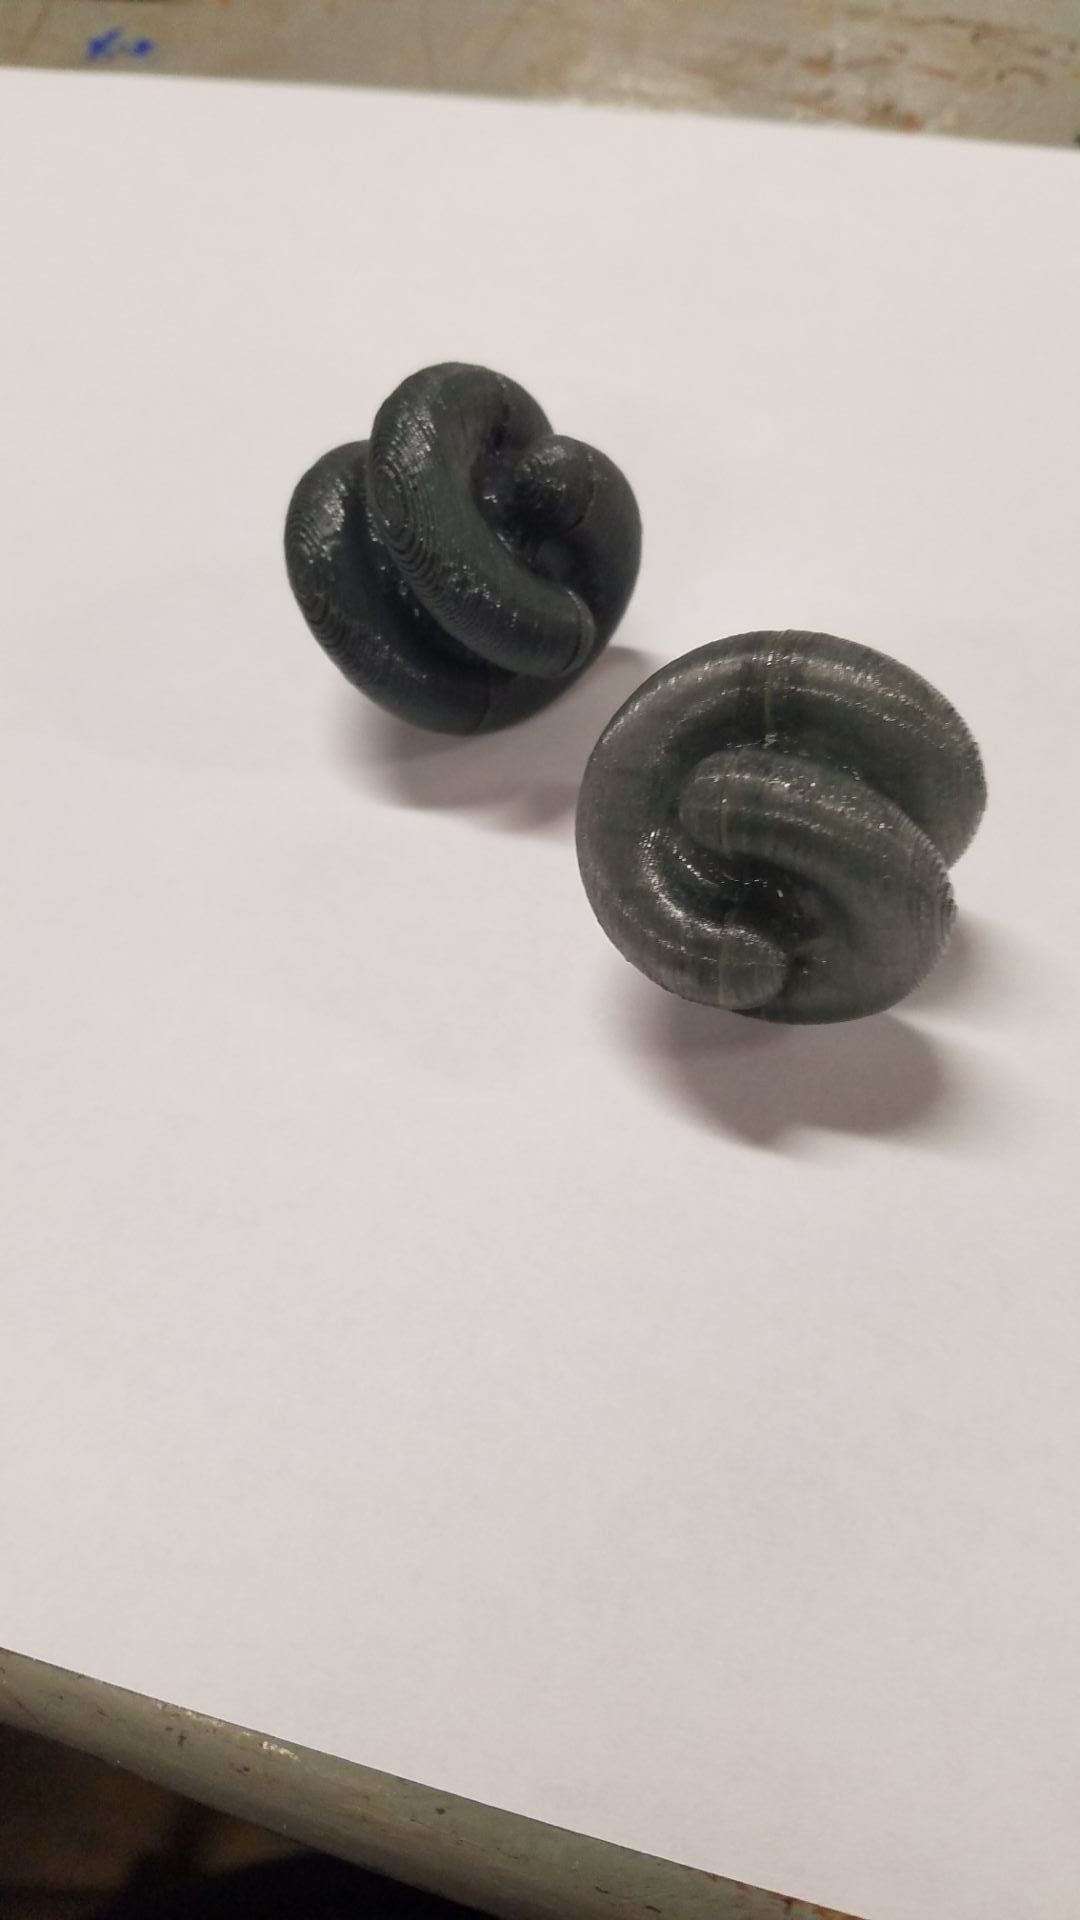
I decided to print a hexagonal sphericon – a geometric solid made by revolving a hexagon, cutting it in half and rejoining the two pieces at a 90 degree turn. The continuous surface gives sphericons their ability to roll on smooth surfaces, even though it looks like they wouldn’t.
First I chose to print using the Fortus 450mc printer, I knew it would be more time consuming giving that this printer uses a dissolvable support filament that requires up to 24 hours of lye bath treatment. After seeing the example prints inside the wet lab, I chose to print using a 0.14 mm layer height.
As I waited for my first print to dissolve in the lye bath, I started printing my second object at the OEDK Maker Bar. I was luck enough to catch a really cool transparent filament.
Coming back the next day, I was ready to finish my objects. Comparing both of the prints, I noticed a few differences. The Fortus filament seemed to be more sturdy, however, the color esd greyish and washed out – I enjoyed the appearance of the transparent filament much better.
I used superglue to join the shape pieces together, then finished then with a coat of polyurethane spray. (The poly spray started to settle into ugly puddles, so I wiped off the excess spray about 2-5 min after application, while still leaving a shiny/glittery finish.)
My shapes were ready to roll! (CLICK TO WATCH THE GIF)
Challenges:
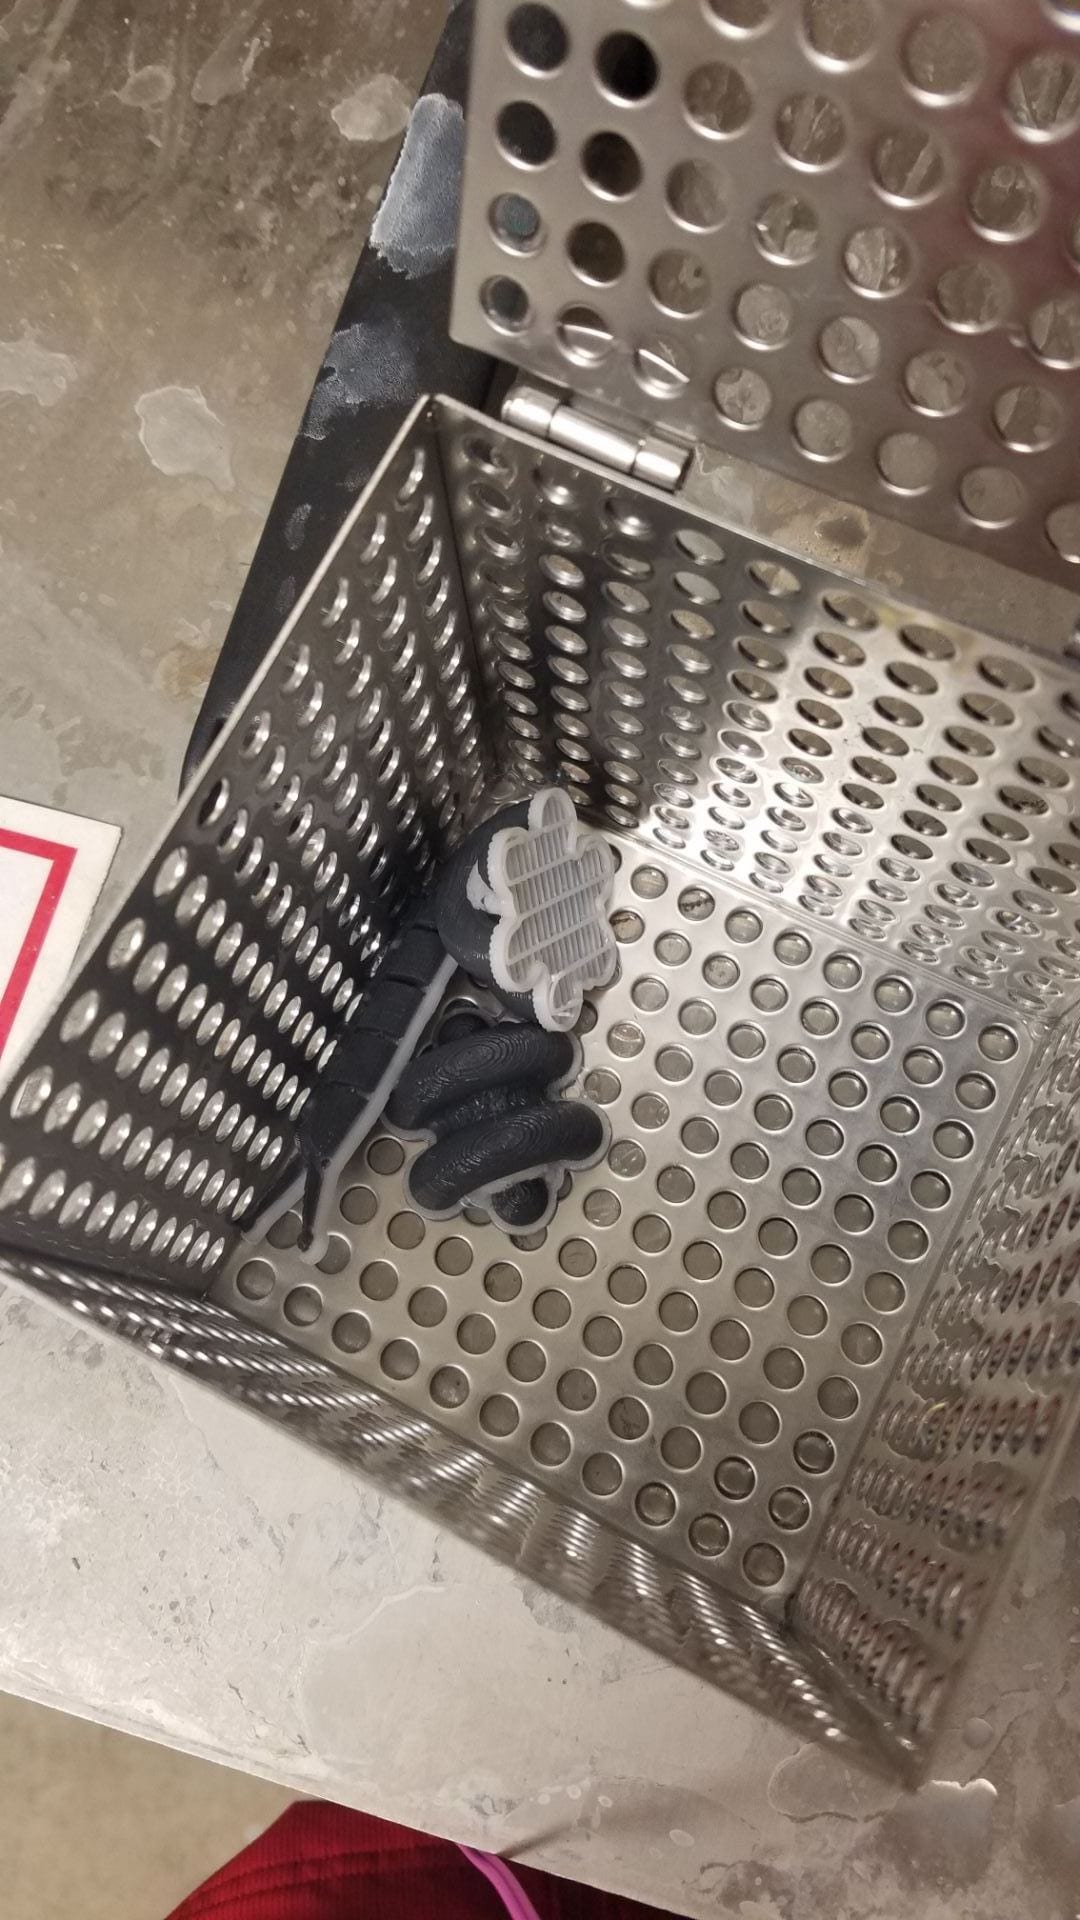
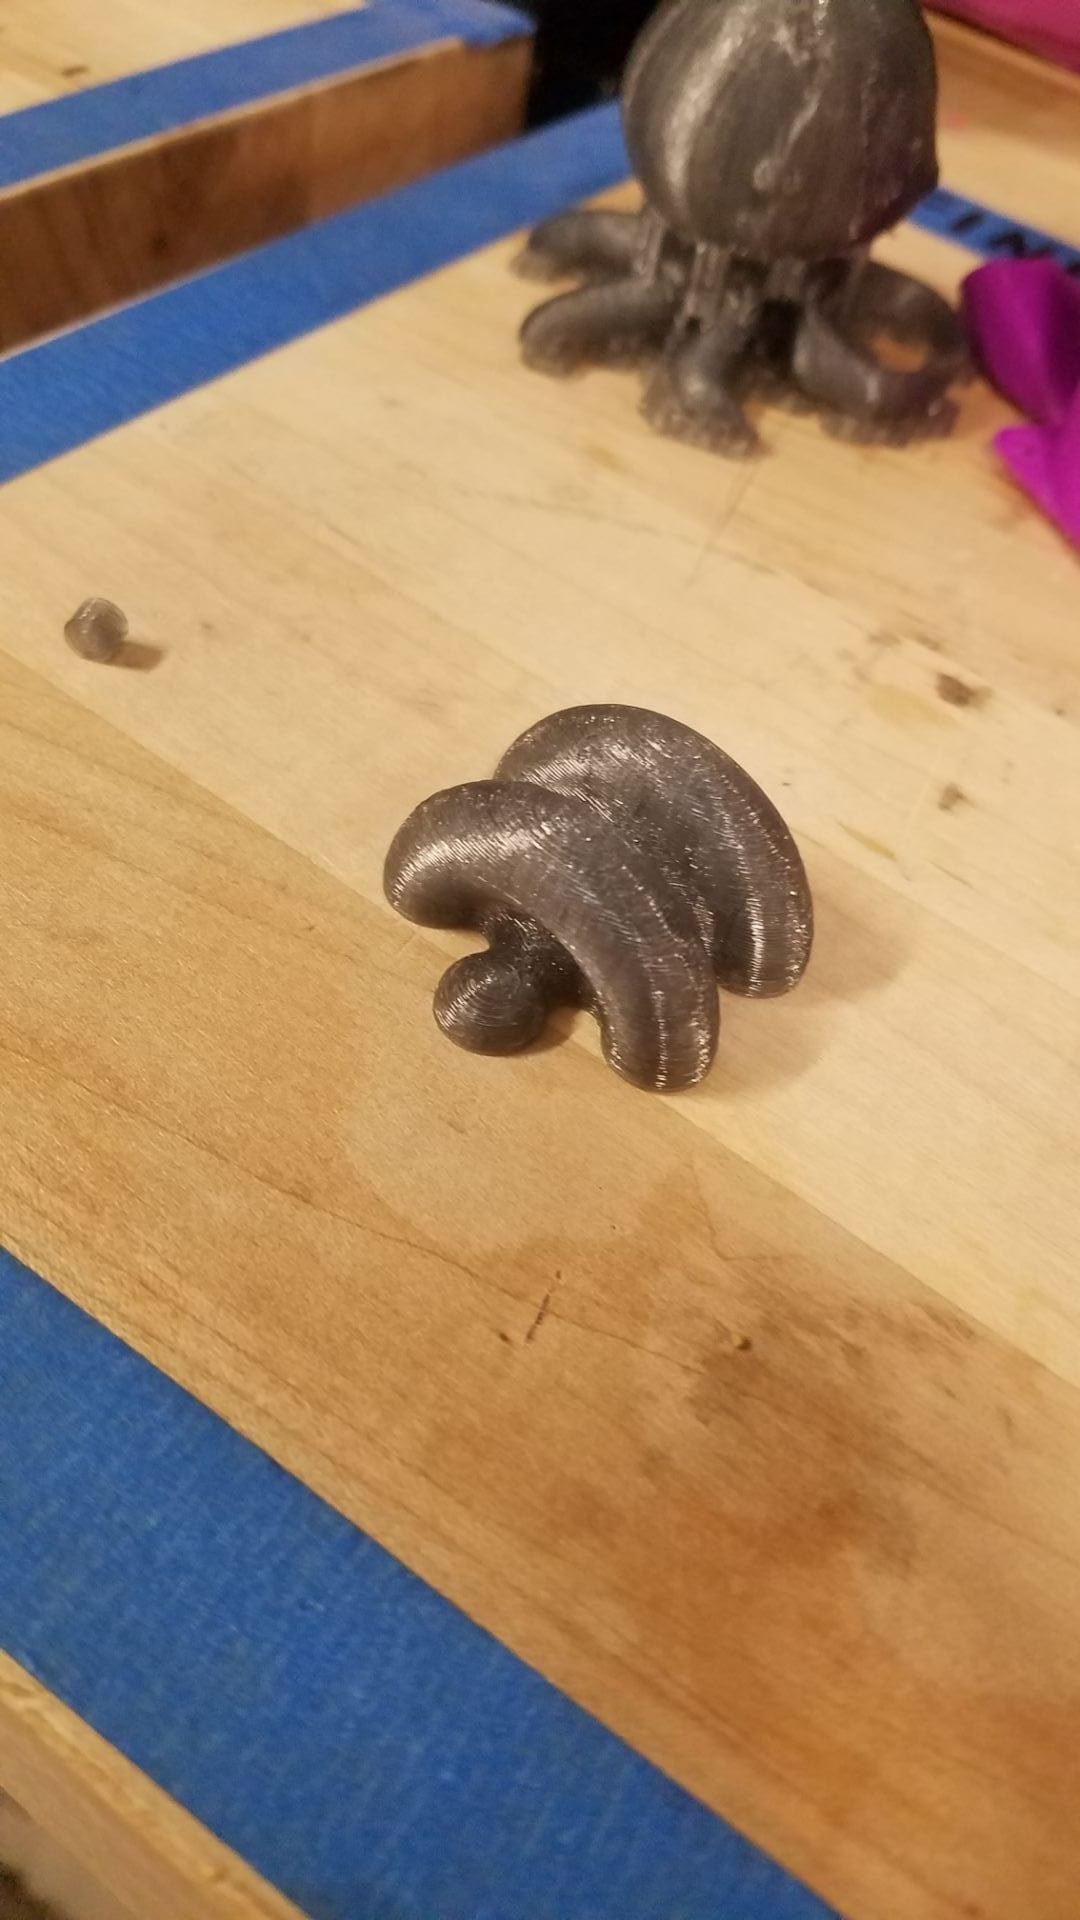
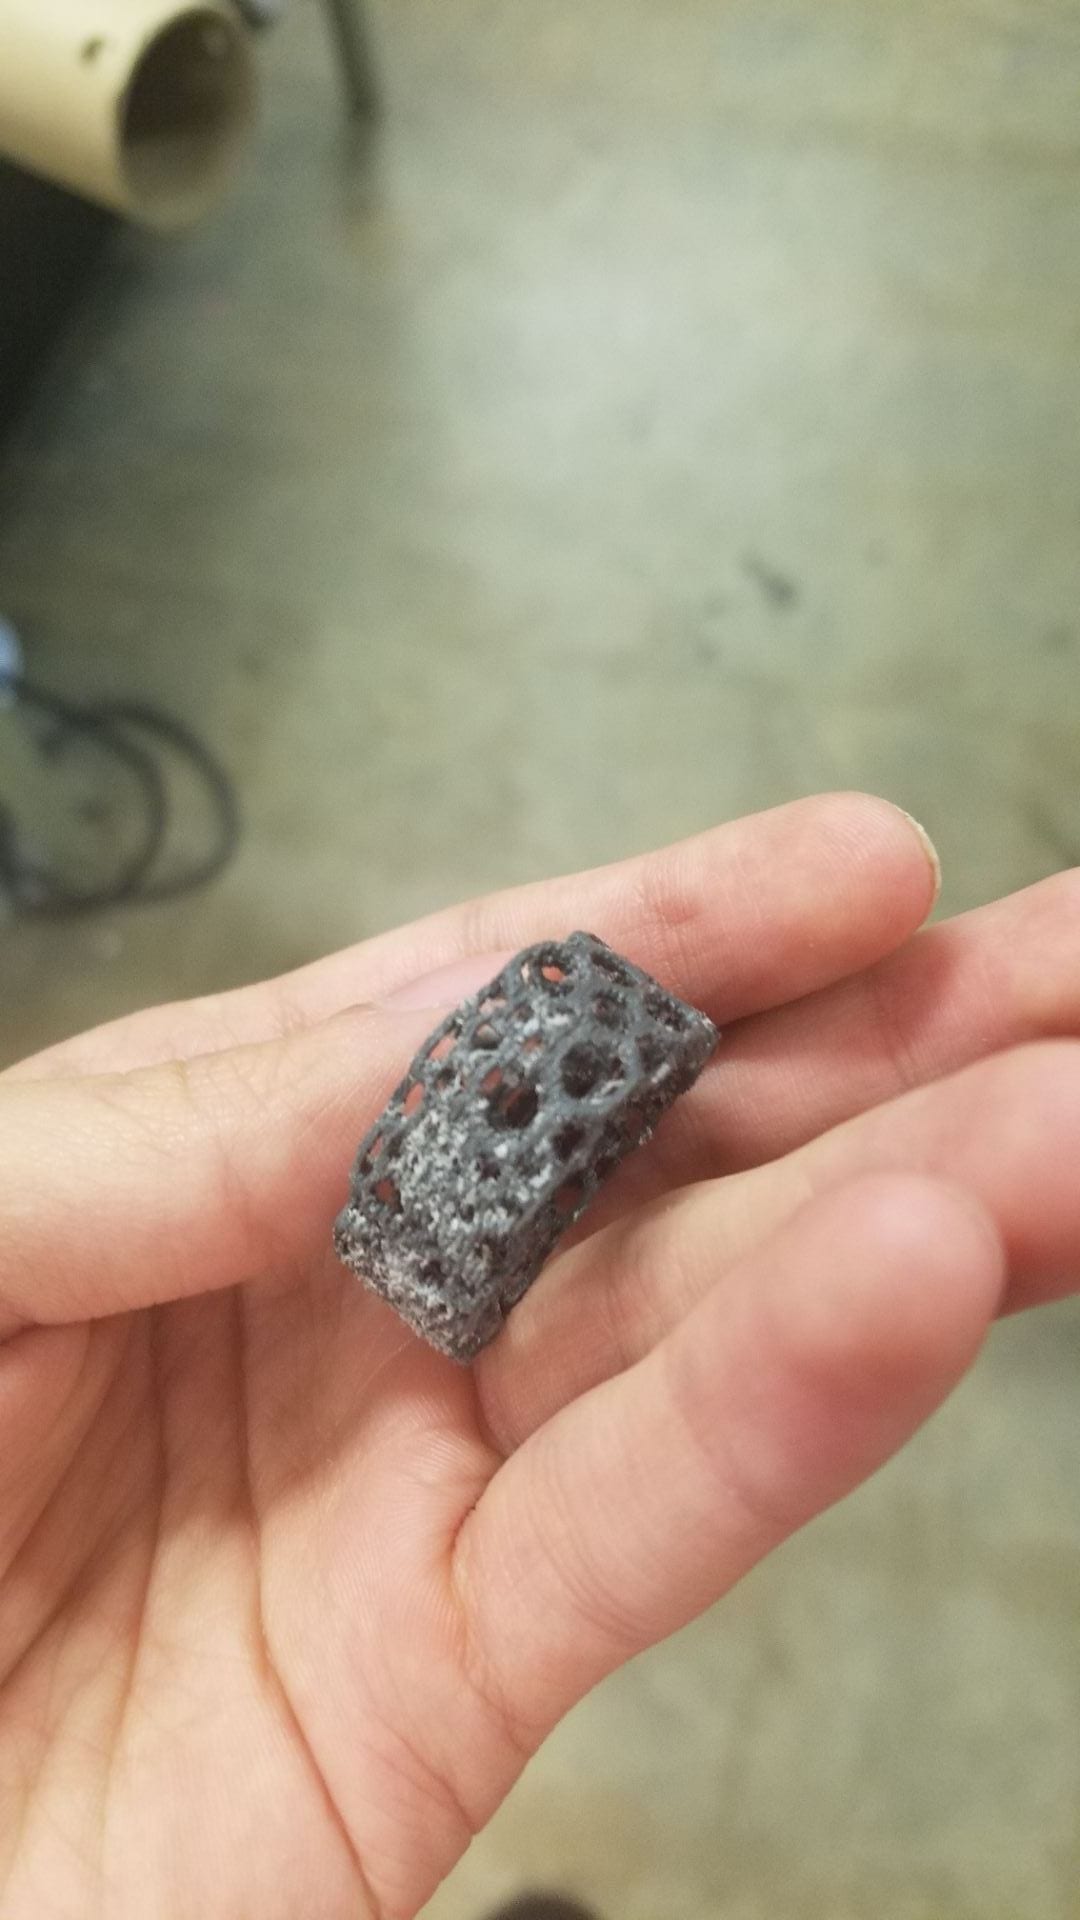
In this assignment I struggles with realizing the limitation of the printers and the scalability of 3D models. In my first attempt to 3D print an object, I chose a design that was too intricate for the small size I was aiming for – this caused the shapes details to mush together. While I ultimately scrapped the project, I also experimented with using rafts and supports (to a disappointing ending leaving me with one un-usable shape)
In future project, I now have a better sense of scaling for 3D printing, and have a solid grasp of printing more objects on my own.
Cost Analysis:
In total, I spent about 4-5 hours of time on this assignment, where most of my time was spent troubleshooting my first few prints – my final design accounted for only about 30 min to 1 hour of prep time. I was able to source all my filament from the OEDK stock, I would estimate the weight cost to be less than $2.00 in materials. A can of polyurethane spray costs $7 from Lowe’s. Total materials would thus cost under $9, however, adding an additional $50 in a monthly fee at a local Makerspace, would bring this closer to $60 + time cost of 5 hours.
