Our 3D printing homework tasked us with printing an “impossible object,” or an object that could not be produced as a single piece before 3d printing. It needed to fit inside of a gumball capsule. My first step was to find what to print! I want onto thingiverse and found a cool geometric form whose interlocking center made it impossible to produce in any way other than 3D printing. I downloaded the file onto a thumb drive, and I brought it over to the 3d printers. Before I began, I measured the gumball capsule with a caliper to make sure I was scaling my design correctly for printing. I recruited my friend/lab-tech Nick to walk me through how to use the machines.
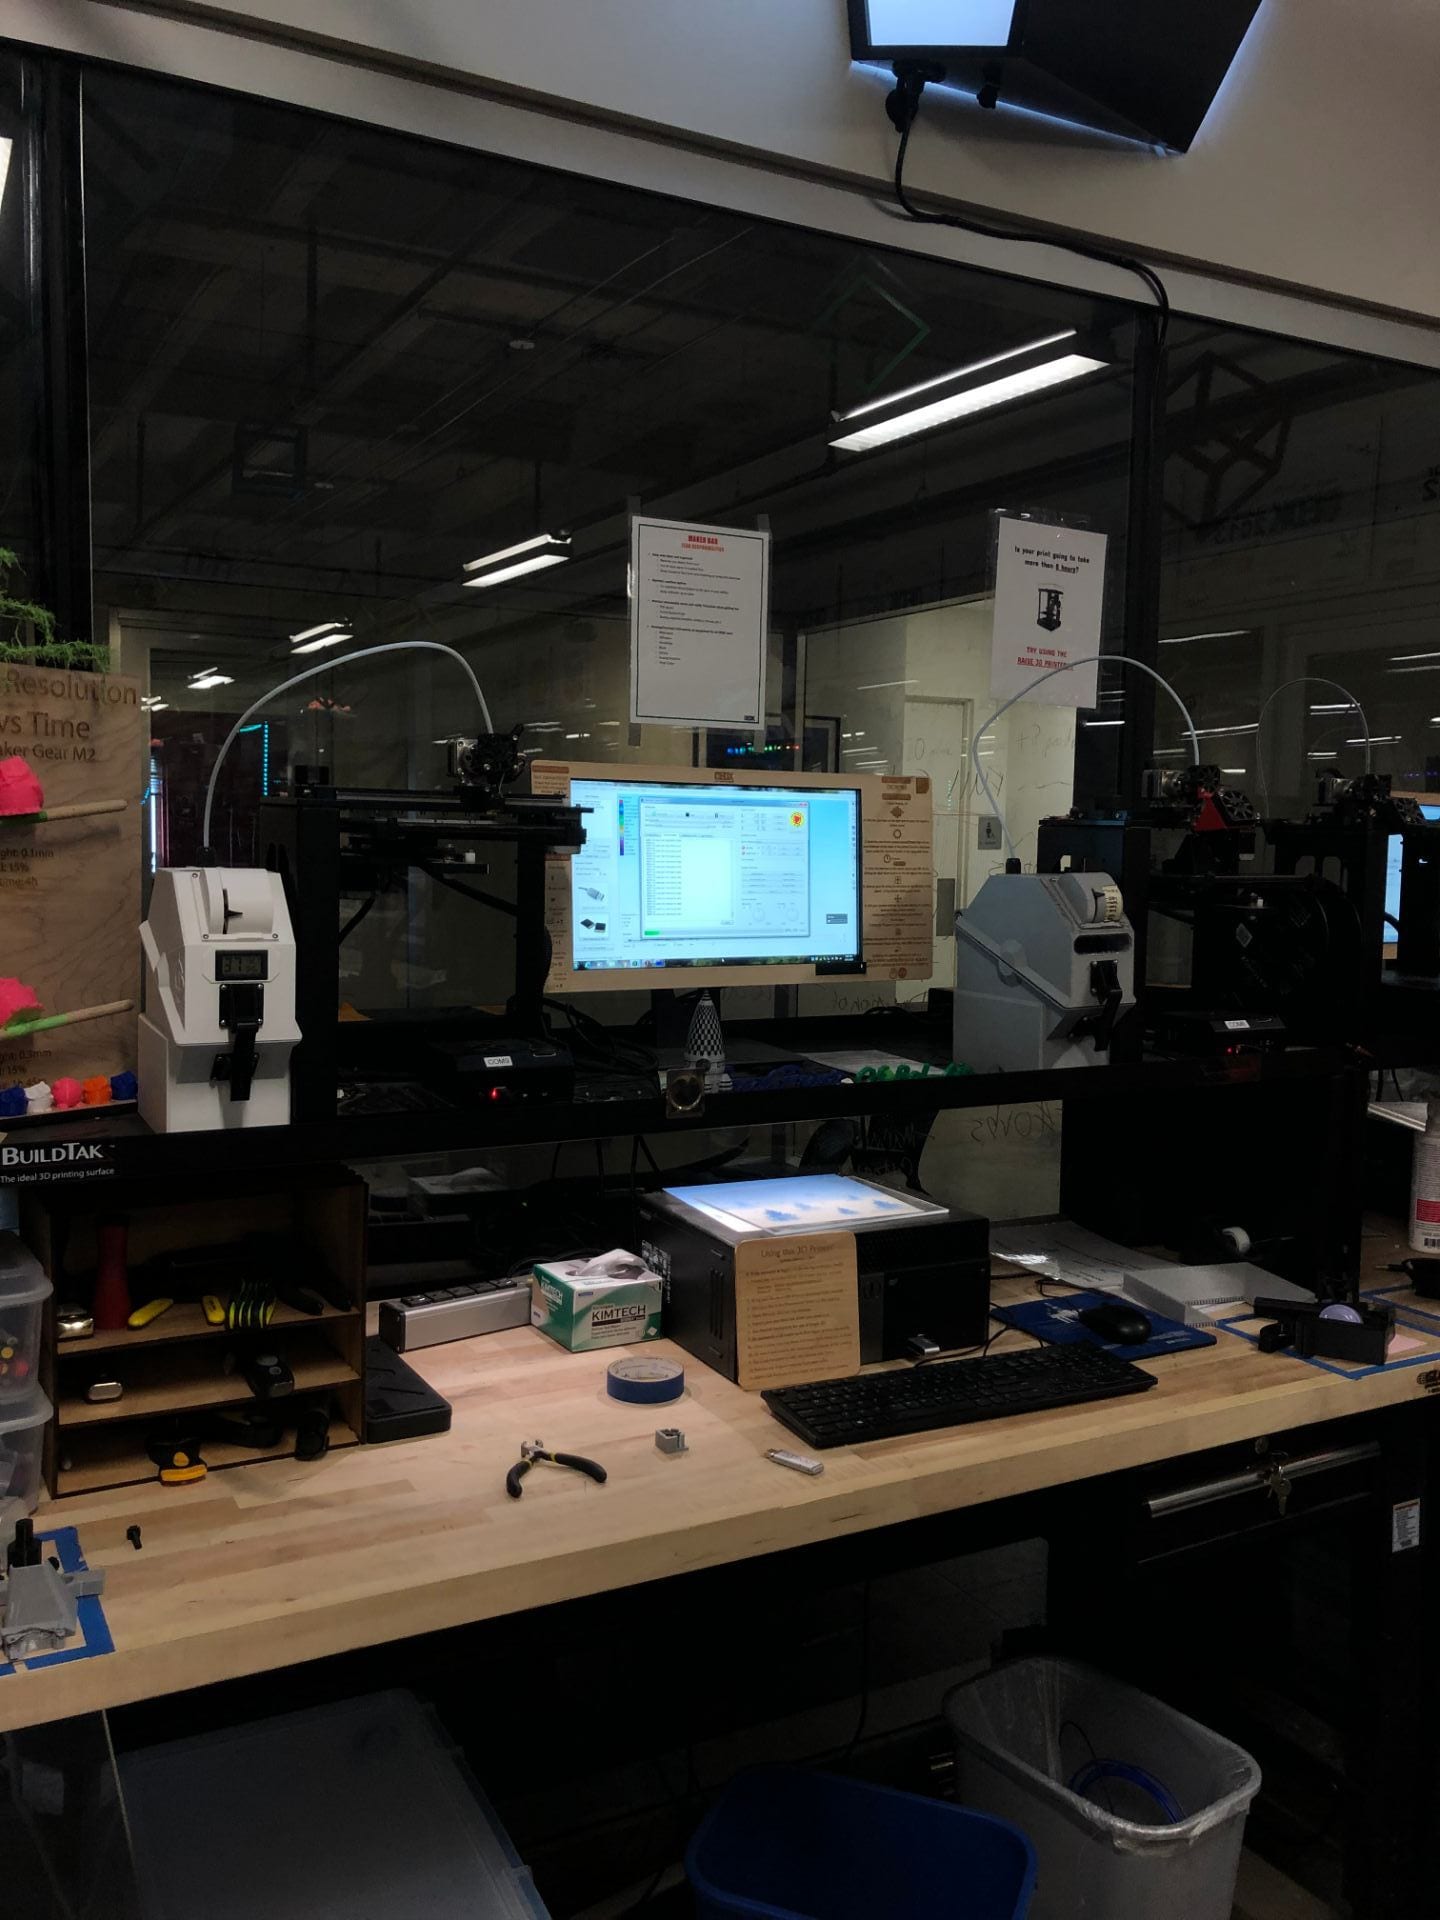
I uploaded my design.

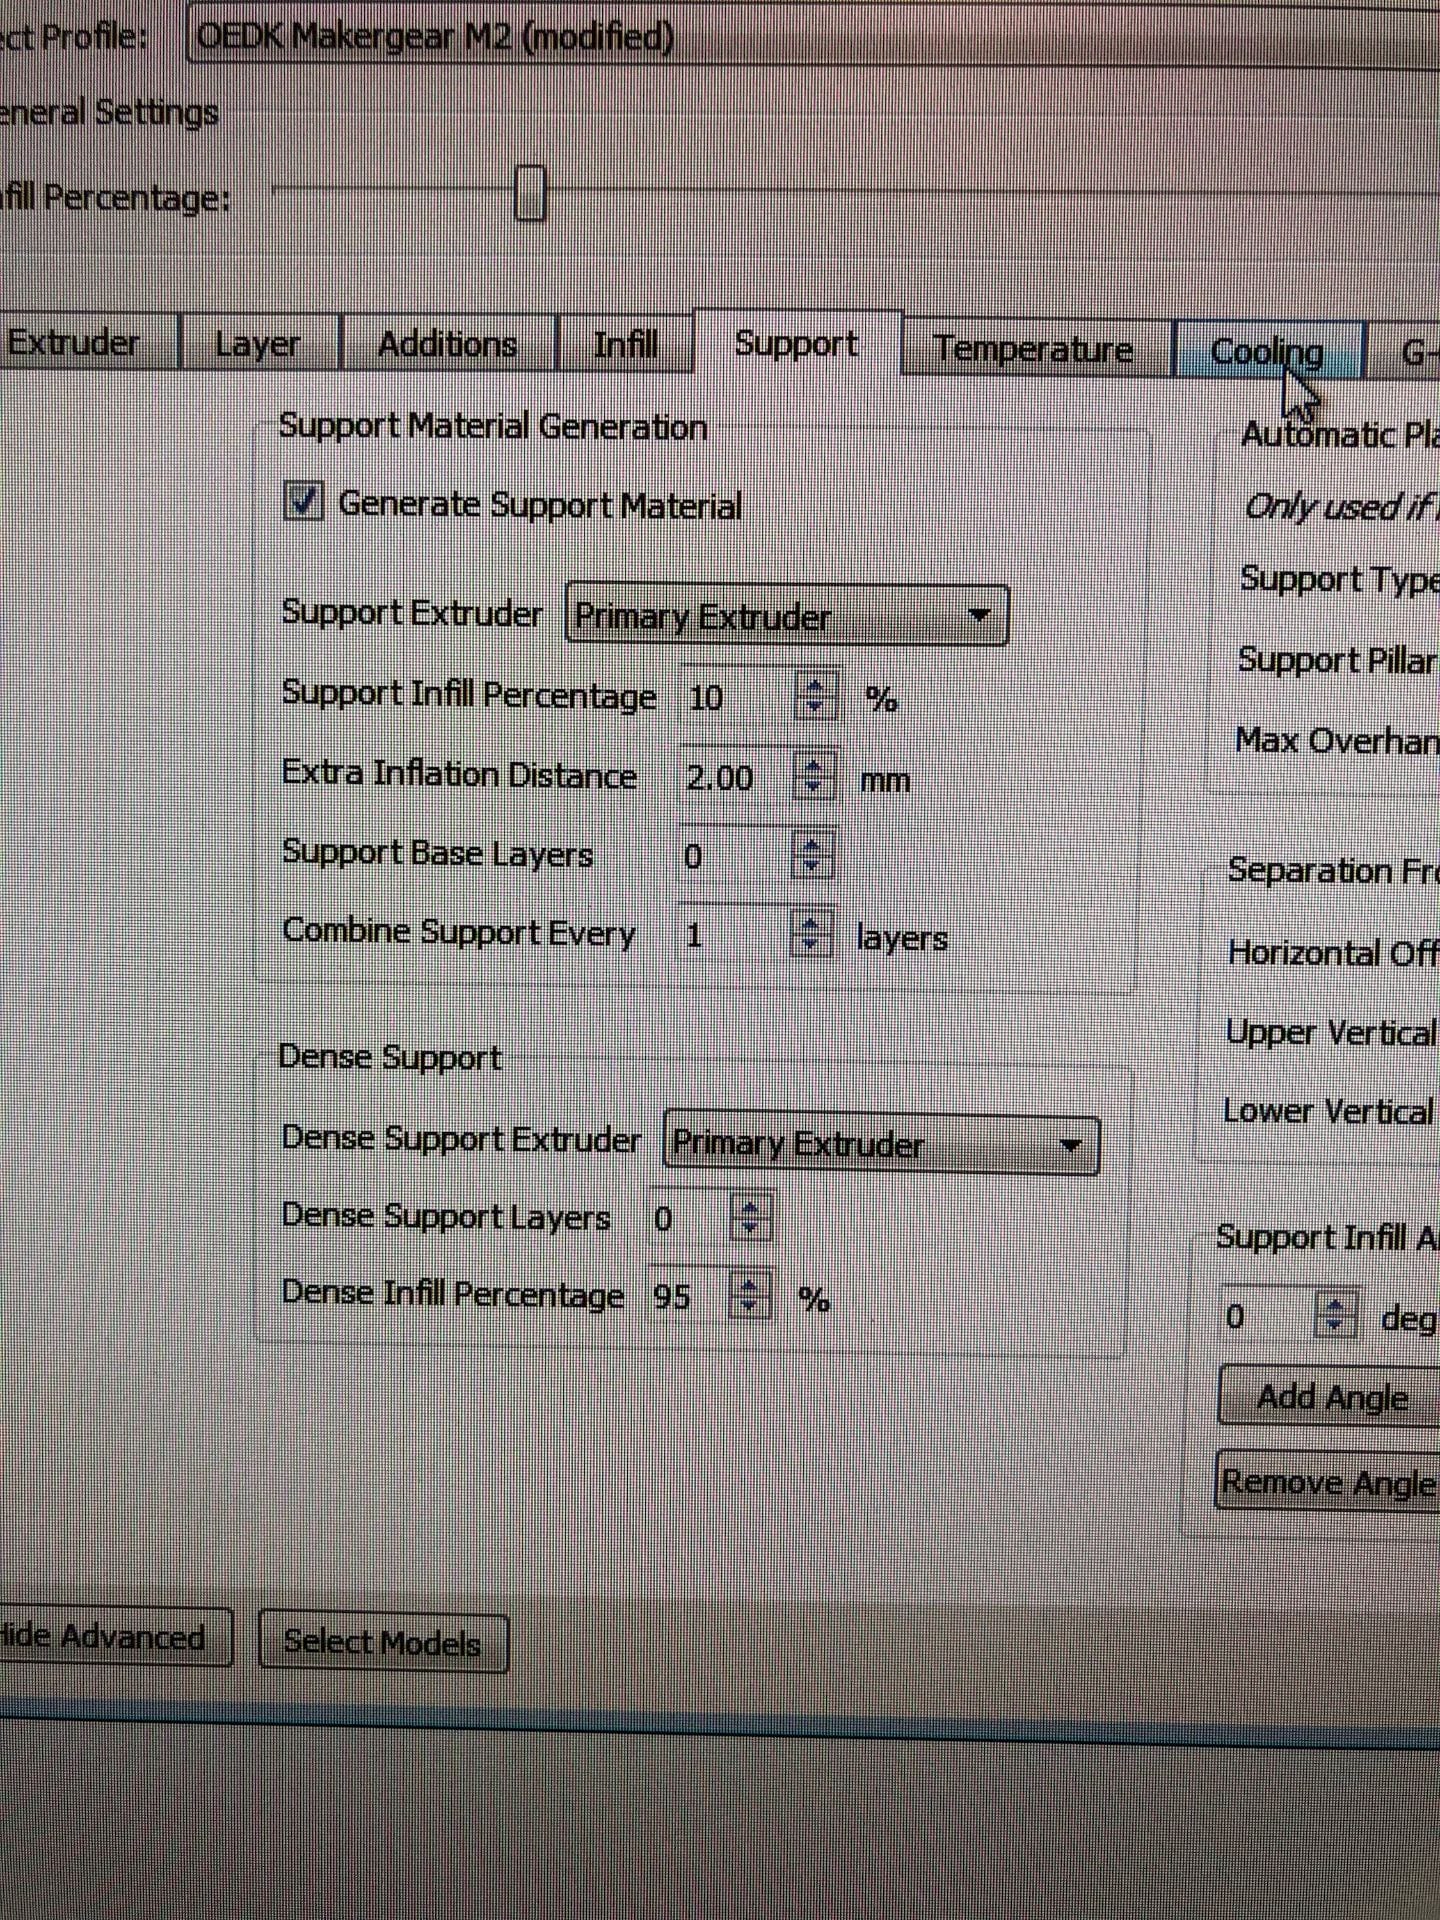
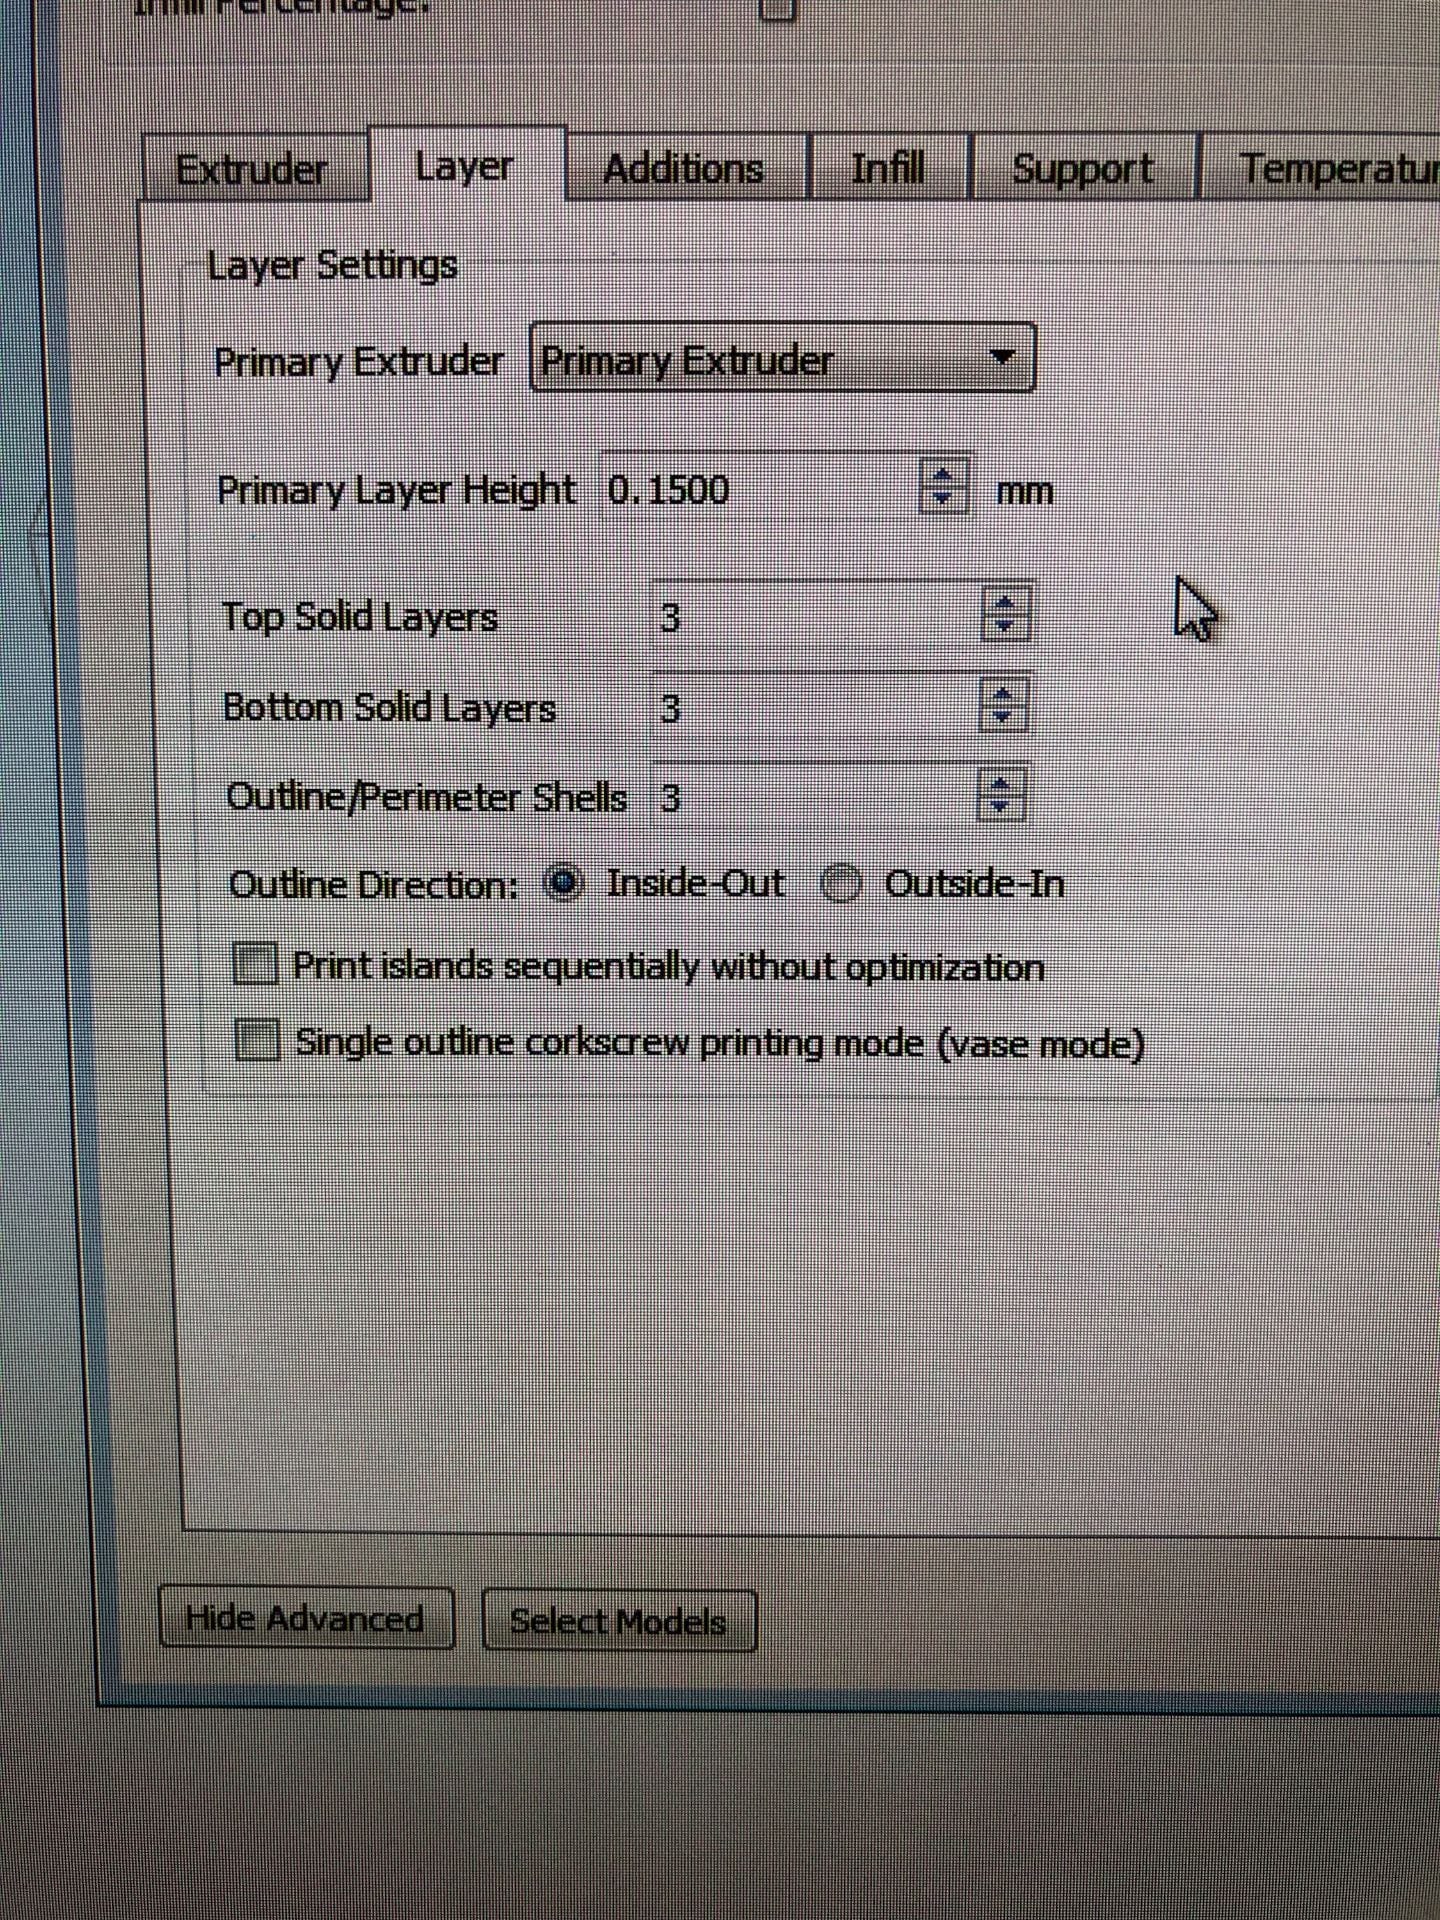
But I needed to tinker with my settings before printing. Enter Nick and a valuable teaching moment about resolution! He showed me the examples, and I set my print accordingly (see my final print settings in the photos). I selected a rectangular support structure to save material.
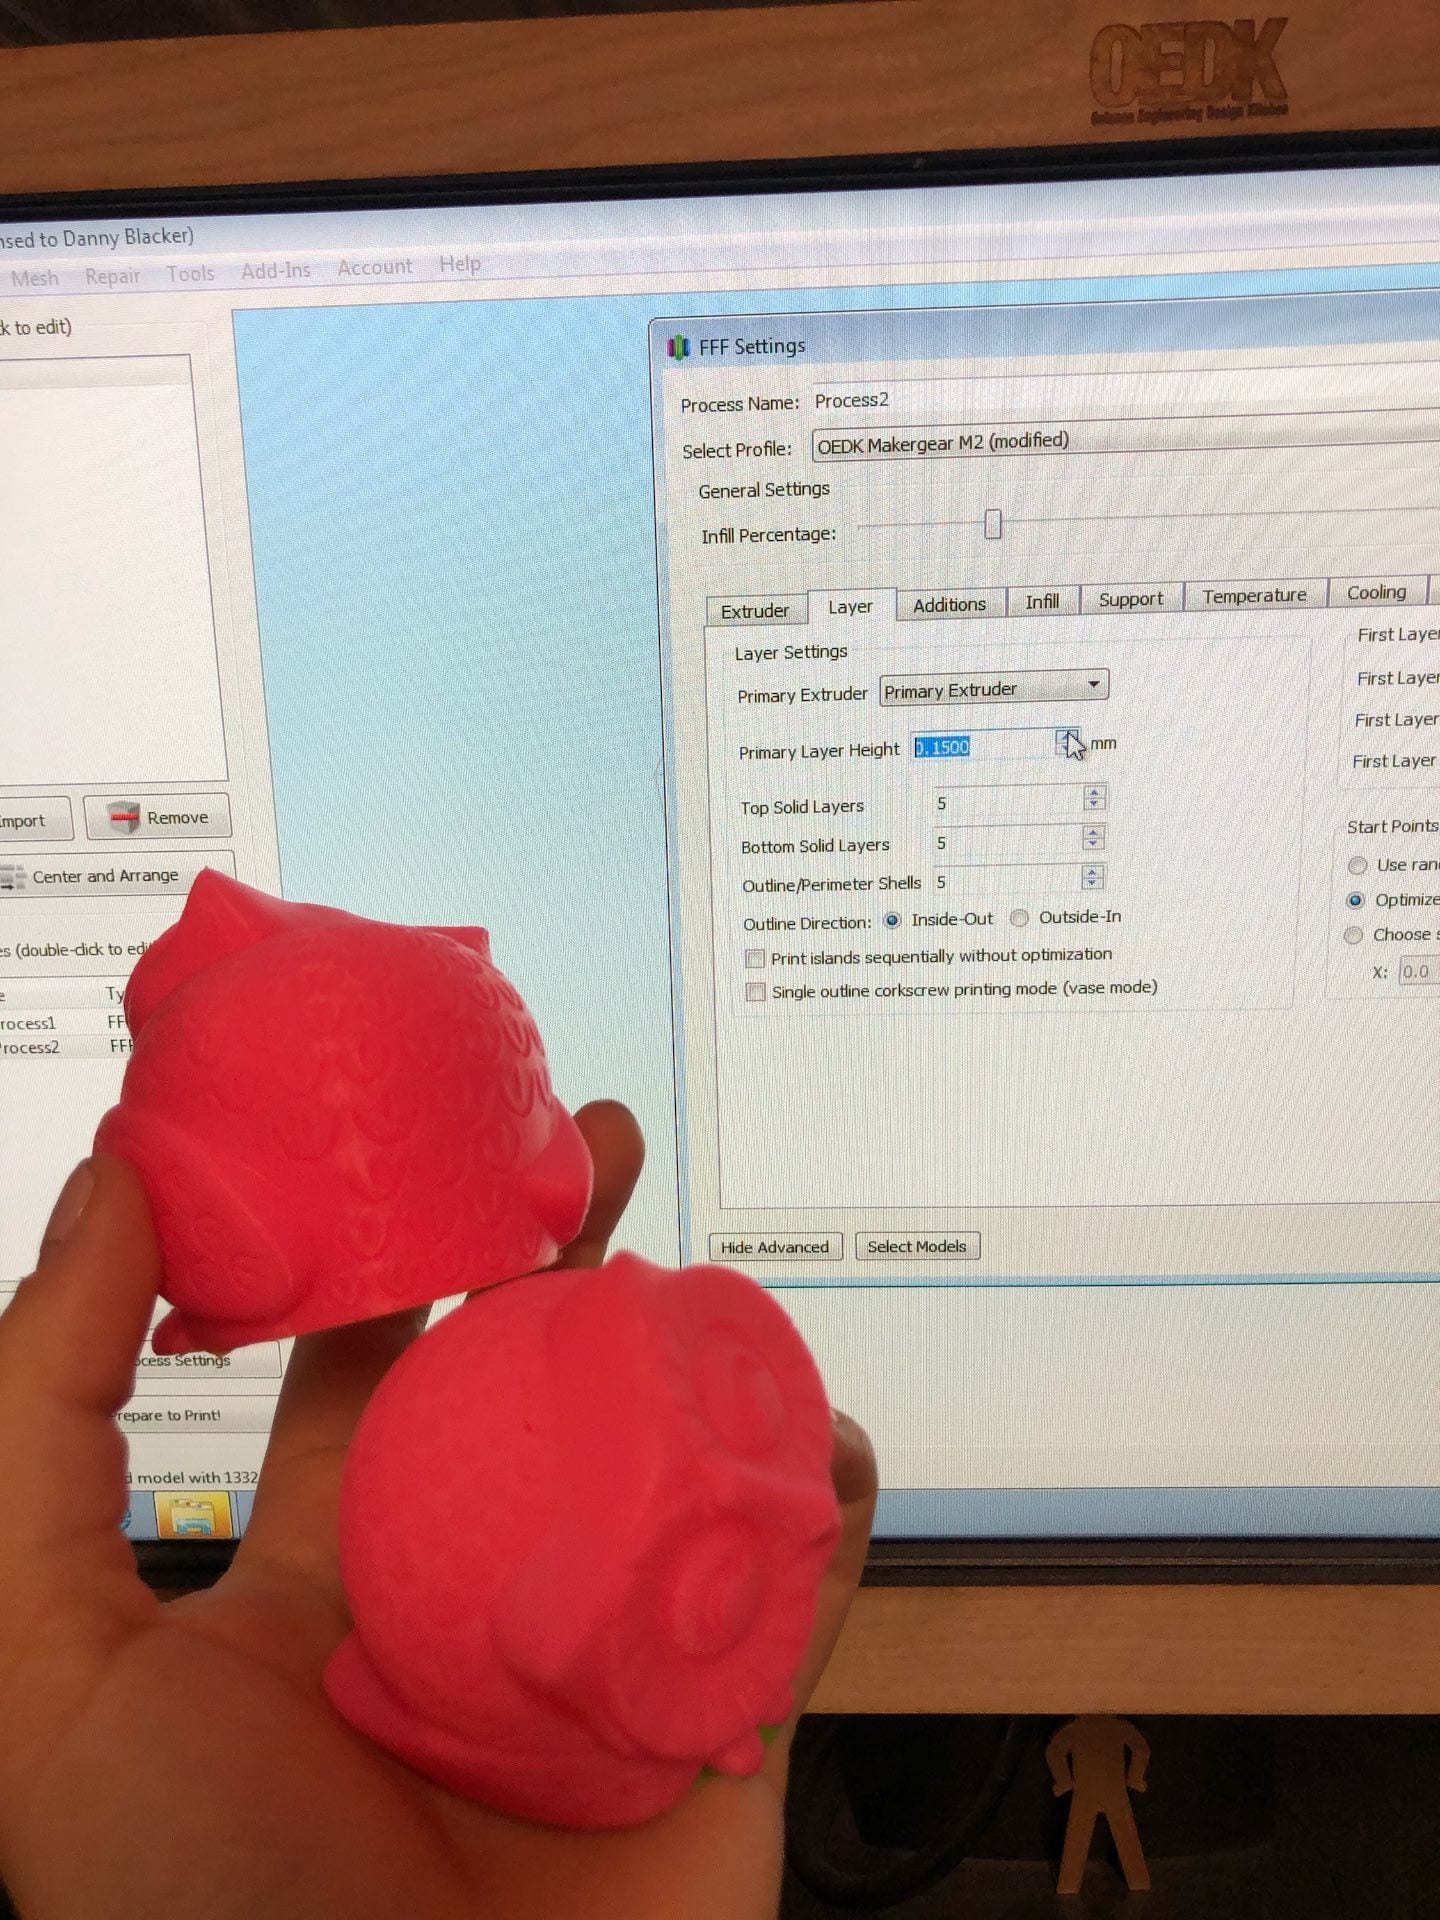

And I got to printing! My final design looked great, but it had a lot of support material on it.
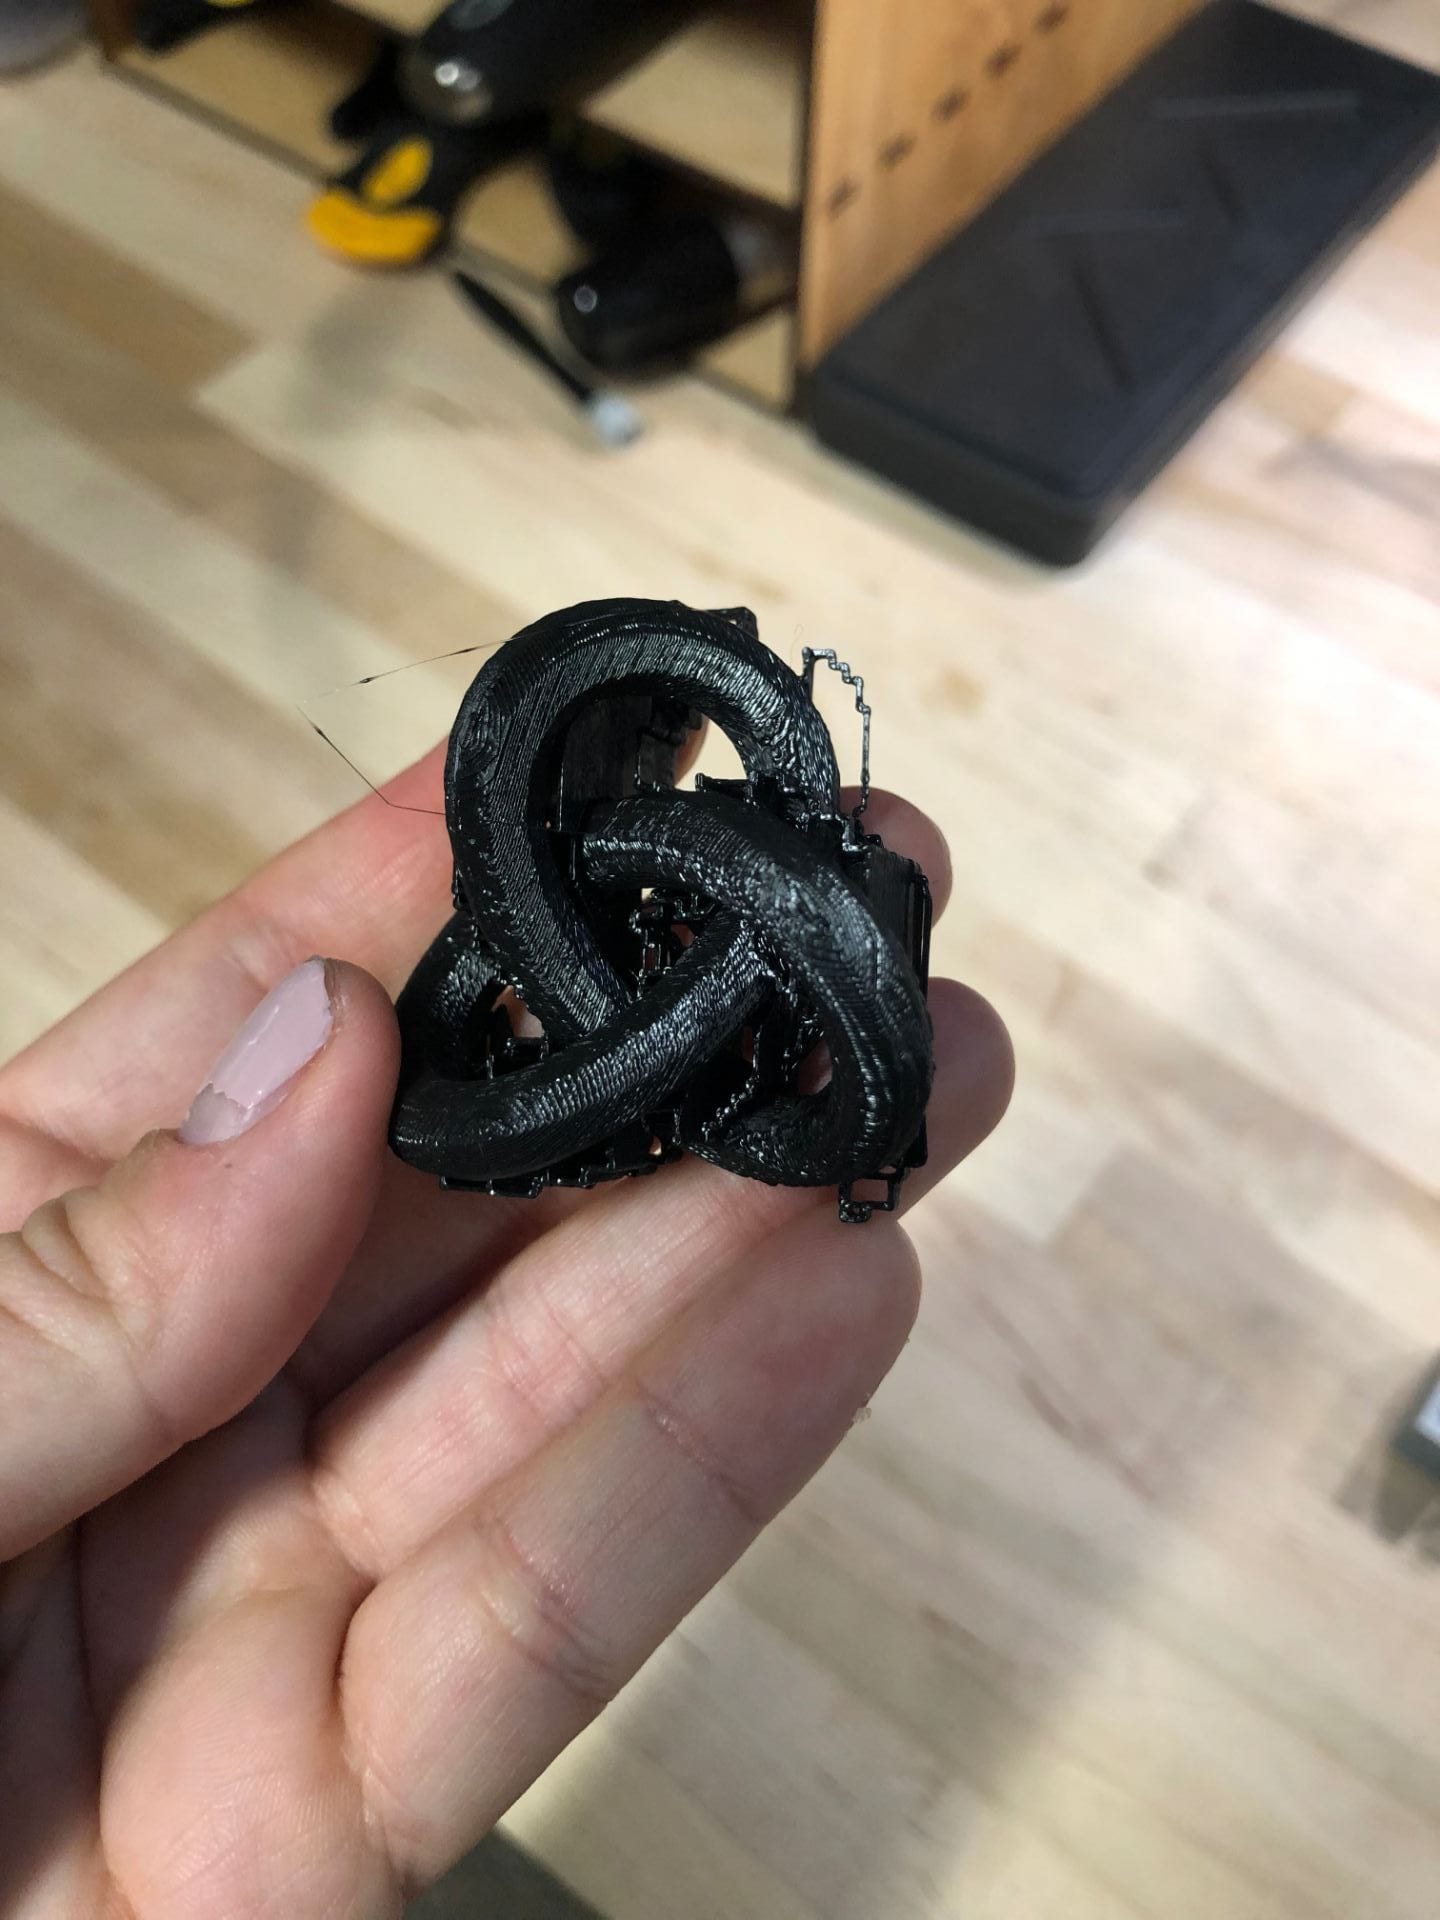
I snipped away at the support material using small shears, and smoothed out the piece using the OEDK’s brand new Wondercutter vibrating knife.

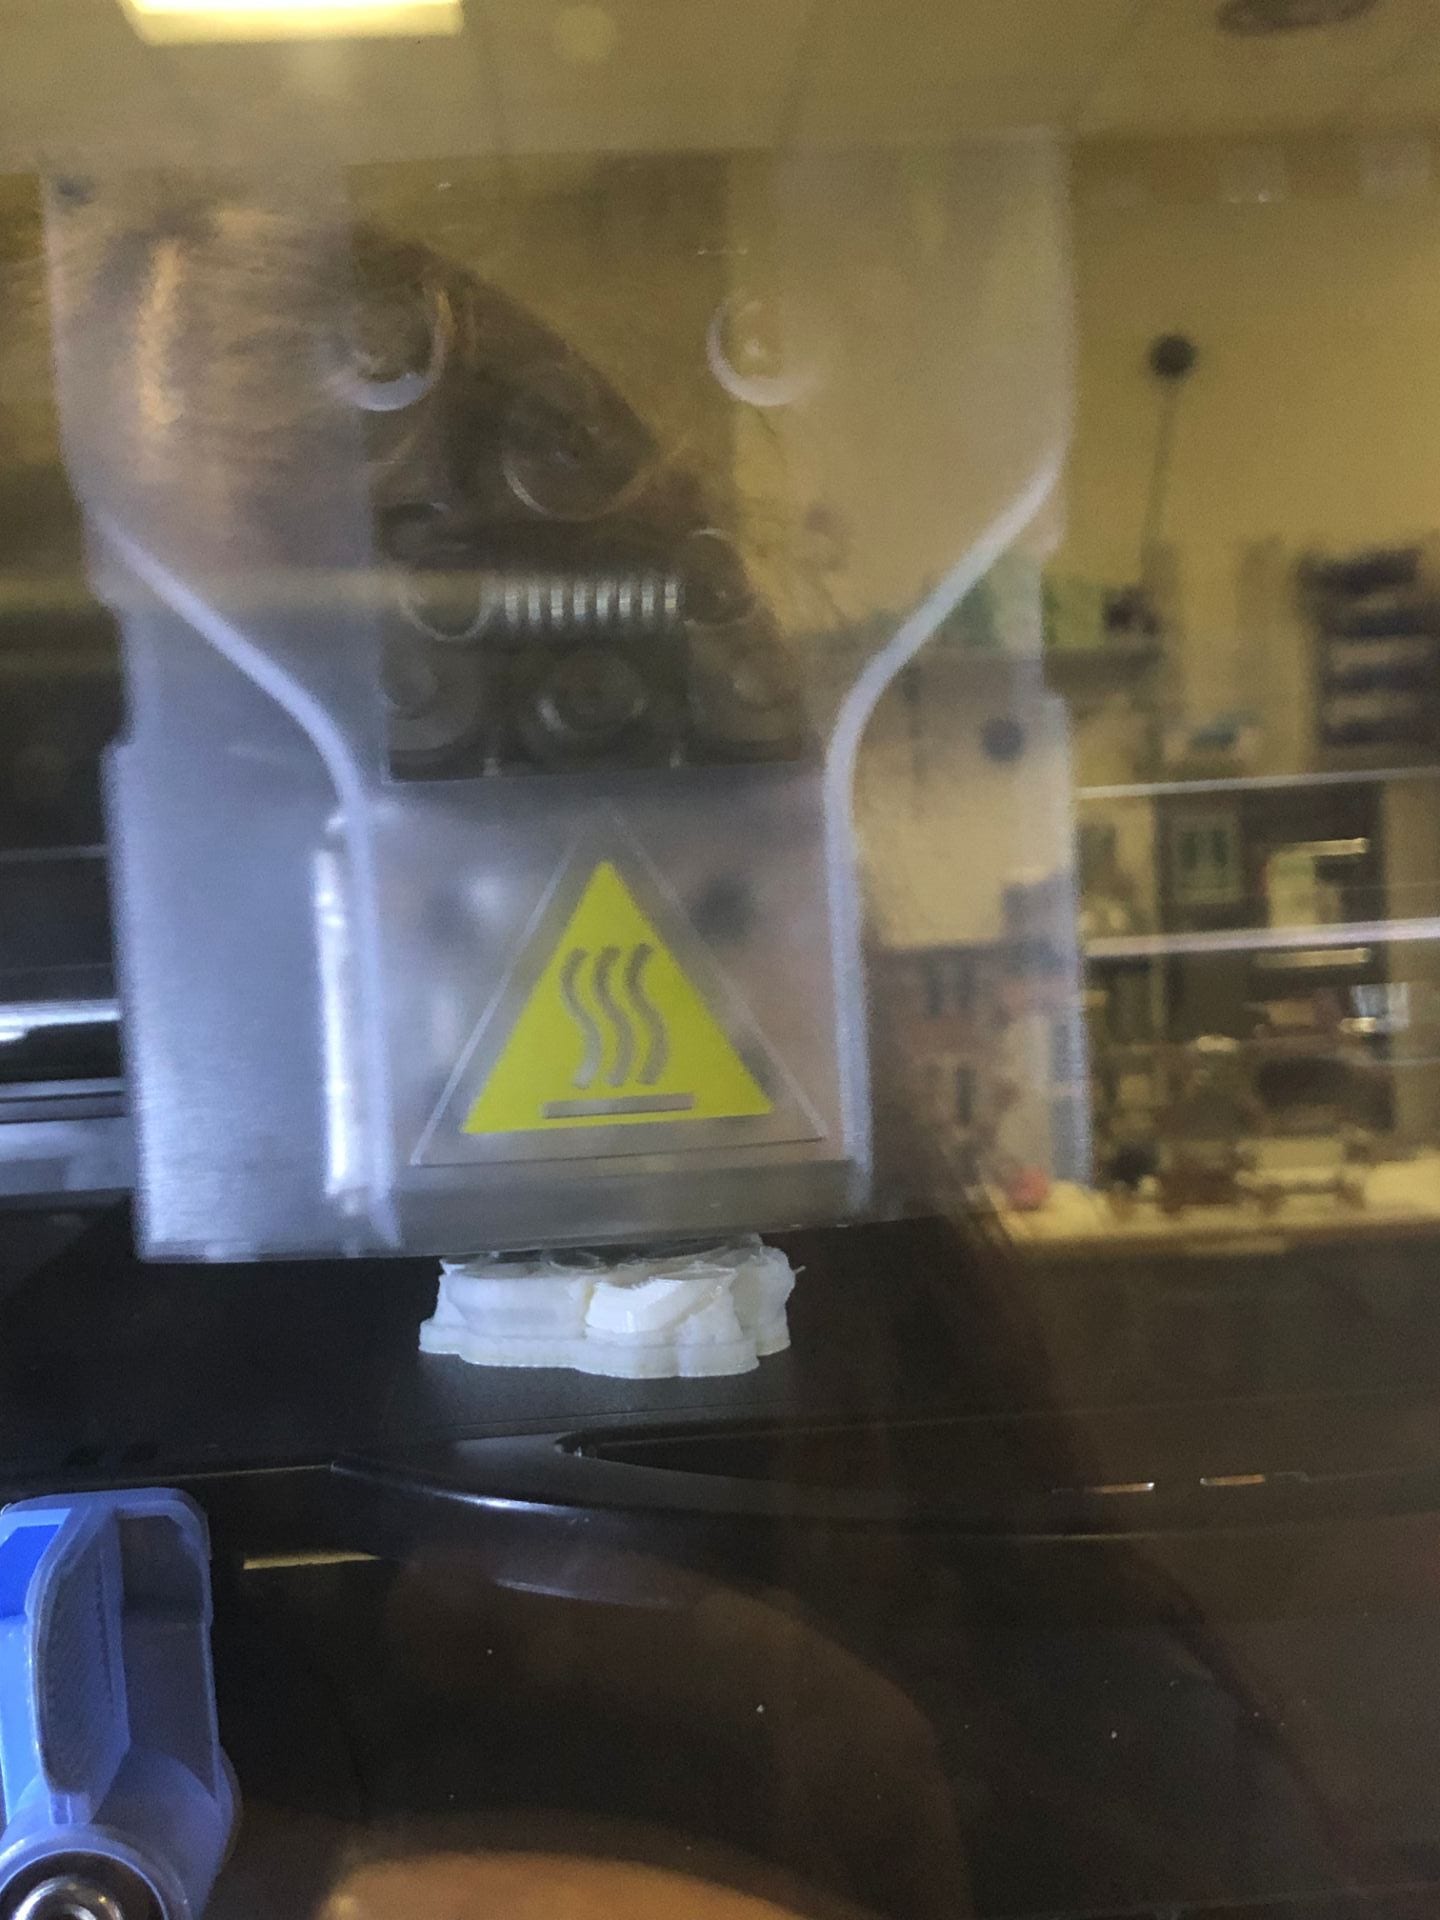
I then moved onto my higher res print in the Wetlab using the Fortus. Unfortunately I didn’t snap as many pics, but I set my settings the exact same way (with only a little frustration about navigating a different interface). My piece began to print…
It looked amazing when it finished, but it also had a lot of support material.
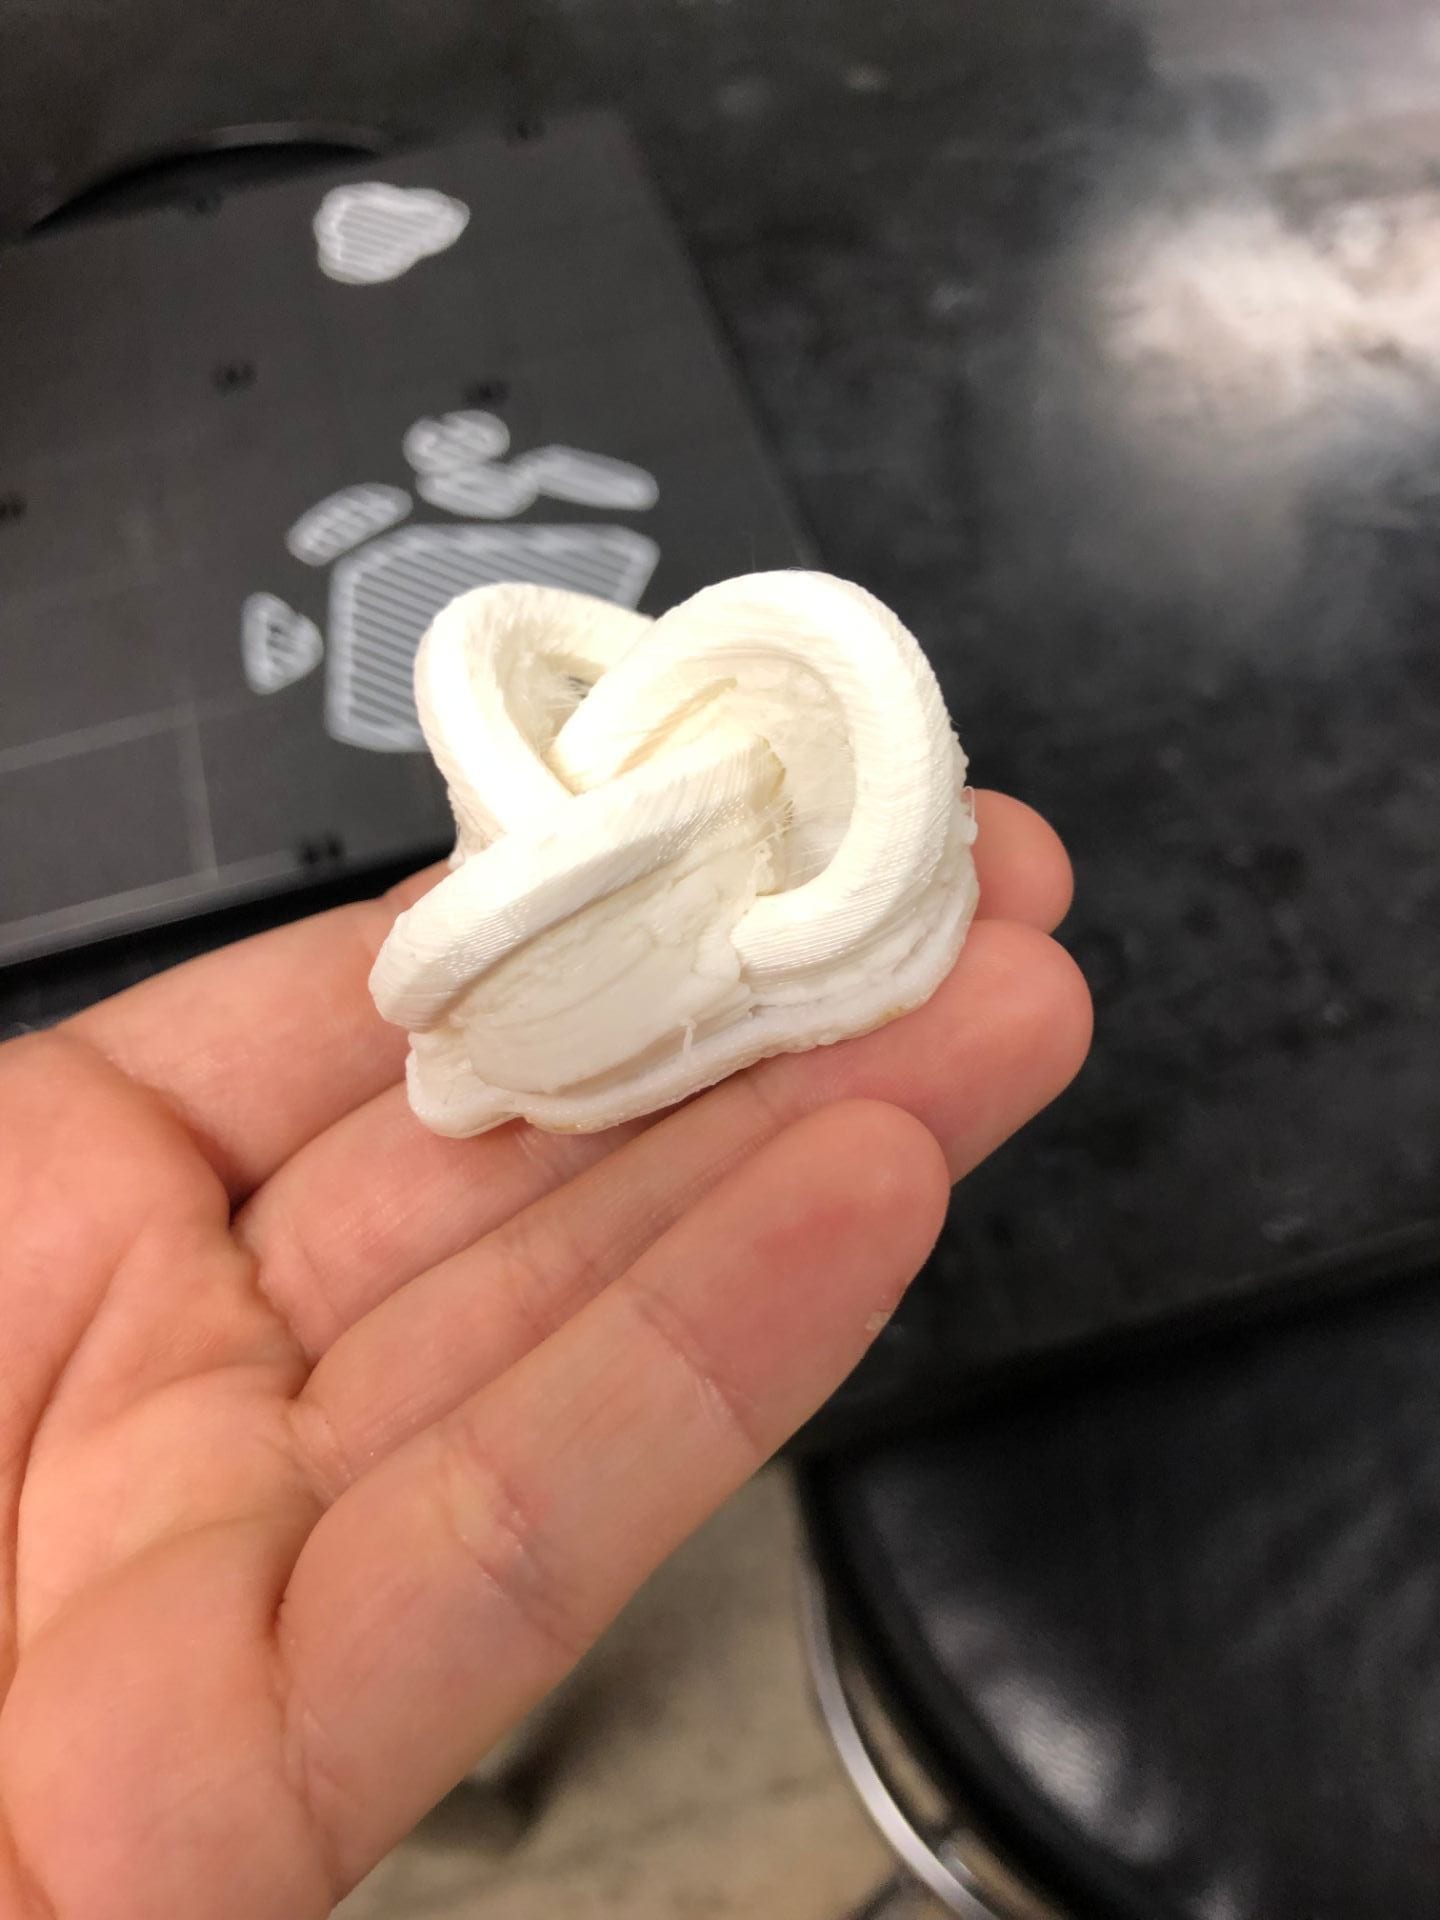
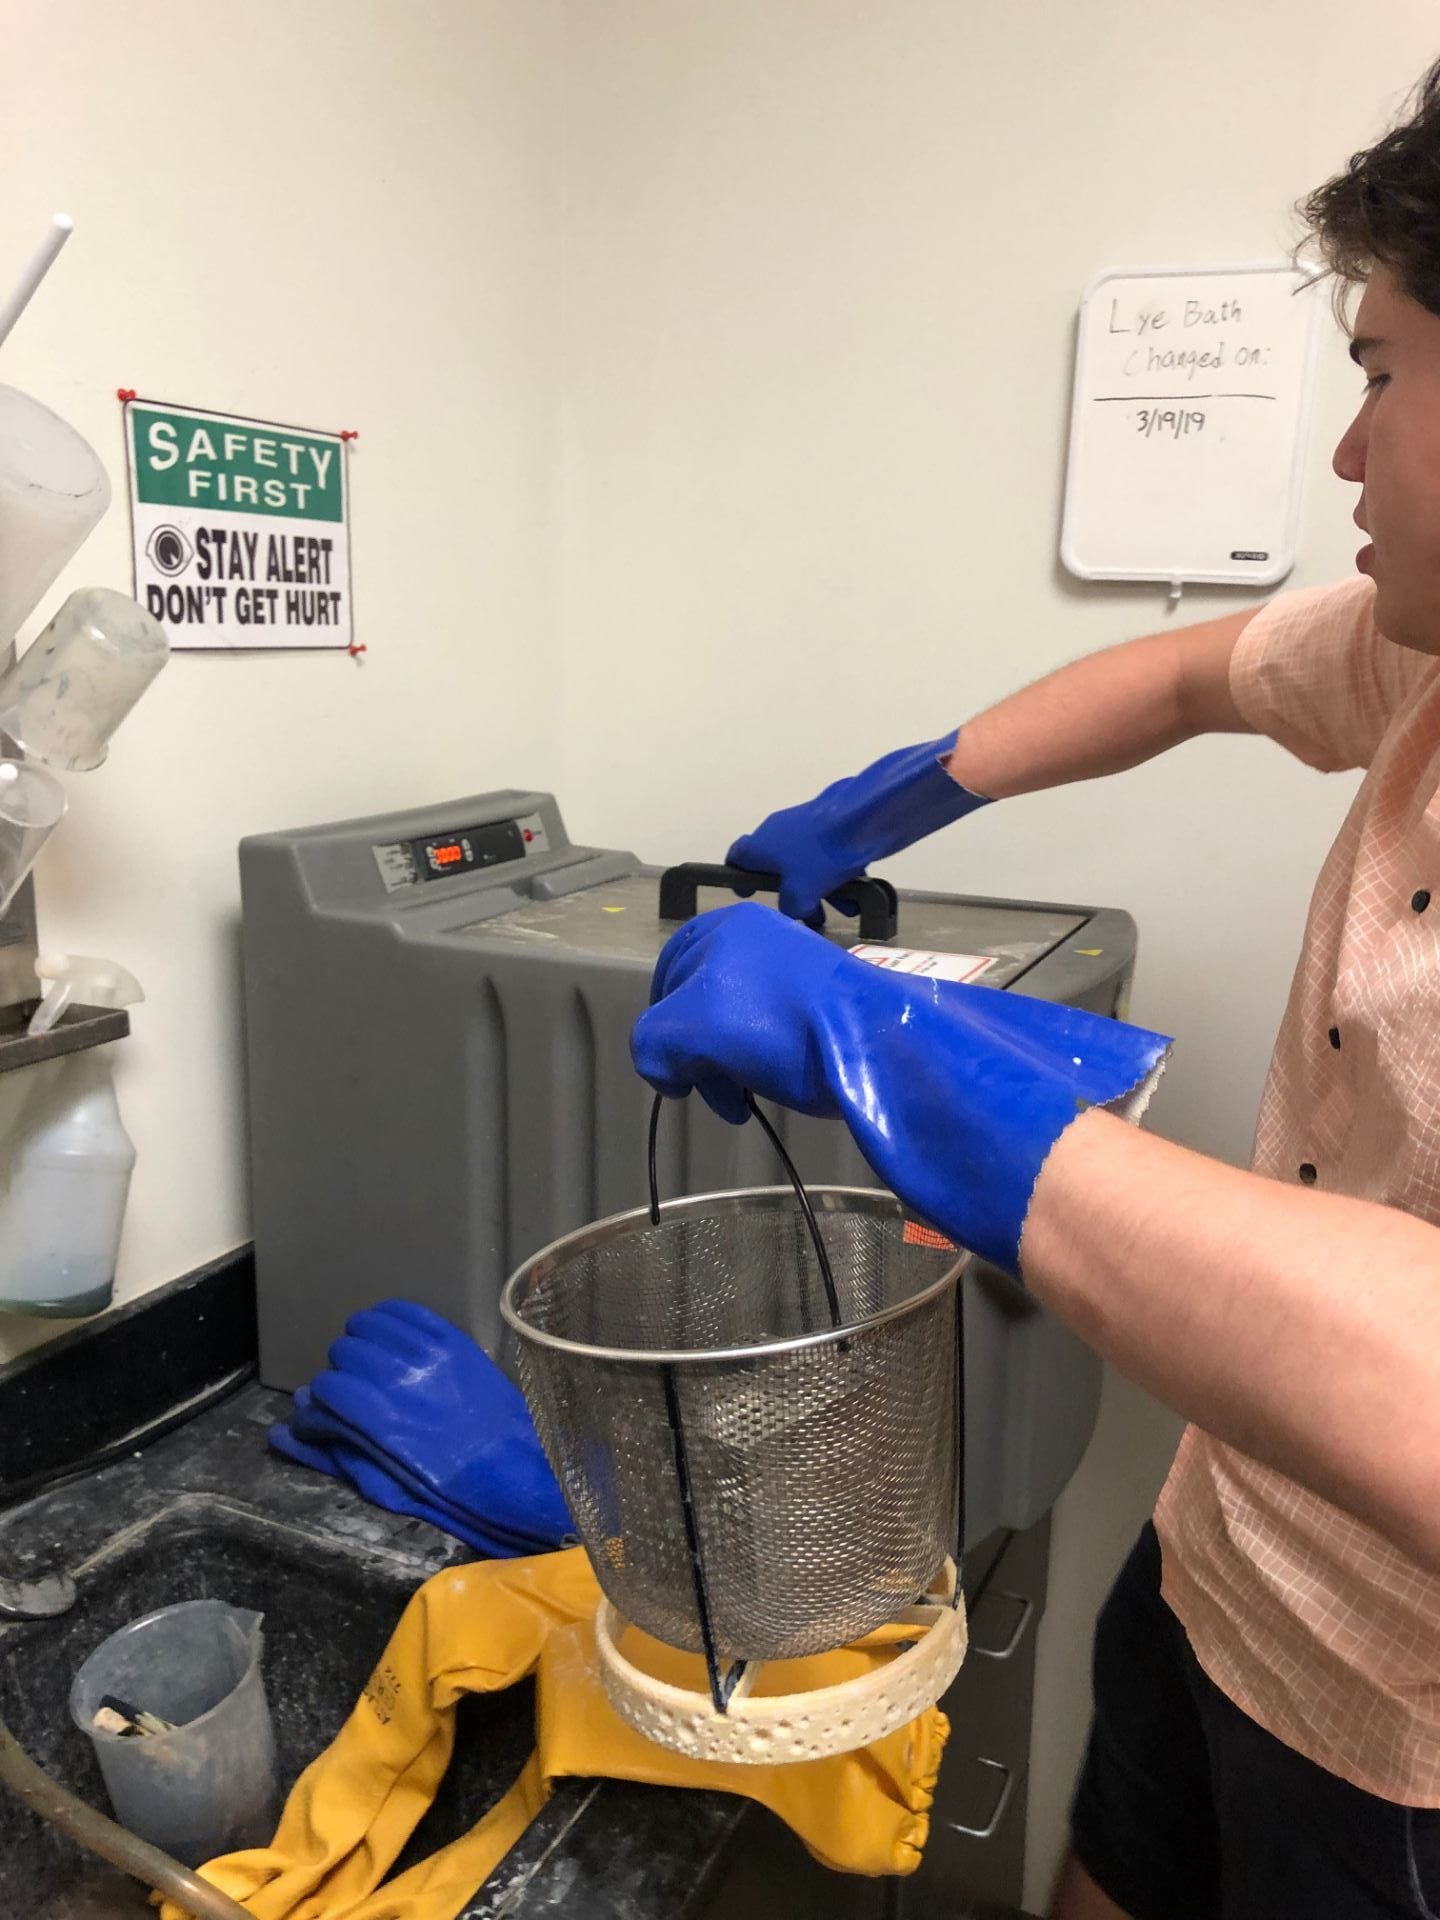
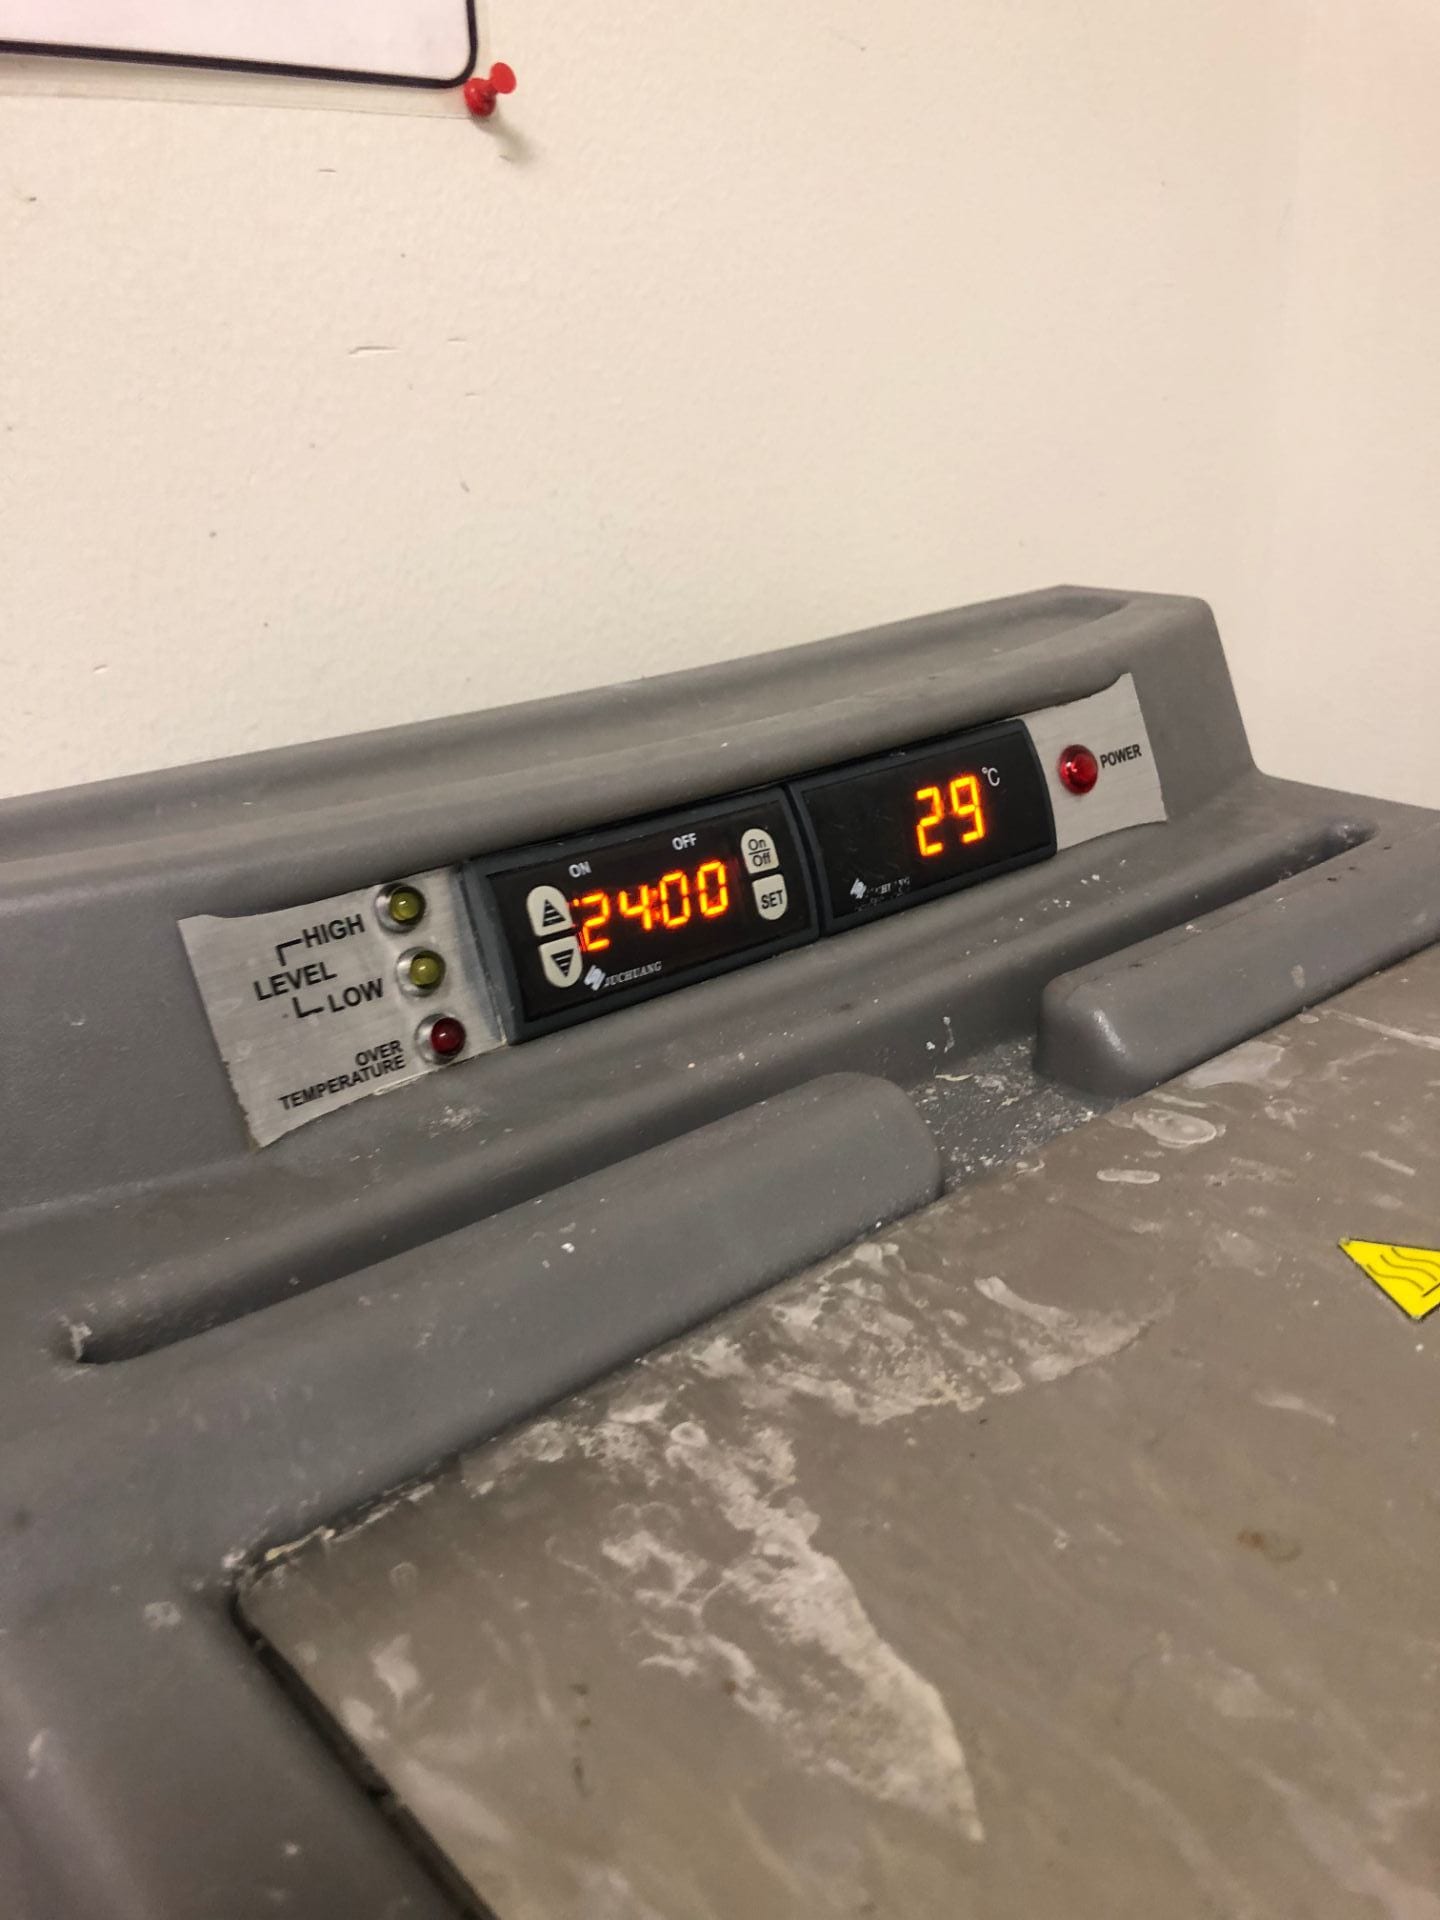
I suspended it in this bath for 24 hours to dissolve the support material.
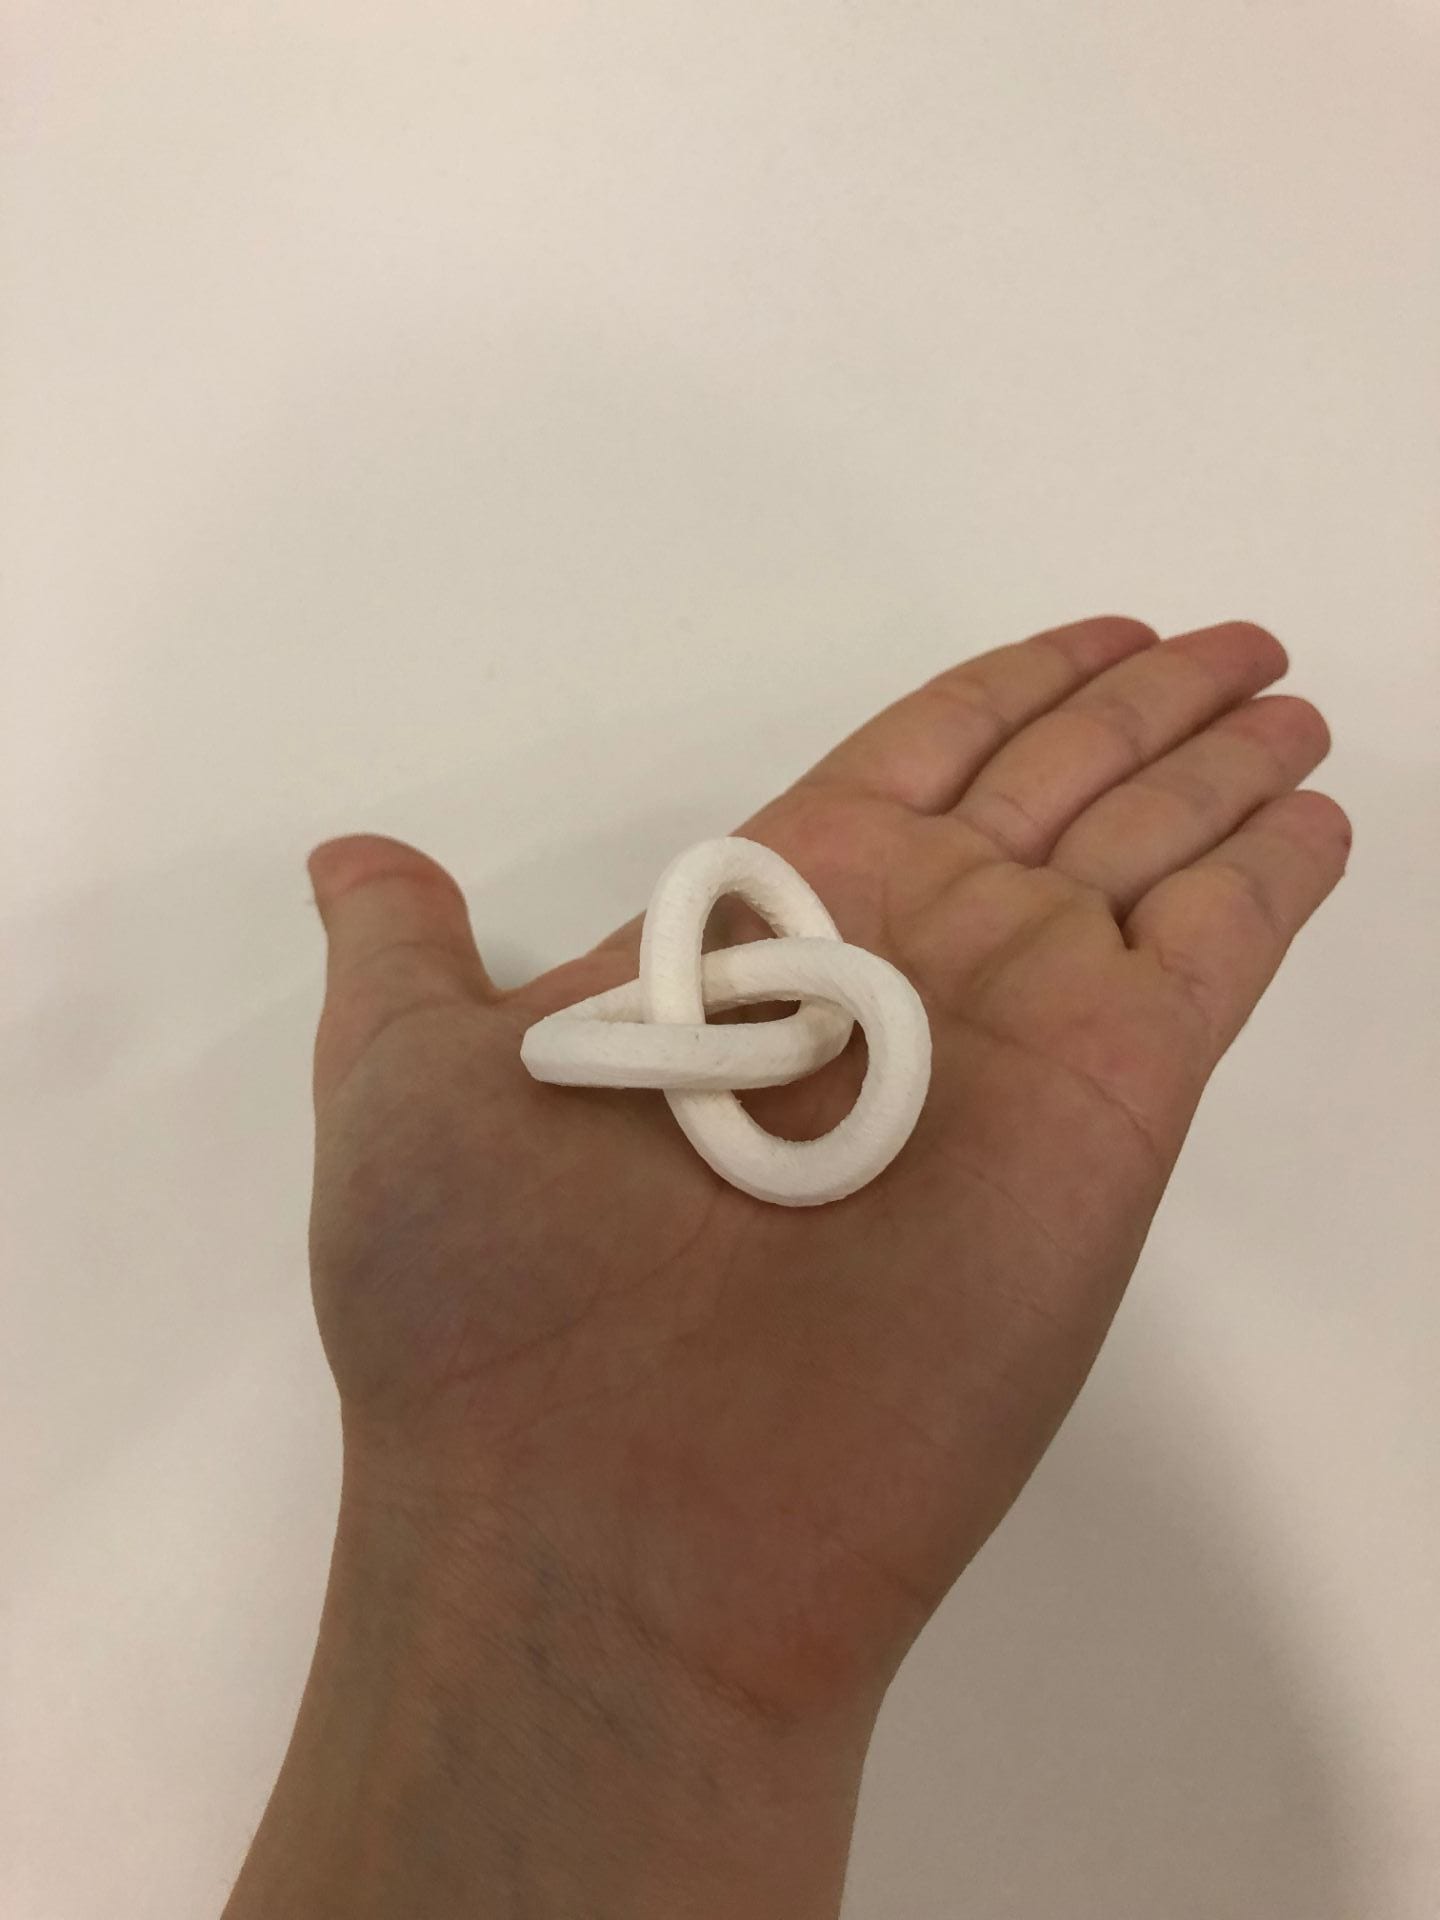
When I took it out, it was beautiful! I was really surprised by how much nicer the piece looked and felt after dissolving the support material, rather than trimming it by hand.
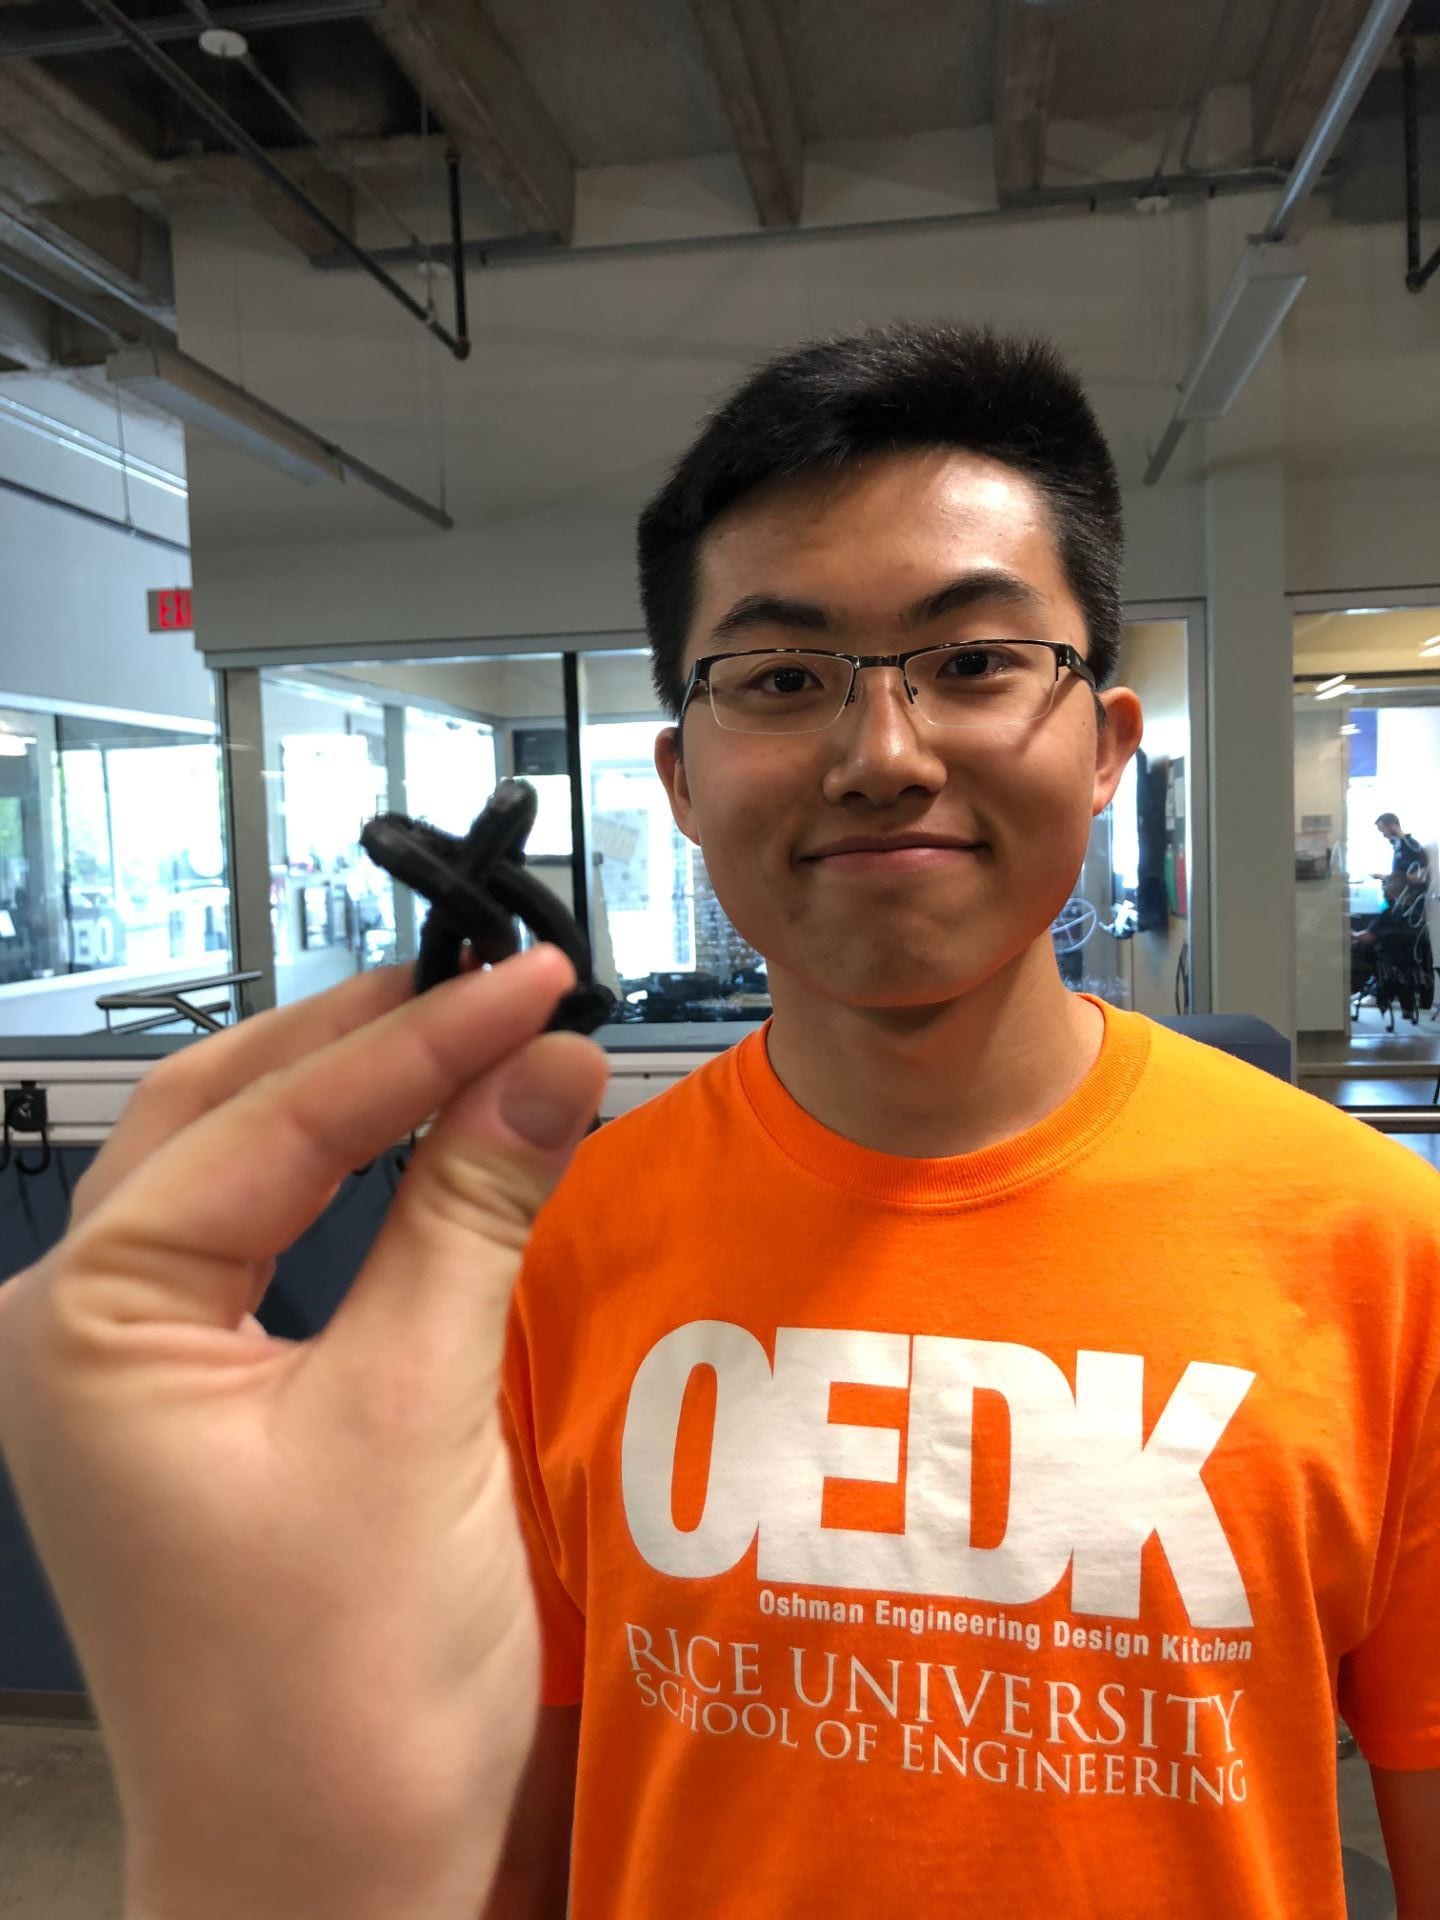
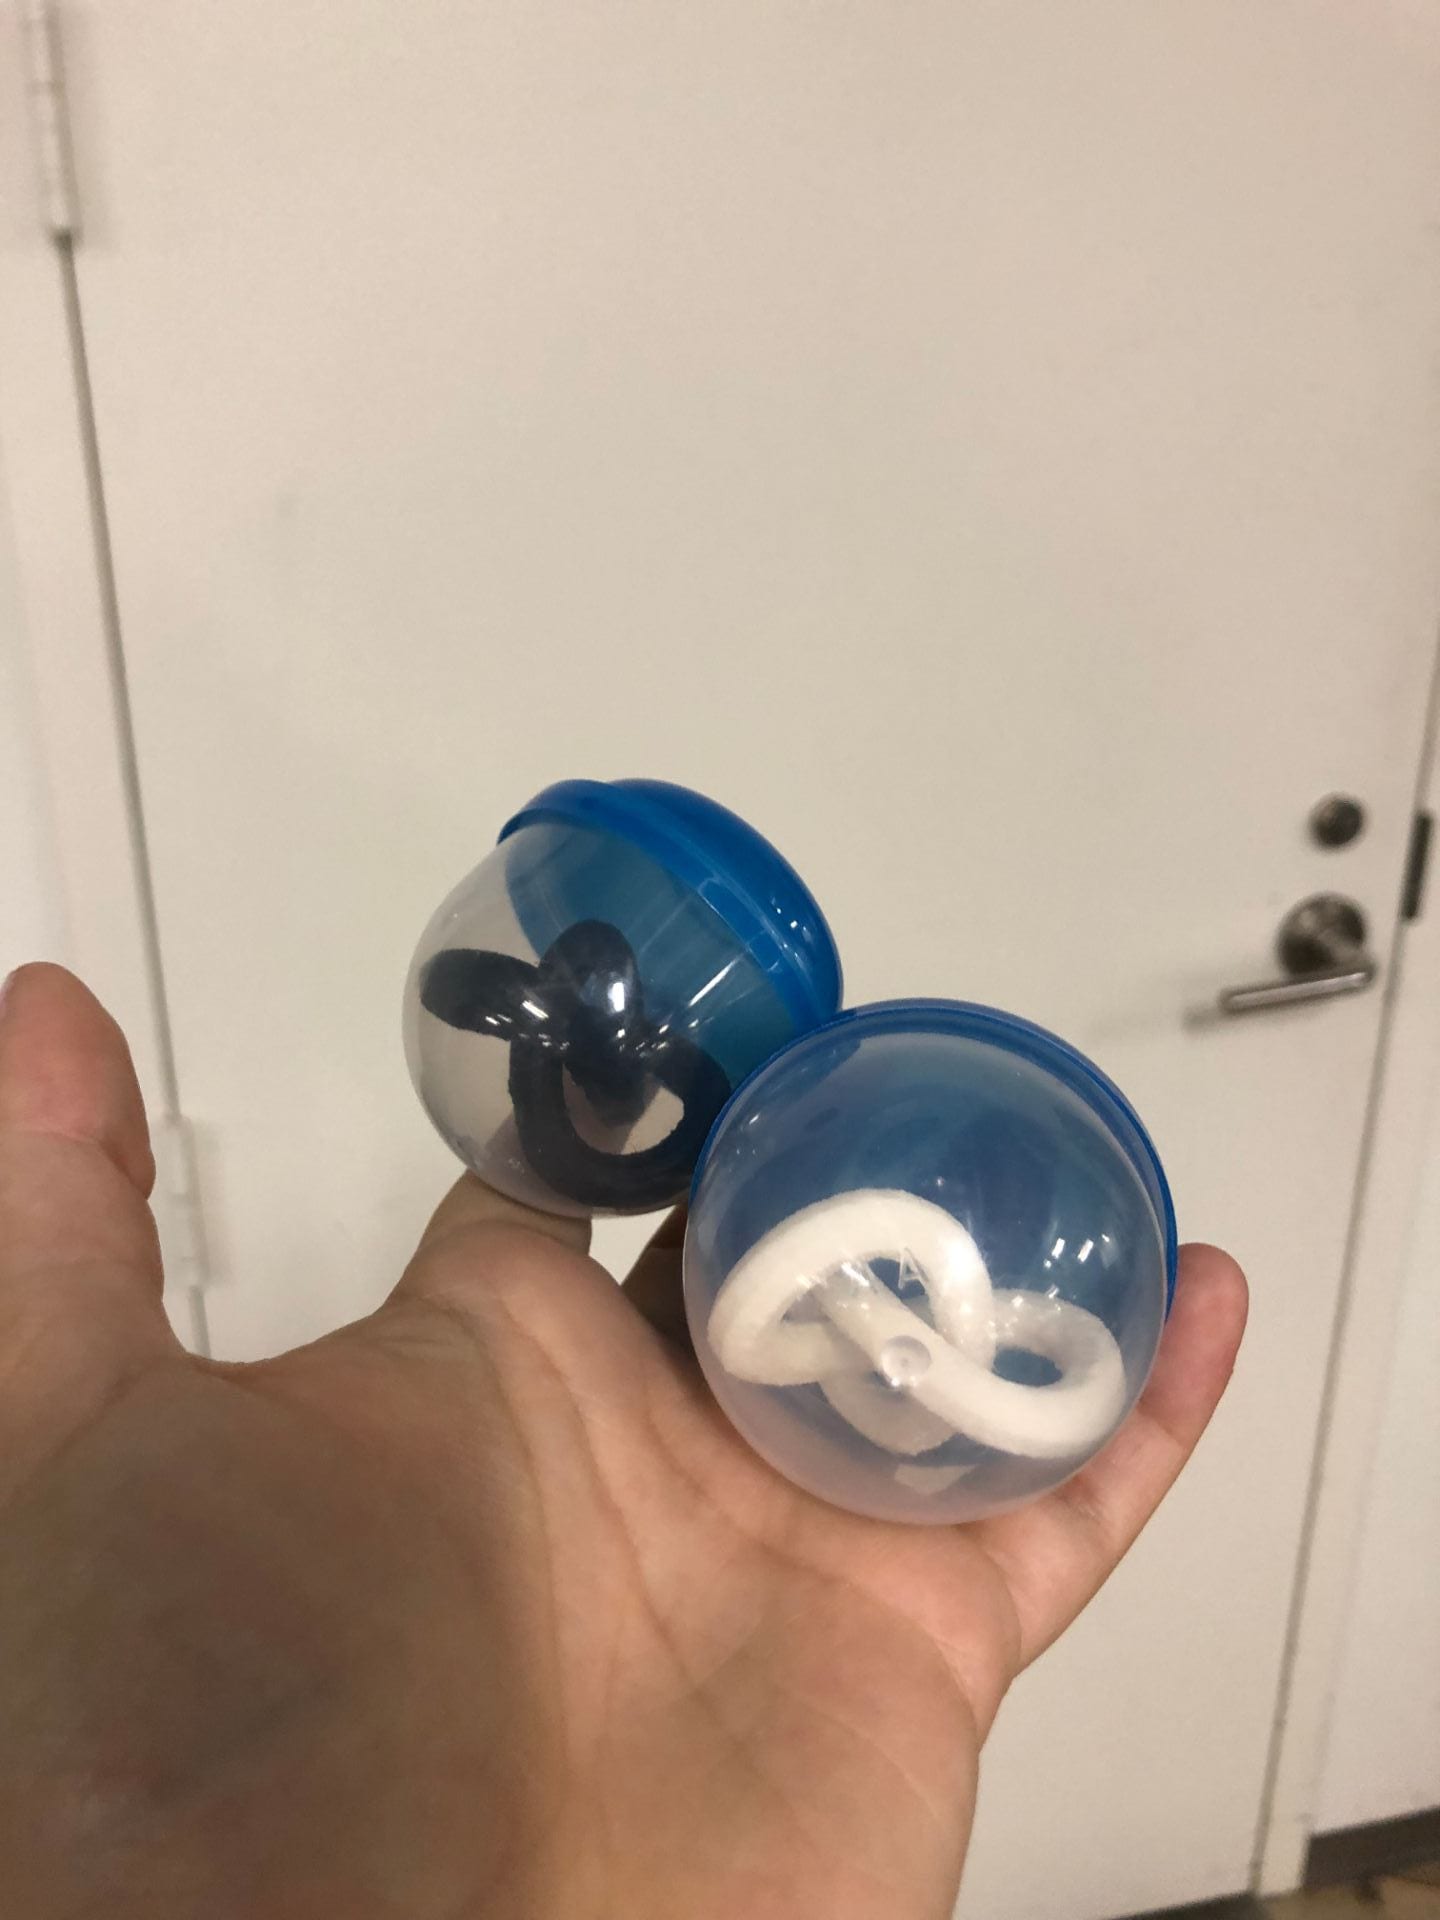
Both of my pieces turned out great, and they both fit in the capsules!
Cost Analysis:
Given that I used two different 3d-printers and had the ability to soak my piece, the most efficient way to cover the machine cost is to get a membership at a local makerspace for the monthly cost of $50
My time: 6 hours @ $20/hr = $120
Nick’s time: 1 hour @ $10/hr = $10
Scout’s time: 20 mins @ $10/hr = $3.33
Caliper = $17.85 on Amazon
2 gumball capsules = 18 cents on Etsy
Small shears = $5.86 on Zoro
Wondercutter = $419.95
Total cost: $627.17
The Wondercutter definitely made my 3d printing experience way more expensive than it needs to be. Unfortunately, it is a pretty odd tool, so it is difficult to find a place to rent it. That said, it only adds aesthetic value, but was still really nice to have!
