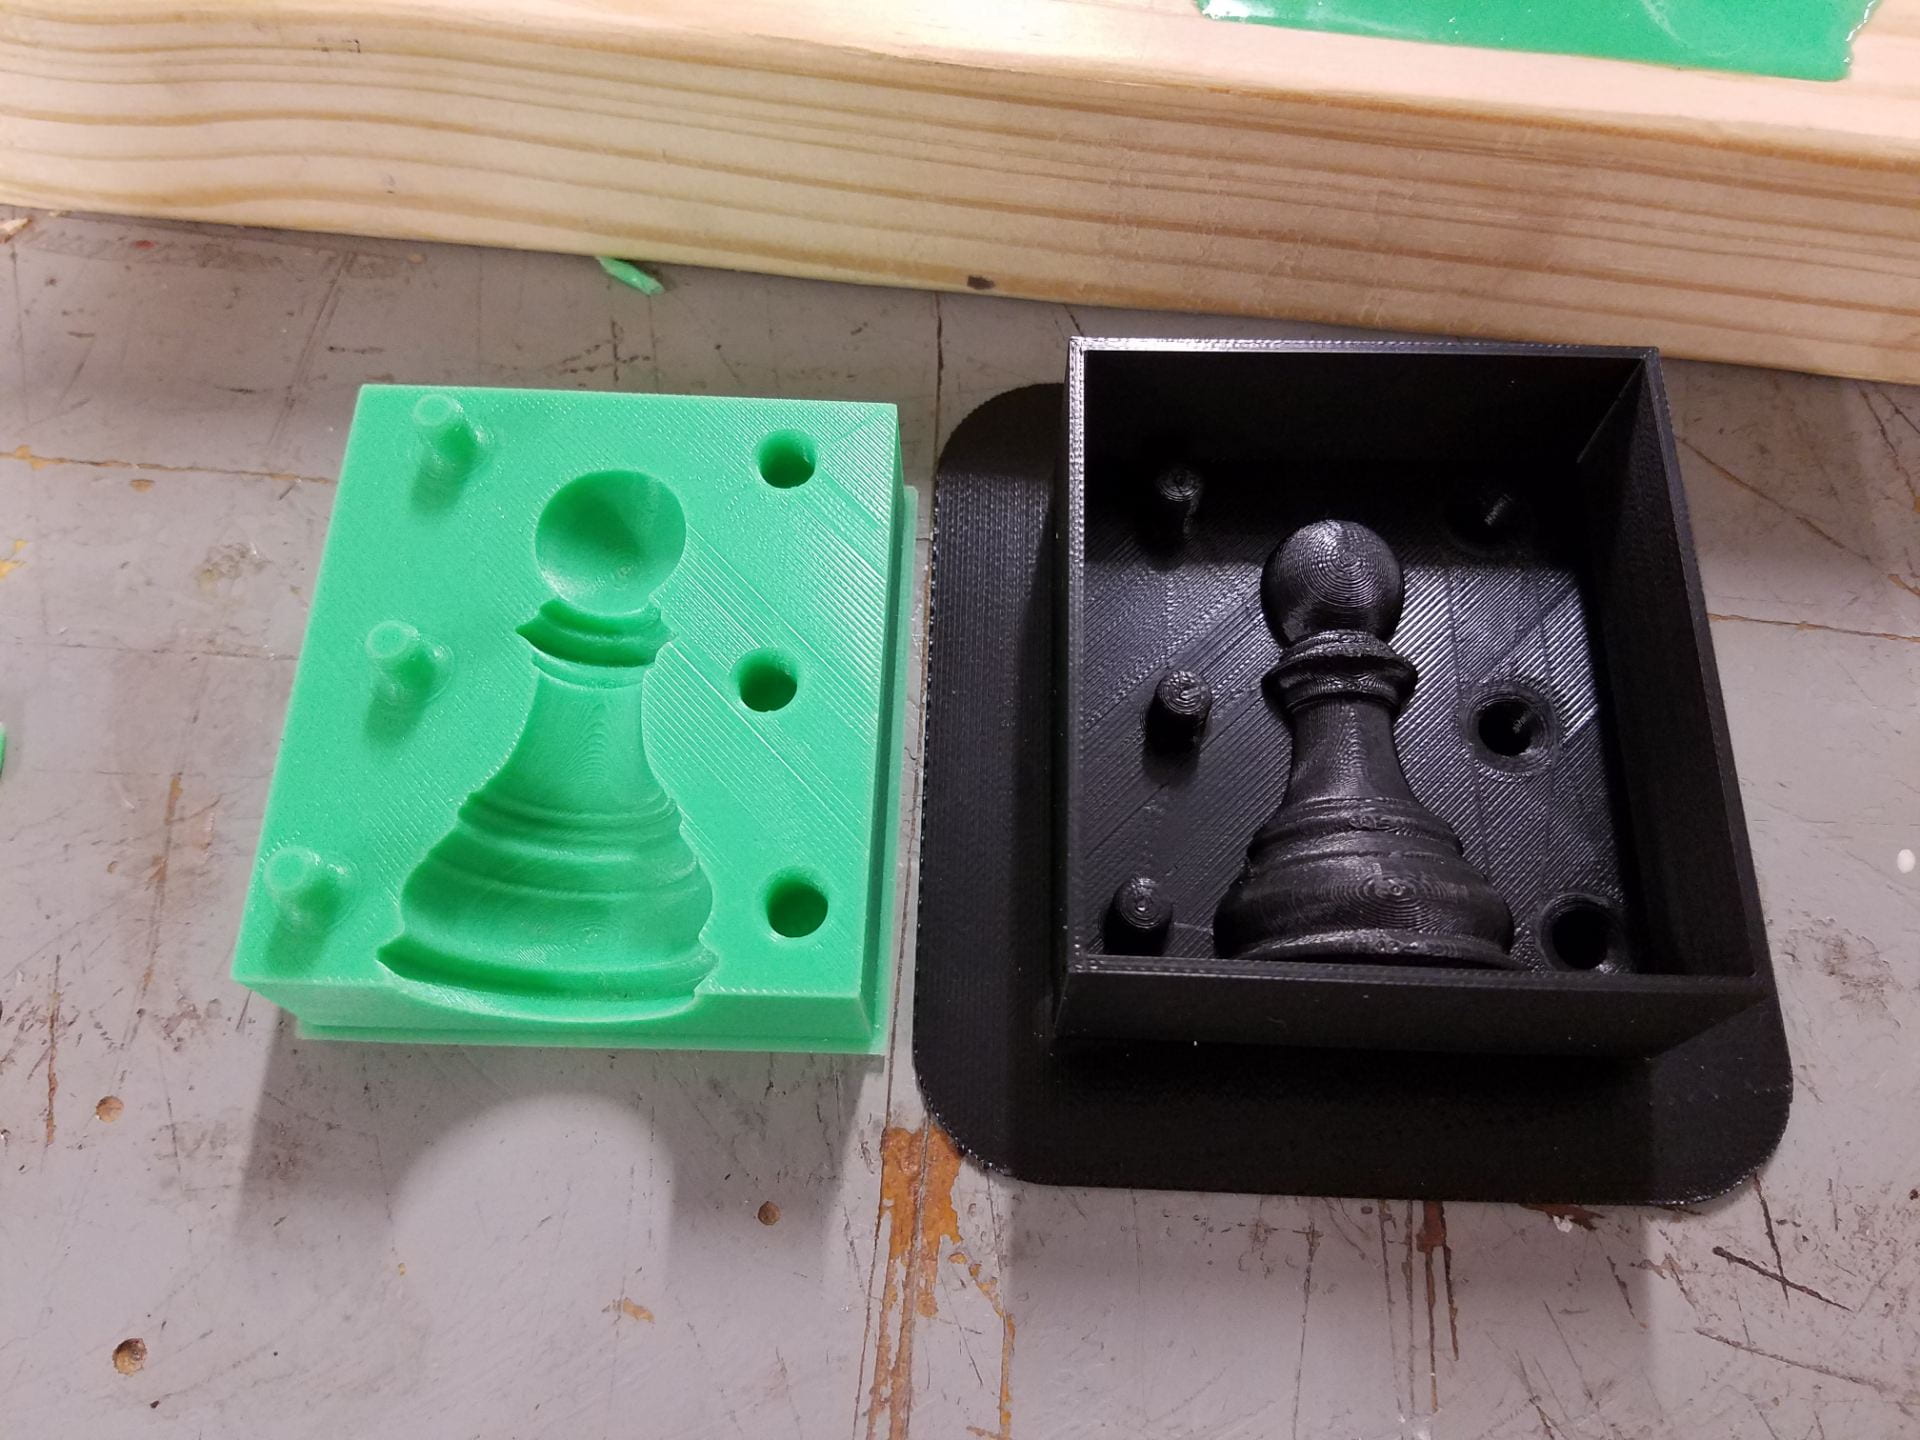
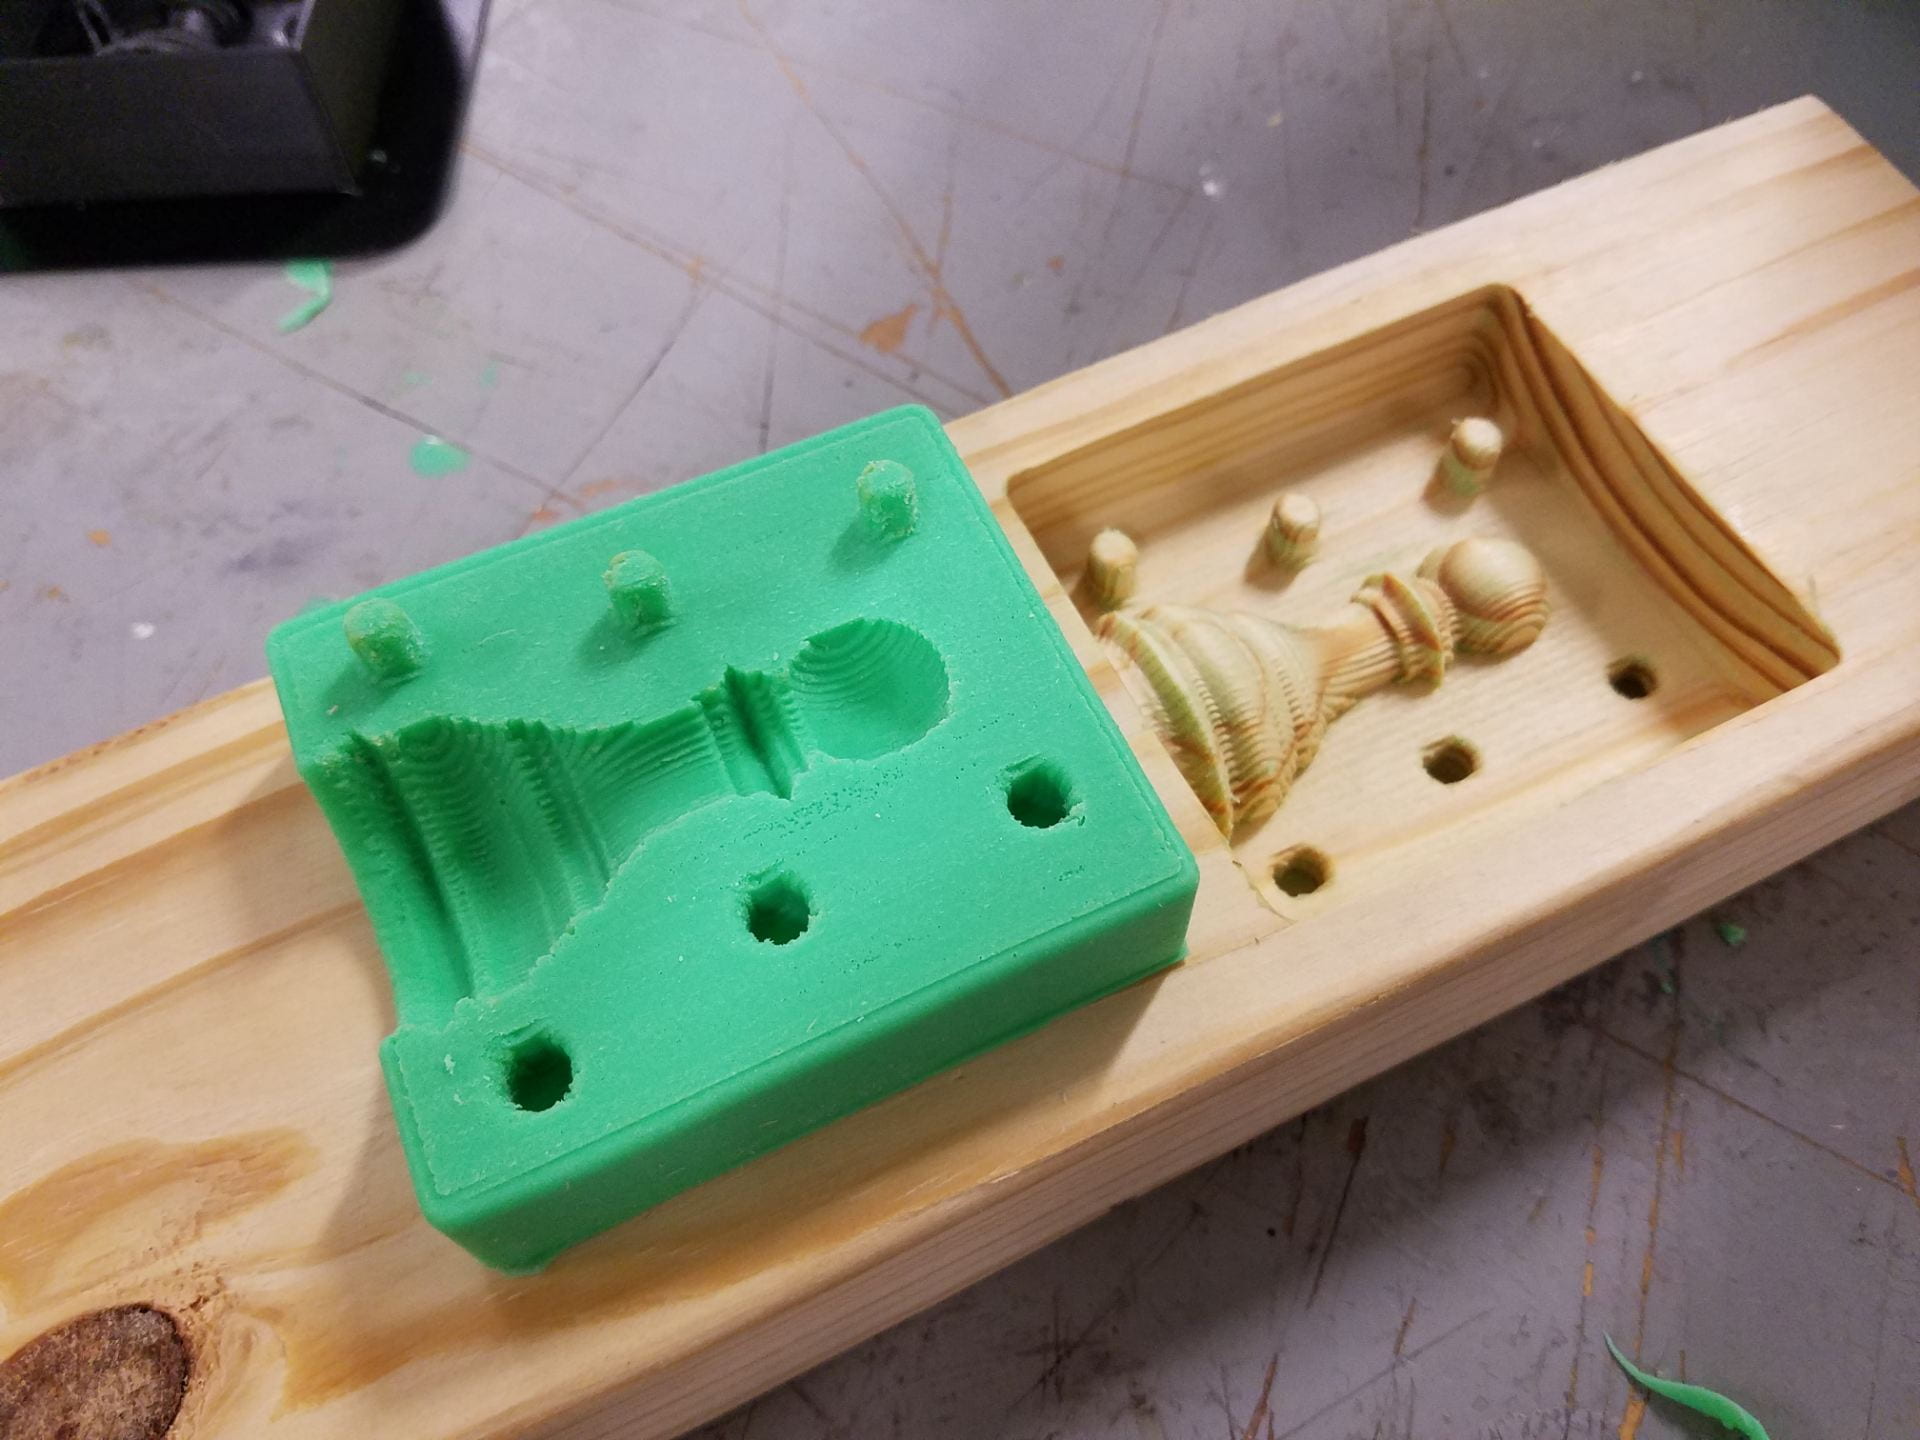
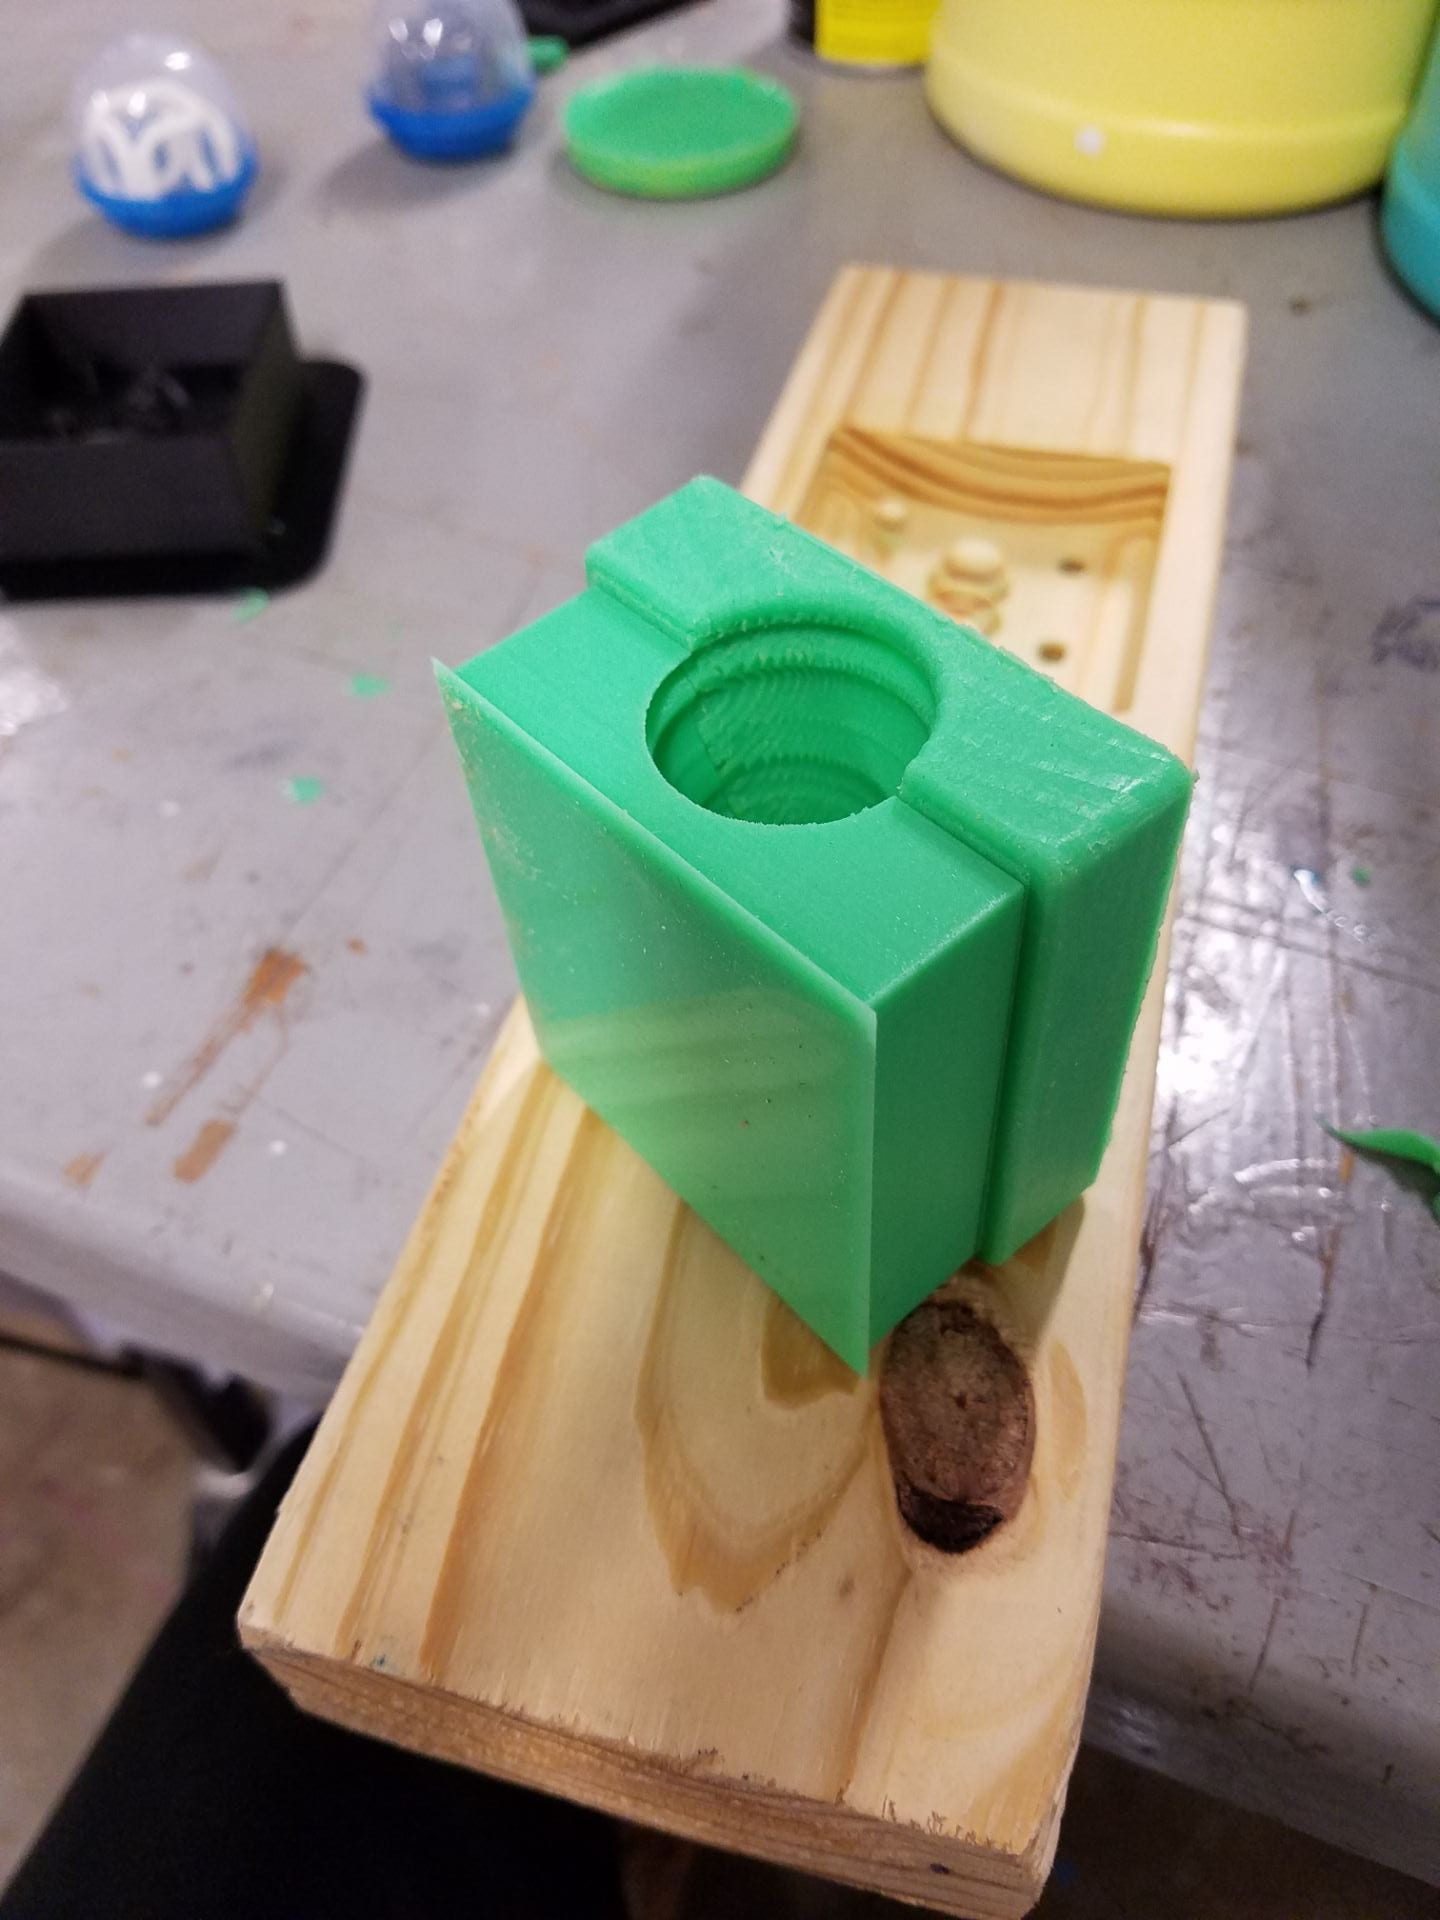
For our final project in ENGI 210, we were tasked with casting 8 pawn chess pieces. The first design we chose was a pawn that was bent. After an entire class spent trying to slice it in half, we discovered that it did not have a plane of symmetry. Looking again, we found a different, simpler design on Thingiverse and verified that it was feasible. Then, we used MeshMixer to slice the shape in two and reduce the face count of the stl. We used Fusion 360 to create a mold for our the pawn. We chose to use three keys. The keys and holes were modeled at the same diameter, knowing that 3d printed holes are usually smaller, and pegs larger, than modeled. This would cause the molded pegs to be smaller than the holes and fit snugly. The length of the positive pegs was also made longer than the hole depth so that the molded pegs would not interfere with the bottom of the molded holes.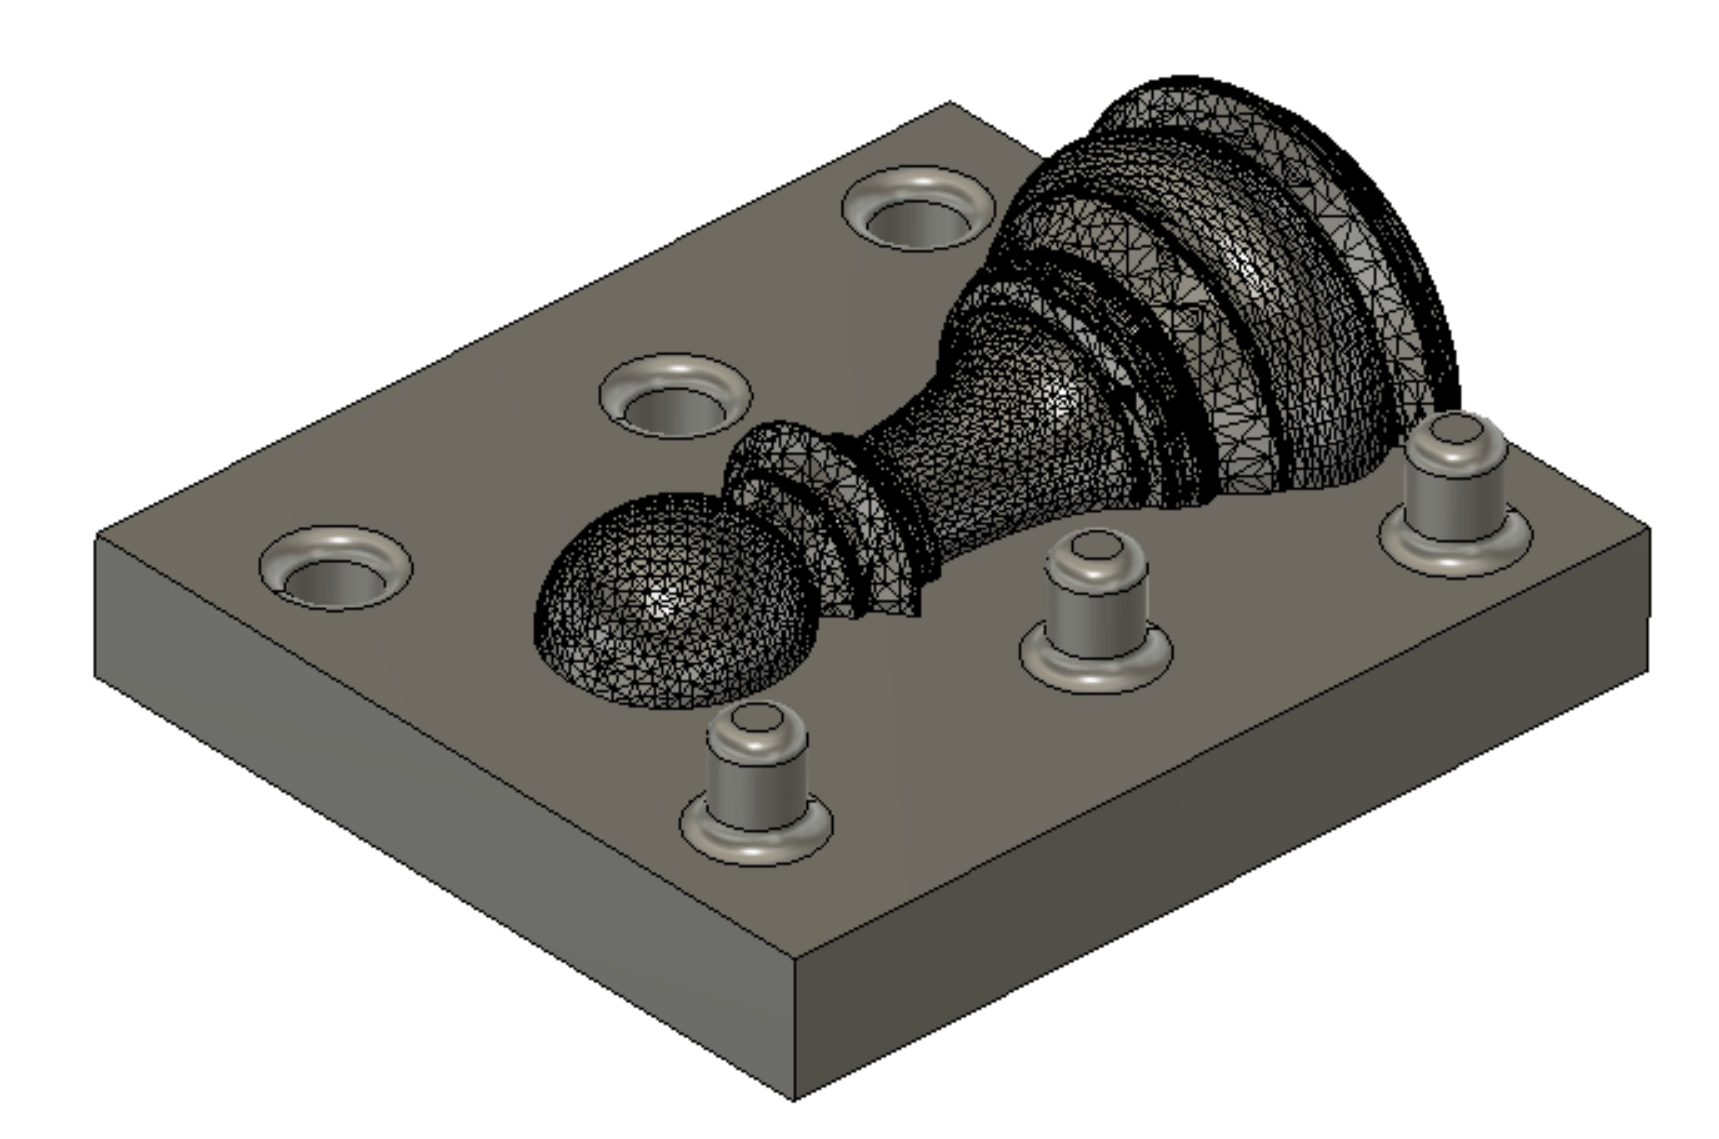
After designing the model, we used the CAM workspace in Fusion to generate the tool paths for a roughing and finishing cut. The tool path for the finishing cut is shown below.
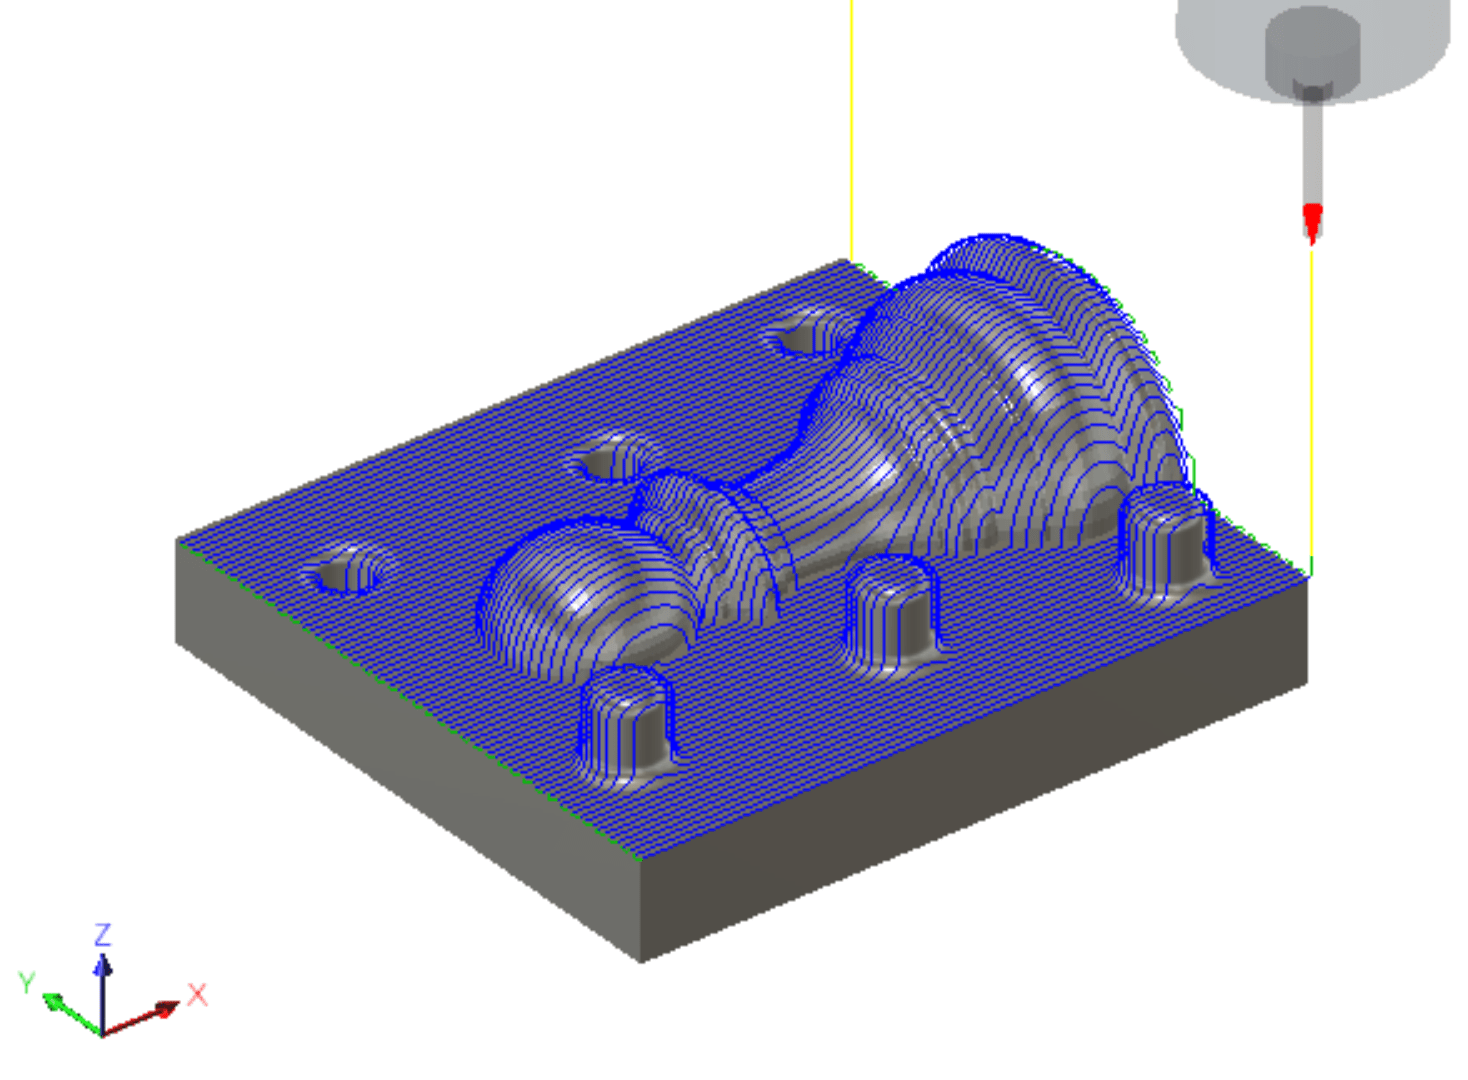
We elected to use a ball tip 1/8″ drill for the rough cut, which actually left us with a very smooth surface and nice looking piece. Finding a large piece of wood, we used the Carvey to CNC our positive. After the “smoothing” cut, the pawn was left with lines scored on it, as can be seen in the picture at right. Smaller ball tipped bits would be helpful for avoiding this problem.
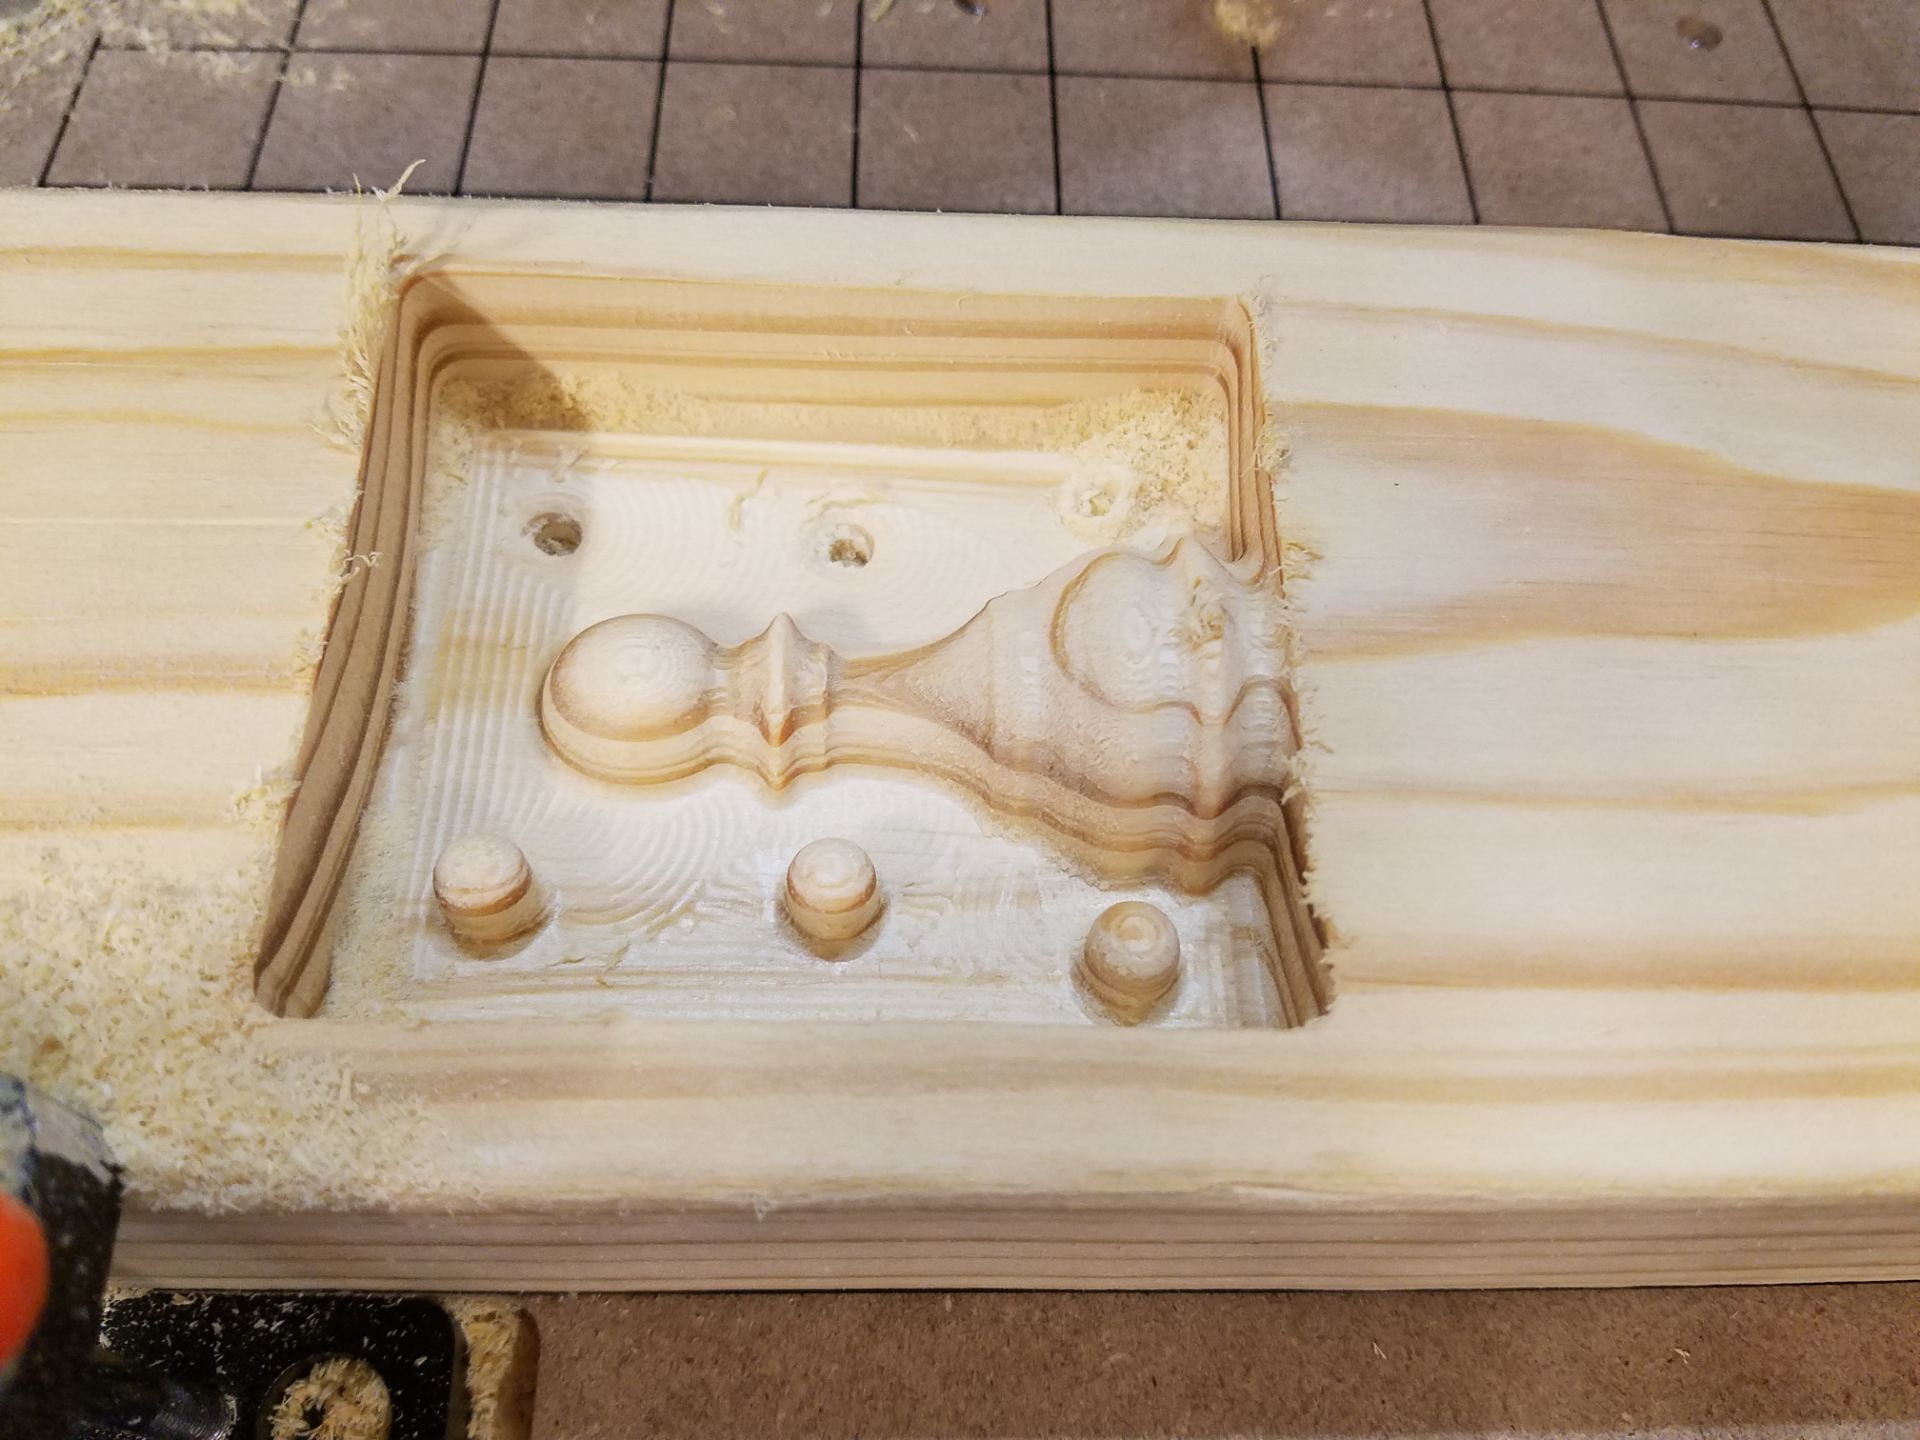
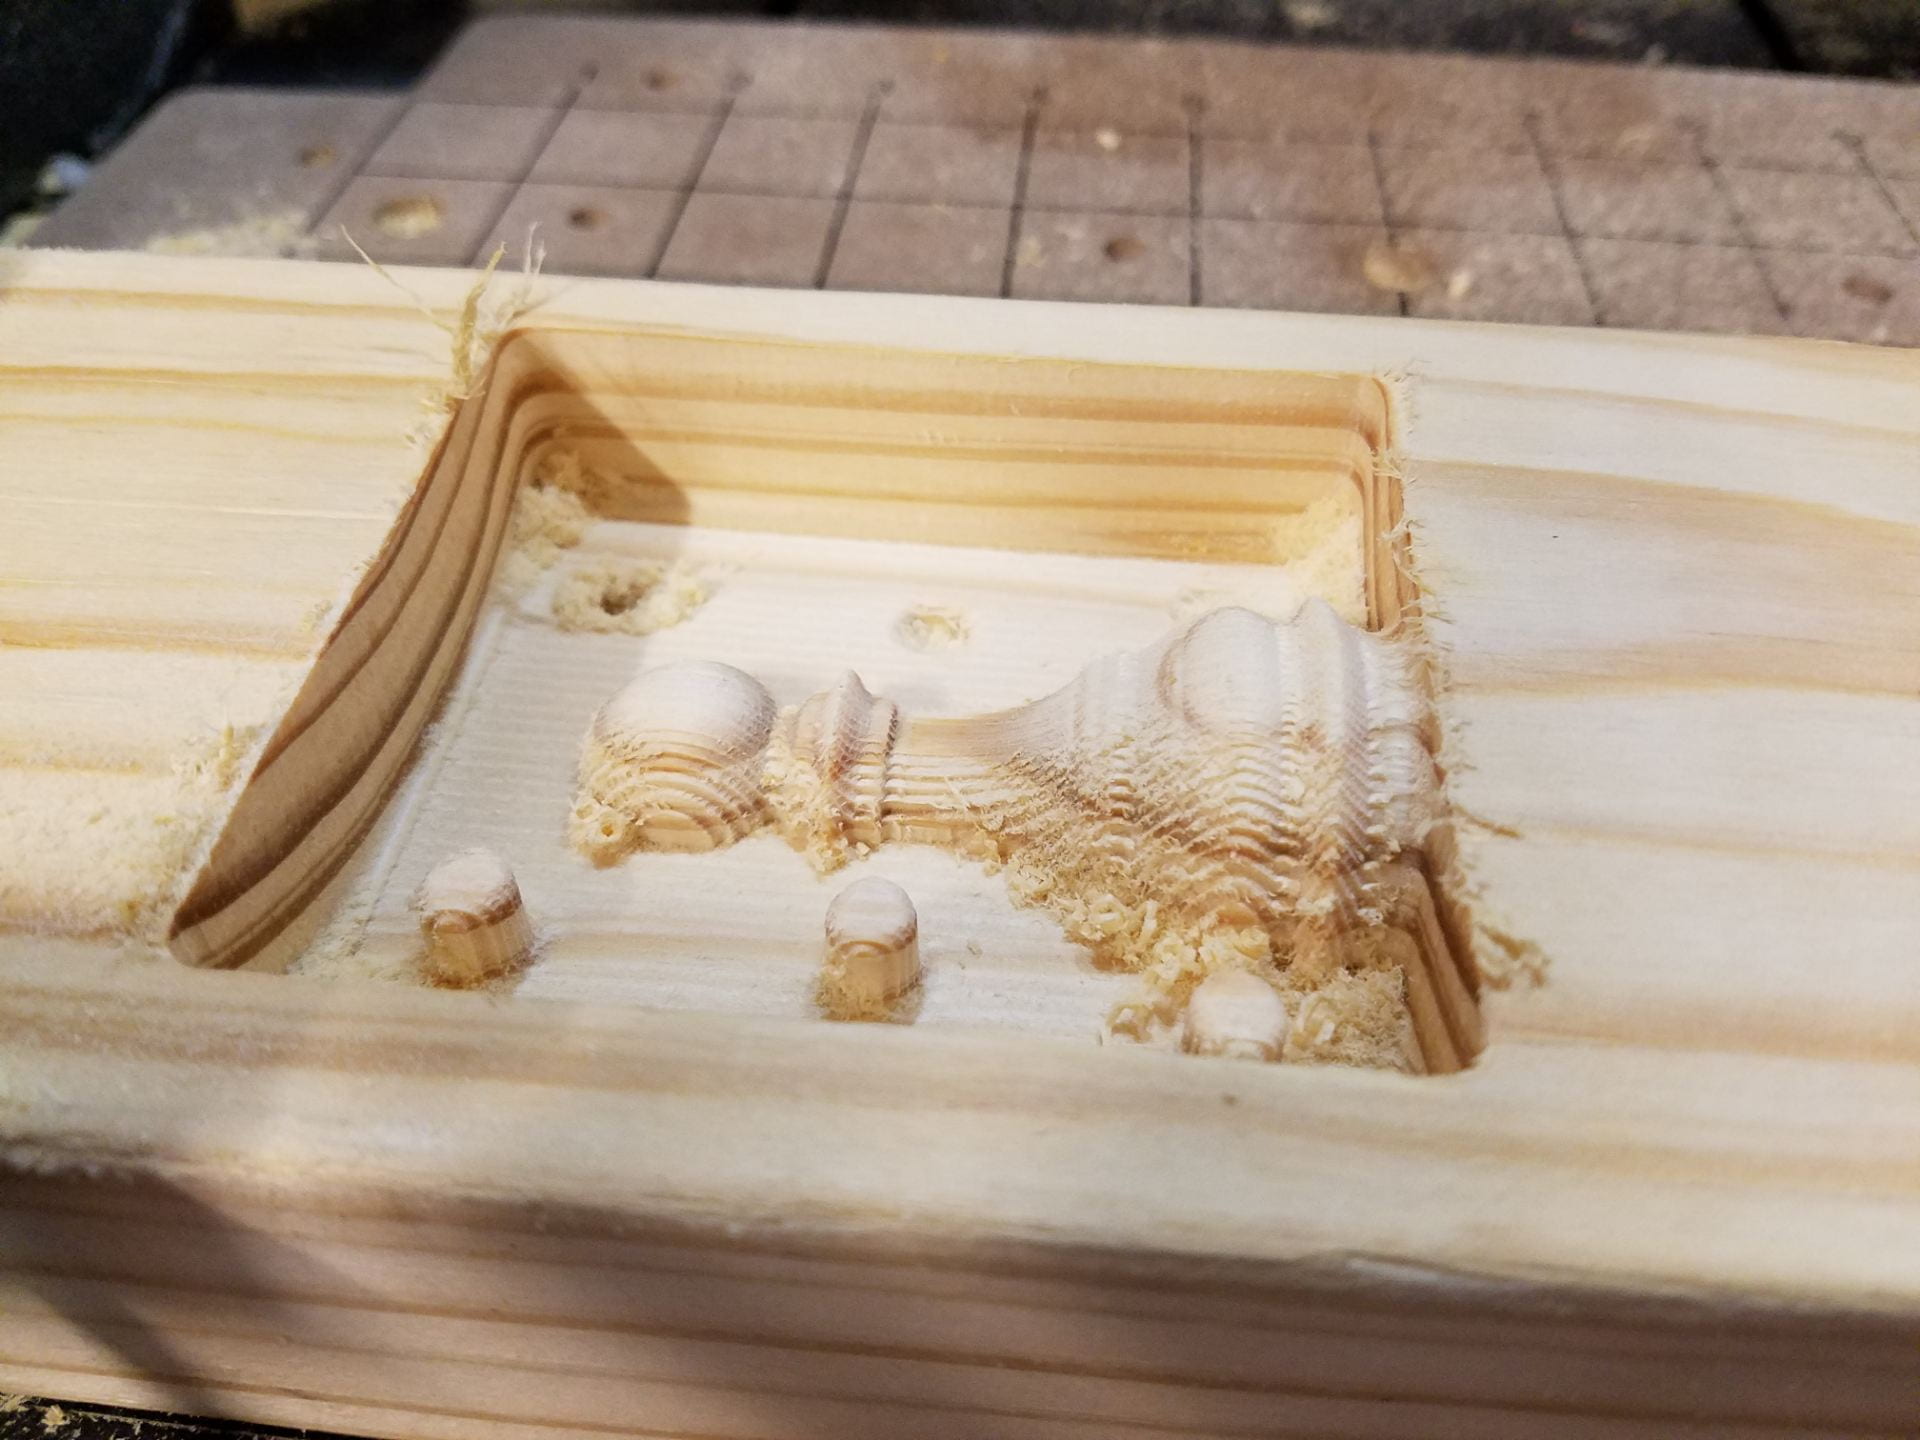
The results were good; The piece just took a bit of sanding for it to be ready for molding. On the other hand, our first try at 3D printing the positives did not go so well. There were some gaps on the top surface of the piece that will ruin the quality of the mold. We then tried another printer and the positive came out much better. The CAD design for the 3-D printed positive, and the rough and final prints, are shown in the next few images.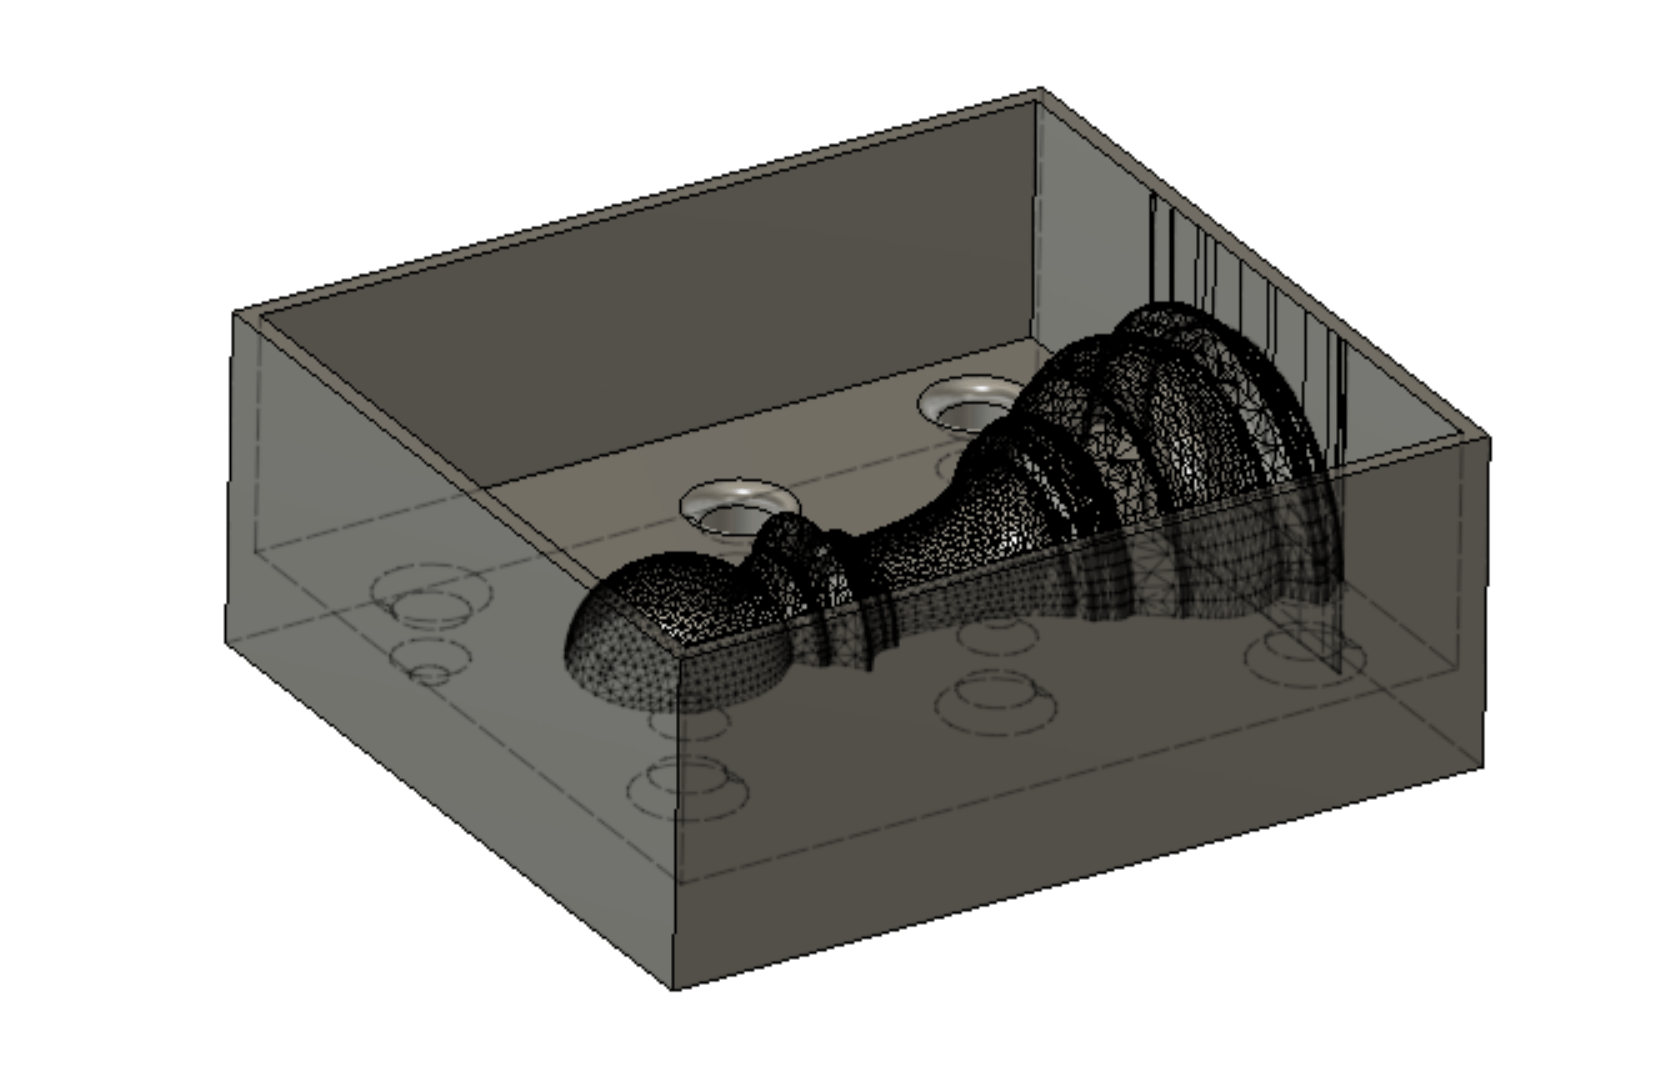

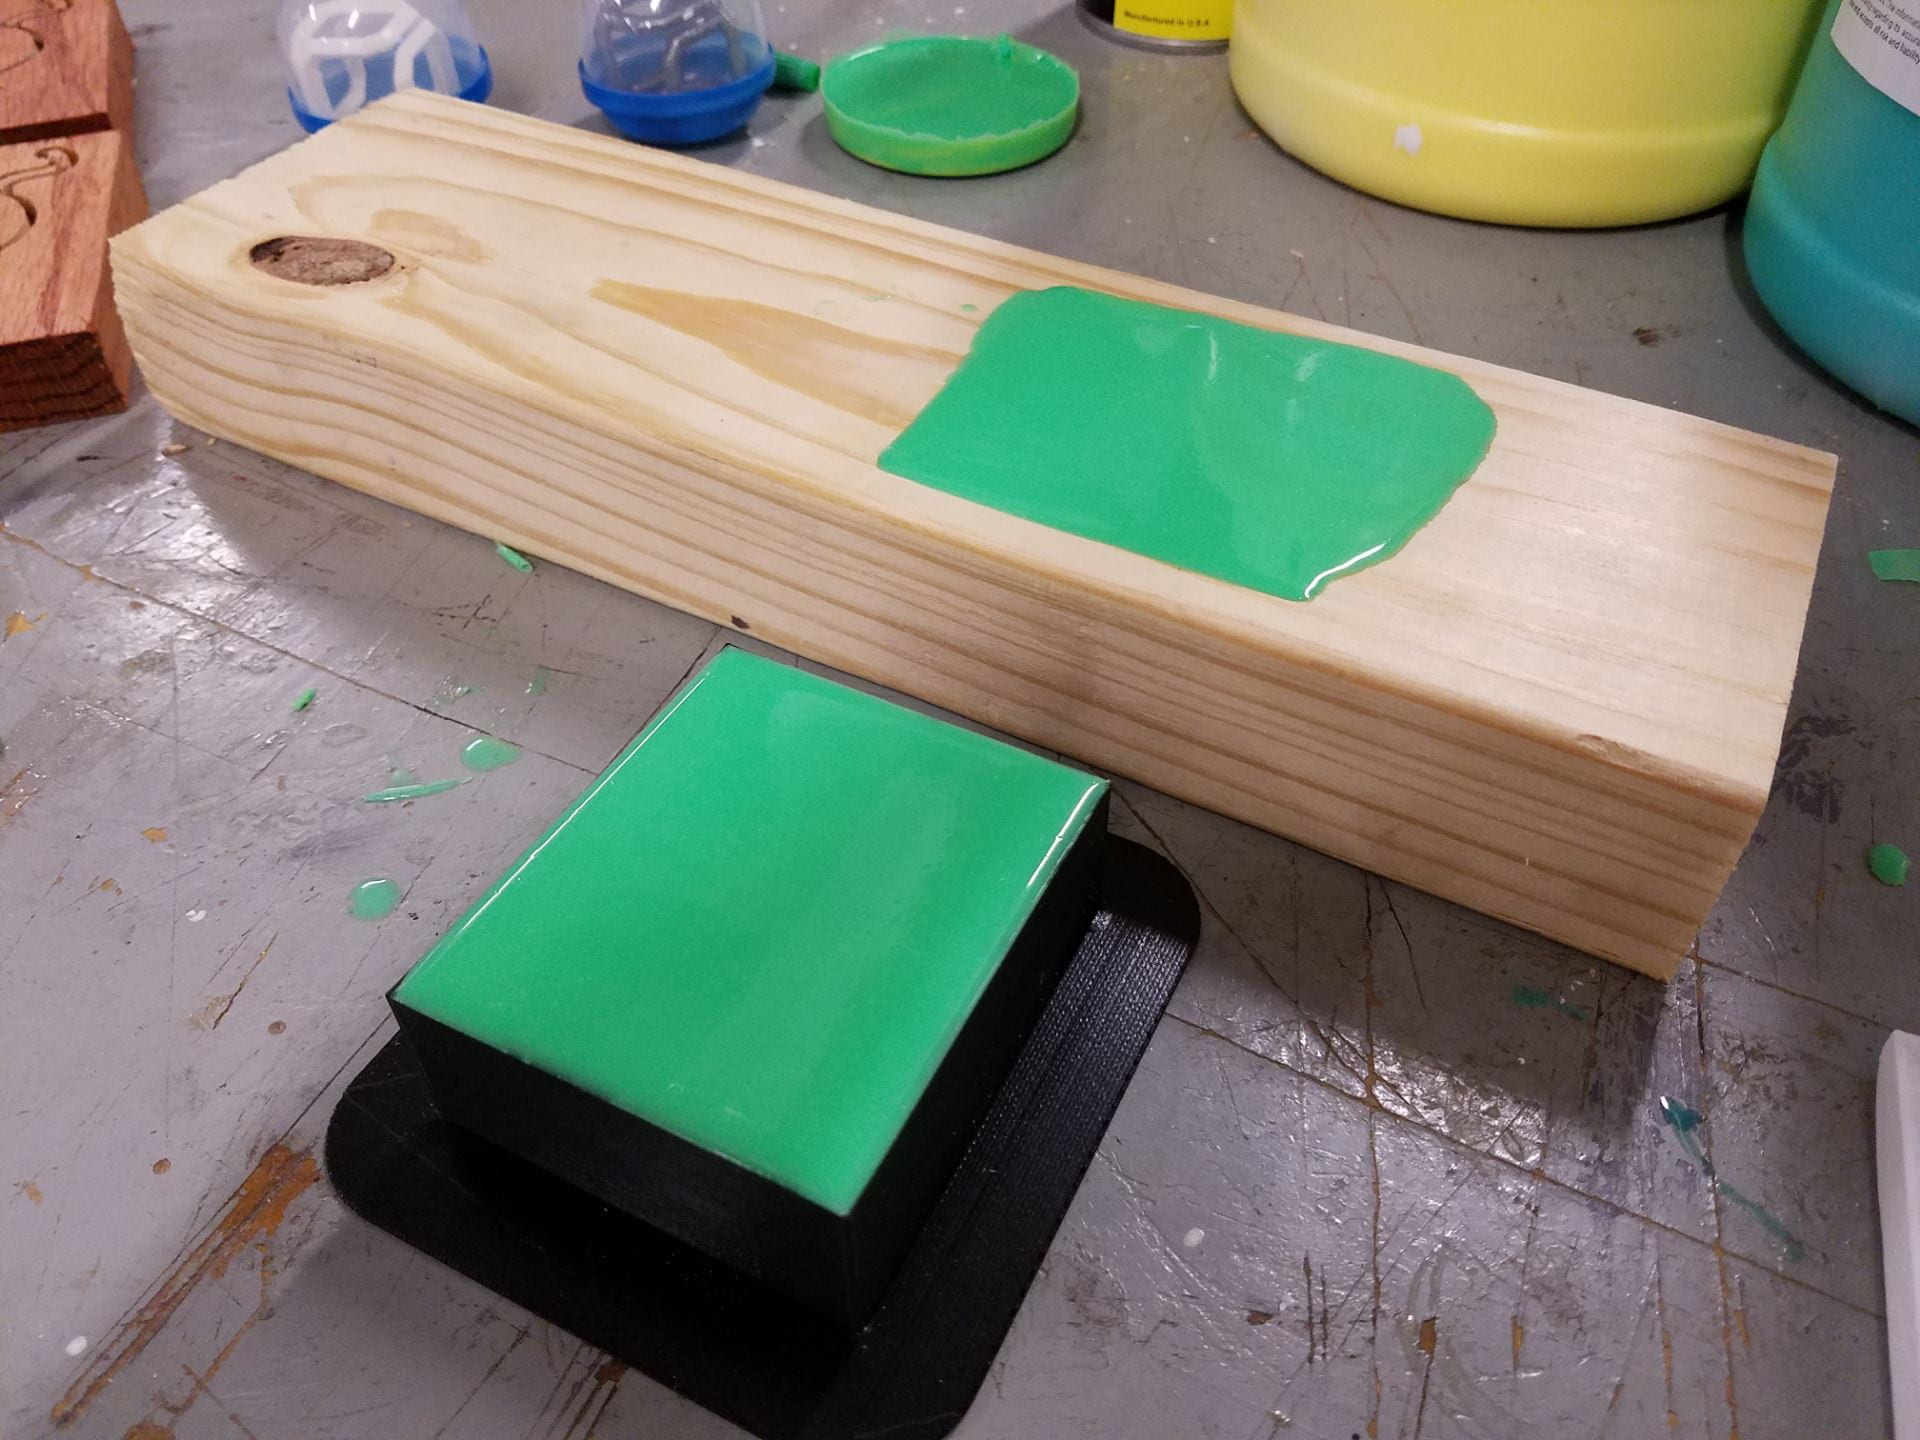
We mixed and poured the molding liquid in both of our molds. We shook the molds to ensure there were no trapped air bubbles. We waited overnight and extracted the mold next day. To our surprise, the mold captured all the details of our positives the first time and fit together perfectly. The pouring and results can be seen below.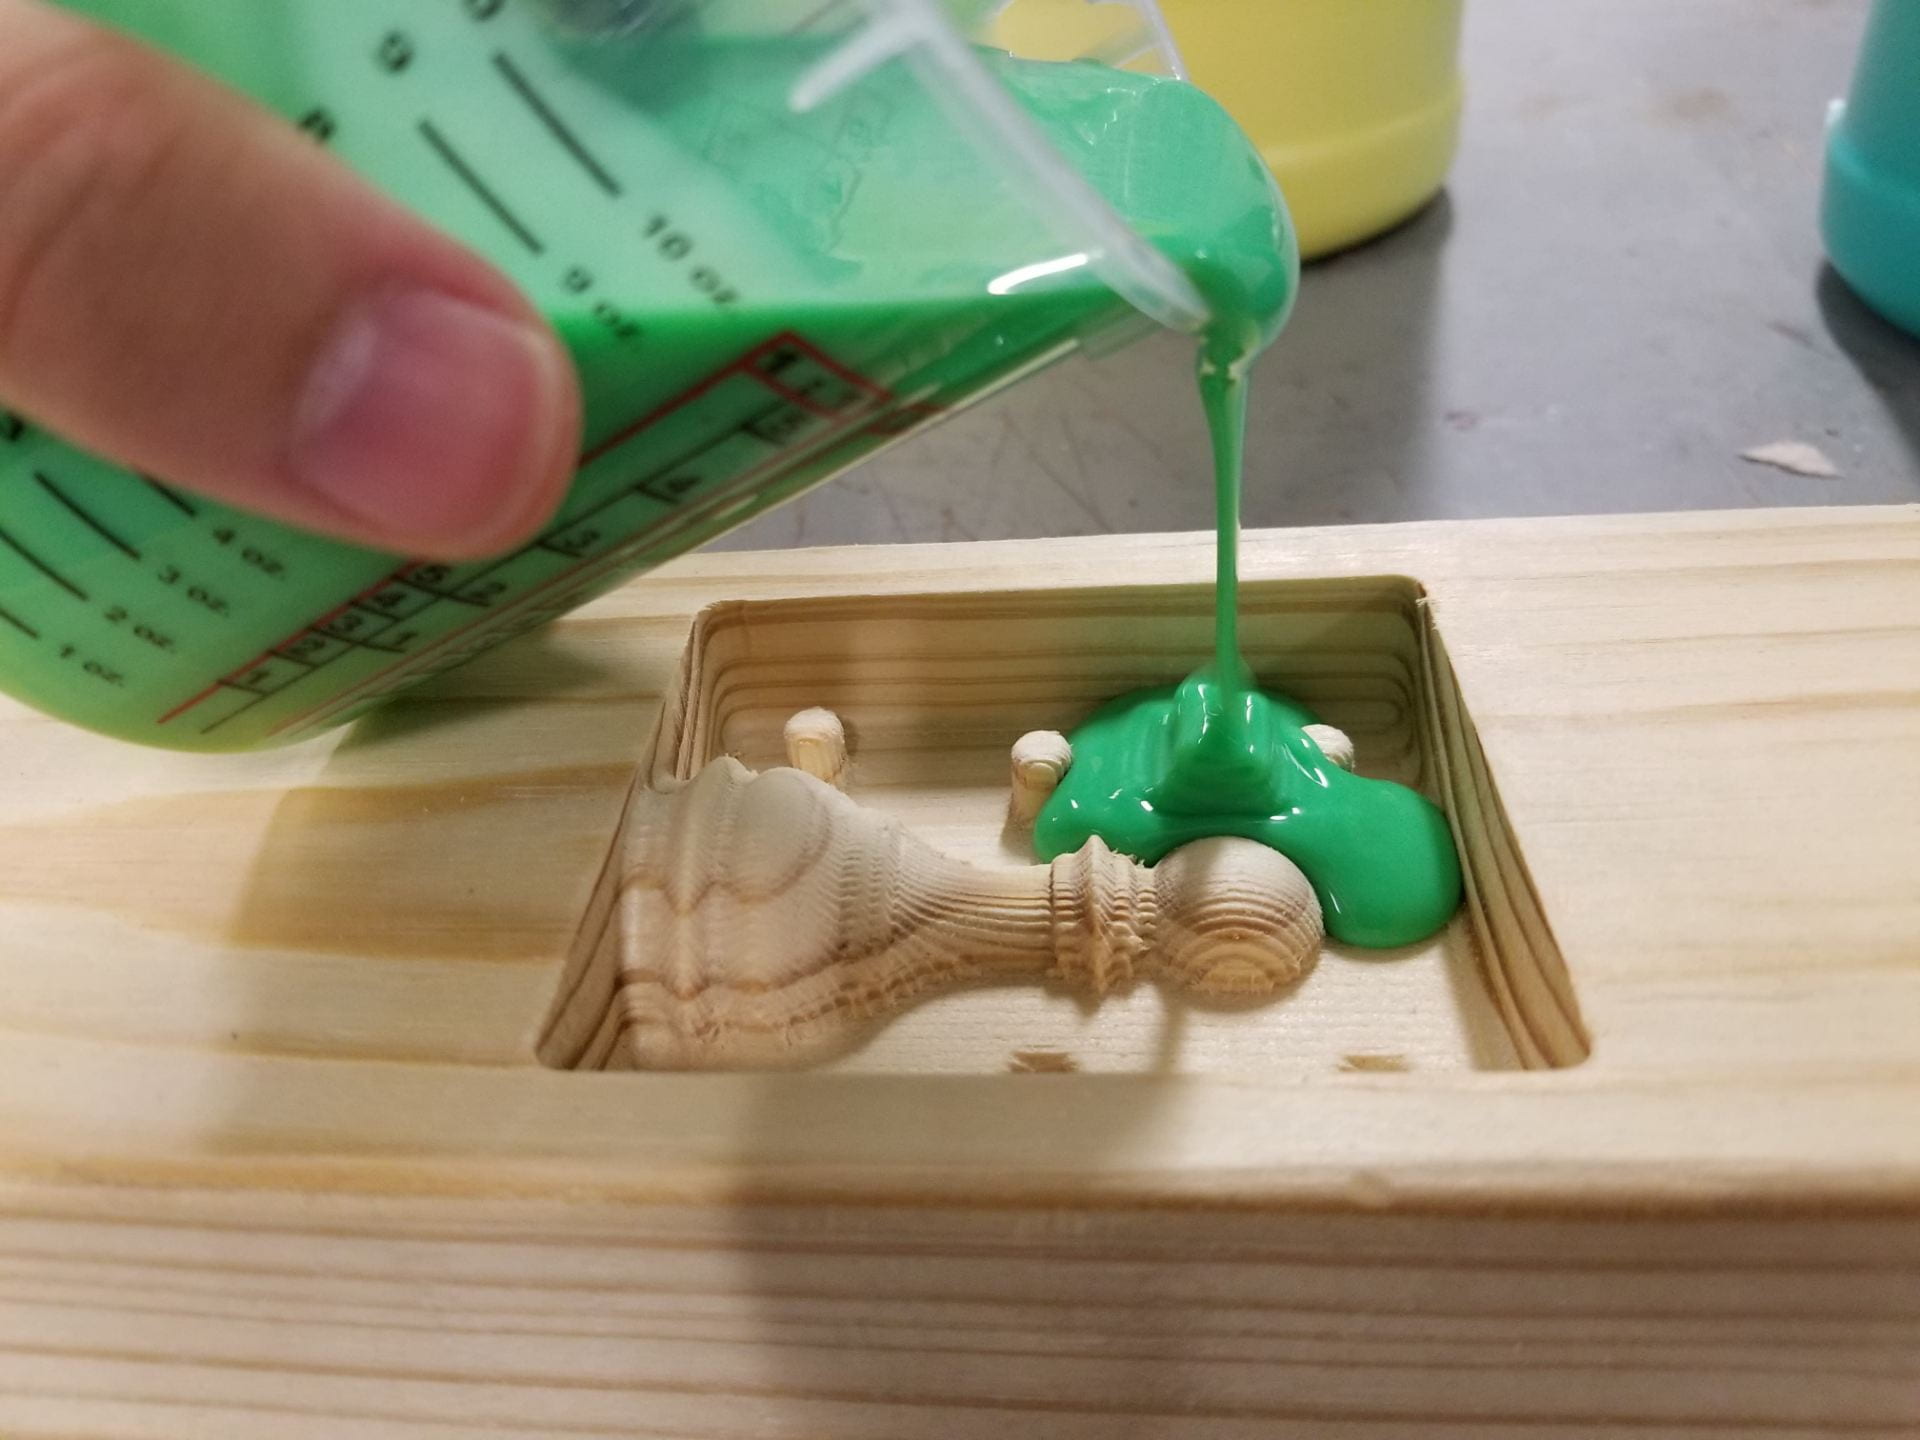
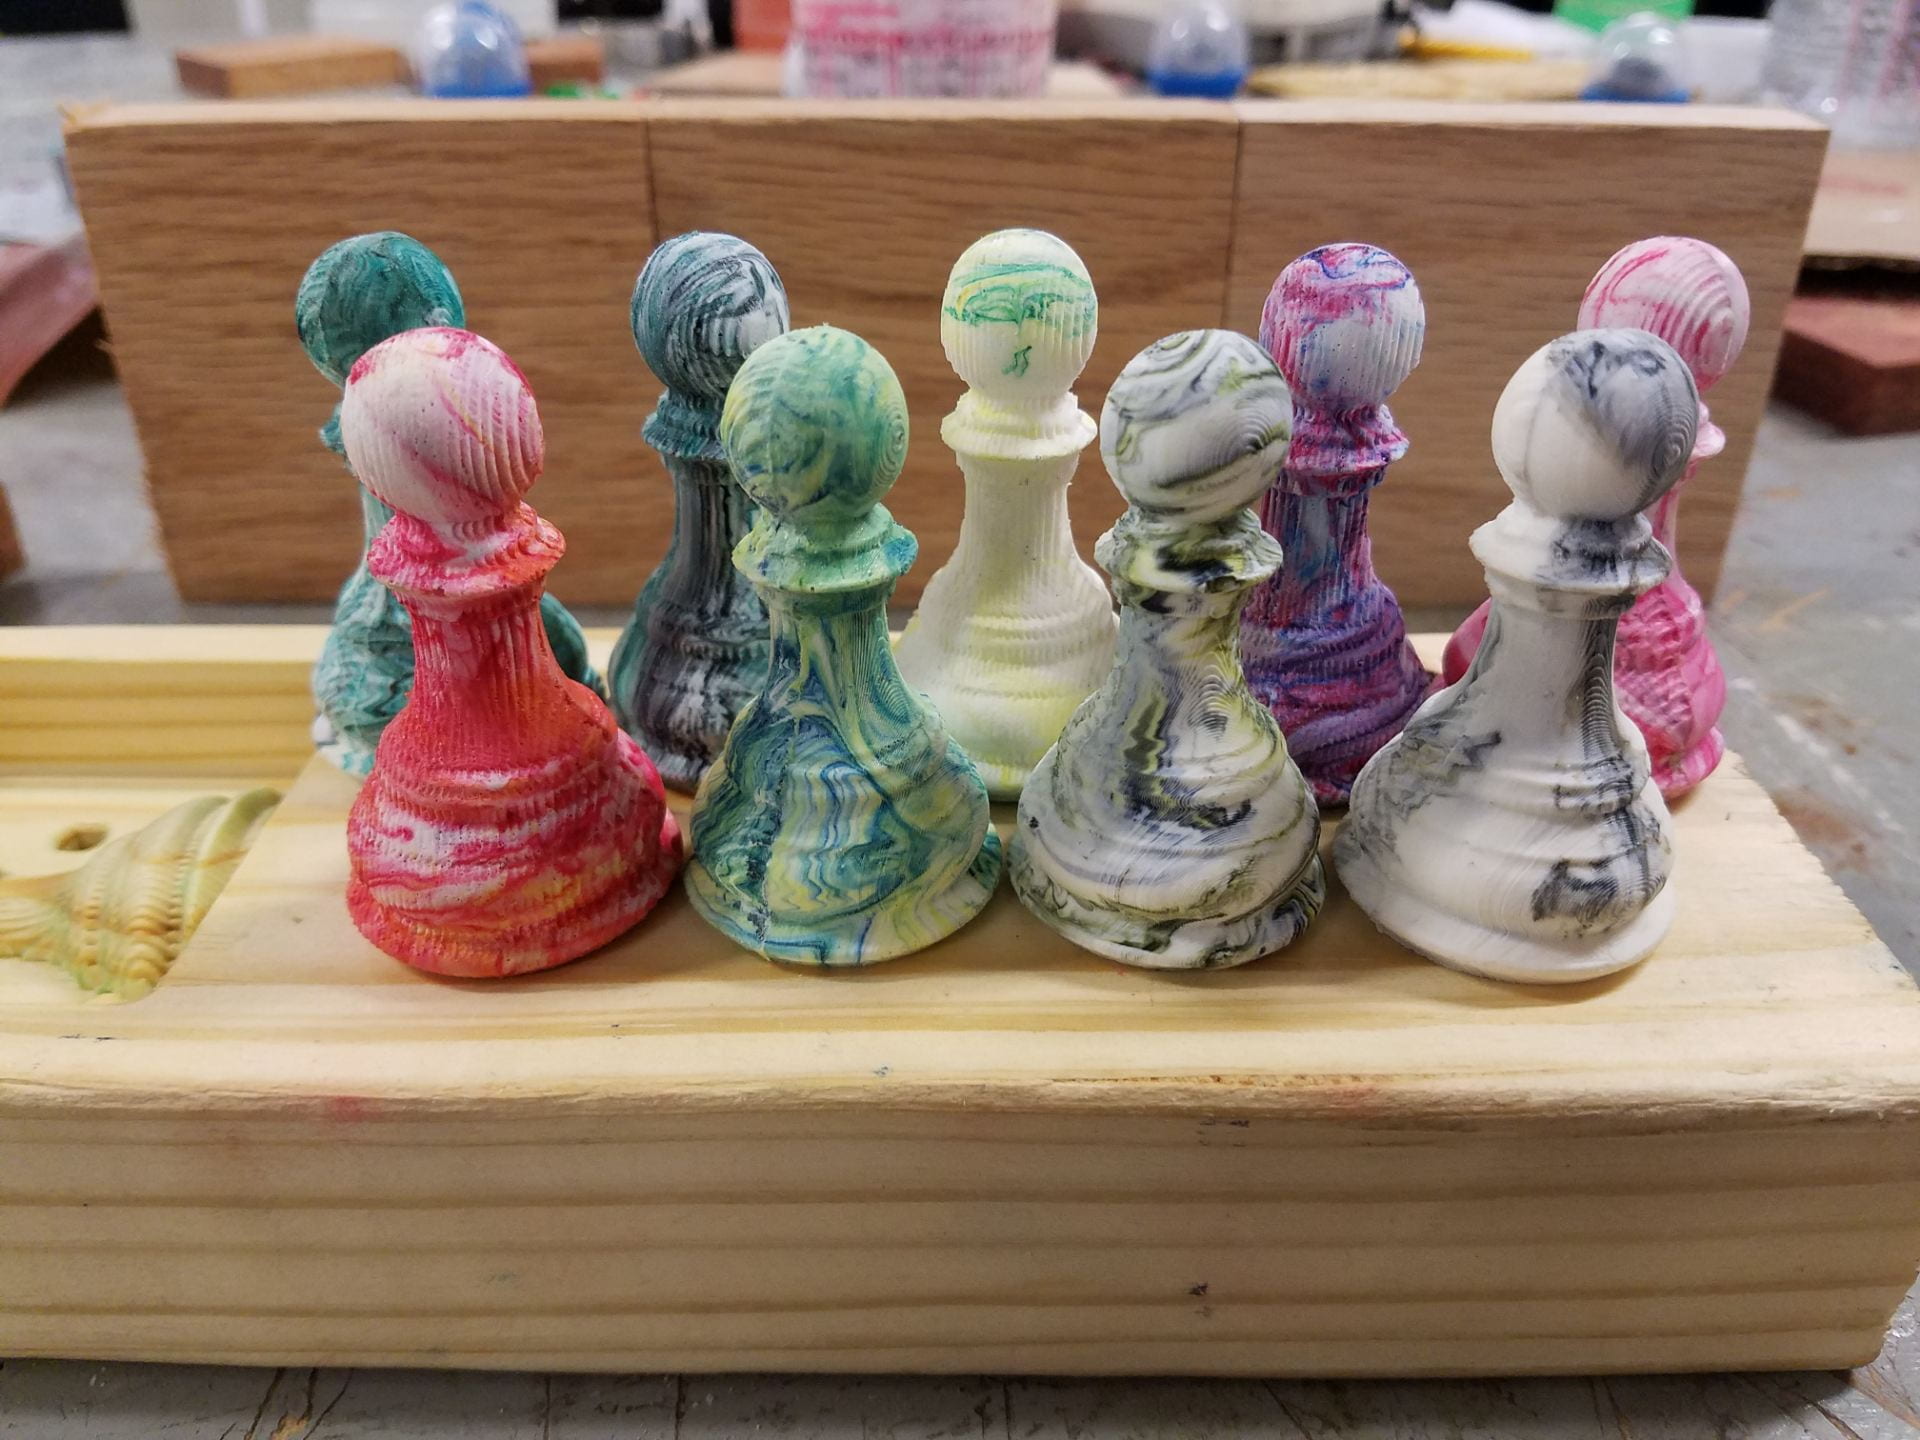
Next, we started casting our pieces. We first mixed the quick setting casting material together. Then, we added two different colors of dye mixed slightly to give a swirl pattern. Finally, we quickly poured the material into mold and waited for it to set.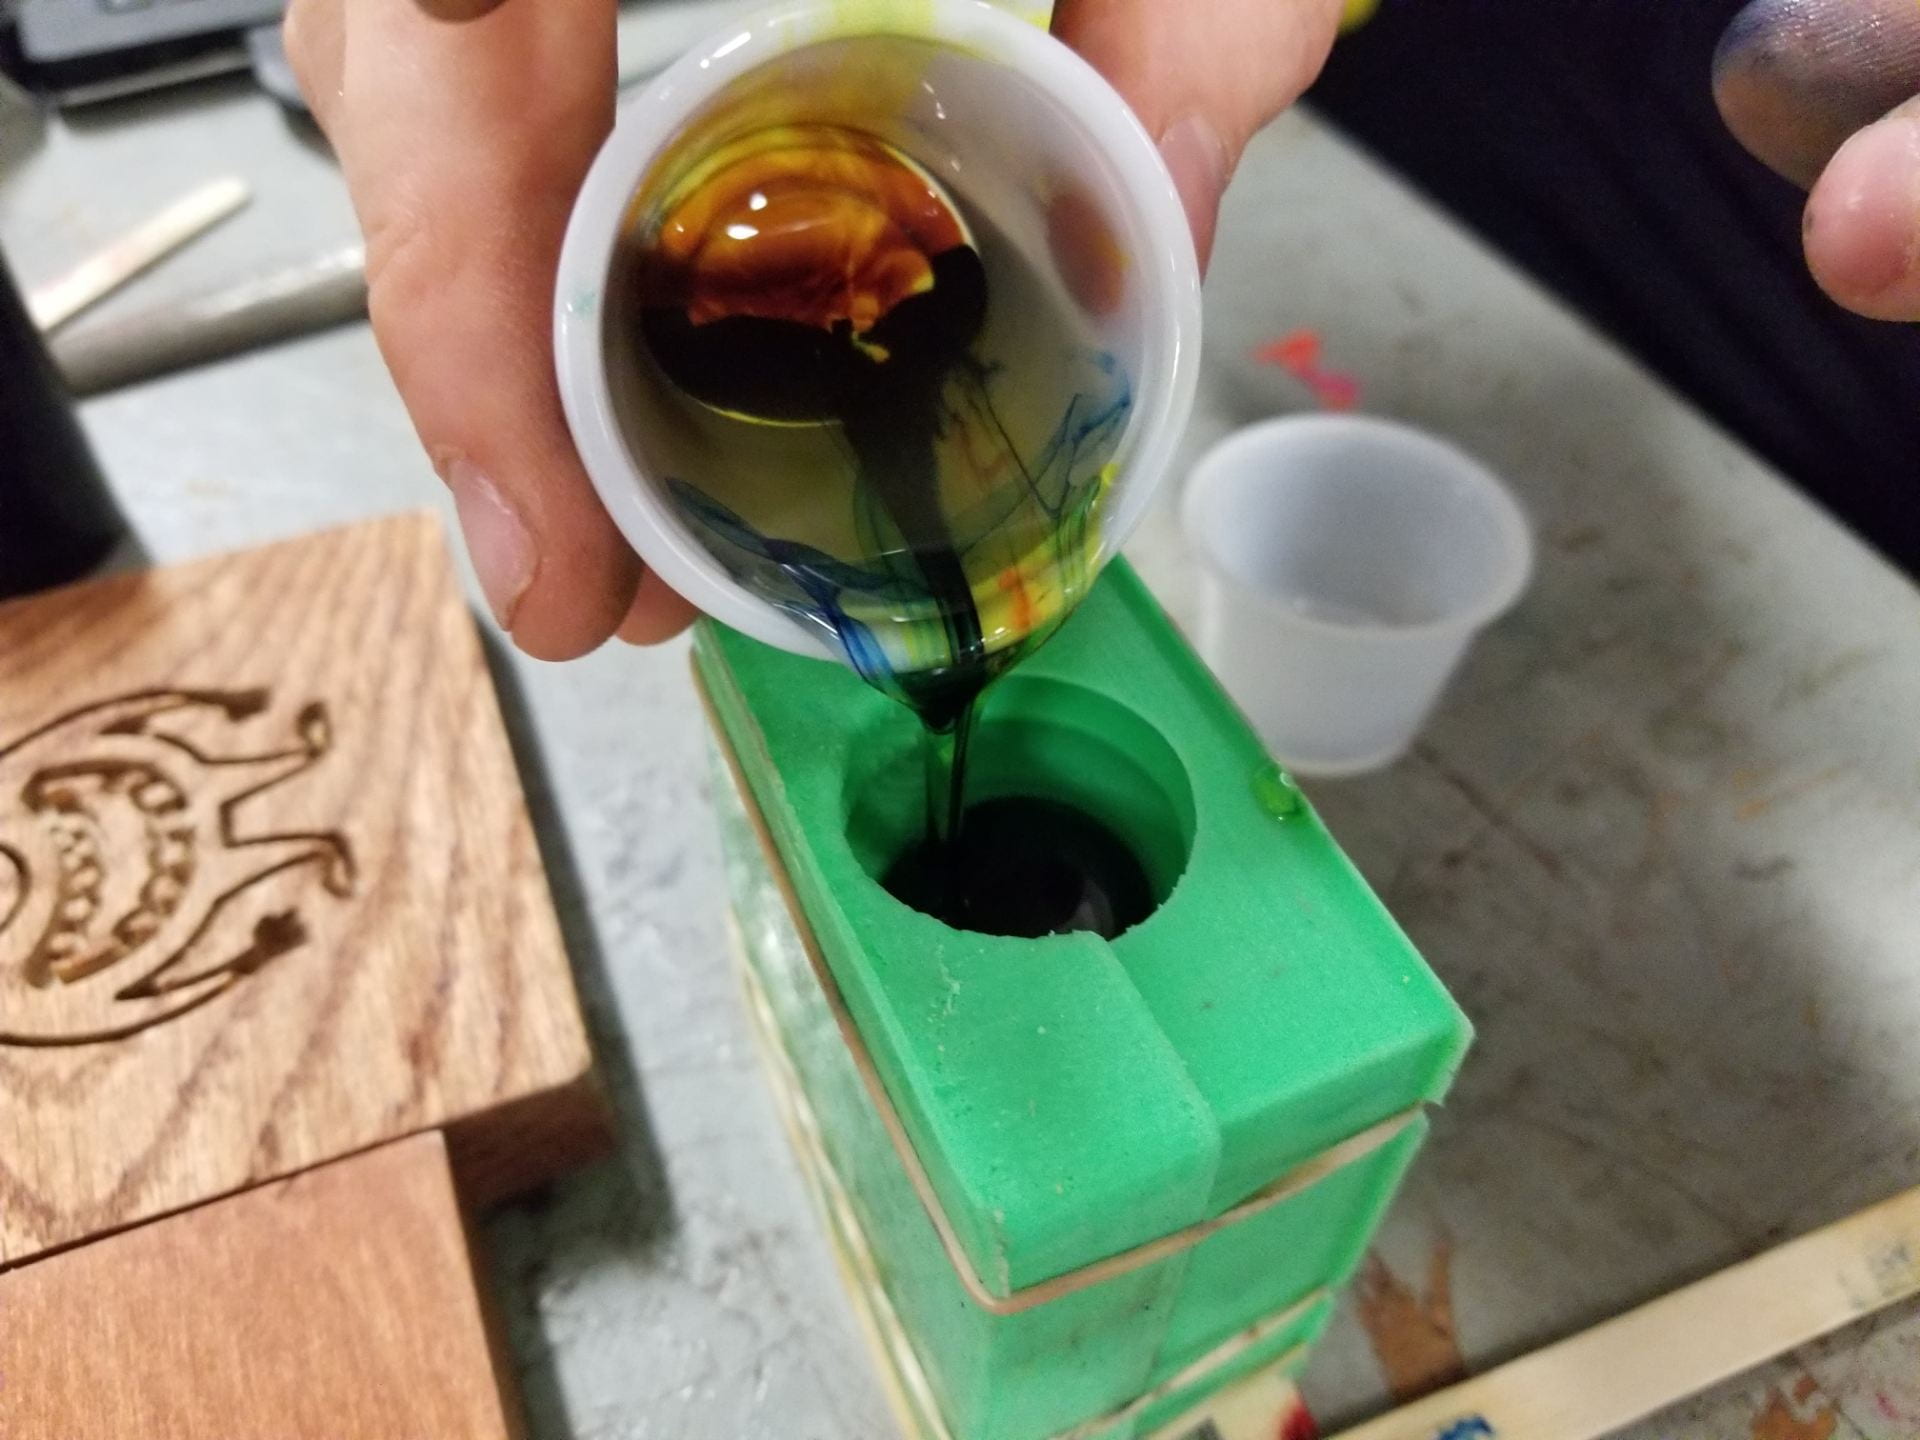
After waiting for 25 minutes, we opened the mold. The shape turned out mainly good, although there were some air bubble and the base wasn’t level. During our following casts, we poured the cast more slowly and leveled the mold with a popsicle stick. We realized 10 minutes was enough for the cast to harden. Our first piece, still halfway in the mold, is pictured below.
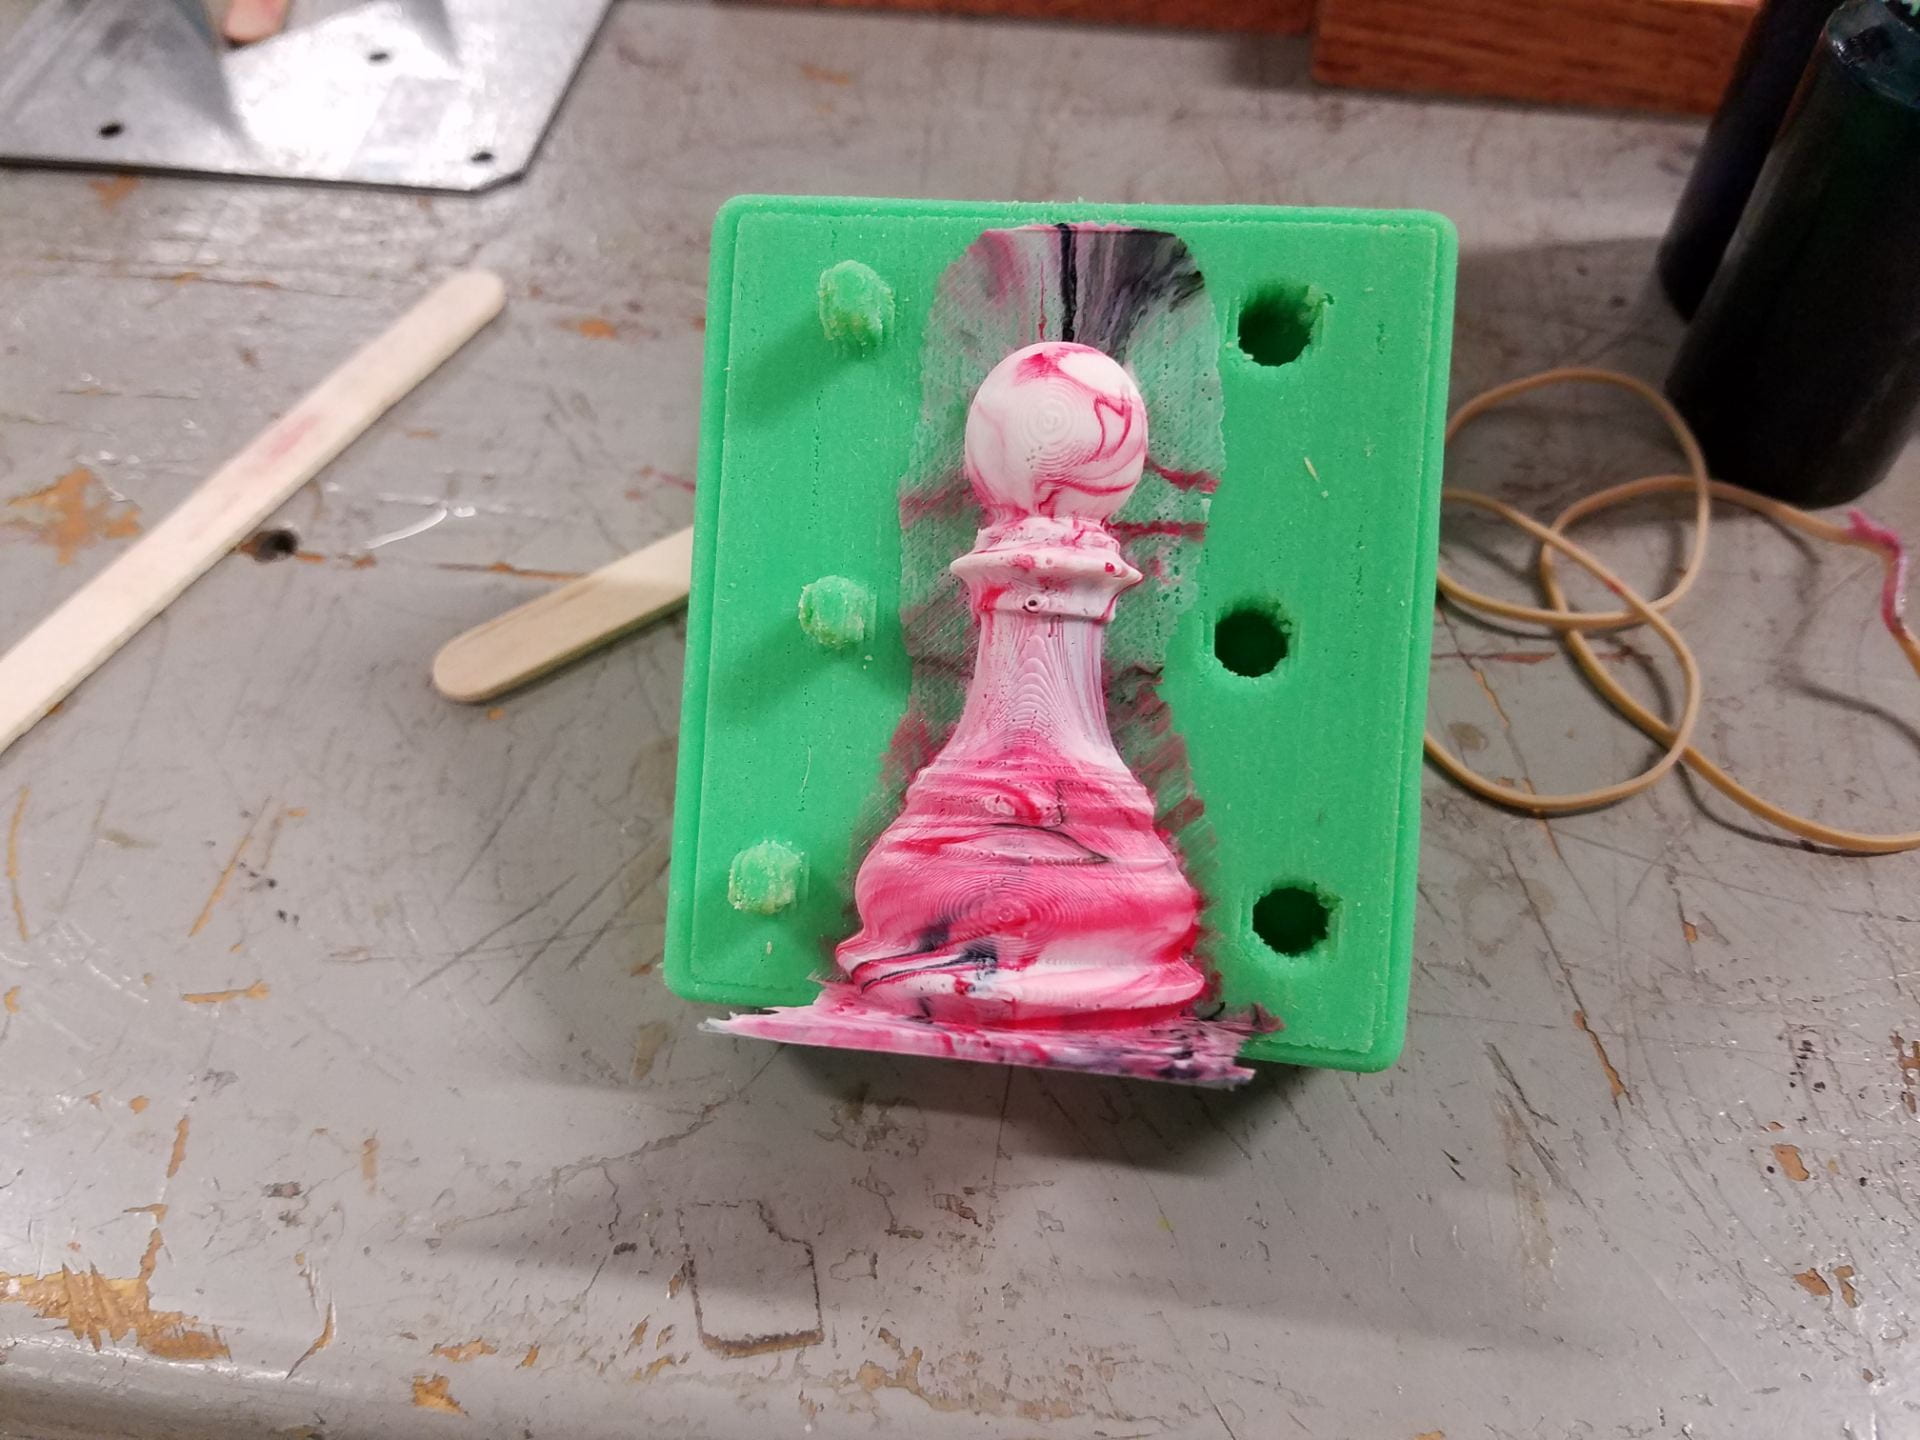
After each cast, we manually pulled off the excess casting material and filed and sanded imperfections flat. In total, we casted 12 pieces of various color combinations. We kept 8 that had the best results.
Cost Analysis:
The quick-set liquid plastic we used to cast our pieces costs $123 per kit. Given that we only used a fraction of the kit, a material cost of about $20 would be reasonable. The amount of silicone molding material we used would cost about $20. We found the wood piece in the scrap pile, the cost would be free. The dyes we used would be $20 for the whole box. We can average the equipment cost, which includes computer time, Carvey, and the 3D printer to be $30 per hour. Since we spent about 7 hours in total using these machines, the total equipment cost is $210. Finally, if we get paid $10 per hour and we spent about 12 hours combined to make all the pieces, the labor costs will be $120. Thus, the total cost to make all 8 pieces is $390, or $48.75 per piece.
