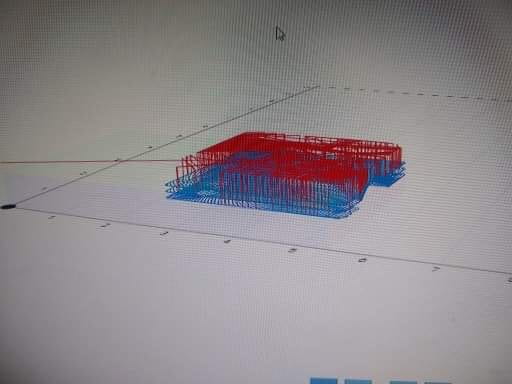
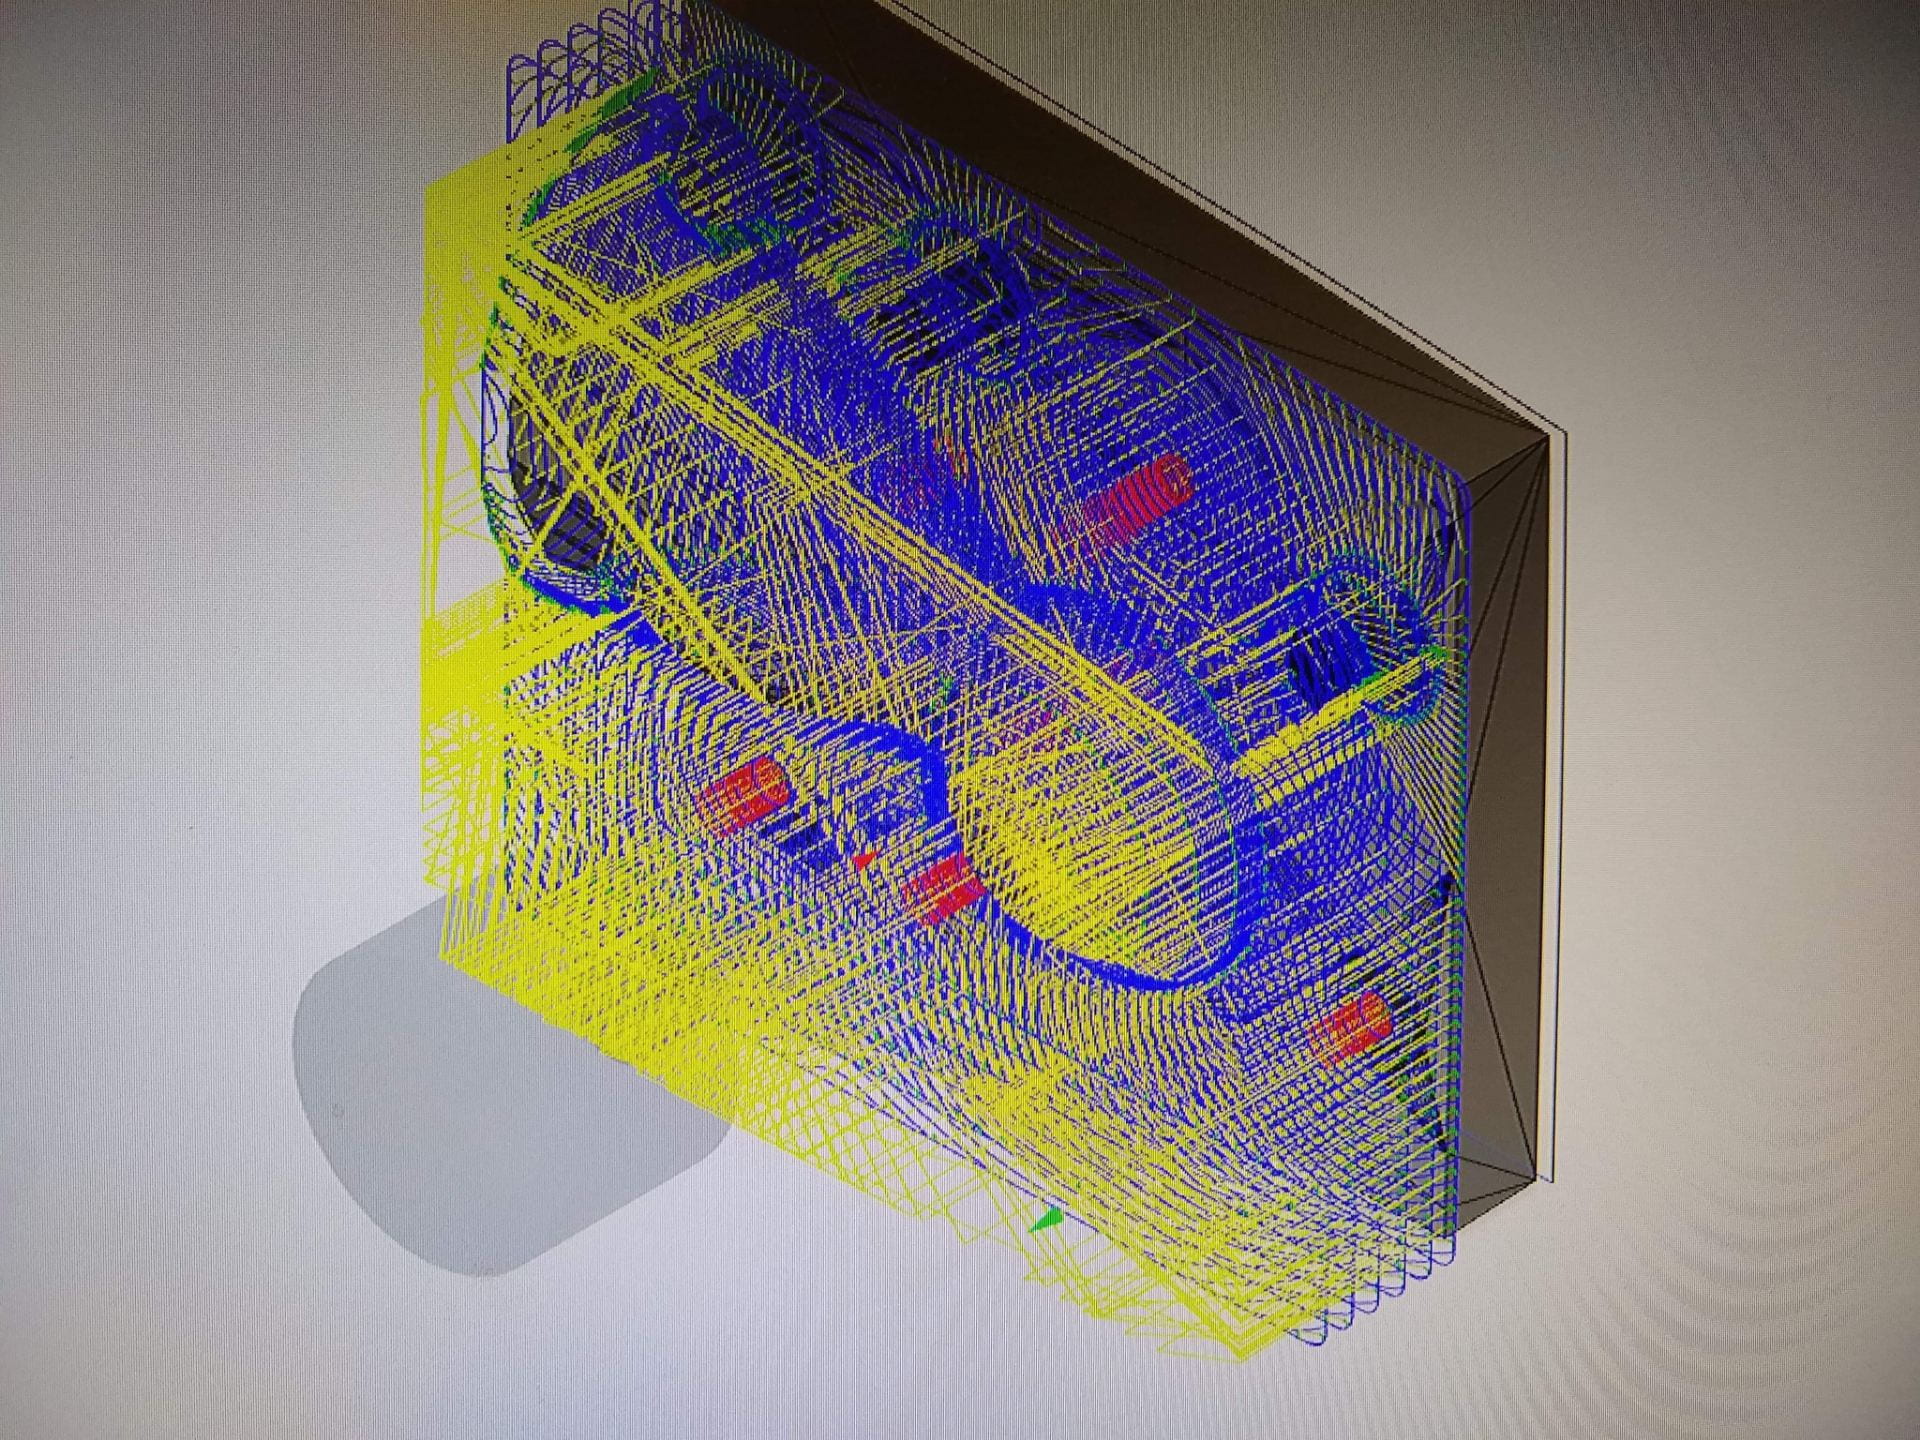
Our final project for ENGI 210 was to cast and mold 8 pawns in order to complete a chess set. We chose our pawn from Thingiverse, then we dowloaded the part and made some modifications on SolidWorks and MeshMixer. First we cut the pawn in half and scaled it on MeshMixer and stepped through the instructions for making the G-code on Fusion360. 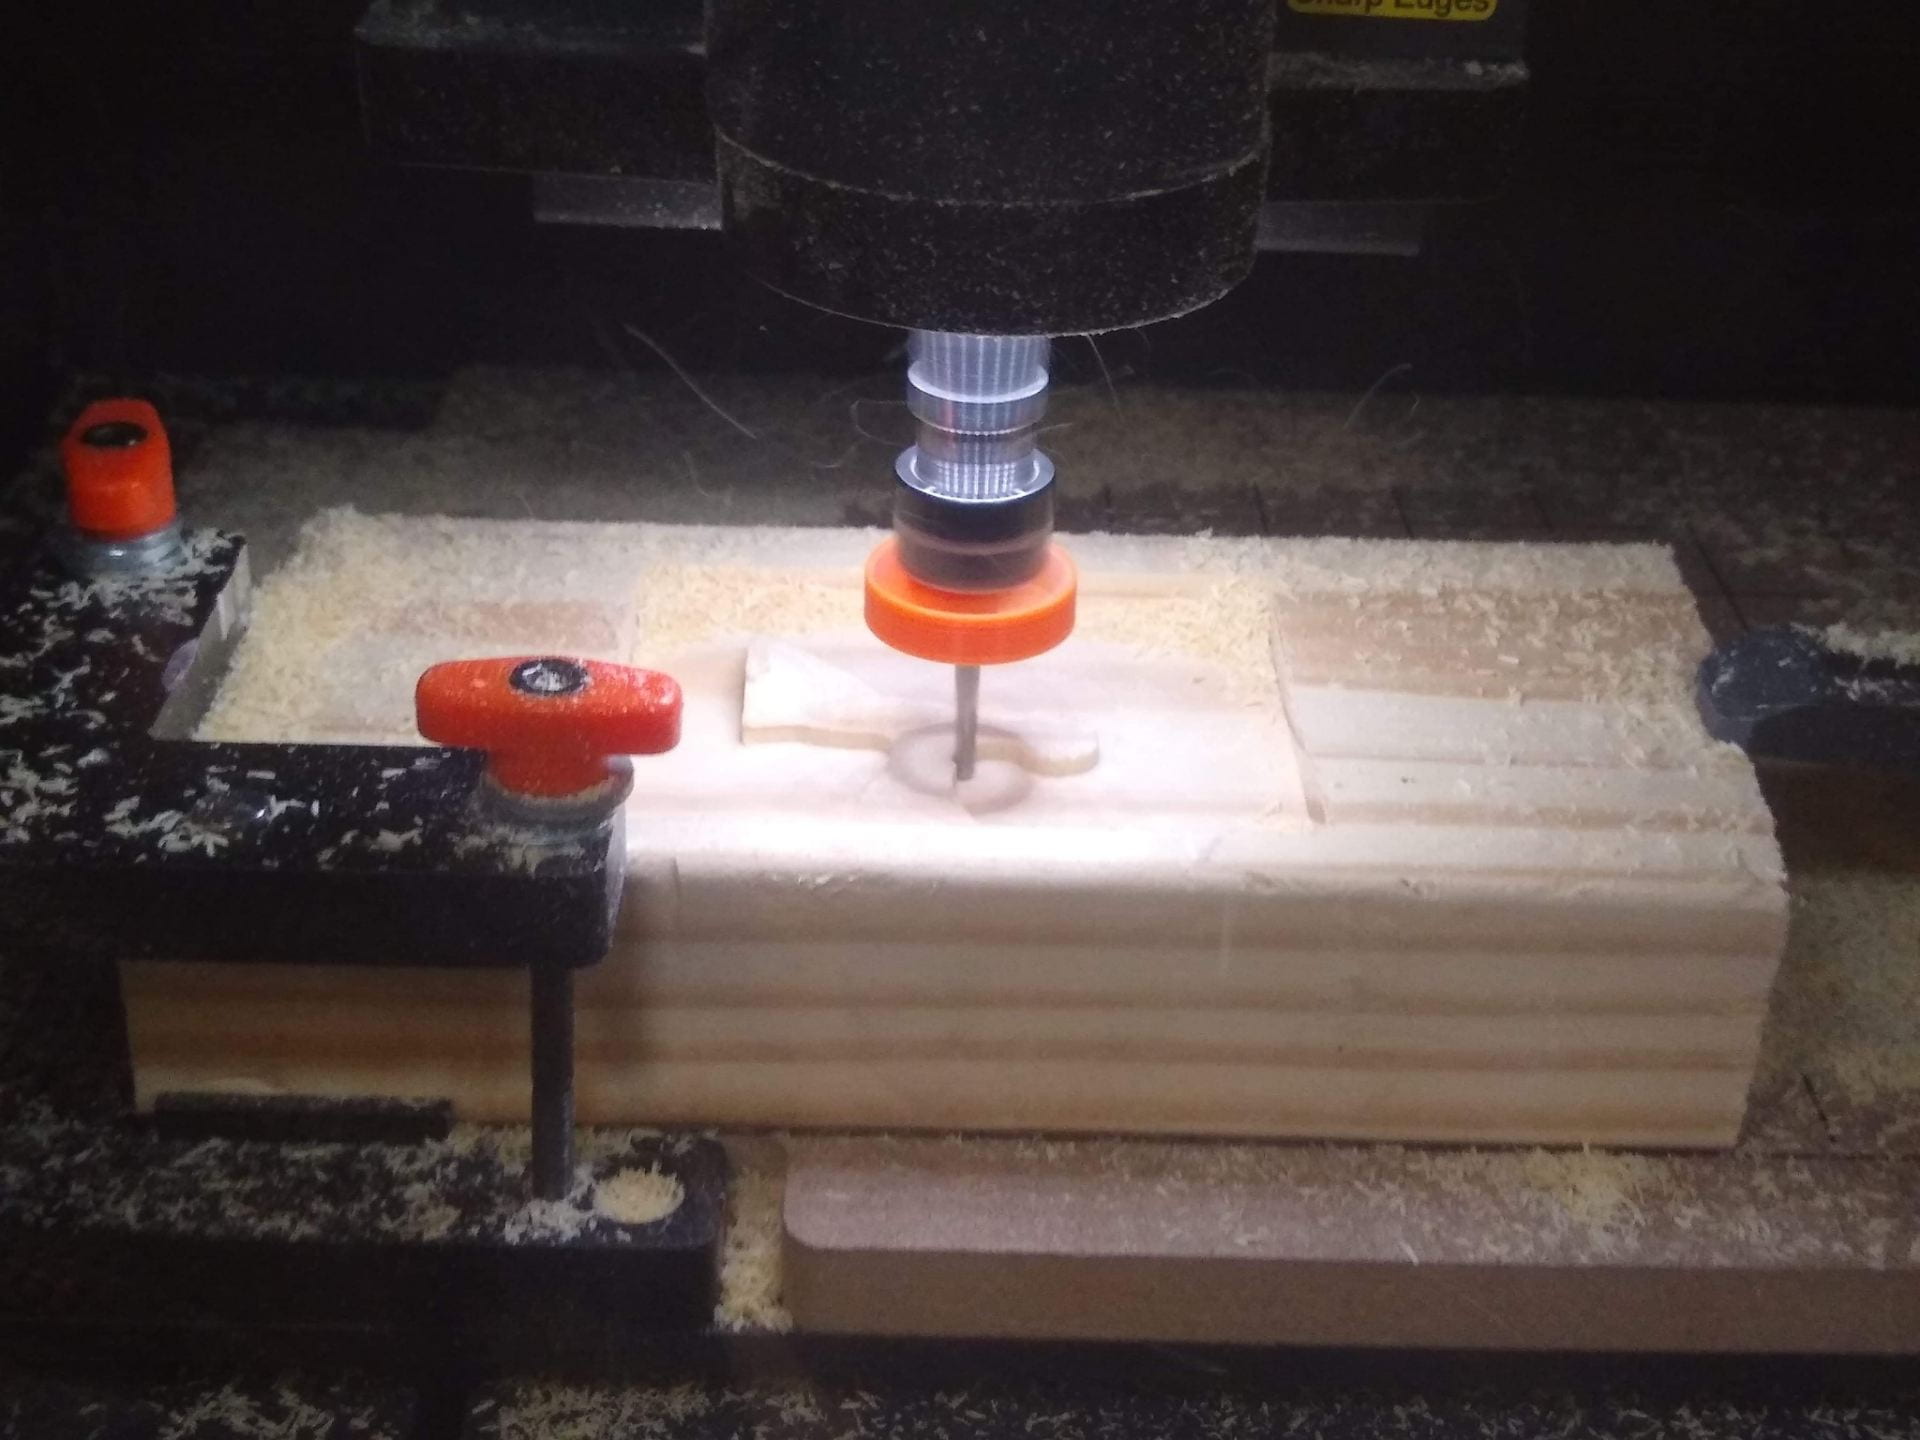 Our first iteration was way too small, and we also used an inappropriately sized piece of wood. Our second iteration was much better, but the smoothing cut ruined it. In our third iteration, we moved the pawn to the bottom of the machining boundary so that we would have a pour hole, but we realized that we needed pegs in order to line up both halves of the mold. In our fourth iteration, we dropped the pawn down 1mm in depth because we needed a thicker wall on the mold. We also added pegs, successfully, and holes, unsuccessfully. At this point, we realized that the holes were not necessary and very difficult to implement, the pegs would suffice so long as we made the holes in the 3D print. Lastly, we had upped our cutting feed-rate to 1500 mm/min from 1000, however we found that this led to a decrease in quality of the cut. In our fifth iteration, we successfully made the rough cut and pegs but attempted another smooth cut to counteract the lower quality of the higher cut speed, the smoothing cut again ruined the piece. In our sixth and final iteration on the CNC machine, we dropped the cutting rate back down to 1000 mm/min and completed the cut in just under an hour. The Fusion360 and Easel CADs can be seen below.
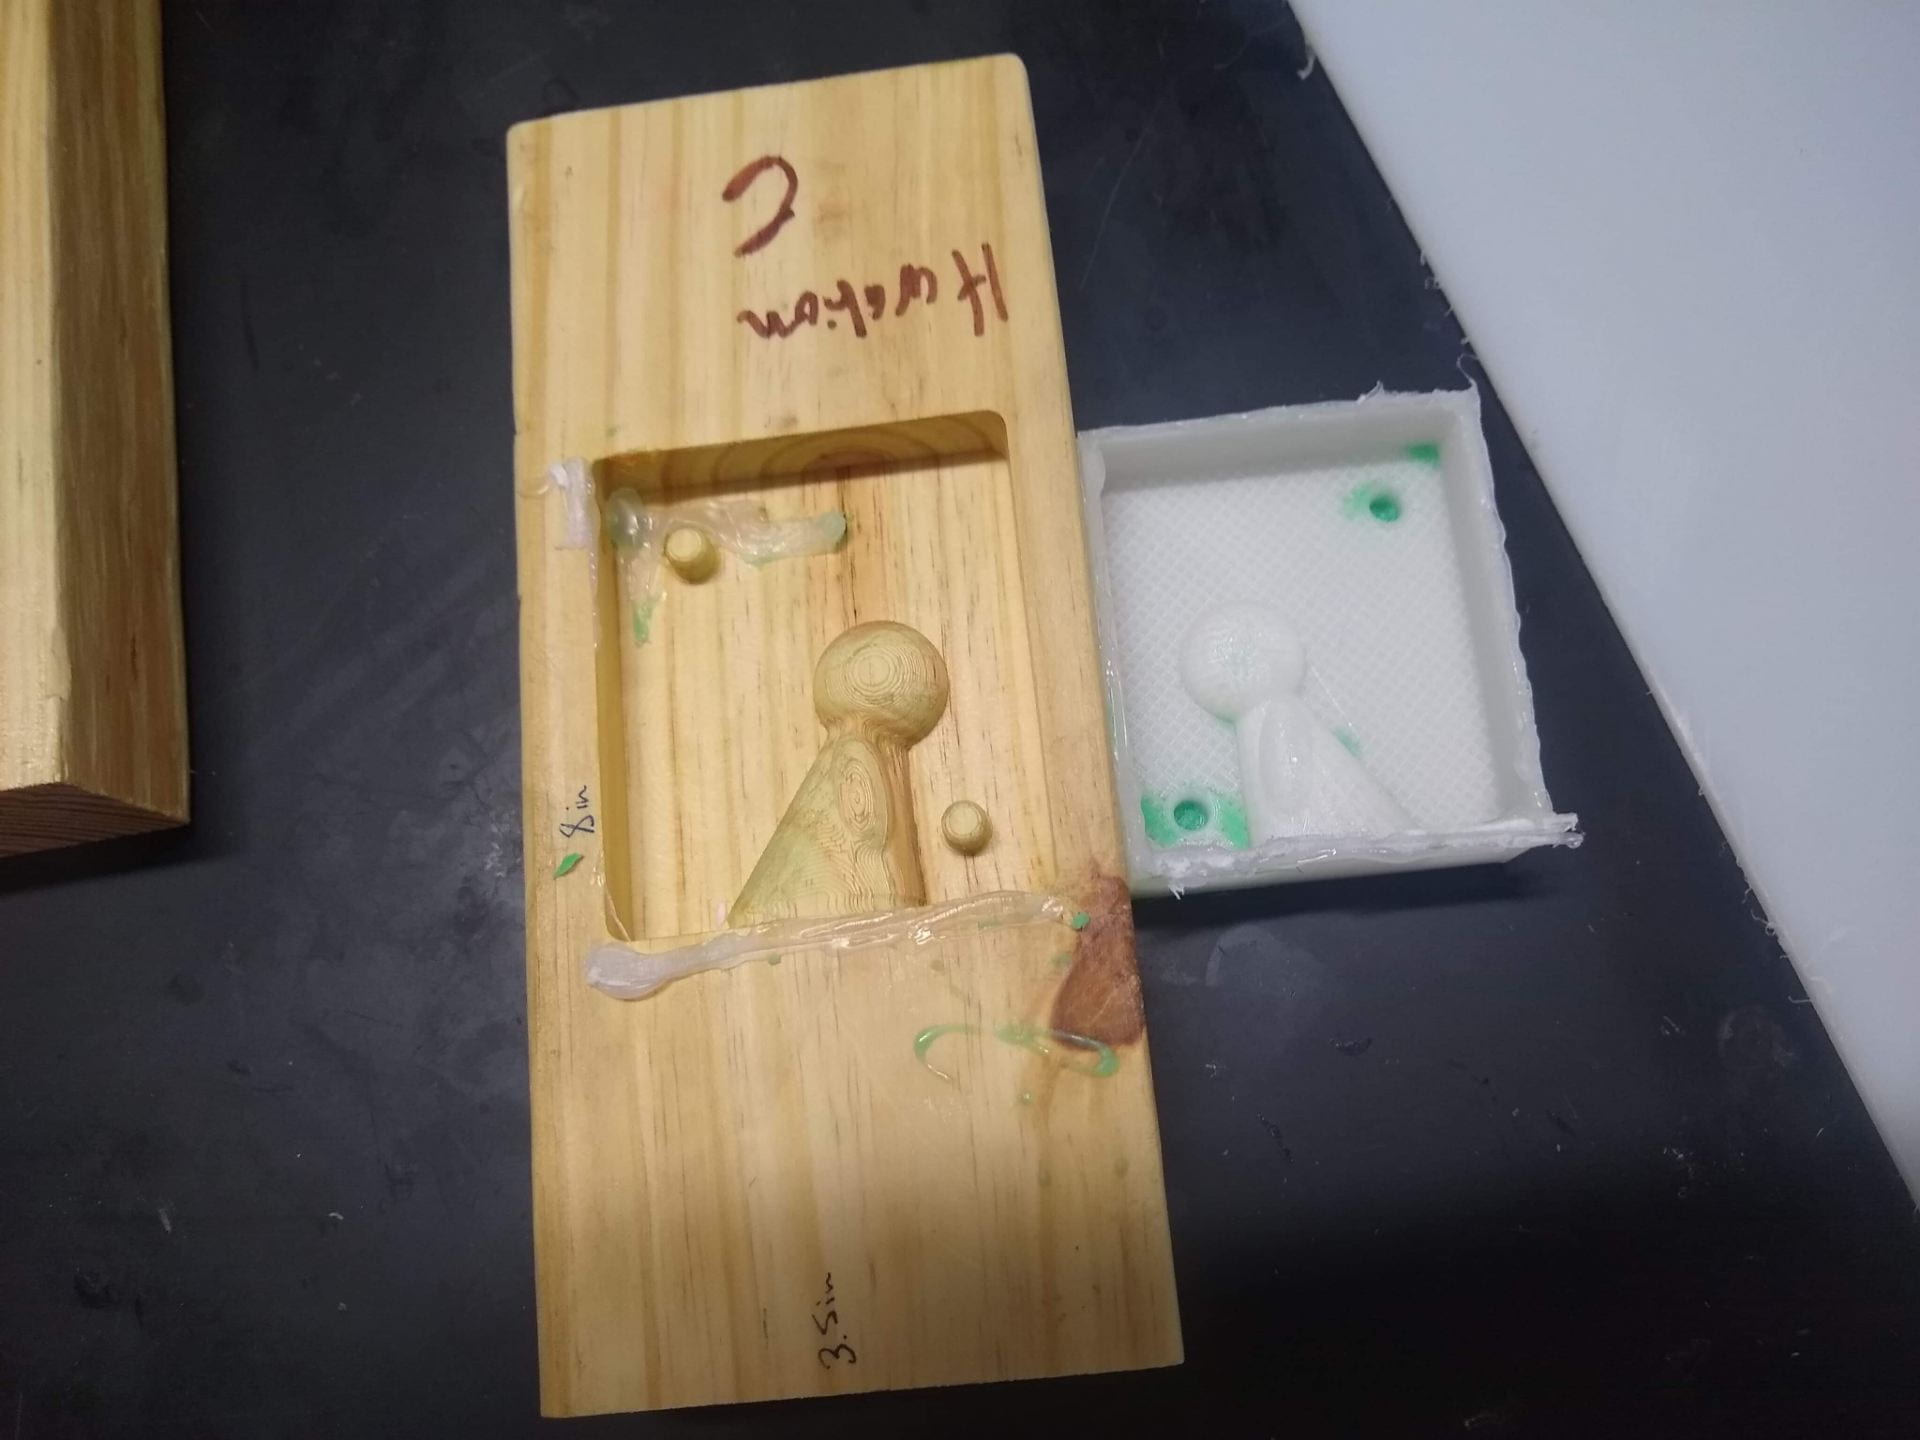
Next we needed to create the 3D print so that we could create the mold. This took us the only 3 iterations because we had figured a lot of the small details out using the CNC cuts. Our first 3D print fit the fourth iteration but because we had changed size between the fourth and fifth CNC machine iterations, it did not fit the final pieces. Our second 3D print was scaled to the correct size, but still had holes and pegs when we only needed holes. We also forgot to mirror the pawn. Our final iteration has only holes to match the pegs in iteration 6 of the CNC cut and includes a mirrored pawn. Our final iterations of the 3D print and CNC cut are shown below.
 All of the iterations can be seen below.
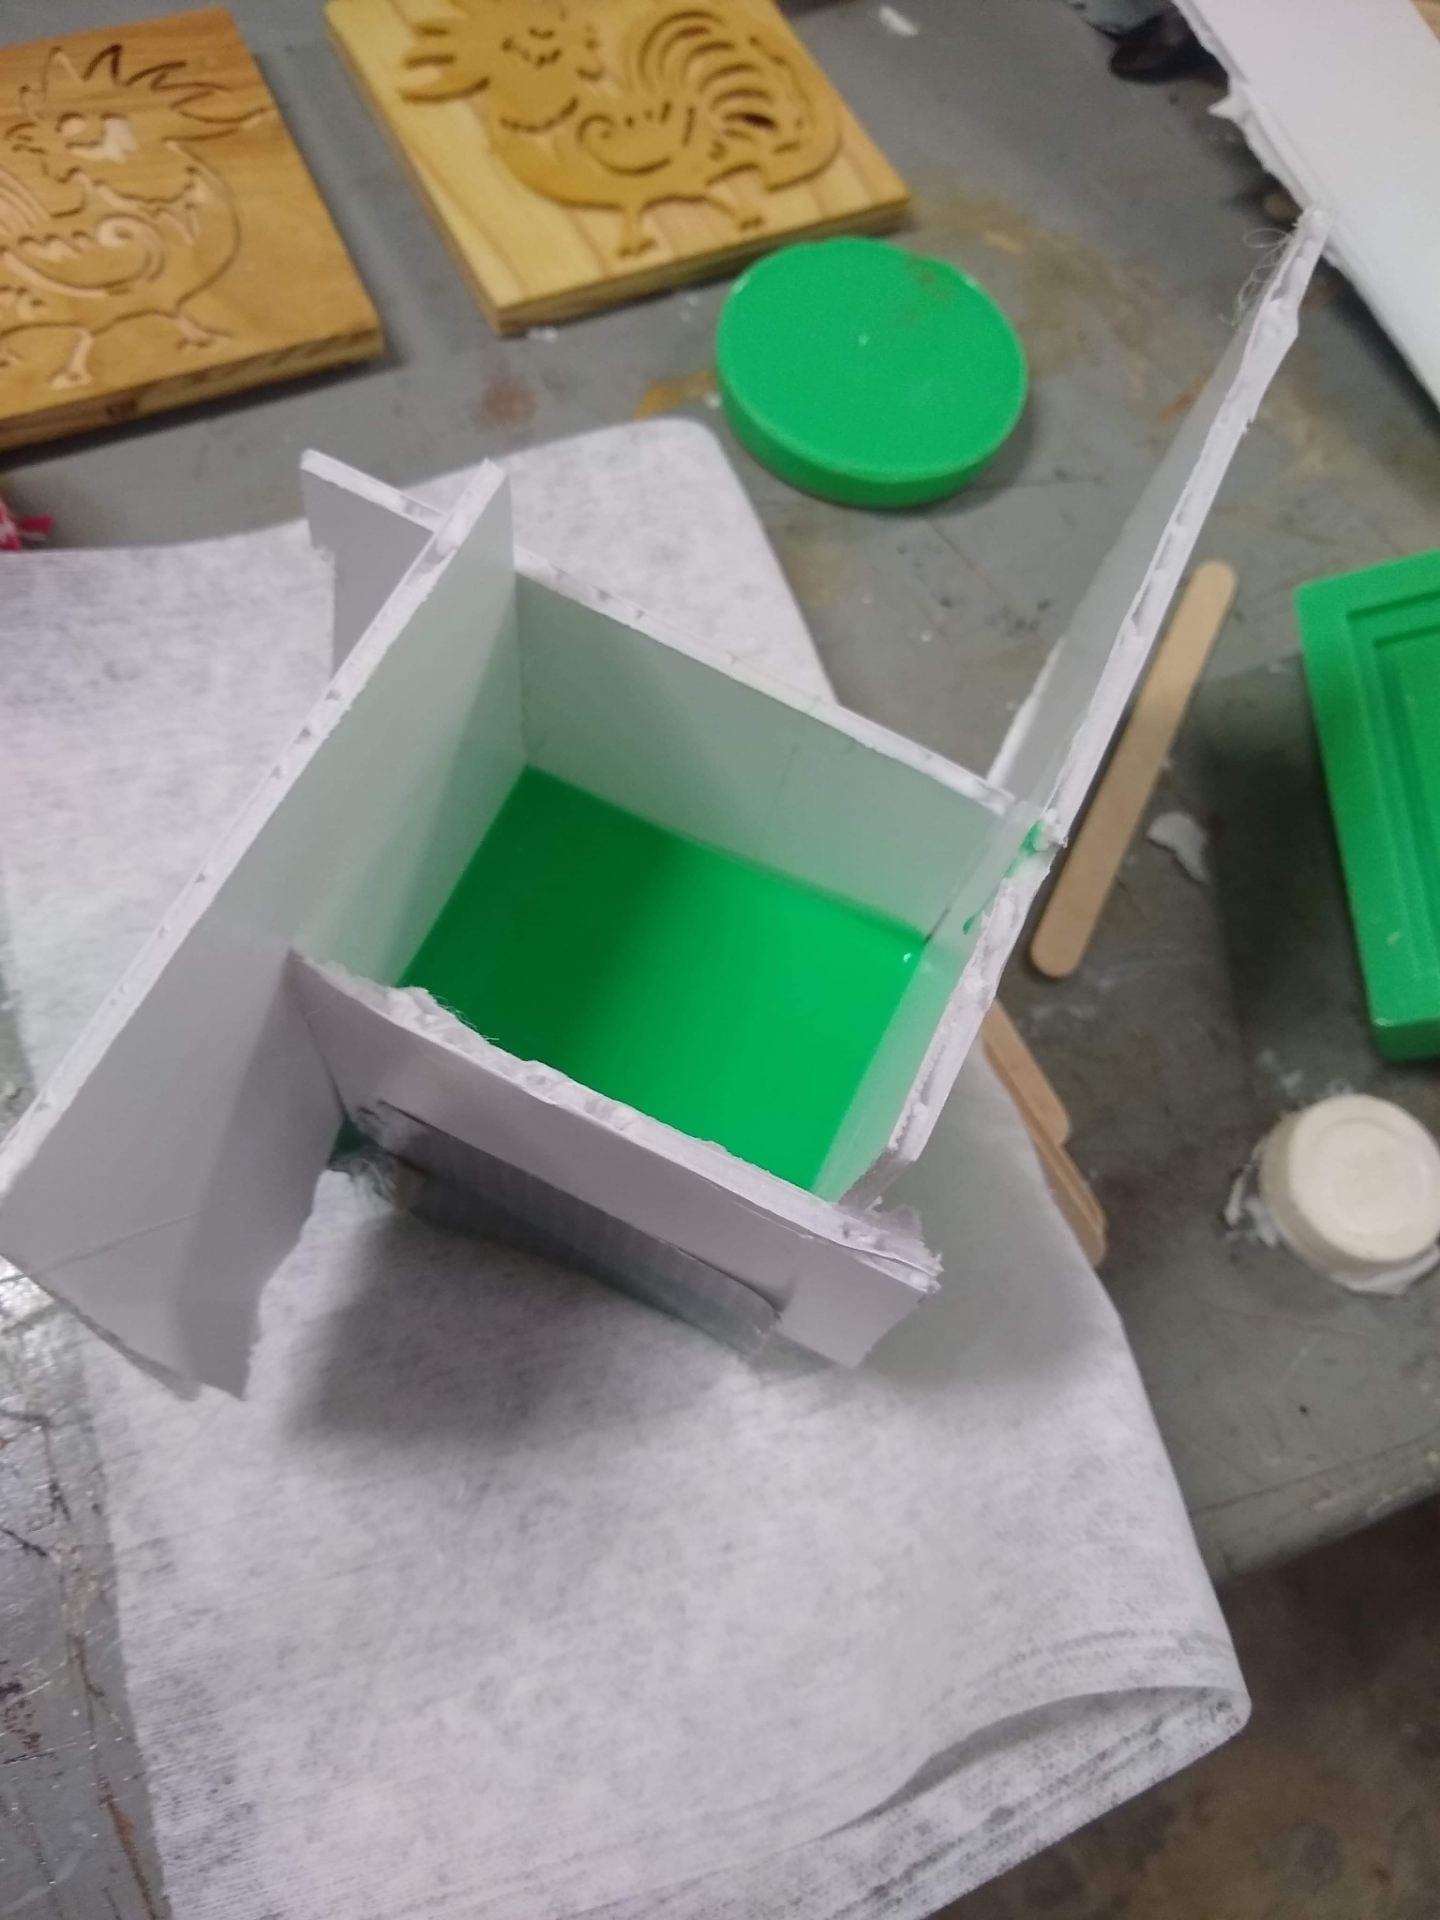
 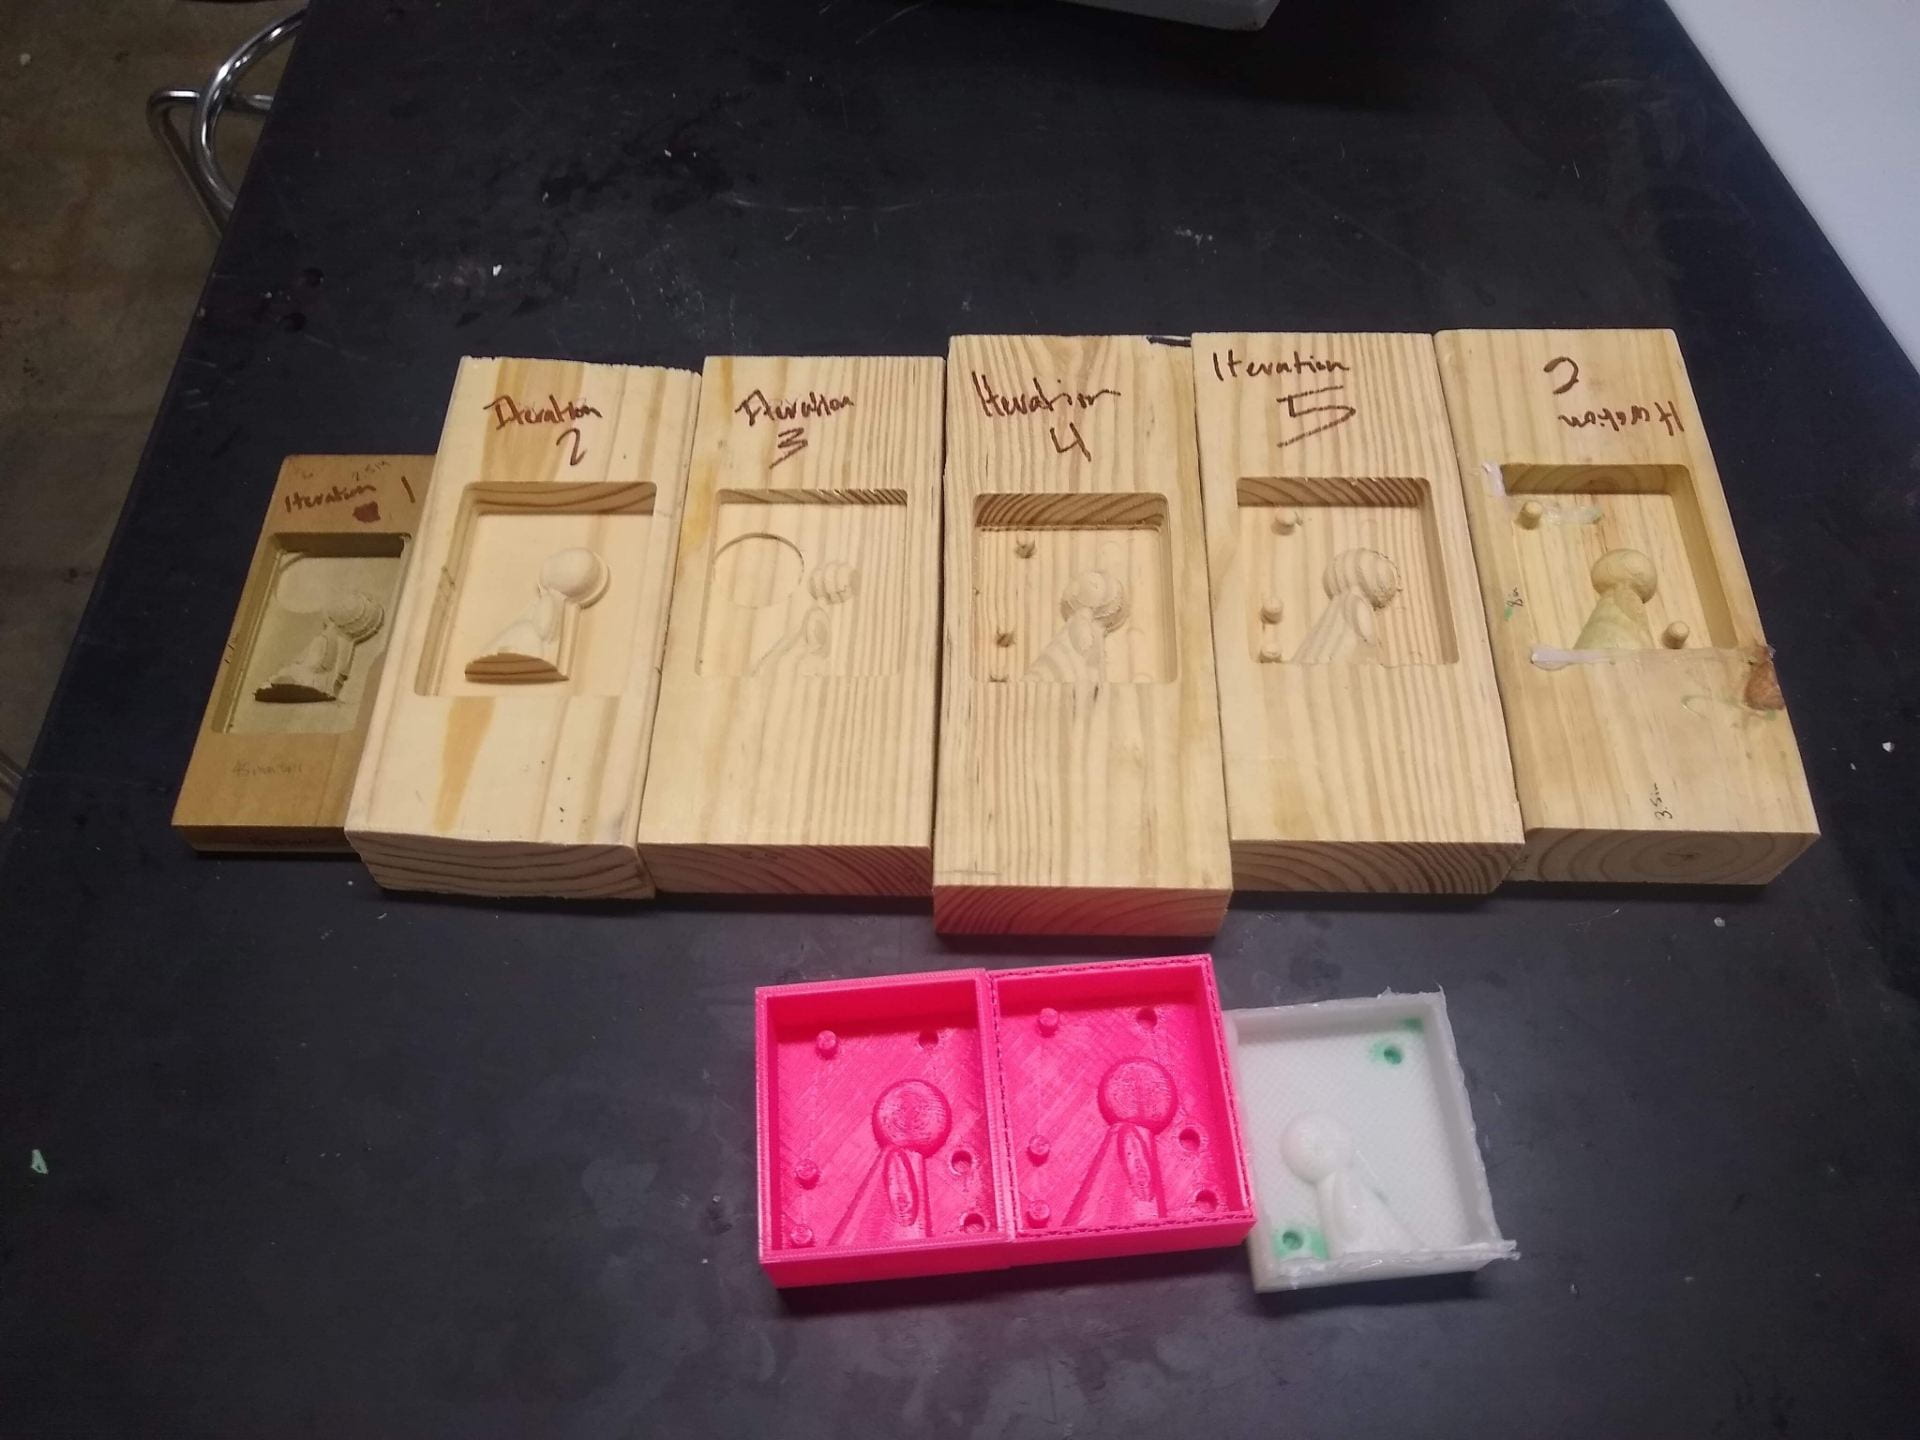 After we finished the 3D printing and CNC cuts on the Carvey, we moved on the pouring the silicon molds. Our first attempt failed because we didn’t build the walls up high enough. This caused the mold to not be thick enough, so when we tried to rubber band them together, the molds contorted. The failed attempt is shown below.
In order to build up the walls so that the mold would be thicker, we hot glued walls together using the box-of-indeterminate-size technique. Our final silicon molds are pictured below. 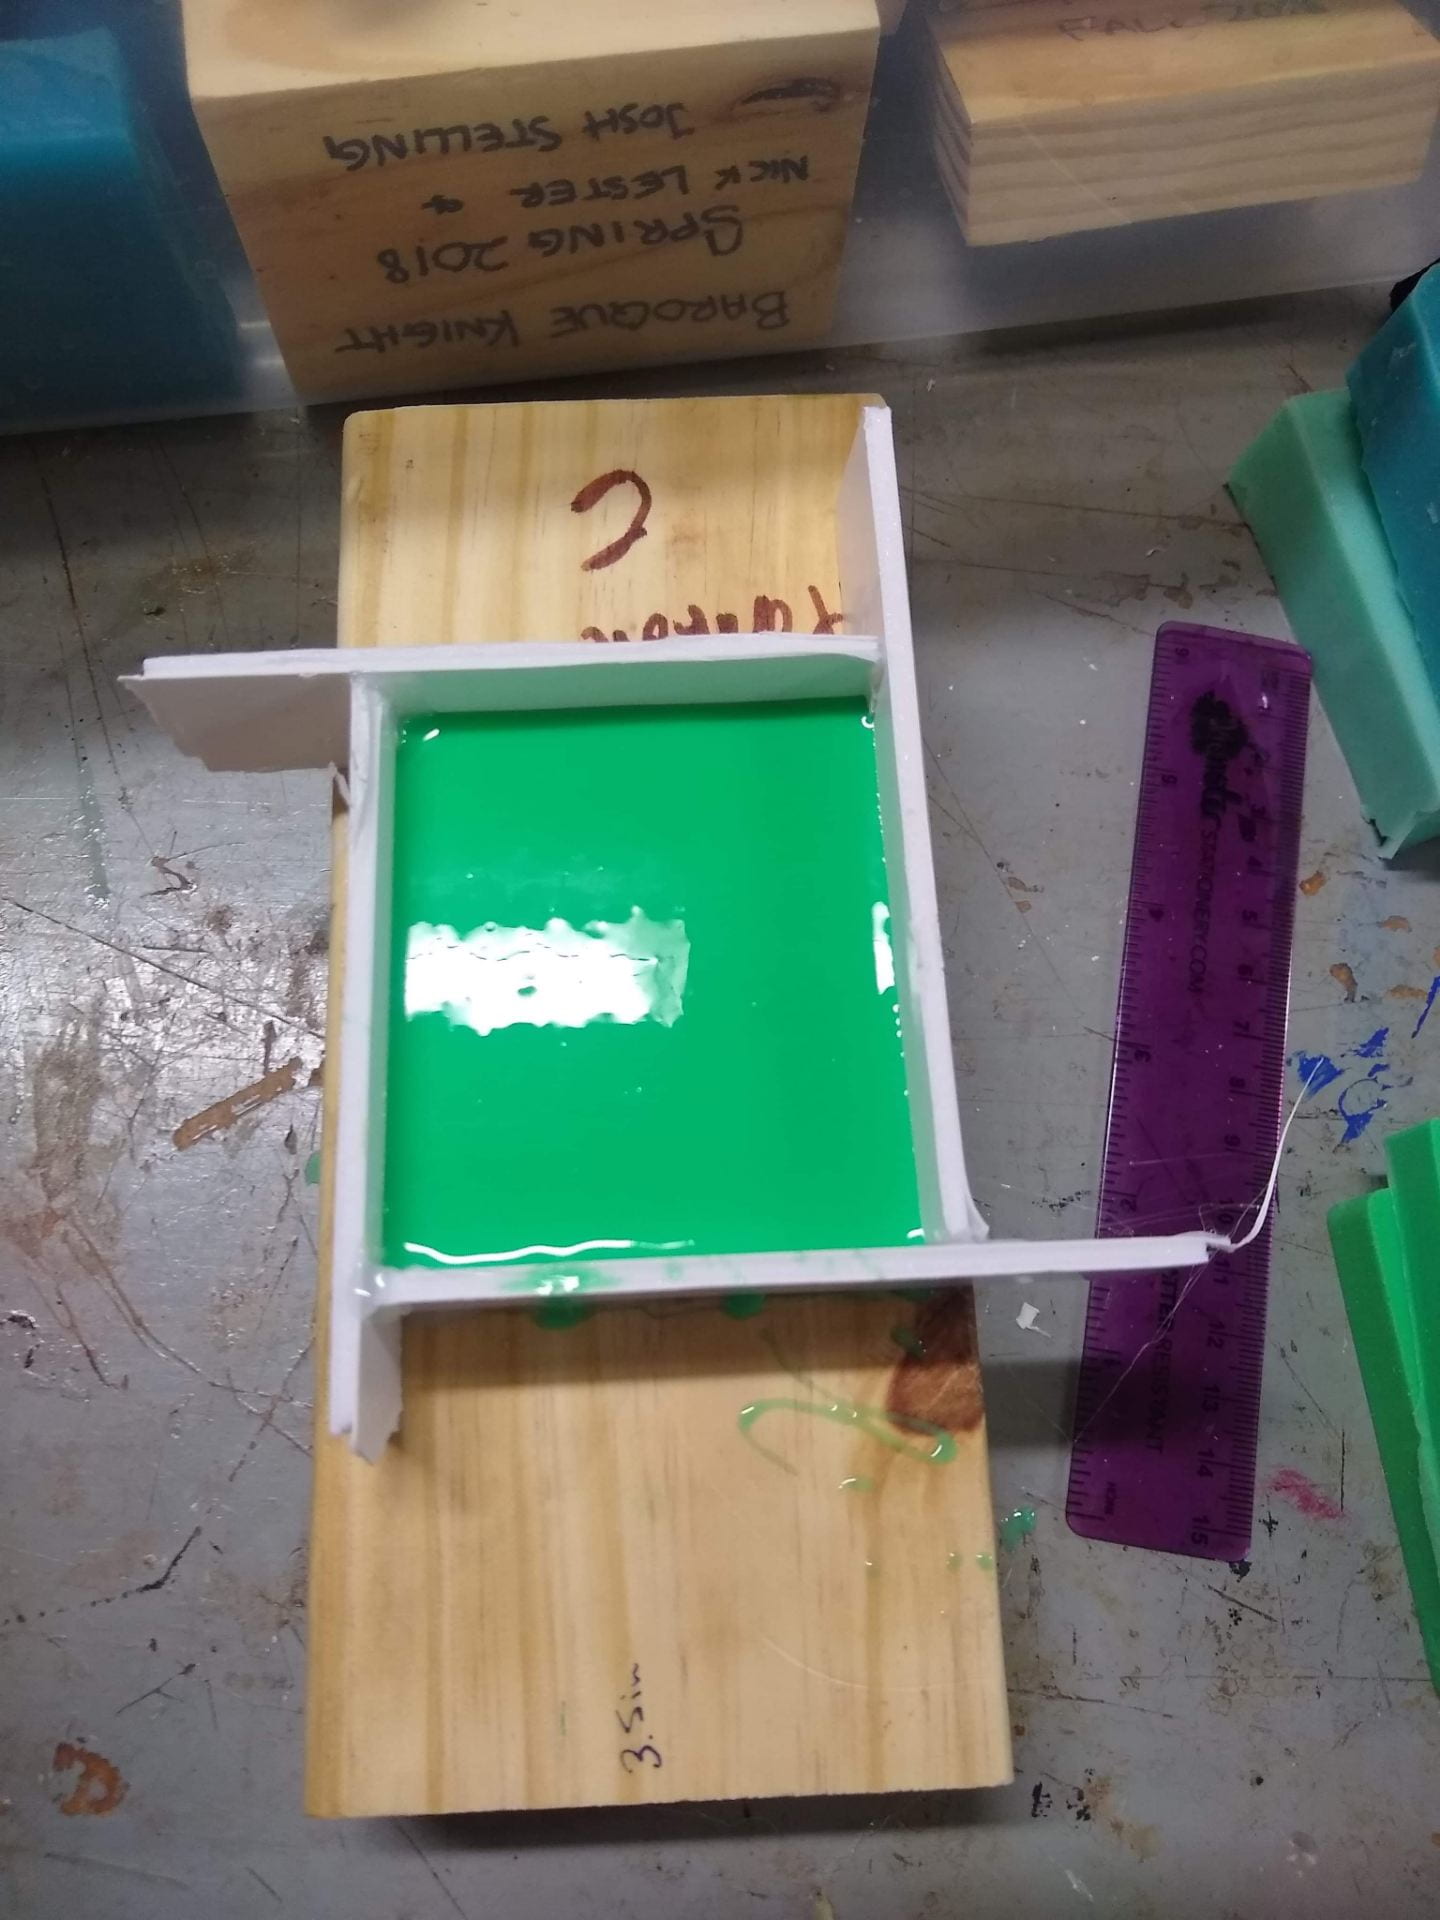
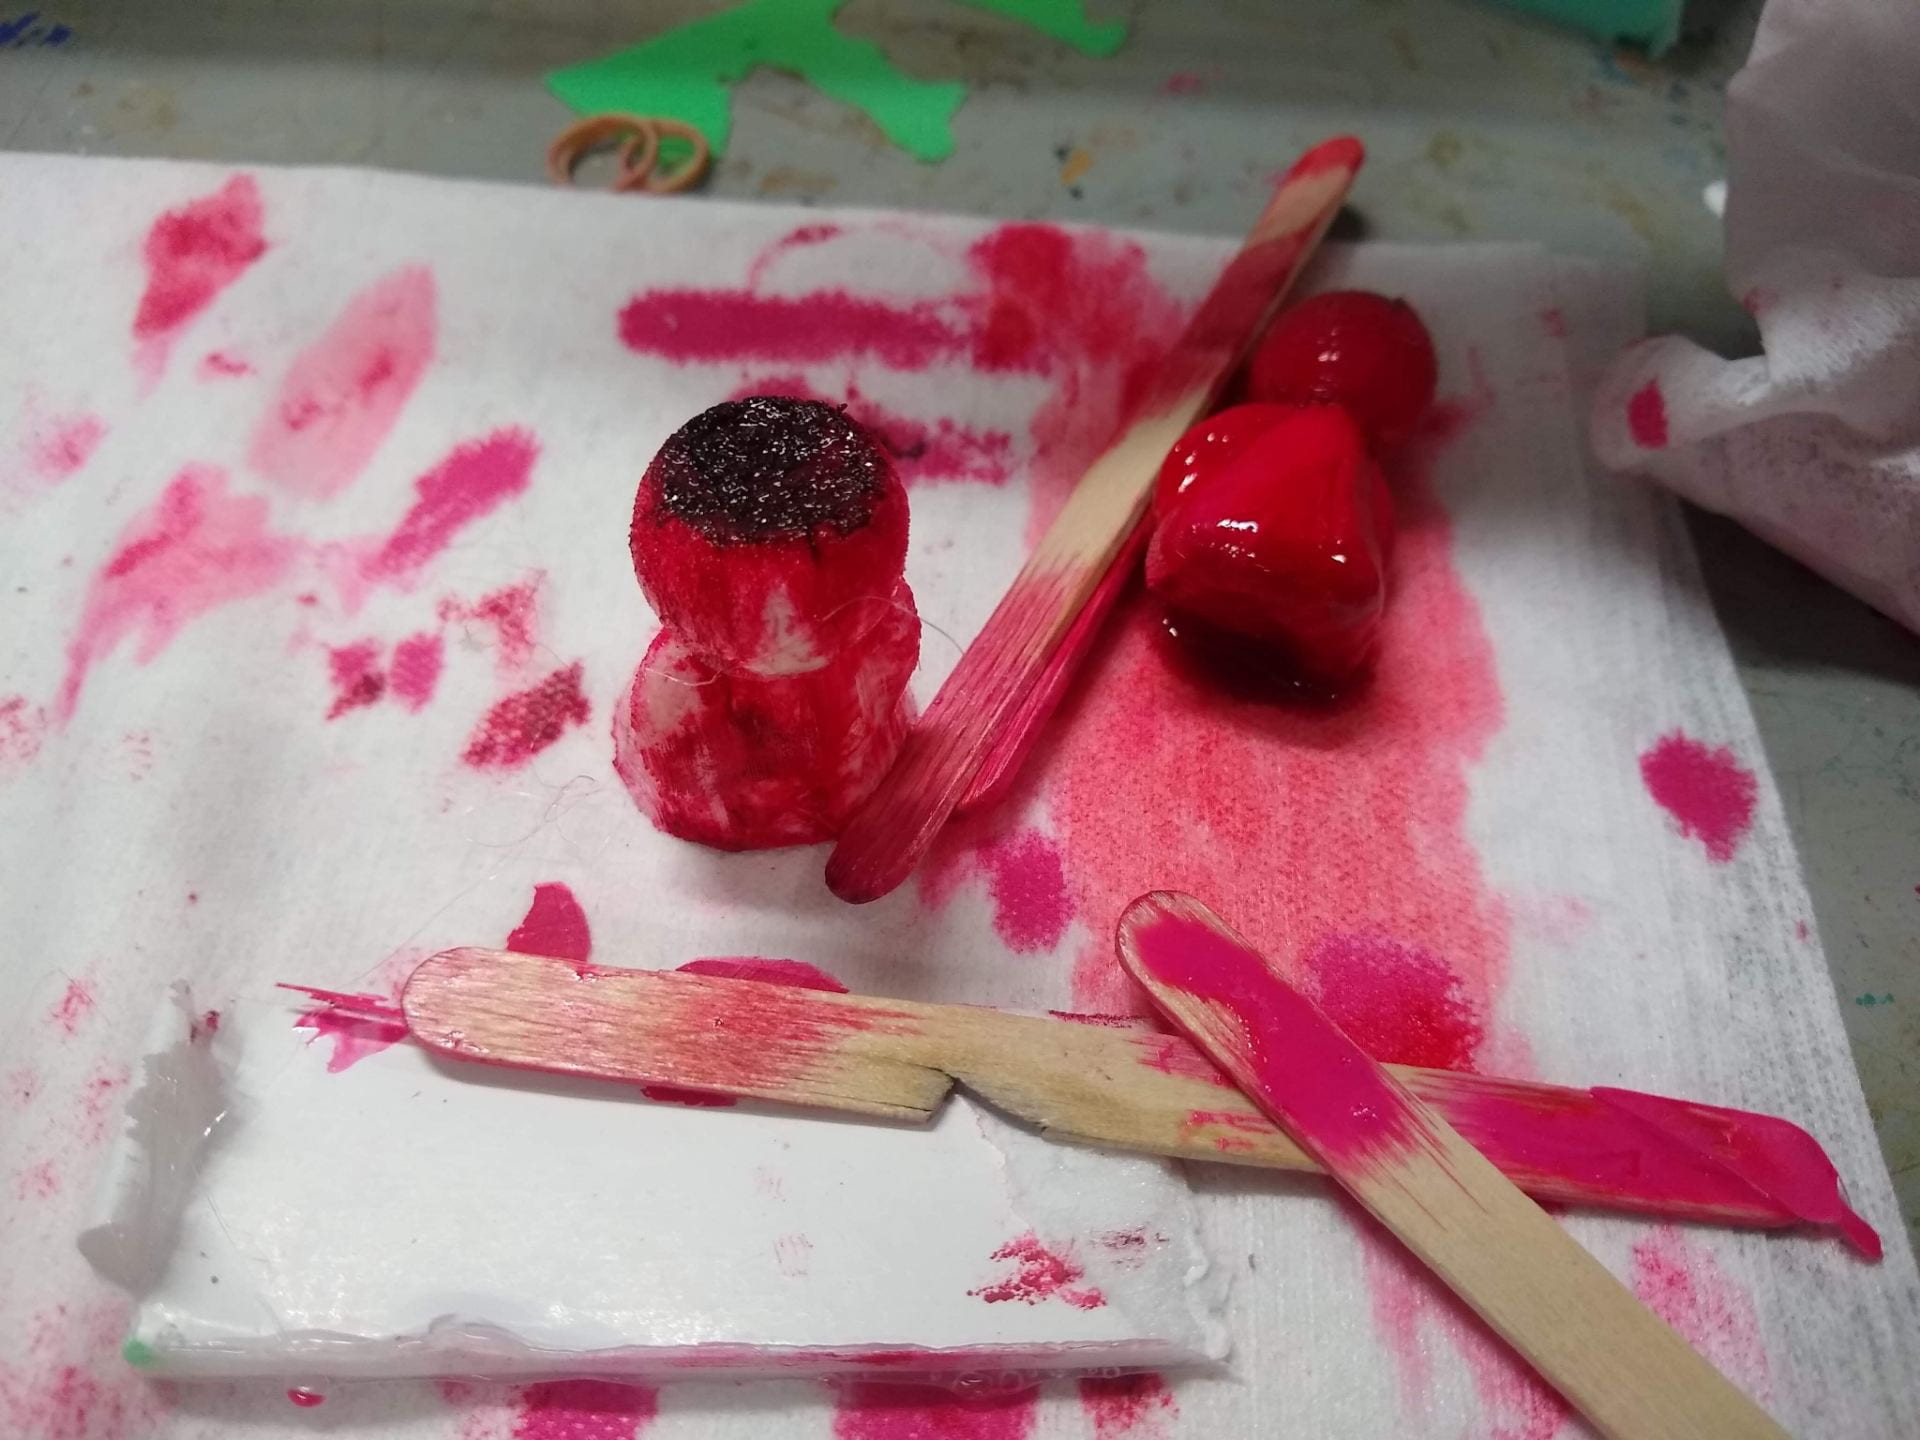
After we let the molds set overnight, we began to cast the pawns in them. We chose to dye our pawns a dark pink using the red dye. Despite having the pegs and holes, we still had some issues lining up each half of the mold, but after multiple tries we figured out how to do it quickly. We waited 30 minutes for the first couple pawns to fully cure but soon realized that it only took about 10 minutes for the pawns to harden. 
Some of our notable failures are pictured below. In both of these cases, we didn’t mix the liquid plastic well enough for the reaction to happen.
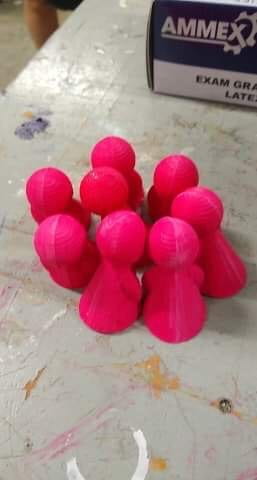
After our pieces hardened, we sanded down the seams and bottom to give the pawns a smoother look. Then we washed them to restore the color. A picture of our final pawns is shown below.
Altogether, we spent 15 hours each working on this project, most of which was working on the Carvey. If we pay ourselves $15 an hour for our skilled labor, this comes out to $450. We used almost 3.5 feet of 2×4 wood after all the iterations, which costs about $1 at Home Depot. The liquid plastic that we used costs $123 on Amazon. Since we only used a little bit of the kit, we’ll say the price comes out to about $40. The silicon mold materials cost $37 on Amazon for a smaller kit than the one we used. We can say that we used about half of this smaller kit, so the cost would come out to about $20. We estimate the dye to cost about $2. Since we’re OEDK users, we are not charged for the use of the Carvey, 3D printer, or computer lab. Taking all of this into account, the total price would be $513, which comes out to about $64 per pawn. Something important to note is that because so much of the price comes from setting up, each additional pawn would be cheaper.
