Although it is close to the end of the semester, David and I were both very resPAWNsible and completed this project!
For this project, we were tasked with creating chess pieces using molds. In total, we made eight chess pieces (figure 1).
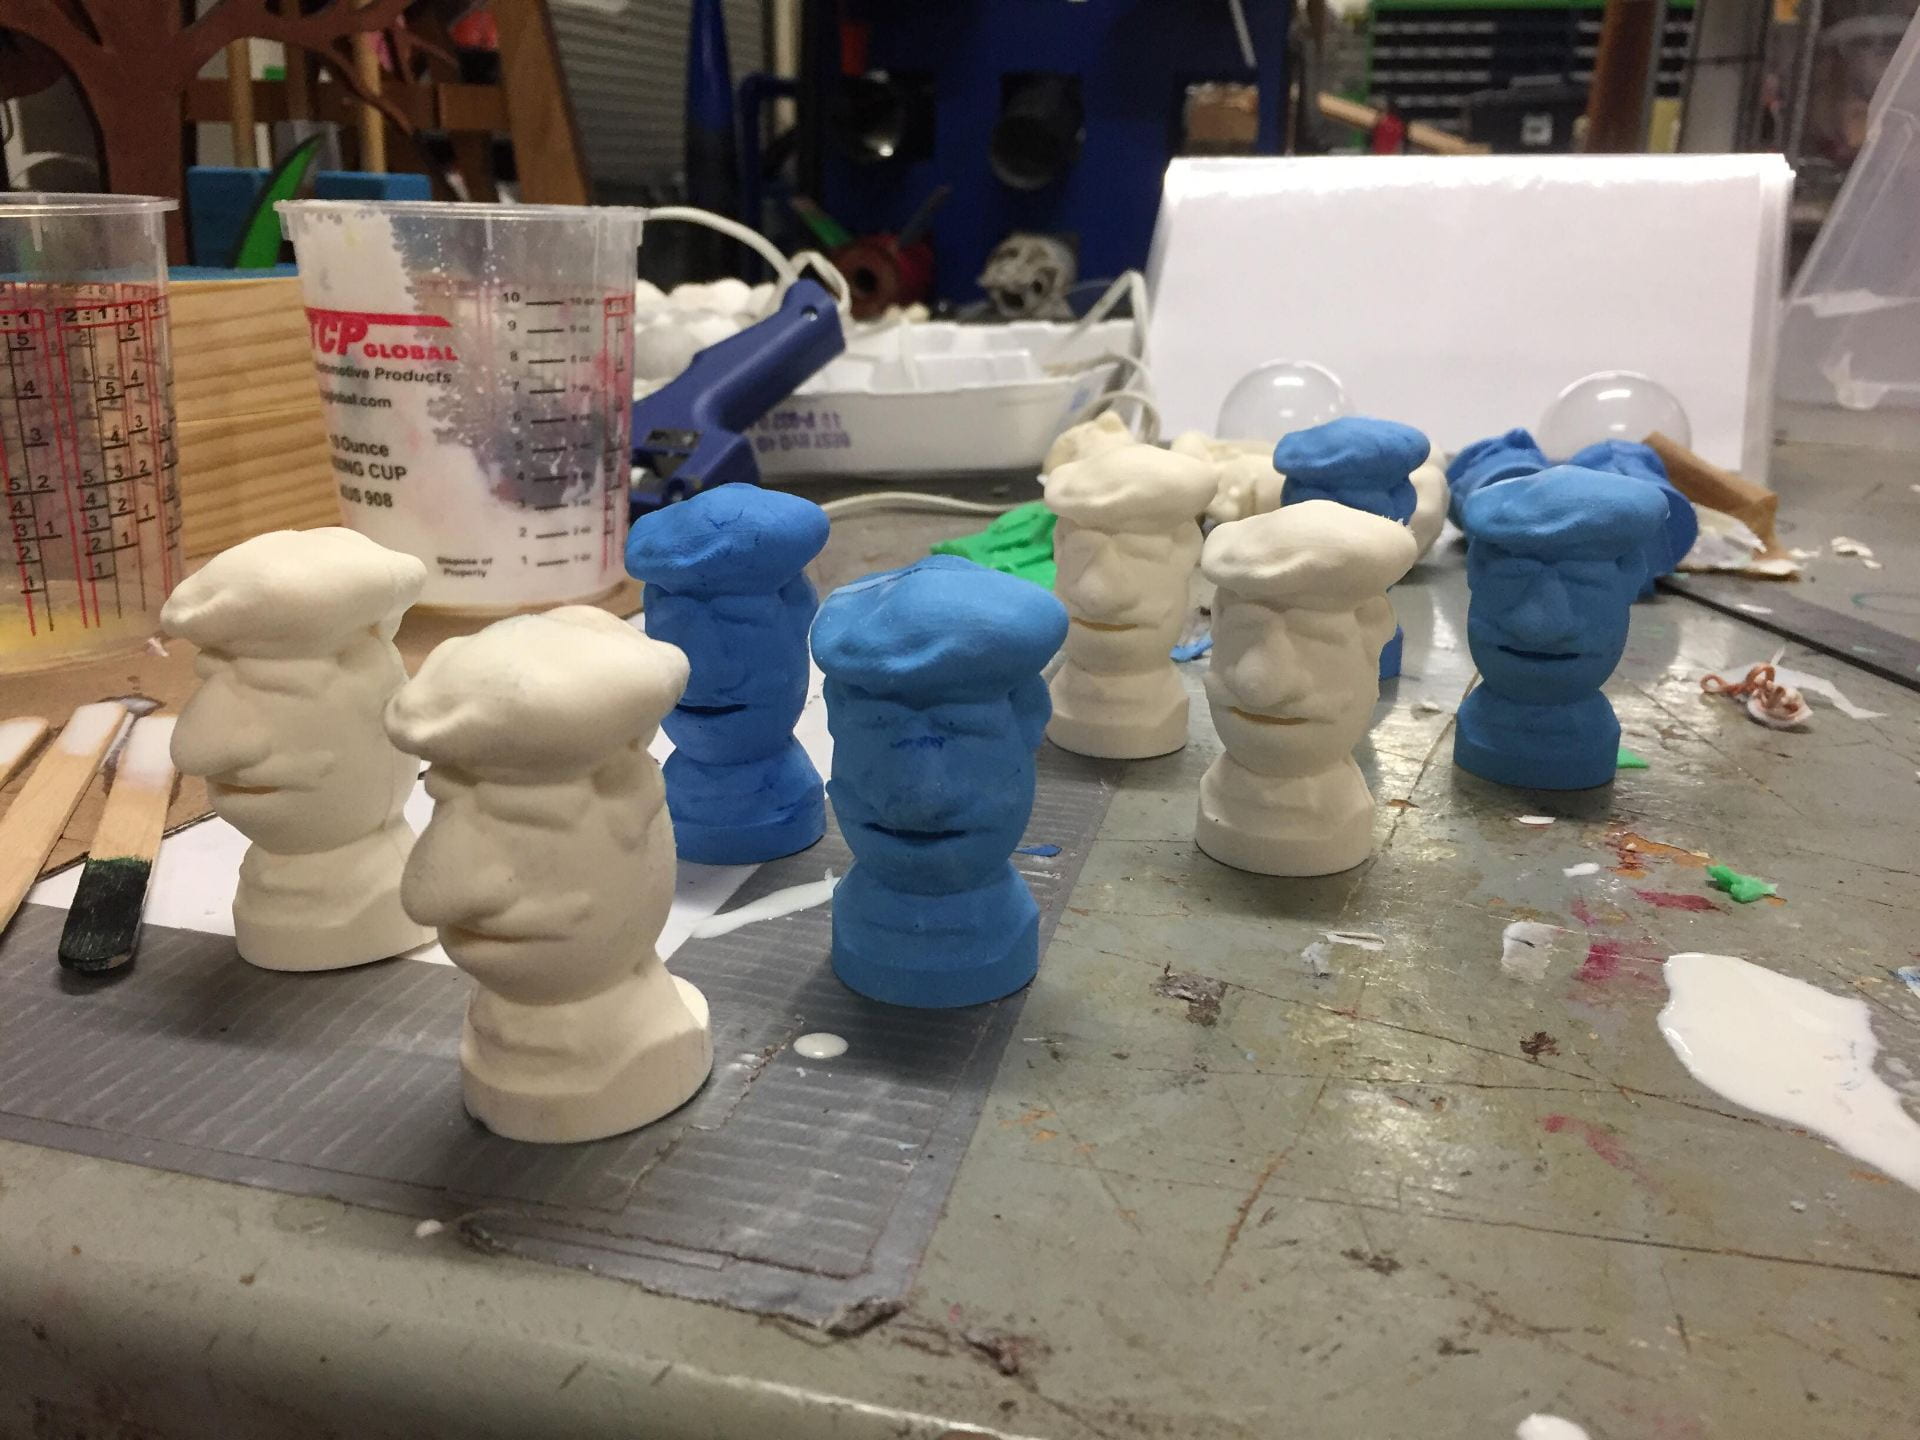
Figure 1: Our eight chess pieces made by molding
The first steps to developing these molds were using a CNC machine and a 3D printer to develop two halves of the mold flask.
CNC
Developing the g-code necessary to CNC half of the mold flask was the most difficult aspect of this part. Because we wanted to use only one step (as opposed to roughing then smoothing), we had to combine the roughing and smoothing process. To do this, we lowered the “fine step down” distance and changed “leave stock” to 0mm. This ensured that the mold flask would be detailed enough. In total, the Carvey took 1.5 hours to carve, but we ended up with a detailed mold flask (figure 2, 3)
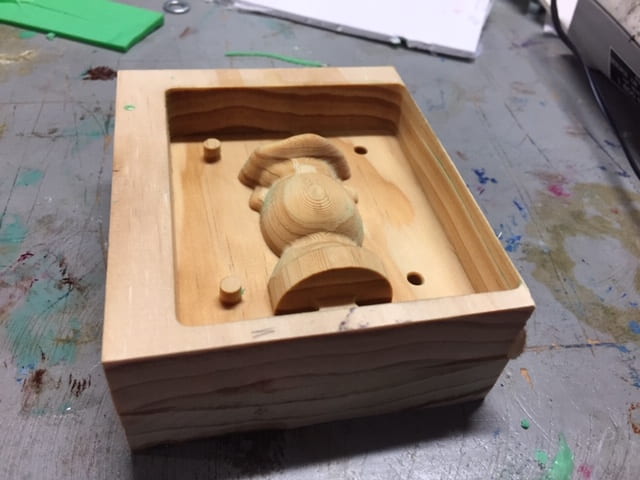
Figure 2: Half of the mold flask was made through CNC
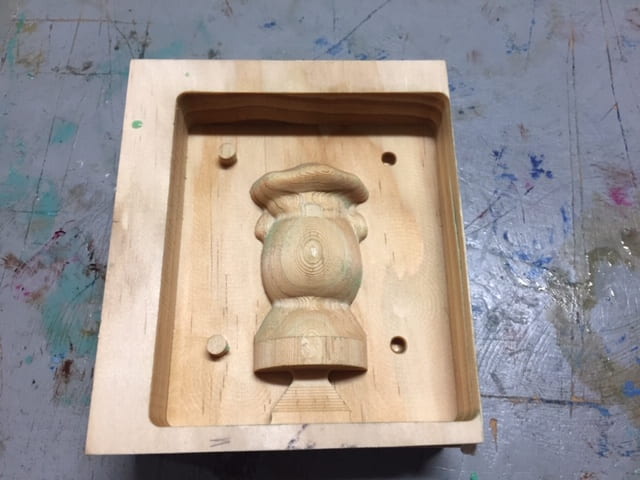
Figure 3: Half of the mold flask was made through CNC
3D Printing
To manipulate the Solidworks part for 3D printing, we simply had to cut our CAD file in half. This was fairly simple. Then, we input the STL version of this file into the 3D printing interface, and edited the print settings. Infill was set to only 10% because it was not important that this was structurally sound. Because we wanted to see the difference in 3D print quality (compared to the machines used for our 3D printing unit), we used the carbon fiber printer. The quality was incredible because we could not see any layers. This produced the other half of the mold flask (figure 4, 5).
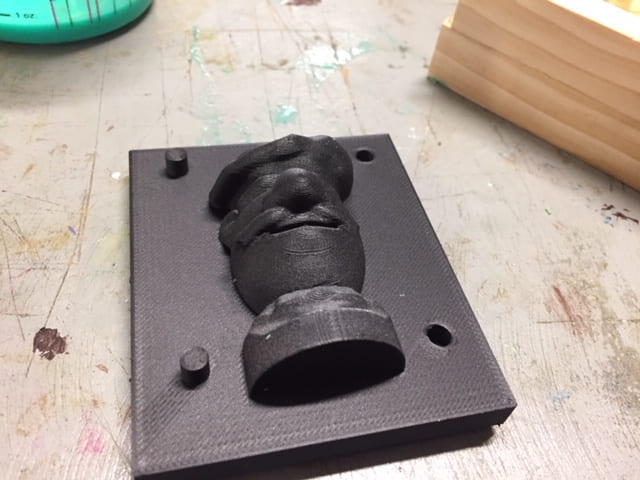
Figure 4: Half of the mold flask was made using 3D printing
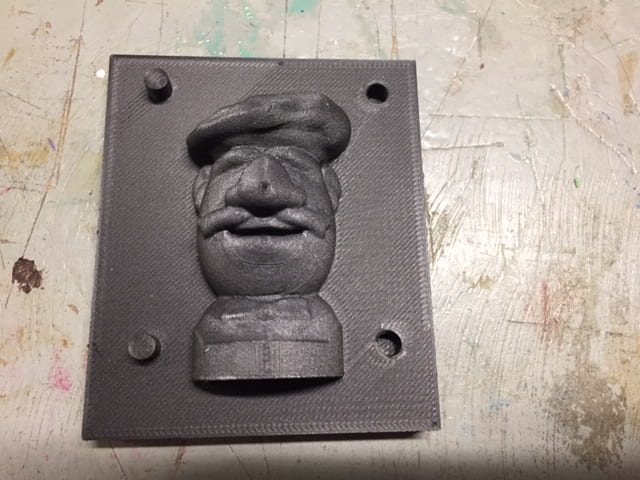
Figure 5: Half of the mold flask was made using 3D printing
