Our final project in Engi 210 was to make eight chess pawns by using a CNC machine, 3D printer, and molding and casting techniques. My partner, Spencer, and I decided to model a Totoro, a popular anime character for our pieces.
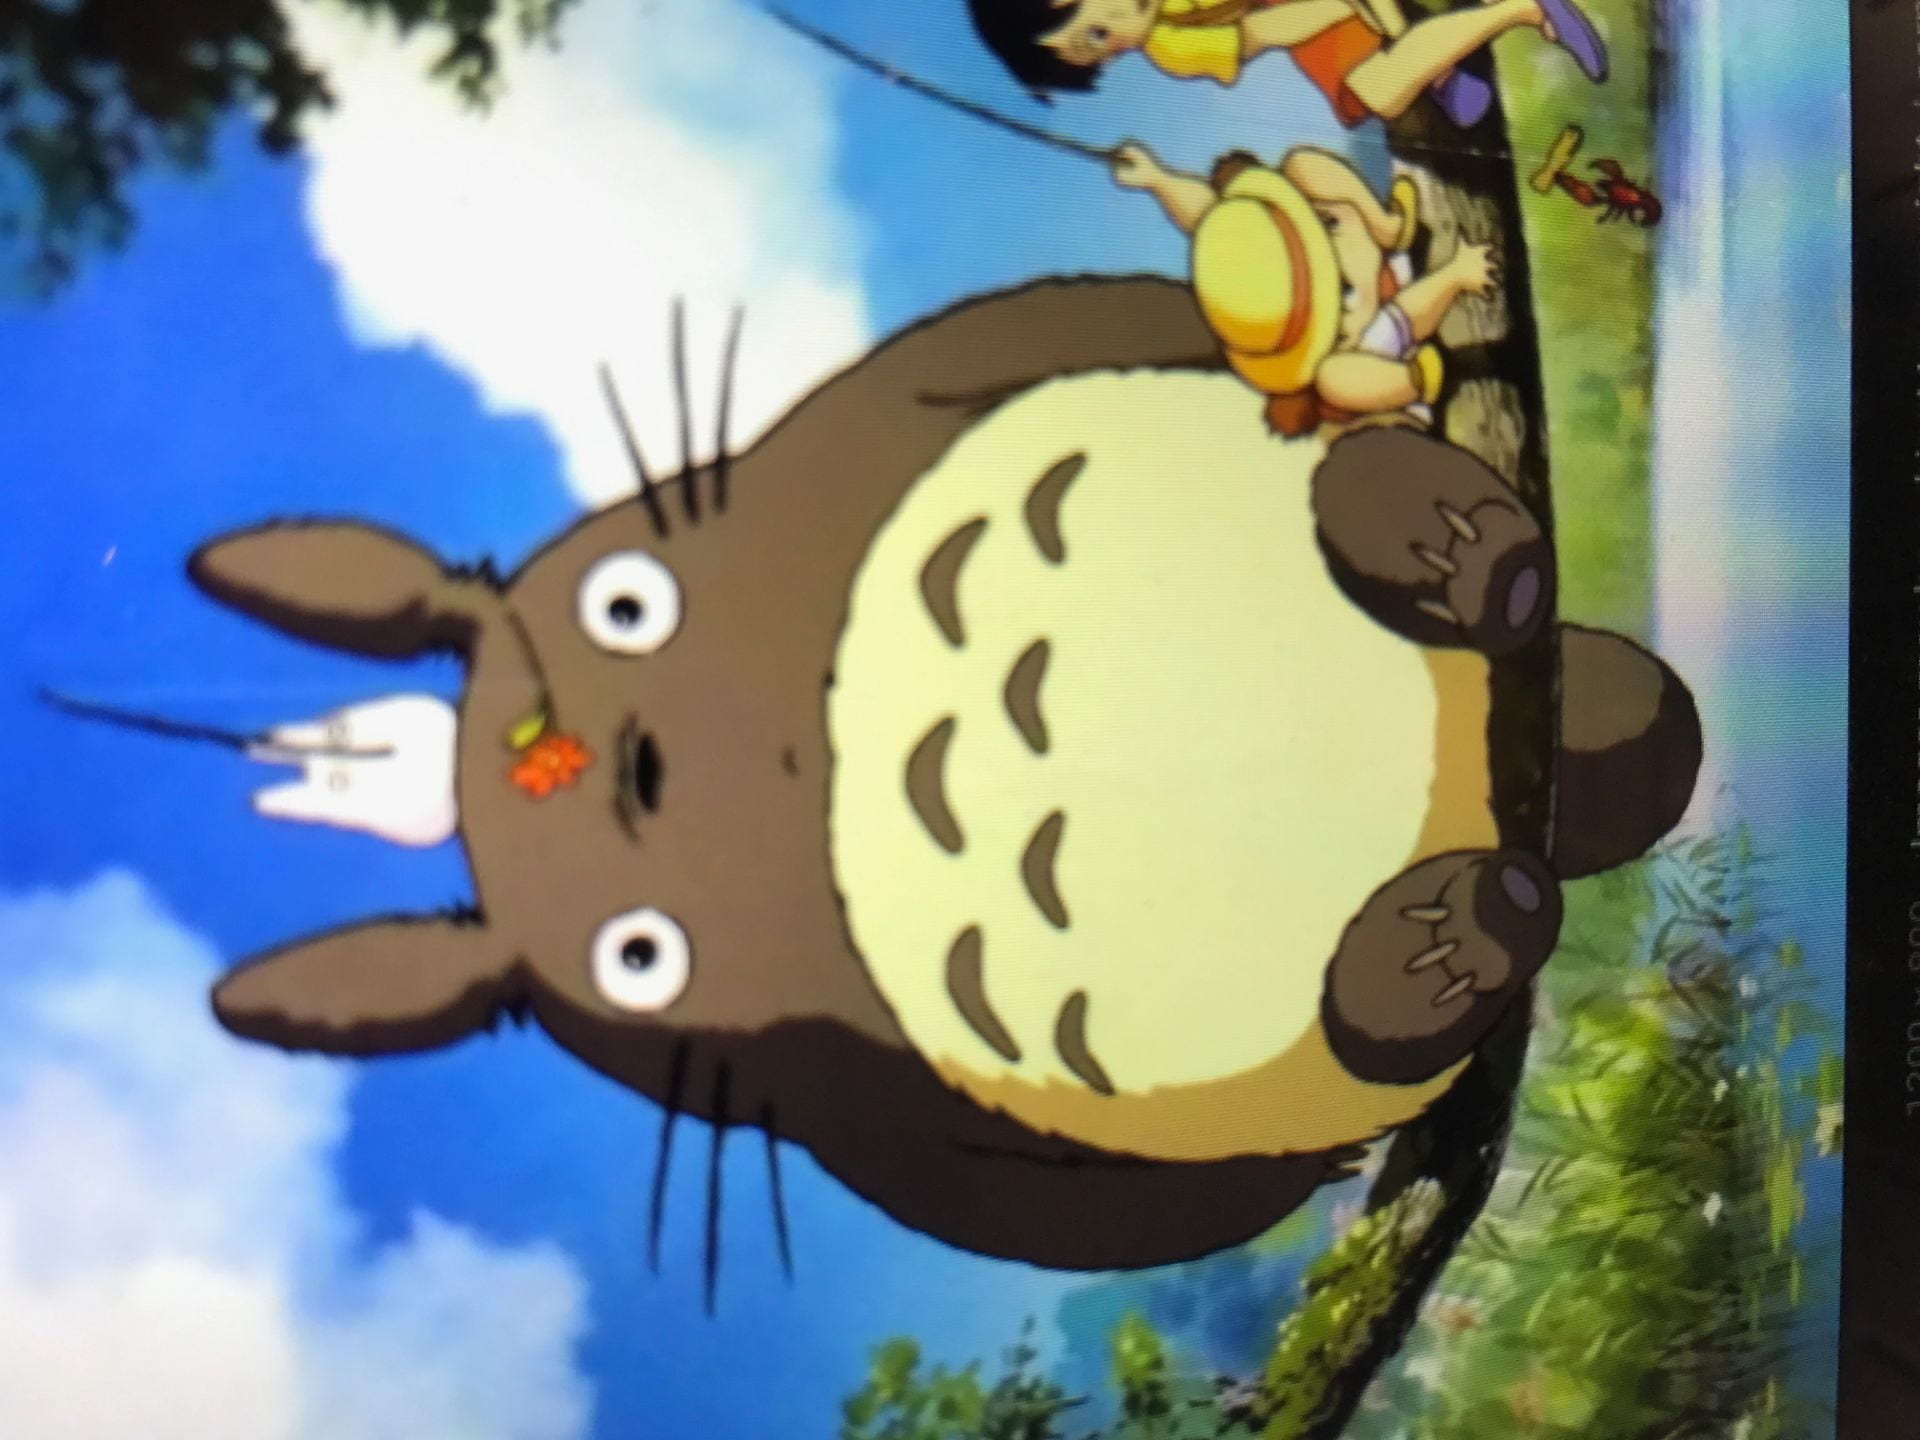
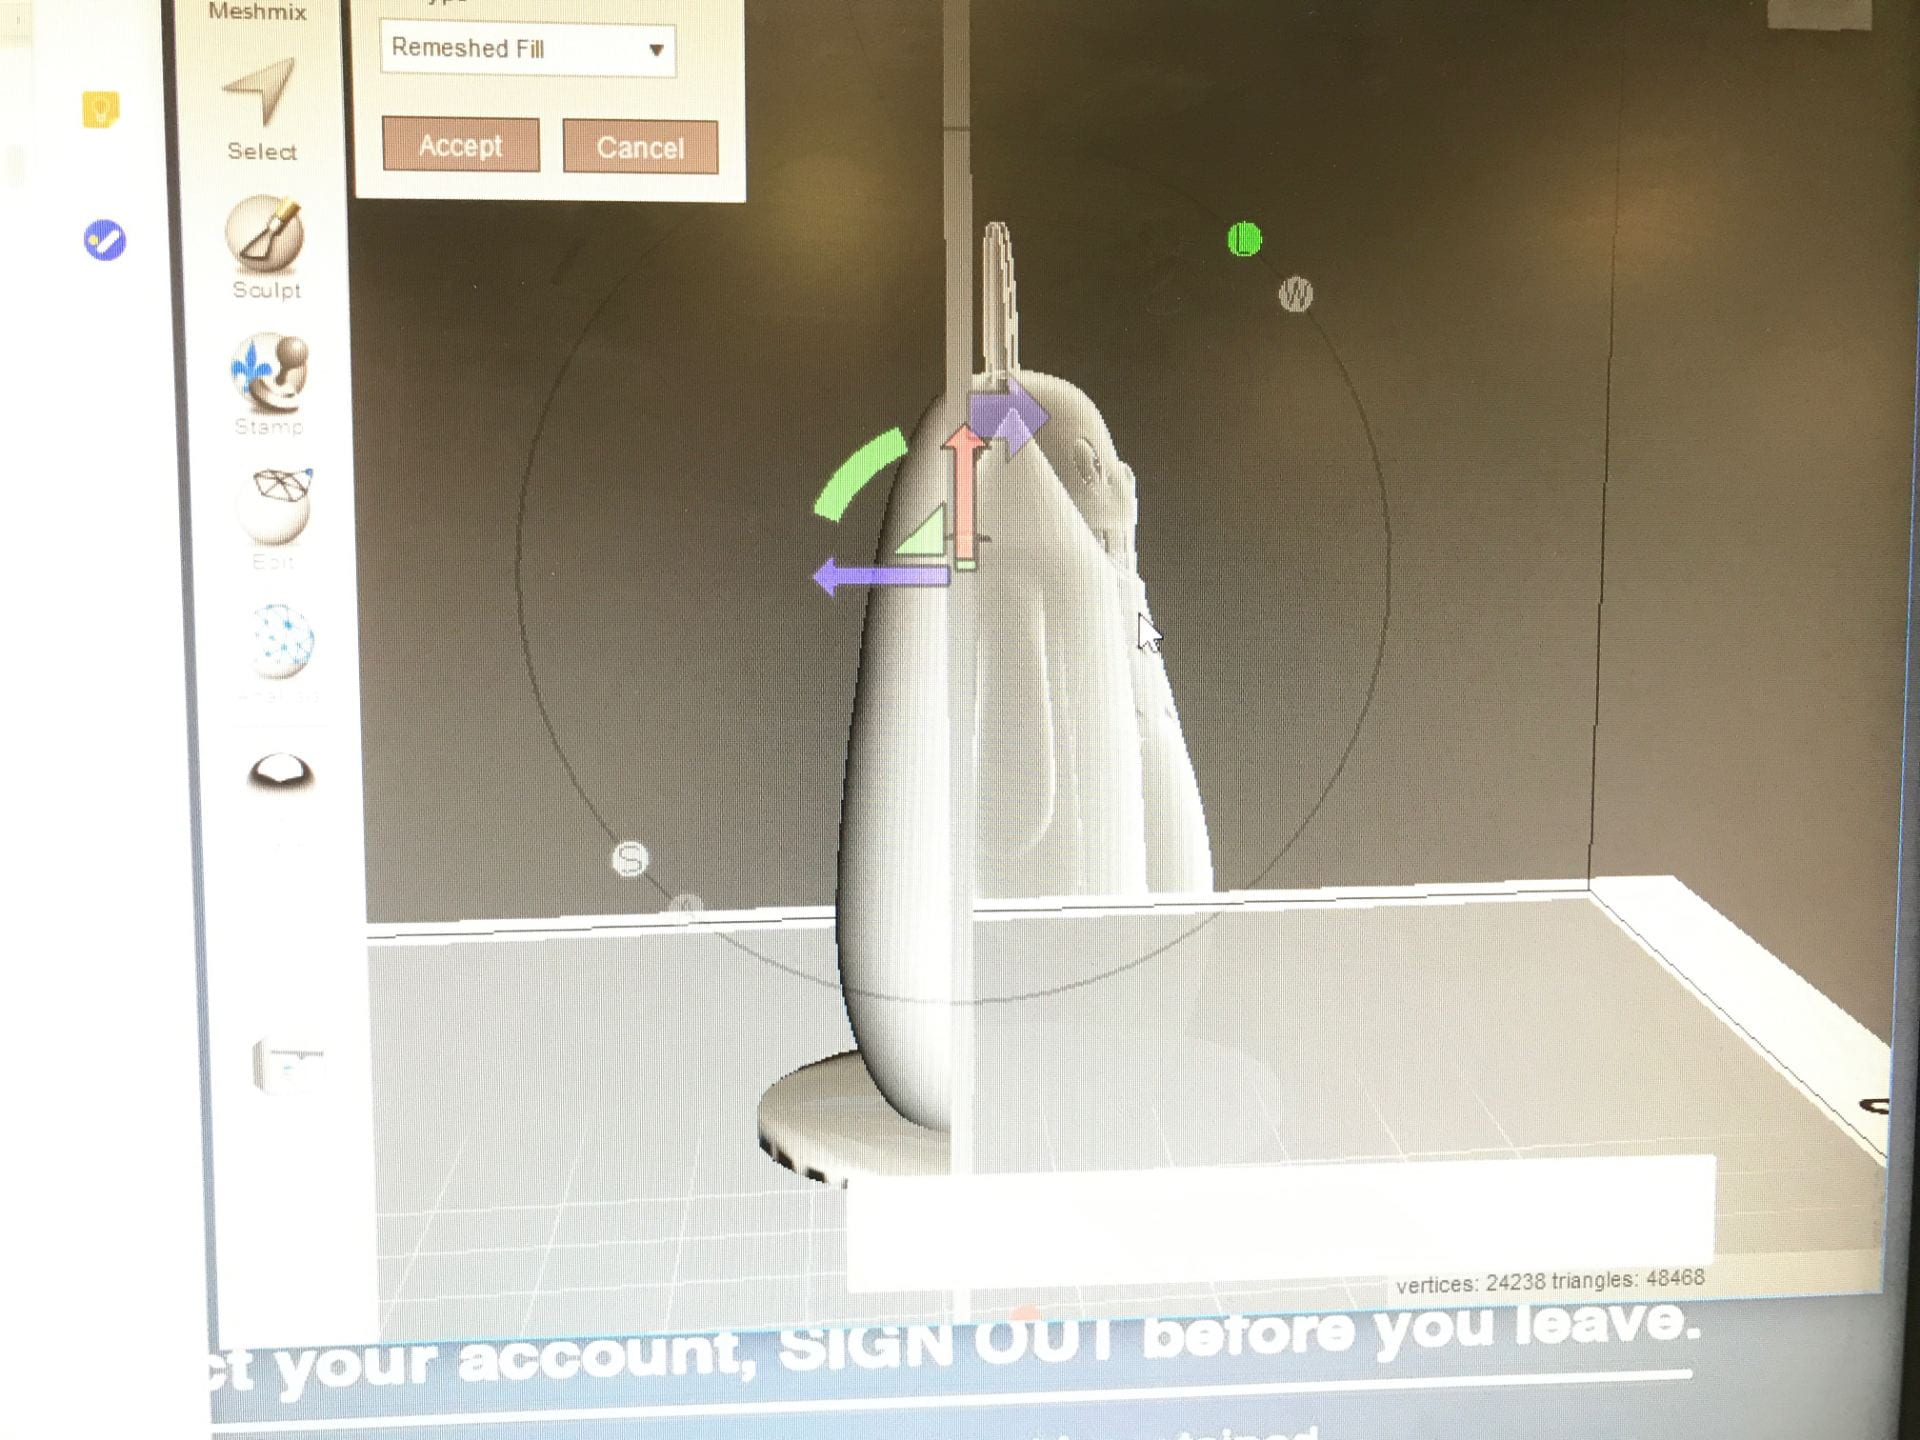
To start off, we found a beautiful Totoro on Thingiverse which we imported into Meshmixer. There, we cut our Totoro in half along the back, right behind the ears. We chose this way to split up our Totoro because it has many delicate features such as eyes, a small nose, and especially ears that the CNC machine would have struggled with. Now, all of these delicate features would be done on the 3D printer and the CNC would only have to take care of the back, which is much simpler.

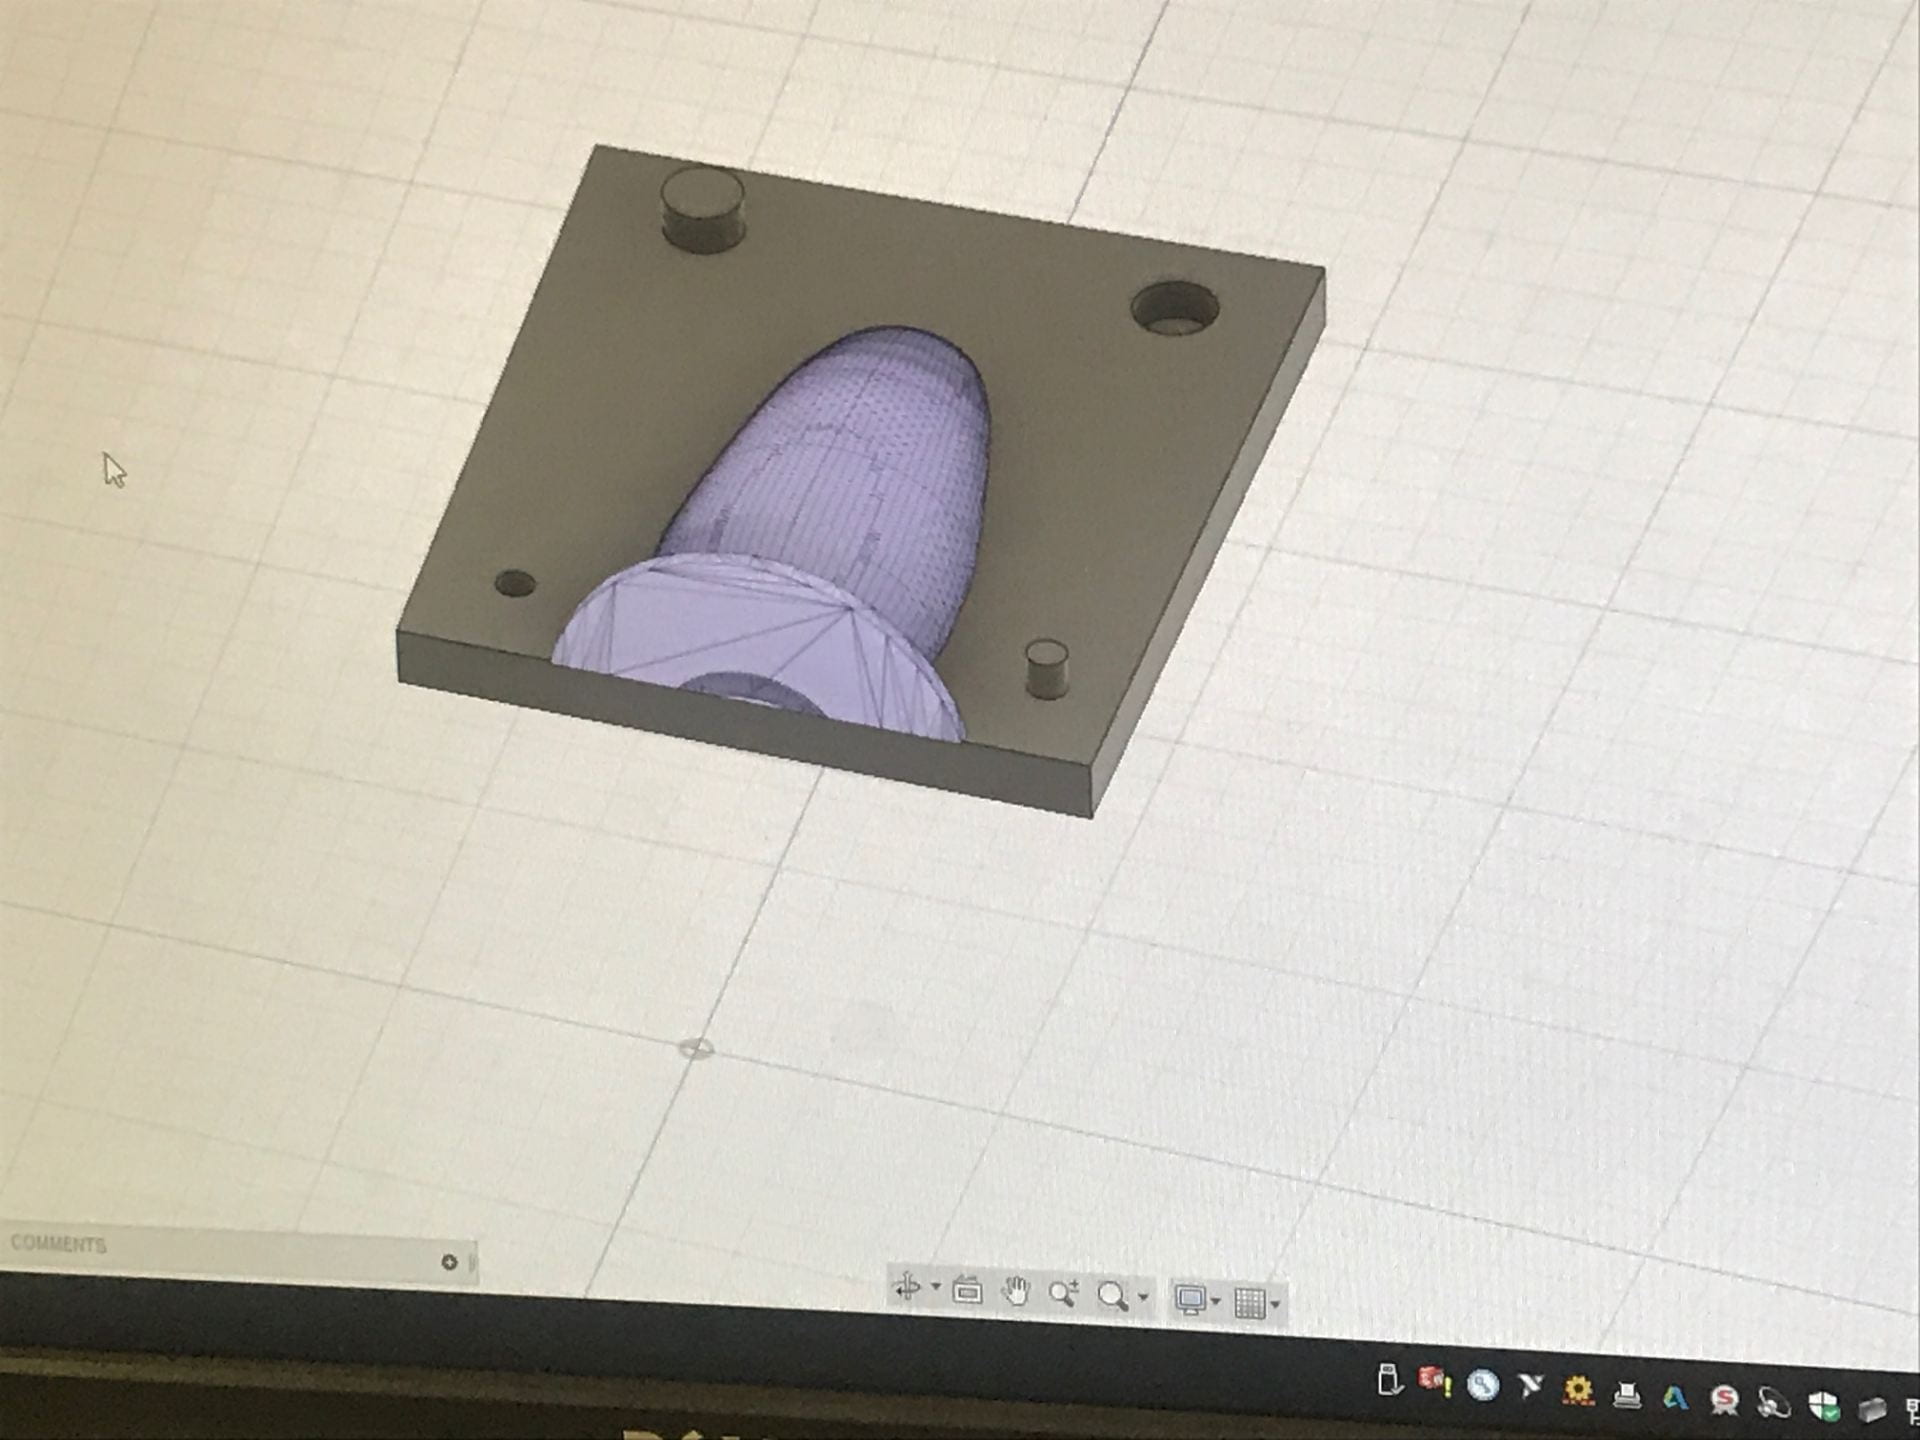
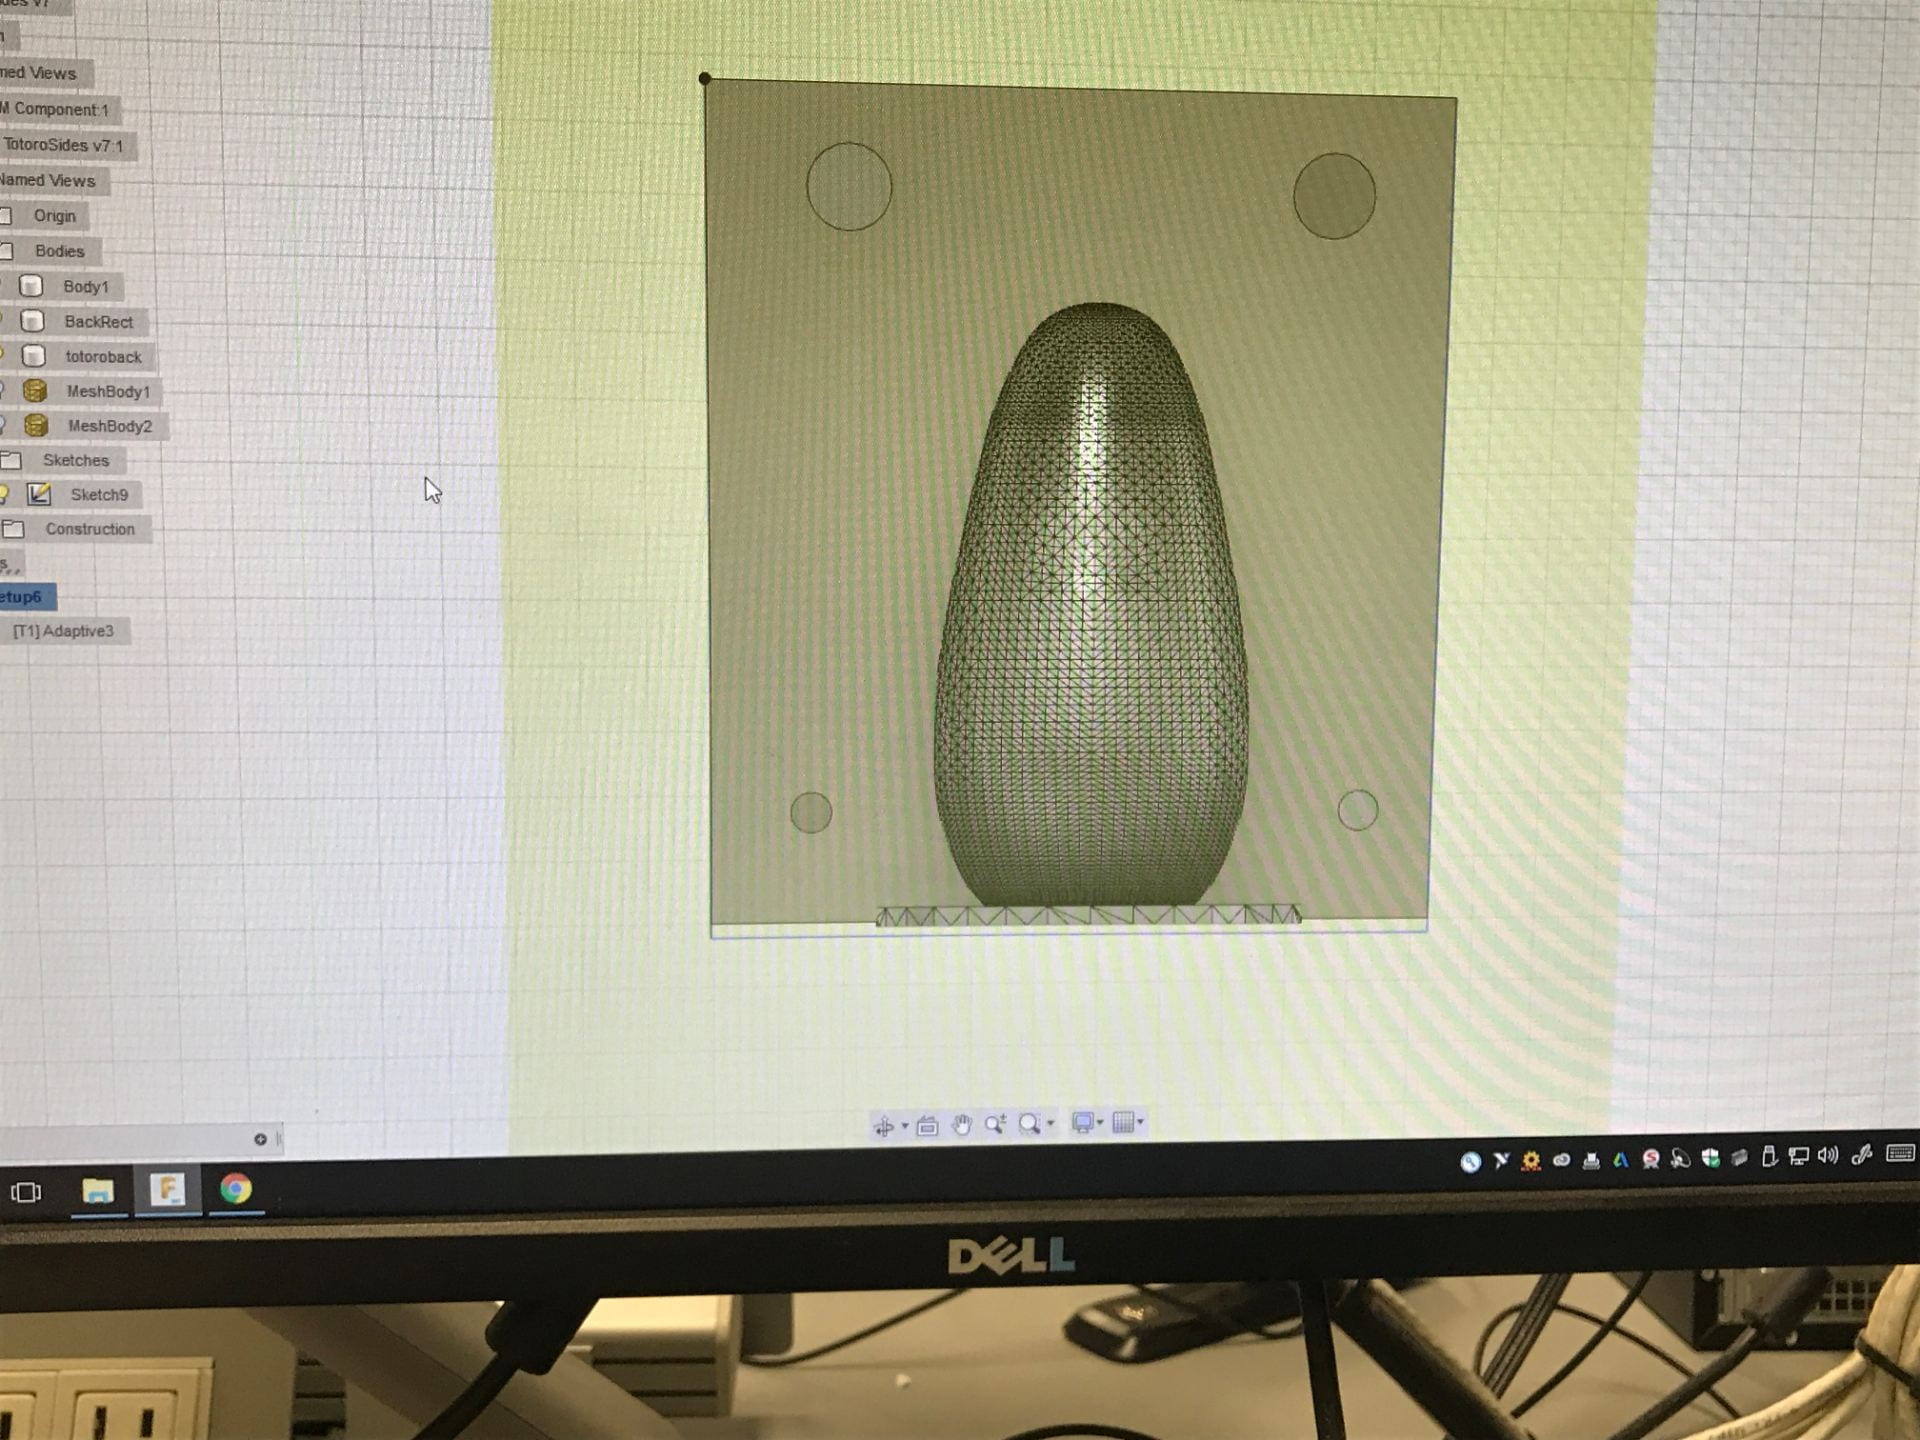
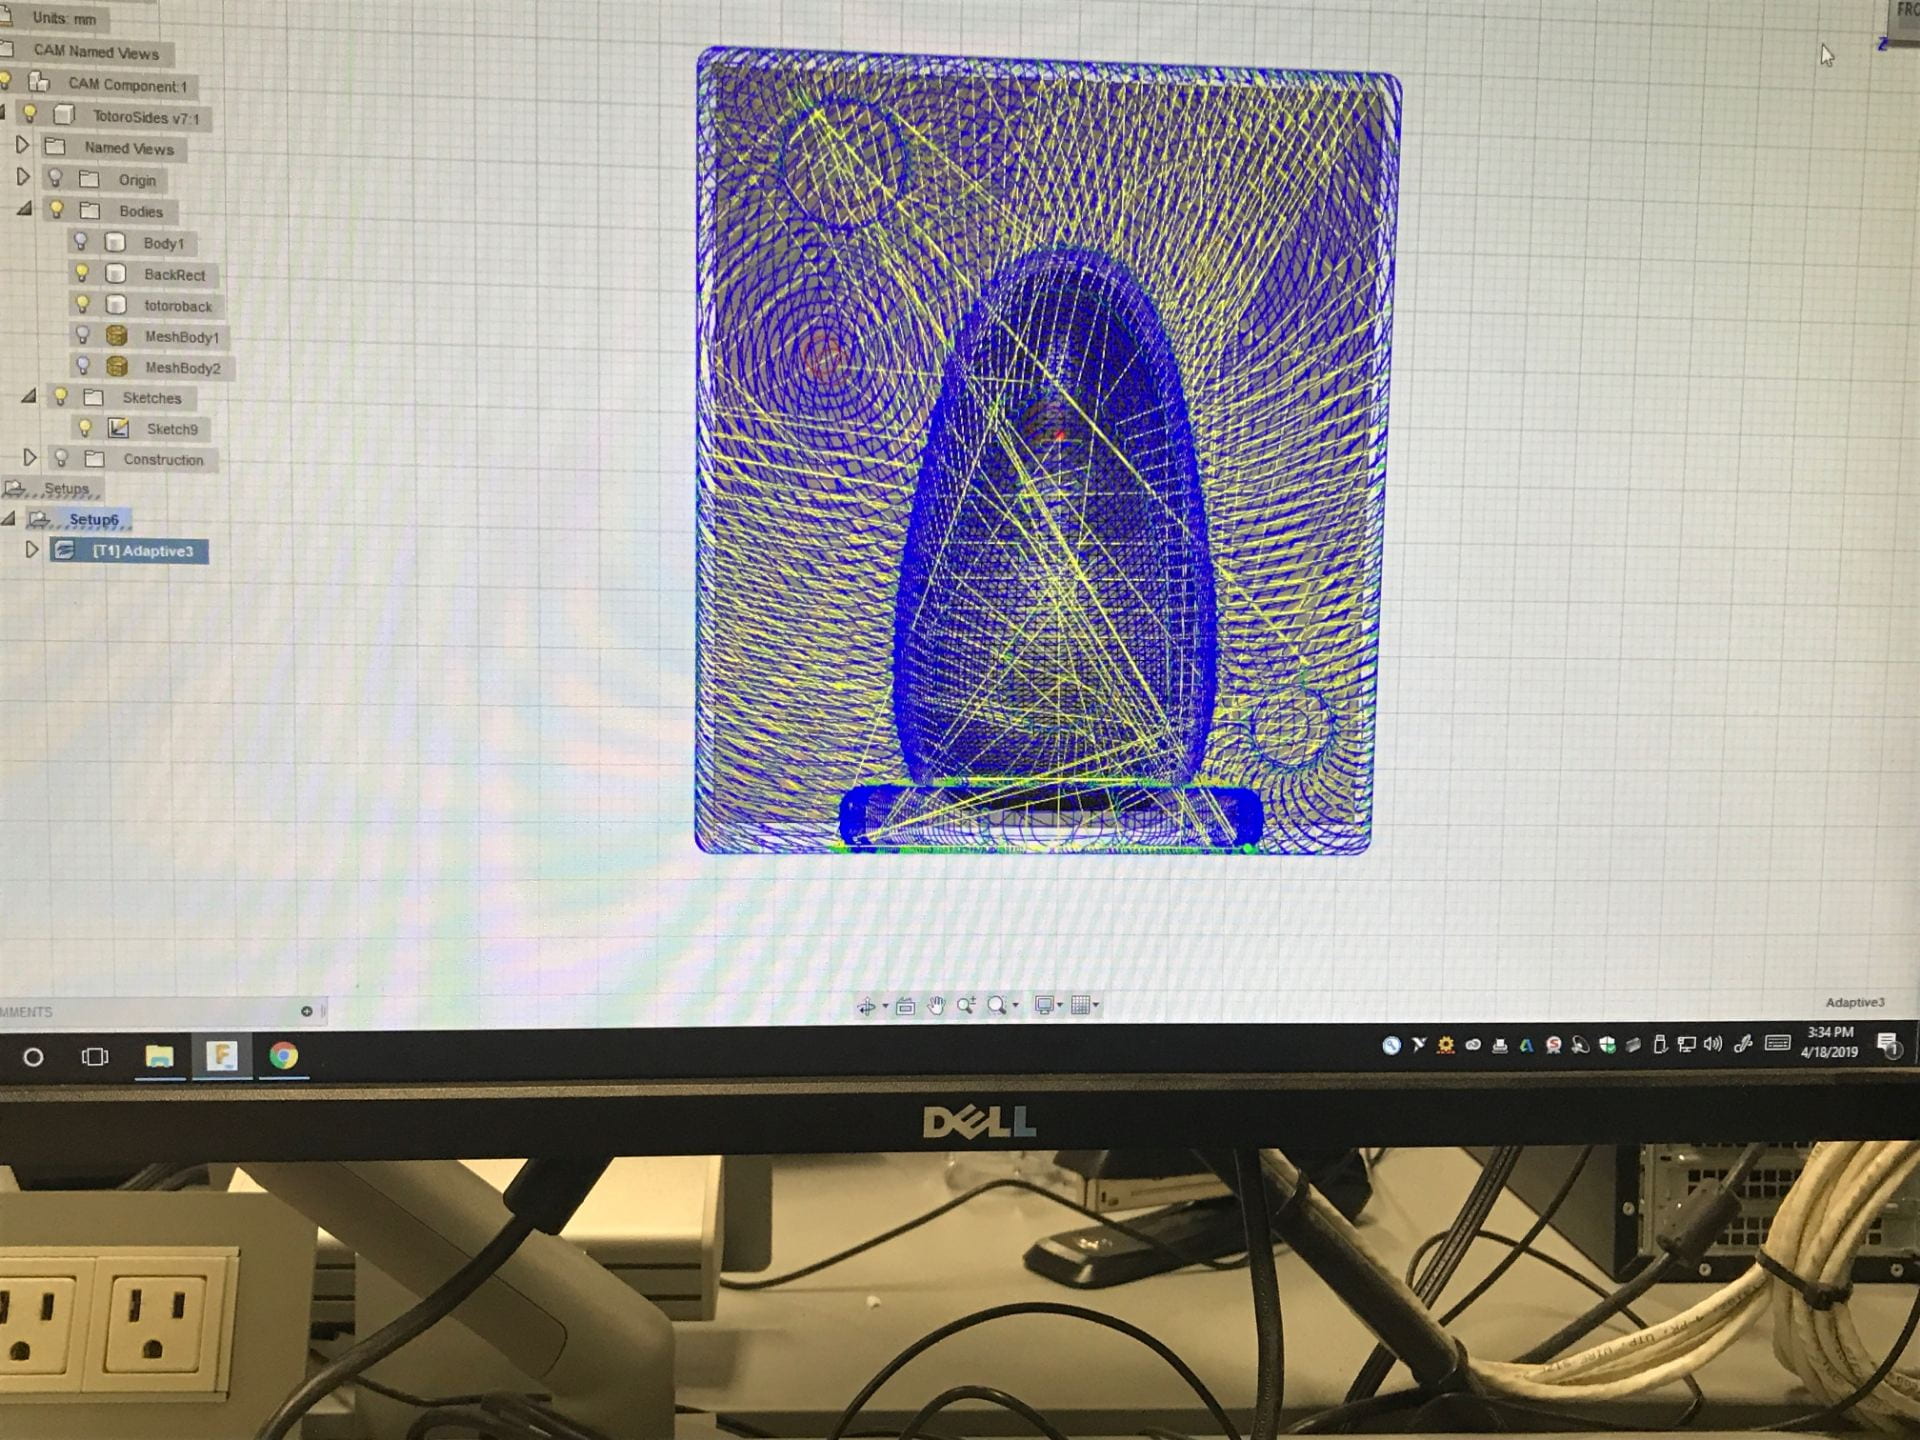
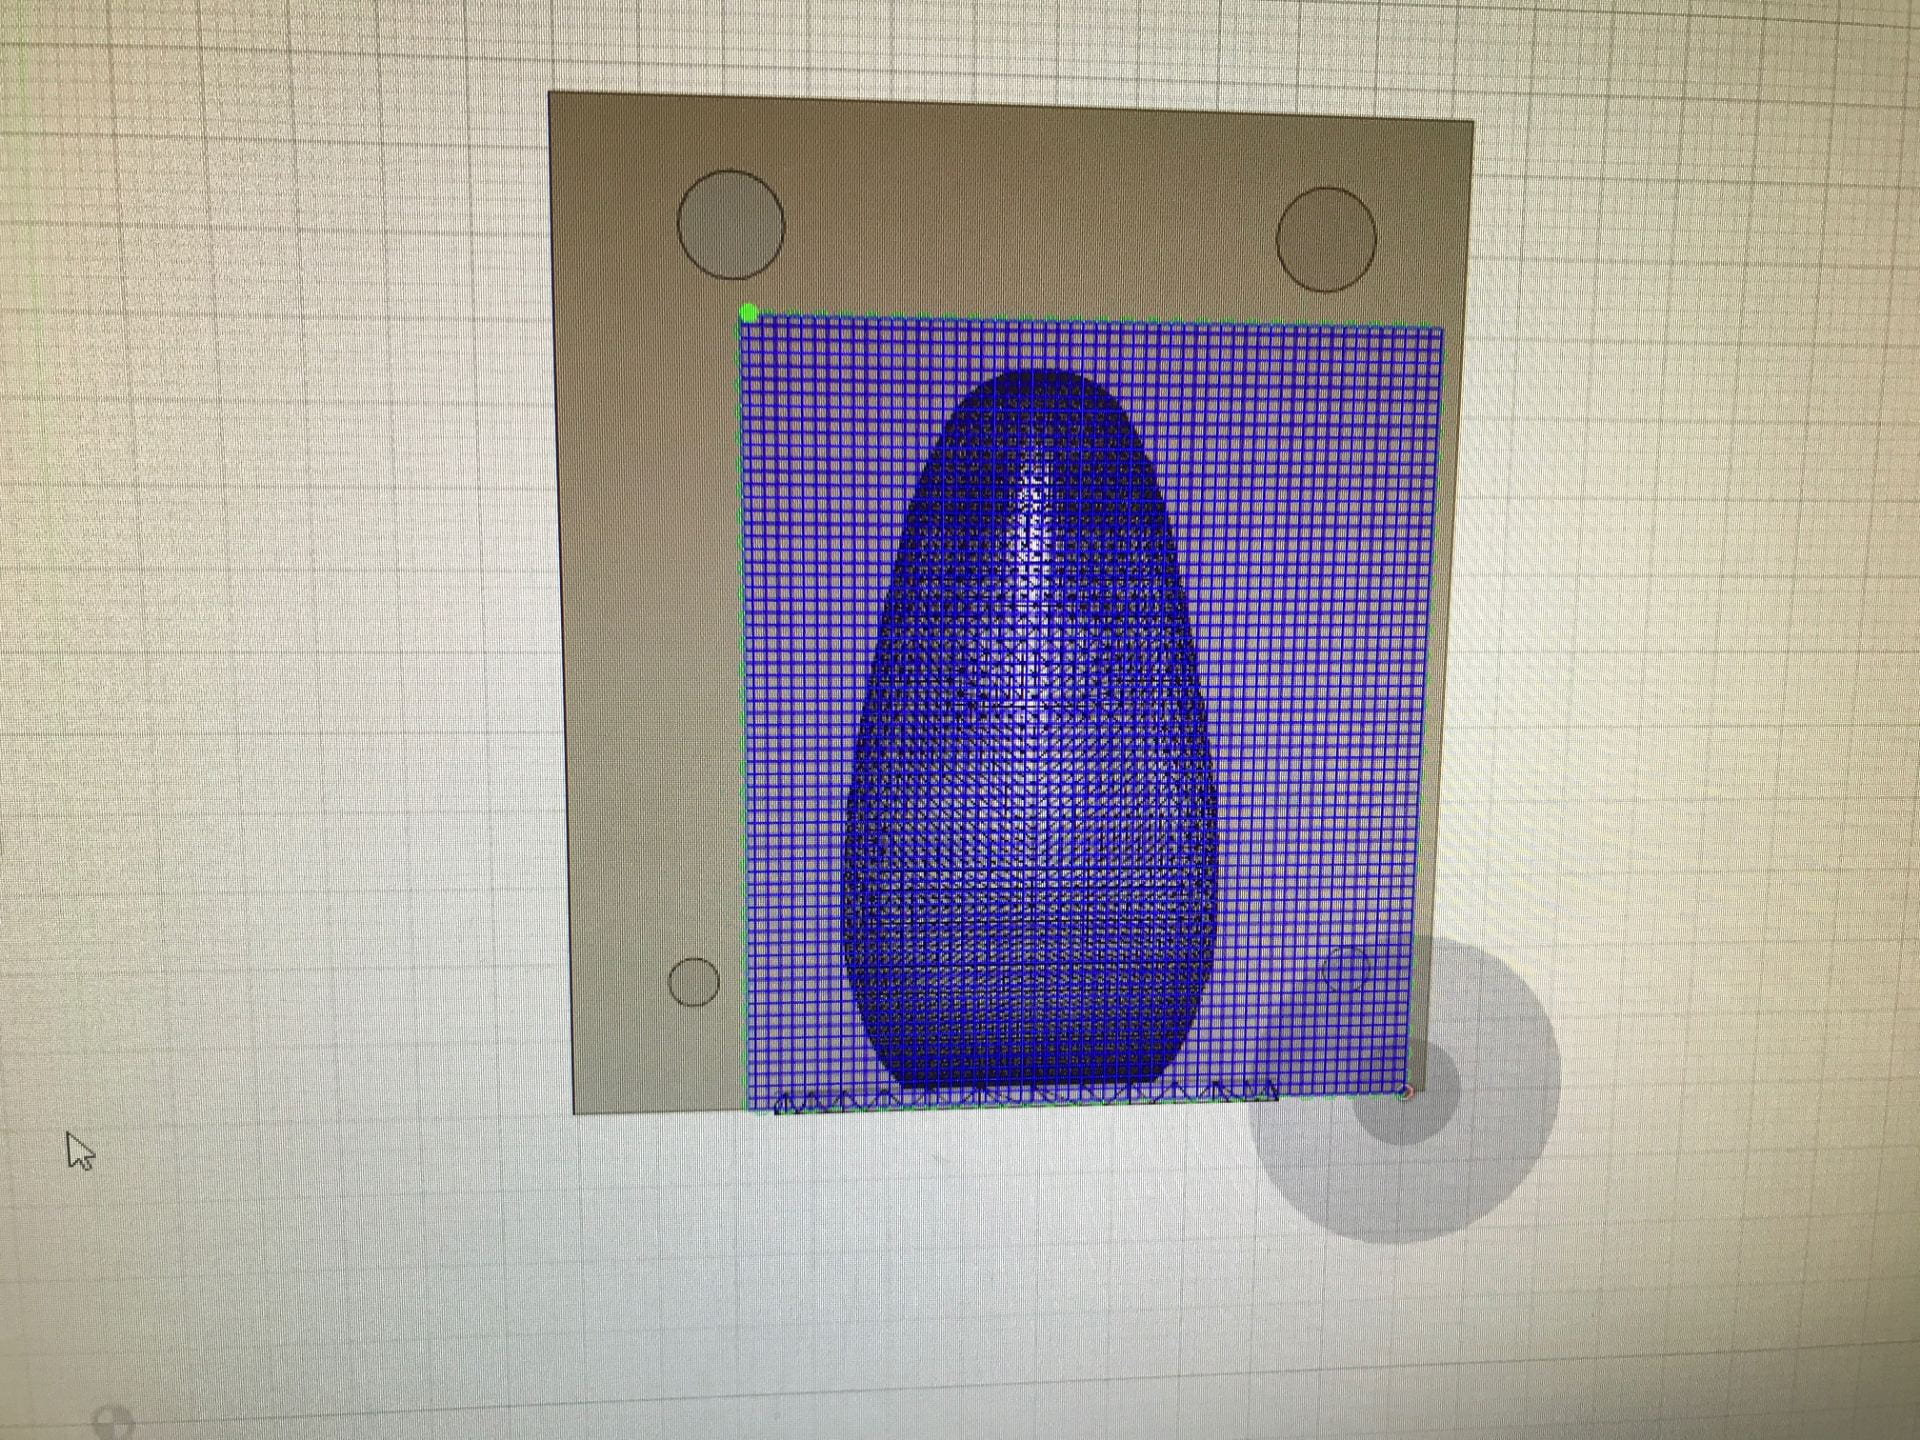
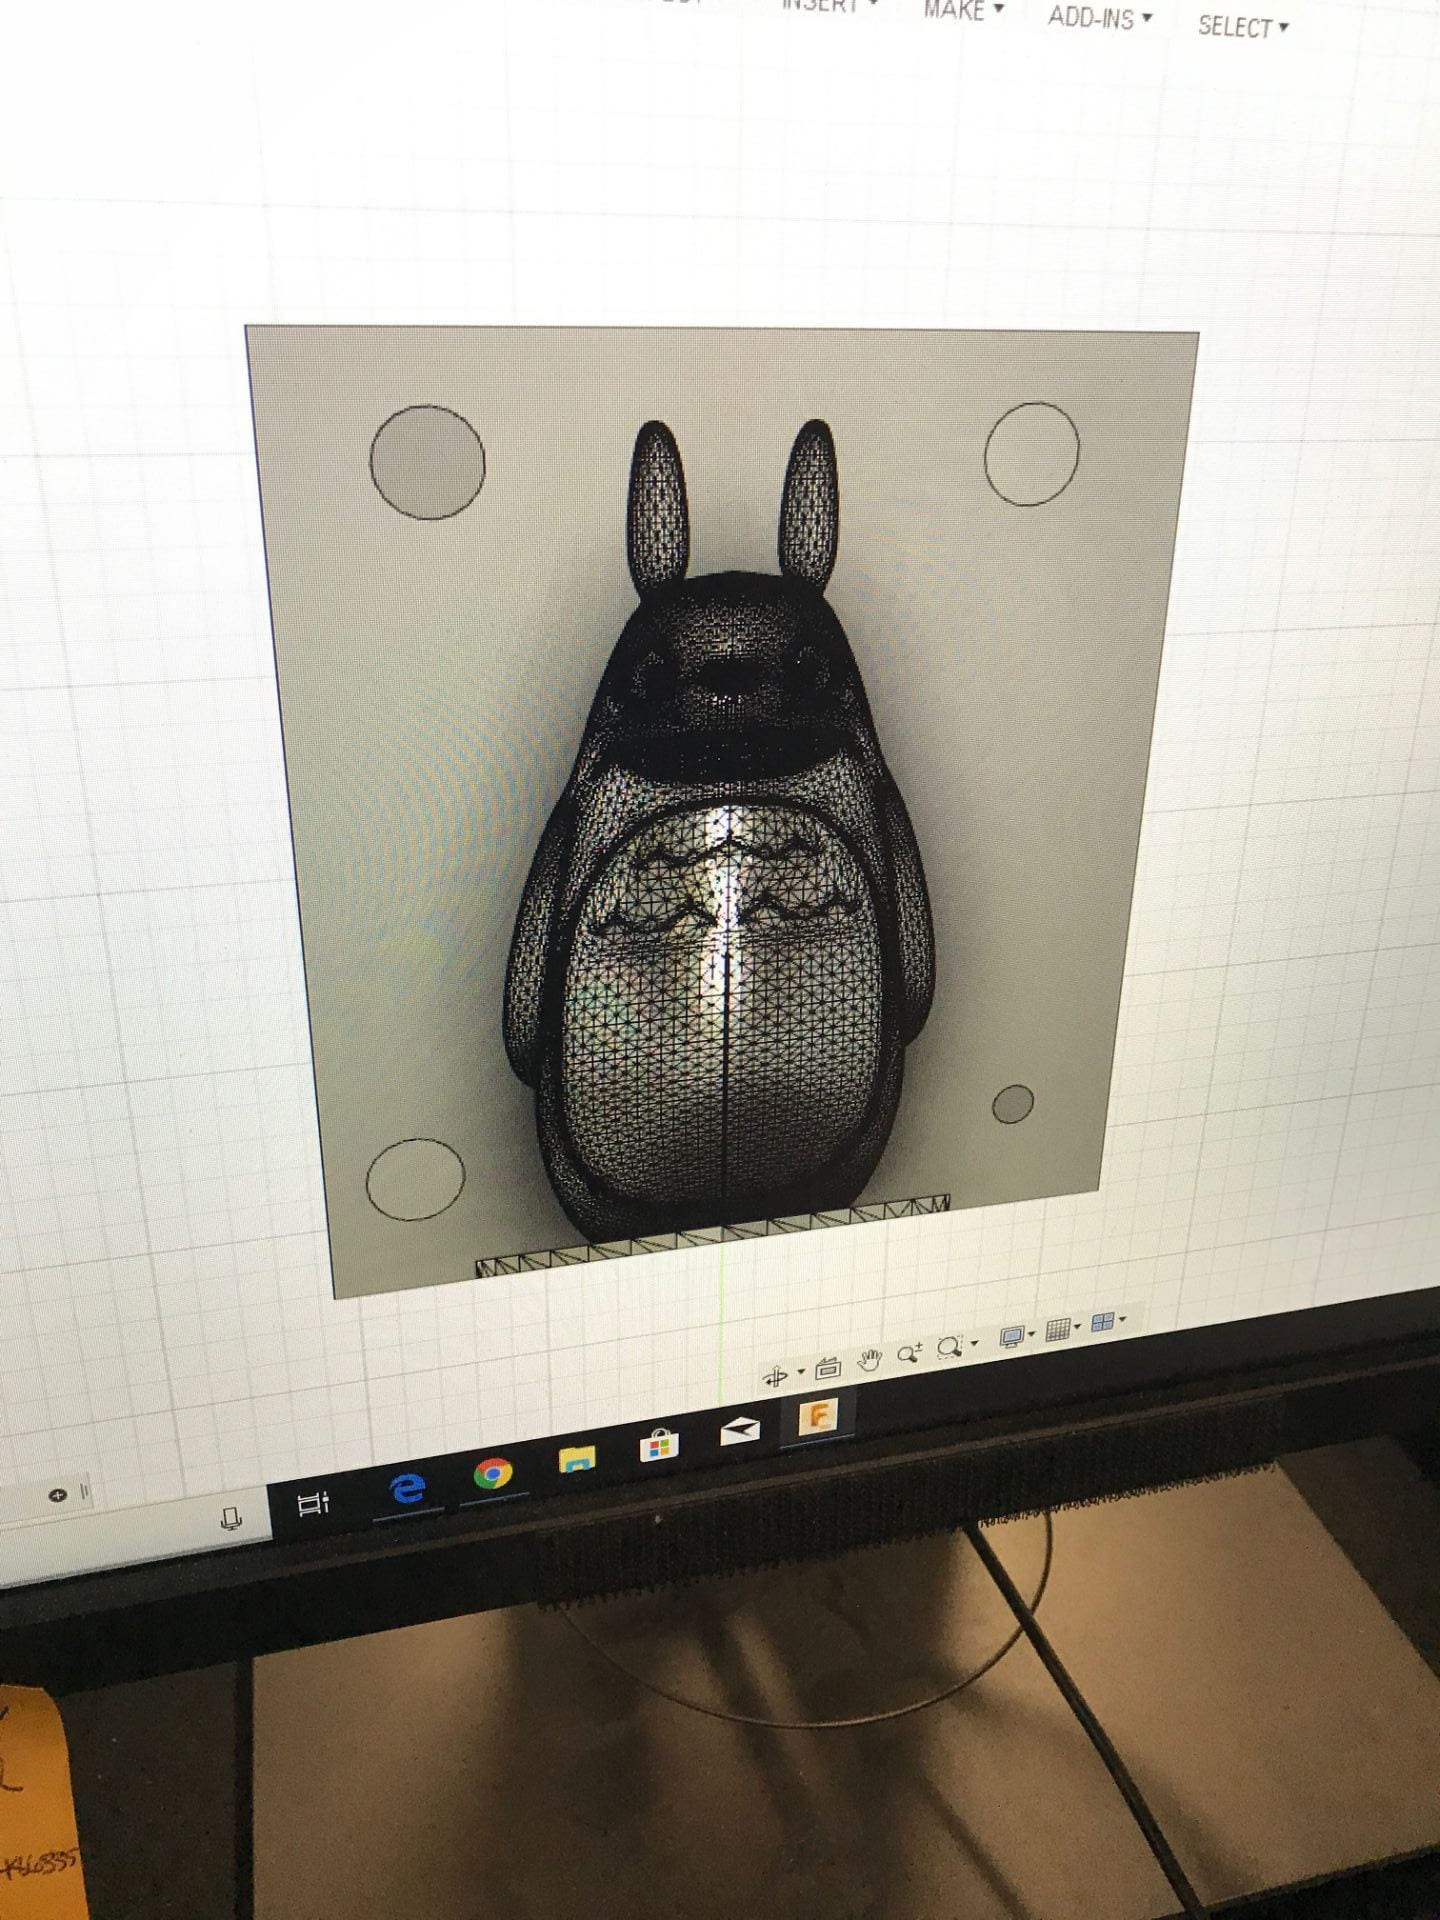
In order to get the back ready to be cut on the CNC machine, we imported it into Fusion and followed all of the instructions given to us. This included adding a base then making holes for pegs, finding a piece of wood to cut and adding the dimensions in Fusion, and setting up rough and smooth cuts. This was an especially tedious part of the project because neither Spencer nor I know much CAD, and often we found that we had to go backwards because we skipped steps earlier in the process. Shown below are the imported file with the added back, adding our piece of wood, and simulations in Fusion of the rough cut and smooth cut.
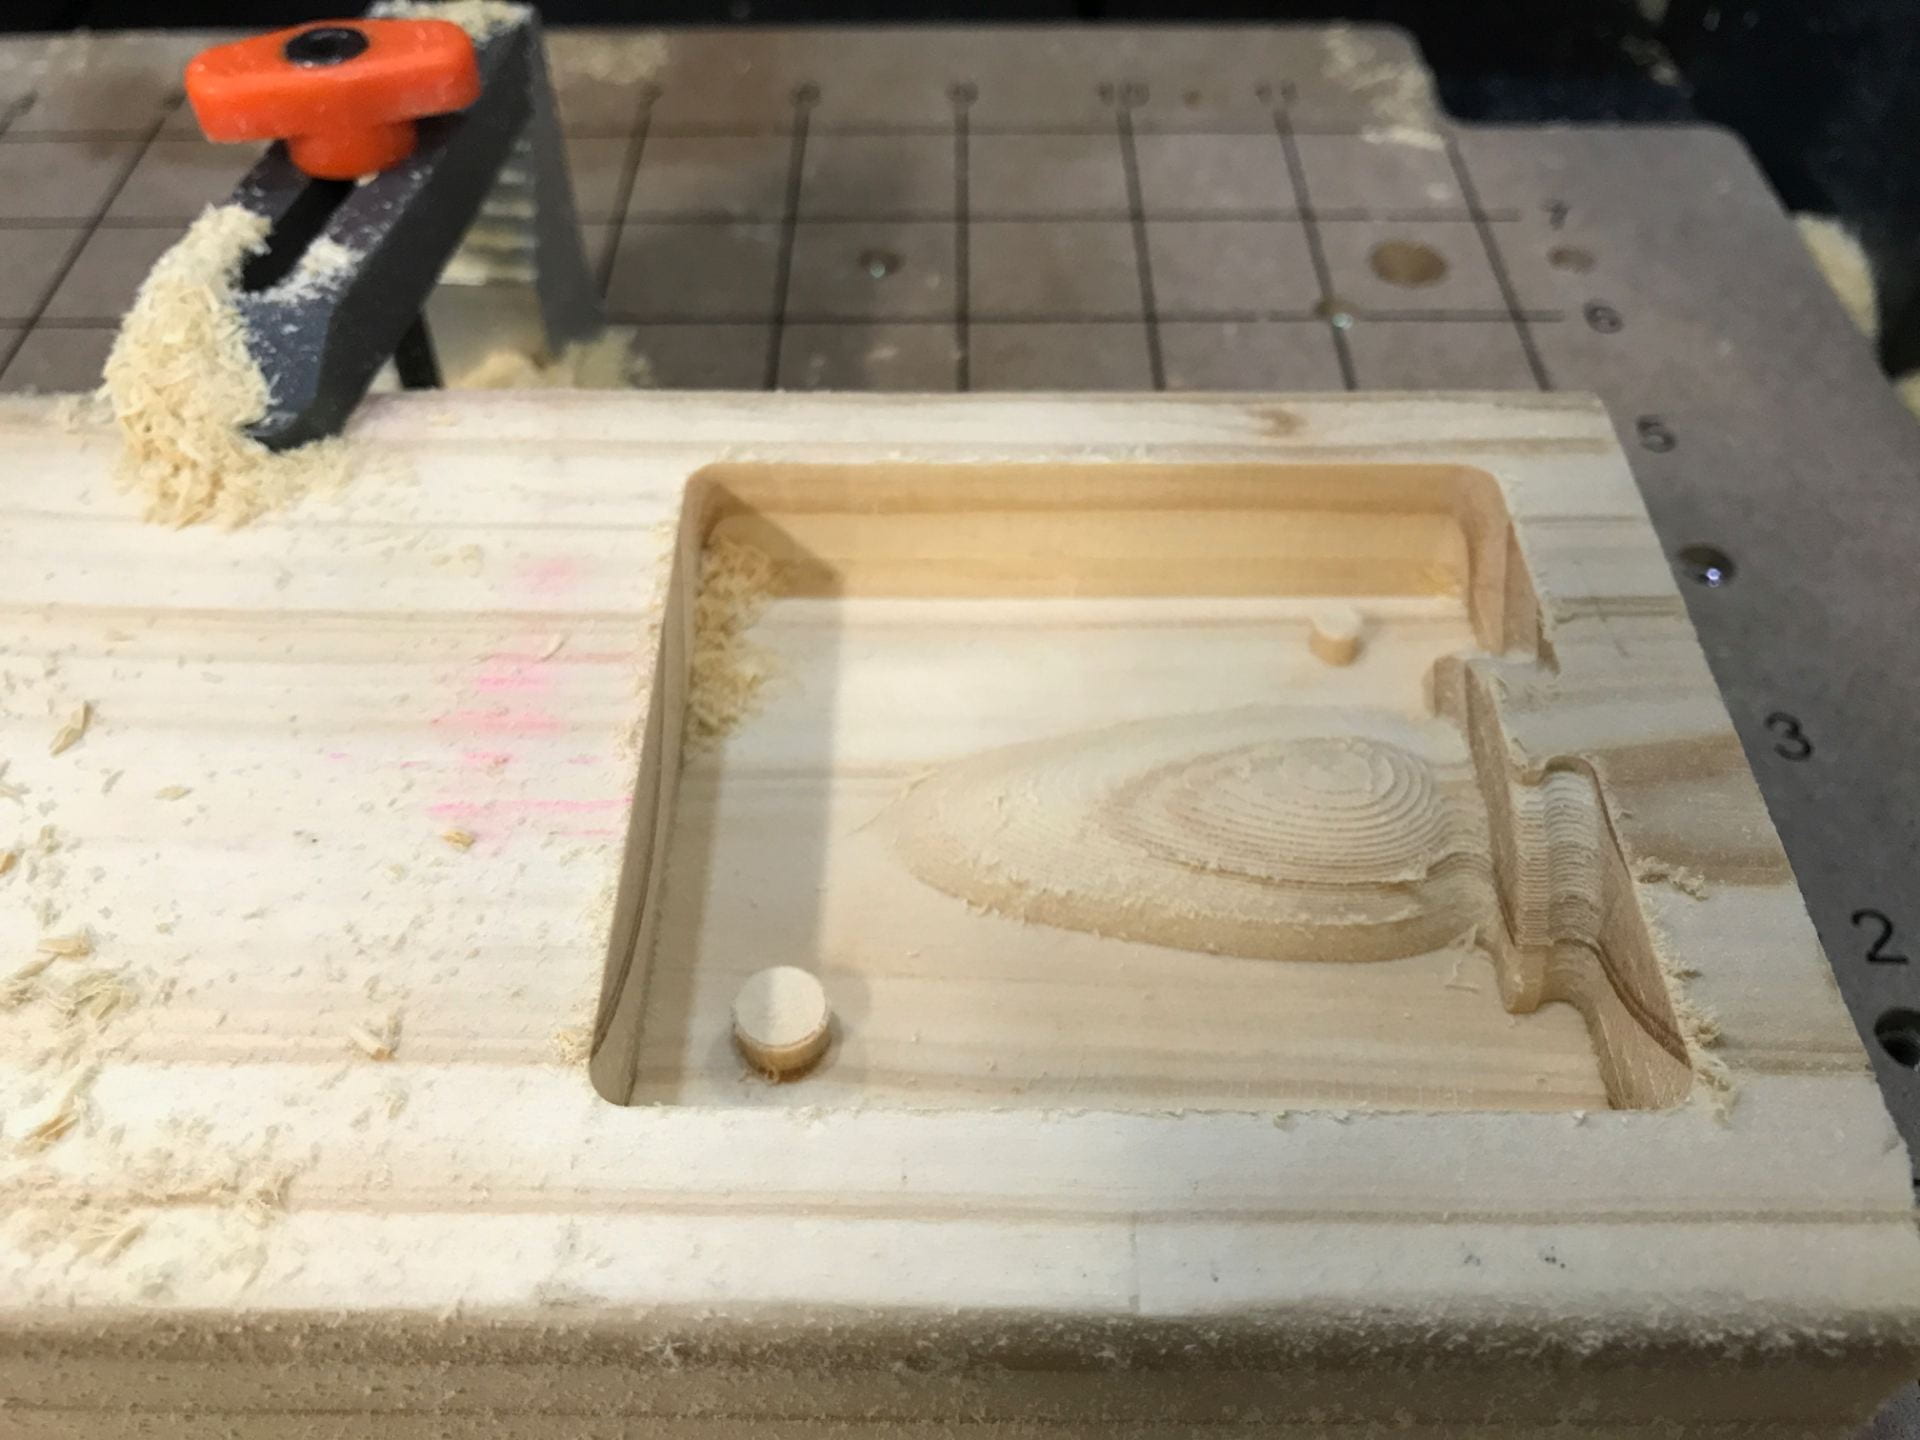
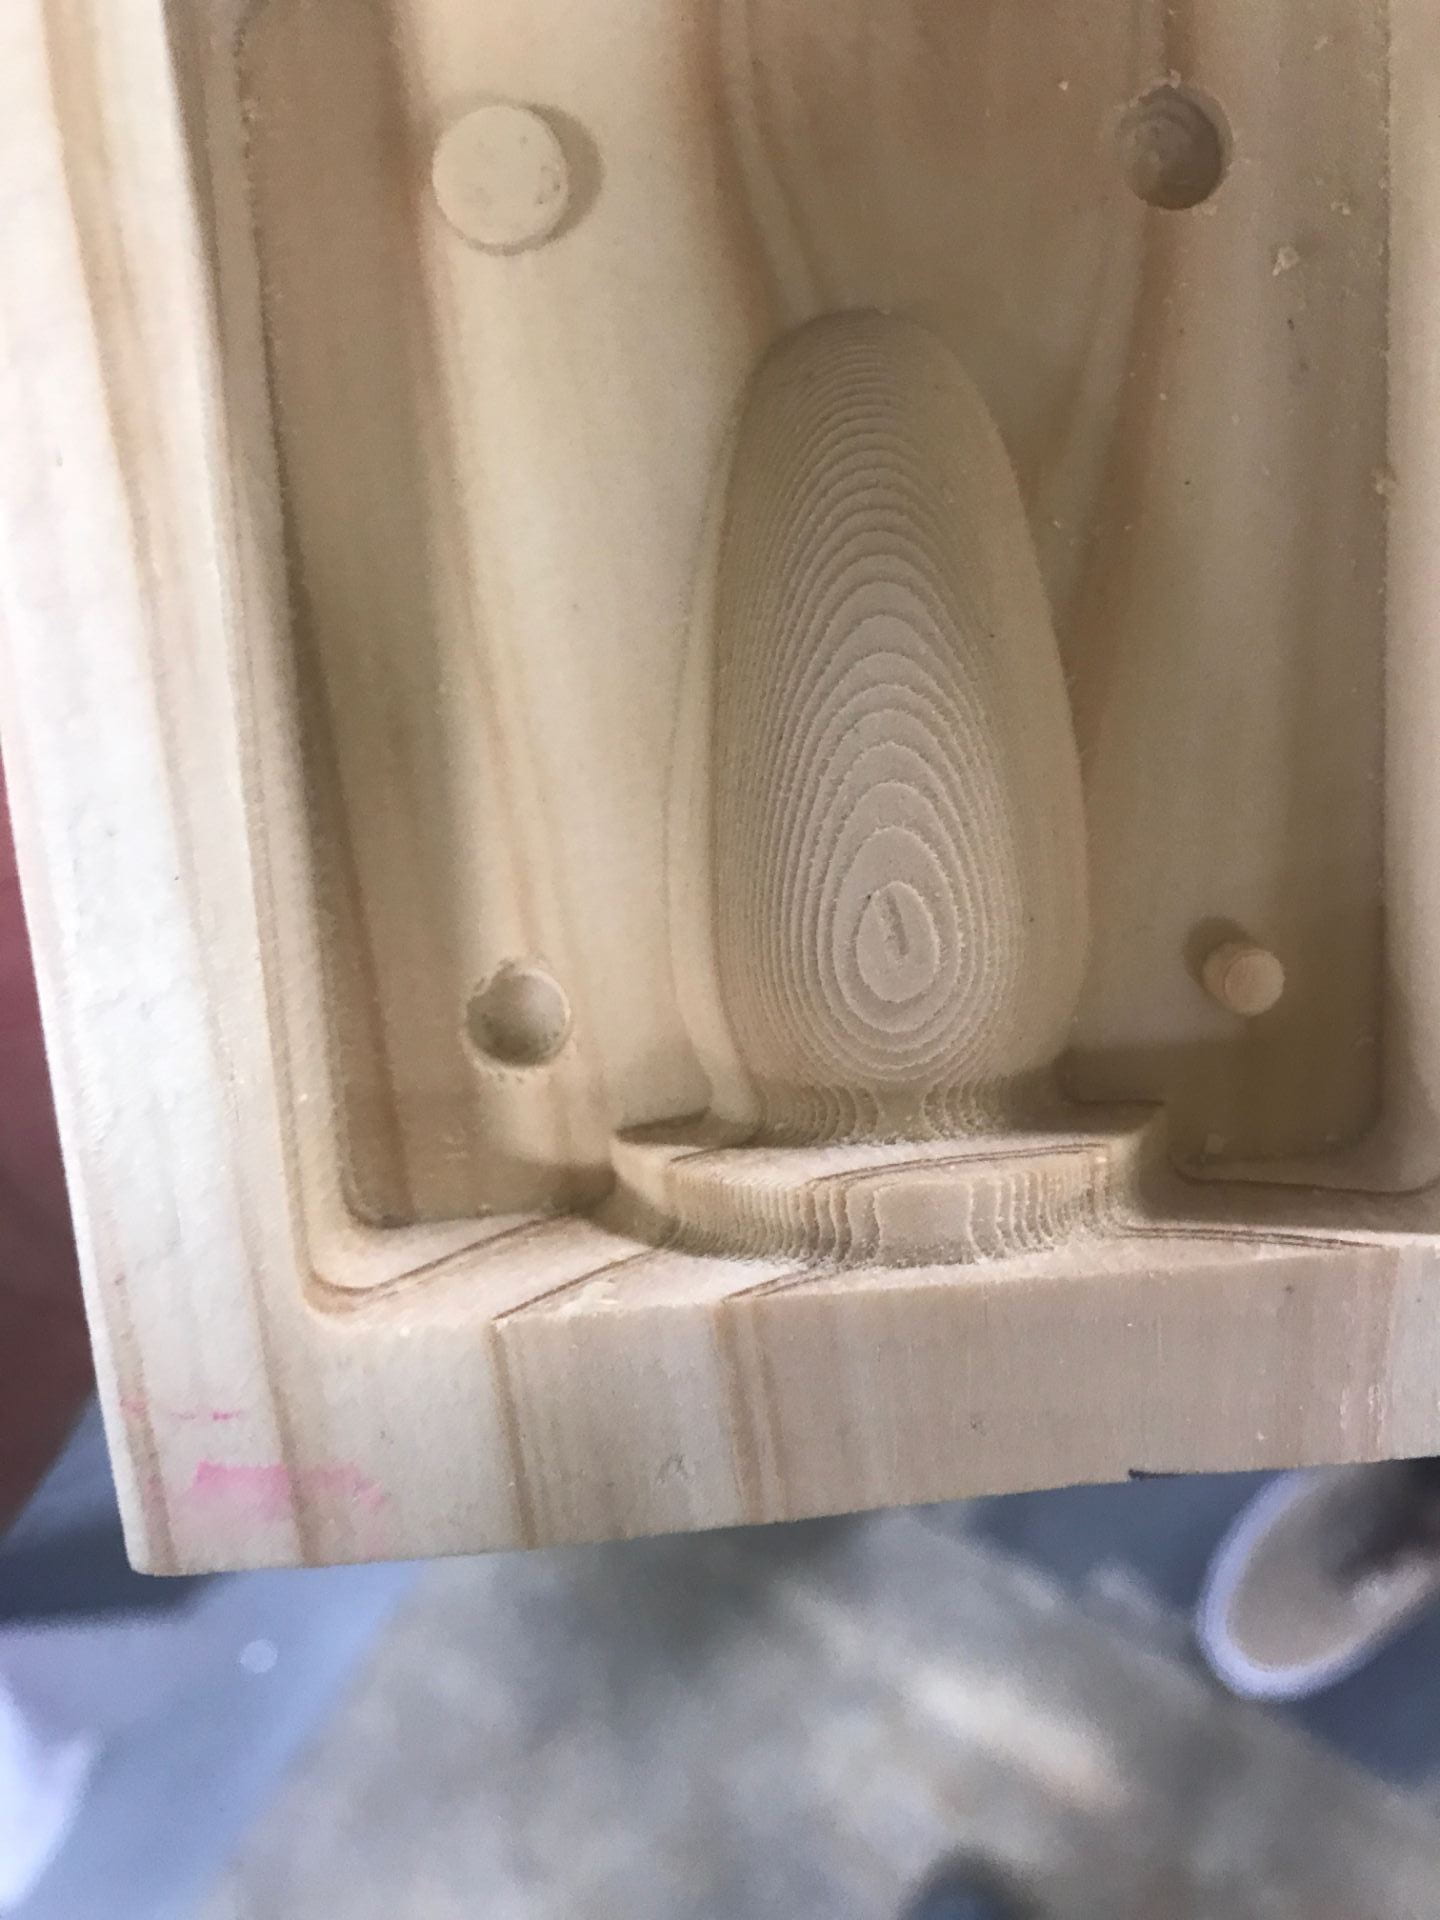
It was now time to CNC the back of the Totoro. We set the Carvey up with a 1/8” upcut 2 fishtail drill, and loaded the file into Easel. We first did a rough cut, which is shown below. It turned out pretty good, but there were a couple of problems. Two of the holes didn’t get cut, and the very front of the base didn’t get cut at all.
![]()
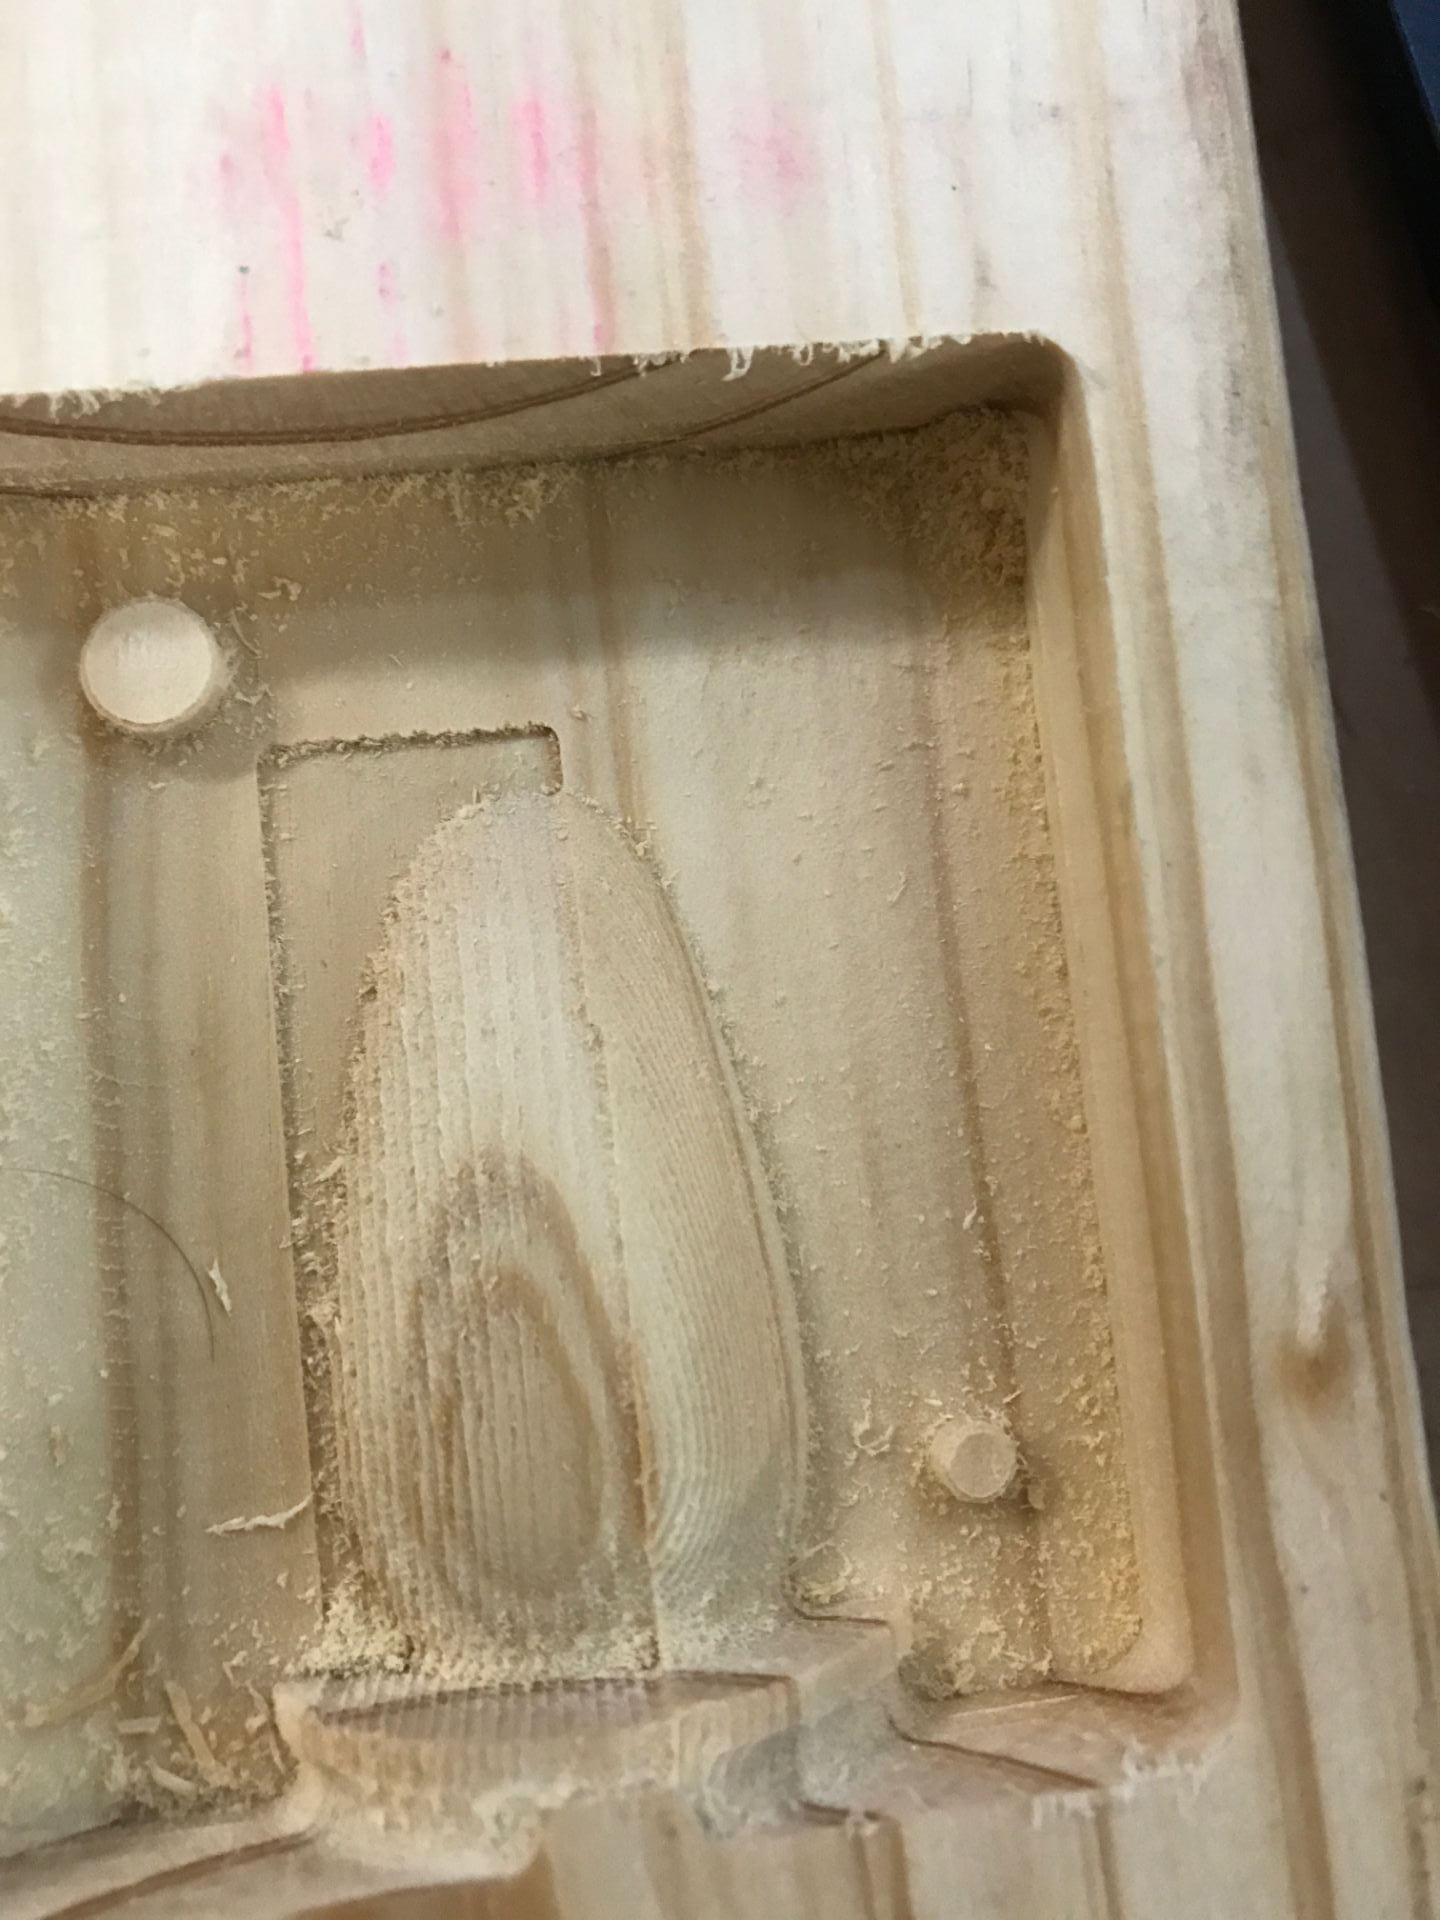
We knew we would have to do the cut again, but just to see if the smooth cut would make it better we tried it out over the rough cut with a 1/16” upcut drill bit. This did not happen at all, as the smooth cut was a slight bit deeper than the rough cut, making it screw everything up. On the picture below, you can see on the left the part that had a smooth cut and on the right the part that just had the rough cut, which looks far better.
For our second attempt, we decided to do just a rough cut because people who had previously taken the class also said that the smooth cut messed their piece up, and we liked the aesthetic of having just the rough cut. In order to fix the problems from our first rough cut, we made the holes a larger size so they would show up in the Fusion simulation and sunk the entire piece 2mm so the base would be cut properly. We also tried to use a straight drill bit because that was recommended to us by a lab assistant, but it was too long and didn’t fit with our thick piece of wood so we had to go back to the 1/8” upcut. As seen below, this time our cut turned out much better.
While we were spending all of this time on the Carvey, we also prepared the front of the Totoro that we would 3D print as well. We made the same base and holes in Fusion, and 3D printed the part on the Ultimaker. This turned out well, so luckily we only had to print it one time.
We did notice that the base on the 3D printed part was a little shorter than that the CNC’d part, so we cut and sanded a little foam base to make it as tall.
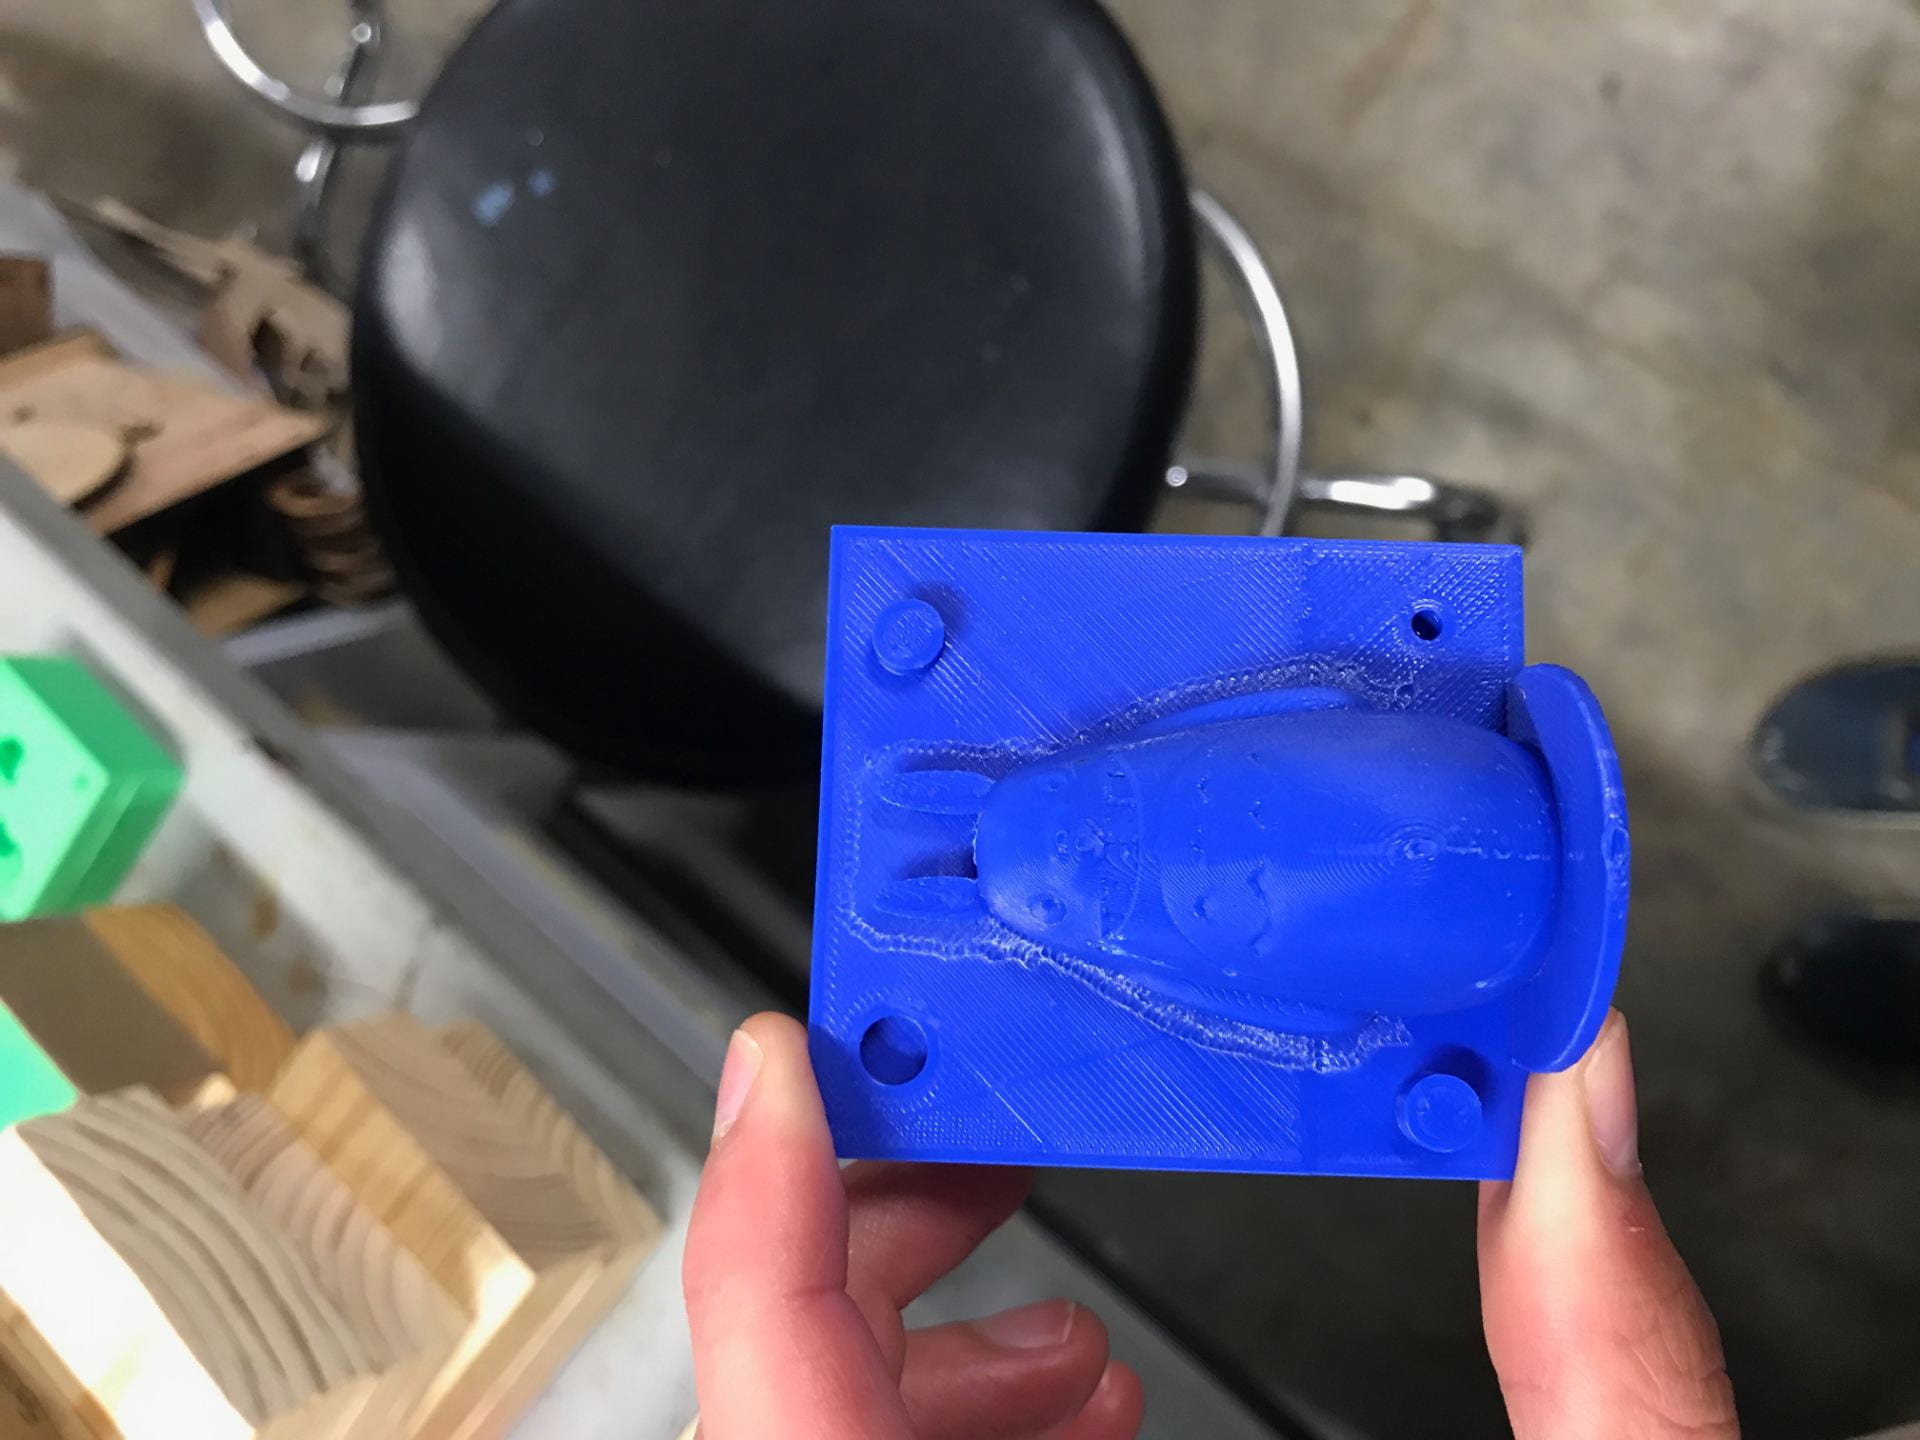
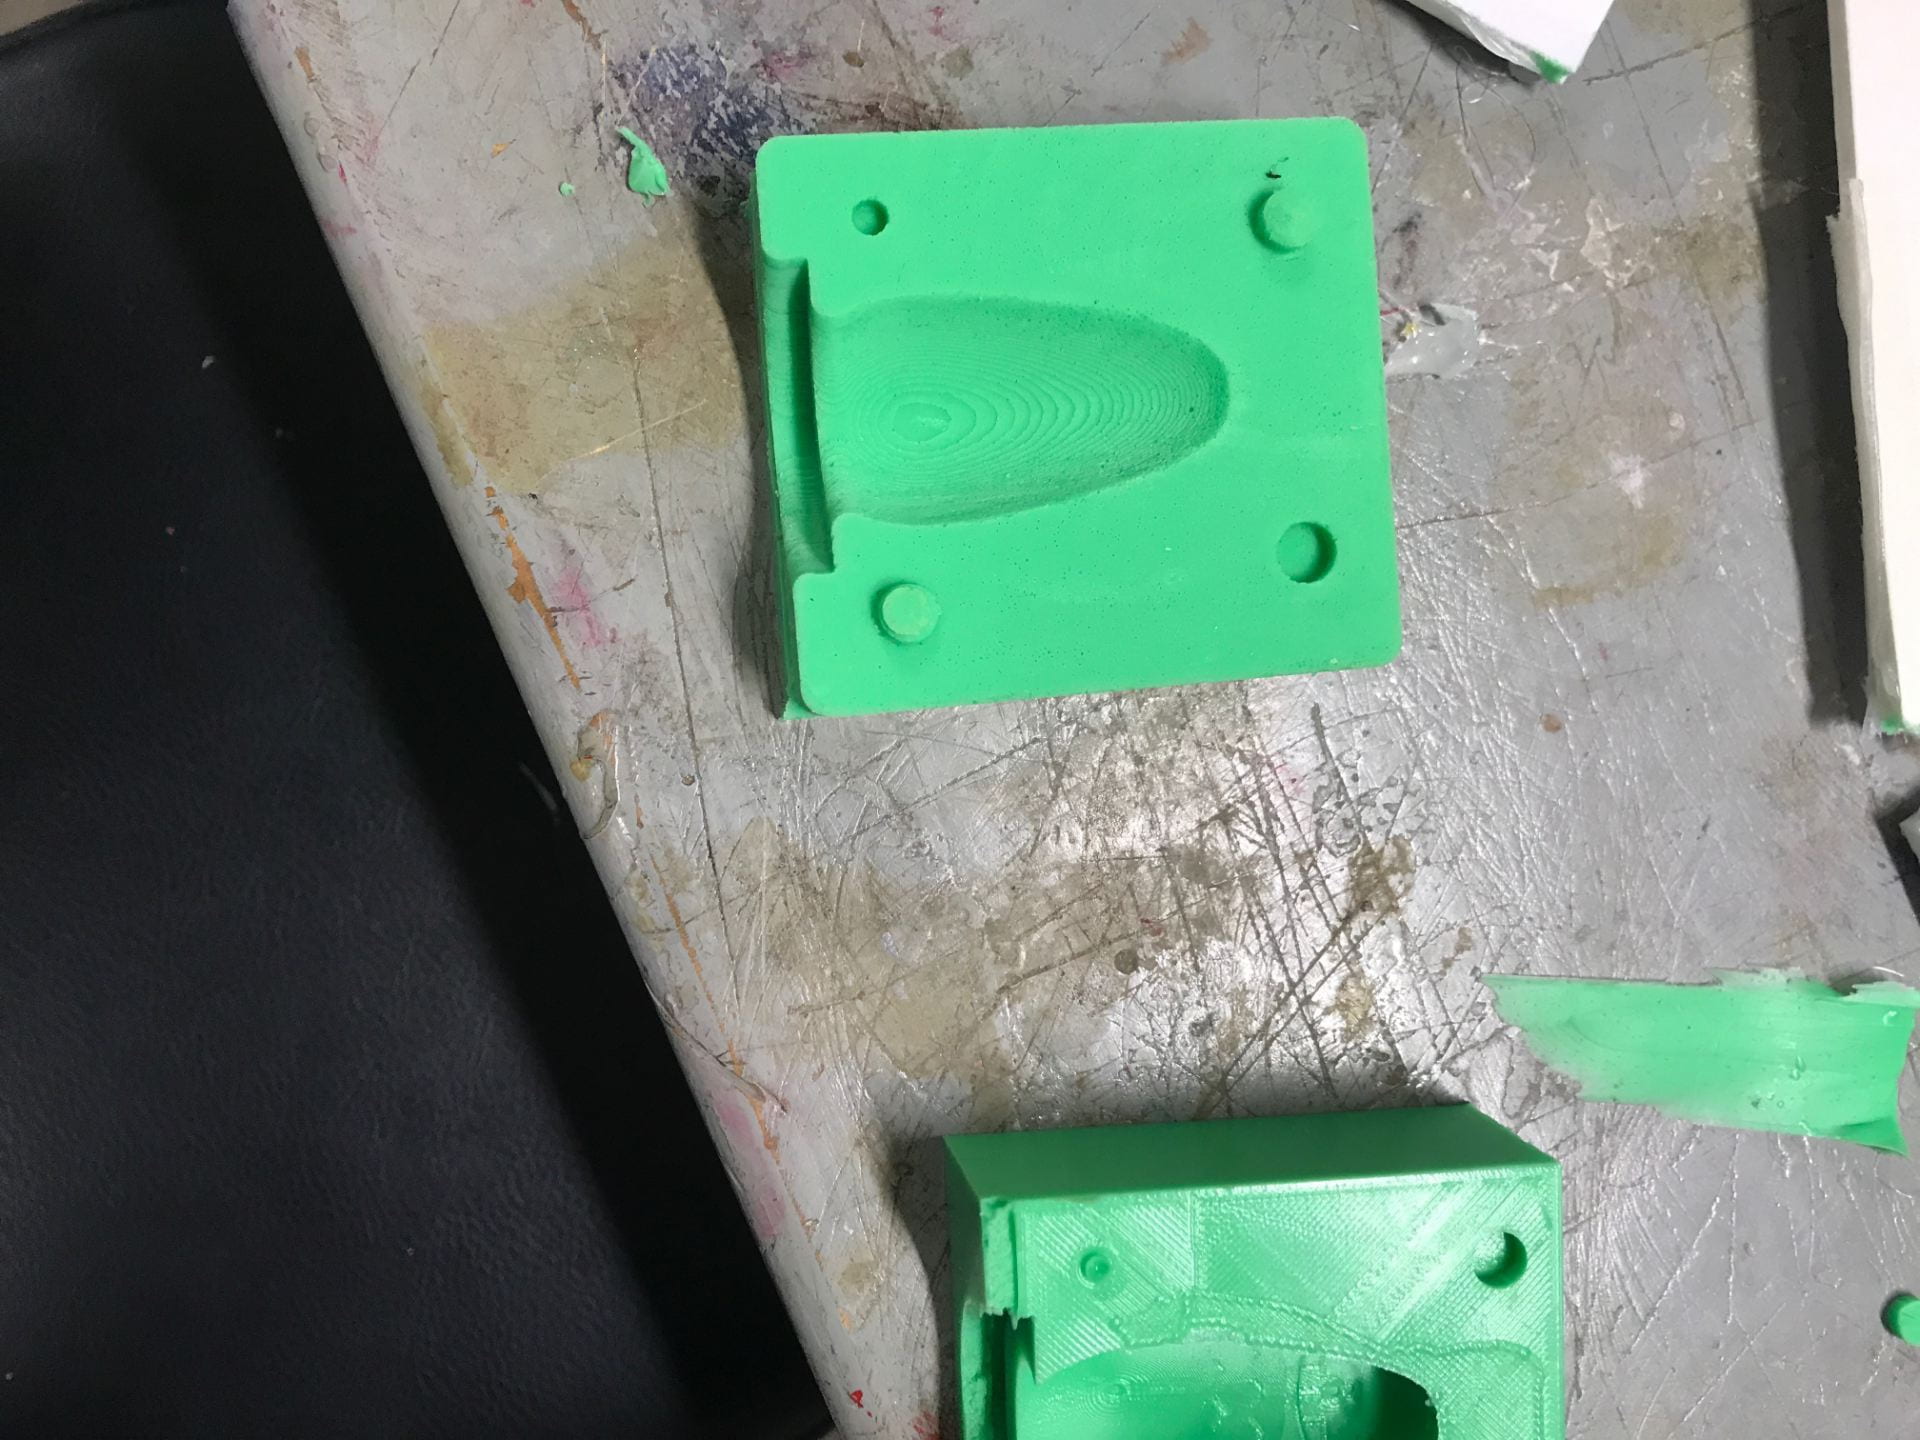
It was now time to mold and cast our Totoro. We first made made negative molds by putting both parts around indeterminate sizes and filling them in with equal parts of the Silicone Rubber mixture.
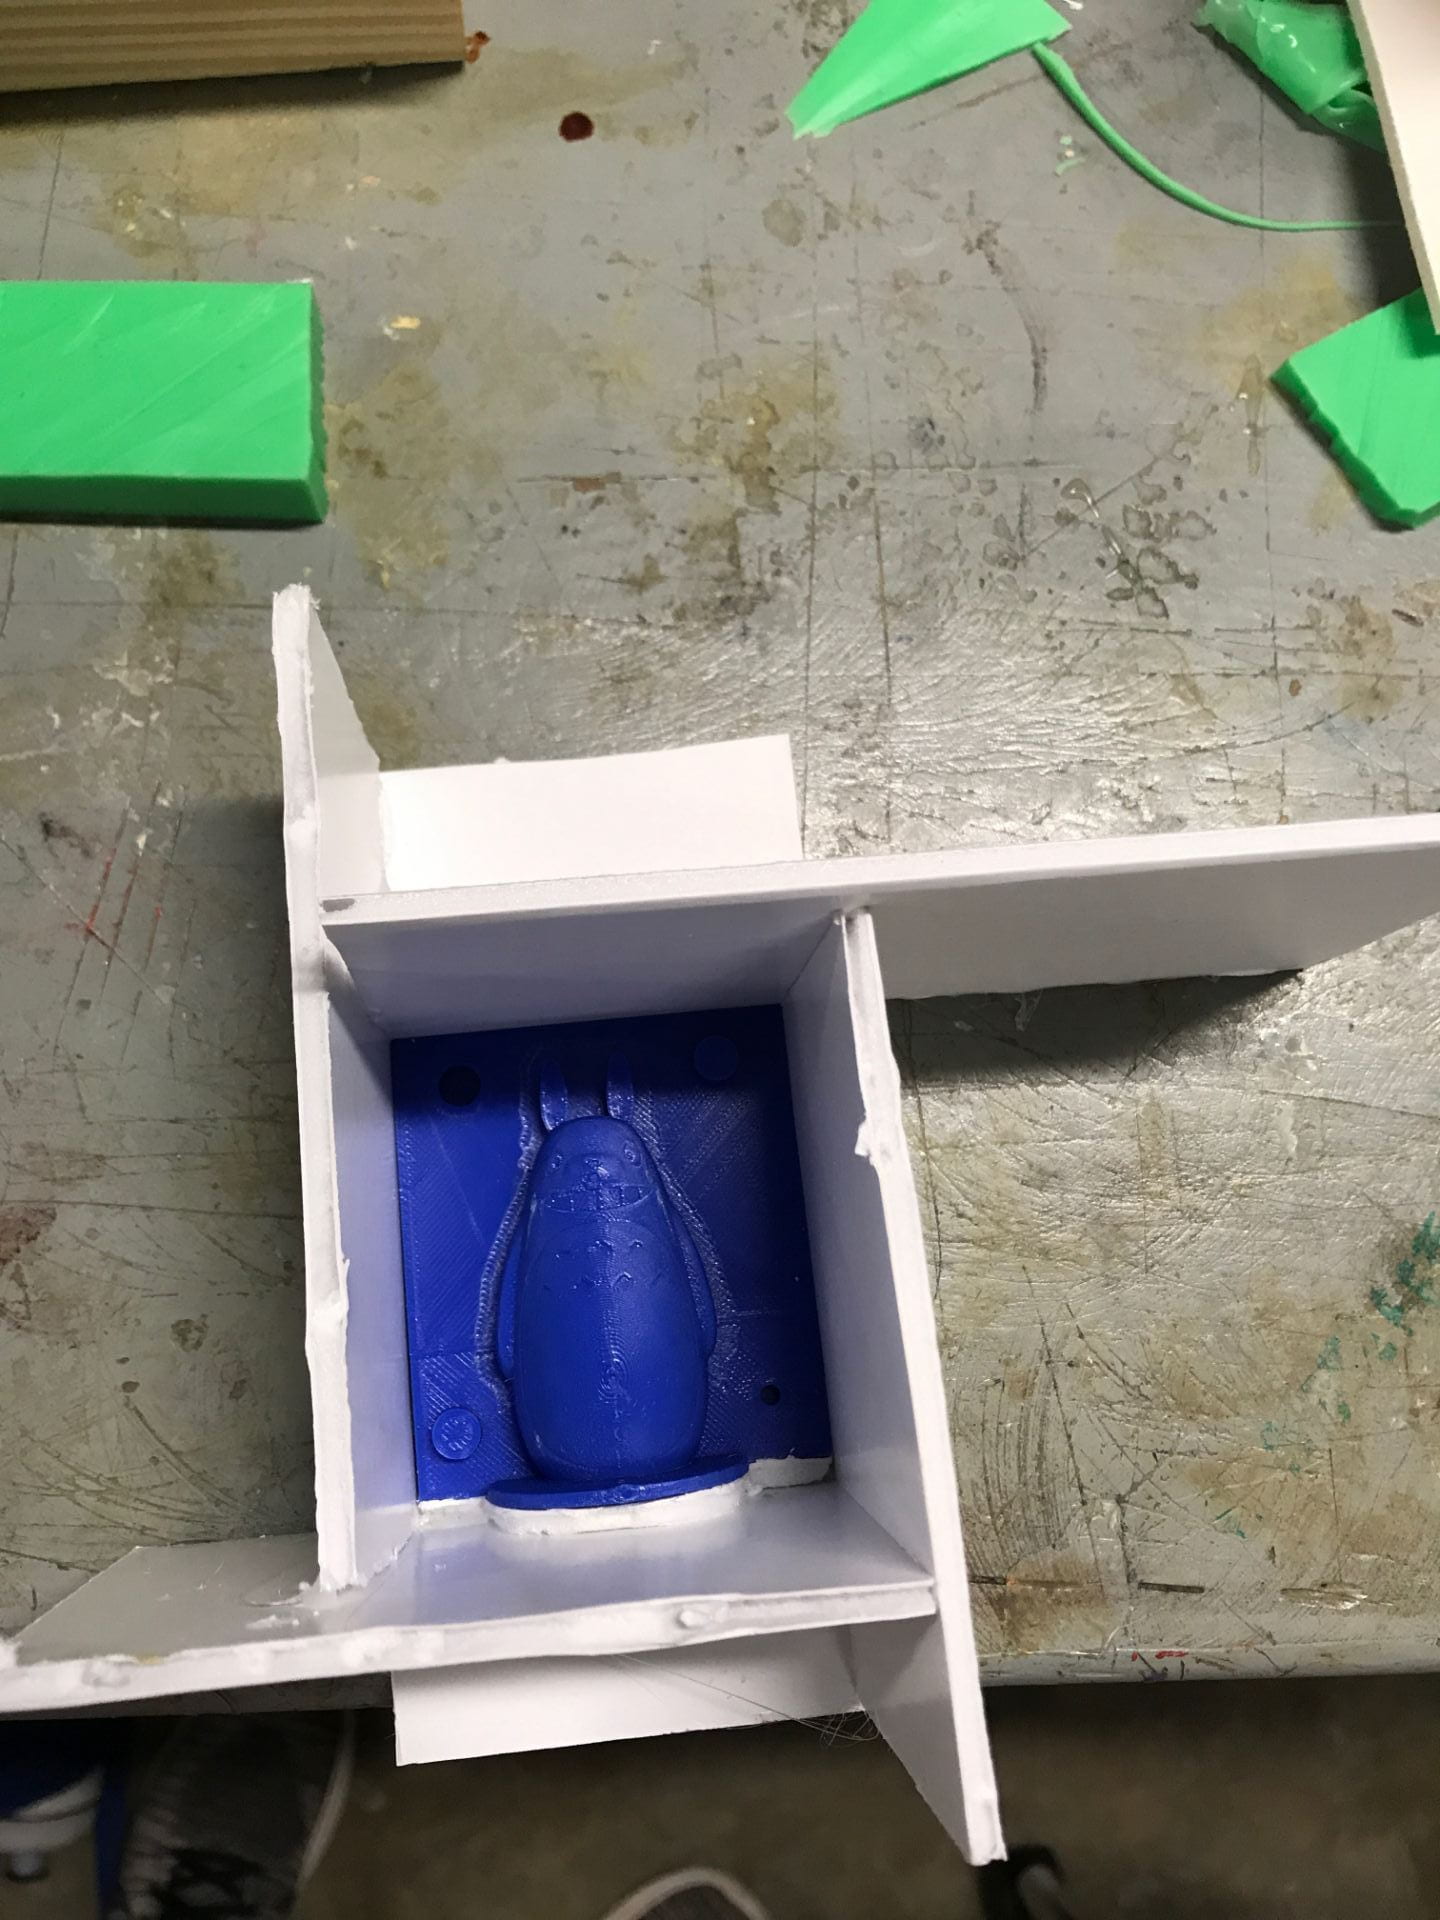
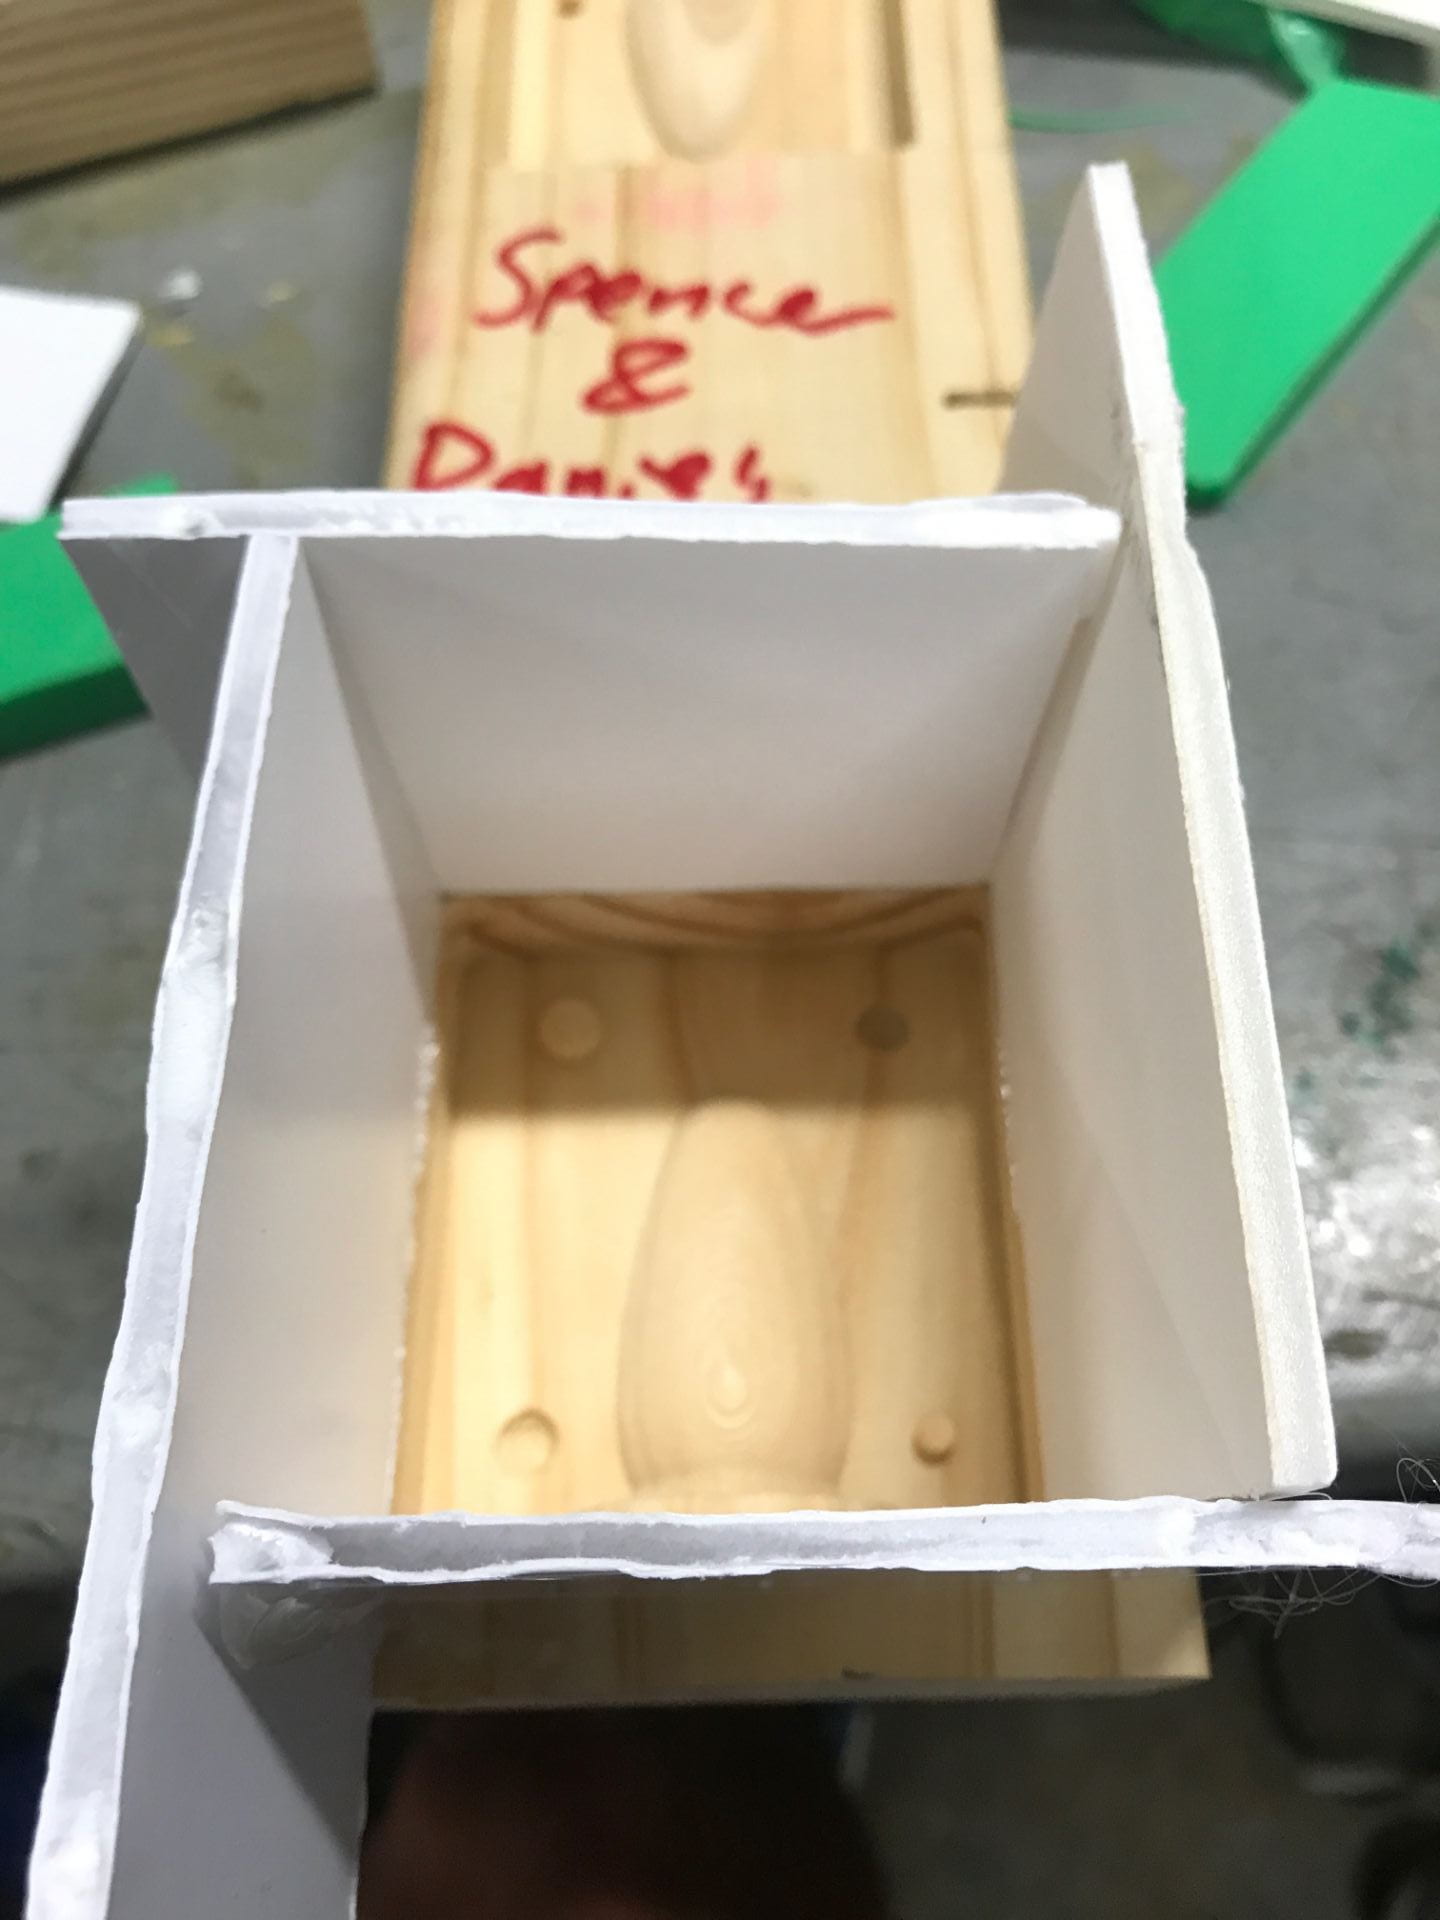
After doing this, we realized that some of the pegs were going in the wrong direction, so we had to cut a few of them off and instead put a bunch of rubber bands around the negative molds.
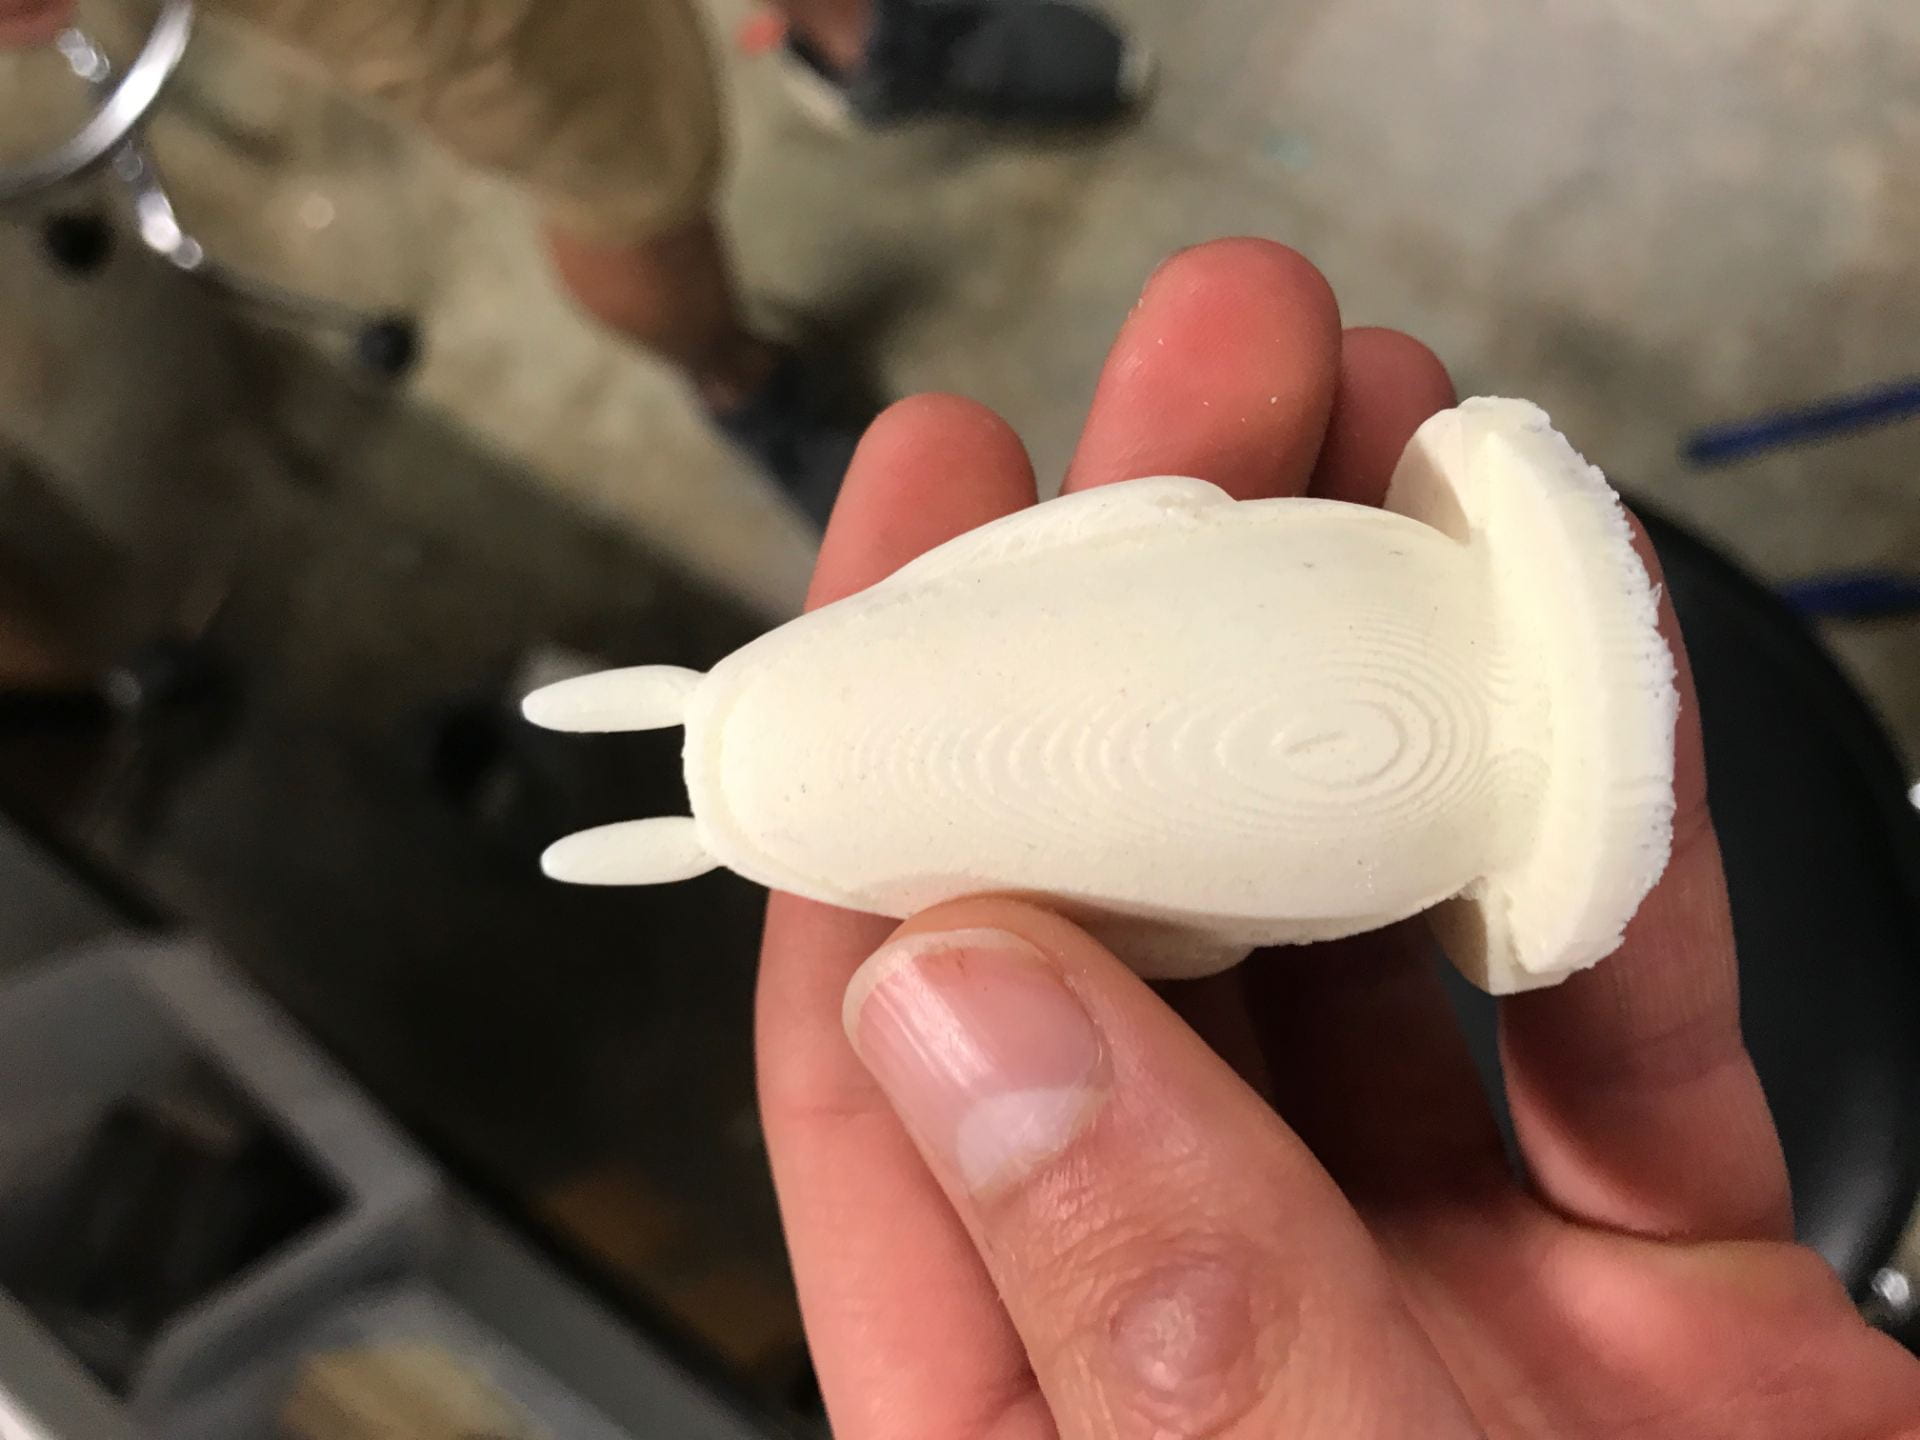
Lastly, we made positive molds by pouring the liquid plastic mixture into the negative molds. Our first one turned out pretty good, but we discovered that the 3D printed side was slightly larger than the CNC side. To counteract this, we slid the 3D printed side down so they would line up as nice as possible.
For the rest of our pieces, we used the same offset which worked pretty well and also added a few drops of yellow dye in order to color them. We came across the problem of bubbles forming in the ears every time, but on the 8th try Spencer discovered that if he squeezed around the ears when only a little bit was poured they turned out much better. When we finished 7 more pawns using this method (making 15 pawns in total), our project was done.
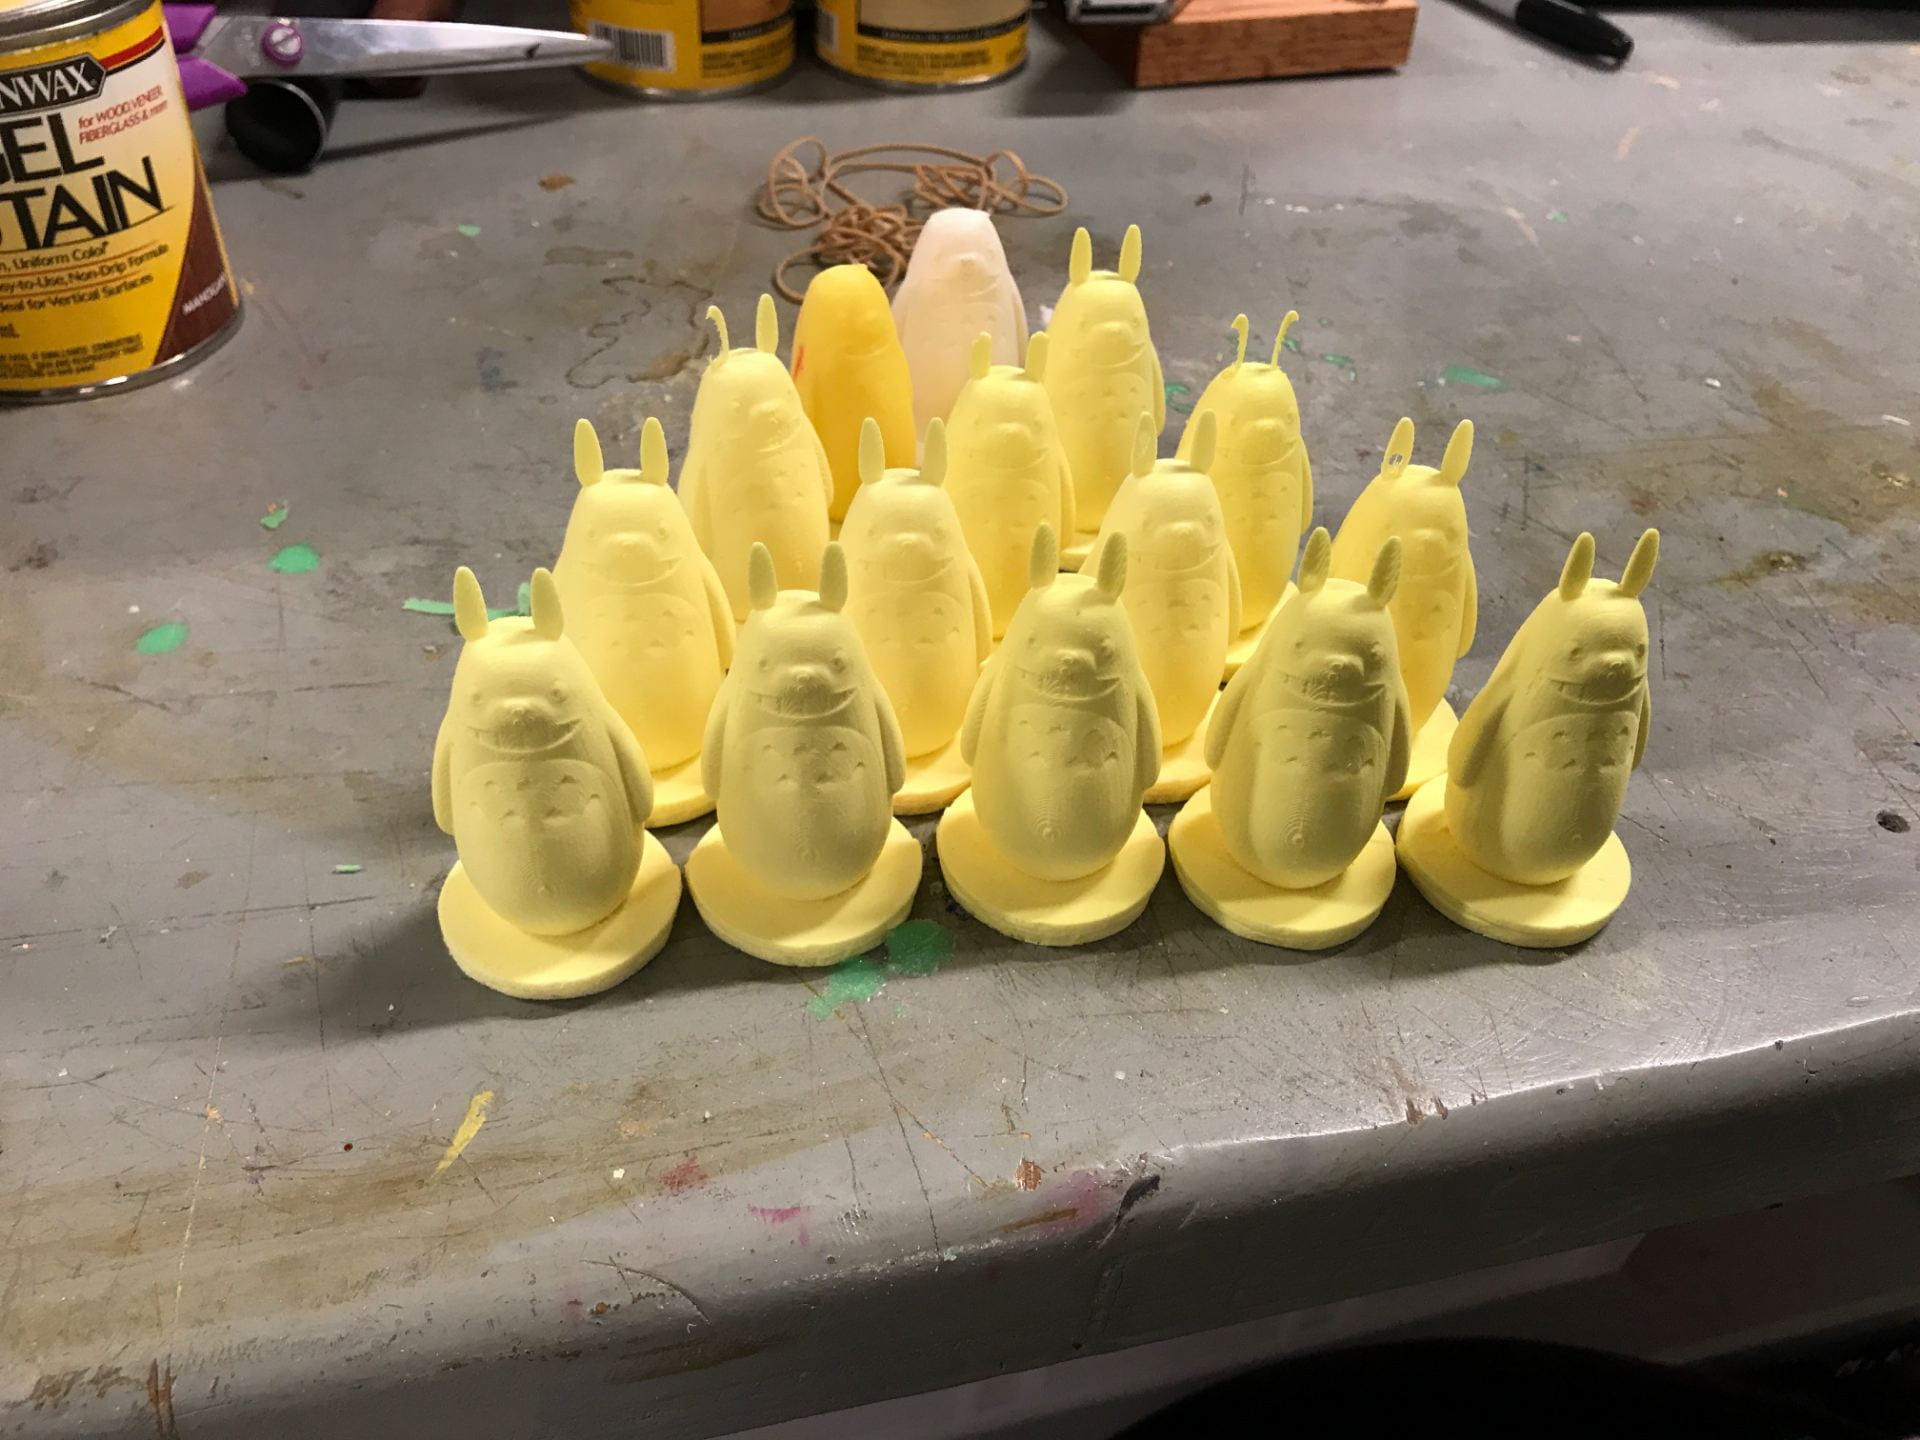
Overall, we’re very pleased with the outcome of our final. The Totoros all look really good and very similar to the real thing. Still, there are few things that could be improved. We sanded down the curve where the two parts meet, but it is still clear that they were slightly different sizes. Additionally, the front of the base looks pretty good considering it was cut out of foam, but it still doesn’t look as good as the back which was simply cut on the CNC.
In total, both of us spent 25 hours making the Totoros, meaning 50 hours was put into this project. If our time is valued at $10 an hour that puts labor costs at $500. We spent roughly 9 hours on the computer, which I’ll estimate at $5 an hour, 2 hours on the CNC machine, which I’ll estimate at $20 an hour, and the 3D print took 6 hours and cost roughly $10 in total. As for material costs, the block of wood we CNC cut was only $2, and the filament for the 3D print was $3. Each of the Silicone Rubber mixtures costs $25 for a gallon (128 fluid ounces) and we used 8 fluid ounces of each, so the cost comes out to be 2*25*8/128 ~ $3. A 2 gallon (256 fluid ounces) kit of the liquid plastic mixture costs $90. Each of our pieces was a fluid ounce and we made 15 so the cost = 90*15*1/256 ~$5. A bottle of dye is $5 and used 1/5th of it making the cost of coloring the pieces one dollar. In total, the cost of this project comes out to be $636.
