Introduction
For this assignment, we selected a movement from 507 Mechanical Movements and adapted it from the given diagrams to an Illustrator vector file that would be ready for fabrication through laser cutting. 507 Mechanical Movements, is a technical reference book by Henry T. Brown that was originally published in 1868. This book has been translated into a website with some of the mechanisms having animated GIFS for better understanding.
After looking through, I decided to go with #120:
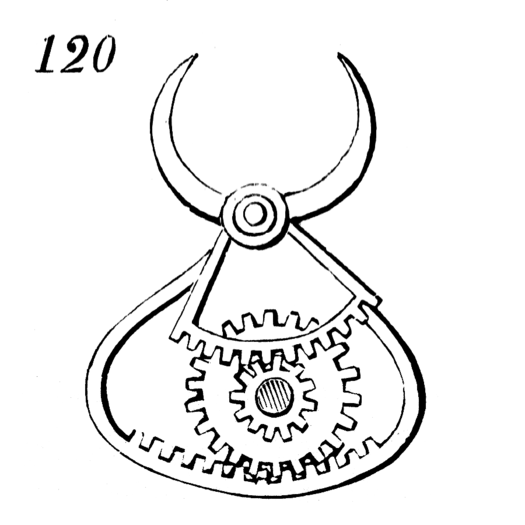
The description states that:“Each jaw is attached to one of the two segments, one of which has teeth outside and the other teeth inside. On turning the shaft carrying the two pinions, one of which gears with one and the other with the other segment, the jaws are brought together with great force.”
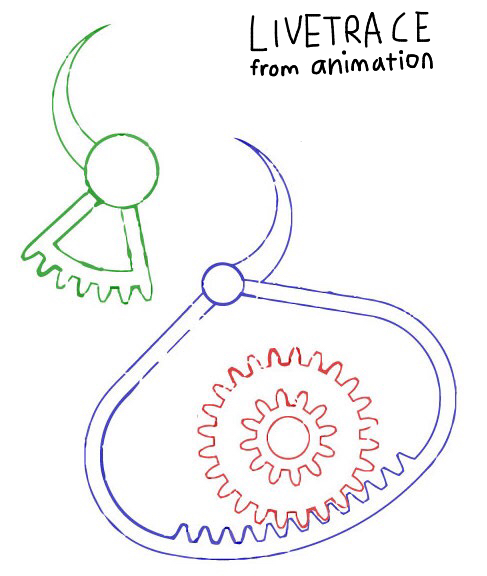
Attempting Live Trace
To start out I tried out image trace on the images given, but both of them remained quite messy and did not seem worth the amount of time that would be needed to clean them up. It was also difficult to distinguish the parts from each other as they were all black in the original illustration.
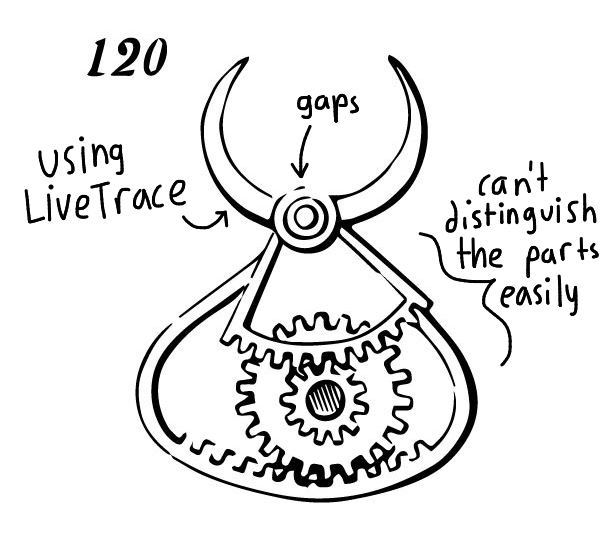
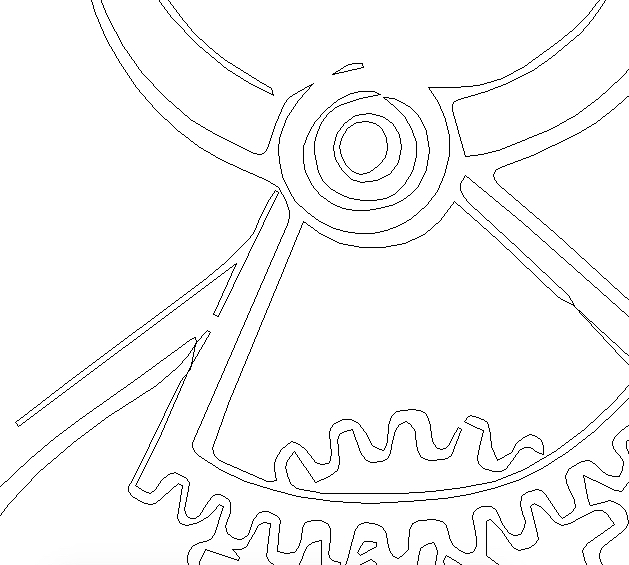
I ended up using the live trace on the animated version as a guideline for basing my parts on, and was able to separate by color using the magic wand to pick out the parts into three main pieces.
Description of 2D Drawing Techniques
Instead of using the Live Trace results, I moved on and tried making the pieces from scratch to make the desired overall shape. To complete the 2D drawing I used two main techniques:
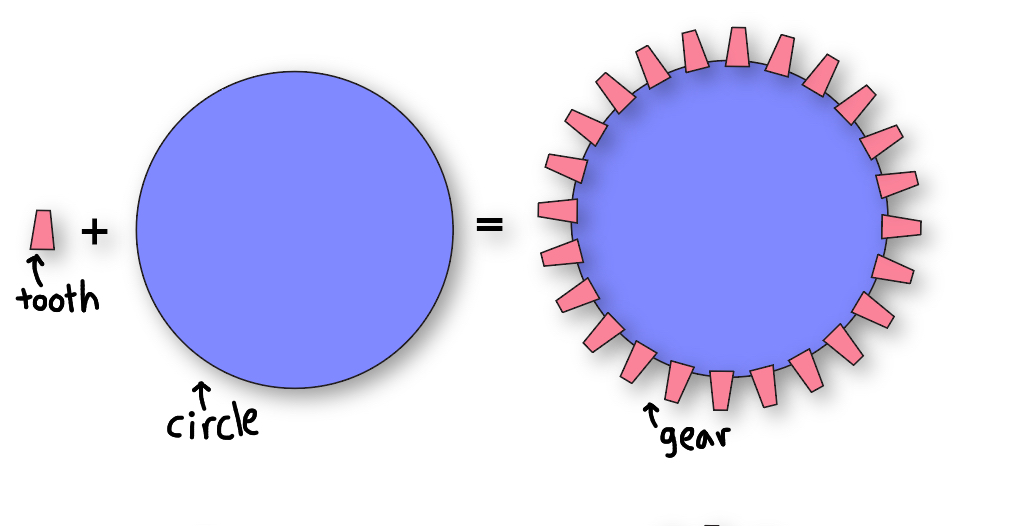
Technique #1: Creating base shapes and combining and subtracting with pathfinder
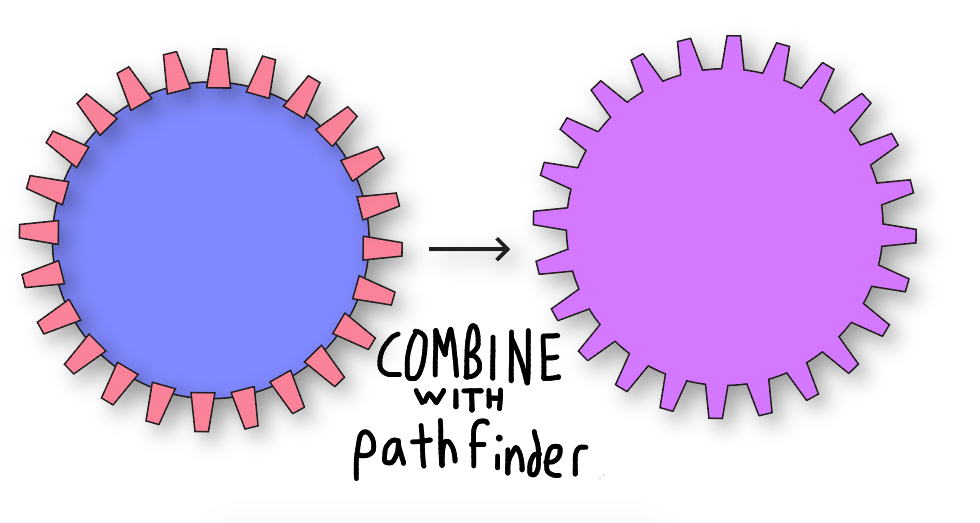
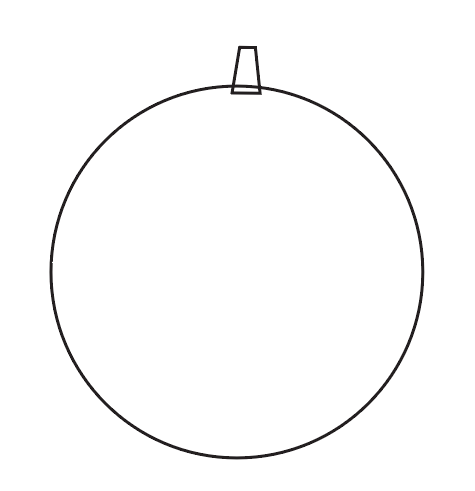
The most useful technique is making complex shapes from simple circles and rectangles using the pathfinder tool. For example, the addition of a simple trapezoid and circle made up the gears:
I also used subtraction to make the horn shapes, subtracting, a circle from another:
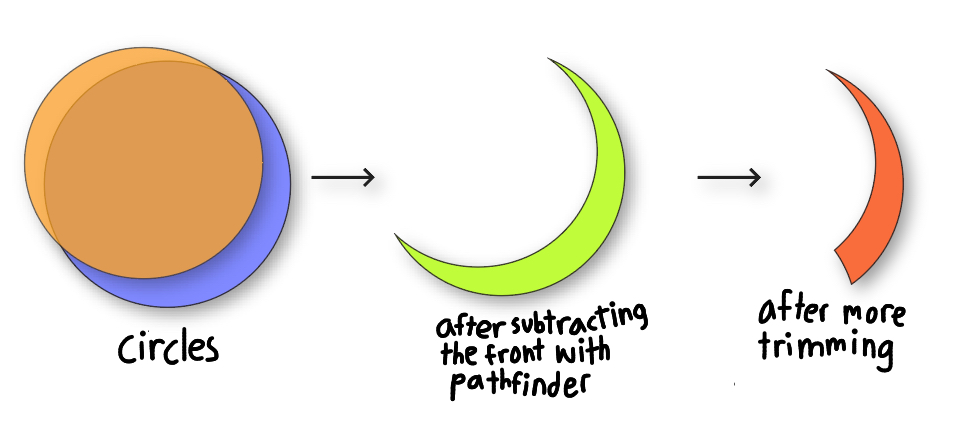
After combining this shapes, I would refine by deleting the unnecessary anchor points to get rid of bumps and adjusted with the handles to get the right curves.
Technique #2: Using rotation copy-paste for the gears
This technique was very useful and by following this tutorial, I could make the gear with ease after just making a tooth and circle of the right size and typing 360/24 to rotate the gear by the right amount around the circle.
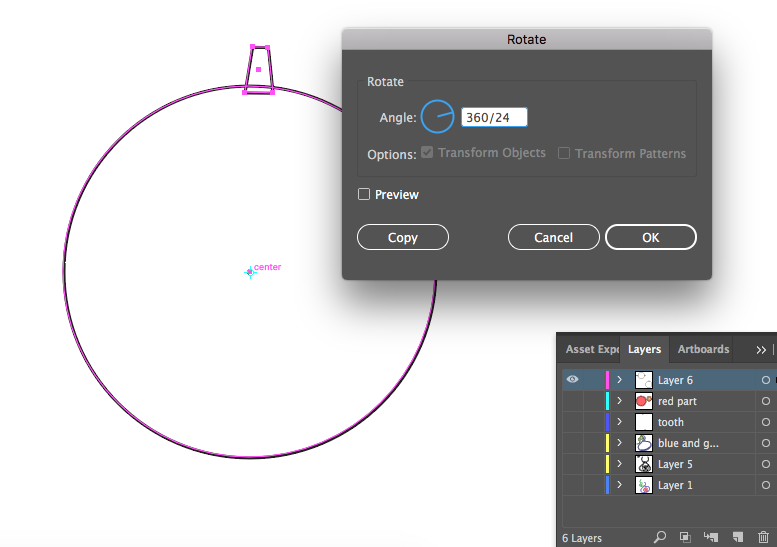
Doing this made the teeth go around the gear perfectly by just holding down Ctrl/Command-D:
Final Results and Conclusions
Using these techniques and arranging the parts to save space I ended up with this:

It matches the outline well:

Using this file, the mechanism could be laser cut out of wood and then put together by drilling holes and connecting some rods in the appropriate places to allow for rotation. I am not sure if the gears are the most optimal, but they should probably work.
I think it is amazing how many features Illustrator has hidden that come in handy for specific situations and there is always more to learn. Additionally, I like how there are many different ways to create the same shape. I think that it is important to learn as many methods as possible in order to choose the right technique for the situation. Finally, I think that Live Trace is an incredibly valuable tool although from this exercise, it is easy to see the limitations. Overall, I learned some new techniques in Illustrator in making these parts.
Download the Illustrator .ai file!
