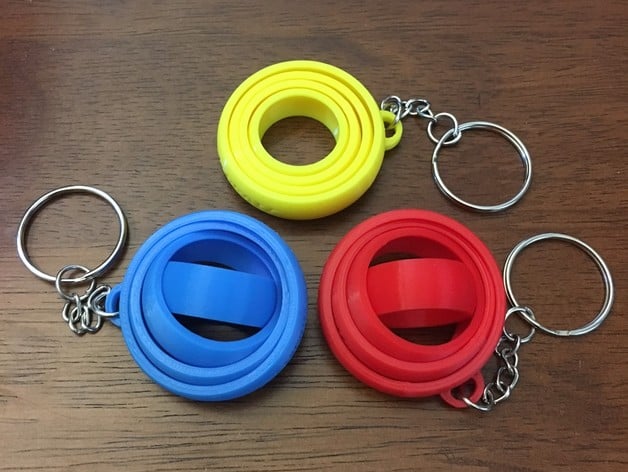
Hello again! I’m back this week with a fun assignment: using the 3D printers! The actual project was to find and print some ‘impossible object’ on thingiverse, which is a design community where people upload designs for anyone to use. For this assignment, an impossible project was defined as something that could not be fabricated using any other method than 3D printing. This often means it has multiple pieces connected together without a way to detach them, or is very small with a high level of detail. In addition, we were tasked with using both lower-fidelity and higher- fidelity printers available at the OEDK. When I learned more about this assignment, my original idea for what to print was the gyroscope keychain I talked about back in the first blog post, which can be seen in figure 1 below:

Figure 1: The Original Gyro Keychain
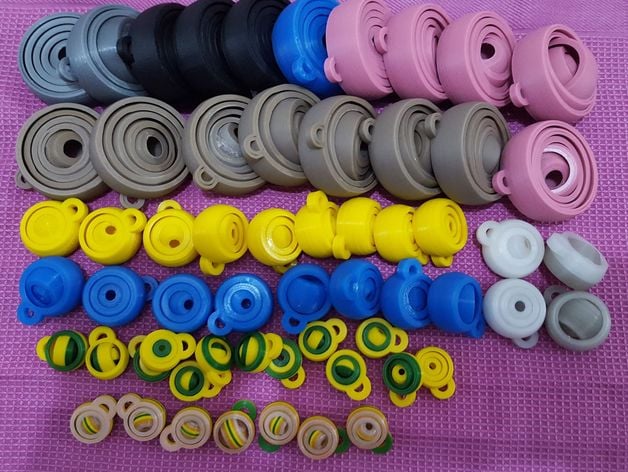
However, this original design was too big to fit in the gumball containers we were given to work with. So, I kept looking on thingiverse to see if anyone other smaller designs were available. Luckily enough, there were! I was able to find a design that had multiple sizes available, and one of those designs was a suitable size: about 1.25″ x 1″ x .75″. This size can be seen in the yellow and blue pieces seen in figure 2.

Figure 2: The new design! (Seen in the third and fourth row from the bottom)
Now that I had the file I wanted, I began actually printing. For the lower-fidelity printer, I used the makergear, which is a fused deposition modeling printer. Regarding printing settings, I used a .15mm layer height to ensure higher precision, 20% infill to make it stable but not too heavy or time consuming to print, and no support material. Since this is a one print job with multiple nested pieces, having support would only prevent the rings from turning how they were designed to, so no support material was used. This print took about 40 minutes and according to the software, used 7.16g of plastic and cost $0.18. This print can be seen below in Figure 3.
Moving on to the higher fidelity printer, I chose to use the Objet, which is a polyjet printer. For this type of printing, there are less printing settings to account for. I chose to use RDG480 which is a stiff material and I chose to make it “glossy” meaning the support will not print over the entirety of the exterior of the model. This printer always uses support because this support is made of a different flexible material that can be easily removed using a high pressure water jet, so this is a main way that this print differed from the first one. The printing used 16g of RDG480 and 16g of support material, coming out to a cost of $6.32, which is much more than the lower fidelity print. This object can be seen with this support material still attached in the Figure 4 below.
Finally, here are the two final prints side by side!
Although the material, finish, and printing method were very different, both of these keychains work just as intended, and will hopefully find a happy home with someone visiting the OEDK soon.


