For our third homework in the class, we were tasked with making a 2D drawing of a machine taken from 507 Mechanical Movements. My first step in completing the activity was selected my movement. Since I was aware that I would likely use this movement for my midterm assignment, I took the feasibility of actually creating the movement into account. I chose movement 92, the ‘ordinary crank motion’, because I liked that it incorporated rotational and translational movement.
The first thing I did before drawing was to screenshot the movement and paste it onto my Illustrator art board. I did this because I figured that by having the image on my art board, I could overlap my shapes with the image’s shapes and dimensions to ensure my scale was accurate.
To begin drawing, I chose to tackle the wheel first and then the rectangular component with the translational movement. For the wheel, I first started by creating the basic shapes and structure (mainly the circles and the frame for the translational movement part) and comparing them with the movement’s image for sizing.
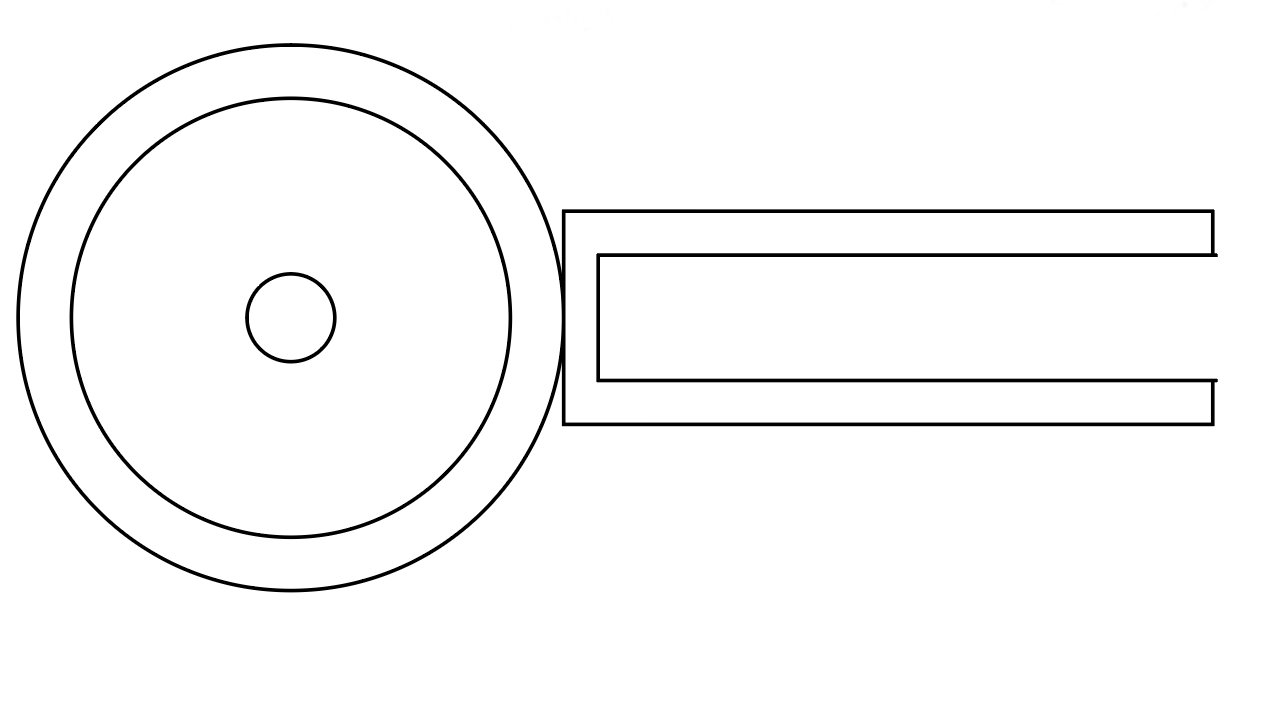
Creating the basic shapes and structures.
I then traced the space between the spokes of the wheel and copied and rotated that shape around the center of the wheel. This step took me a considerable amount of time because I wasn’t familiar with rotating tools around a center point outside the shape. I watched several Youtube tutorial videos (such as this one), but for some reason, I kept rotating the shape around itself. My mistake was that I was using the wrong rotate tool. Instead of using the rotate tool on the toolbar, I was using the rotate command through the object → transform tab. When I figured this out, the remainder of the wheel was easy to complete. I drew two parallel lines in the middle of the spokes and rotated them around the wheel’s center the way I had previously done.
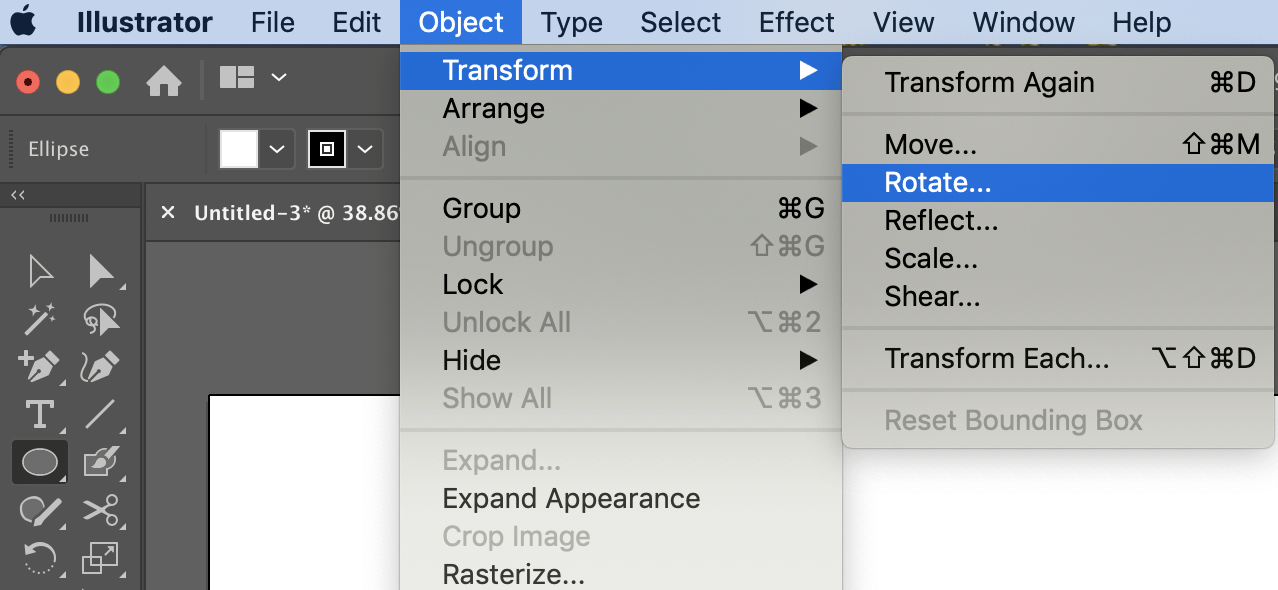
The wrong rotate command.

The right rotate tool
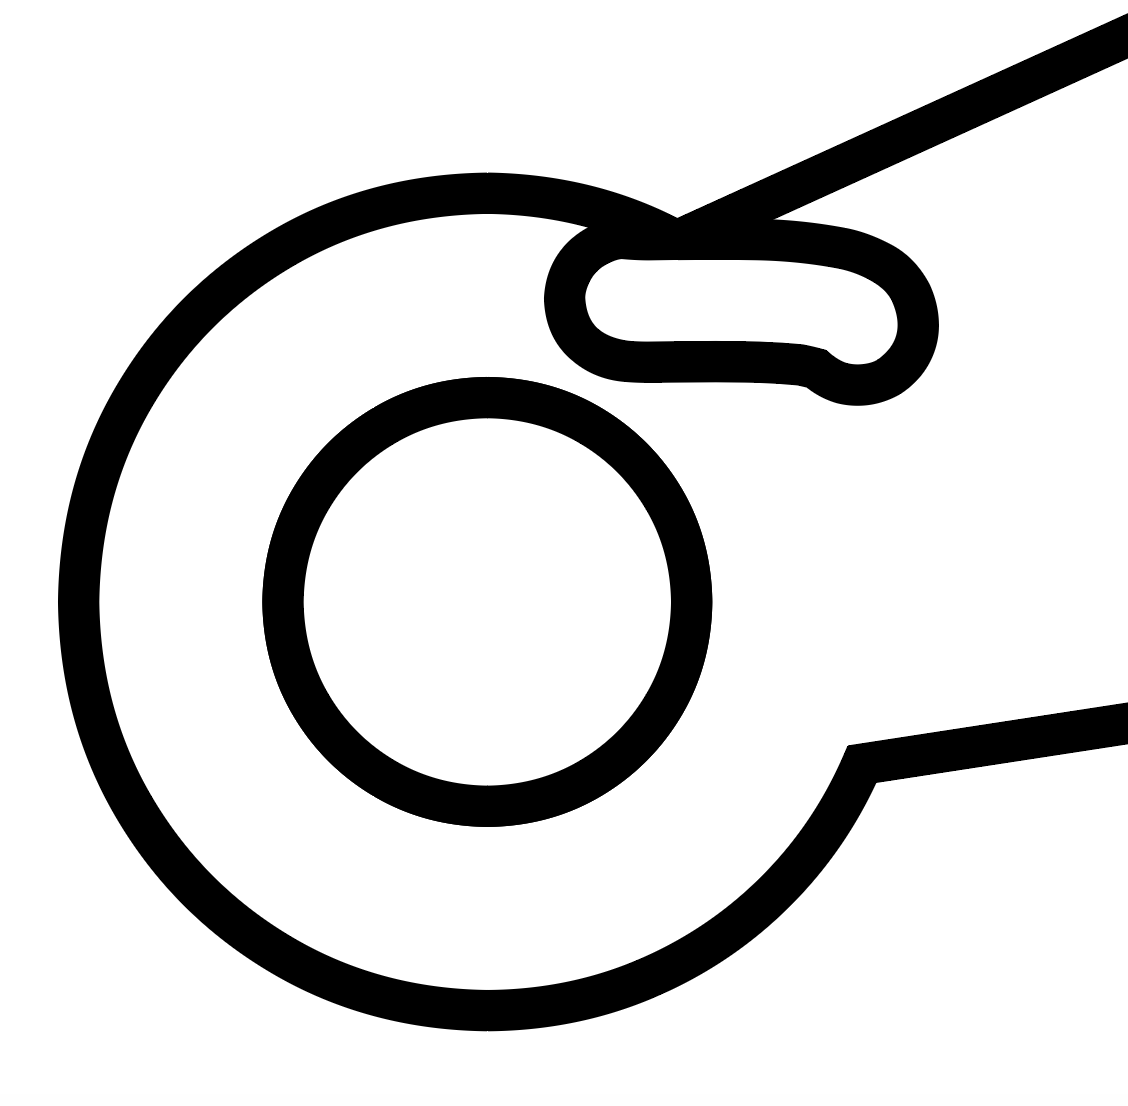
My next step was to draw the square slider in the translational movement part. I had no difficulty with this part, as I just had to draw a rectangle. The final step in my drawing process was to draw the ‘arm’ connecting the wheel to the translational movement part. Mentally, I grouped the part into two circles on the ends and a curved section in the middle. I first made the two concentric circles on each end using the basic shapes tool and then I used the pen tool to trace the curved middle section from the screenshot I had inserted of the movement.used the shape builder tool to combine both circles with the middle section. Since the circles didn’t completely align with the parts I had made with the pen tool, I had some lines that stuck out.

An example of a misalignment between the two sections of the part.
I struggled with this part of the drawing as well, because I wasn’t sure about the best way to clean up the part. Initially, I thought I could simply remove the extra part of the line. I watched tutorials on Youtube again, such as this one, to learn the most effective way to trim a shape. As I messed around with the eraser tool, I found that I was actually creating more lines instead of erasing them. I was successful in trimming the line thanks to the scissors tool and ‘command + y’, which is a “toggle between Outline and GPU Preview of the document”.
Attempting to use the eraser tool.
Eventually, after a couple of hours of work, I was able to reach a drawing which I think closely resembles the original movement.
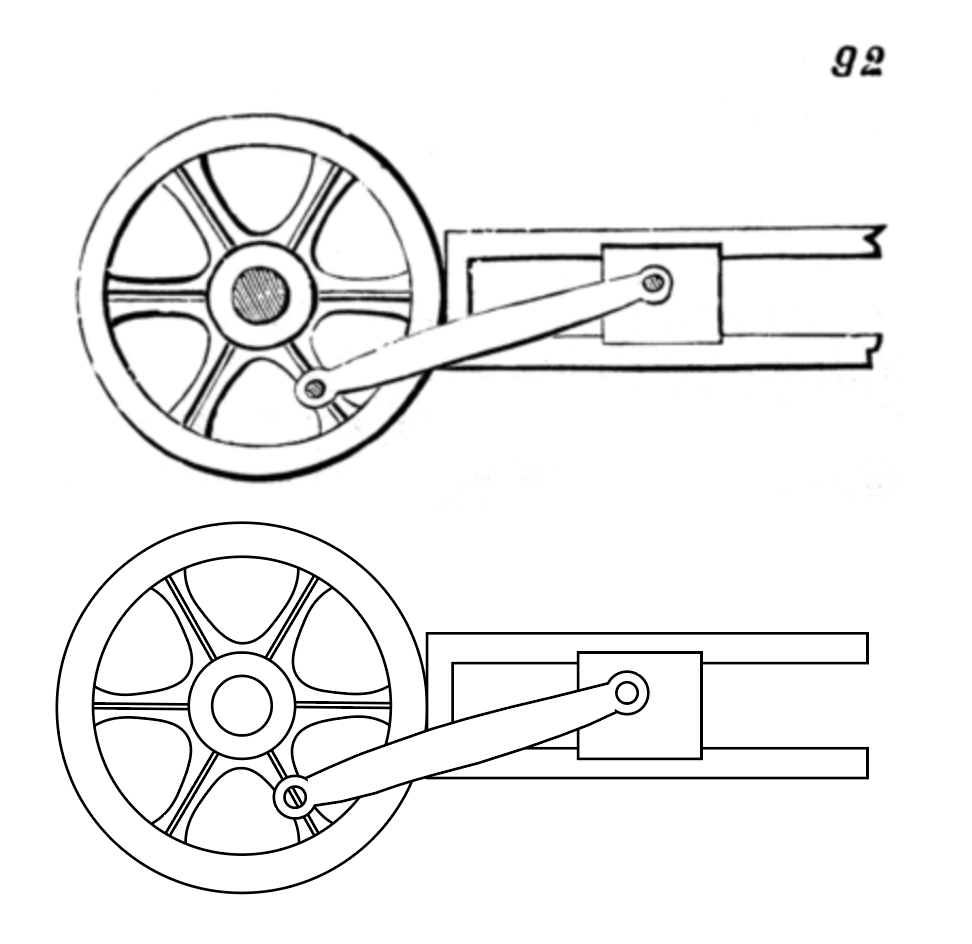
My drawing (bottom) compared to the original image (top).
Here is the file for my drawing:
Elisa Mov’t #92 2D Drawing-1 (1)
Cost estimate
Labor:
- I spent a total of 2 hours on this project. Assuming a pay rate of $15/hour= $30
Software:
- I used Adobe Illustrator to make the drawing. An Illustrator membership costs $20 per month.
Total cost= $30 + $20= $50
