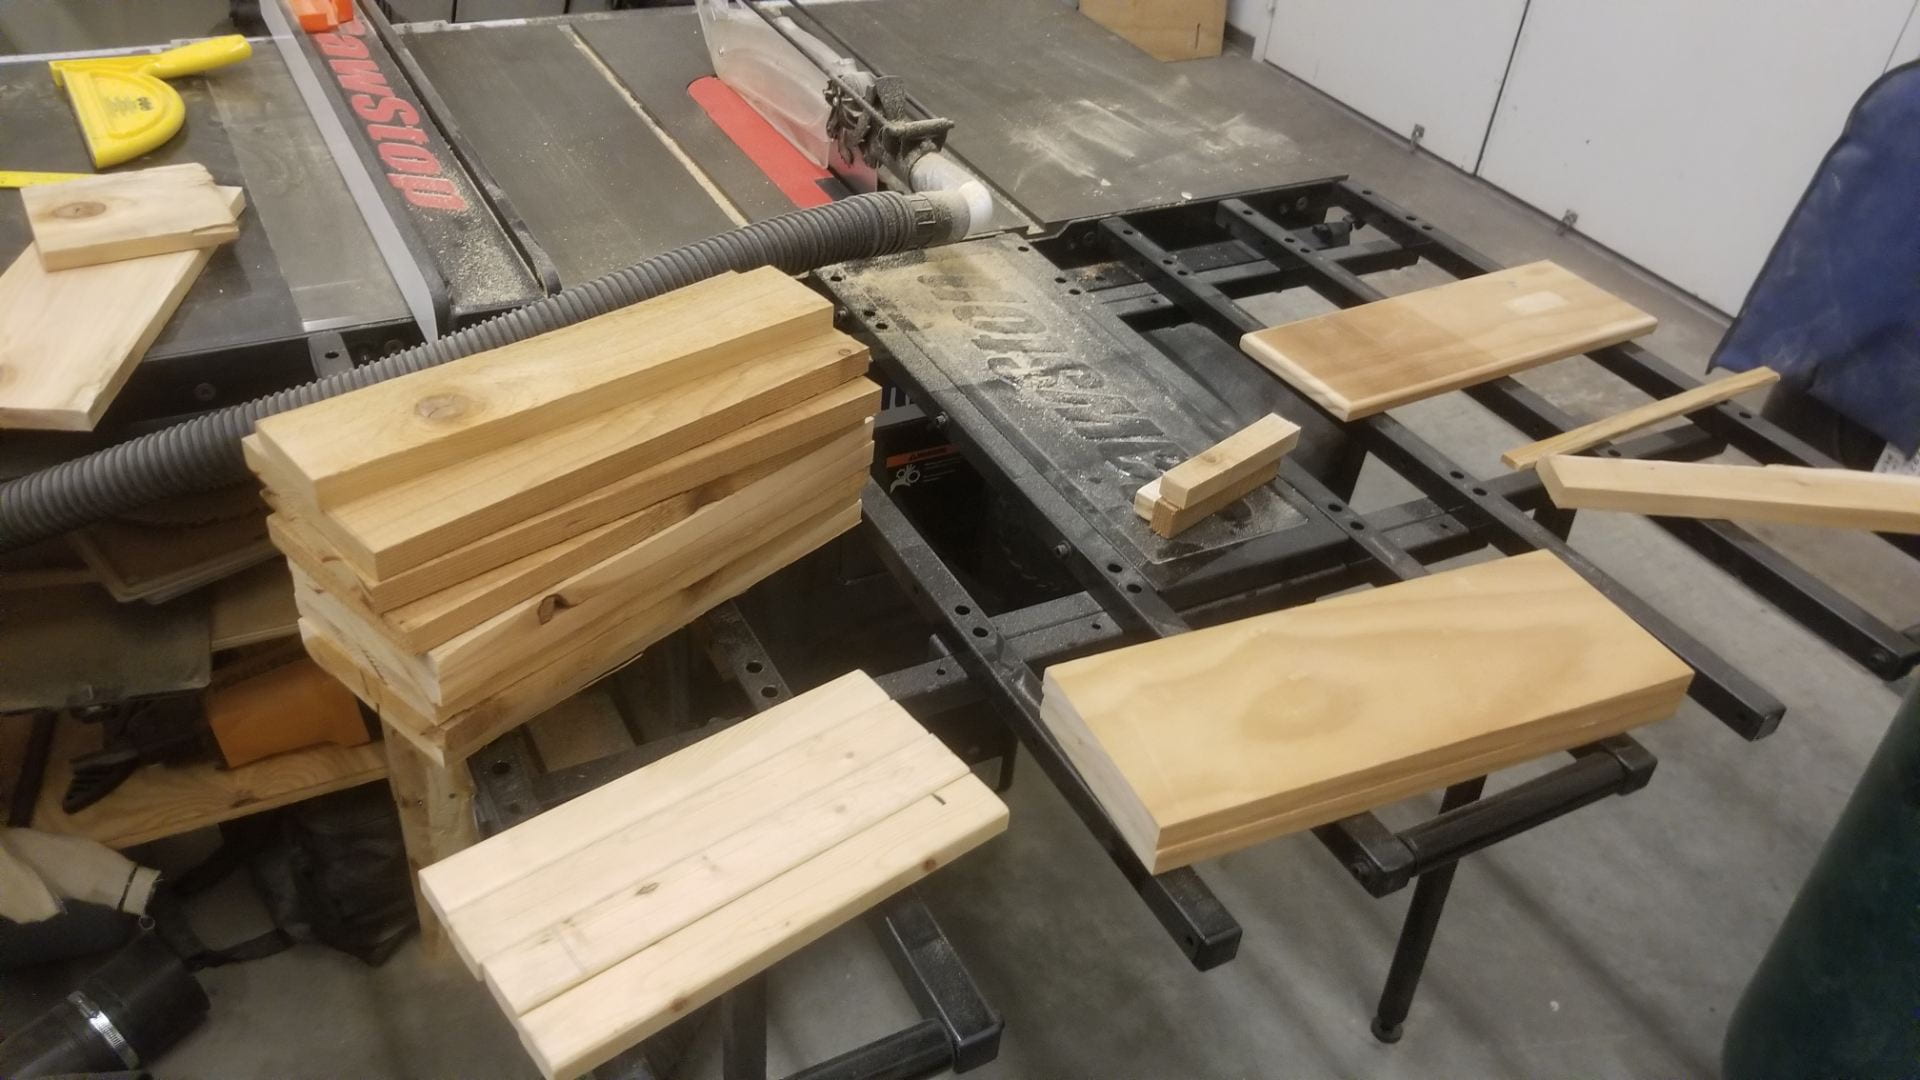
I started this project with a trip to the wood shop to see what scrap pieces were available, deciding to make a design after I knew what I could use for it. I found a good strong piece of 1″ x 6″ pine board and a few nice pieces of cedar 1″ x 6″ along with decent furring strip board, and avoided plywood for cosmetic reasons. I also had to clean some painters tape off the pine that unfortunately left permanent marks.

I decided to make a slatted box with pine headboards, cedar planks kreg jointed between them, and some furring strip boards in the corners to connect the second layer of box to the first. I started with marking the length of wood pieces I would need along the available planks, leaving 1/16″ between each piece to account for the thickness of the chop saw blade. This was in error from bad memory, most powered saw blades are actually 1/8″ thick. Always measure twice. However, the slight decrease in length of each piece was not a major issue and only decreased the size of the box by 1/16″ in each dimension. I planned to make my cuts on the chop saw, only for an electrical failure in it to force me to cut with the table saw. This unfortunately decreased the squareness of the edges. I made 2 extra cedar slats to protect against future errors, and used the table saw to take one slat from 5.5″ actual width to 2.75″. This allowed for a third slat on the bottom of the box, significantly decreasing the gap size. I then routed and orbital sanded the pieces where appropriate, leaving edges with hard corners if they were to be secured against another board. I used a kreg jig to drill holes on the cedar slats, sanded the edges of all the boards, and began assembling the box.
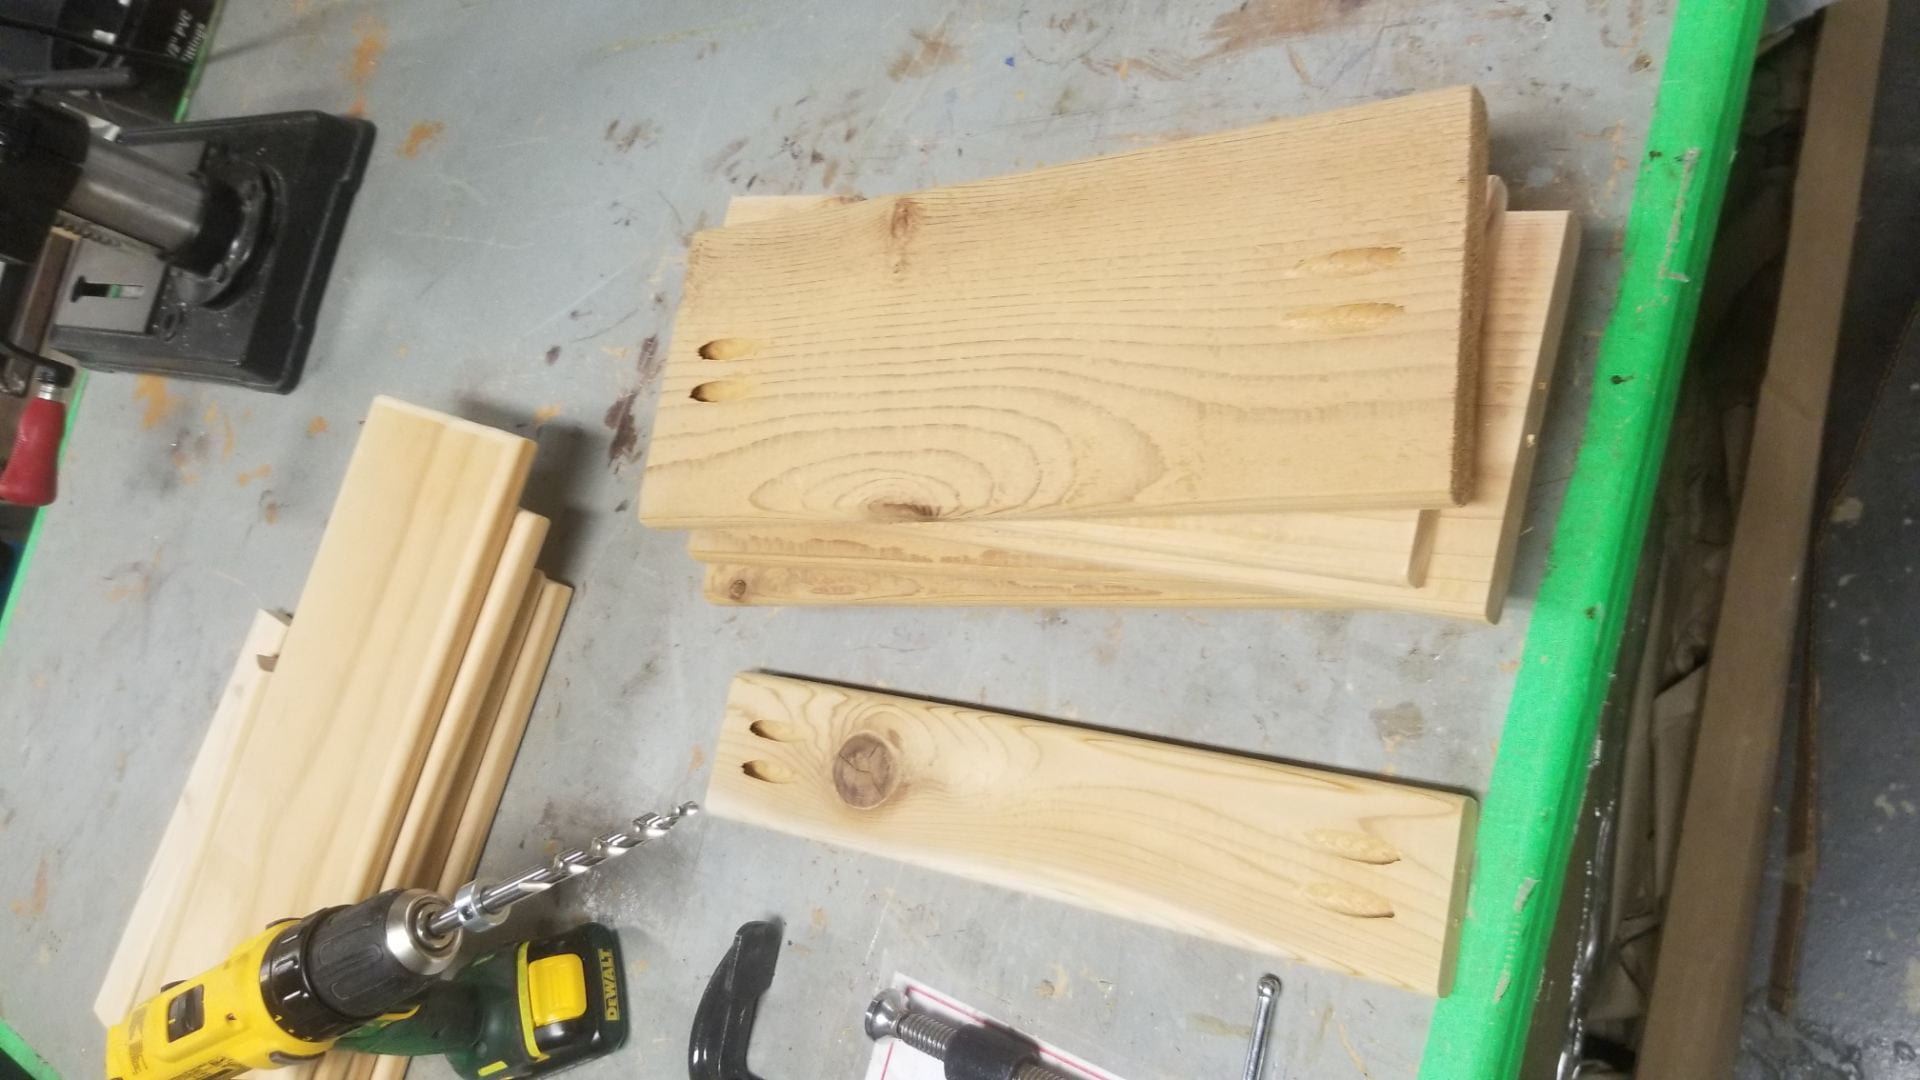
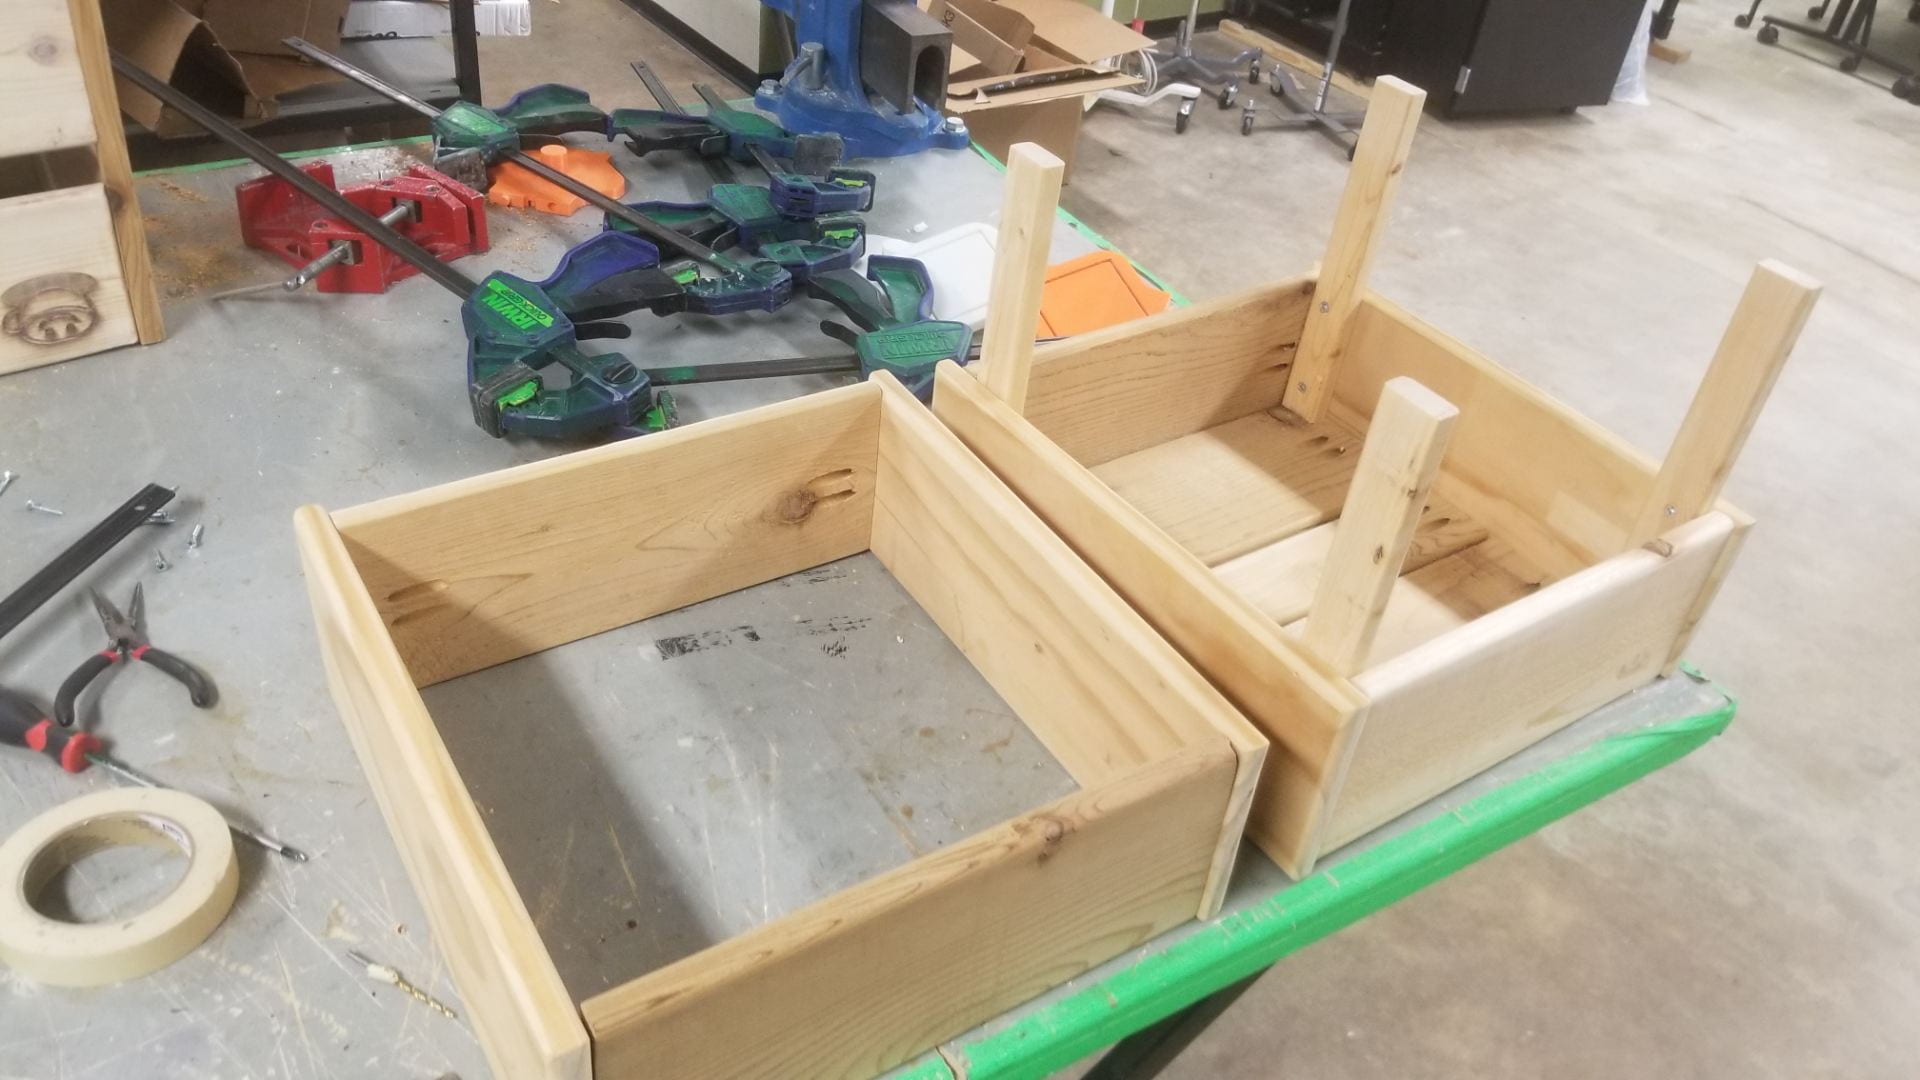
I joined cedar slats to the pine boards at square corners with the end of the cedar secured to the face of the pine board, constructing two rectangles with opposite edges of the same type of wood. The two extra cedar slats I had prepared were used to replace a slat that had warped and a slat that was slightly too short. I secured three more cedar slats to the bottom of one of the rectangles with the narrowed slat in the center, screwed the furring strip sections into the corners pointing upright and drilling countersinks, then placed the second rectangle around the furring strips. I screwed the furring strips into the second rectangle, again using countersink holes, did some cleanup with a round file in kreg joint holes and sandpaper everywhere, and the box was ready for finishing. I unfortunately forgot to take a photo of the assembled but unfinished product. Additionally, while drilling pilot holes for mounting the furring boards, I inadvertently drilled through the exterior of the a pine board after failing to notice when my drill depth marker had shifted. To fill this hole, I took some scrap pine to the belt sander, made and collected some pine saw dust, then mixed it with a drop of wood glue to create a pine wood filler. I then scraped this into the hole, and wiped away the excess. Over time, reapplications of wood filler might be necessary due to shrinkage.
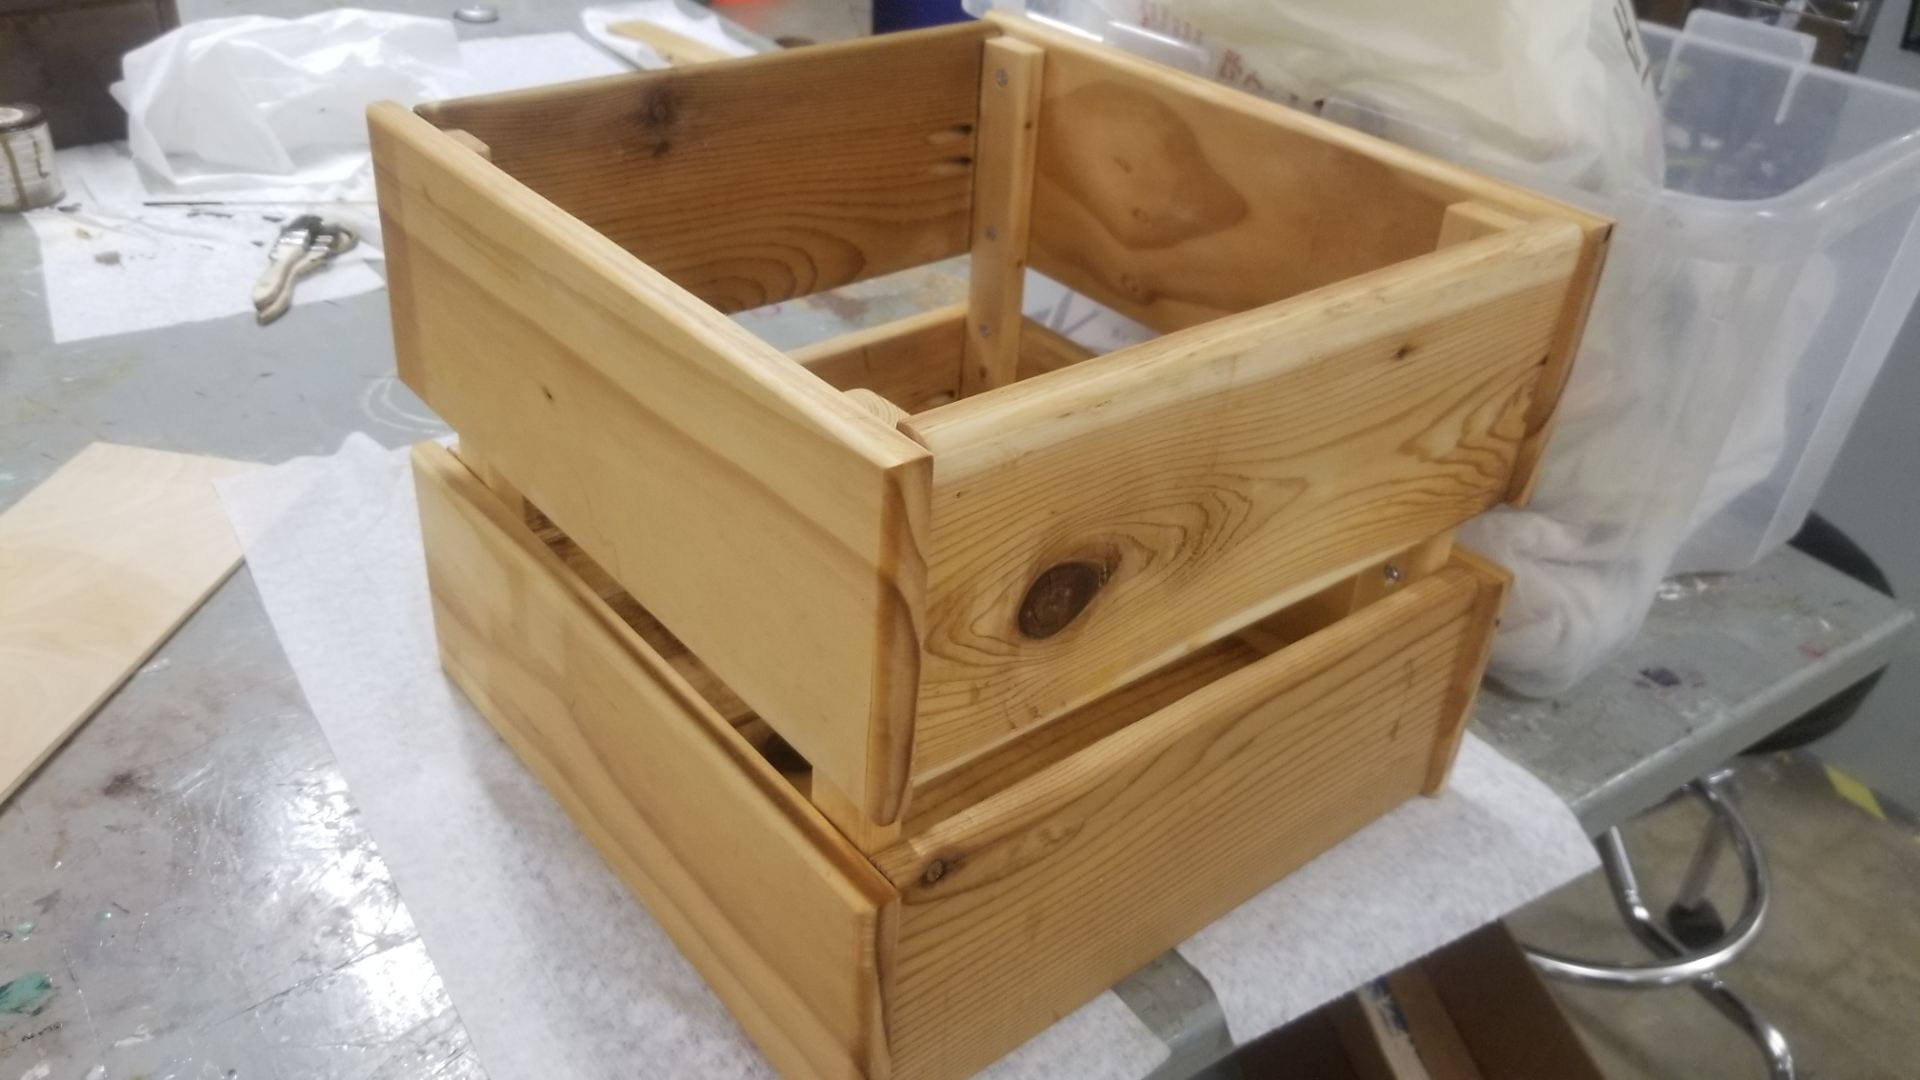
I was very satisfied with the appearance of the wood used, and therefore decided against using paint. I eventually decided to finish the box with an application of tung oil, as its a technique I’ve used before with cedar and pine and I knew I would enjoy the look and feel of the finished product. Since the expected usage is light, and the box will be kept indoors, I only did a few light coats of the oil to avoid unneeded excess. To coat in between slats, I lowered paper towels through the slats, applied tung oil to them, then pulled the towel back and forth through the gap. The tung oil left the wood with a deepened amber tone but still natural look, and should do well enough at protecting the wood over time. If it were to be used outdoors, I would apply more layers of oil first.
This project took me 11 hours from start to finish, and used $29.40 in lumber (one pine 1″ x 6″ board and one cedar 1″ x 6″ board) with $5.12 in tung oil (1/4 pint) and $3.13 in wood screws (x44 screws) according to Home Depot pricing. I would value the box around $140. The tools used were a table saw, a routing table, a hand drill, a kreg jig, a round file, 220 grit sand paper, a belt sander, an orbital sander, and three hand clamps. Using Home Depot pricing for the versions of tools available at the OEDK, the machine cost is $1232.51. However, many of the tools used were for convenience and contained a high degree of unneeded functionality and precision. The design could be built with nothing but a drill, a kreg jig, a hand saw, flat and round files, and sandpaper.
