I never did any large scale woodwork like this project. In my high school and middle school, I normally used smaller wood pieces to make ornaments.
First, I roughly sketch out the design of my box on a piece of paper and label the dimensions
After that, I went to the wood shop to take measurments of wood pieces that could be used for my design. With these data, I was able to adjust the dimensions of my design more specifically.
I cut most of the materials with a jig saw. As I don’t want my box to be too heavy, I used a lot of light materials that could be easily cut. The only thick pieces of wood were four 7.5*16 inch^2 boards that were used for the bottom and two sides of the box. With a lab tech, I cut these four pieces using a panel cutter and routered the edges to round shapes. I finished these two preparing steps within 1 and a half hours.
For assembling all pieces, I used screws to make the connections strong. For each one, I drilled a pivot hole first and then screwed in the srew of suitable size. There were once that my pivot hole was not going straight and penetrated the wall from one side. Recognizing that it’s hard to hold the device horizontally, I turned the box around and drilled the pivot hole vertically towards the ground. That made my fastening more efficient as the gravity also helped to push against the wood. For this step, I spent 3 and a half hours, as my design contained a lot of parts. Moreover, the wood pieces I got were not having perfectly level surfaces. Some were curved or had uneven thickness. I paid a lot of effort on holding pieces in place and making the connections perpendicular or parallel.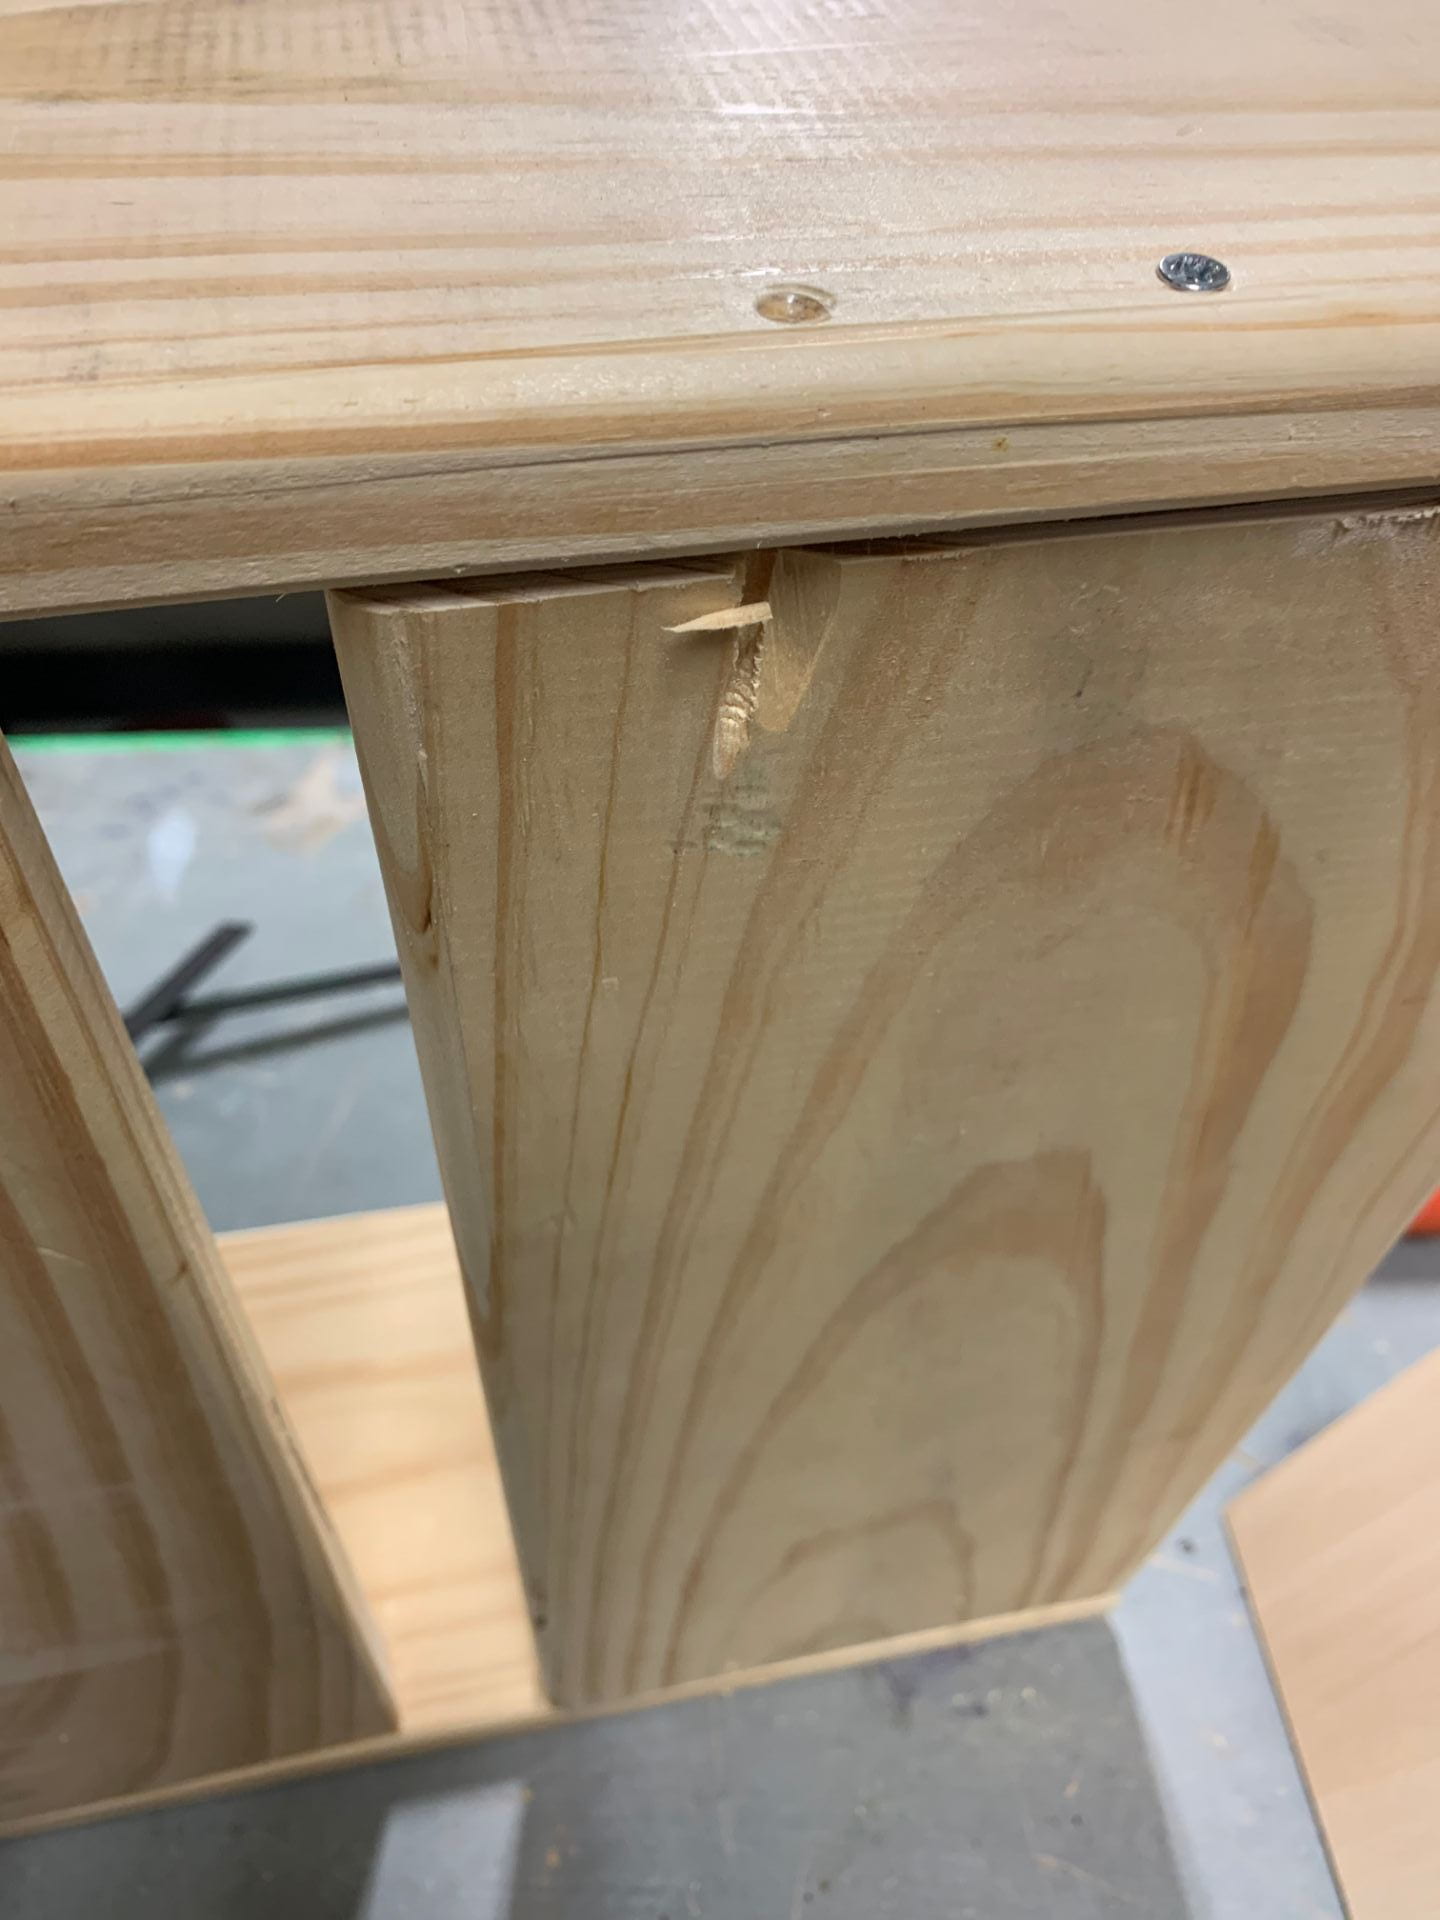
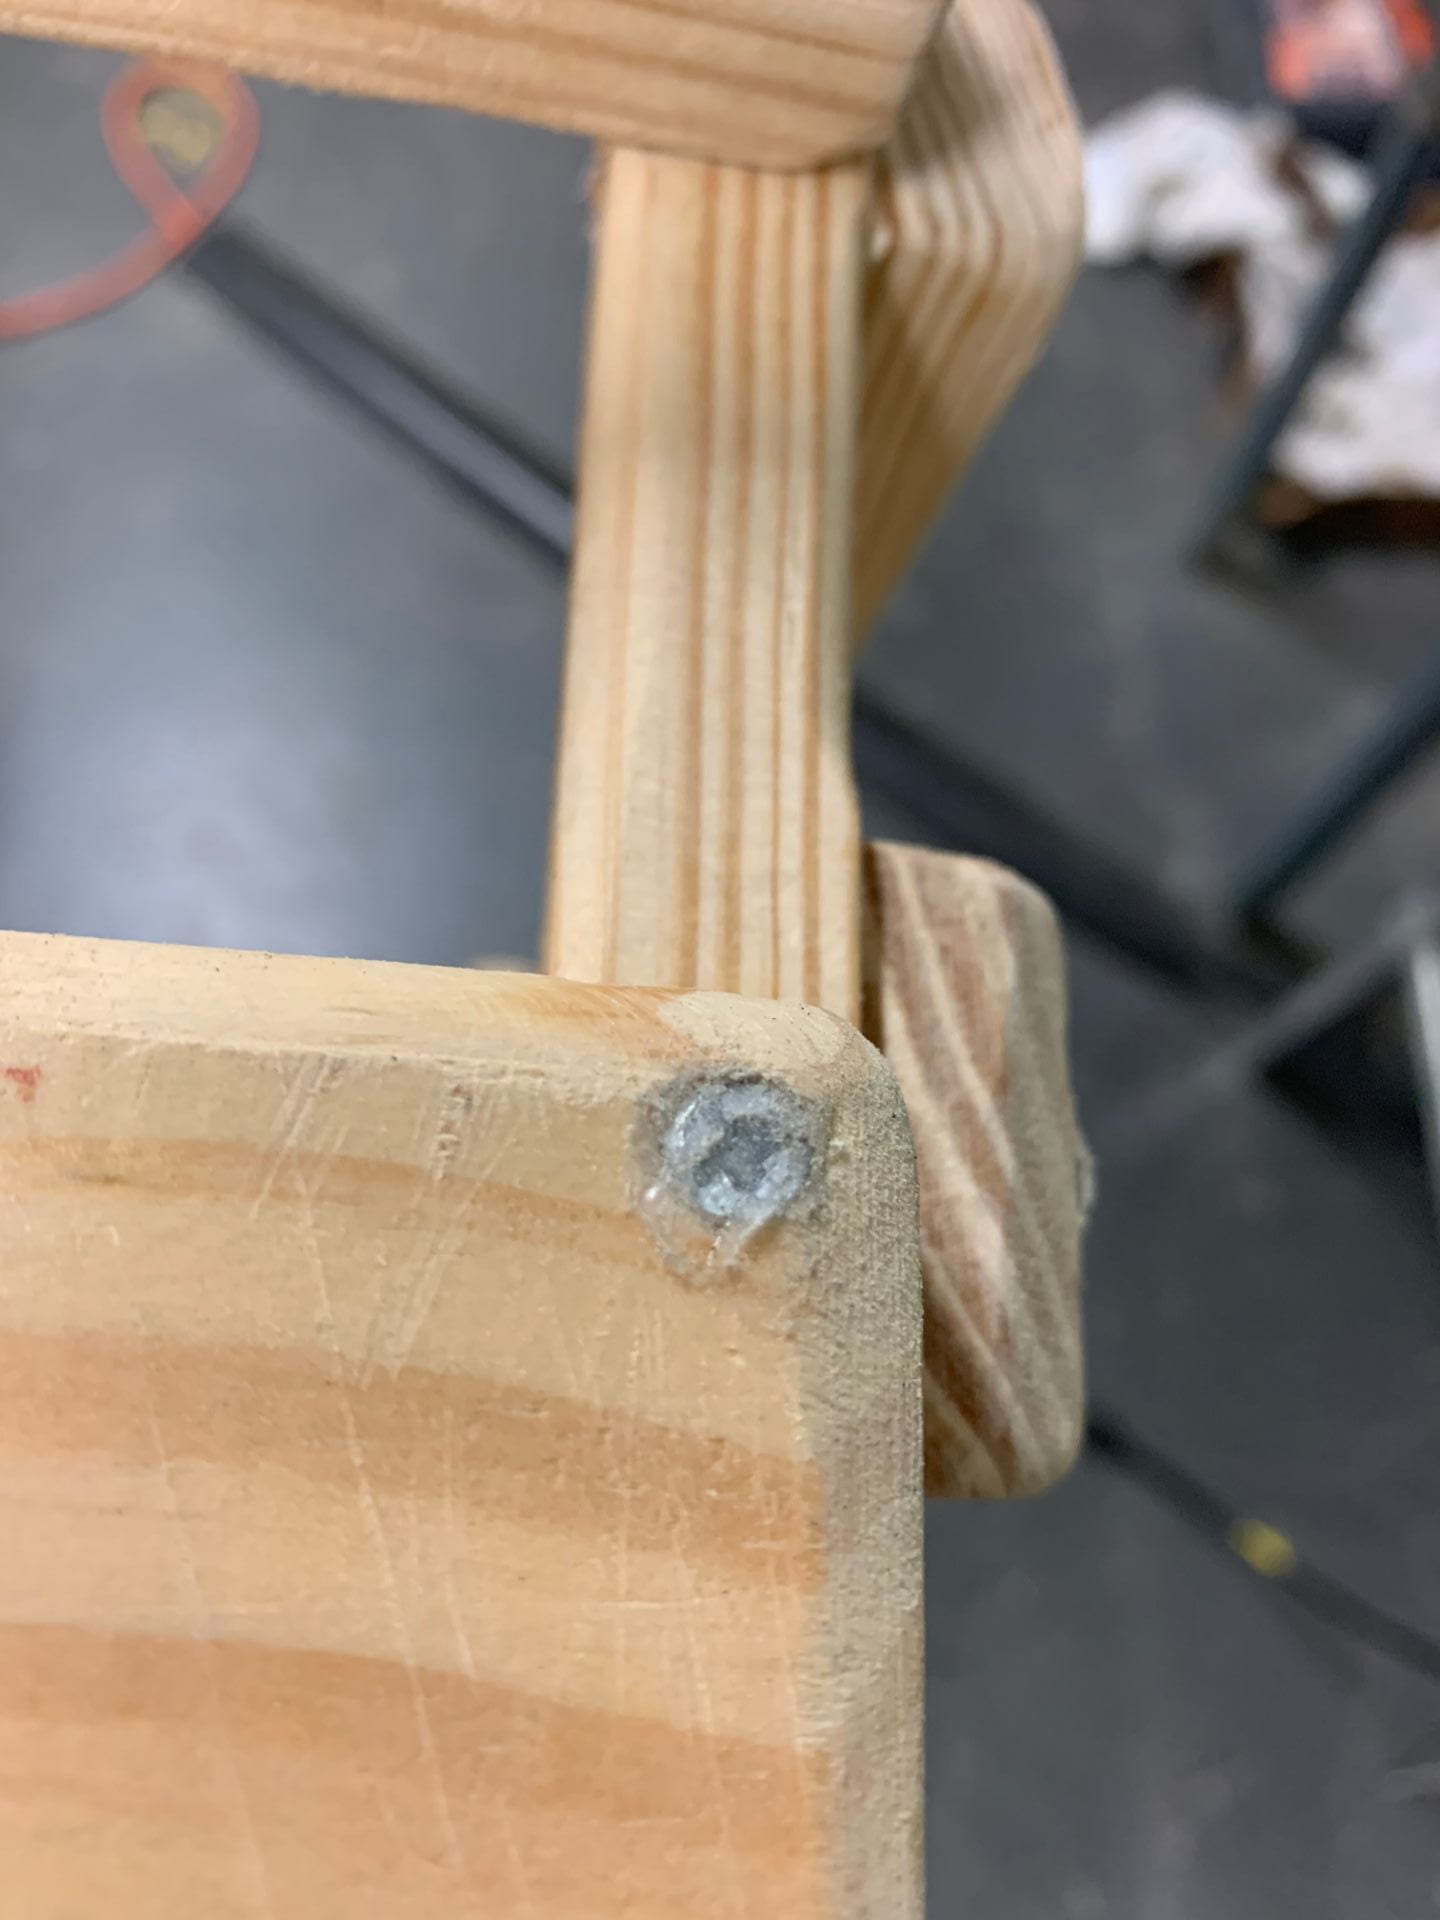
Finshing all fastening process, I used a hot glue gun to close some tiny slites between pieces. I also put some hot glue around the screws that are not completely level with the box surfaces to prevent sharp screw edges from showing up. This process spent me an hour.
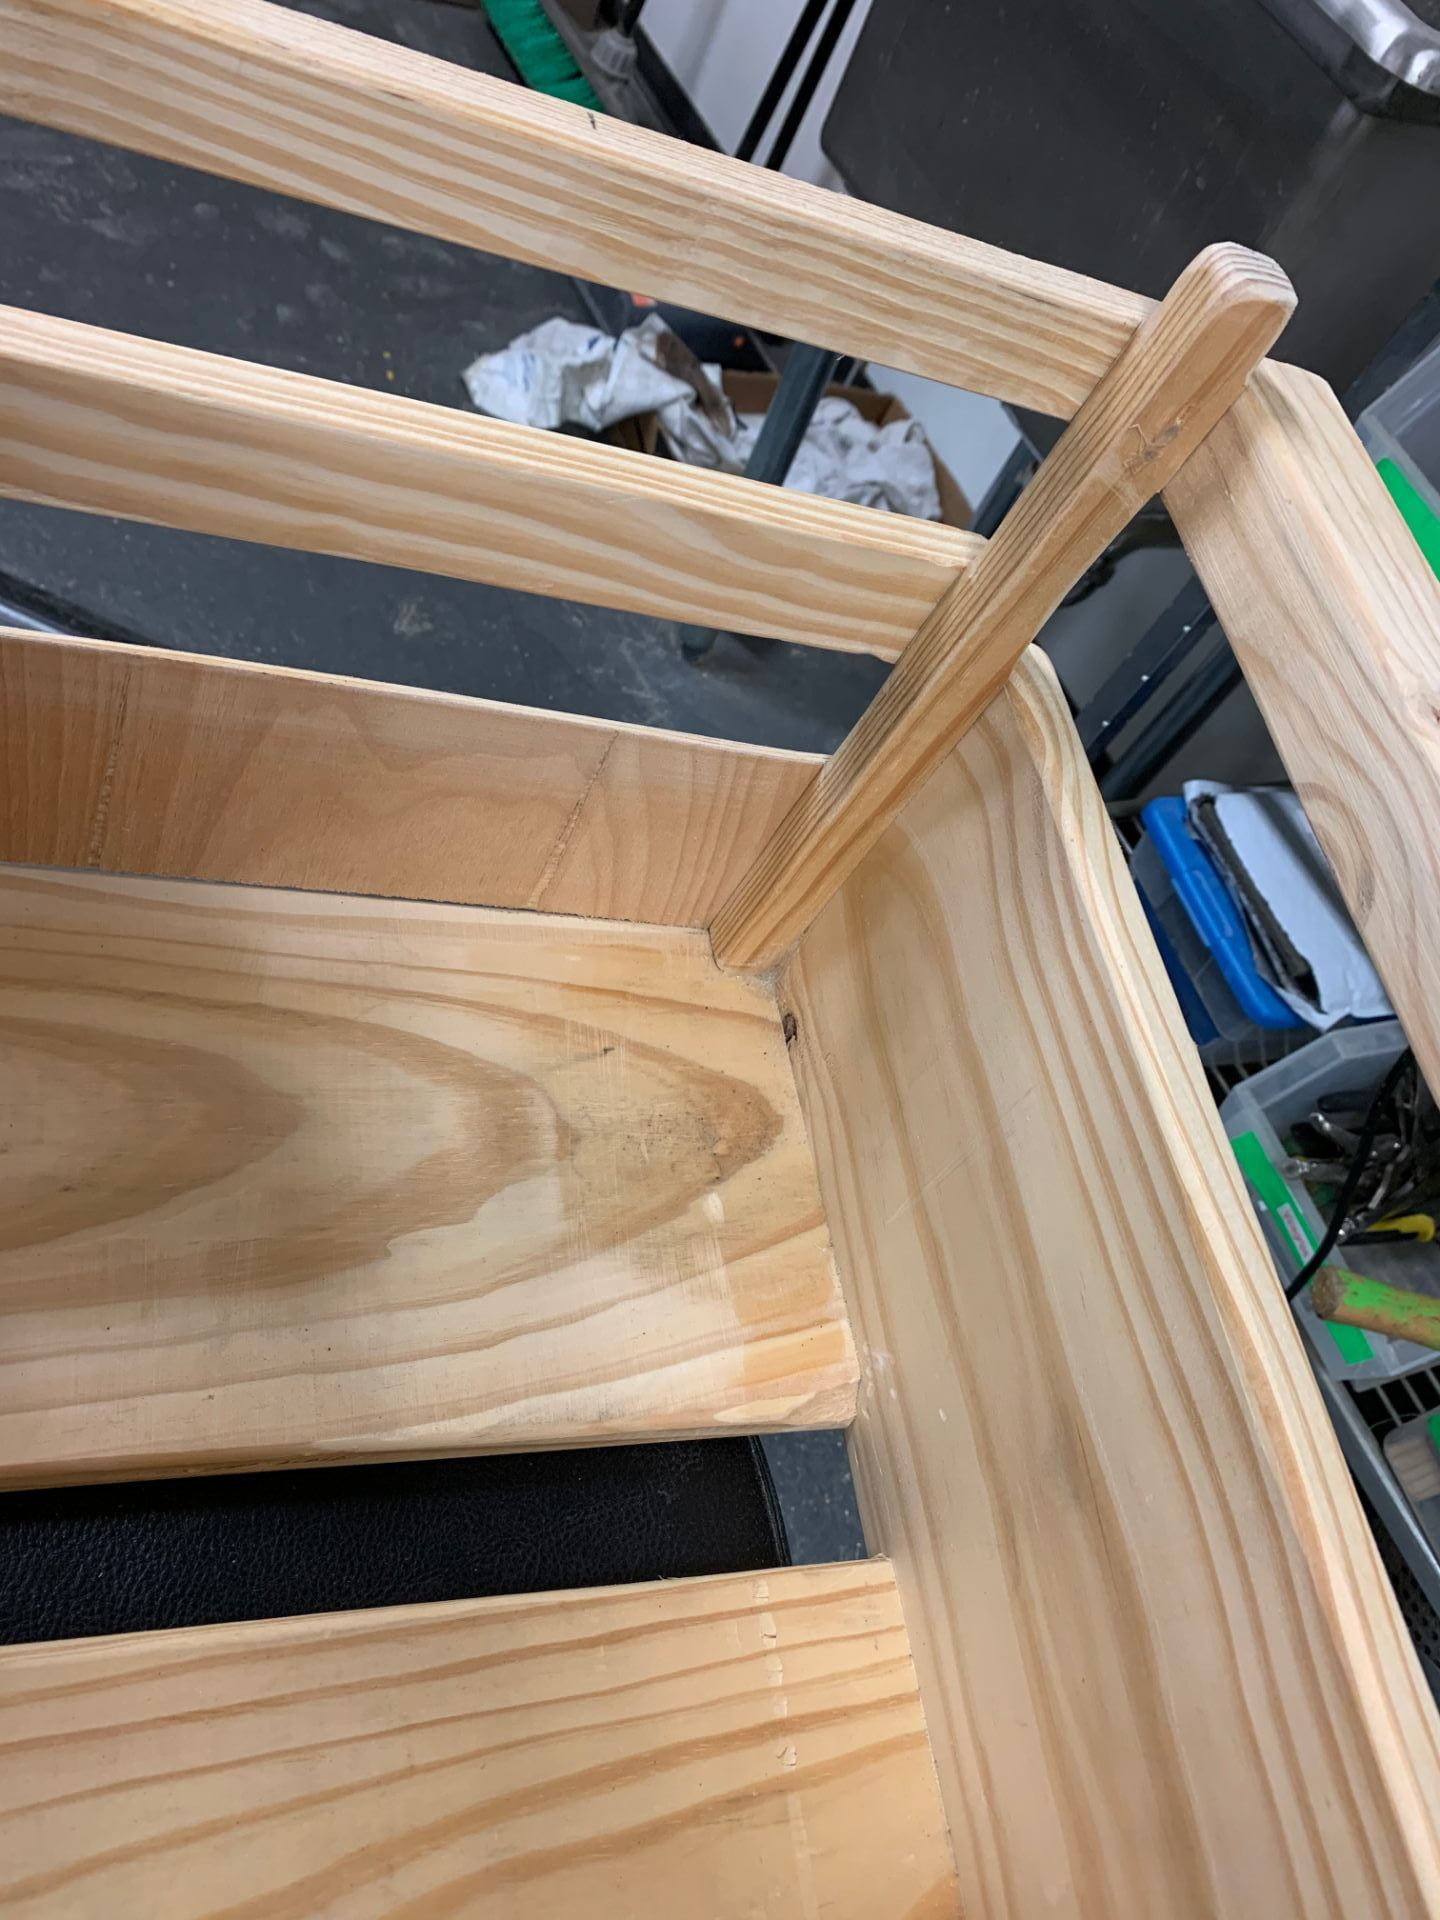
The most time consuming process was sanding all edges. Although some large pieces were routered, there were still sharp sides and edges. I touched each side and edge and sanded all the parts that I felt could make my hand feel hurt. This step unexpectedly spent me 4 hours, as some pieces I used were super strong in vertical direction to their grains, but weak along the grains. As a result, when I was trying to sand down the edges along the grains, I had to be extremely careful as the piece could be broken if the sanding was too intense.
After sanding all sides and edges, I used spraypaints to color the box and then cover the box using a clear cloat. This process spent me one hour.
In total, I spent 11 hours on this box! Although I didn’t pay anything for the raw materials (which were the used parts I collected from the woodshop and the oedk basement), the labor and machine used for this project are also a lot. This is kind of a tiring experience but I feel very rewarded!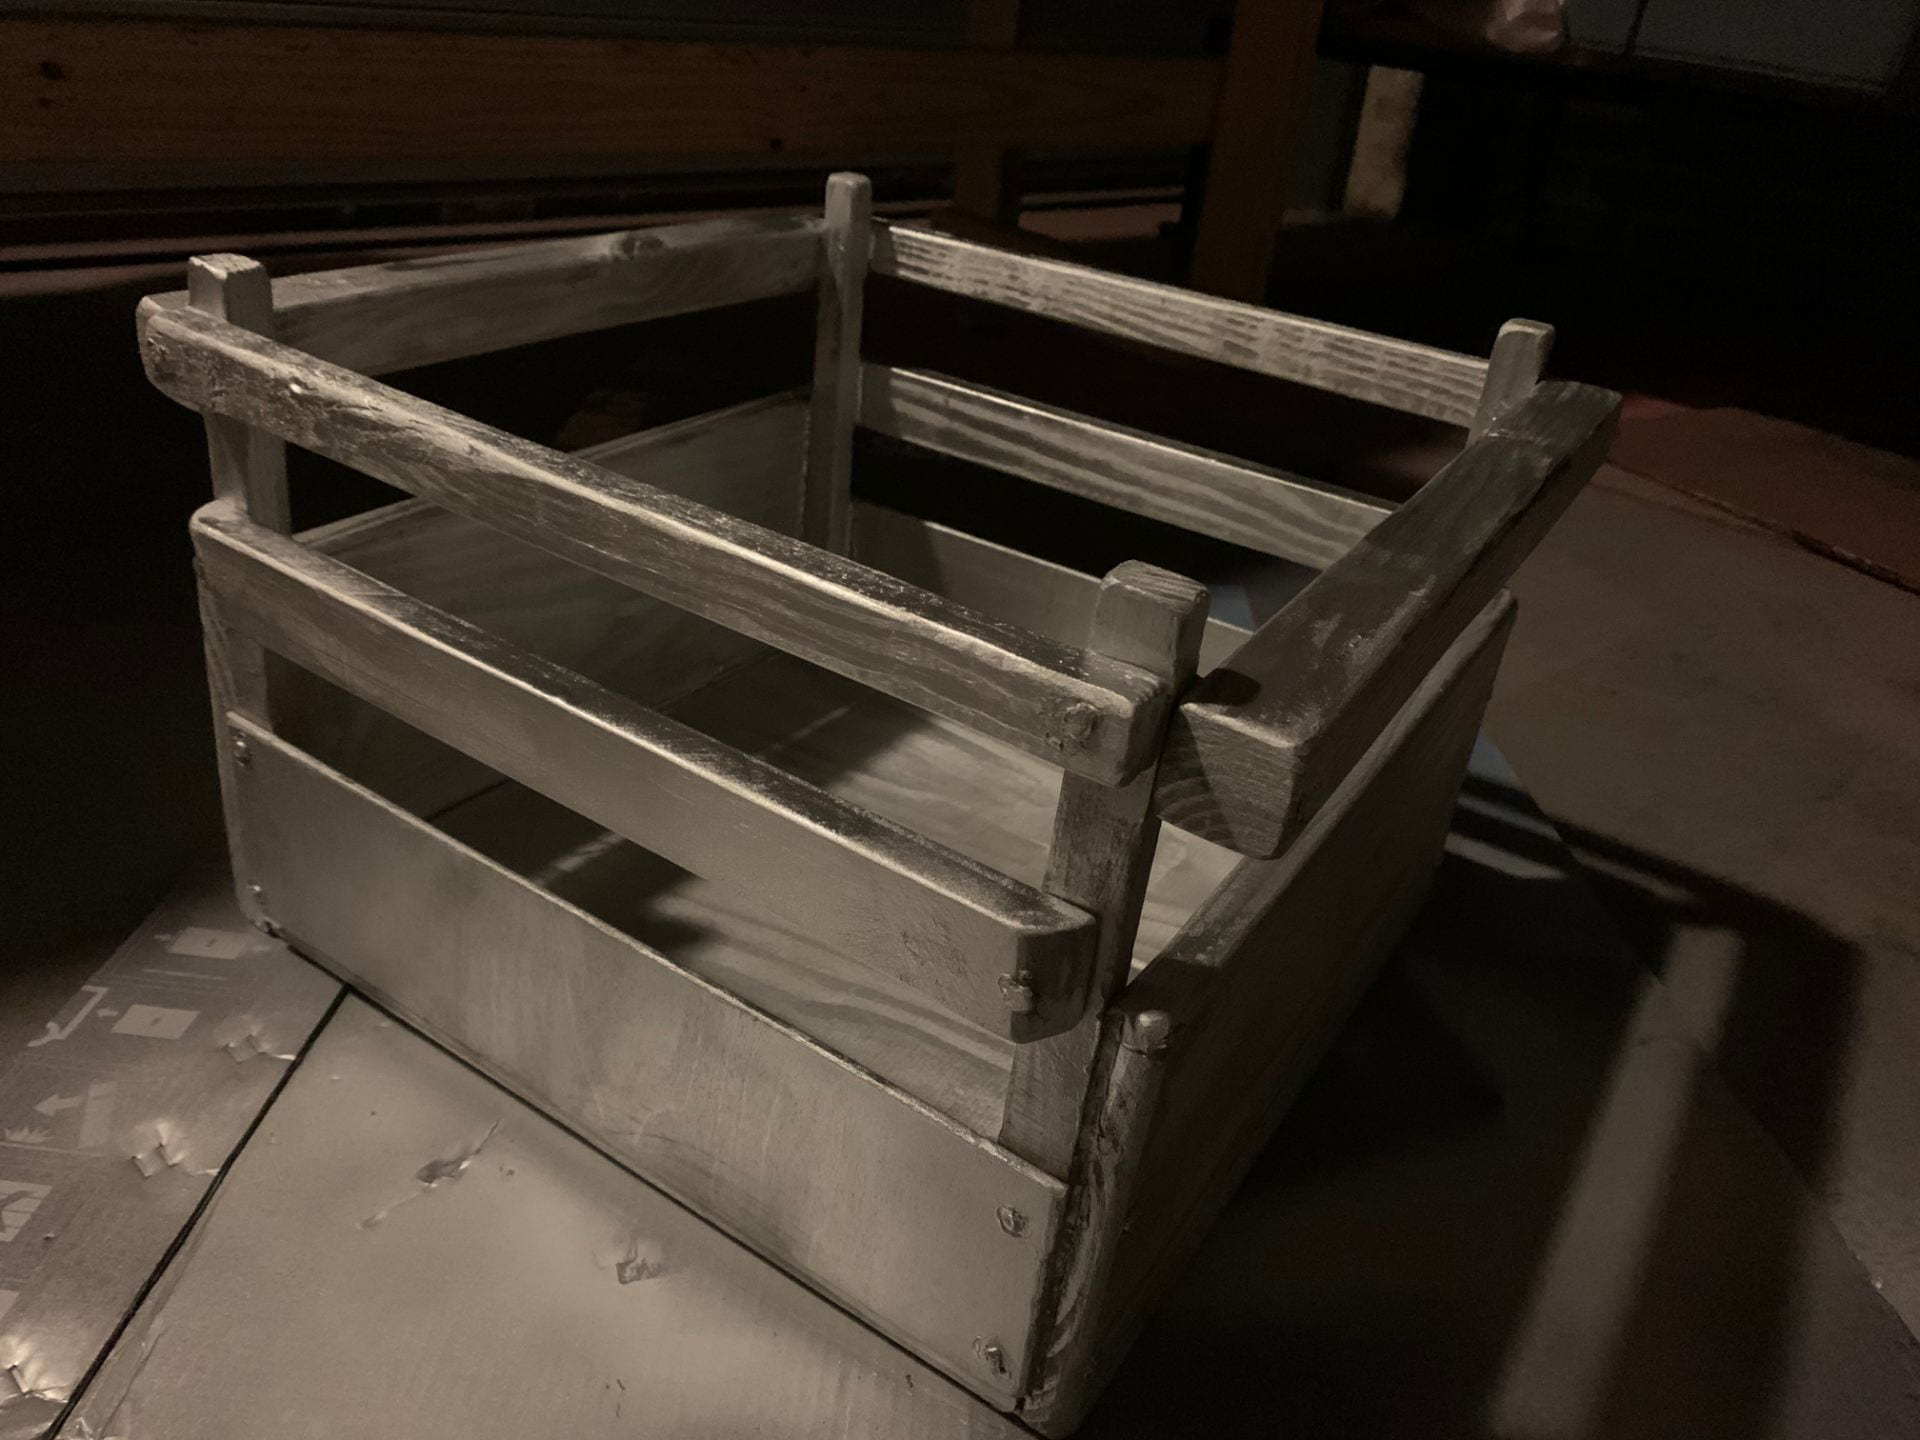
Calculating the cost of the whole project, if I was to pay for all of the machines and materials I used:
wood board (64 inches length, 7 inches width)~$37.1 (The price of this type of wood on Home Depot is about $7 per feet)
wood blocks (1in*1in, 12*4+16*6 inches in length)~$48 (refering to Home Depot, 1 inch * 1 inch *6 inch wood corner block is about 2 dollars.)
plywood~$10
screws (four types of in wood screws)~$15 (According to Home Depot, a box of screws’ price (around 180-200 per box) is between 4 and 8. Considering the amount of screws I used was not a lot, $15 should be sufficient.)
sandpapers ~$10
hot glue sticks+ hot glue gun $50.59
panel saw $1399
belt sander $159
router table $199
jig saw $49.97
clamps*3 $17.91
labour-11 hours. for minimum wage of $7.25 per hour, has a total of $79.75
In total, if I need to pay for all tools, materials and labour, I need to spend $2075.32!!!! (The panel saw is really expensive!)
