I would like to start off my blog with a failure I encountered.
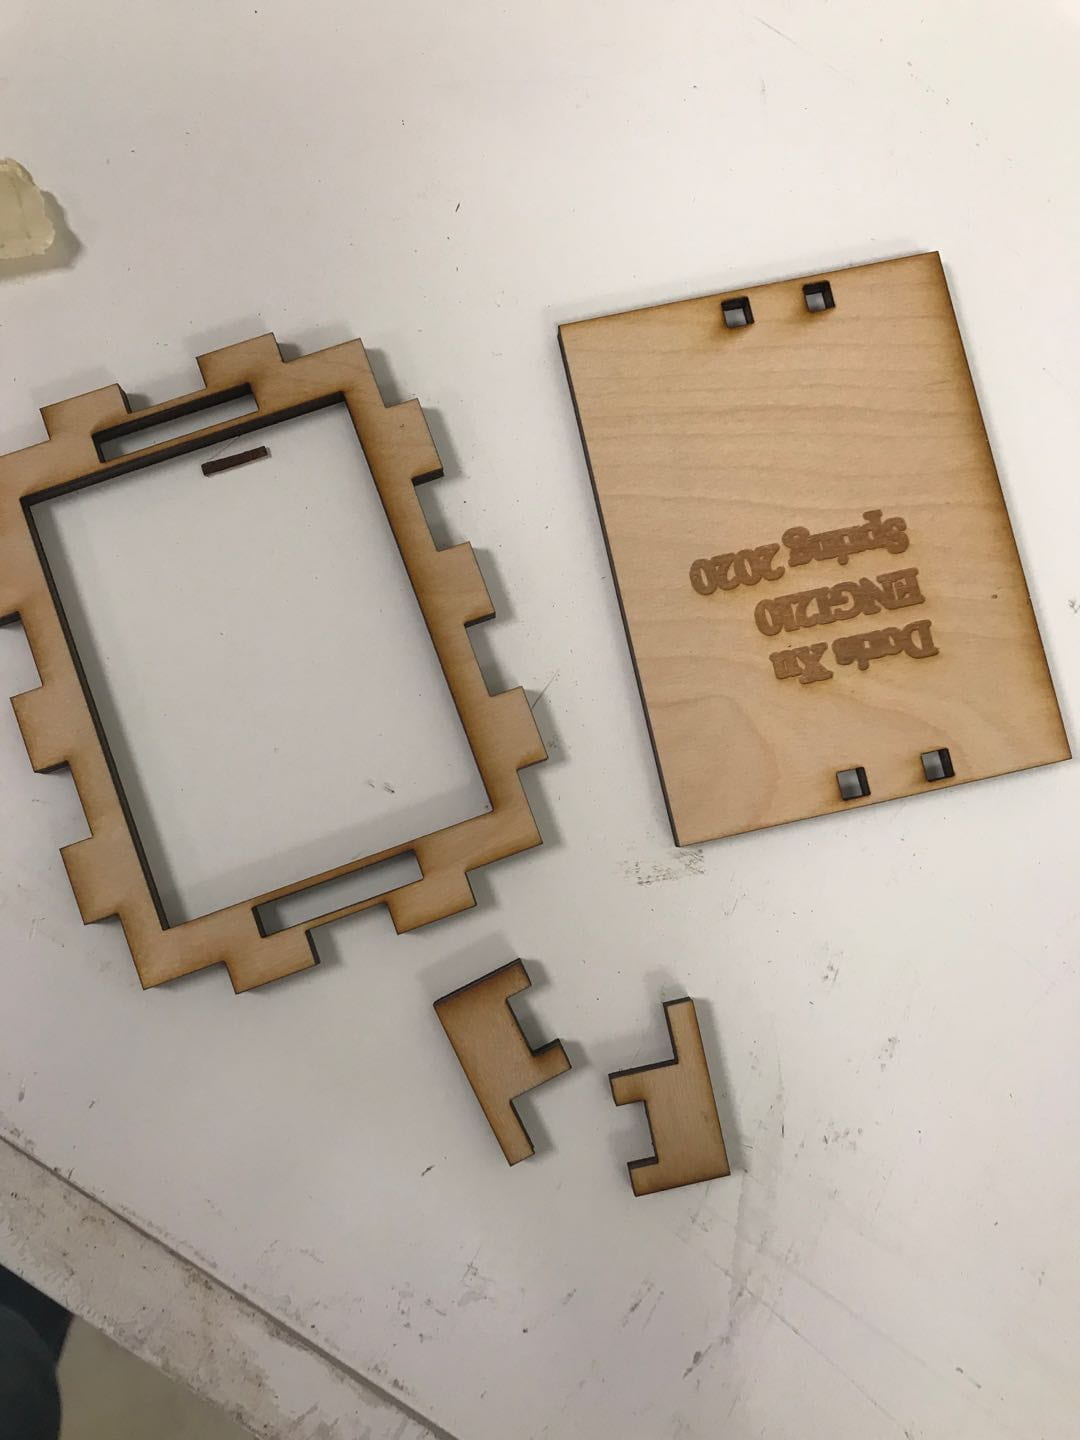
I started off with the intermediate/advanced level box, decided to design my own joints, and came up with the following design (I filled the cutouts blue so it is easier to distinguish the female joints from the male joints). The joints are 0.21″ * 0.508″ (male) and 0.21″*0.486″ (female) – I chose 0.21″ as the width because that is the width of the sheet of plywood I used. During this process, I found visualizing the 3D design on a 2D place one of the most challenging aspects of this assignment.
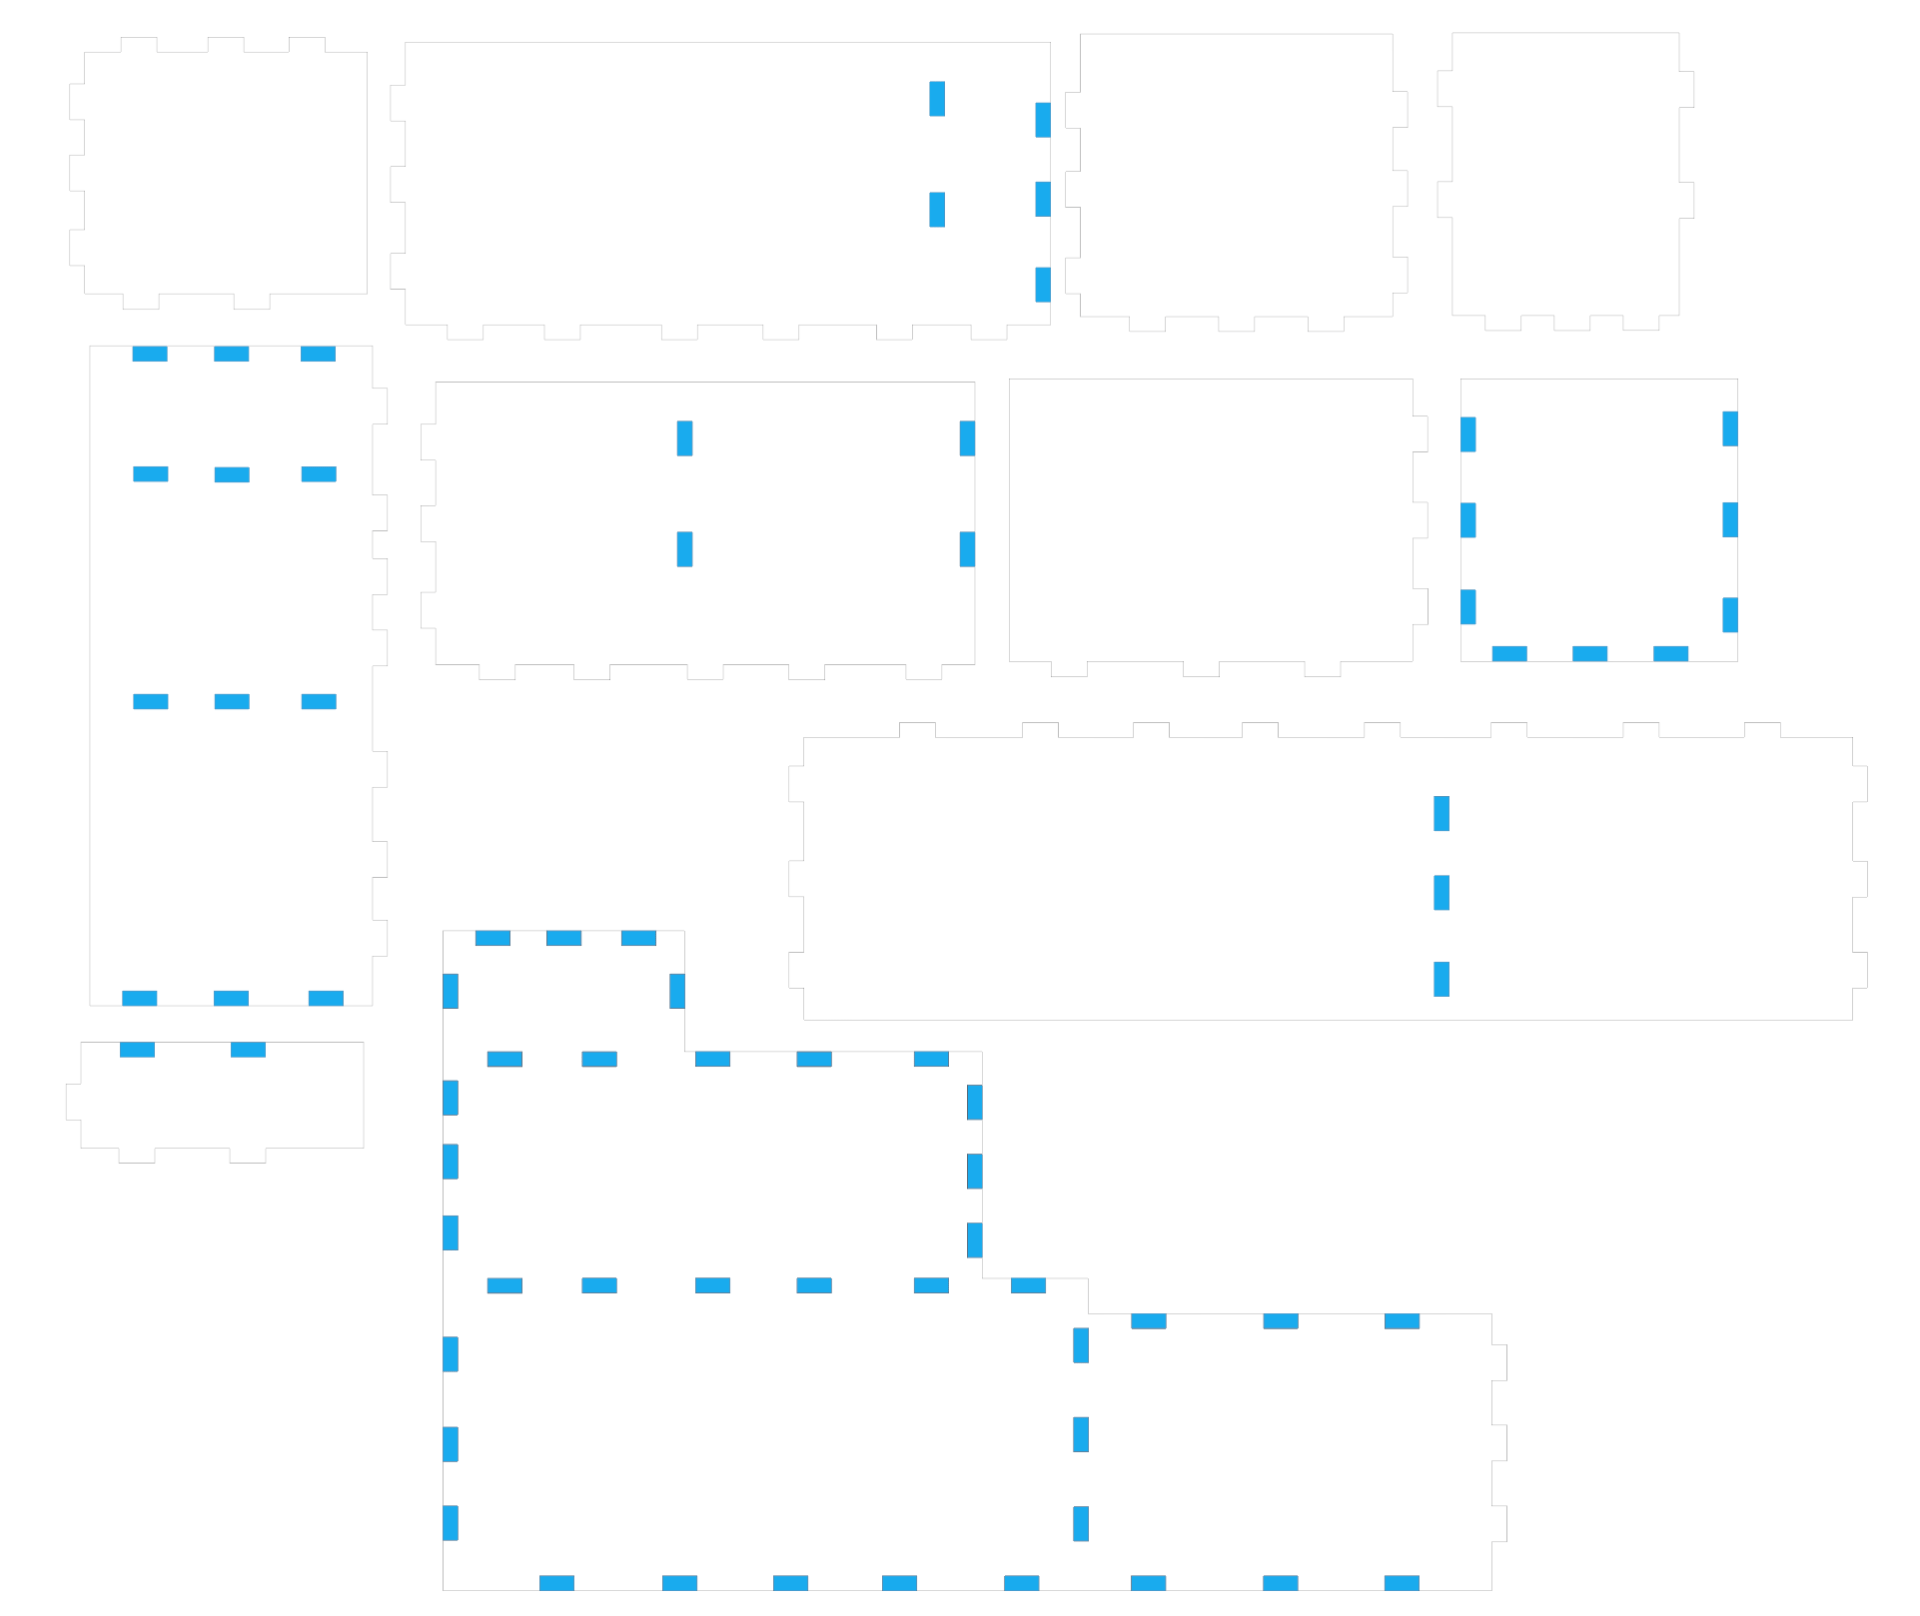
However…..These pieces did not fit together as expected because
(1) At some places, namely the corners, the widh of the wood should have been taken into account twice, but I did not do so…
(2) For a few joints, the male and female joints did not line up properly…
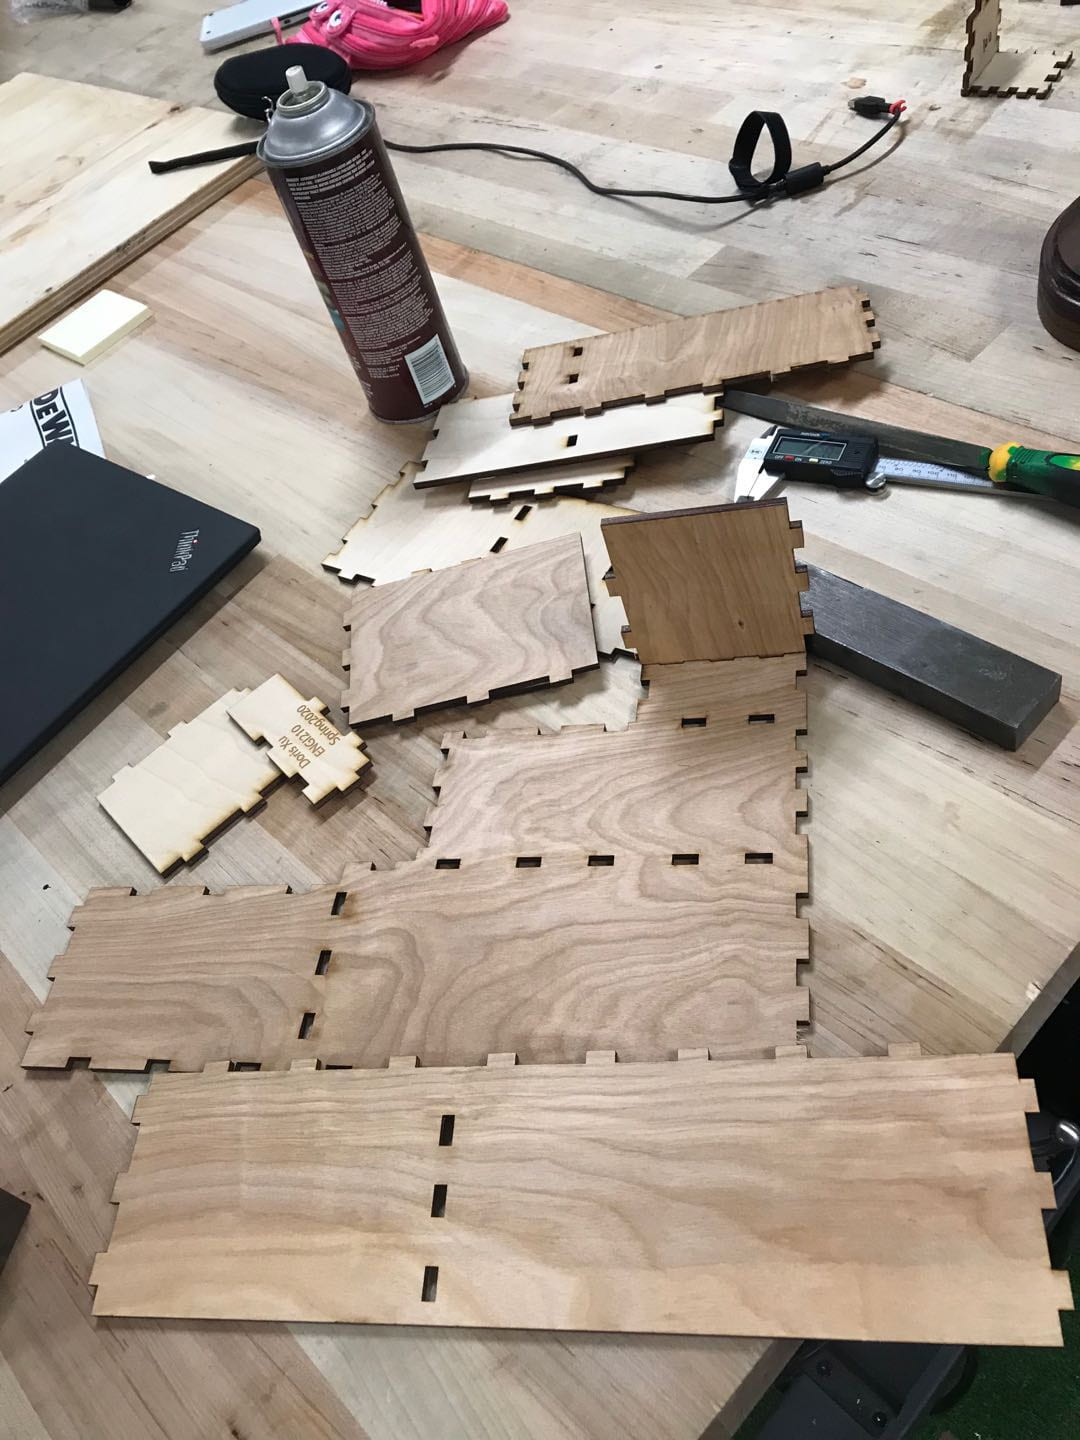
So I took a step back and re-evaluated my remaining time and material, as well as the objective of this assignment. After that, I decided to go with a simpler geometric structure, but be more creative.
I have had this structure of a slid-on lid that I wanted to try out in the back of my mind.
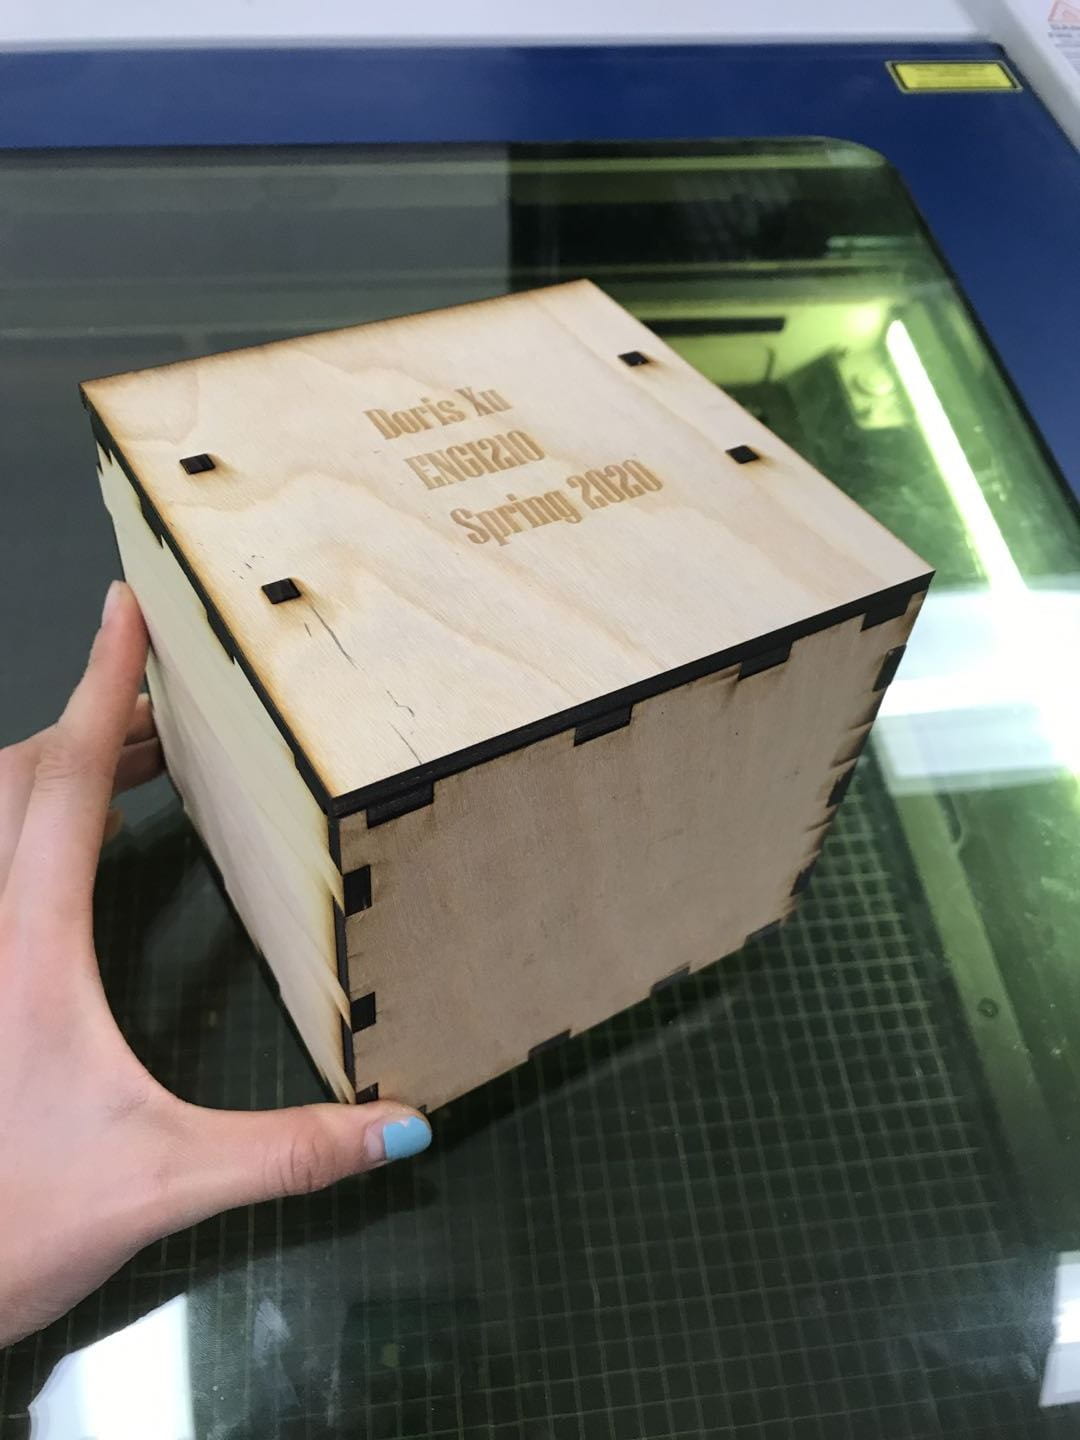
To start off, I made a 5″*5″*5″ box with the joint sizes 0.485″*0.22″ (female) and 0.503″*0.22″ (male). With the experience of the failed advanced design, I got much better and faster at making joints this time.
After having the basic design of the six pieces of the box, I started experimenting with my slid-on lid.
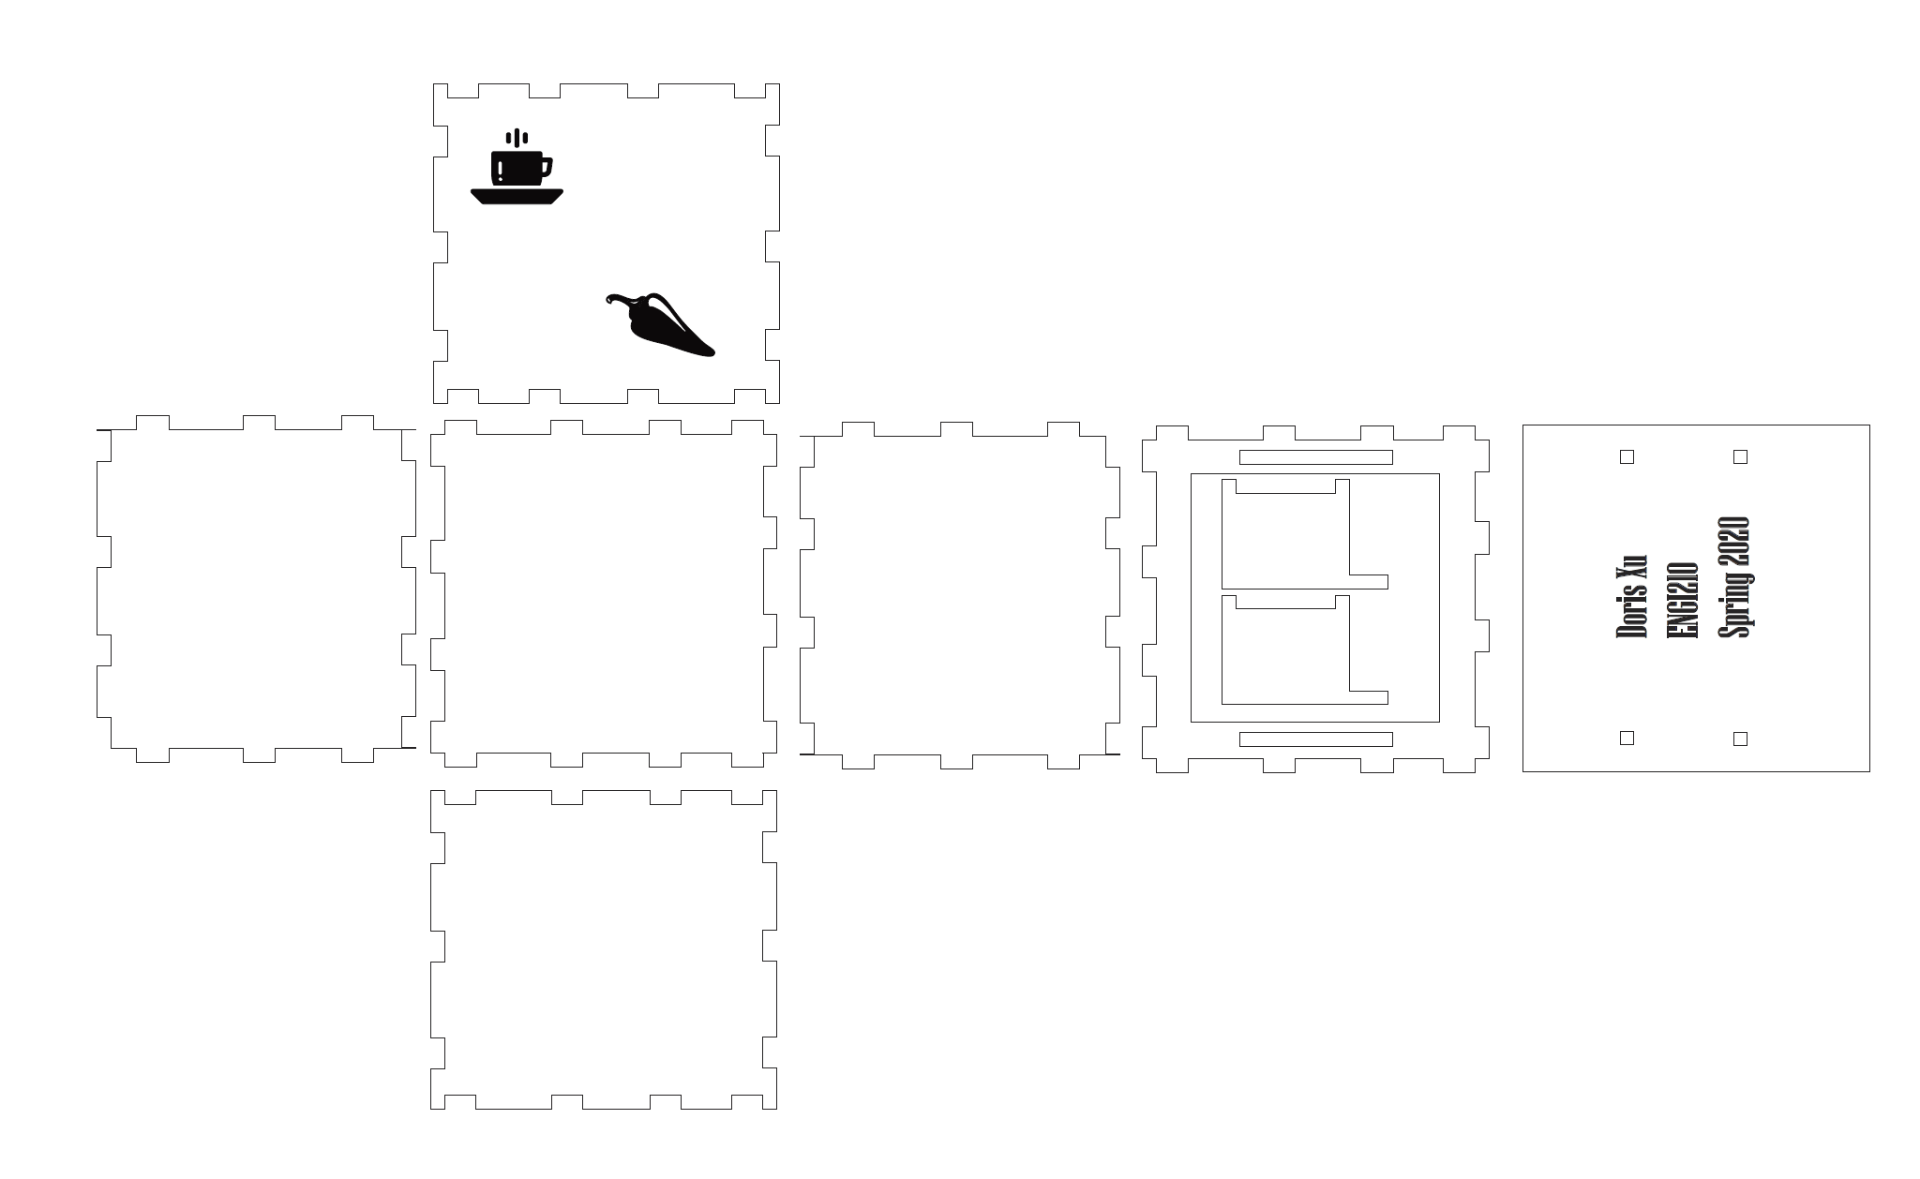
I designed the sliders with the Adobe shape-builder tool. Instead of having one piece of wood for the top of the box, I cut out a square-shaped opening on the top piece, and two rectangular slots. Next, I made the lid but drawing a square that is 5.44″*5.44″ so that it will cover the entire box. I cut out two little 0.205″*0.205″ square on each side for the “sliders”.
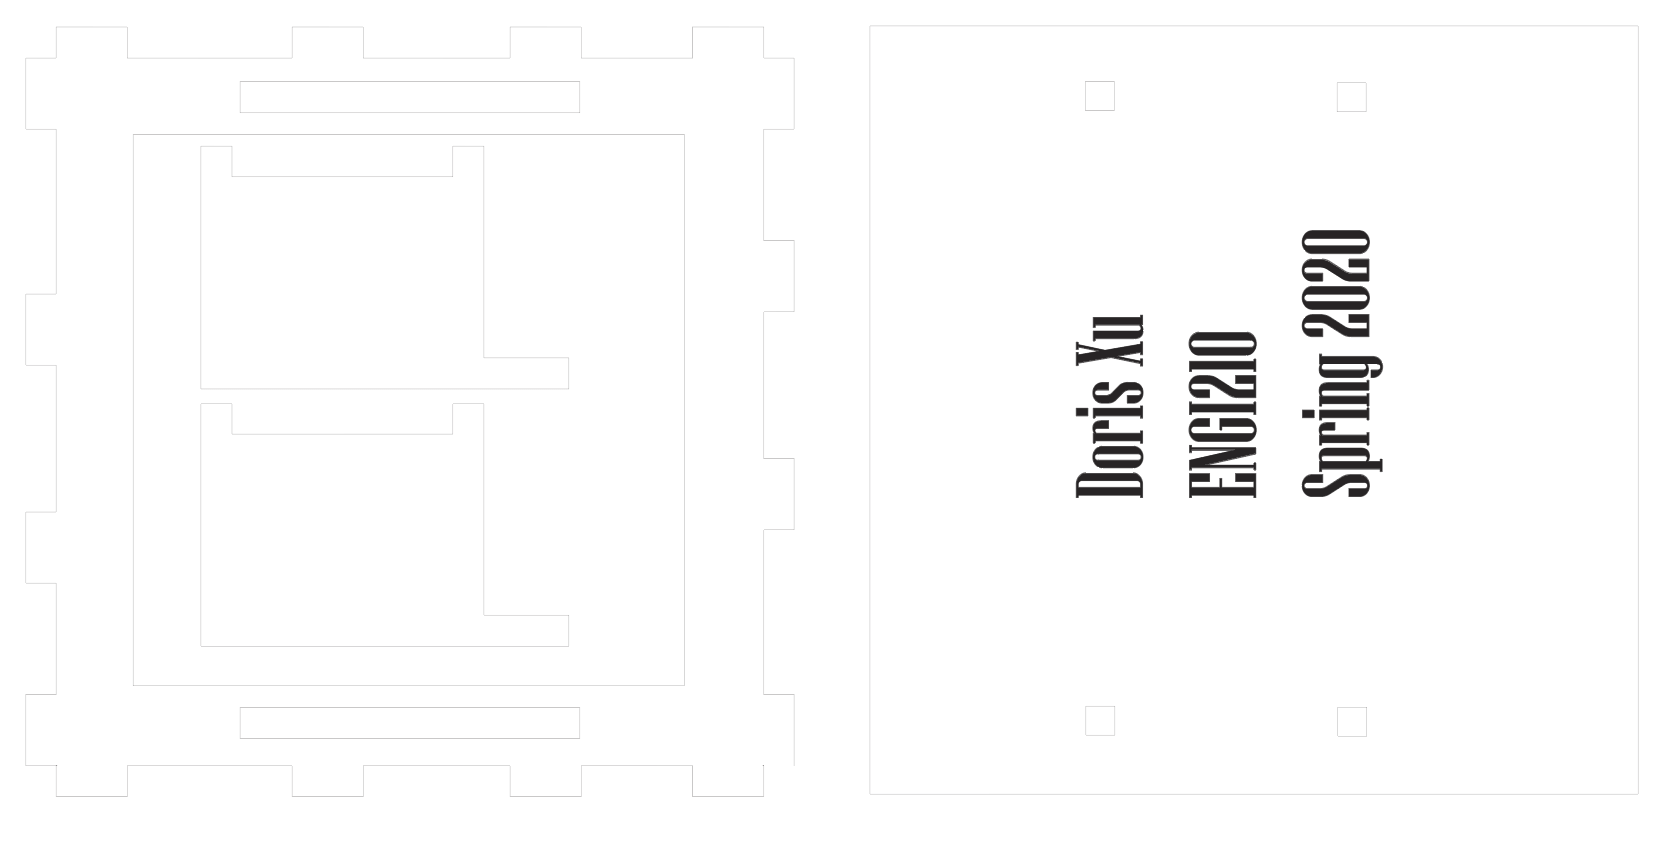
But first, I did a miniature test cut of the lid to test out this idea — like many engineering design process, it did not work in the first time:
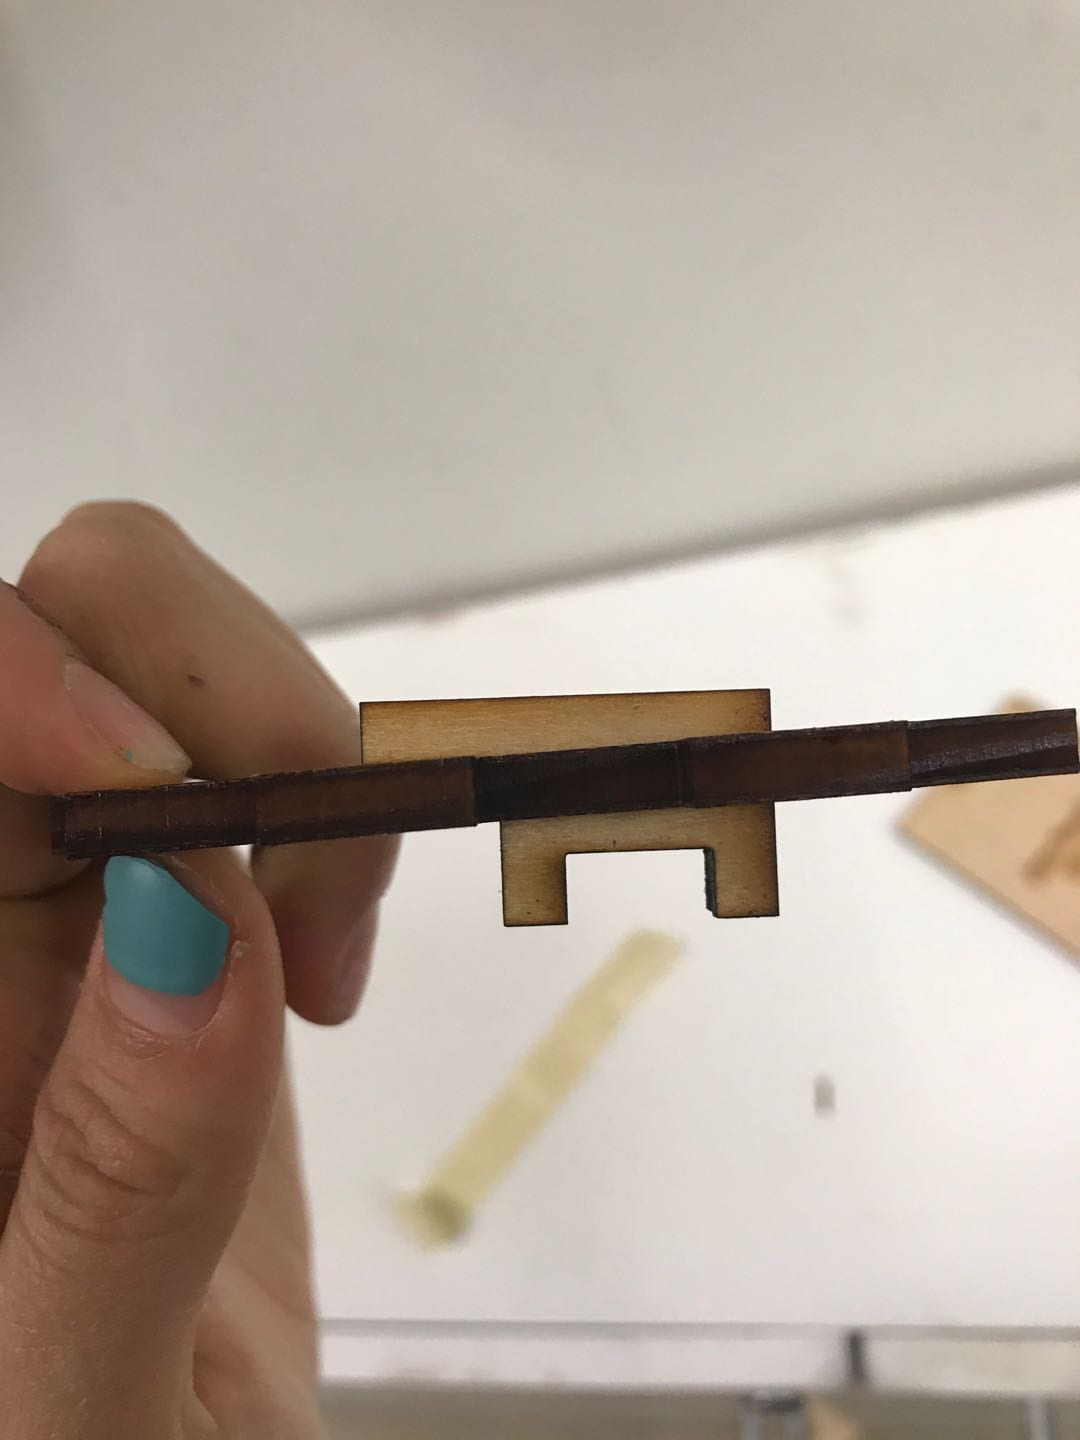
The three key takeaways are:
(1) The two squares that stick out at the top should be bigger then the square-shaped holes by the amount of wood taken out by the laser cutter
(2) The middle part should be tall enough for free sliding, if it is too narrow, then the slid gets stuck and does not slide into the slots
(3) The bottom part of the sliders should not be longer than the slots by too much or else the lid gets stuck…. again
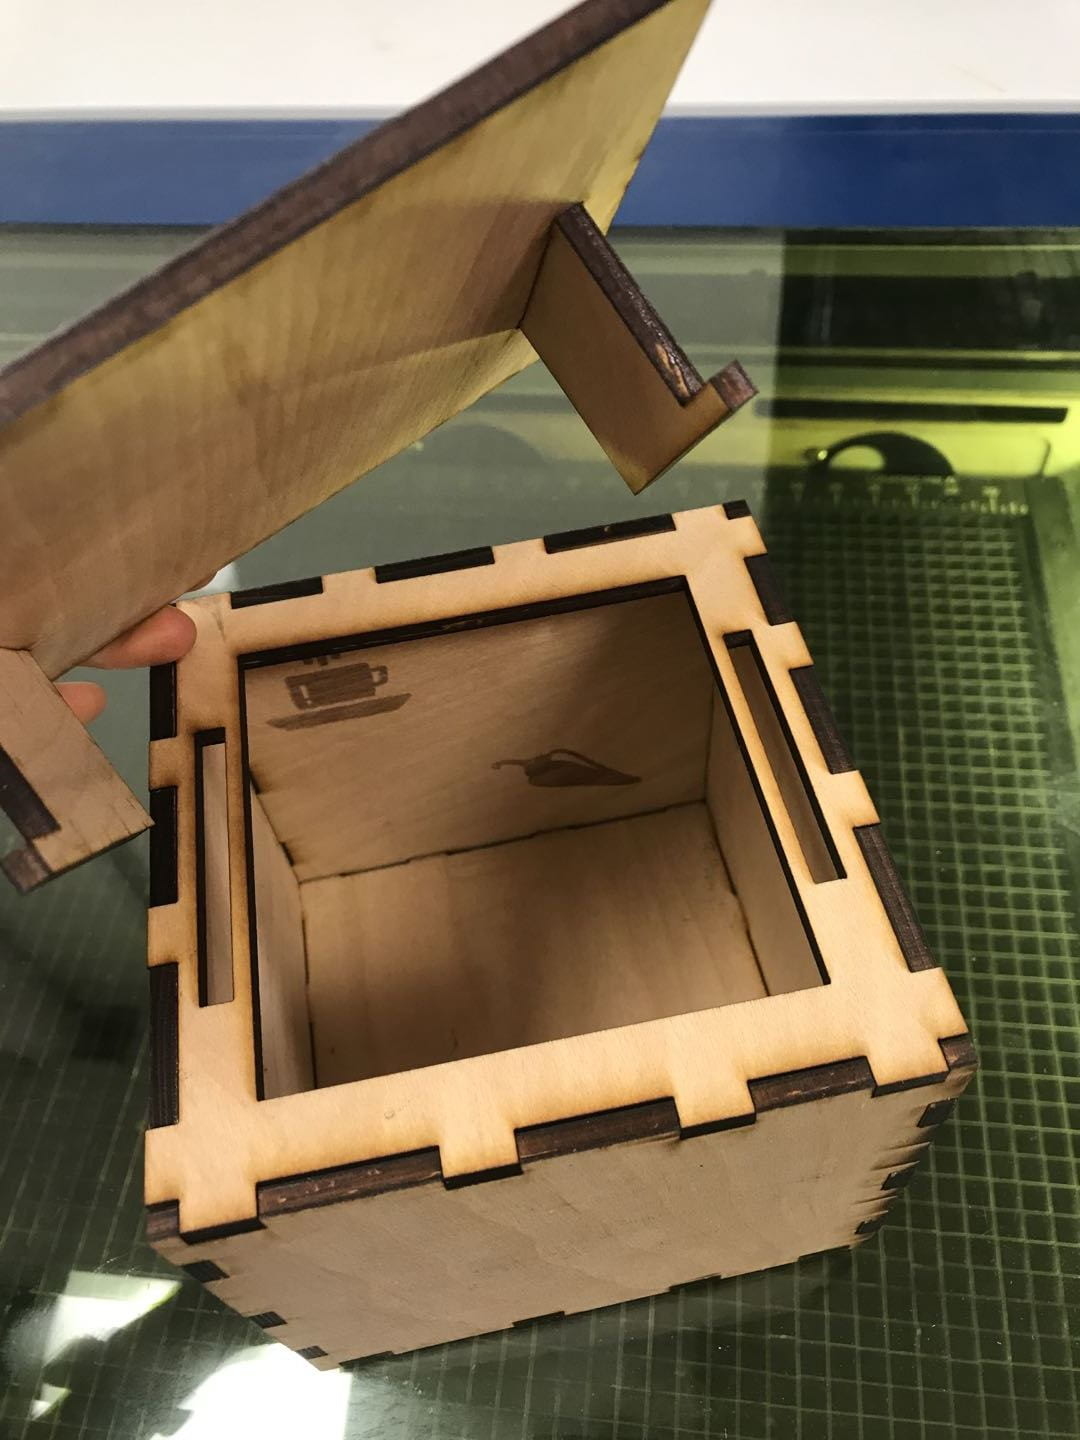
I fixed these problems and cut the box in its full size. These are a couple pictures of my final physical product. I engraved a chili on the inner wall of the box, because for some reason I was really craving Chili’s that day…..
Cost estimate
- 24″*32″ *~0.25″plywood from the OEDK: $5*2 = $10
- labor: $9 (Rice Coffeehouse new hire wage) * 12 = $108
- 12h including all the trials and errors
- Total = $118
