For my plasma cut diamond I went with a weird giant squid coming out of the ocean for my design. Underneath the giant squid and in the water would be an anchor and some fish!!
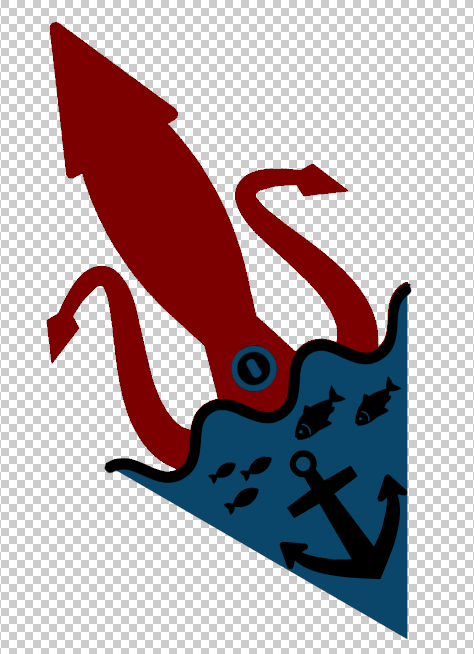
The first thing I did was create what I wanted my final product to look like in Photoshop. I found a squid, an anchor, and some fish off of the noun project and put them together. It took me about an hour to figure out all of the placement and alignment of the images. I then loaded the image into illustrator to get it ready for plasma cutting. I had to use image trace on the diamond to get the path which worked surprisingly well.
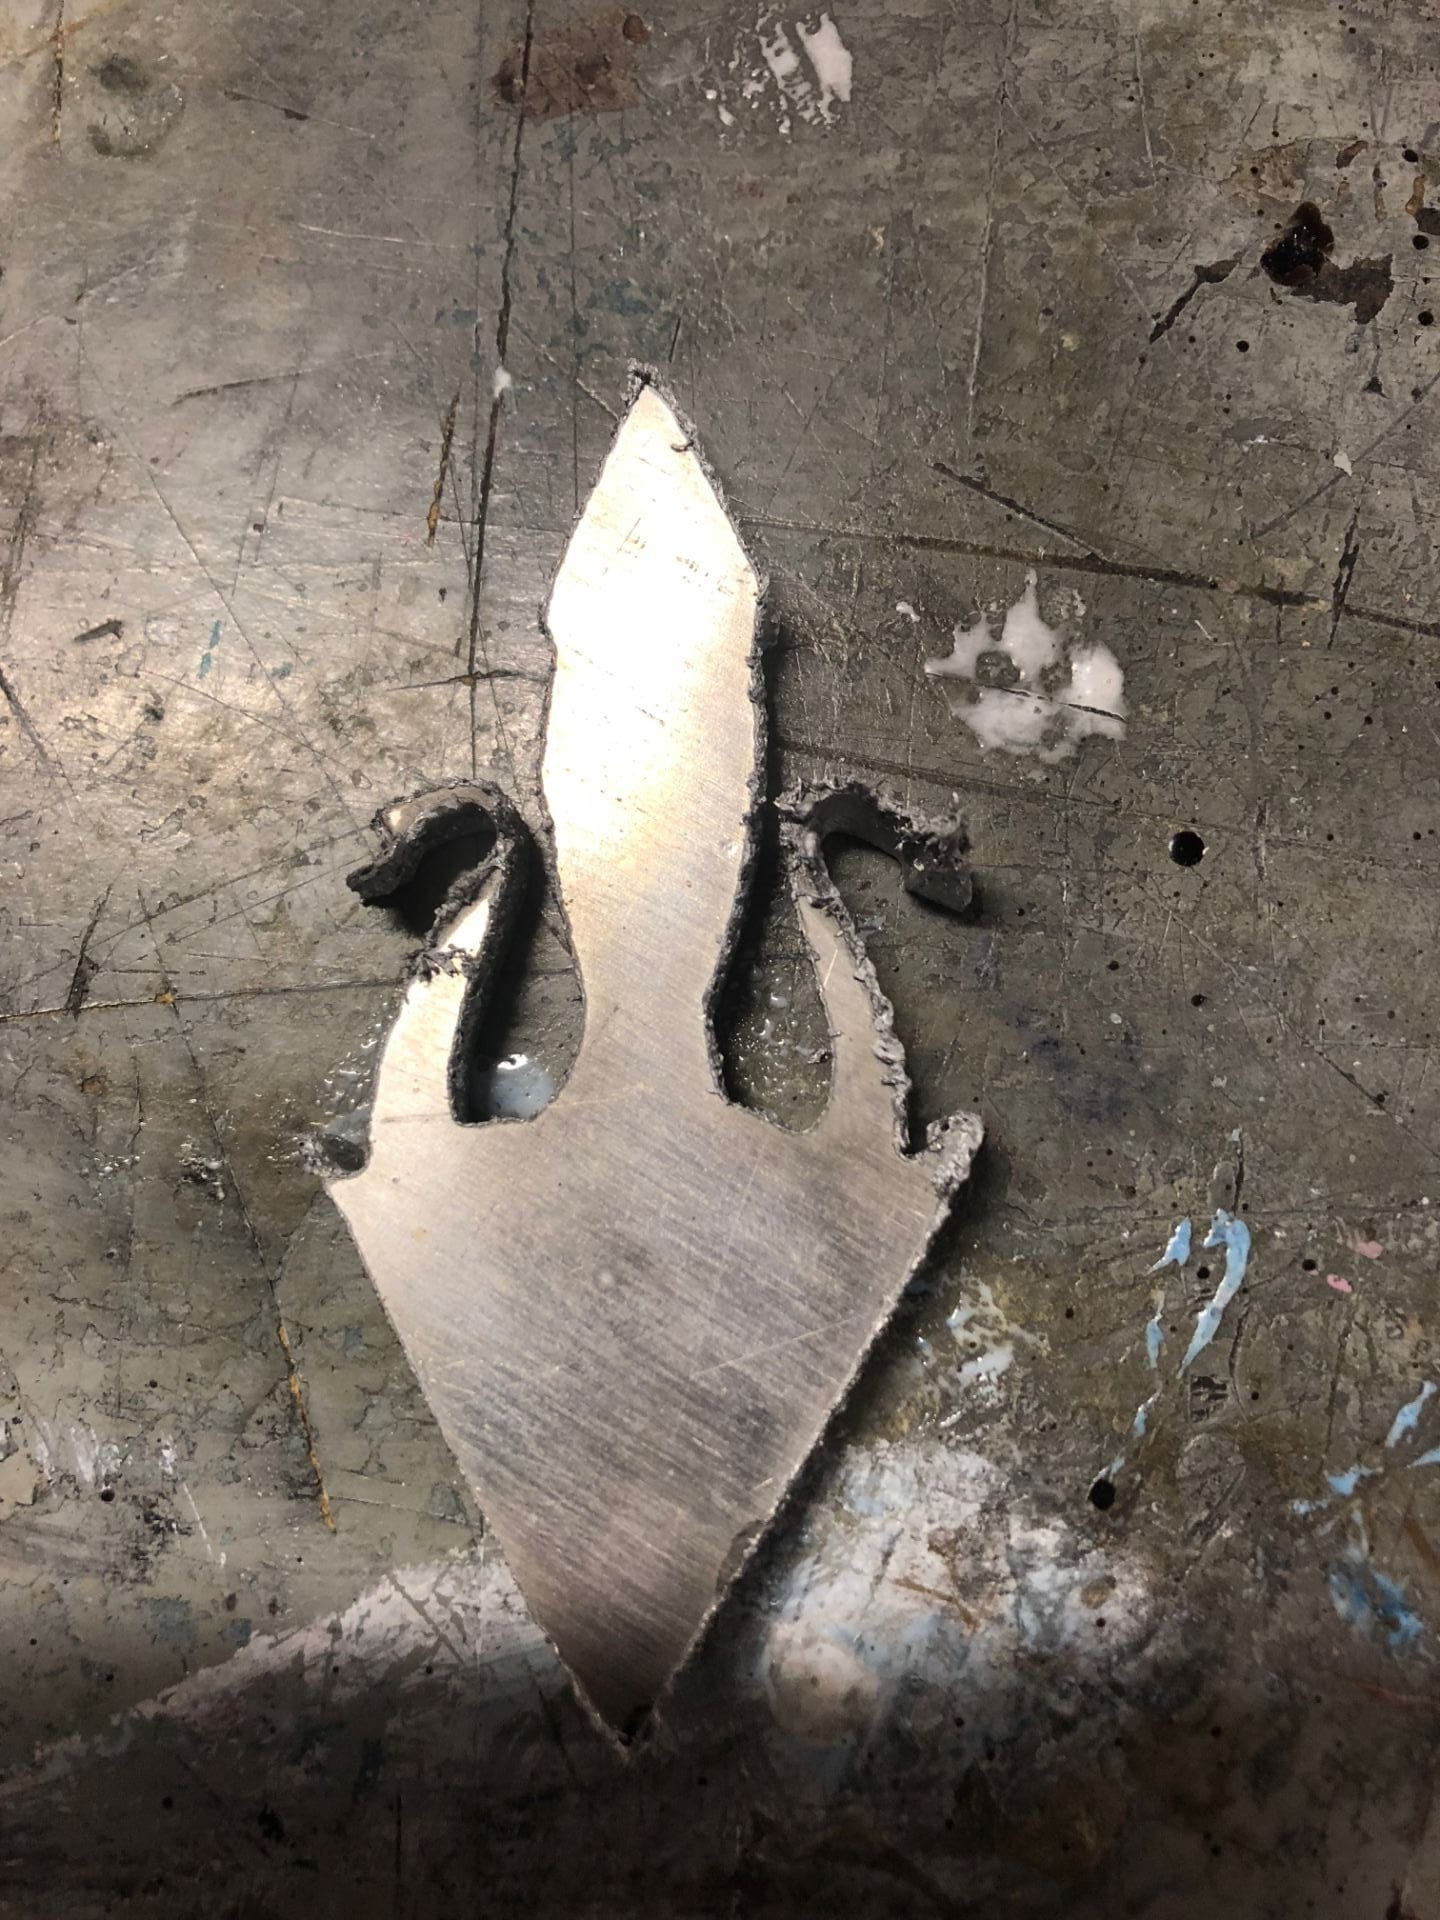
My first attempt at plasma cutting was with a quarter inch thick piece of aluminum. It didn’t turn out super well and my part ended up being super ragged and over burned with a ton of dross. The end of the squid arms were very deformed and if I tried grinding them down, there would be nothing left underneath.
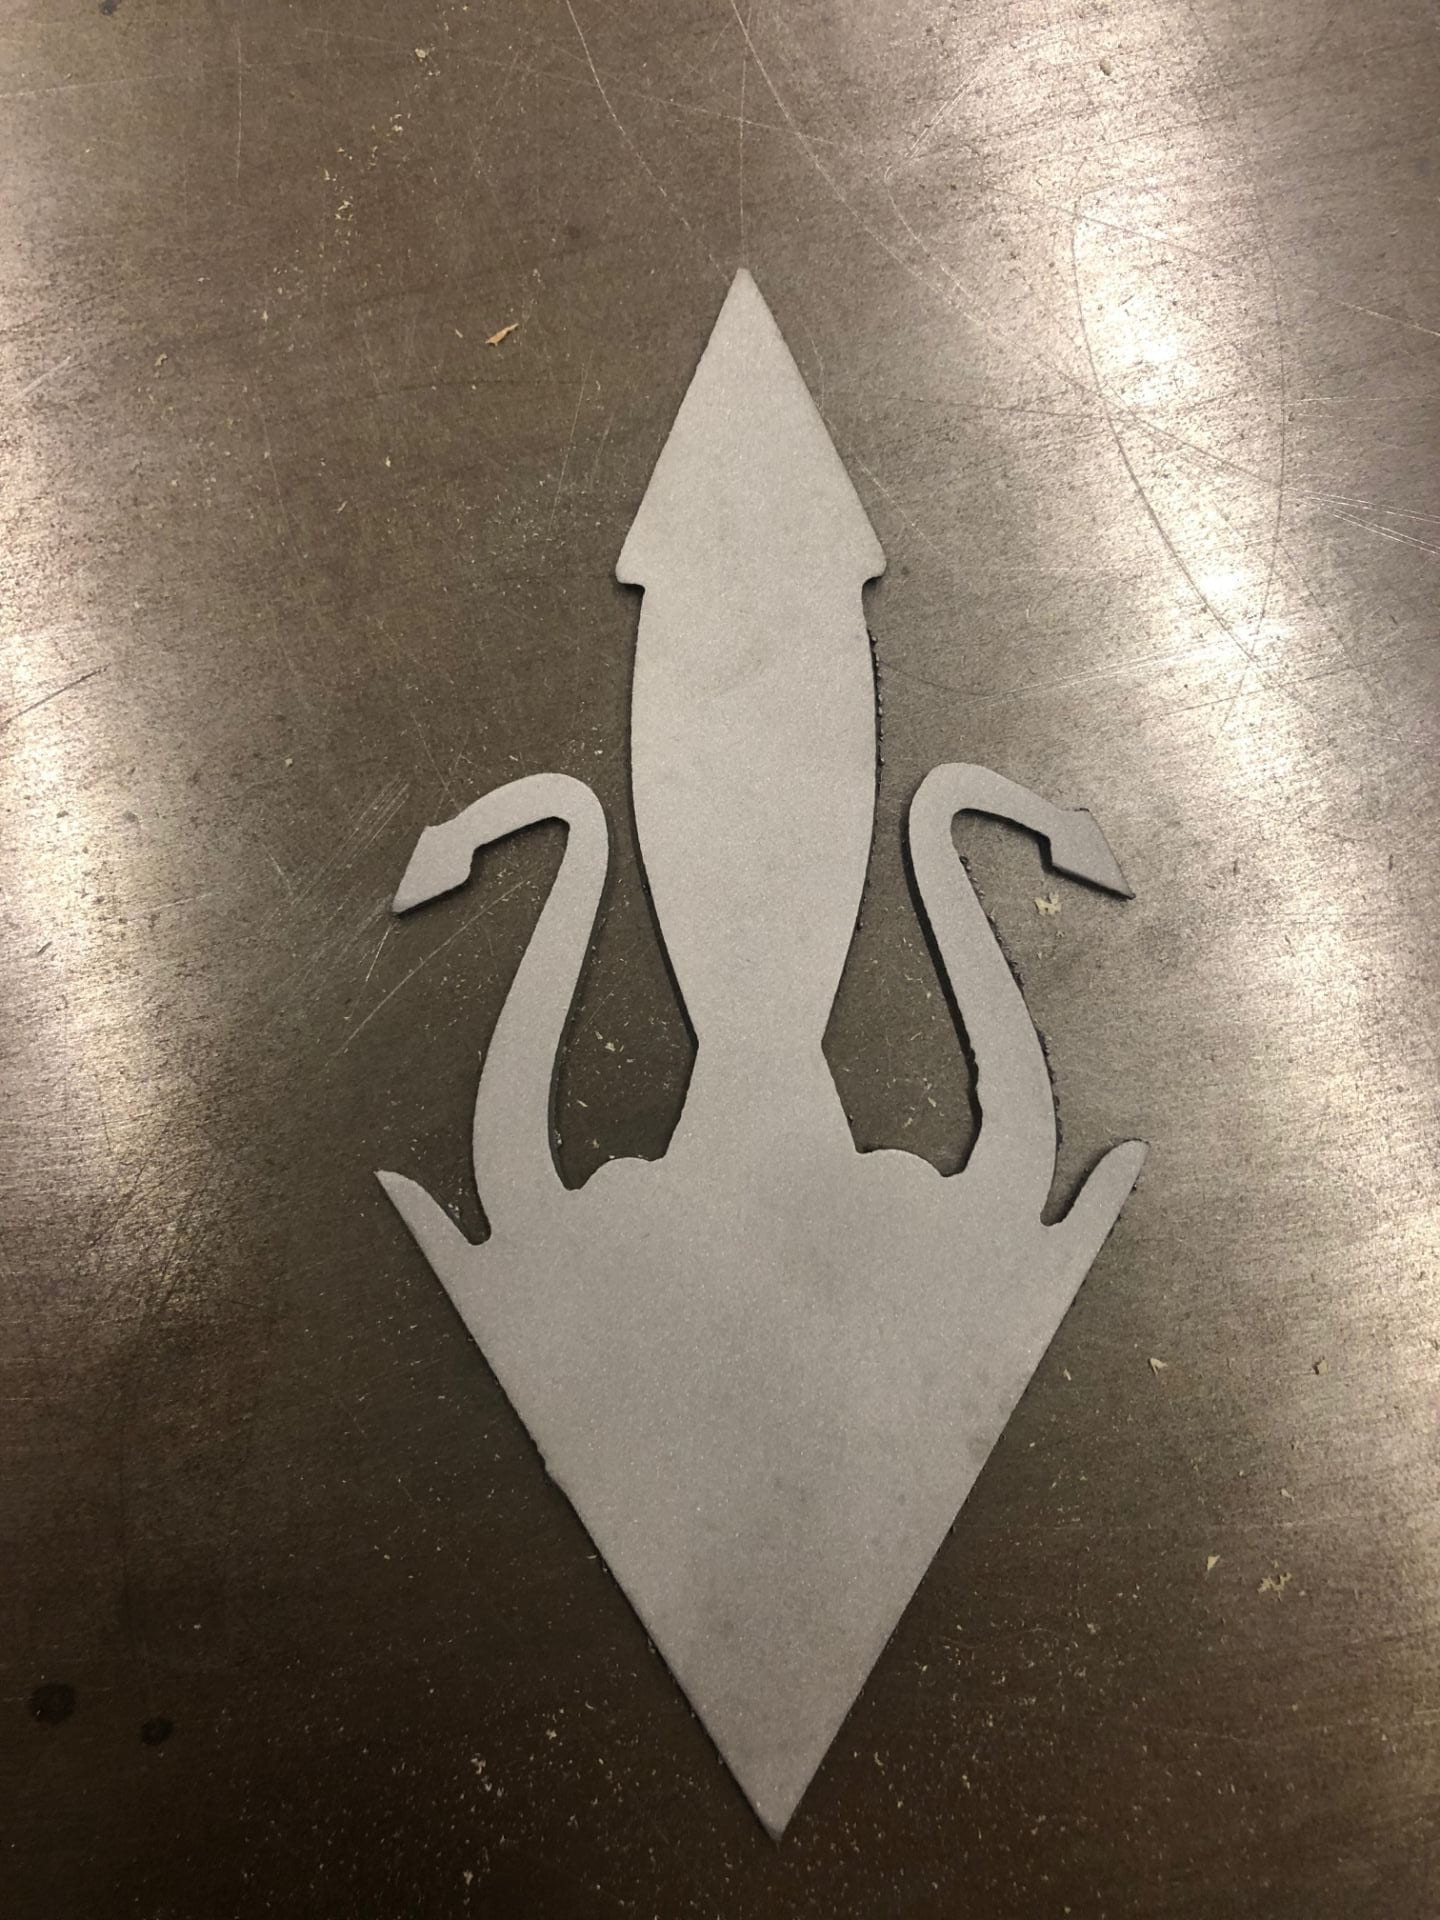
I tried again with a thin piece of stainless steel to greater success. I then became suspicious that my pieces were smaller than they were supposed to be, so I went downstairs and compared them to the finished diamonds on the wall.
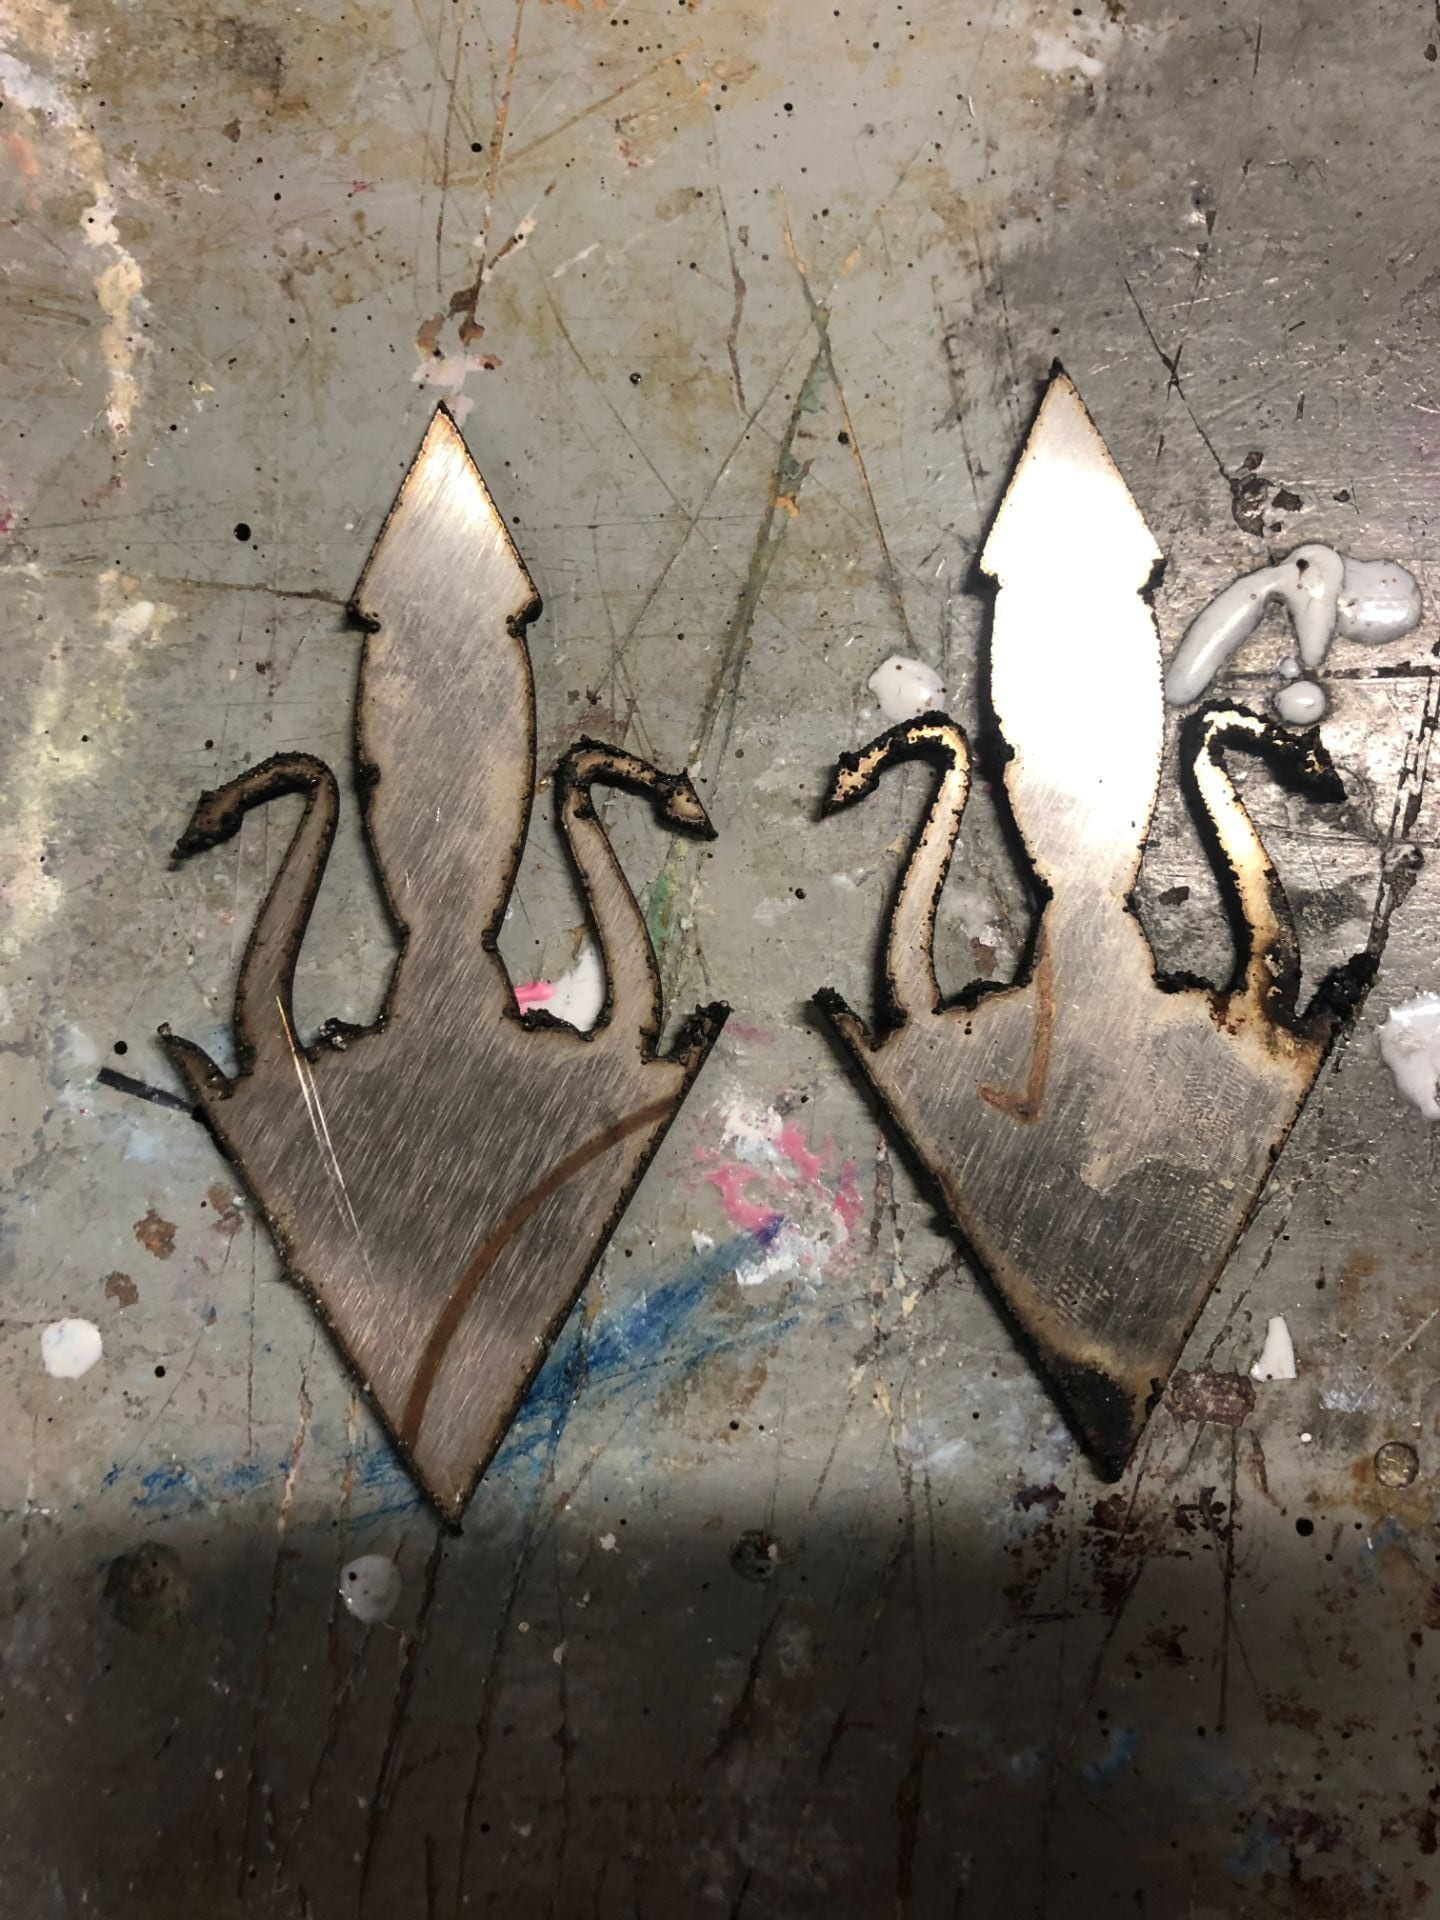
I made my design directly on the template so they should have been the correct size. What I realized was that when I imported the svg into the torchmate software, the path was automatically scaled down to an improper size. I manually input the correct dimensions and cut three new pieces. I then got an angle grinder from Joe and got rid of all of the dross.

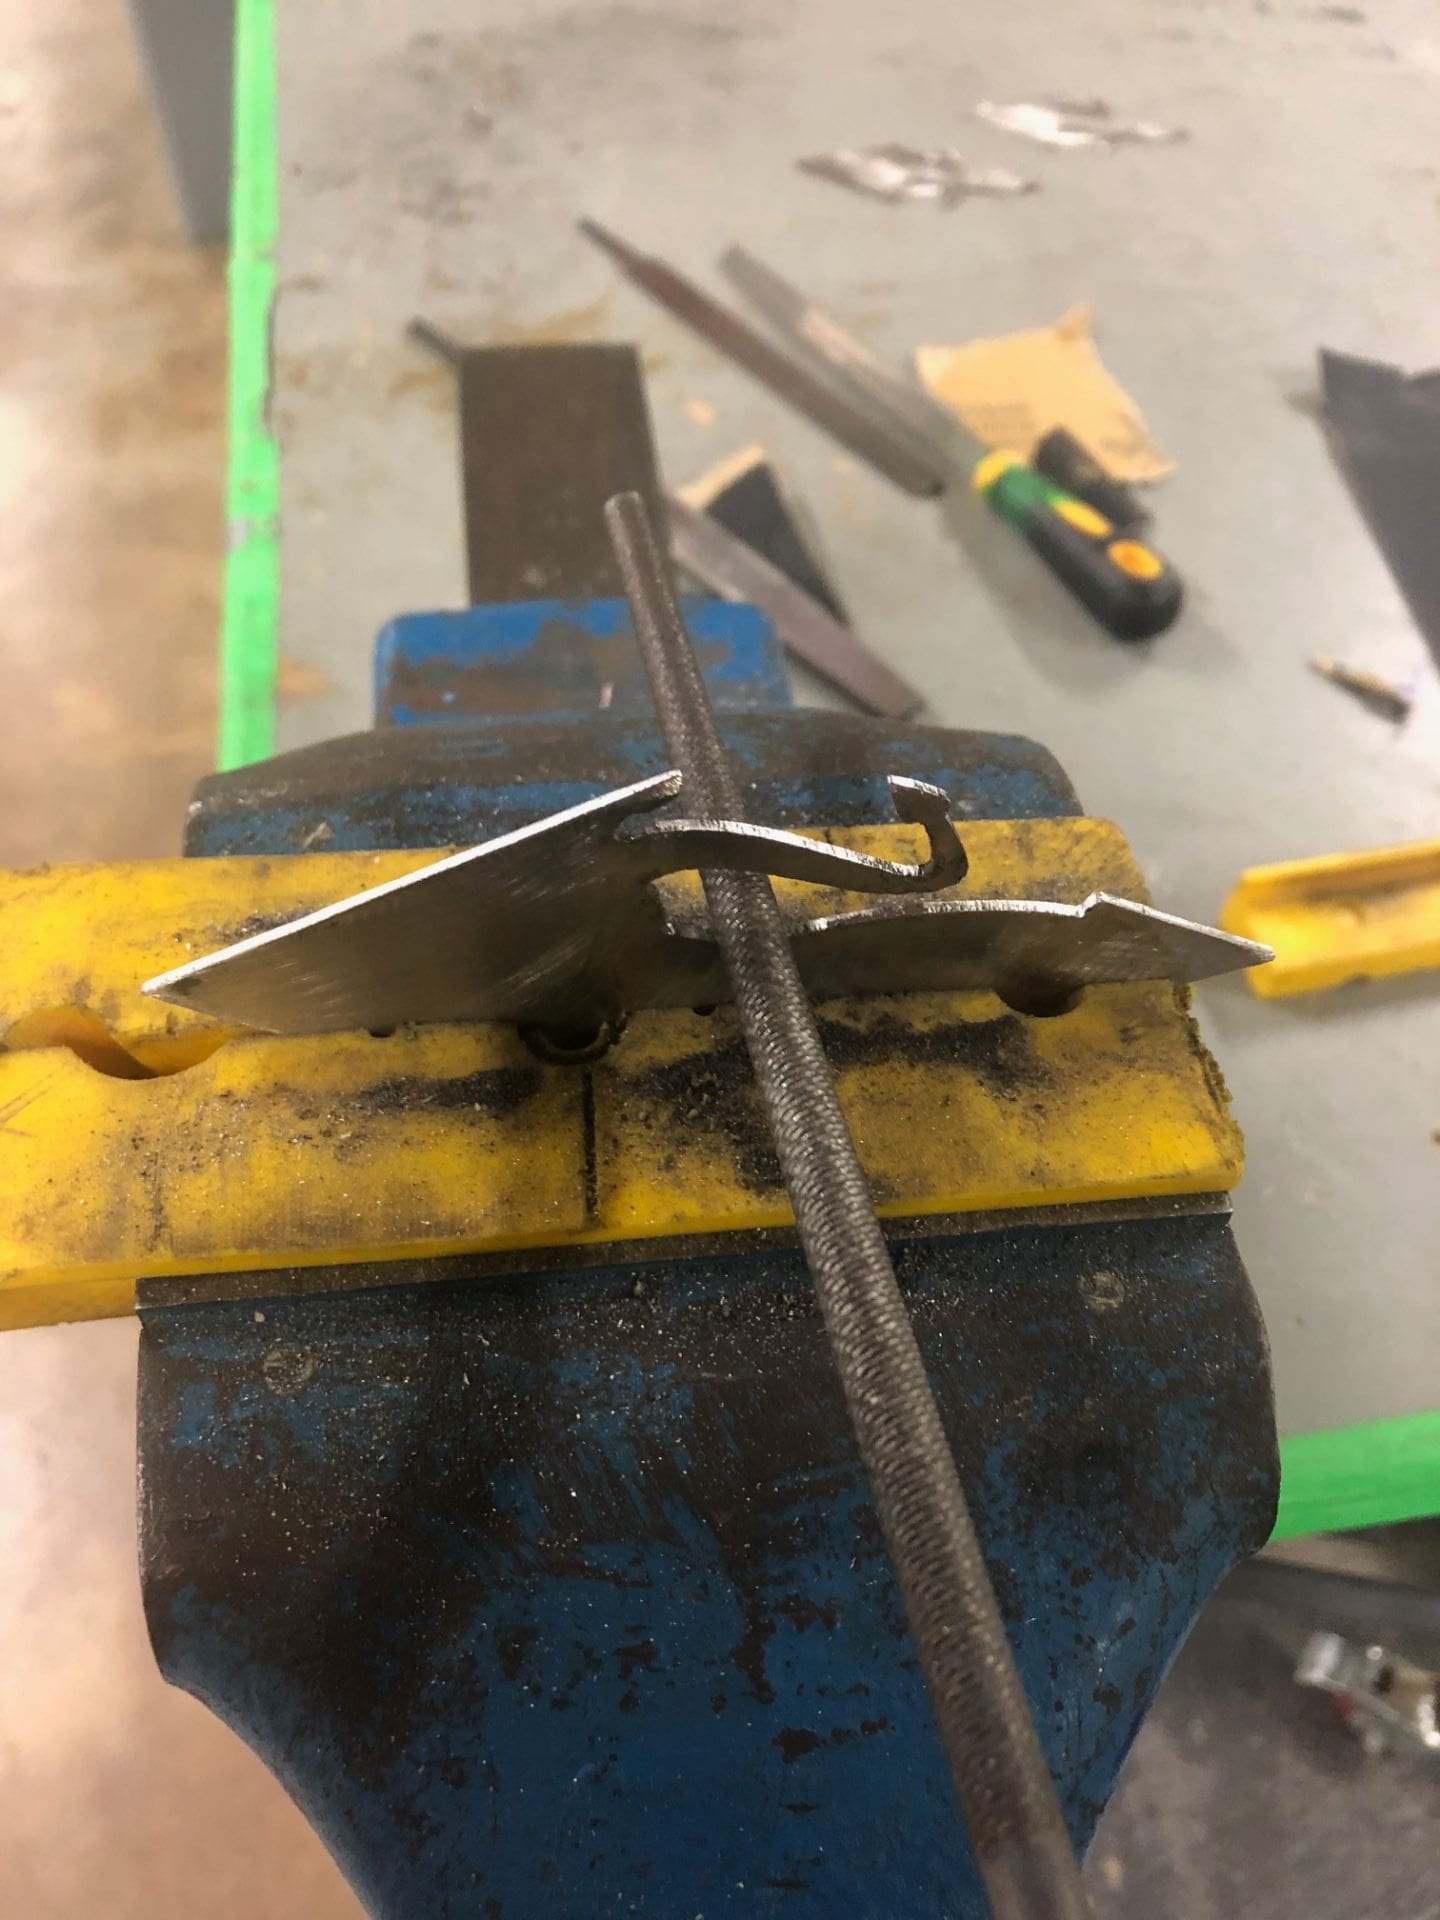
Next I brought the pieces to the OEDK basement and filed down all of the edges. It was very difficult to clean off the rough edges in between the head and the arms of the squid. I ended up folding 180 grit sandpaper and scraping down the hard to reach areas.
After cleaning them up as much as possible I decided to sandblast the pieces.
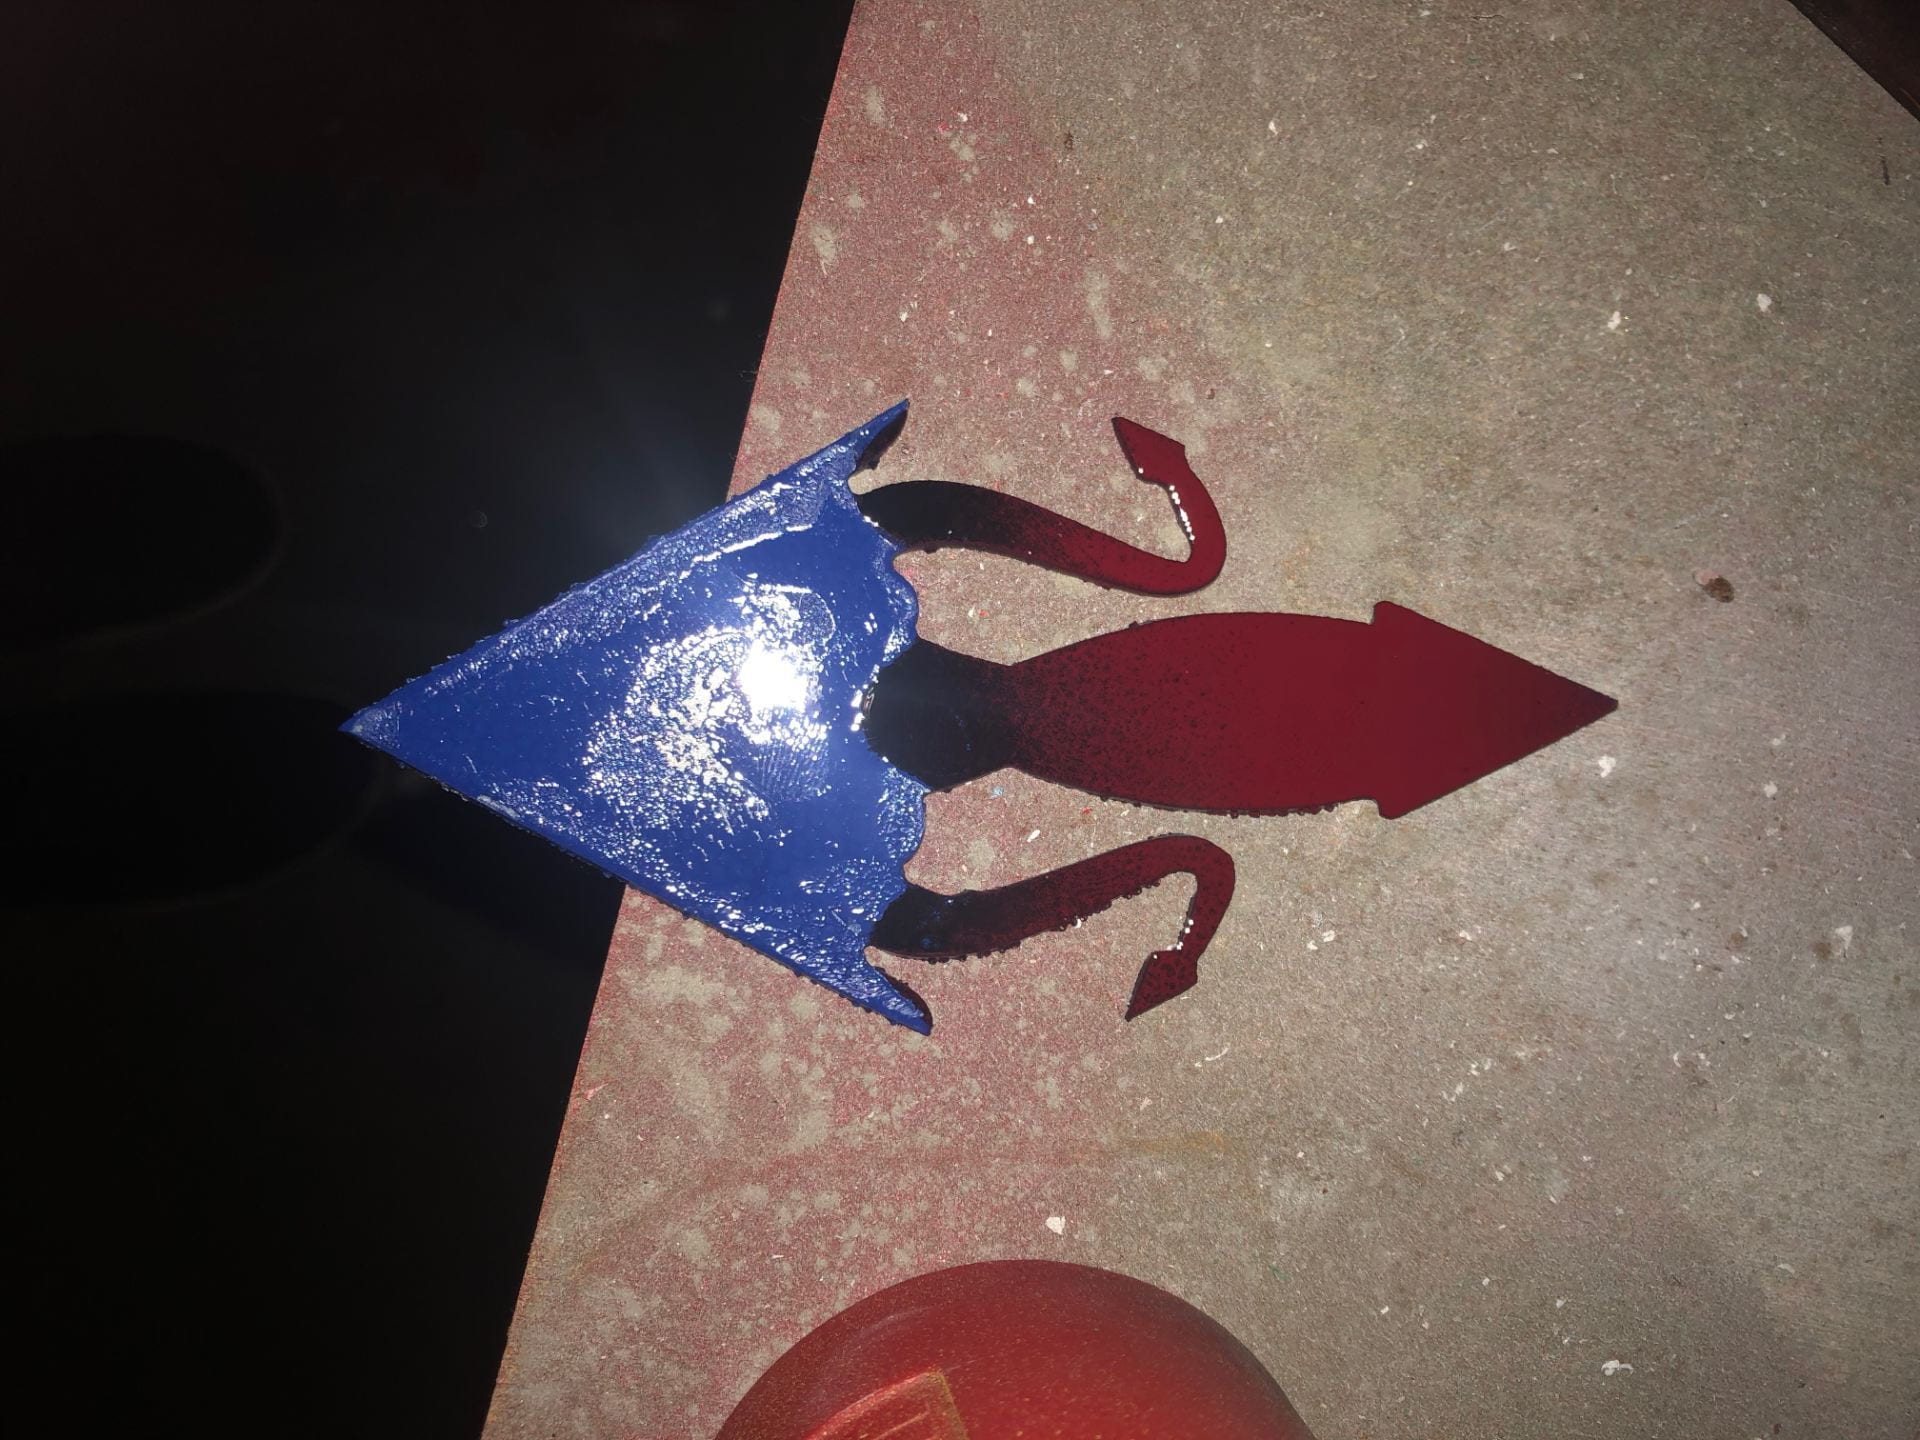
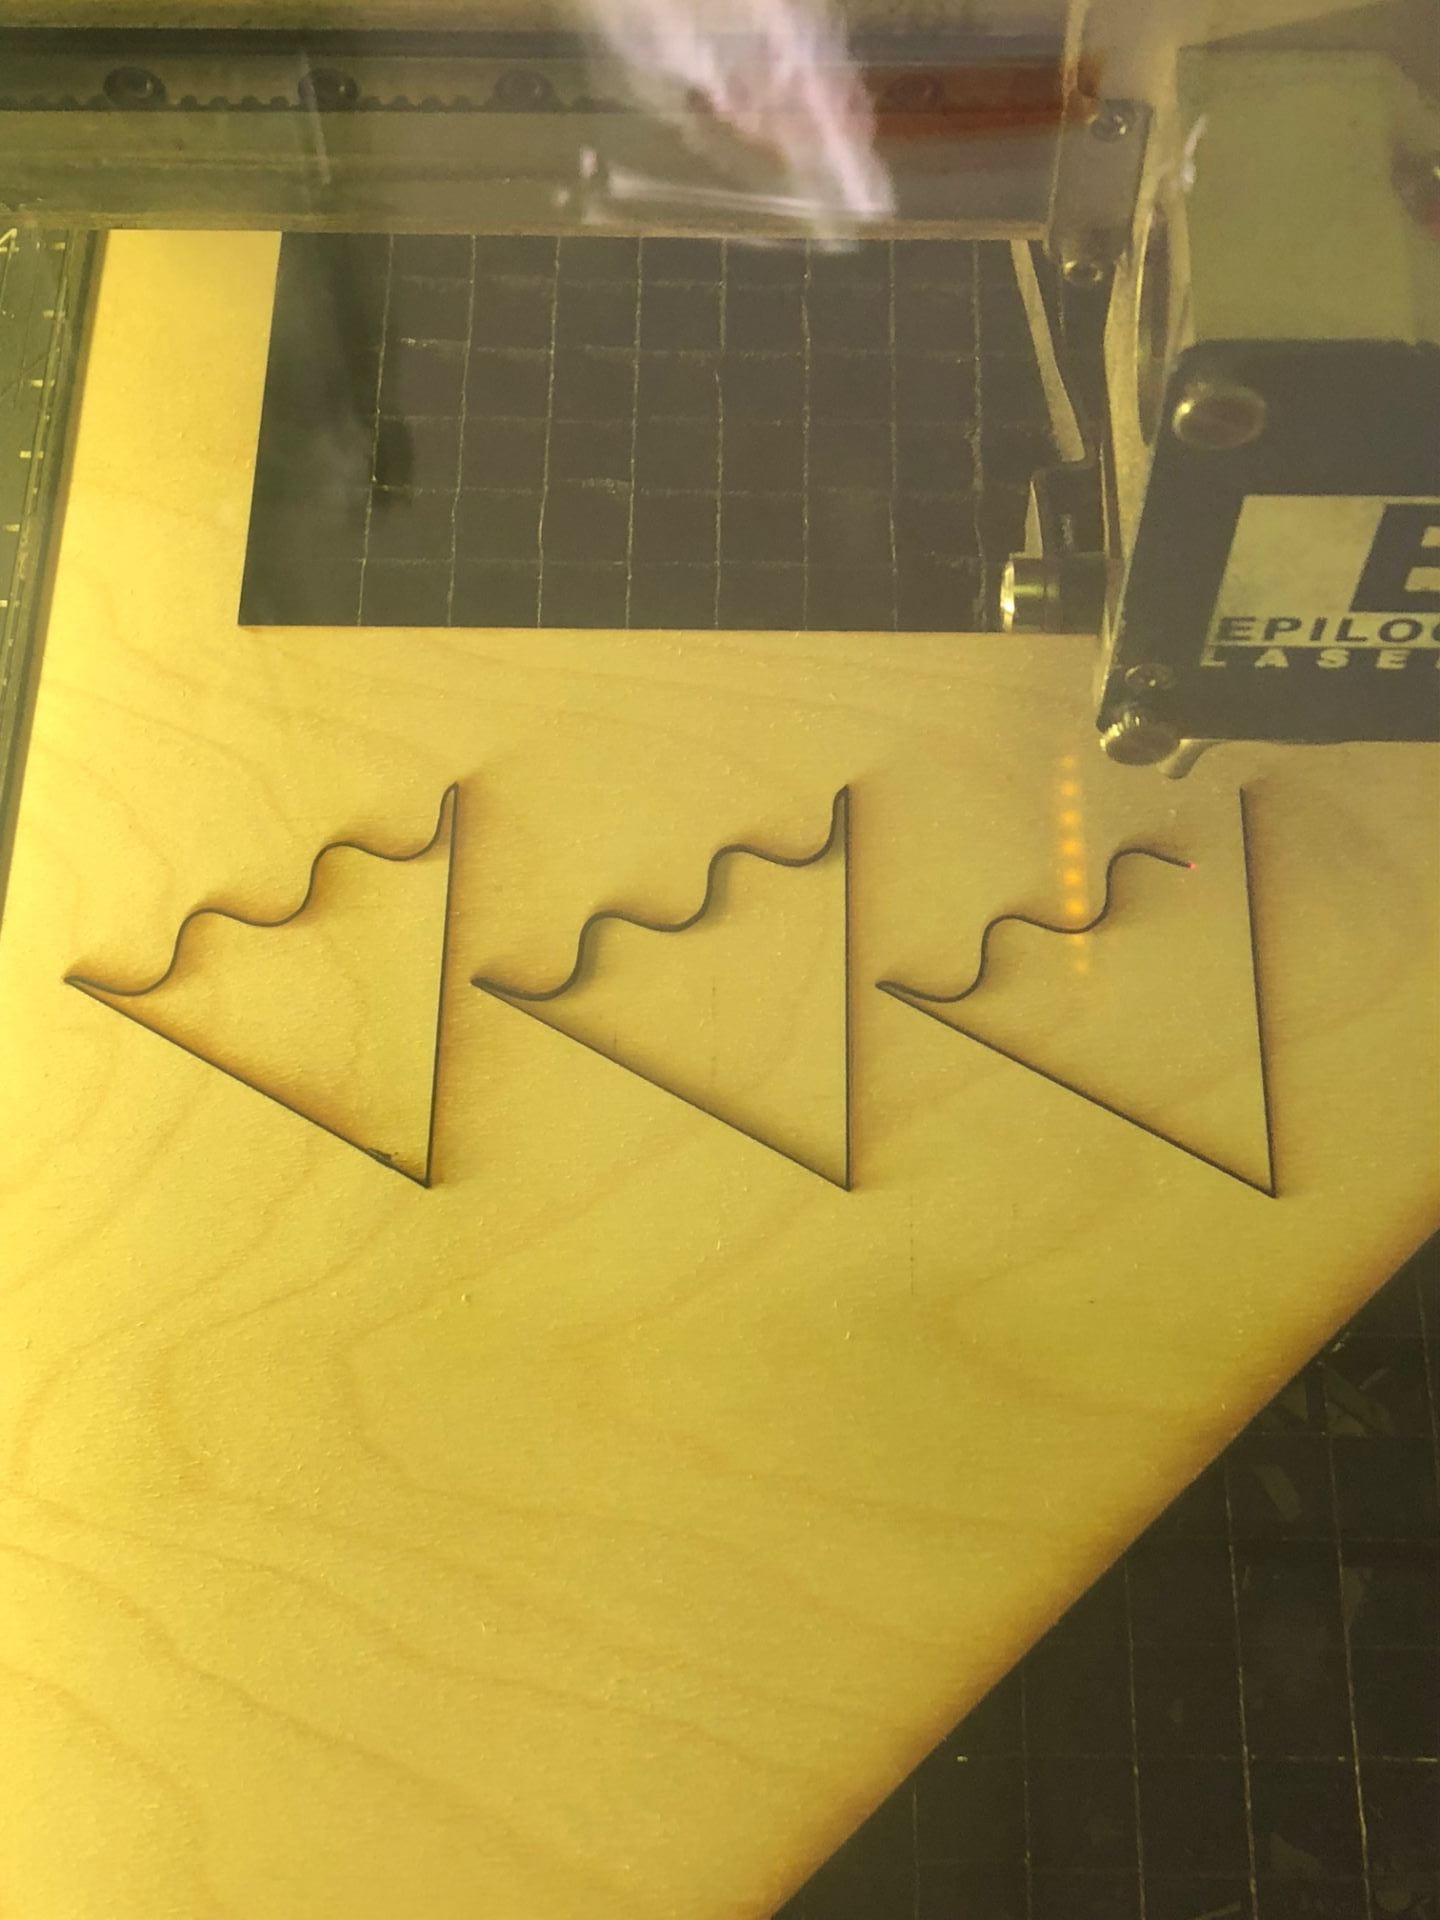
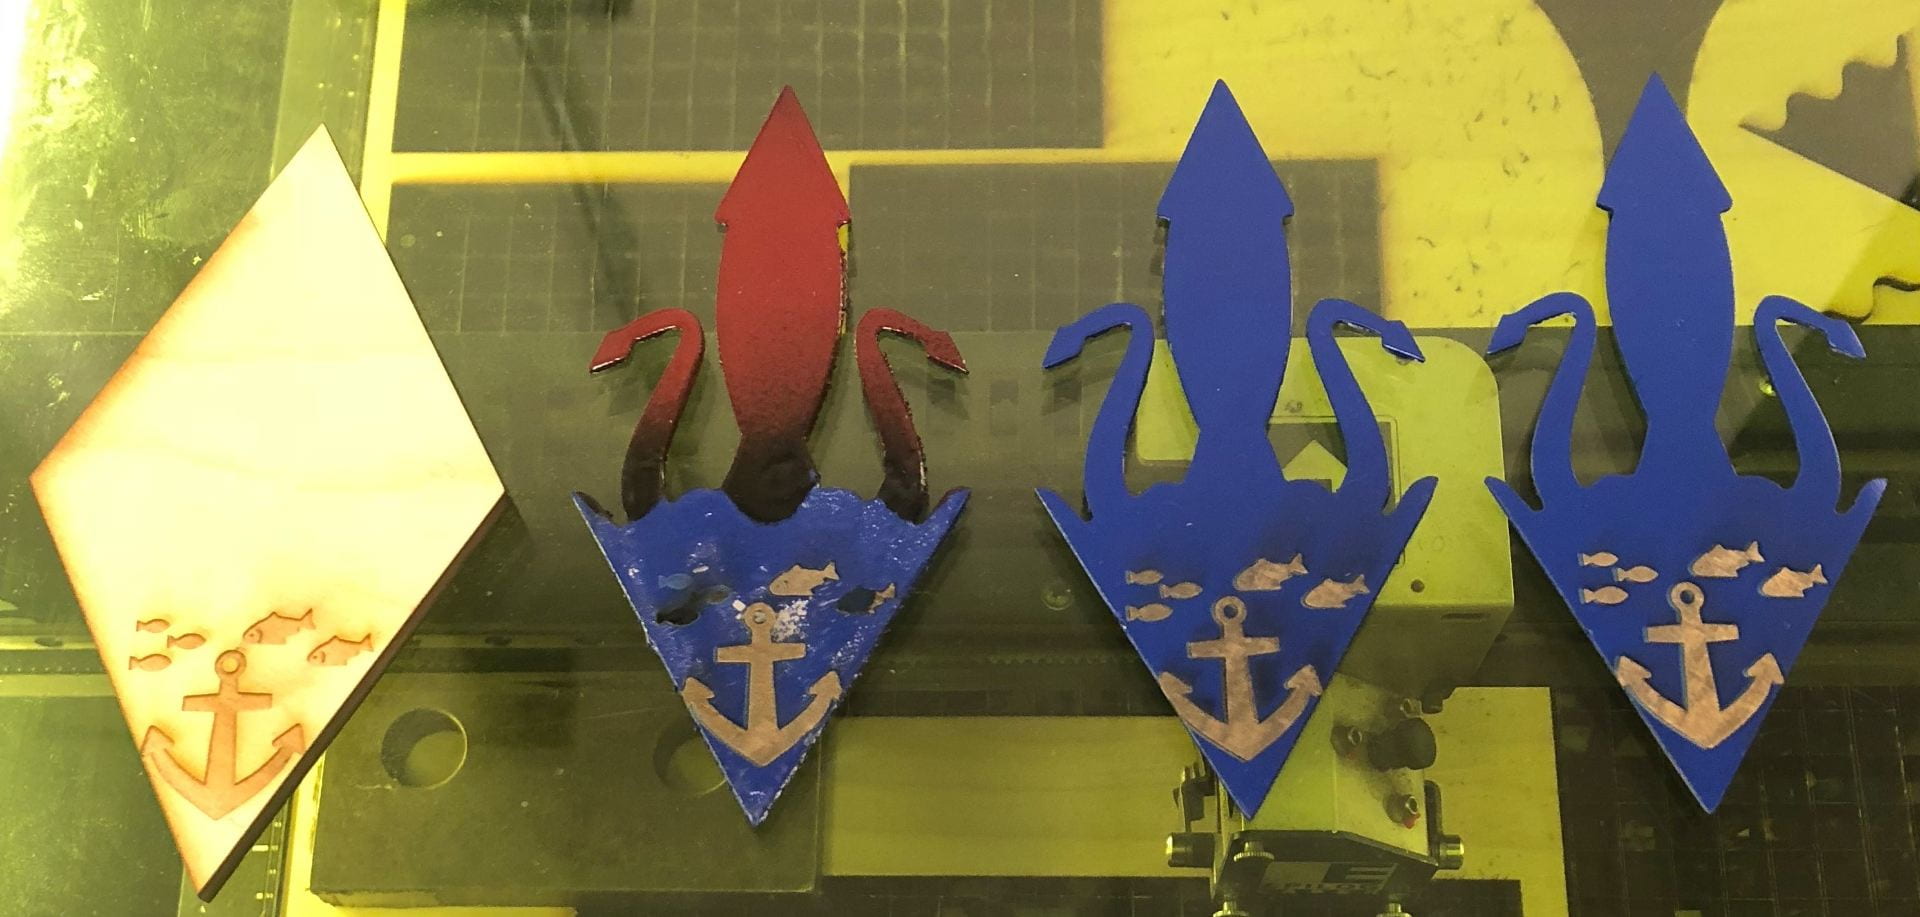
Then I brought them outside to paint. I spray painted a darkish blue base coat and then laser cut a piece that follows the contour of the ocean. The wood pieces would later be taped on top of the diamond allowing me to spray paint the head and arms of the squid. I painted my test piece first and then started experimenting with the laser cutter.
Now to laser engrave the parts, I set them up in one of the open squares on a piece of scrap wood I found and then zeroed the laser cutter to the tip of the squid’s head. for each fish of the design I used different settings to try and figure out what would cut through the paint best. In the end I settled on using the CO2 laser first on 30s/100p/10f for one pass and then using the Fiber laser on 30s/100p/5f for two passes. I tried using the CO2 laser on a super low speed around 7 and the pass ended up charring the metal and the surrounding paint black. Using my method above, the CO2 laser removes most of the paint, the first Fiber laser pass removes the rest of the paint, and the final Fiber laser pass cuts into the metal to engrave it.
Engravings on the Test Piece
When I finally engraved my next piece, I didn’t re zero the jog position and the anchor ended up getting cut off on the side. I noticed this after my first CO2 pass but since i had already started taking off the paint, I couldn’t readjust the position. On my last piece I made sure to rezero the home position of the laser cutter. Ideally I should have been able to keep the same zero for all three pieces, but in reality, I didn’t file down my test piece to save time and the extra material left on the edge was enough mess up the alignment.
Next I flipped the pieces over and engraved my name and the steps I took to make them.
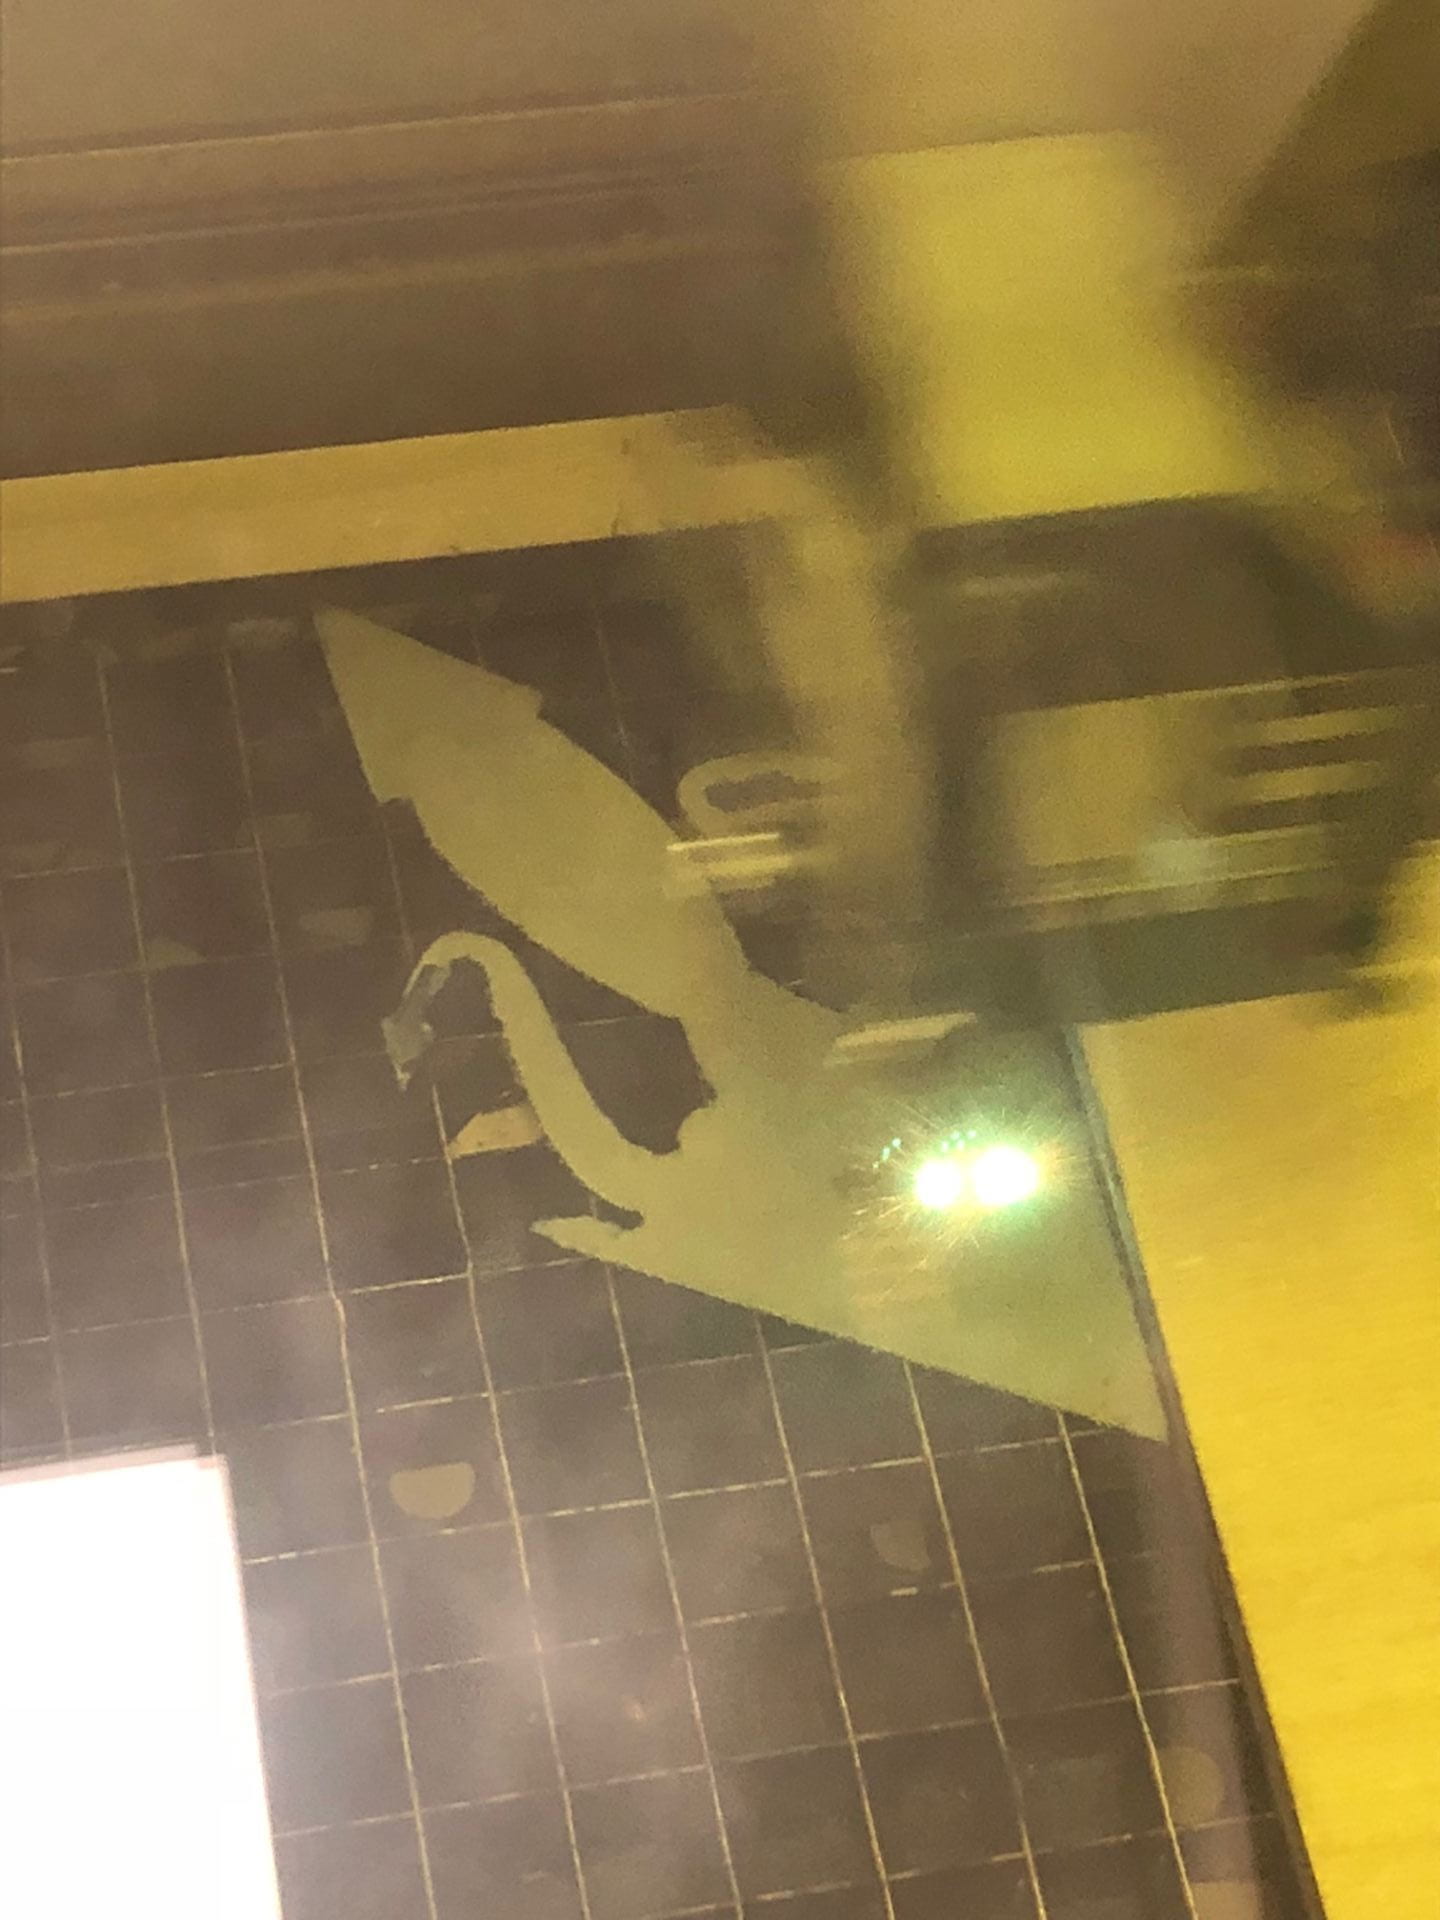
Action Shot
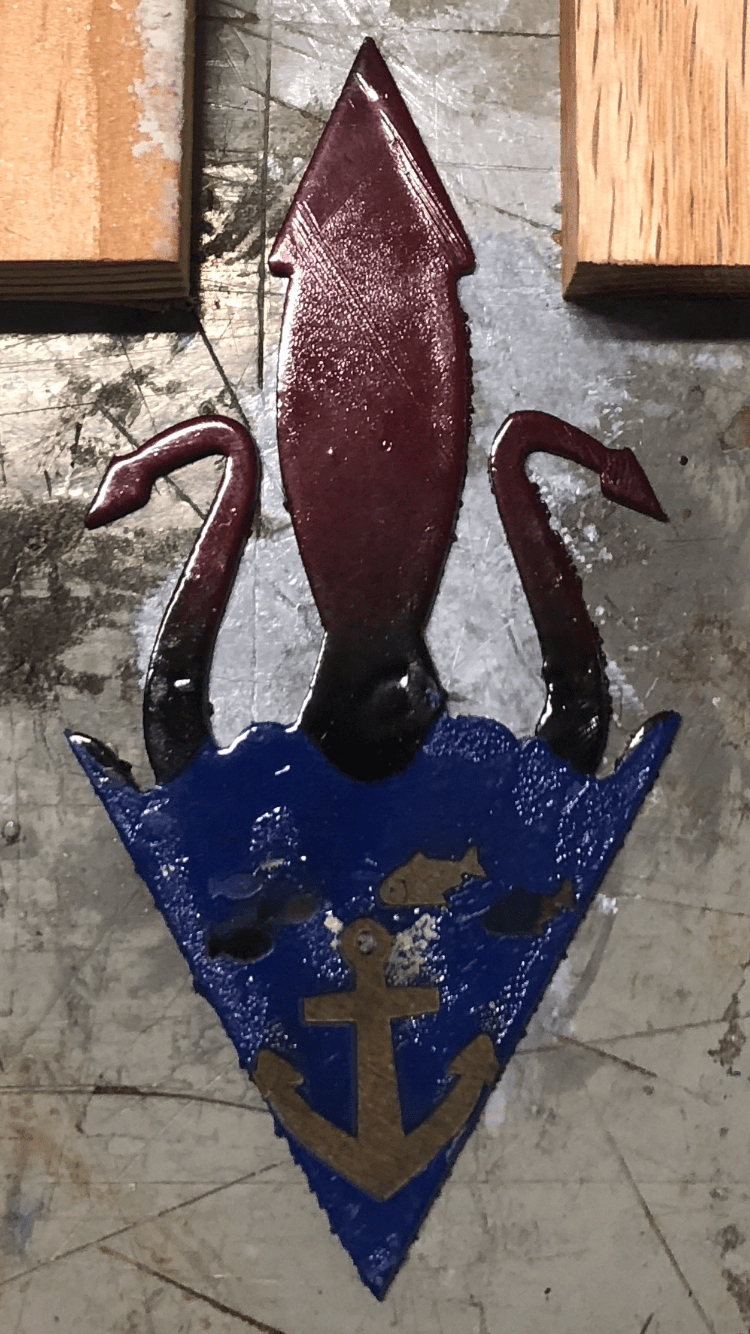
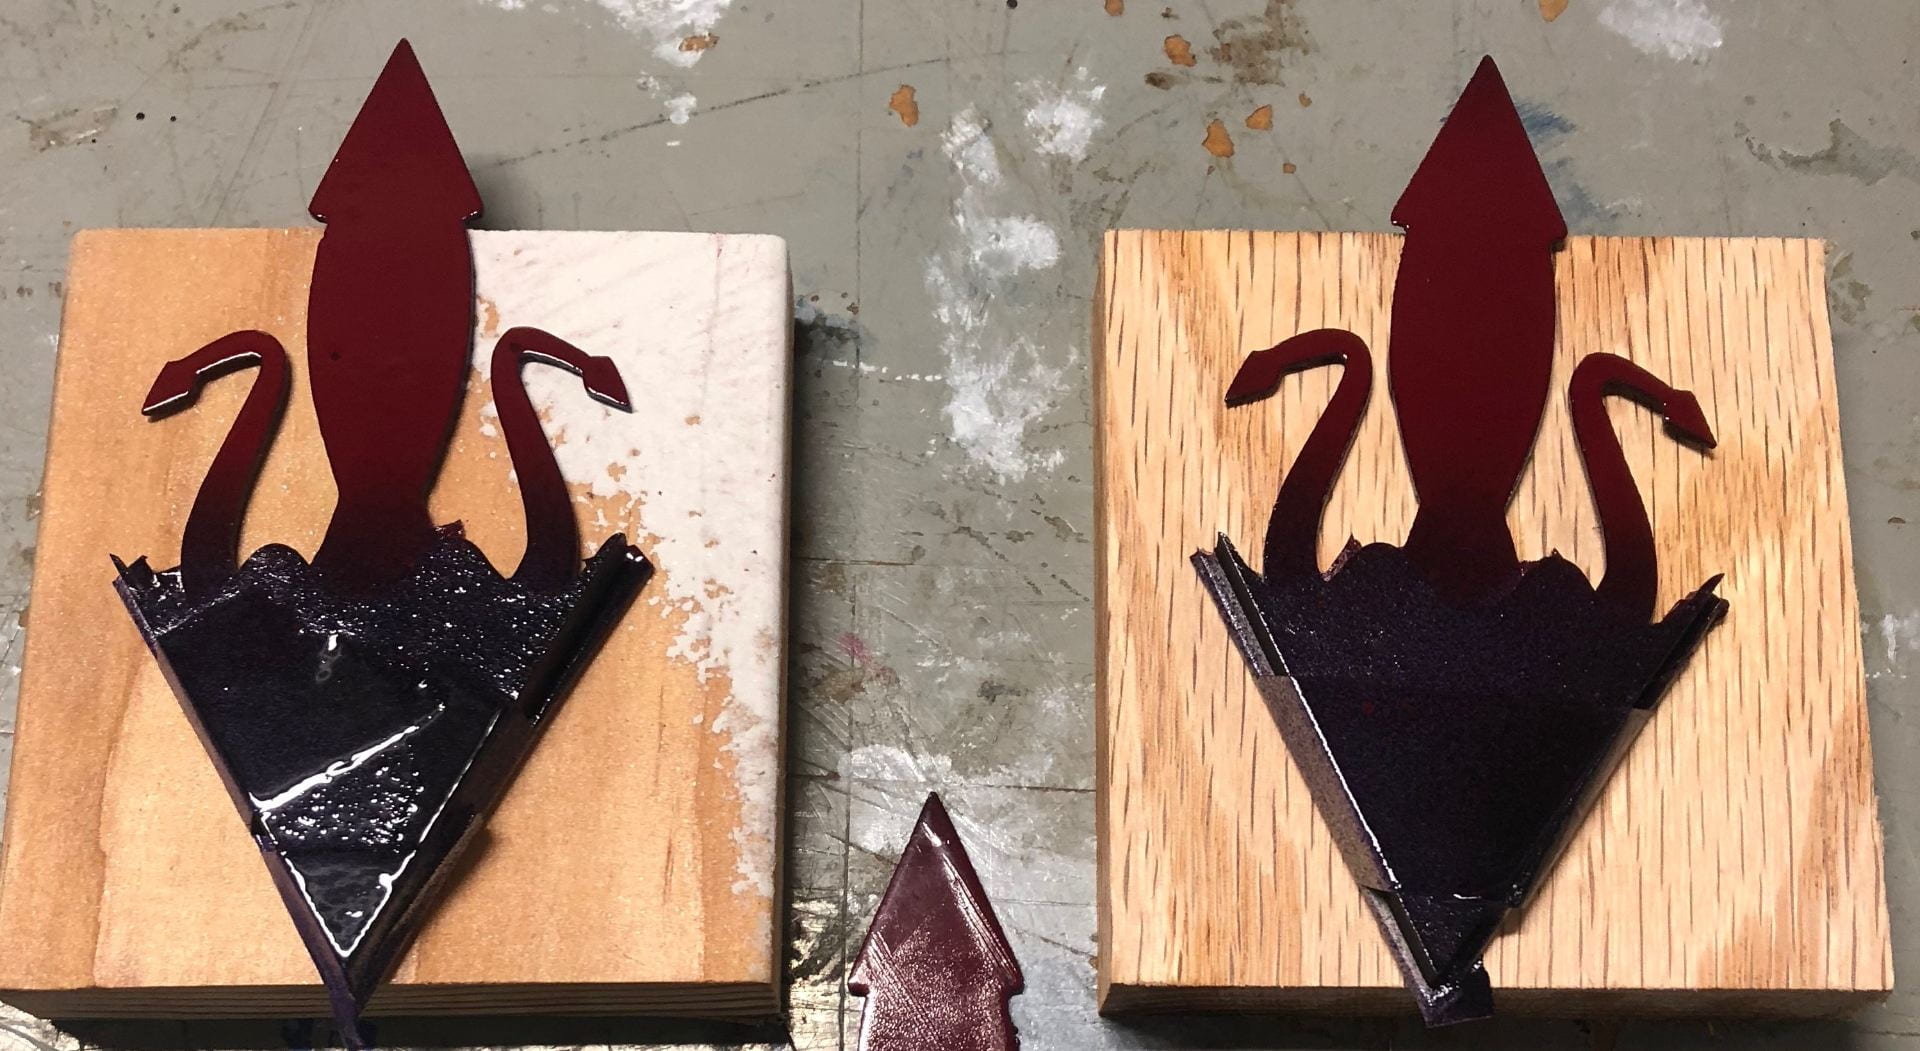
I then had to add the finishing touches to the paint so I taped my laser cut contours onto the diamonds and spray painted the head and arms of the squid a red, purple, and black mix.
The final steps were to engrave the eye onto the squid and to add a clear coat to both sides of the diamond.
Voila!
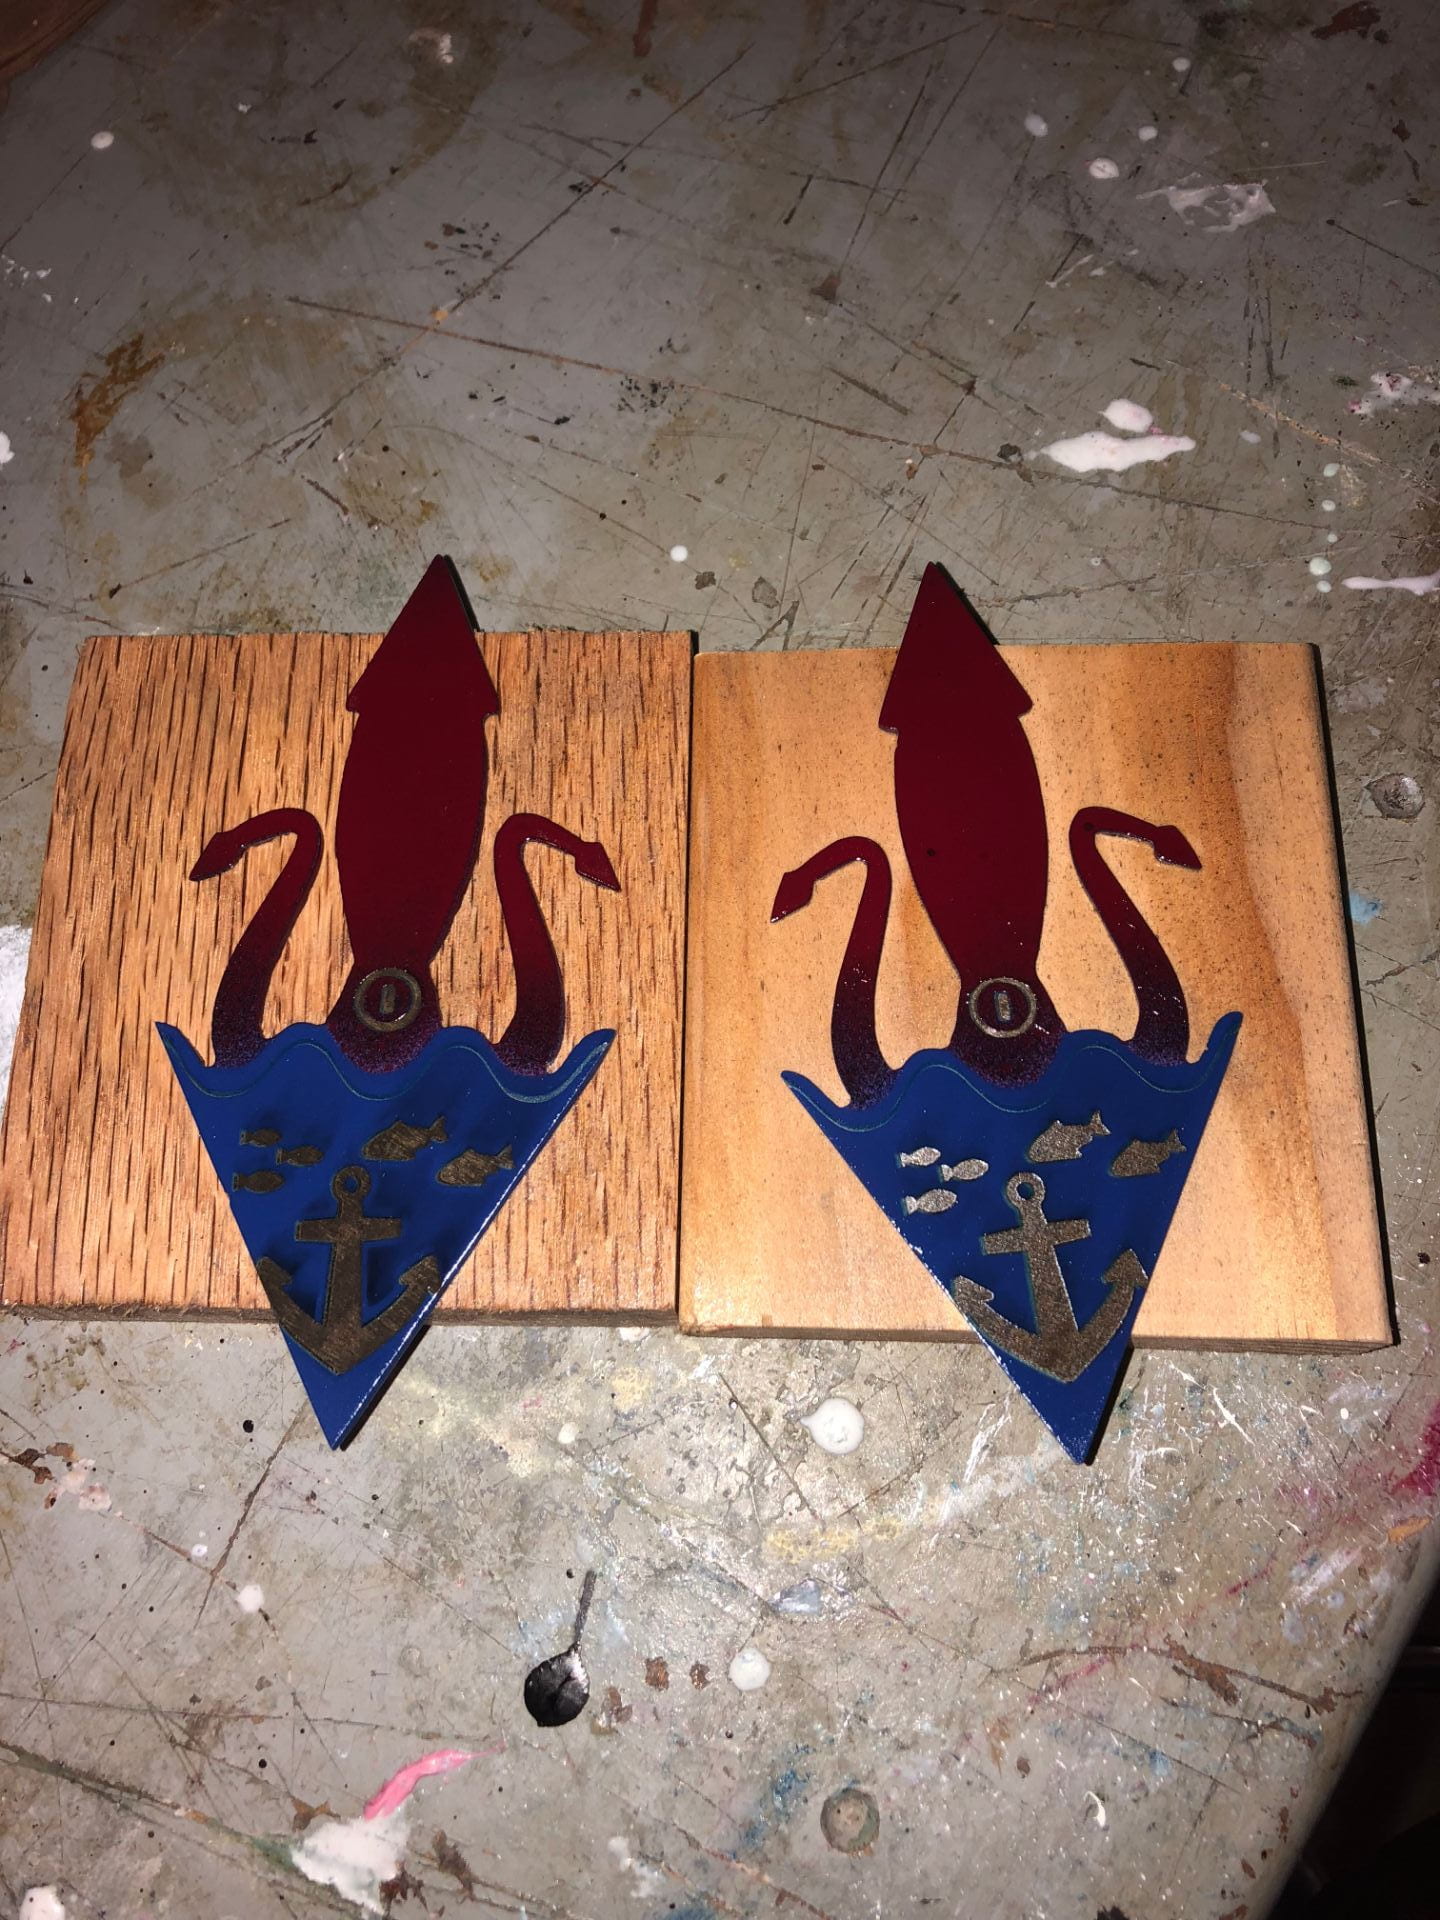
Final Product after 2 Layers of Clear Coat!
Overall, I was satisfied with my work on this project but I definitely could have done things differently. To start, I should have picked a design that didn’t have hard to reach areas. Trying to engrave through the paint caused a lot of issues and was very finicky to work out. The piece with the cutoff anchor also ended up with some burn marks on the paint next to the engravings.
This project took me about 8 hours to complete. At this point in the course I think I am skilled enough to charge a little more for my labor, lets say $15/hour. A 6″ x 12″,0.018 inch thick piece of stainless steel costs about $10. I found a website that lets you rent a plasma cutter for about $165 a day. Home depot lets you rent an angle grinder for 4 hours for $26. I used three different cans of spray paint. At a price of $2.99 per can, the paint costs are ~$9.
This leaves the total at $139, not including the plasma cutter and grinder costs. With the machine costs included, the total is $330.
