The Chiefs recently won the Super Bowl, so I knew I needed to do a project based off of them. The plasma cut diamond seemed like the perfect one, I just needed to fit the arrowhead logo into the diamond shape. To start I found an easy logo online that I could manipulate on AI. I used the trace function, so there was no drawing on my part. I then found a way to separate each of the parts of the logo, so I could manipulate them on their own.
This is the Chiefs’ Logo
Since the plasma cutter is not as exact as the laser cutter, I decided to only cut out the outside shape and later make the lettering. I had a little trouble getting the correct shape and size into the plasma cutter software. When I imported the file into the first software, it sized wrong which I did not realize until I went to the second software. Once I resized it, the shape was ready to cut. I did a practice cut on a piece that was slightly thicker than the final piece, but it was the same material. The practice cut went well, so I decided to start my final two pieces. When I tried cutting the first piece, the metal burned instead of cutting through and the plasma stopped about half way through. I had put the grounding cable on the bed instead of the metal piece, which is what likely caused this problem. Once I fixed that and positioned the pieces correctly, my cuts turned out pretty well. I used 15 speed on a suggestion from Doris.
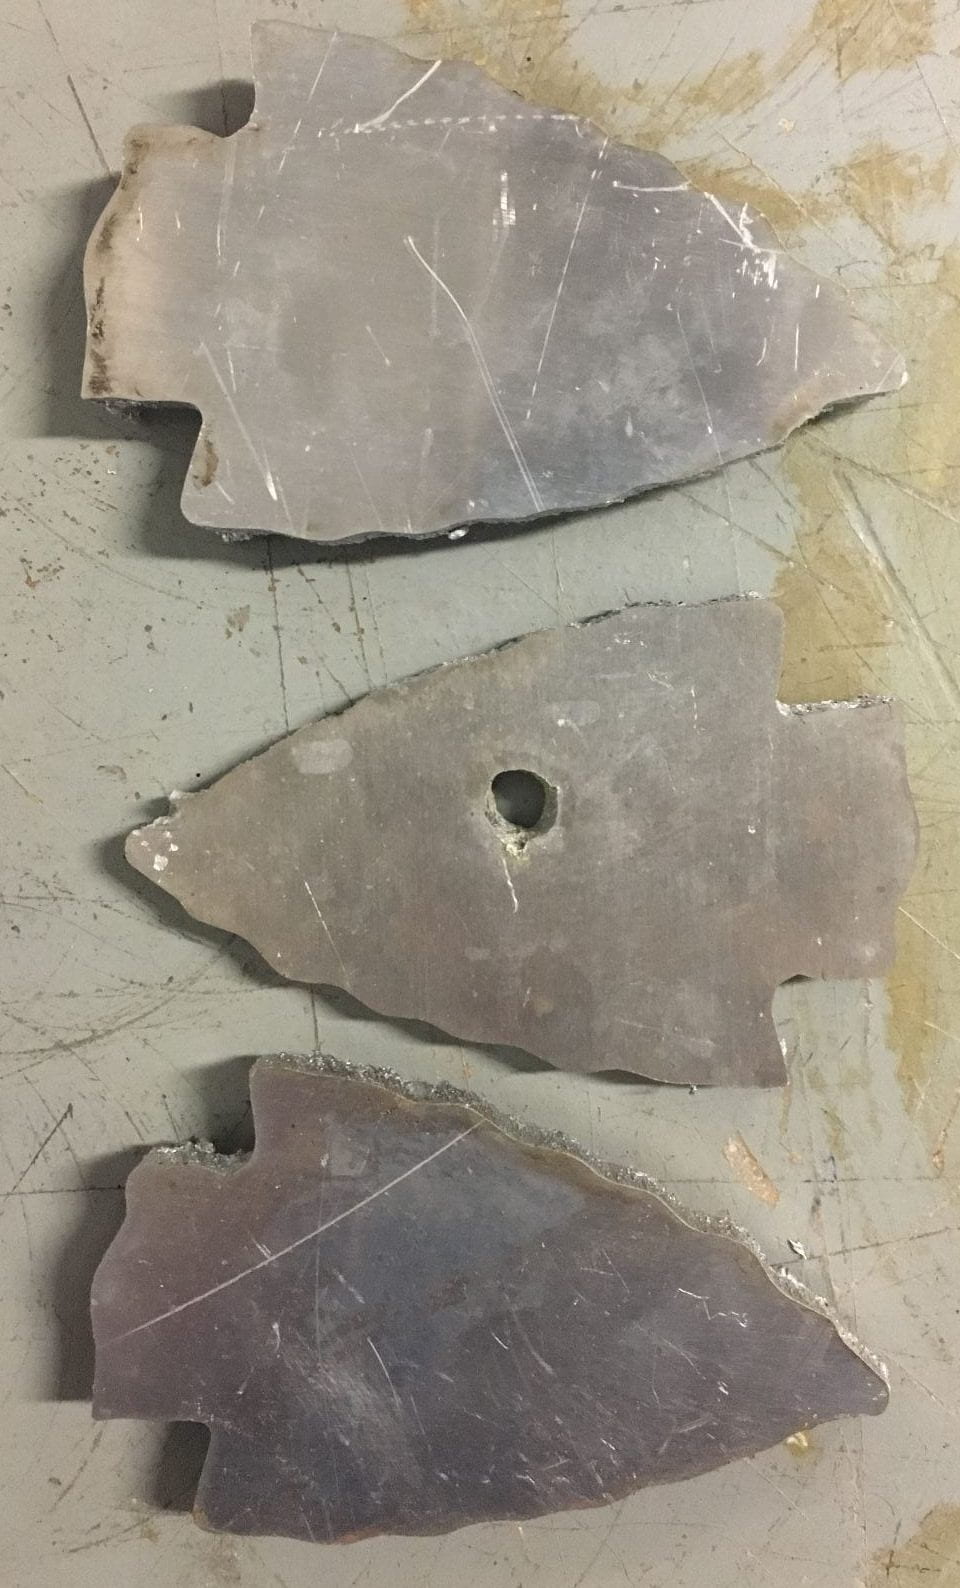
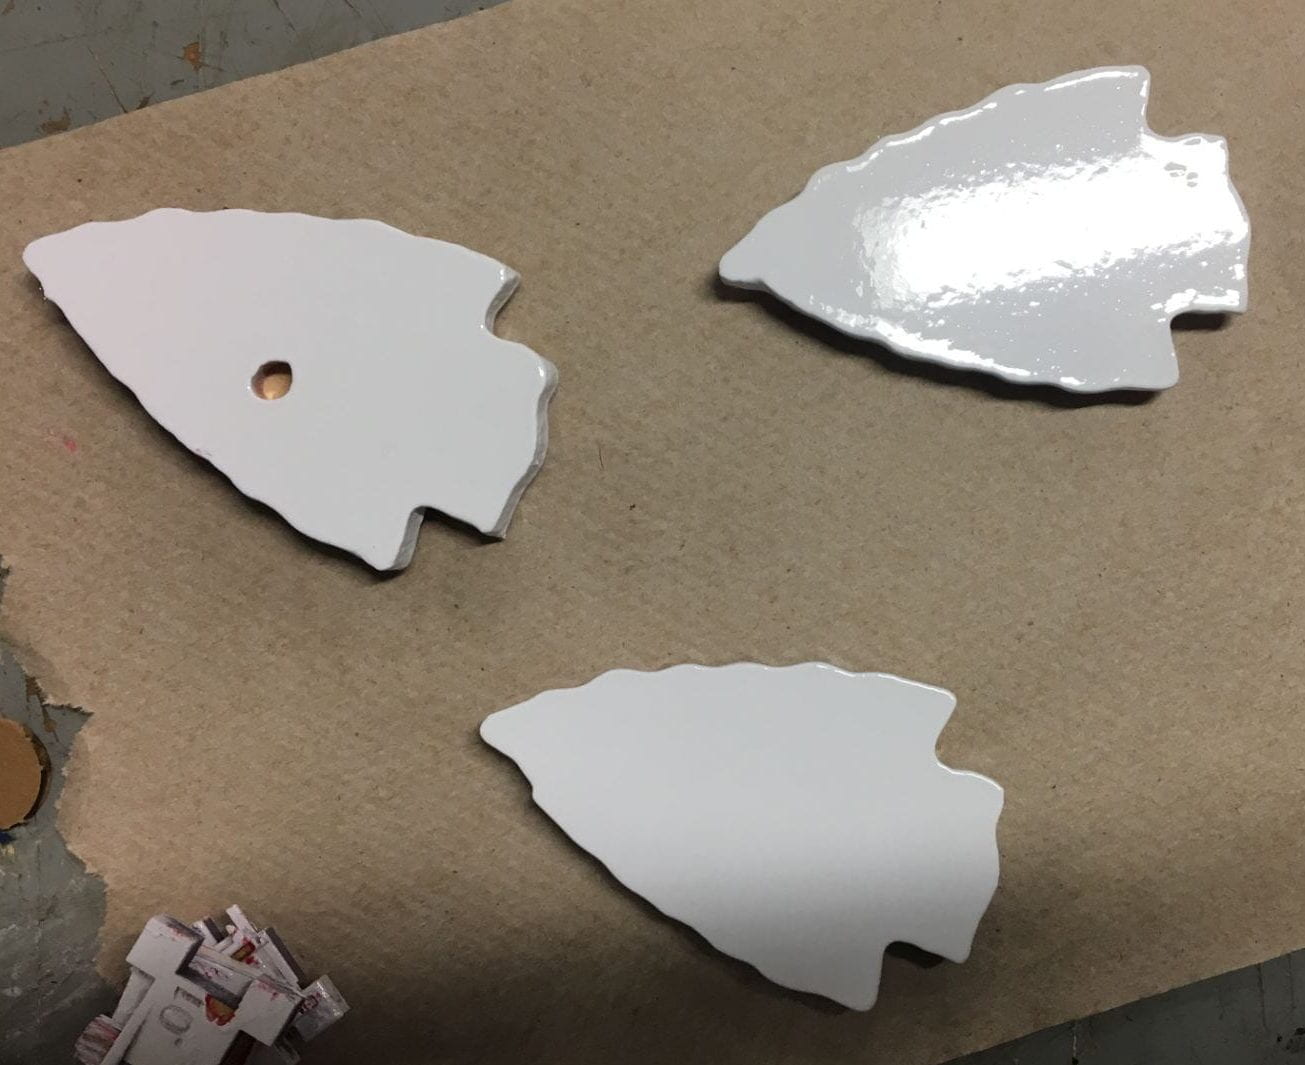
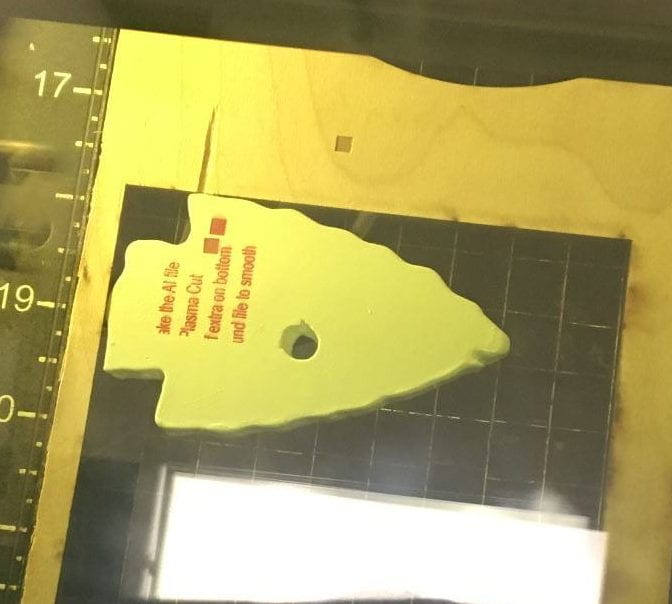
The top of pieces after plasma cutting. The piece with the hole is my test piece. I used it throughout the process to test every step before doing it on my final pieces.
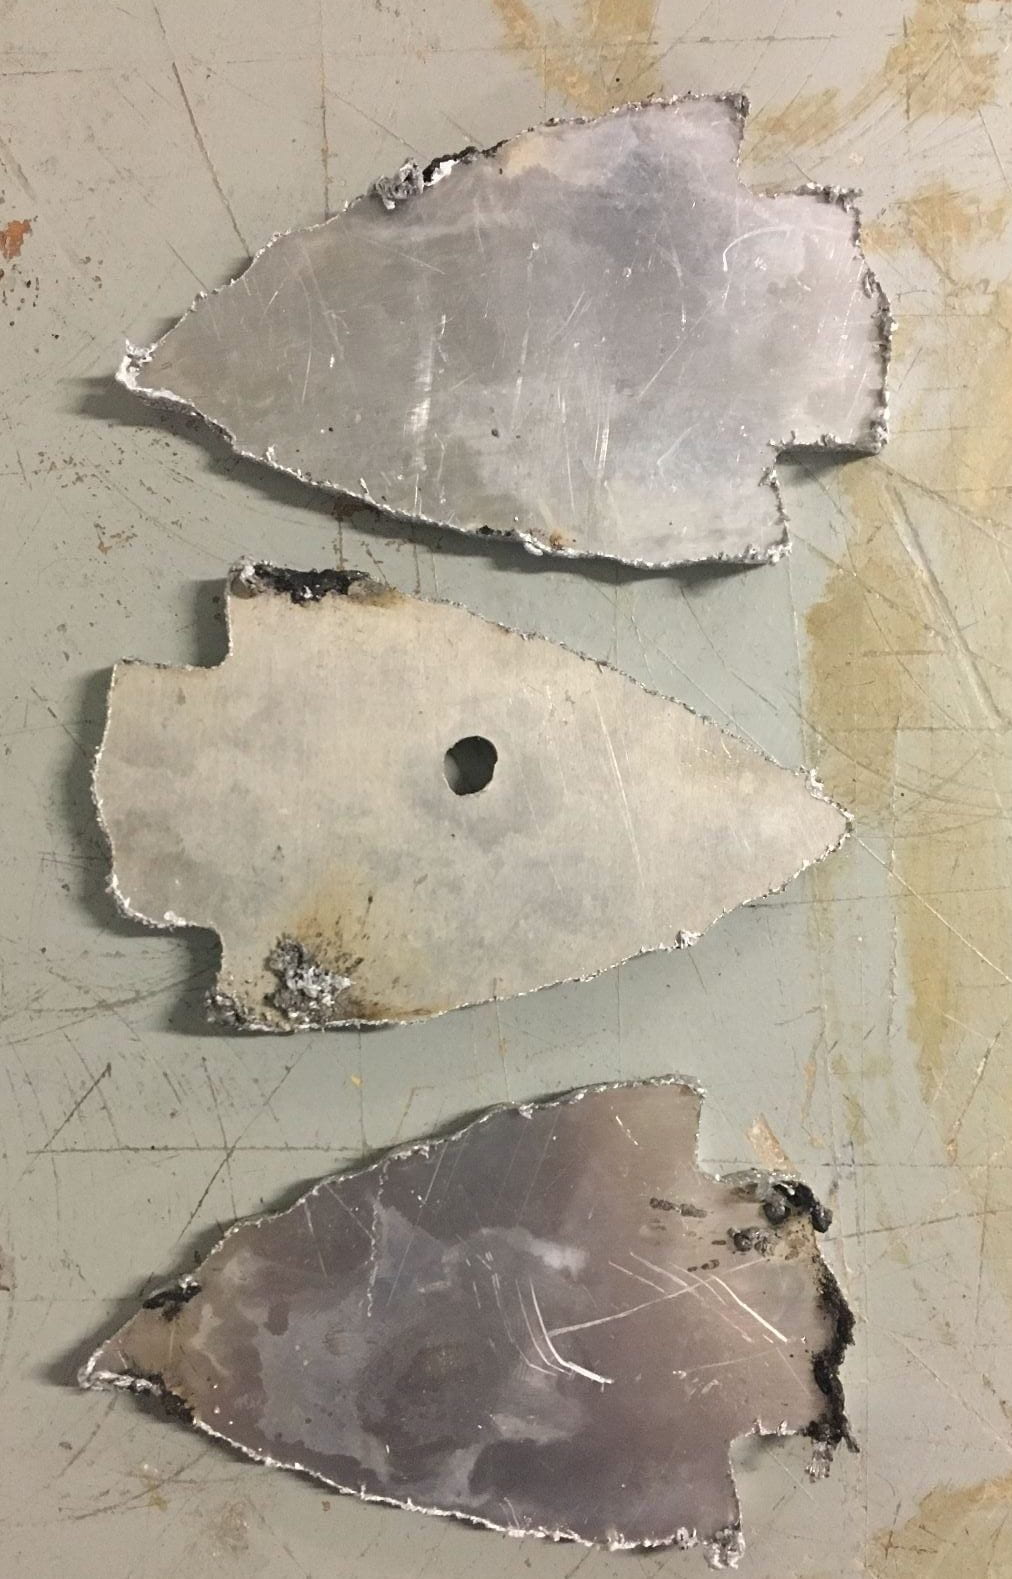
The bottom of all the pieces after plasma cutting. There was a lot of extra material on this side. The edge were not as defined as on top.
I needed to make my pieces smooth after the cutting left all the dross. First I filed the extra metal off. I then used a round file to run over my curved edges to make them smoother. On one piece I had a small section I was unable to remove fully. so it is still there. I just tried to smooth it as much as possible. After removing the extra metal and giving the edges a better shape, my piece still had some rough places and lots of scratches. I used the sandblaster to make the faces and edges smoother.
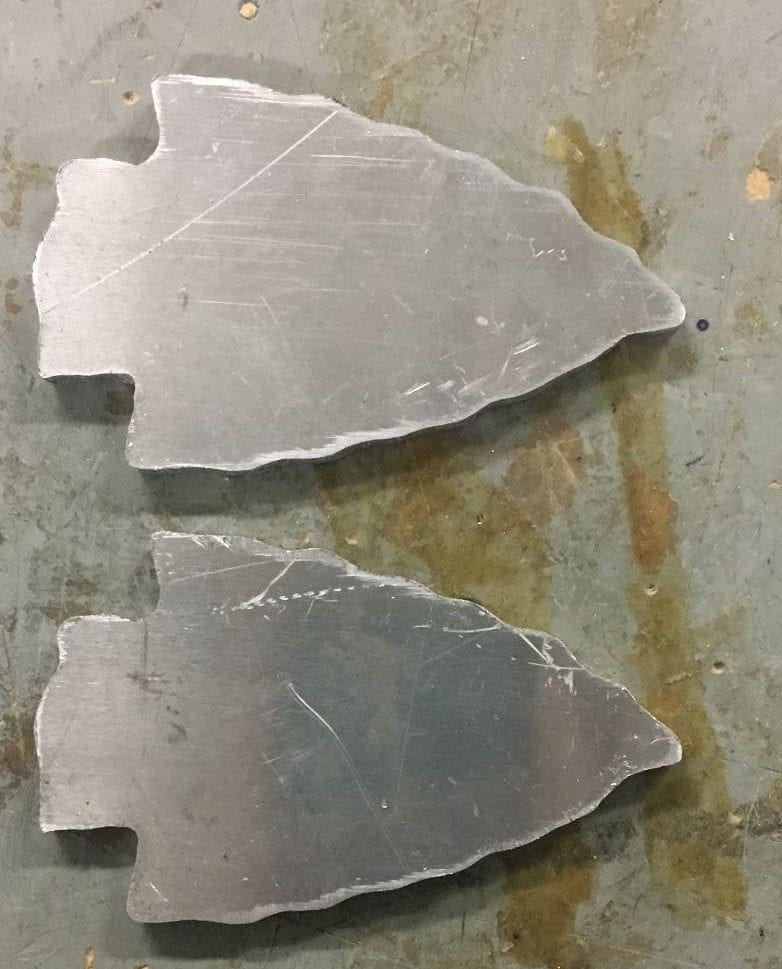
The bottom after filing.
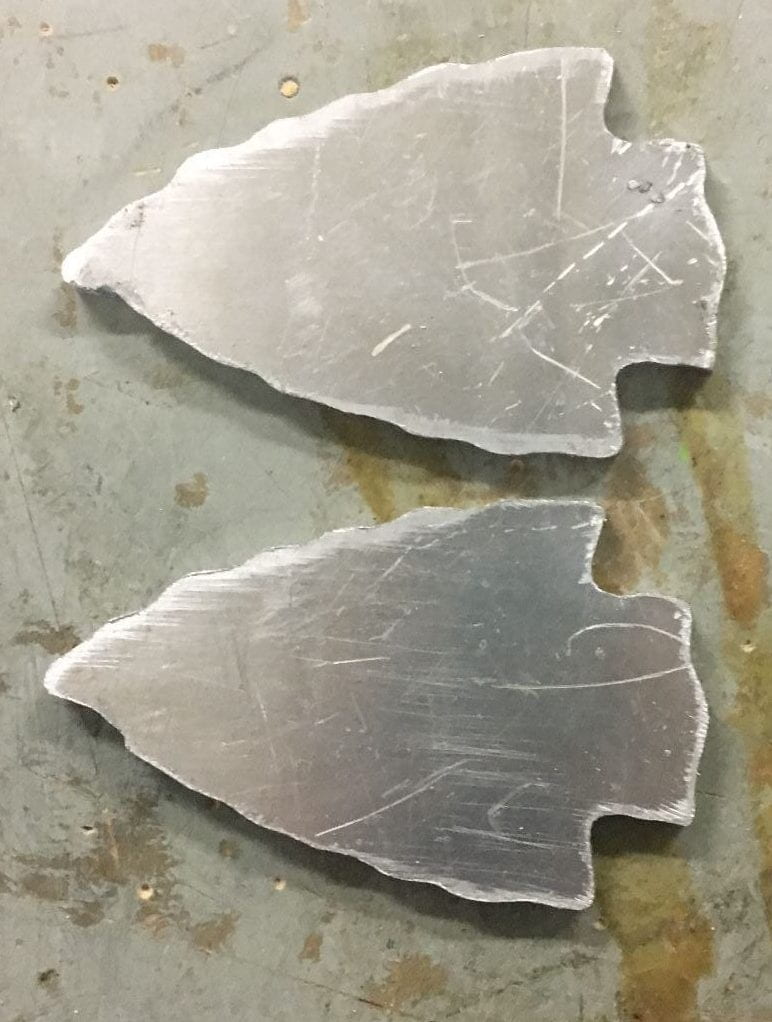
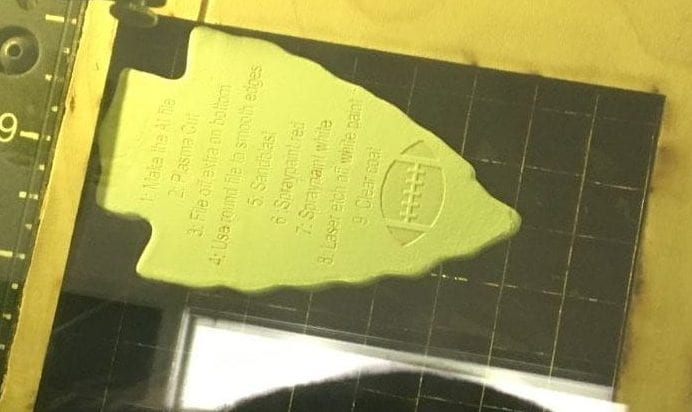
The top after filing.

The pieces after sandblasting.
Next it was time for spray painting. I made my first layer white, which was a mistake. I needed to make it red, so the next day I went back and fixed it. After the red spray paint had dried, I put a layer of white on top.
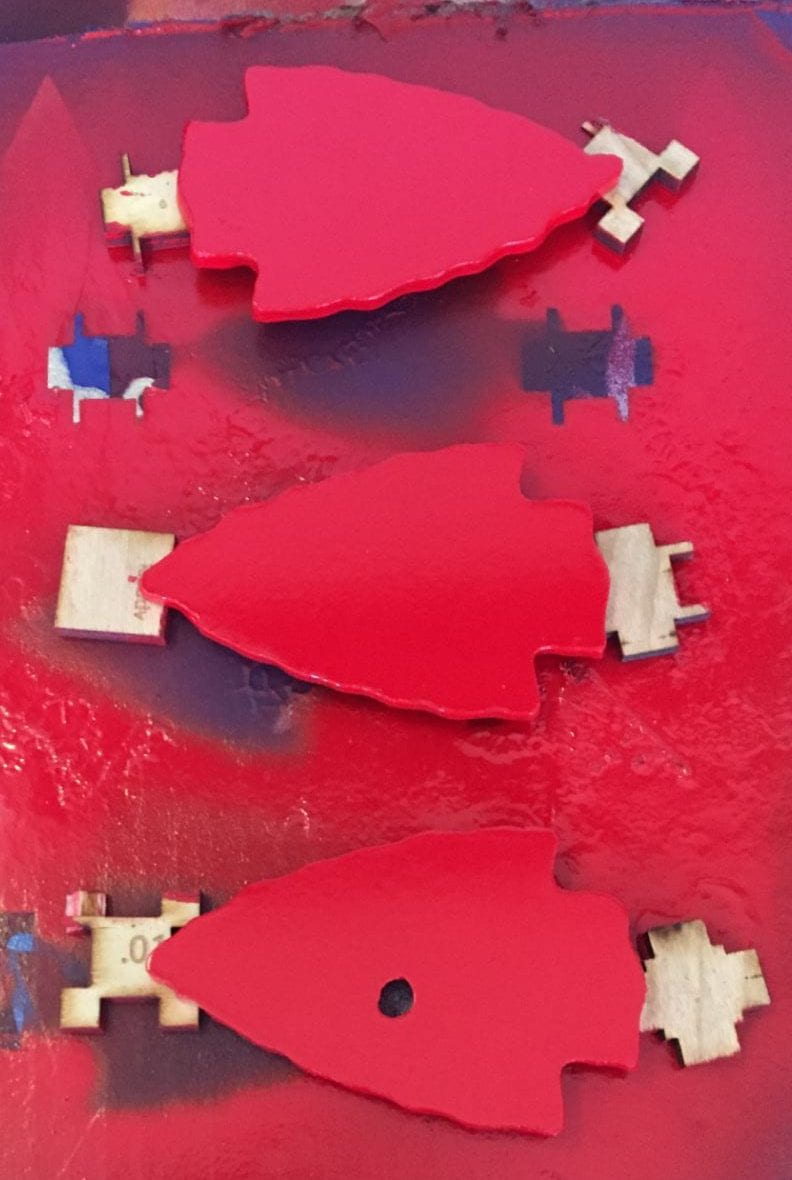
The pieces after spray painting red.
The pieces after spray painting white.
When spray painting, I placed the pieces on top of small wood pieces I laser cut earlier in the semester. This prevented the other side from fully sticking to and pulling up cardboard or dirt. I dried the pieces inside because the climate was better there. When drying, the pieces were each placed on top of a piece of wood. This prevents the paper from sticking to the paint.
My white spray paint did not come out as well as I wanted. It was very sticky and would pull off with some of the red paint. I sanded it down and redid it. It came out better the second time, but it still was not as good as my red layers. This may be because the red was not completely dry when I painted the white.
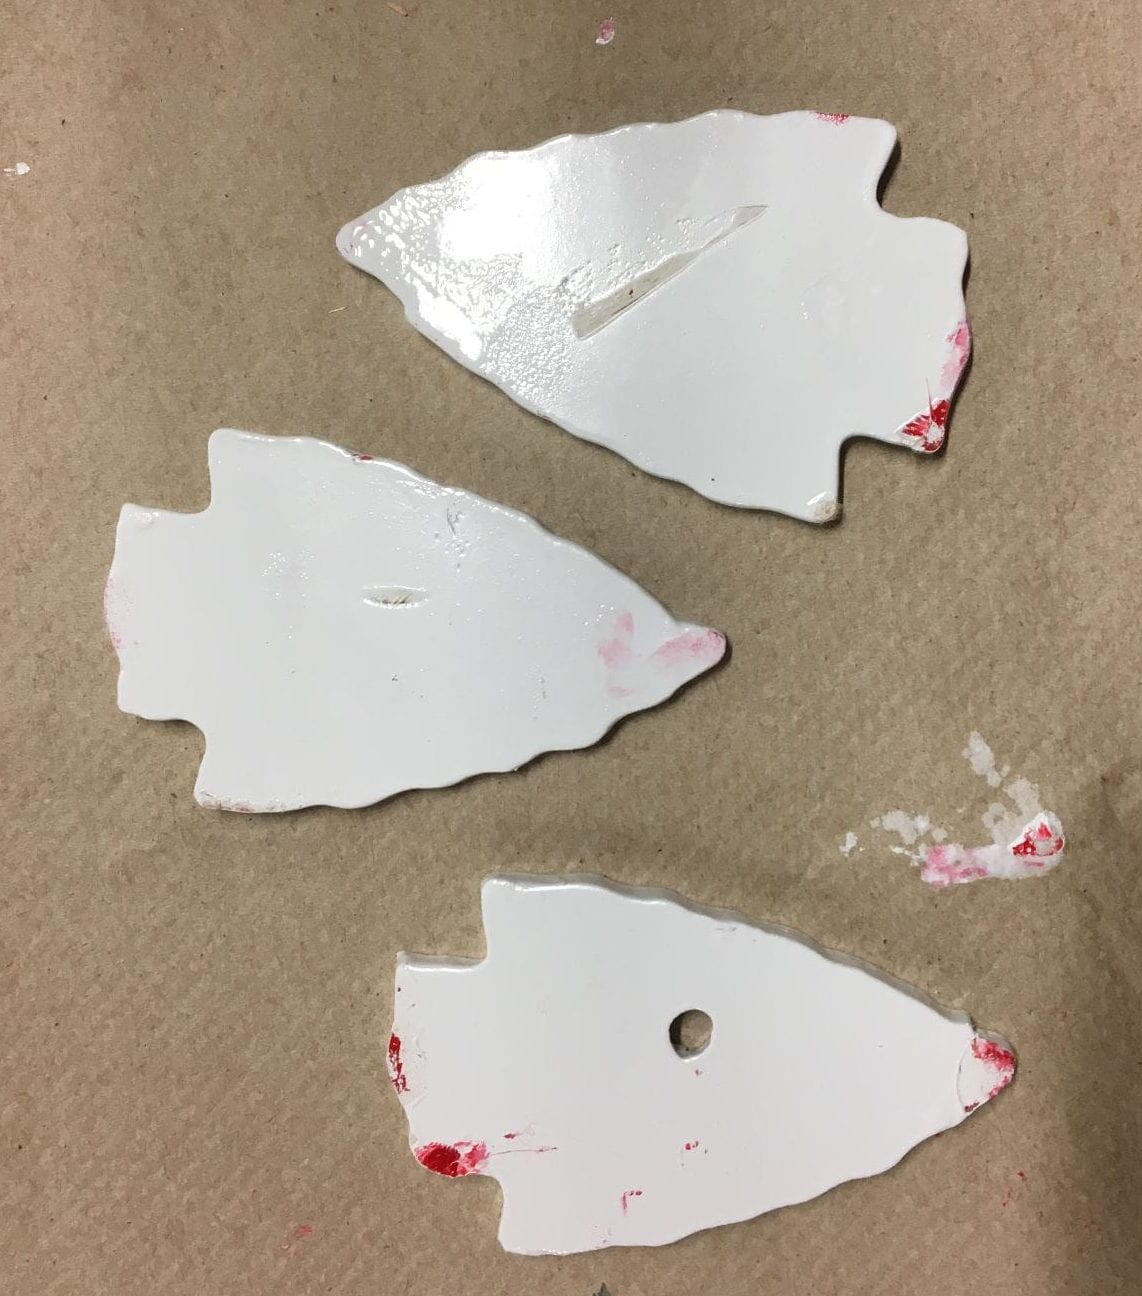
After spray painting white, red started to show through. The metal was not smooth.
Next it was time for the laser cutter. My goal was to laser etch off the white spray paint and leave the red for the letters. I tested on my test piece multiple times before etching. I ended up using speed 80 and power 80. The red paint bleeds on the sides when using the laser cutter. Putting tape over the area I was working on would help this problem. On the test piece, I tried the back with the steps with the tape and it did not turn out well. I decided I would do the back without tape and the front KC with tape.
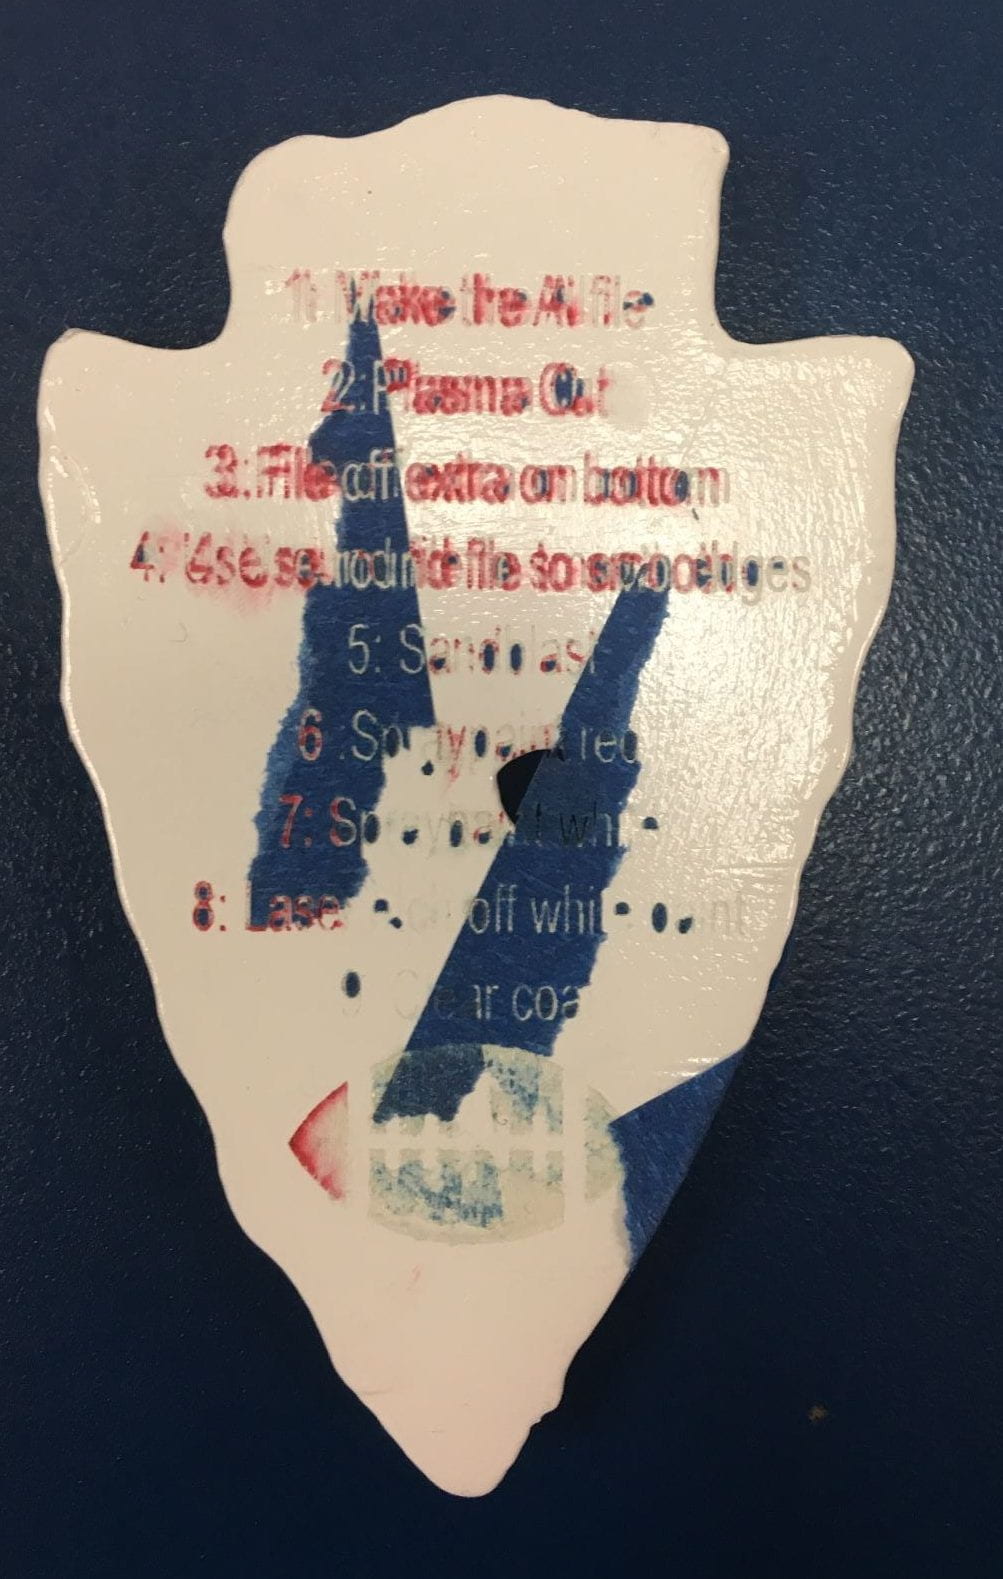
Test piece practicing the lettering with tape.
Front of test piece. There are two squares; the one without bleeding used tape. The letters on this side did not use tape and came out pretty clearly.
When etching the steps, I ran the same code twice. The first time got the color close to red. The second got it to the final red.
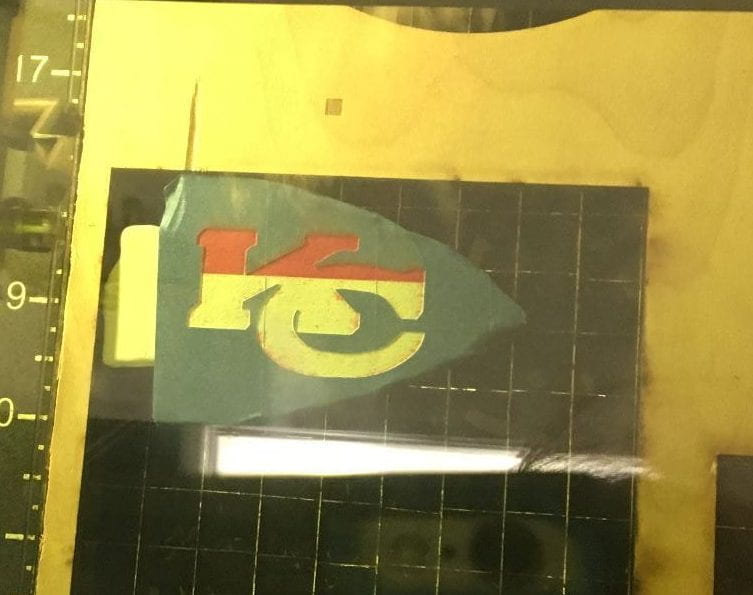
For the KC, I put tape onto the front. When putting on tape I aligned the sides, so no tape overlapped. I also ran this part twice.
The final product is not perfect, but I think it came out pretty well for trying a new technique. The colors could be a lot cleaner, but I think part of it was from the spray paint earlier.
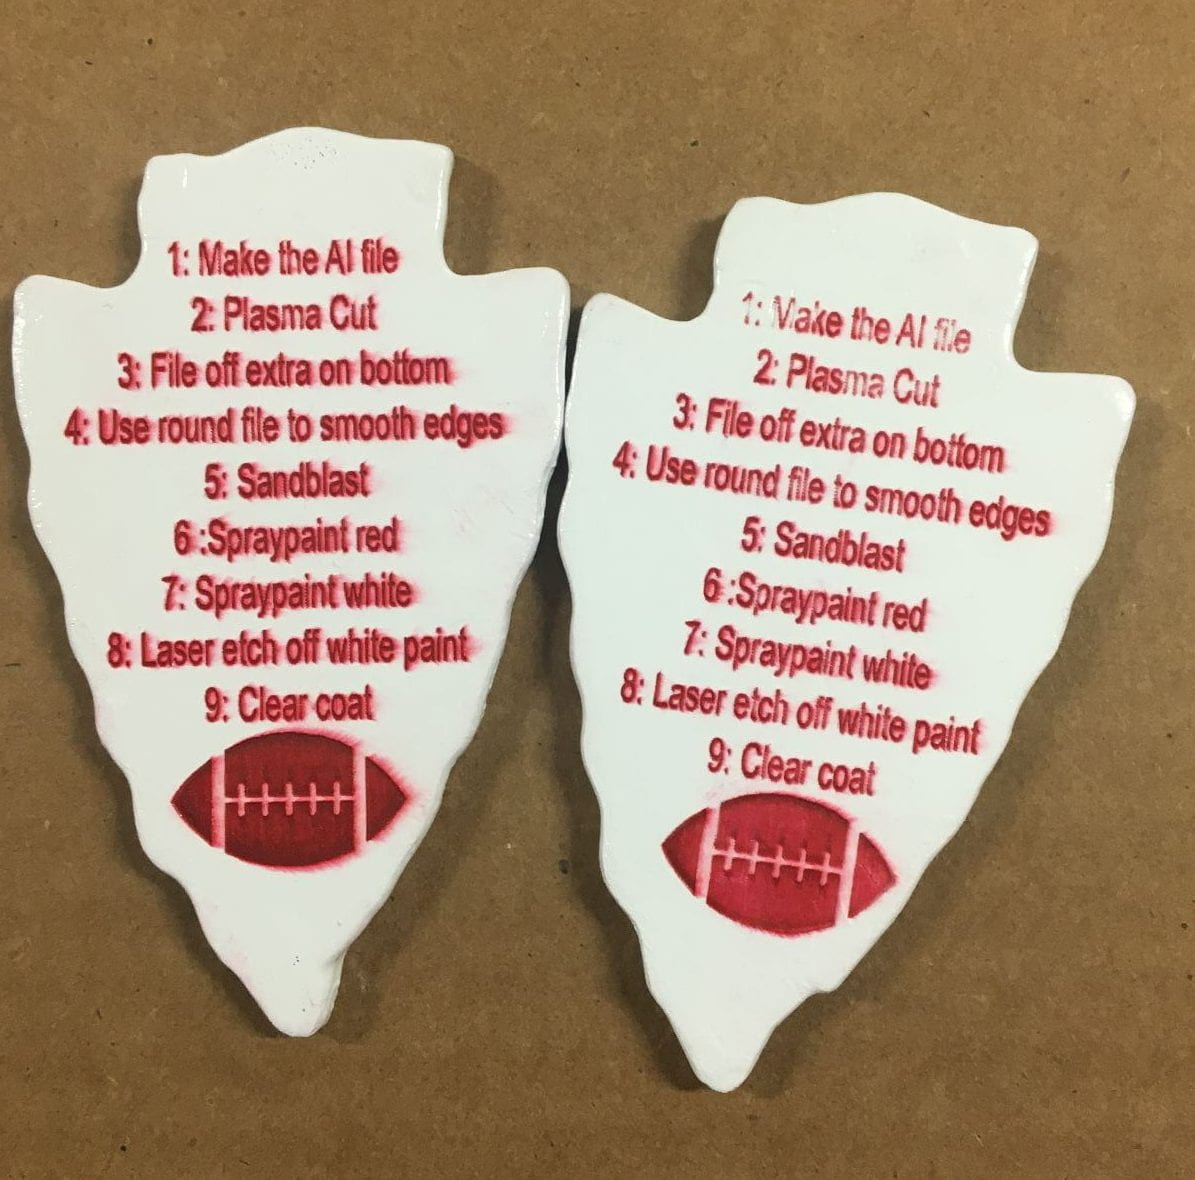
The backs of the pieces. They are not completely identical, but they are pretty close.
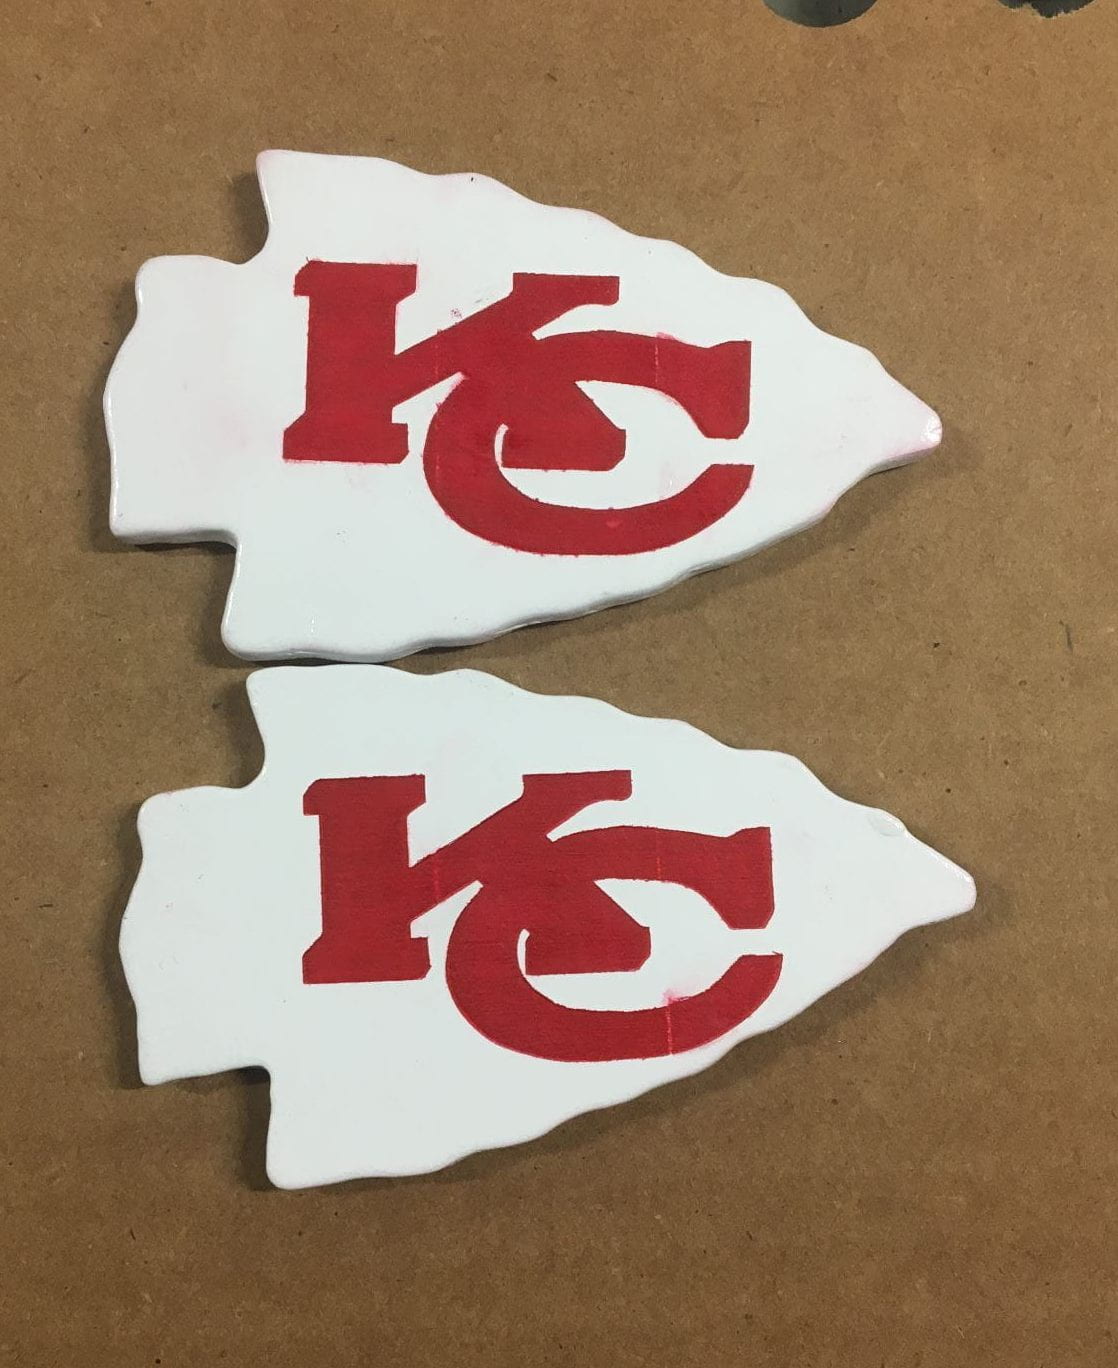
The front of the two pieces.
After the laser cutter, I decided to spray paint a clear coat on. When I put the paint on it looked good, so I went to put away the spray paint bottle. When I came back one of the pieces had parts popping up and the other didn’t. I’m not sure why this happened. It may be too cold outside, but the pieces were only outside with the clear coat for less than a minute and less than five total.
The piece on the left has the bubbling, but the piece on the right does not.
The total cost including machine costs and paying myself:
Aluminum: $7.10
Plasma Cutter: ~$55/day
Laser Cutter: ~$12.73/hour
Spray Paint: ~$10.65
AI: $239.88 / year
Time: ~$75
