Trying for the Monster
I initially want to 3D Print a gyroscope with a little monster in the center. My first print is at a very small scale. The rings are somewhat loose and fall apart after a few spins. The monster itself falls out right away without spinning at all.

I scale up my print larger than would fit in the gumball case in an attempt to identify my problems. On this larger version the gyroscope rings work, but the monster still falls out.

I attribute this to a problem with the file itself, but looking back, it also could have been the weight of the monster compared to the rings causing it to rip through the plastic.
Pivoting
The rings on my scaled up version spin very nicely (and I have a good time playing with it), so I decide to pivot to printing a normal gyroscope. I search on Thingiverse and use the most popular (basic) gyroscope design I find.
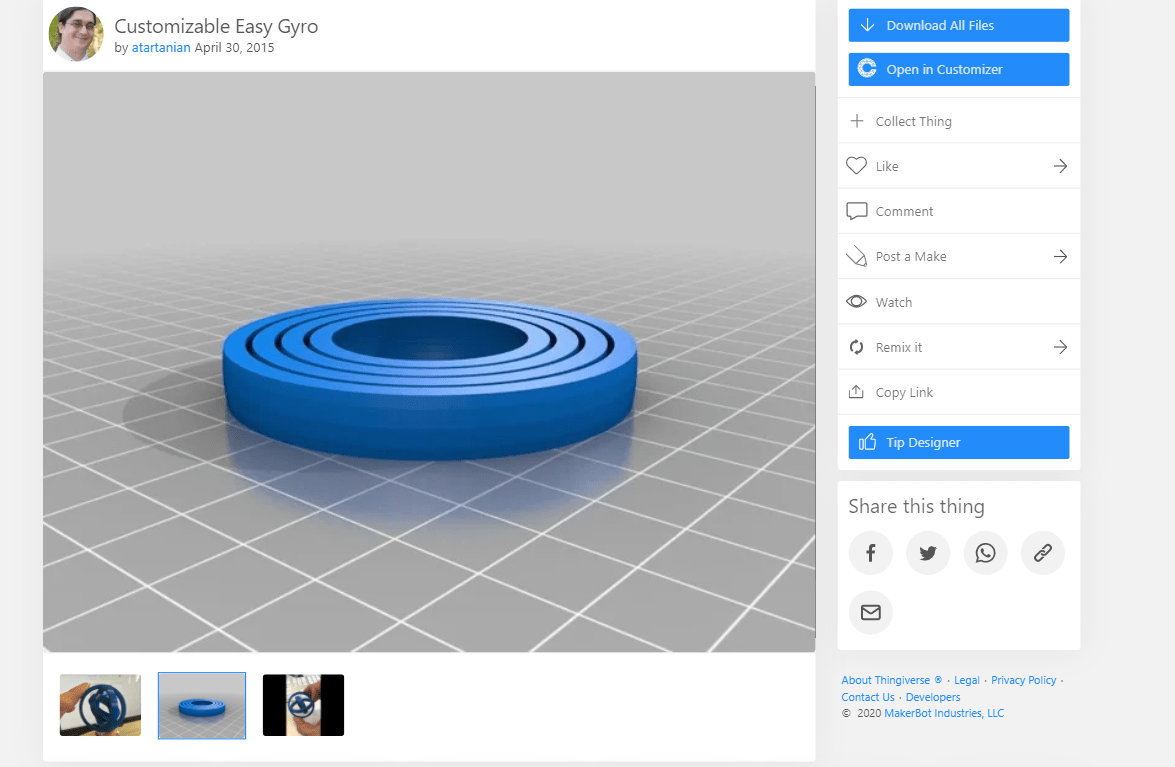
(As I check the blog while writing this up, I discover that I used the exact same design as Josie. That explains why there were so many scaled down versions of my design that I didn’t remember printing in the finished prints bin.)
Fixing Problems
One problem I encounter is the rings still being a little loose and falling apart occasionally. This is especially a problem for the outer ring. After a few prints where the rings were slightly loose, I have one print where the rings won’t spin at all, instantly falling apart.

I remember that I had trouble removing the print from the build plate, and that’s when I realize what’s causing my looseness problems. I have been being too rough removing the gyroscope from the plate, and the male parts have been ripping all the way through the rings. This allows the rings to move too far into one divot, causing the male part to come free of the other divot. The reason why the outer rings are the loosest is because I have the toughest time removing them from the plate.

This also explains why my smaller scale rings were looser: the walls had few layers of filament, making them easier to rip. I try a new print, being very careful not to push too hard while removing. The walls of the rings on this print are unpunctured, and it doesn’t fall apart at all. Success!
I also notice that my prints on the Ultimaker tend to be sturdier, so I print most of the rest of my gyroscopes on the Ultimaker (when it’s working).

(The white ones are from the Ultimaker)
Resin Print
For my first resin print I use tough resin on the Form 3 and make use of the instant print feature to set up its orientation and supports.

Unfortunately this puts supports between the rings, making the gyroscope rather difficult to spin. I remove the supports and left over resin from between the rings with the ultrasonic cutter. It spins better now, but the rings are just loose enough that the outer ring can fall off if I’m not careful with it. I must have damaged the gyroscope slightly while trying to get it to spin. I was extremely careful removing the supports, so I don’t think trying again the same way will yield a different result. I decide to try reprinting on the Form 2 with rigid resin after manually placing all of my supports so that they are not between the rings. Unfortunately, this turns two of the male parts into unsupported minima. I will have to see whether the result is better than my original resin print. It does not. I believe the unsupported minima caused the rings to fuse together at half of their connection points, causing the tips of the male parts to snap when I force them to spin.

That’s okay, my first resin print still works as long as I am gentle with it.
UPDATE
On Dr. Wettergreen’s advice, I redid my resin print with a new orientation (flat instead of angled). I also manually placed my supports again so that none were between the rings. This time I printed with High Temp resin. I am very happy I redid my resin print, because I am extremely pleased with my new result. It spins super well and feels very sturdy. I have not had it fall apart at all and it doesn’t seem like it will.


I think I’ll throw it in the oven tonight and see how it deals with the heat.
This weekend I’m going to drop off my gyroscopes at the ENGI 210 table in the OEDK so anybody can play with them if they want to.
Cost Breakdown
~15 Hours of Labor (a lot of waiting for printers to work) = $225
Cost of Printer Filament Used = $0.14 per gyroscope x 4 gyroscopes = $0.56
One Formlabs Tough Resin Cartridge (still had to use it even if it isn’t in my final five) = $175
One Formlabs High Temp Resin Cartridge = $200
Ultimaker 3 = $3,495.00 (or 10 hrs of 3D Printing time x $10/hr of machine time = $100)
Form 3 = $3,499.00 (or 8 hrs of 3D Printing Time x $15/hr of machine time = $120)
Total = $7,594.56 (or $820.56)

