Design
The SVG files that I combined to form my noun were made by Vectorstall (Cupcake Icon – Free PNG & SVG 6741452 – Noun Project (thenounproject.com)) and Monika (bee Icon – Free PNG & SVG 1248042 – Noun Project (thenounproject.com)). I downloaded the two icons in SVG format, then combined them in Illustrator. The resulting SVG file was imported into Carbide Create to create tool path for CNC machining.
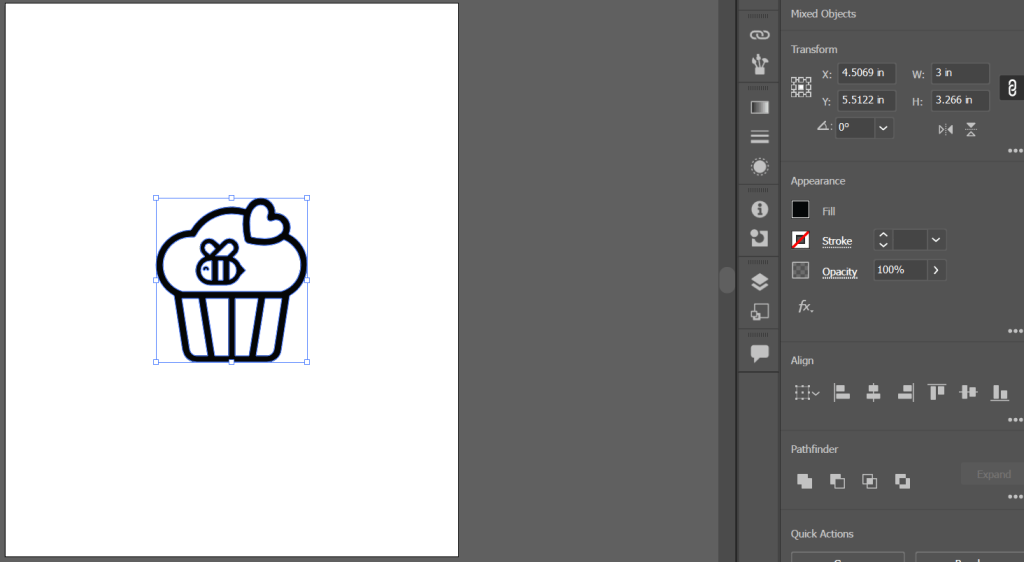
Combined pattern in Illustrator. Size: 3*3.266 inches
In Carbide Create, I set the outline of the cupcake to have a contour cut offset to the outside, this cut depth was set to stock bottom so it would penetrate the wood stock. All the internal features were set to pocket cut that are 0.07 inches deep. I set the inner line of the top part of the cake to have a counter cut that’s 0.14 inches deep, twice as much as the surrounding pockets. Some of the internal features of the bee was removed as I looked at the pocket cut path and determined they wouldn’t give me the right amount of details I wanted and the product would look better without them.
To ensure the best alignment of all features, especially the pocket cut, I make sure that the tool path for the pocket cuts were done before all the contour cuts.
Tool path created using Carbide Create
CNC
Once I save the tool path, I import the c2d file into Carbide Motion linked to the NOMAD3 CNC machine. The machine was calibrated and started the job. I used the same file for both pieces of wood stock as I measured all dimensions and determined the thickness was only different by 0.001 inches between them.
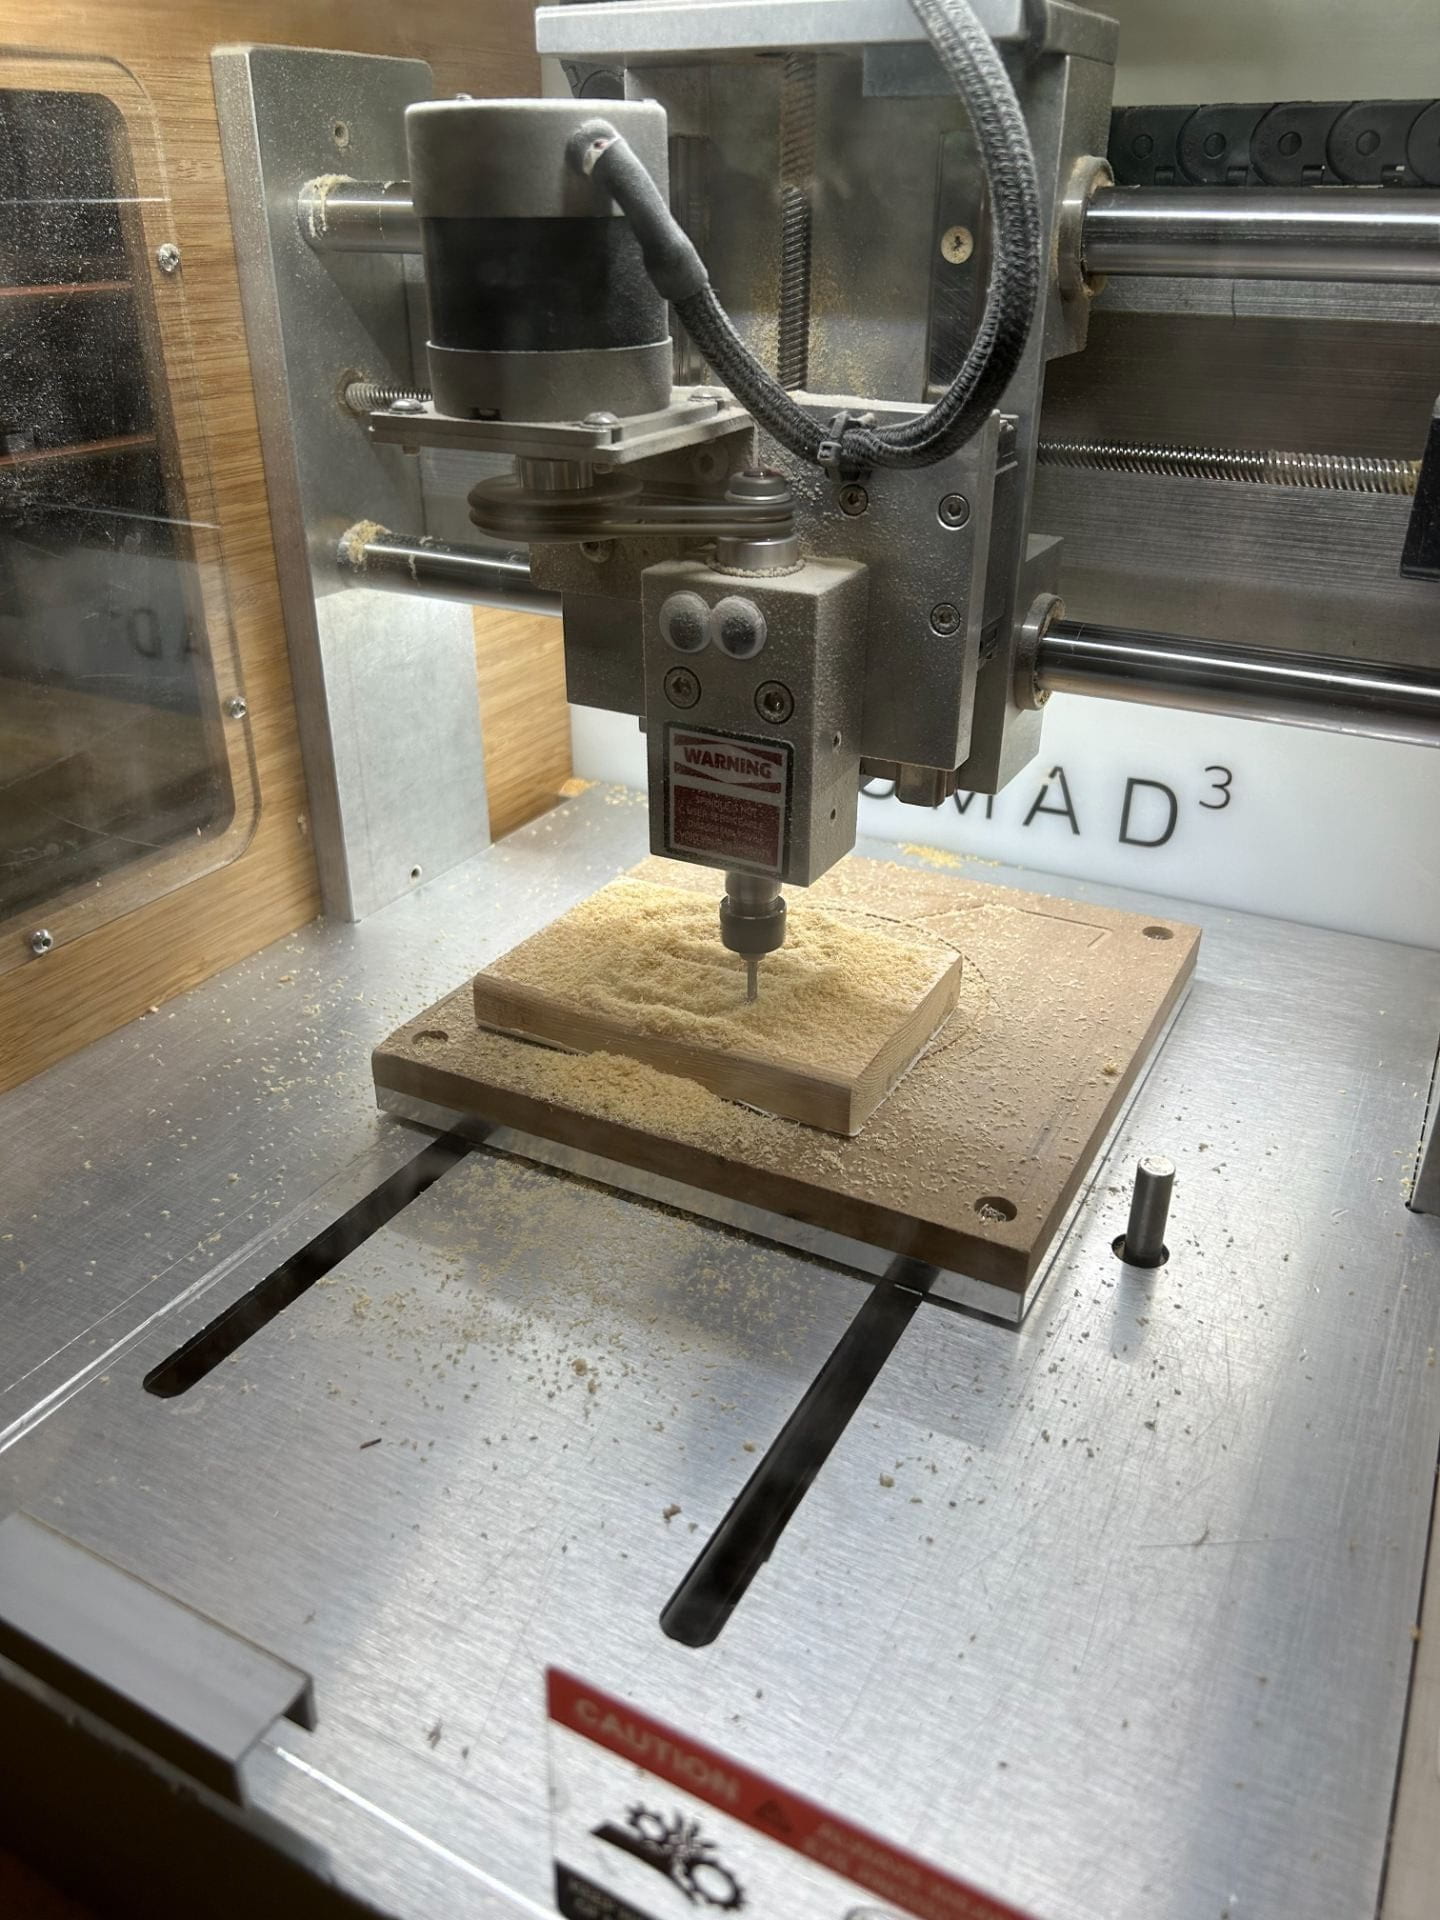
CNC machine during operation
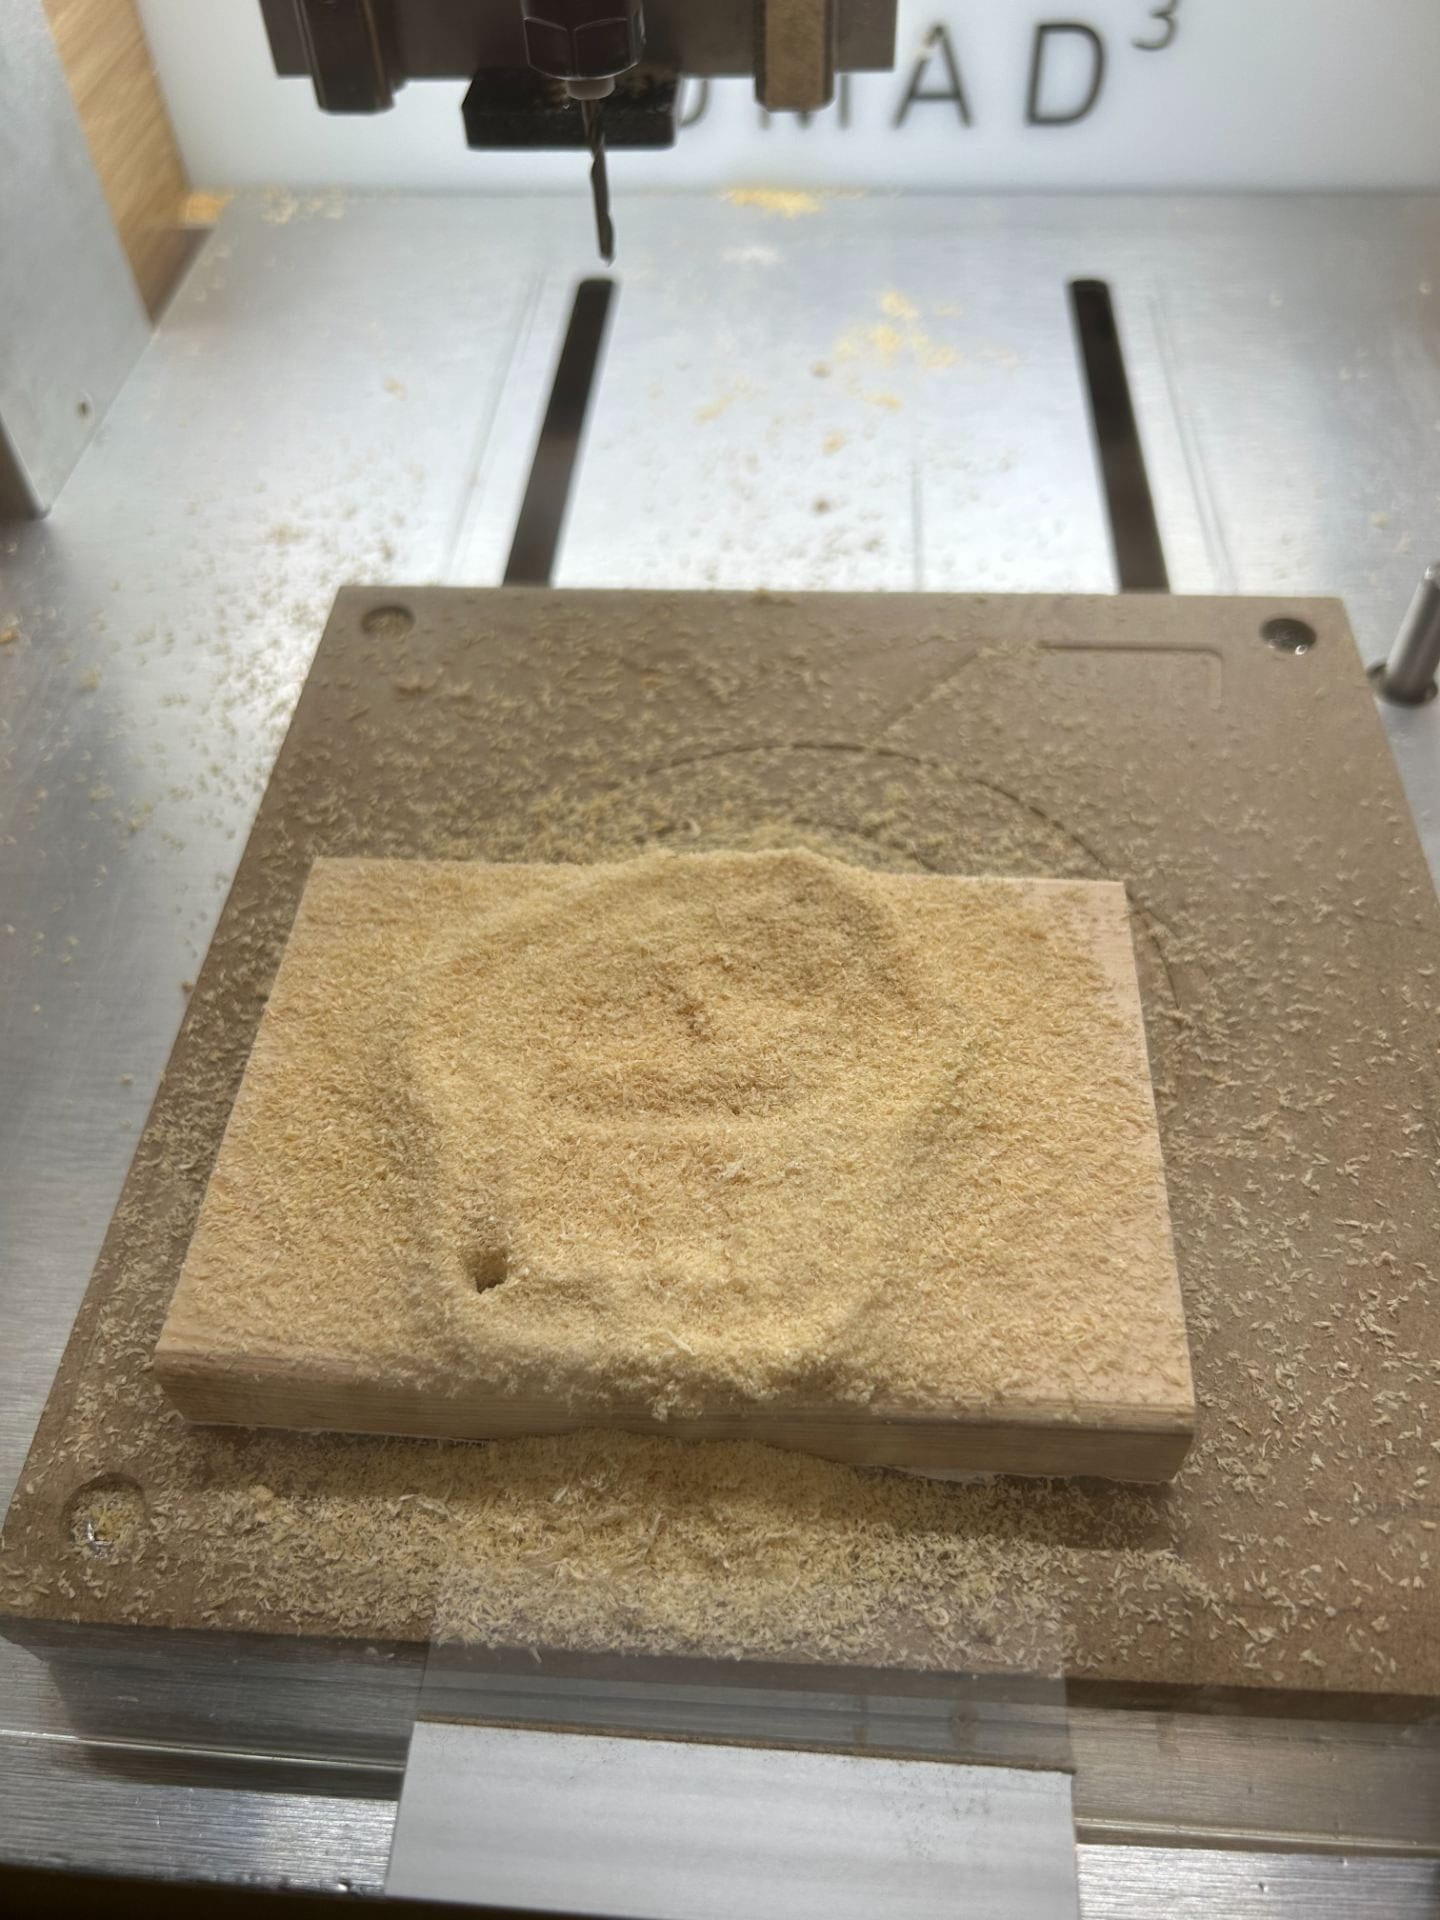
Finished product immediately after machine stopped
The cut went without any incidents and the tape hold strong. The only imperfection was that the first piece didn’t cut all the way through. This was a little surprising to me as I based my tool path file on the measurements of the first piece, and the second piece was slightly thicker (by 0.001 inches) when I did the measurement. I could be that my measurement was a little inaccurate or there as a slight offset occurred during machine calibration.
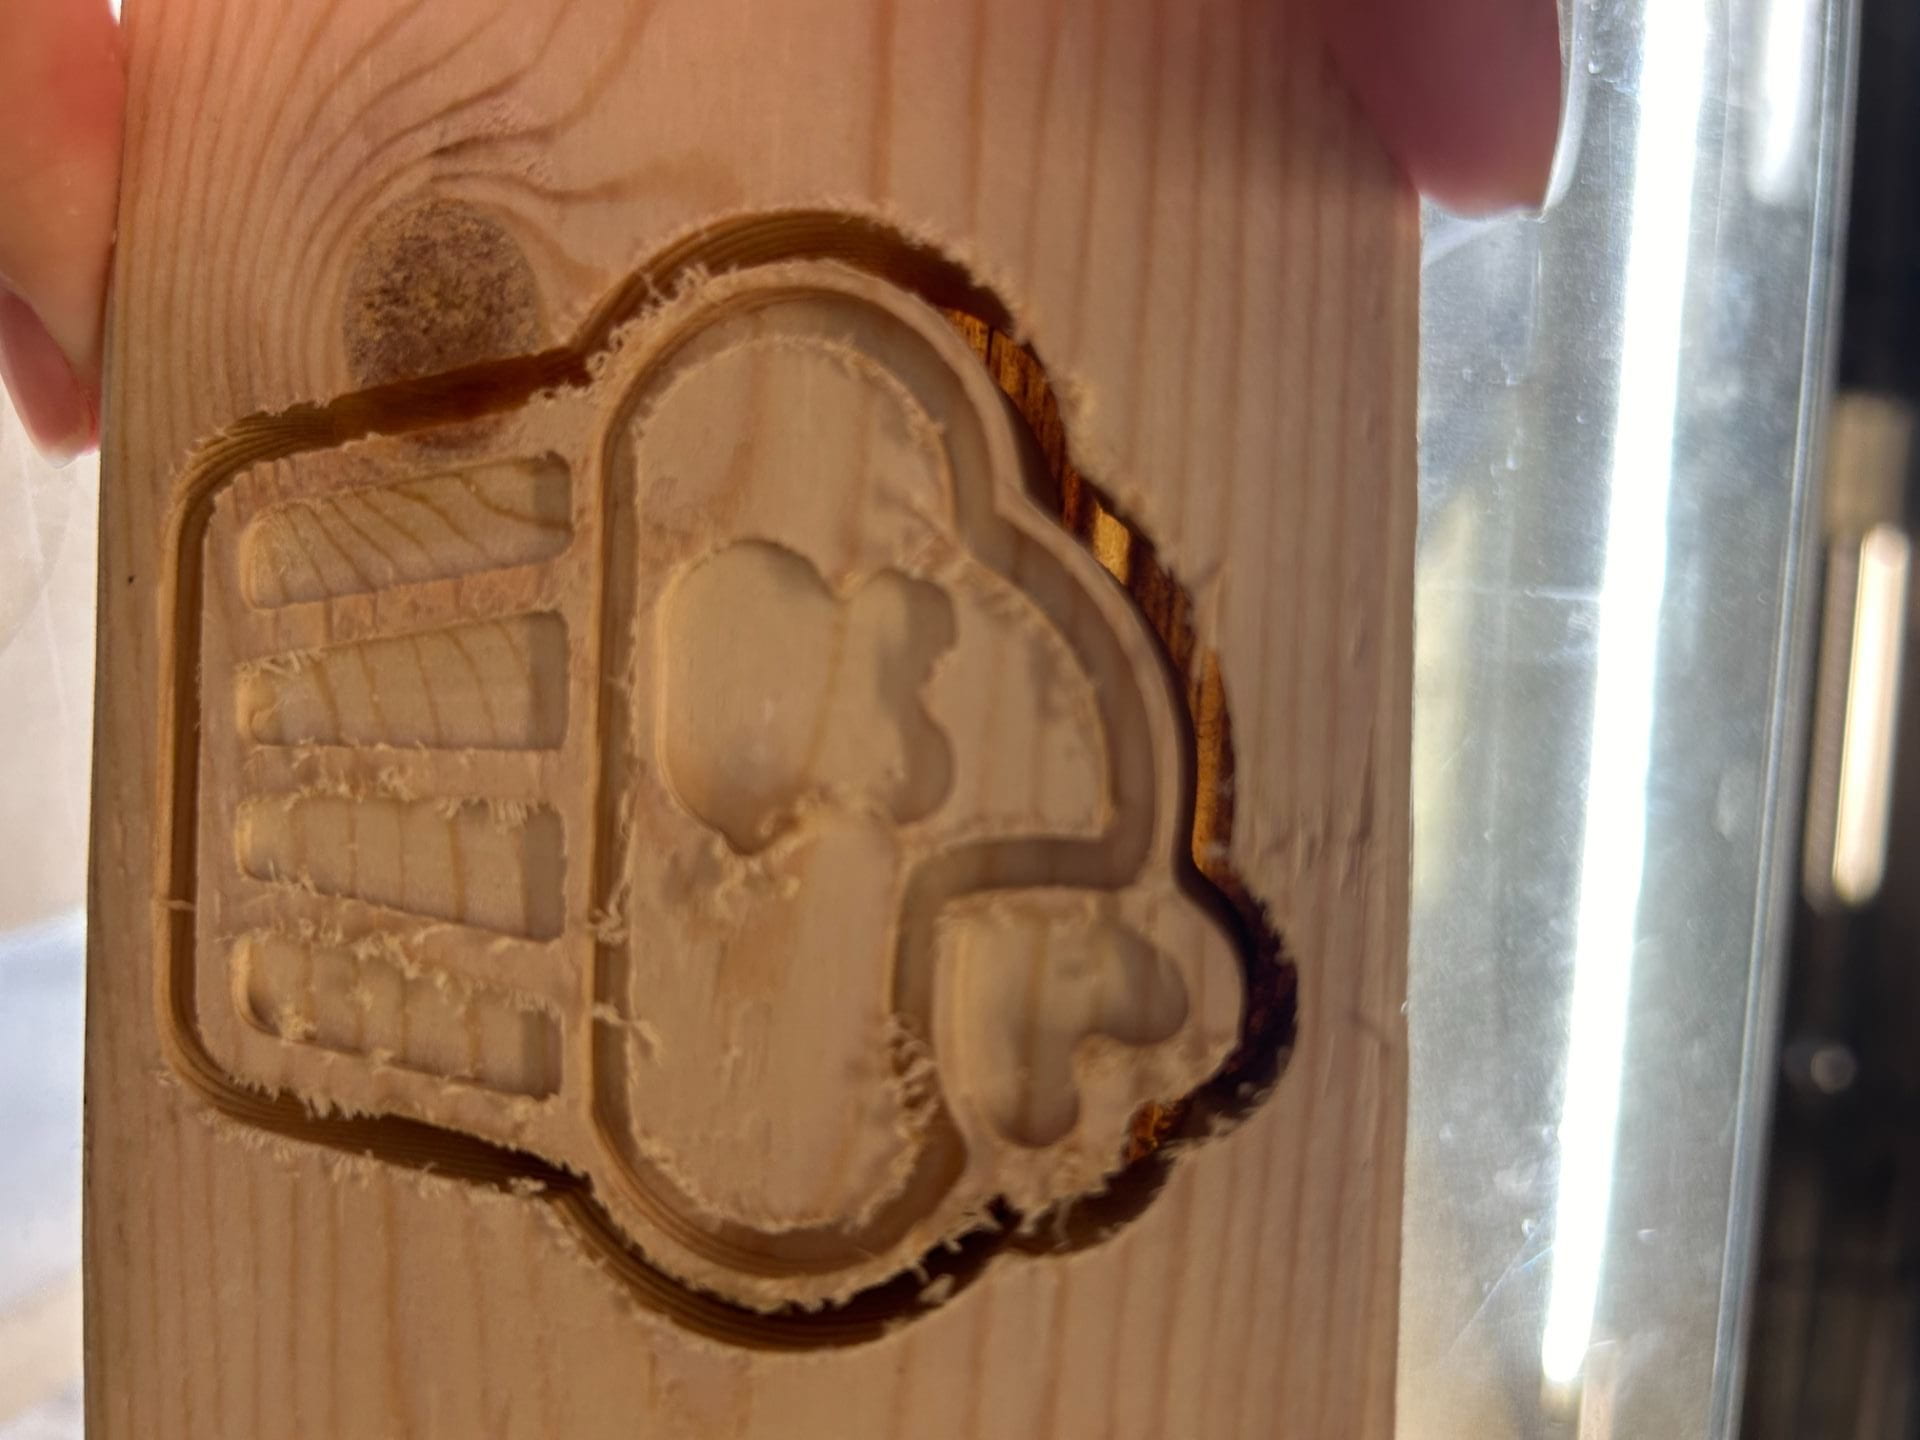
A thin layer of wood still connects the object to the stock piece
I ended up cutting the piece free using a utility knife. The edge became a little jagged so I sanded it down along with all the “furry” edges on the object surface produced by the end mill bit.

Edge cut using the CNC (left) vs using an utility knife (right)
I considered using colored resin to fill the groves, but due to the limited amount of color available, I decided to just coat is with bee wax. This give a smoother finish, warmer tone, and still allows for resin filling in the future.
Finished product with a bee wax coat
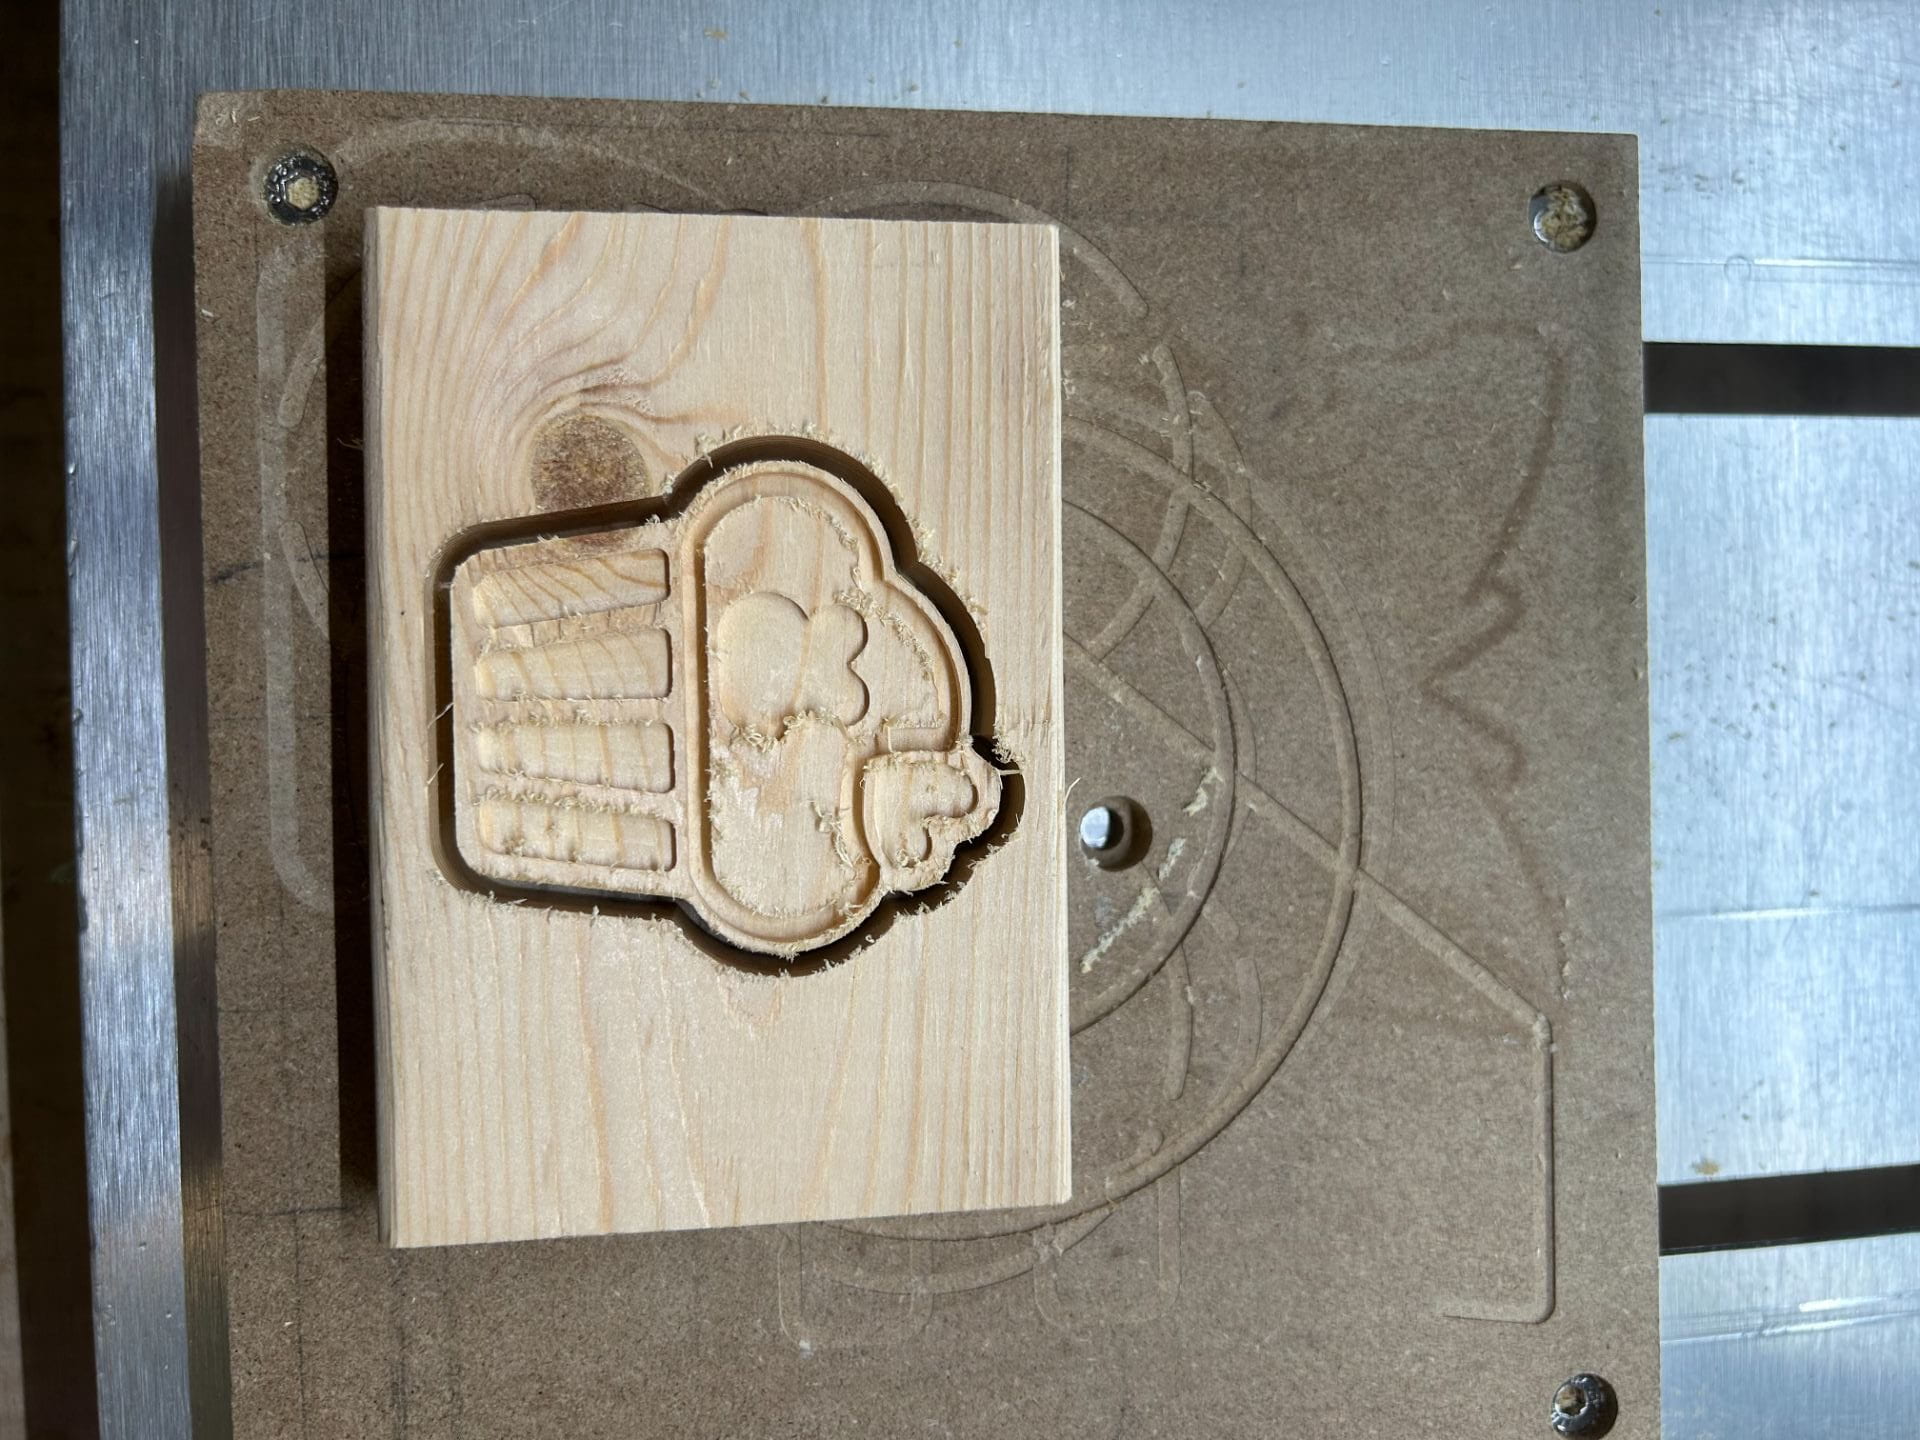
Cleaned space with the piece still on the machine bed
Cost Analysis
| Cost Type | Cost | Price | Source | Quantity | Total | |
| Materials | 1×4 Hardwood Board | 3.32/ 8ft | HomeDepot | 7/96 | 0.242083 | |
| Double Sided Tape 10m | $6.28/ unit | Walmart | 1/30 | 0.209333 | ||
| 3M SandBlaster Pro Very Fine Sheet Sandpaper 9-in W x 11-in L | $1.396/ sheet | Lowes | 1 | 1.396 | ||
| Howard Feed-N-Wax Wood Polish and Conditioner, 16-Ounce | $9.2/ bottle | Amazon | 1/10 | 0.92 | ||
| Labor | CNC Machine Technician | $22 /hour | ZipRecruiter | 0.75 hr | 16.5 | |
| Overhead | NOMAD3 Operation Cost | $25/hr | 3Q Machining | 30 min | 12.5 | |
| Quality Control | $37 /hr | ZipRecruiter | 0.5 hr | 18.5 | ||
| Design | Technical Illustrator | $28/hr | ZipRecruiter | 15 min | 7 | |
|
|
||||||
| Sum | 57.26742 |
