Hi everyone!
This week, I learned how to cut metal with the Waterjet Cutter and post-process metallic materials with sandblasting and powder coating. The project was fun, but I found powder coating to be tedious.
Creating the File
To make a diamond, I used the template provided in Canvas and put it into Adobe Illustrator. To add my lightning bolt, I found a .jpg reference image and used a converter to make it an .svg file. After I finished my design, I was ready to cut using the ProtoMax Waterjet Cutter. For my design, I made an Electrium Z from Pokemon. It’s basically a diamond shaped stone that powers up your Pokemon.

My Adobe Illustrator diamond.
Using the Waterjet Cutter
Once I imported my file into the ProtoMax software, I carefully followed the instructions provided by the OEDK. I made sure to set my origin correctly, clamp my piece of aluminum, fill up the Waterjet cutter with the appropriate amount of water, and check if there’s enough garnet in the canister. The thickness of the sheet was around 0.125”. After all maintenance checks were finished, I used the pathing feature in the software to generate the water cut path and set a start point within the diamond. When I completed a simulated cut in the software, I went ahead and cut my piece!

My piece in the ProtoMax software.

The aluminum after I finished cutting my piece.
Post-Processing
The aluminum cut looked a little rough, so I cleaned it up using the sandblaster. This helped create a sleek finish on the aluminum diamond. I also filed the edges and corners of the diamond. The corners of the diamond were very sharp after it was cut, so I filed them to make them rounder and safer to touch.

Sandblasting.

Preparing to file.
After the surface of my diamonds were cleaned, it was time to color them! I brought my diamonds outside and took out the sawhorses, air compressor, and powder coating kit. I put an oven tray over the sawhorses, placed an alligator clip onto the tray, and loaded the powder coating gun with yellow powder. The diamonds were held up with paper clips. Once everything was setup, I began spraying the diamonds with current flowing into the tray, ensuring that the gun was far away from metal to prevent sparks and grounding myself with the button on the kit. The coated diamonds were then put into an oven at 400 degrees Fahrenheit for 20 minutes.

My powder coating setup.
The initial powder coat was not as vibrant as I would have liked. Some powder got on the tray and on the alligator clips as I was spraying it, so I think that reduced the amount of current flowing into the diamond. Additionally, there was no jar of powder coat that was yellow. I had to fill a jar that had leftover red powder with yellow powder, so there are small specks of red on my diamond. I also think that the rain and temperature influenced how the powder adhered to the diamond.

First coat of powder.
I completed another powder coat to get a more vibrant yellow color and attempted to fix my mistakes by not getting powder onto the clip and tray. This helped a lot, and I got a better coat!

Heating up my second coat with fellow classmates!

A cleaner second coat.
As a final touch, I added some clear coat on the diamonds to get a nice glossy finish! When I sprayed the diamonds with clear coat, some residue on the cardboard I used got onto the diamonds :(.

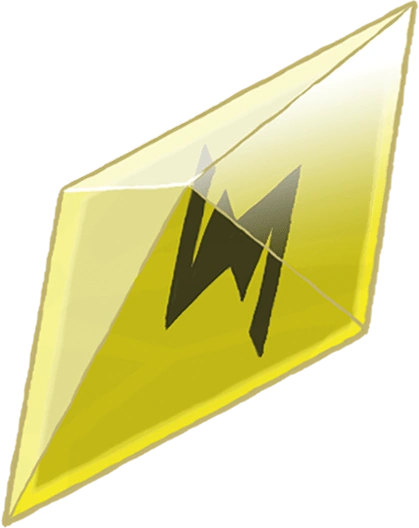
Final product!
Cost Estimate
- Aluminum Sheet – 12” x 12” x 1/8”: $16.99
- Powder Coat Kit: $149.99
- Powder Coat Oven: $139.99
- Powder Coat Powder: $9.99
- Water Jet Operator Salary is $16.94/hr, around 4 hours of labor: $67.76
- Clear Coat: $5.98
- Total Cost: $390.7
Cleaned Workspace

