When tasked with demonstrating five different methods of achieving the shape of a 3D object with low fidelity materials, I began by brainstorming, as seen on this scratch paper:
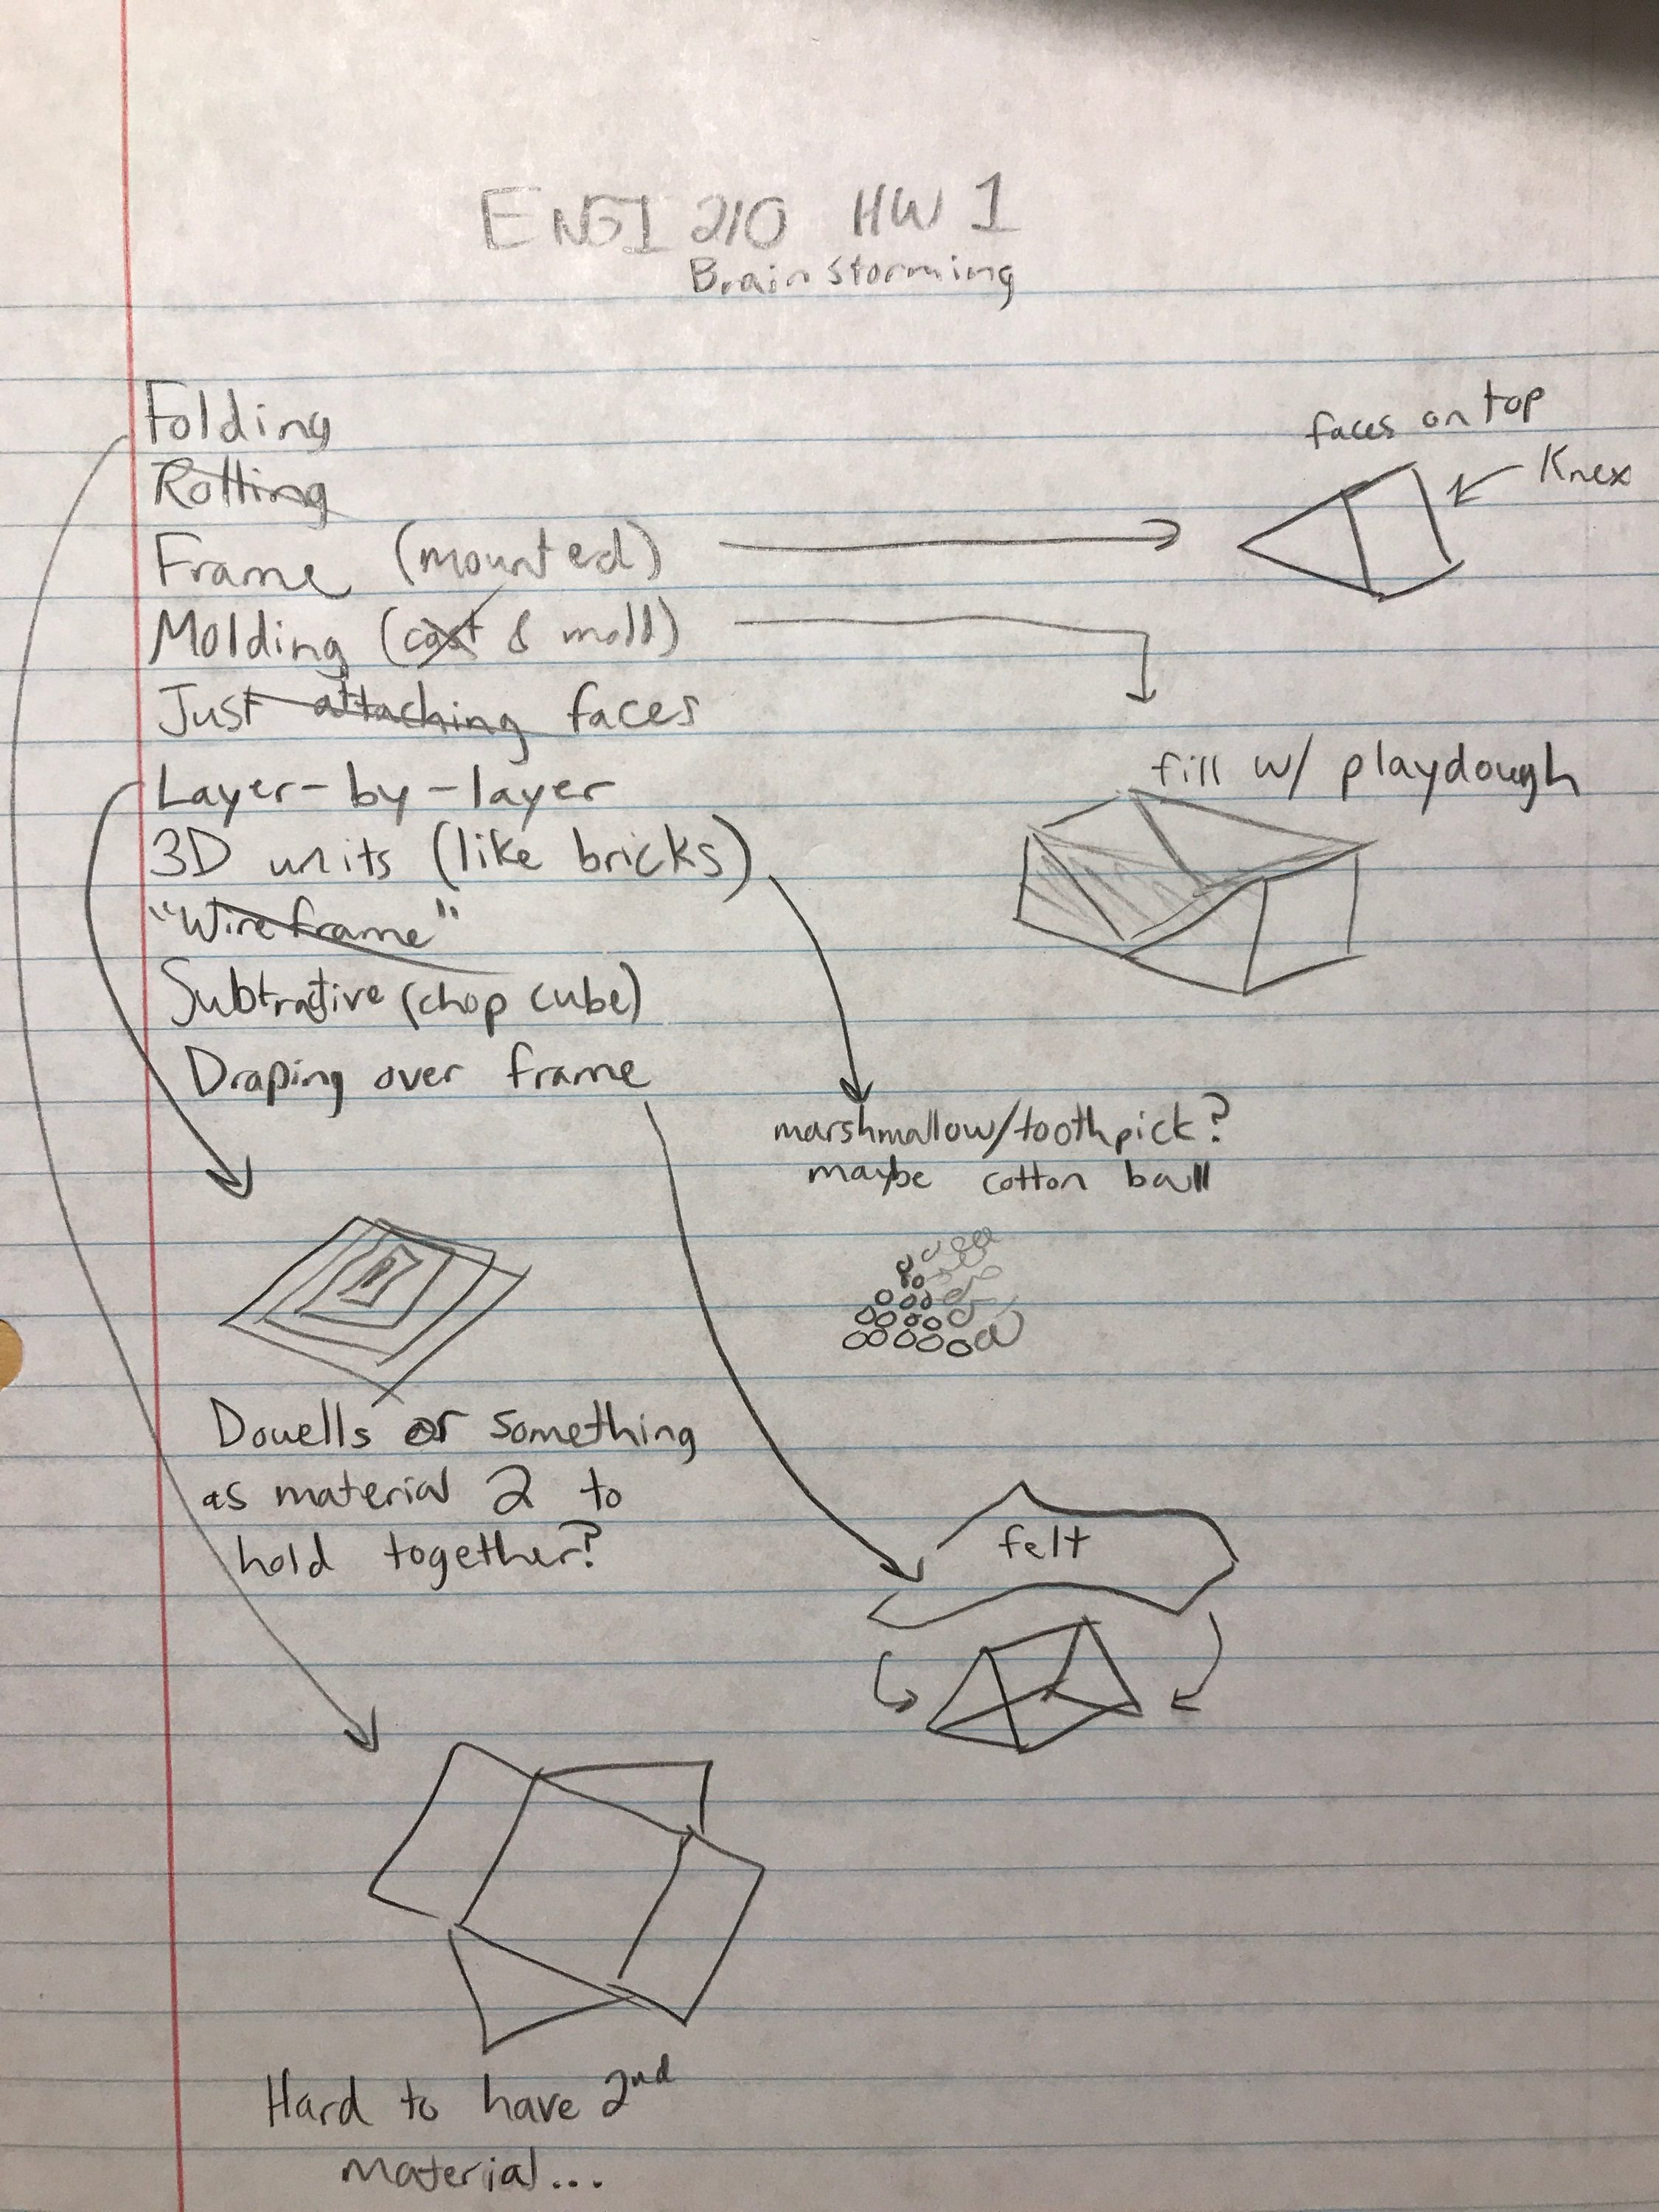
After generating many potential ideas for design solutions, I began eliminating those that I thought were too simplistic, as shown by the fact that some entries are crossed out. I then sketched the remaining ideas to gain a better sense of how they could be implemented. One of my favorite ideas was constructing a primitive mold to create a certain shape out of Play-Doh. I figured this method would be perfect for creating a slightly irregular yet simple shape like a triangular prism, and to establish something of a control variable, I decided that all of my 3D shapes would be triangular prisms. After selecting my five favorite brainstormed design solutions, I began constructing.
1. Vertically-bound Flat Layers
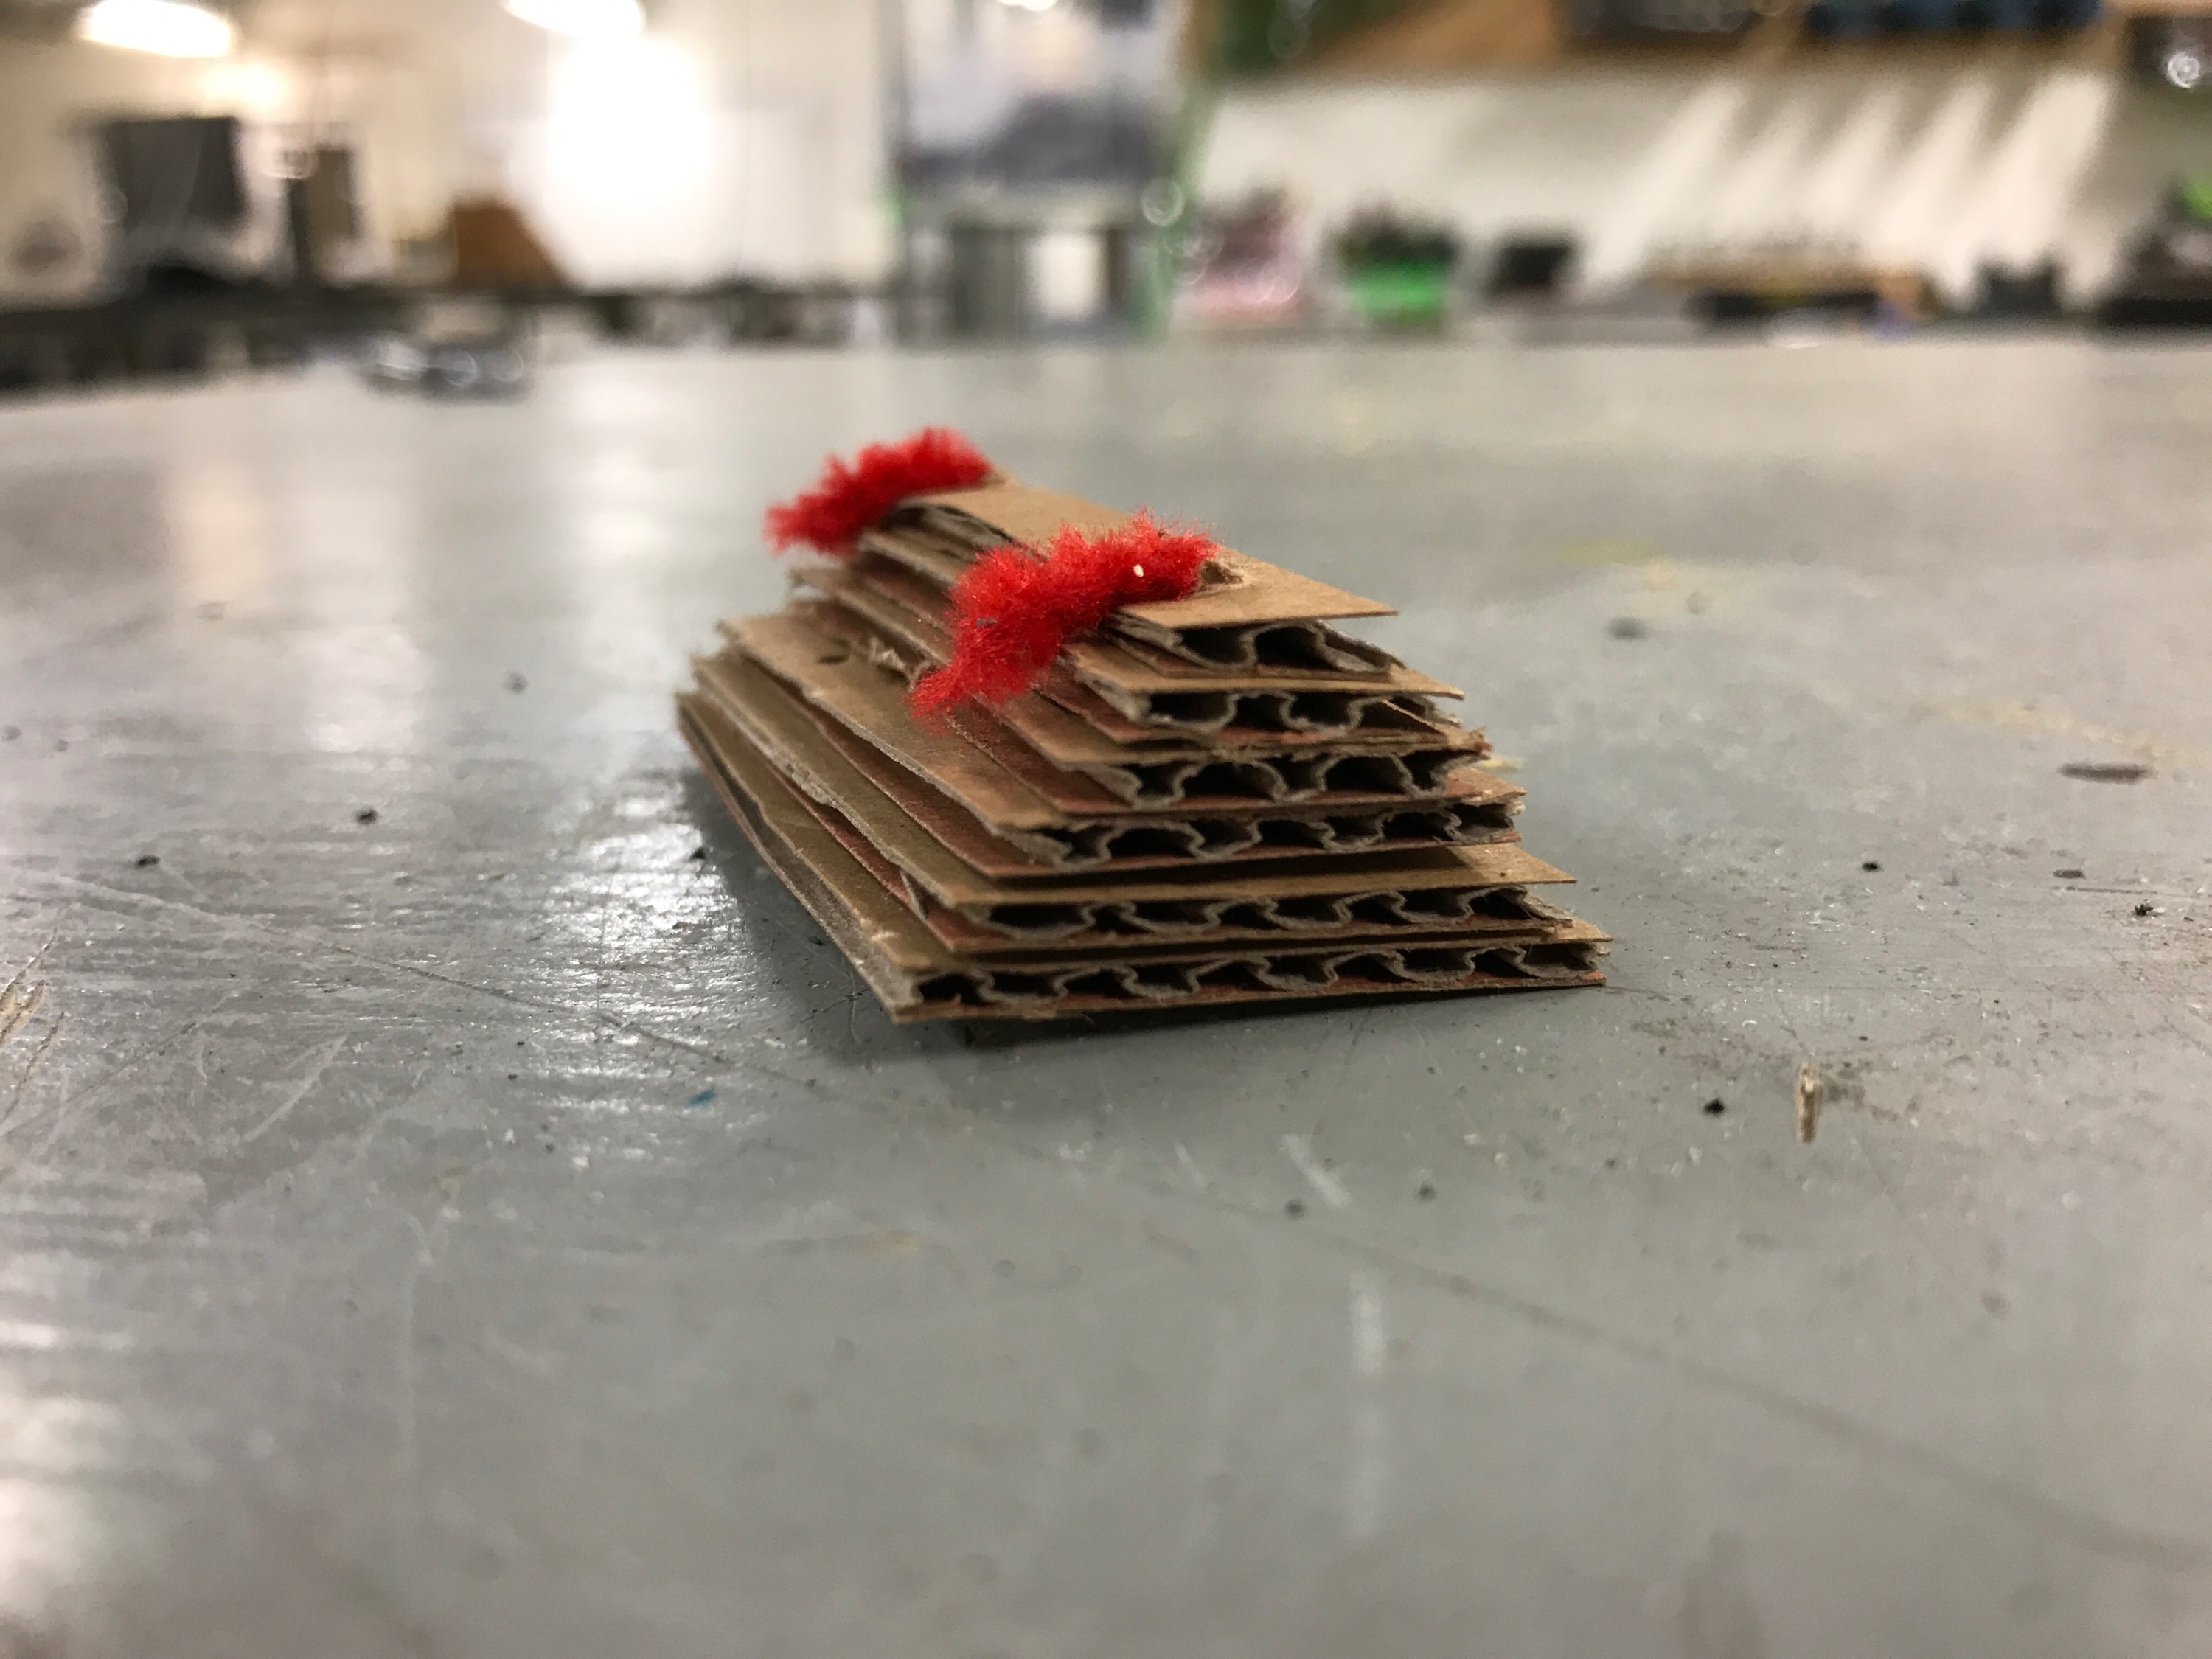
Materials: cardboard, pipe cleaners
The first method I implemented was constructing the prism from several layers of cardboard, binding them through holes in each layer using a pair of pipe cleaners. While this is not the most efficient way to construct such a simple shape, this method is incredibly versatile, as any 3D shape can be divided into a series of 2D cross sections. In fact, this is essentially the method employed by 3D printers to create objects, so it is clearly an effective means of prototyping a wide variety of shapes.
2. Repetition of Basic 3D Units
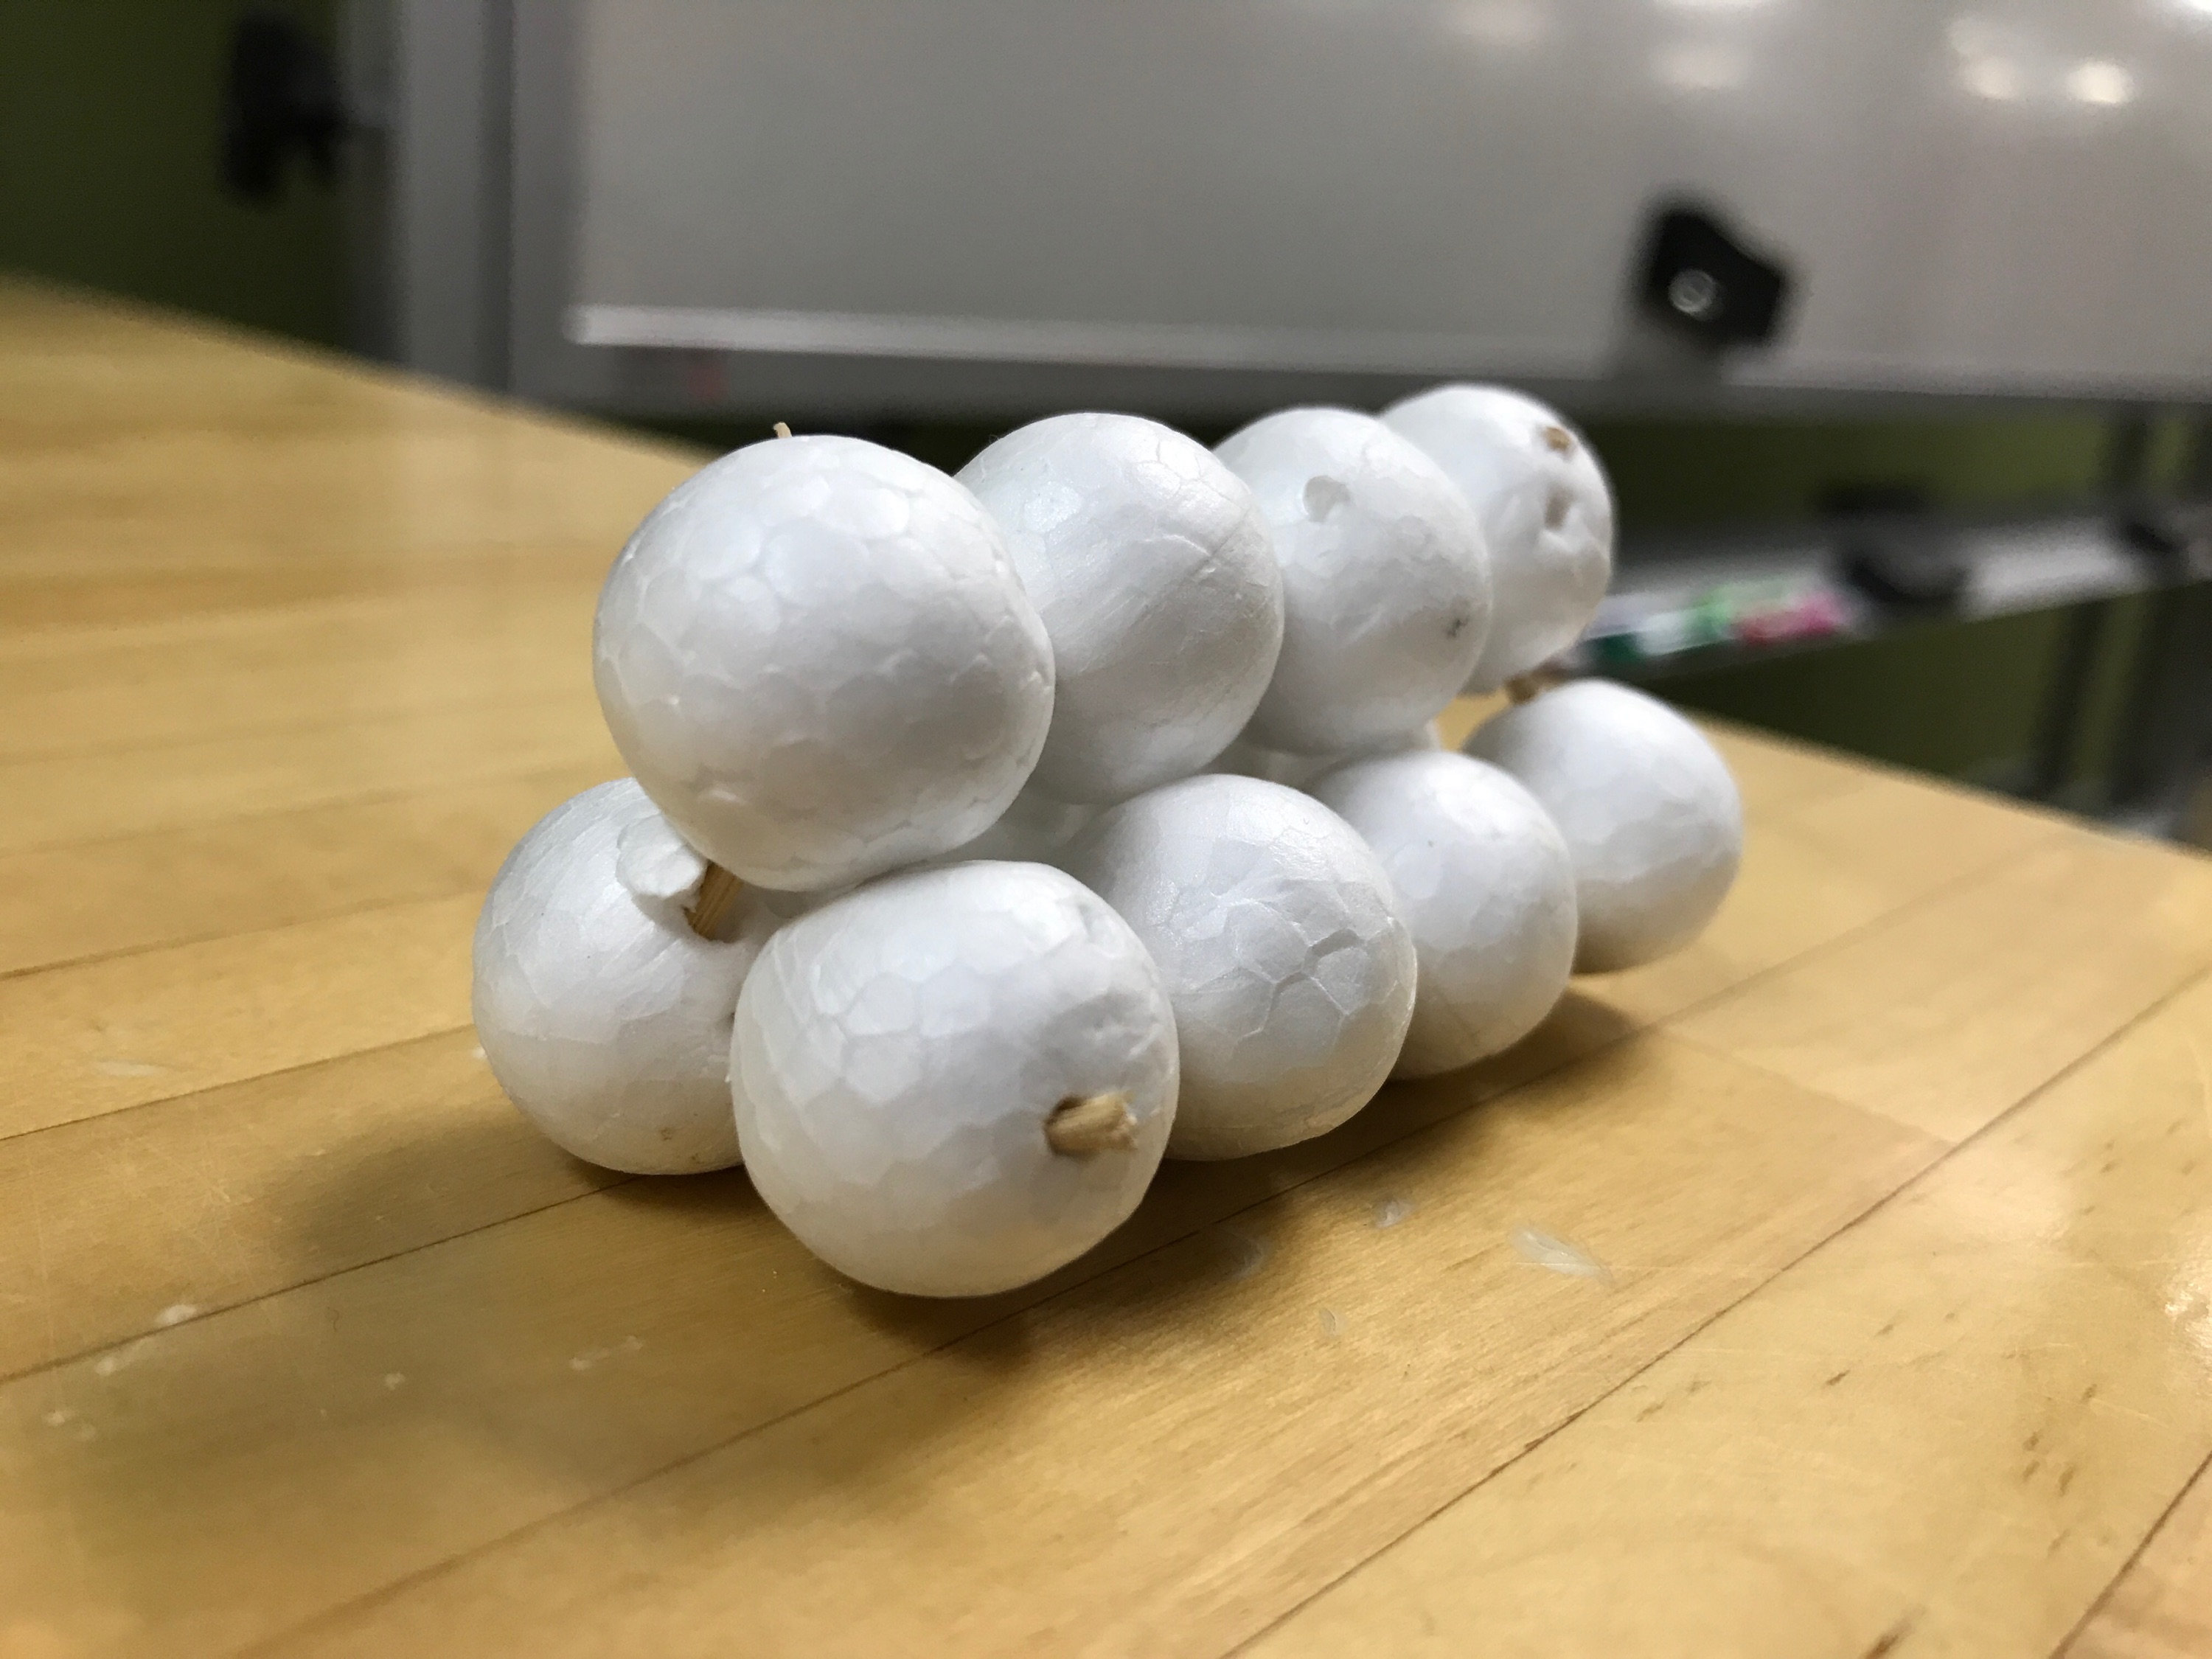
Materials: styrofoam balls, toothpicks
Next, I employed the method of creating a shape through the repetition of basic 3D units. In this case, my triangular prism was formed by connecting twelve styrofoam spheres using toothpicks. This method results in merely an approximation of the desired shape, but to its credit, every 3D shape can be approximated as a series of unit cubes, spheres, or the like. Much like pixels, smaller 3D units result in higher levels of definition.
3. Mounting Faces to a Frame
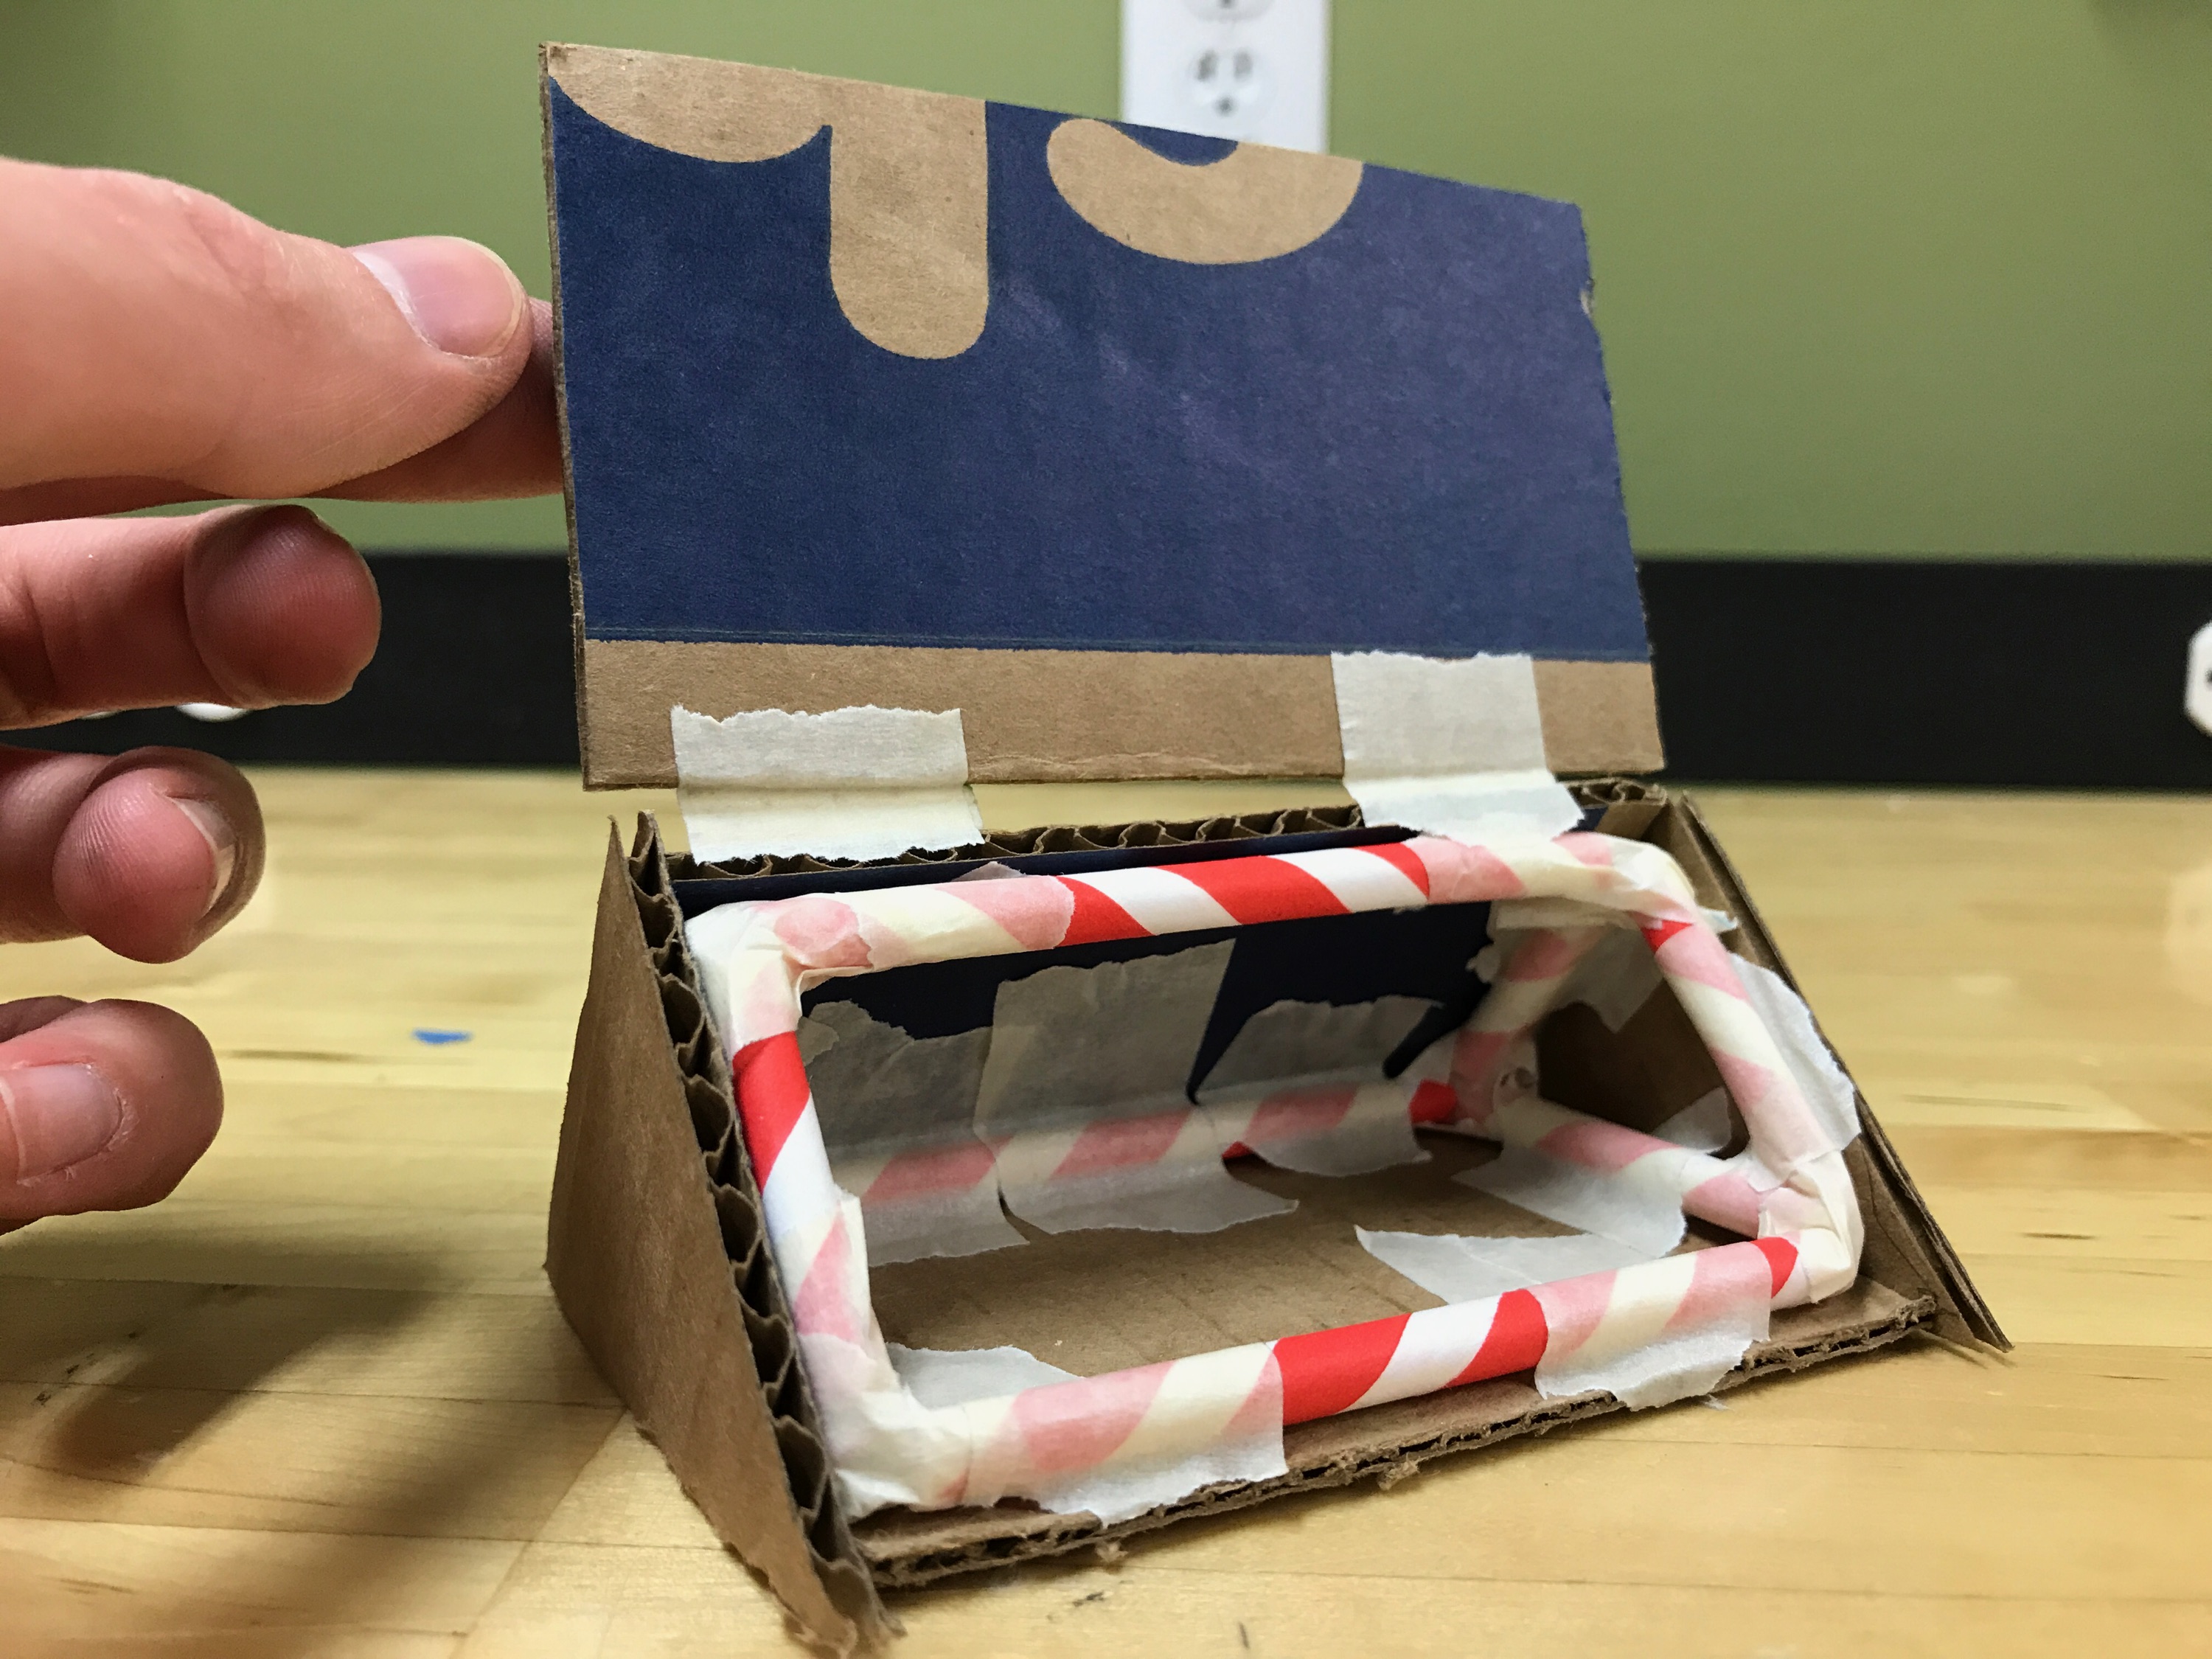
Materials: Cardboard, straws, tape
My third method for achieving the shape of a 3D object was mounting flat faces to a 3D frame. I began by independently constructing a frame out of straws. Then, the frame was repeatedly traced onto cardboard in order to create appropriately sized faces. These faces were cut out and taped to the frame, forming the full 3D shape. One face, however, was taped to another face in a hinge-like fashion so that the frame inside could be easily viewed.
One major advantage of this method over the previously listed methods is that each face of the resulting object is flat, rather than employing an approximation of flatness. In turn, however, this means that any shape with rounded components would, in this method, need to be approximated through many flat faces. Another shortcoming is that tracing and cutting each of the faces is rather time-consuming (especially for more complicated shapes), which is why the next method is perhaps more appropriate for low-fidelity prototyping.
4. Draping over a Frame
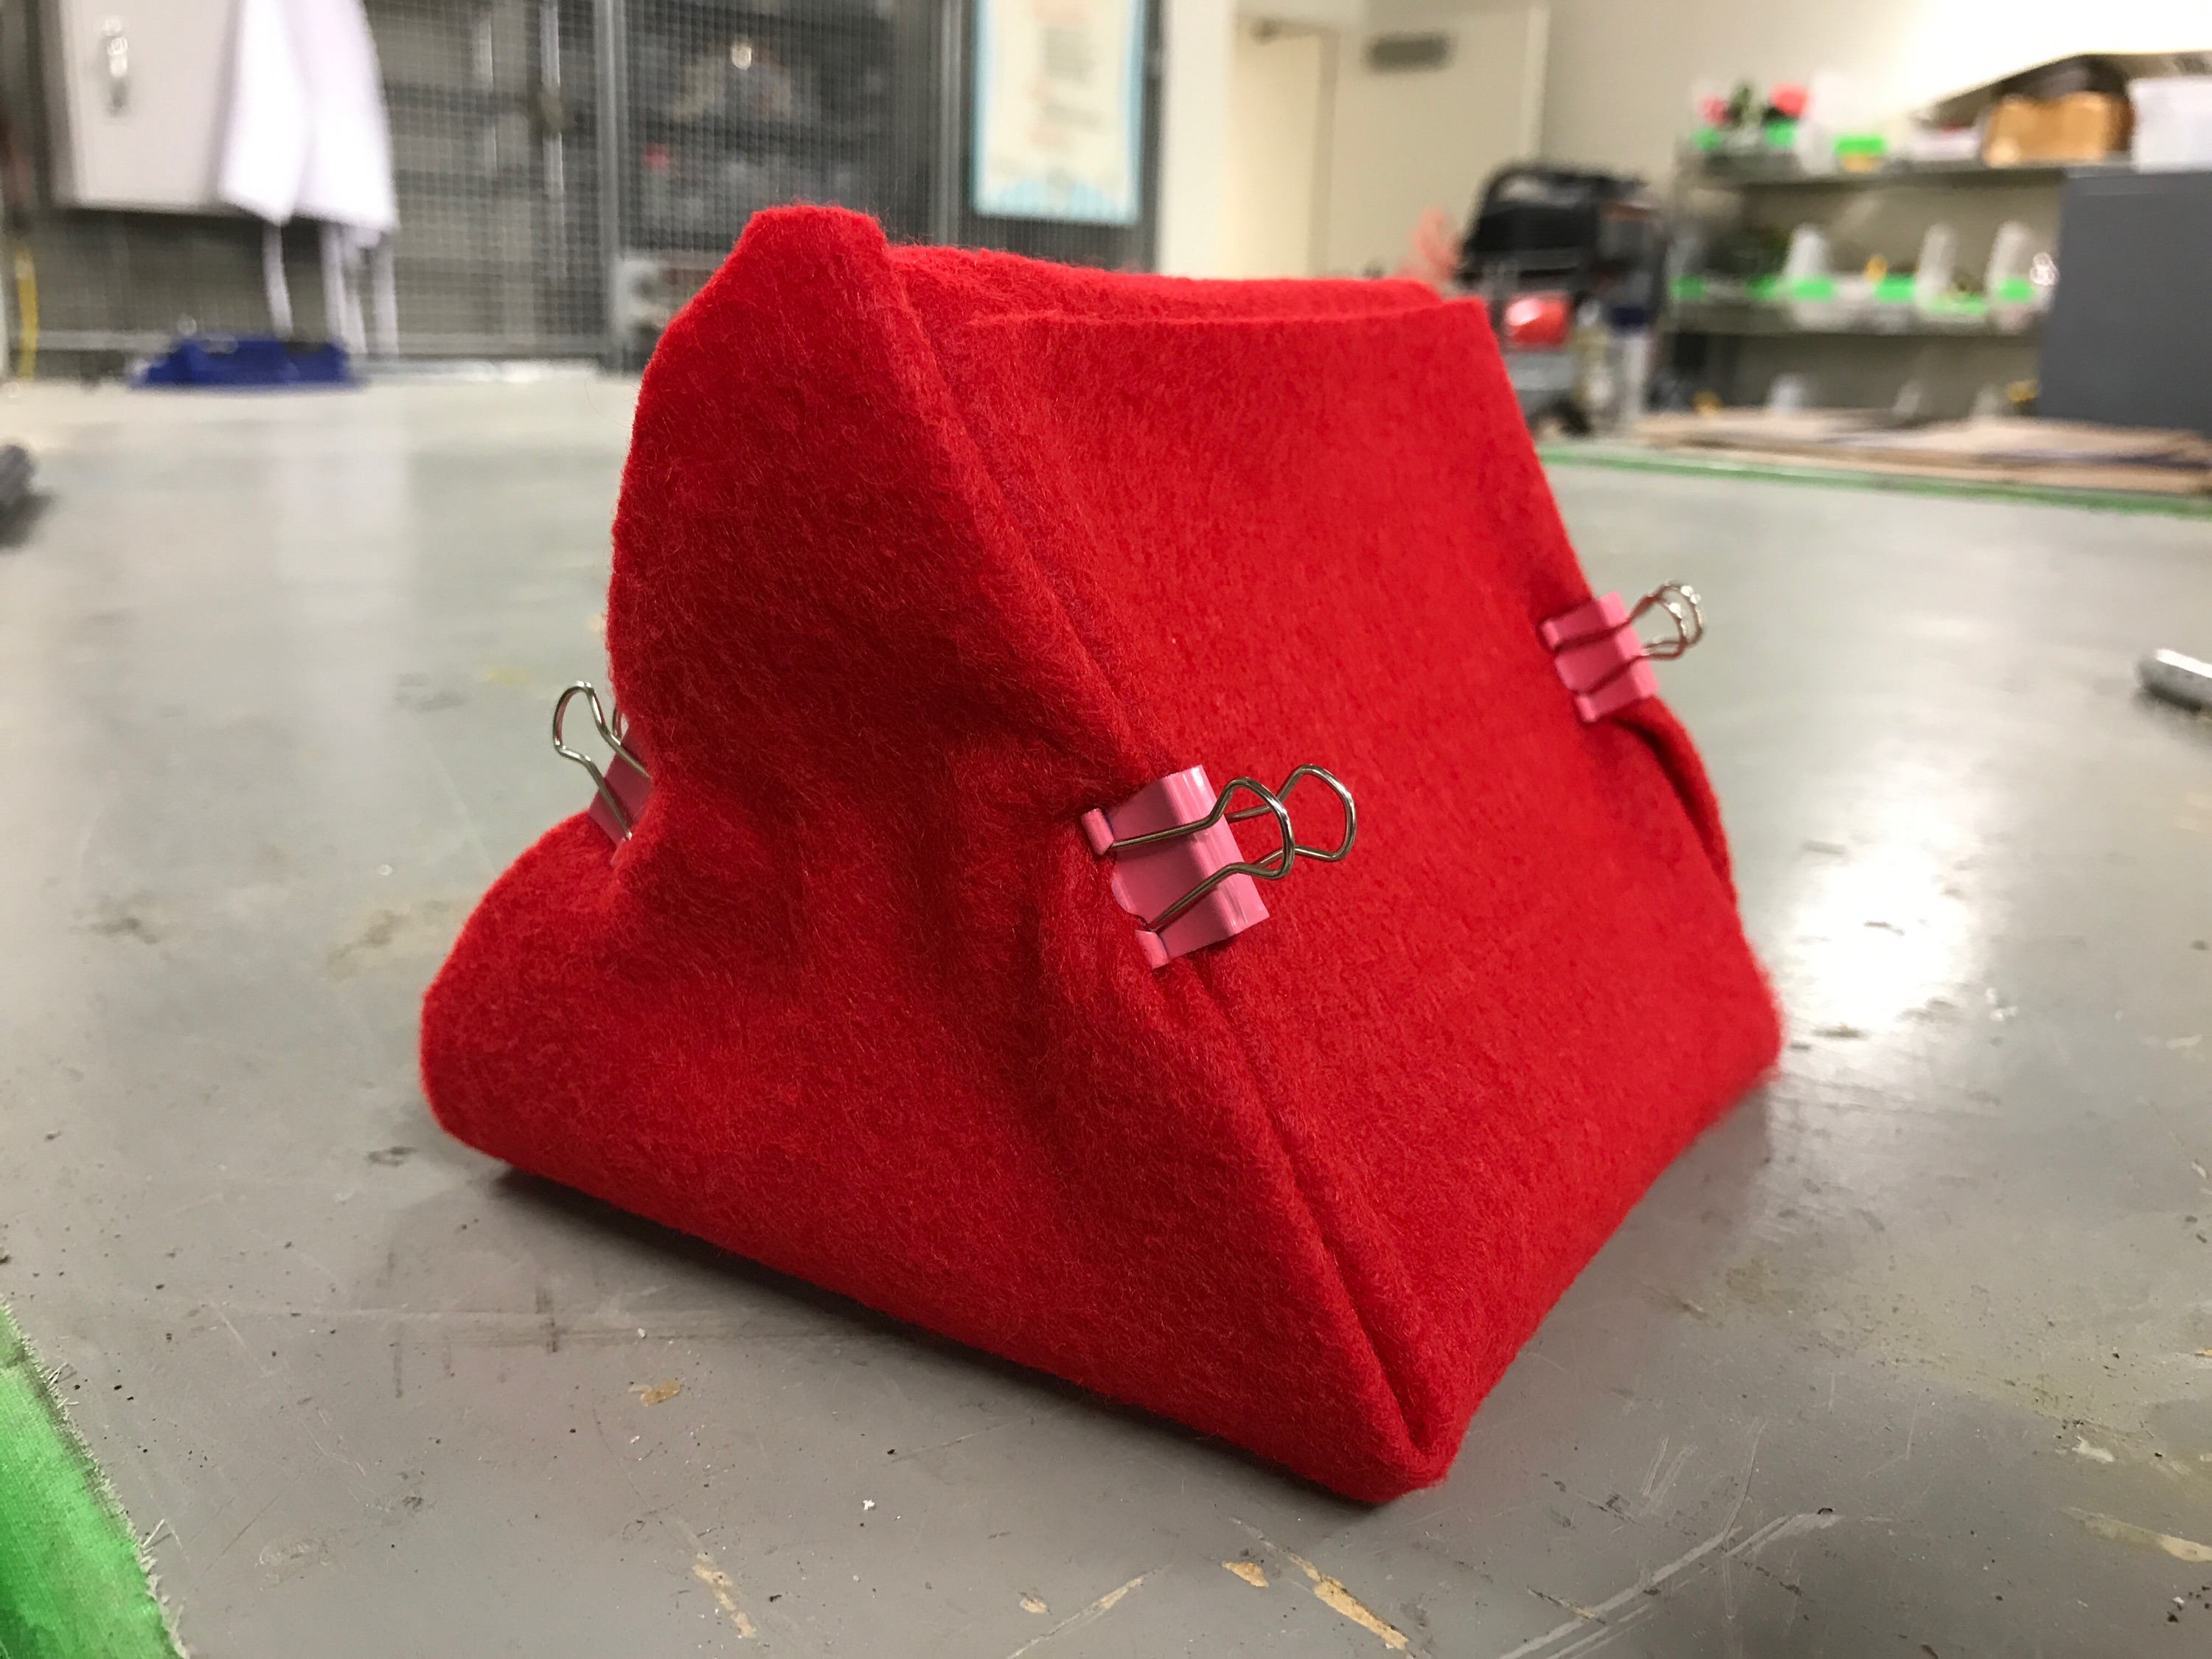
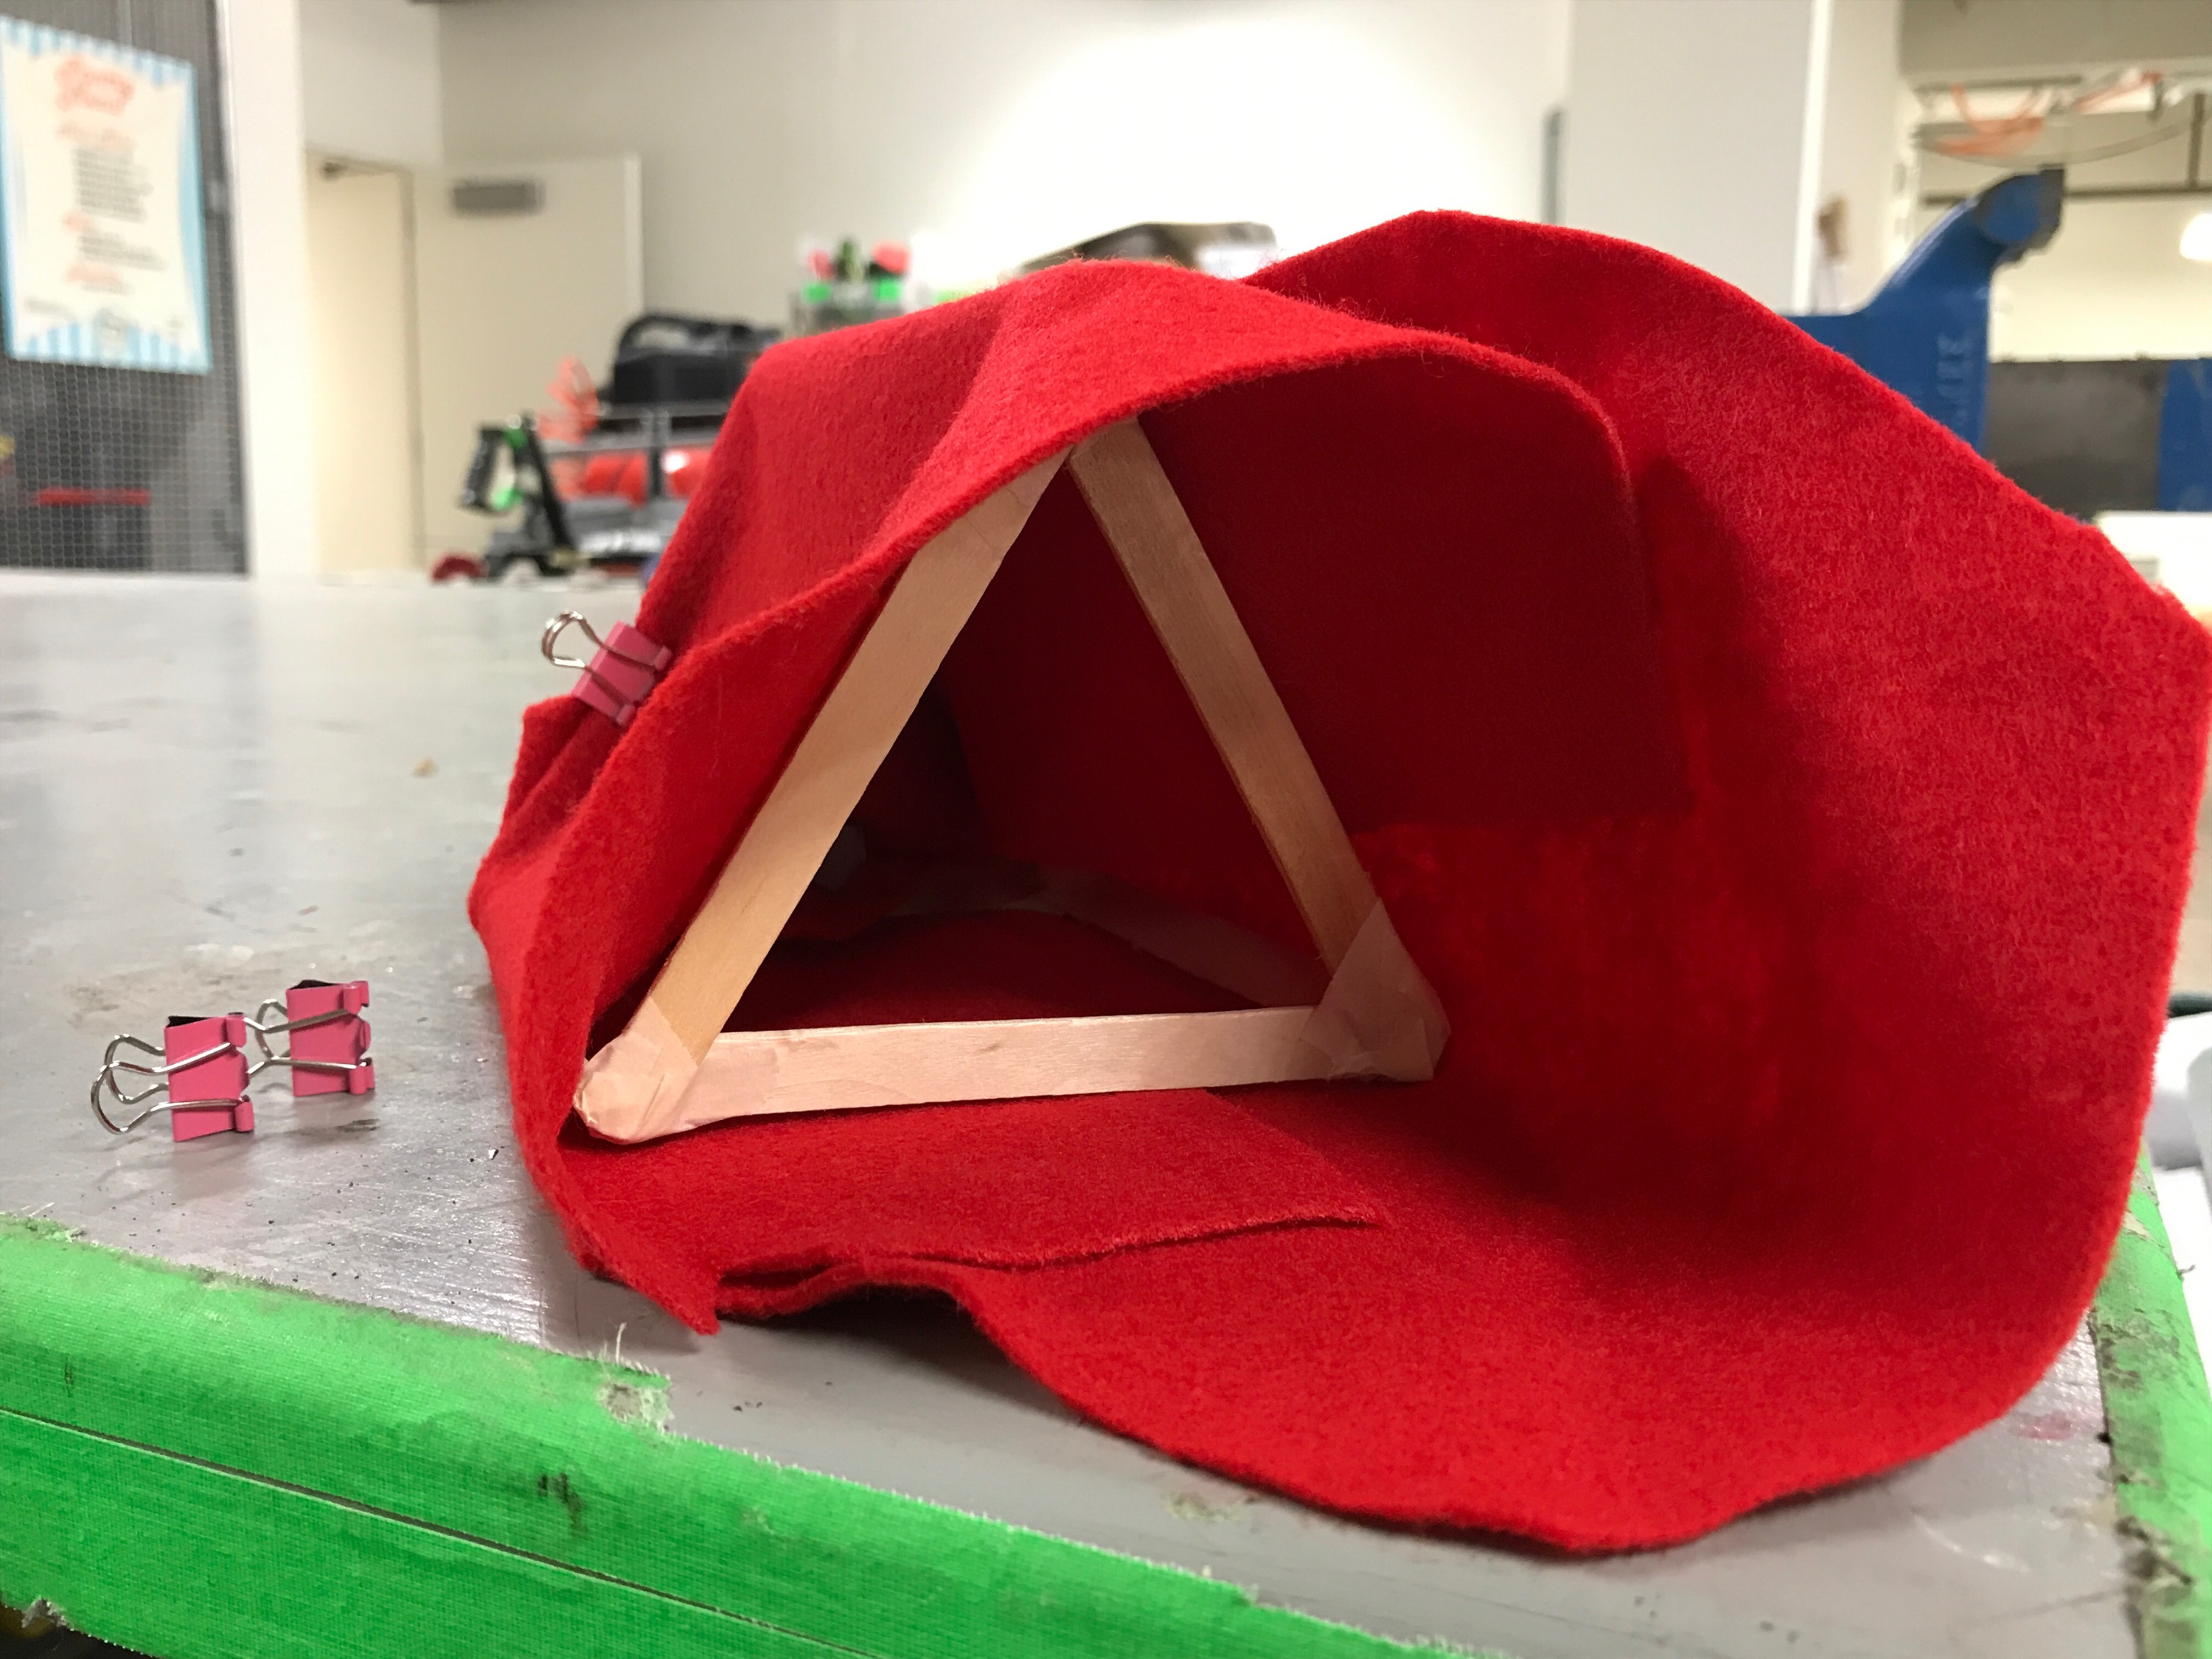
Materials: popsicle sticks, felt, binder clips, tape
For my fourth method, I created another frame–this time out of popsicle sticks–but instead of mounting individual faces to it, I simply covered the frame in felt. I then added binder clips to hold the felt in place. While many methods for achieving the shape of a 3D object require meticulously measuring out faces, this method bypasses that step by creating many faces out of a continuous piece of material. Another advantage of this method is that shapes with rounded components are somewhat more achievable. If additional materials, such as a semicircular piece of foam, are affixed to a frame, the draped felt will easily take on this rounded shape because it, unlike cardboard, is not rigid. Nevertheless, while this lack of rigidity is a blessing, it is also a curse; the prototype may require the 3D shape to be used in such a way that more rigidity is needed than draped felt can provide.
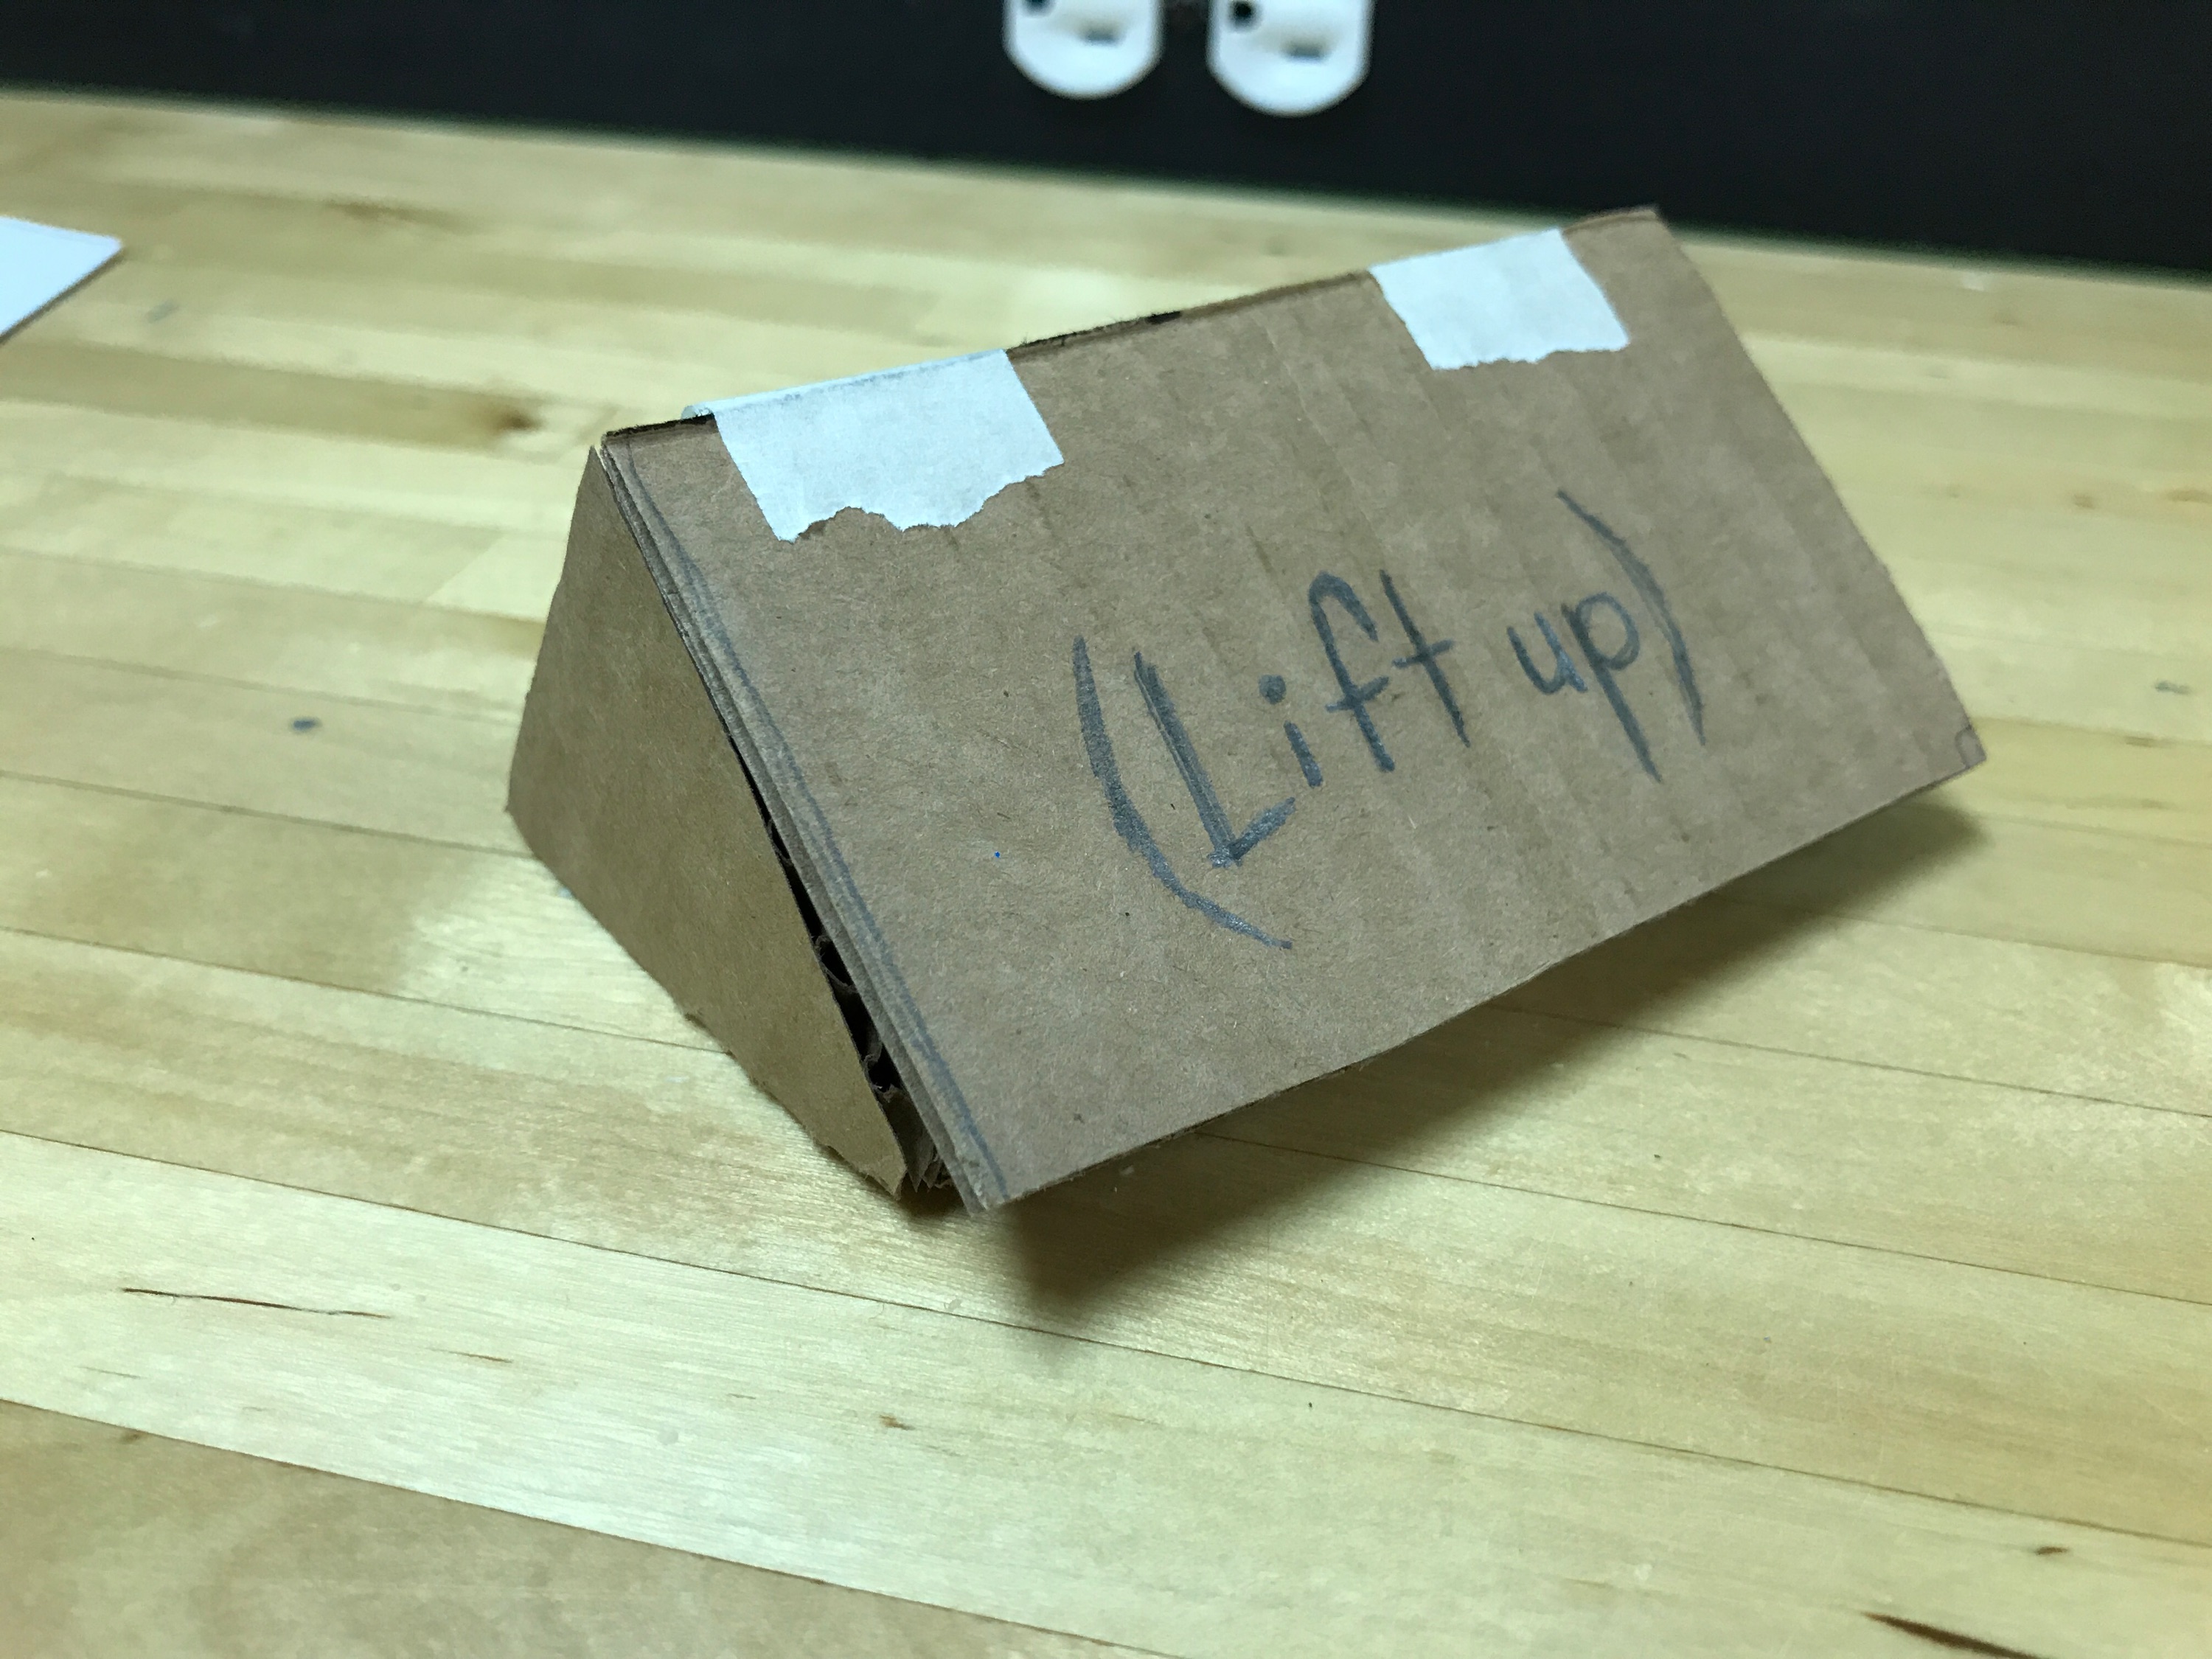
5. Creating a Mold
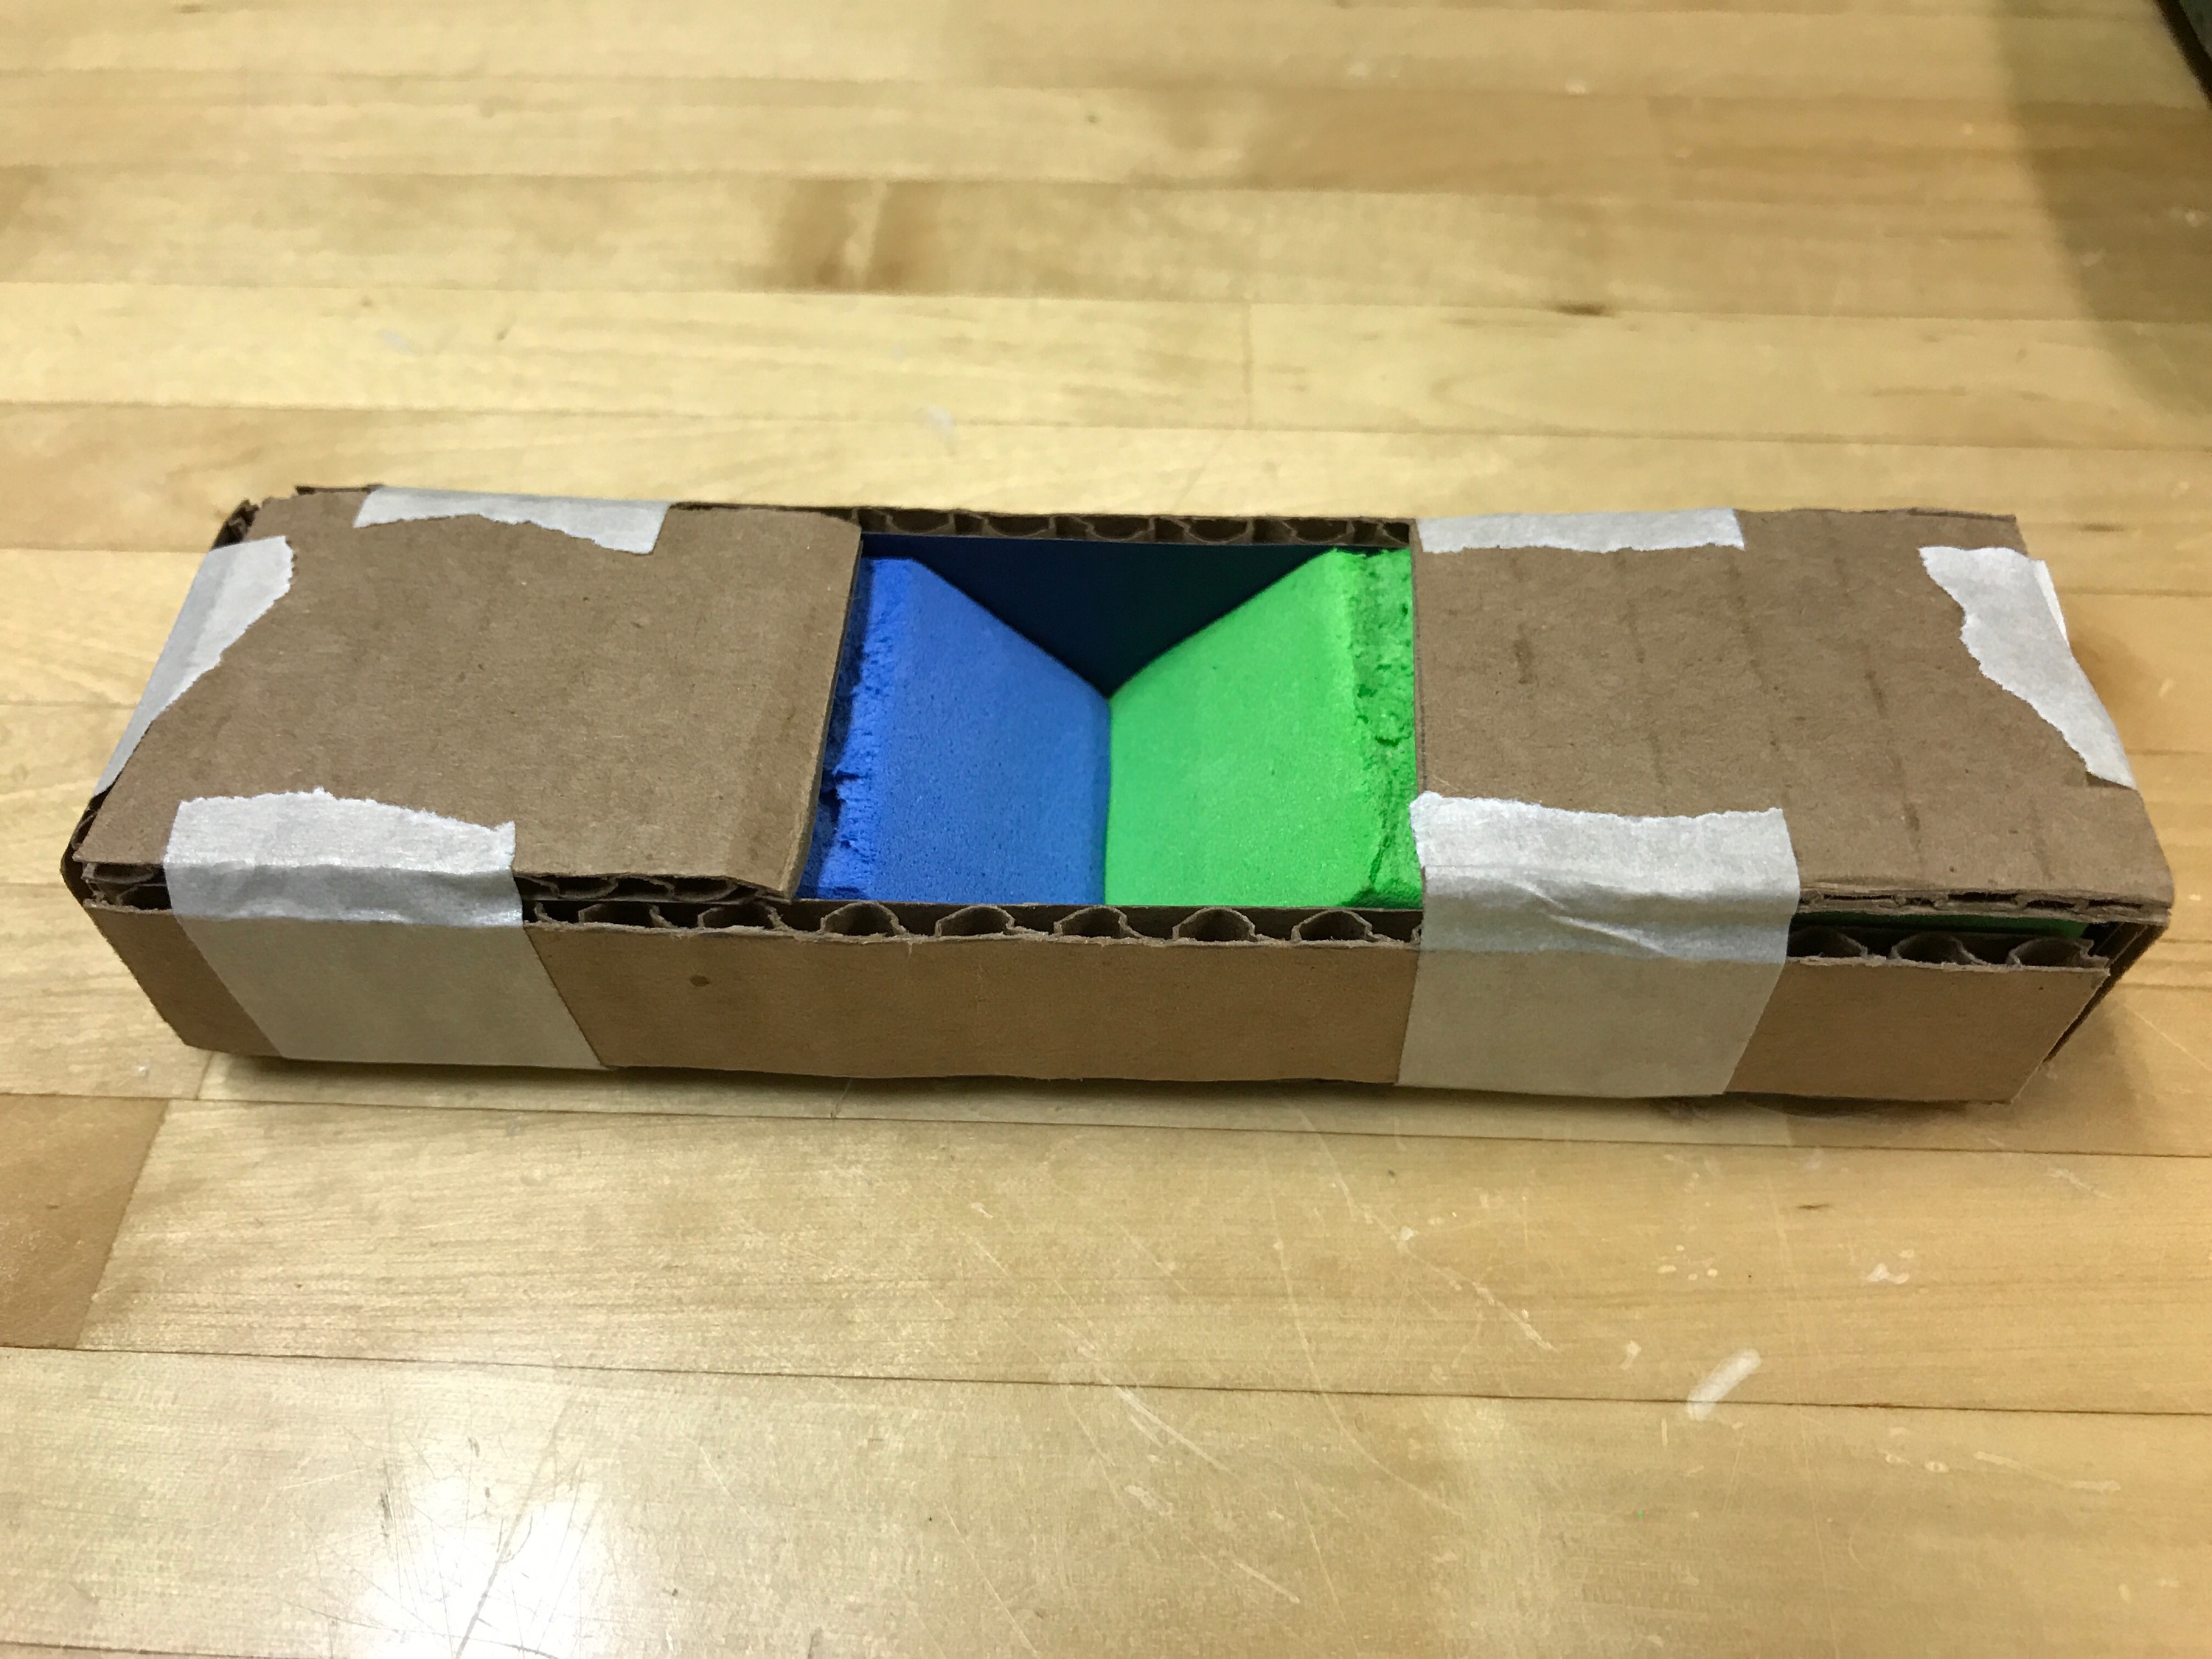
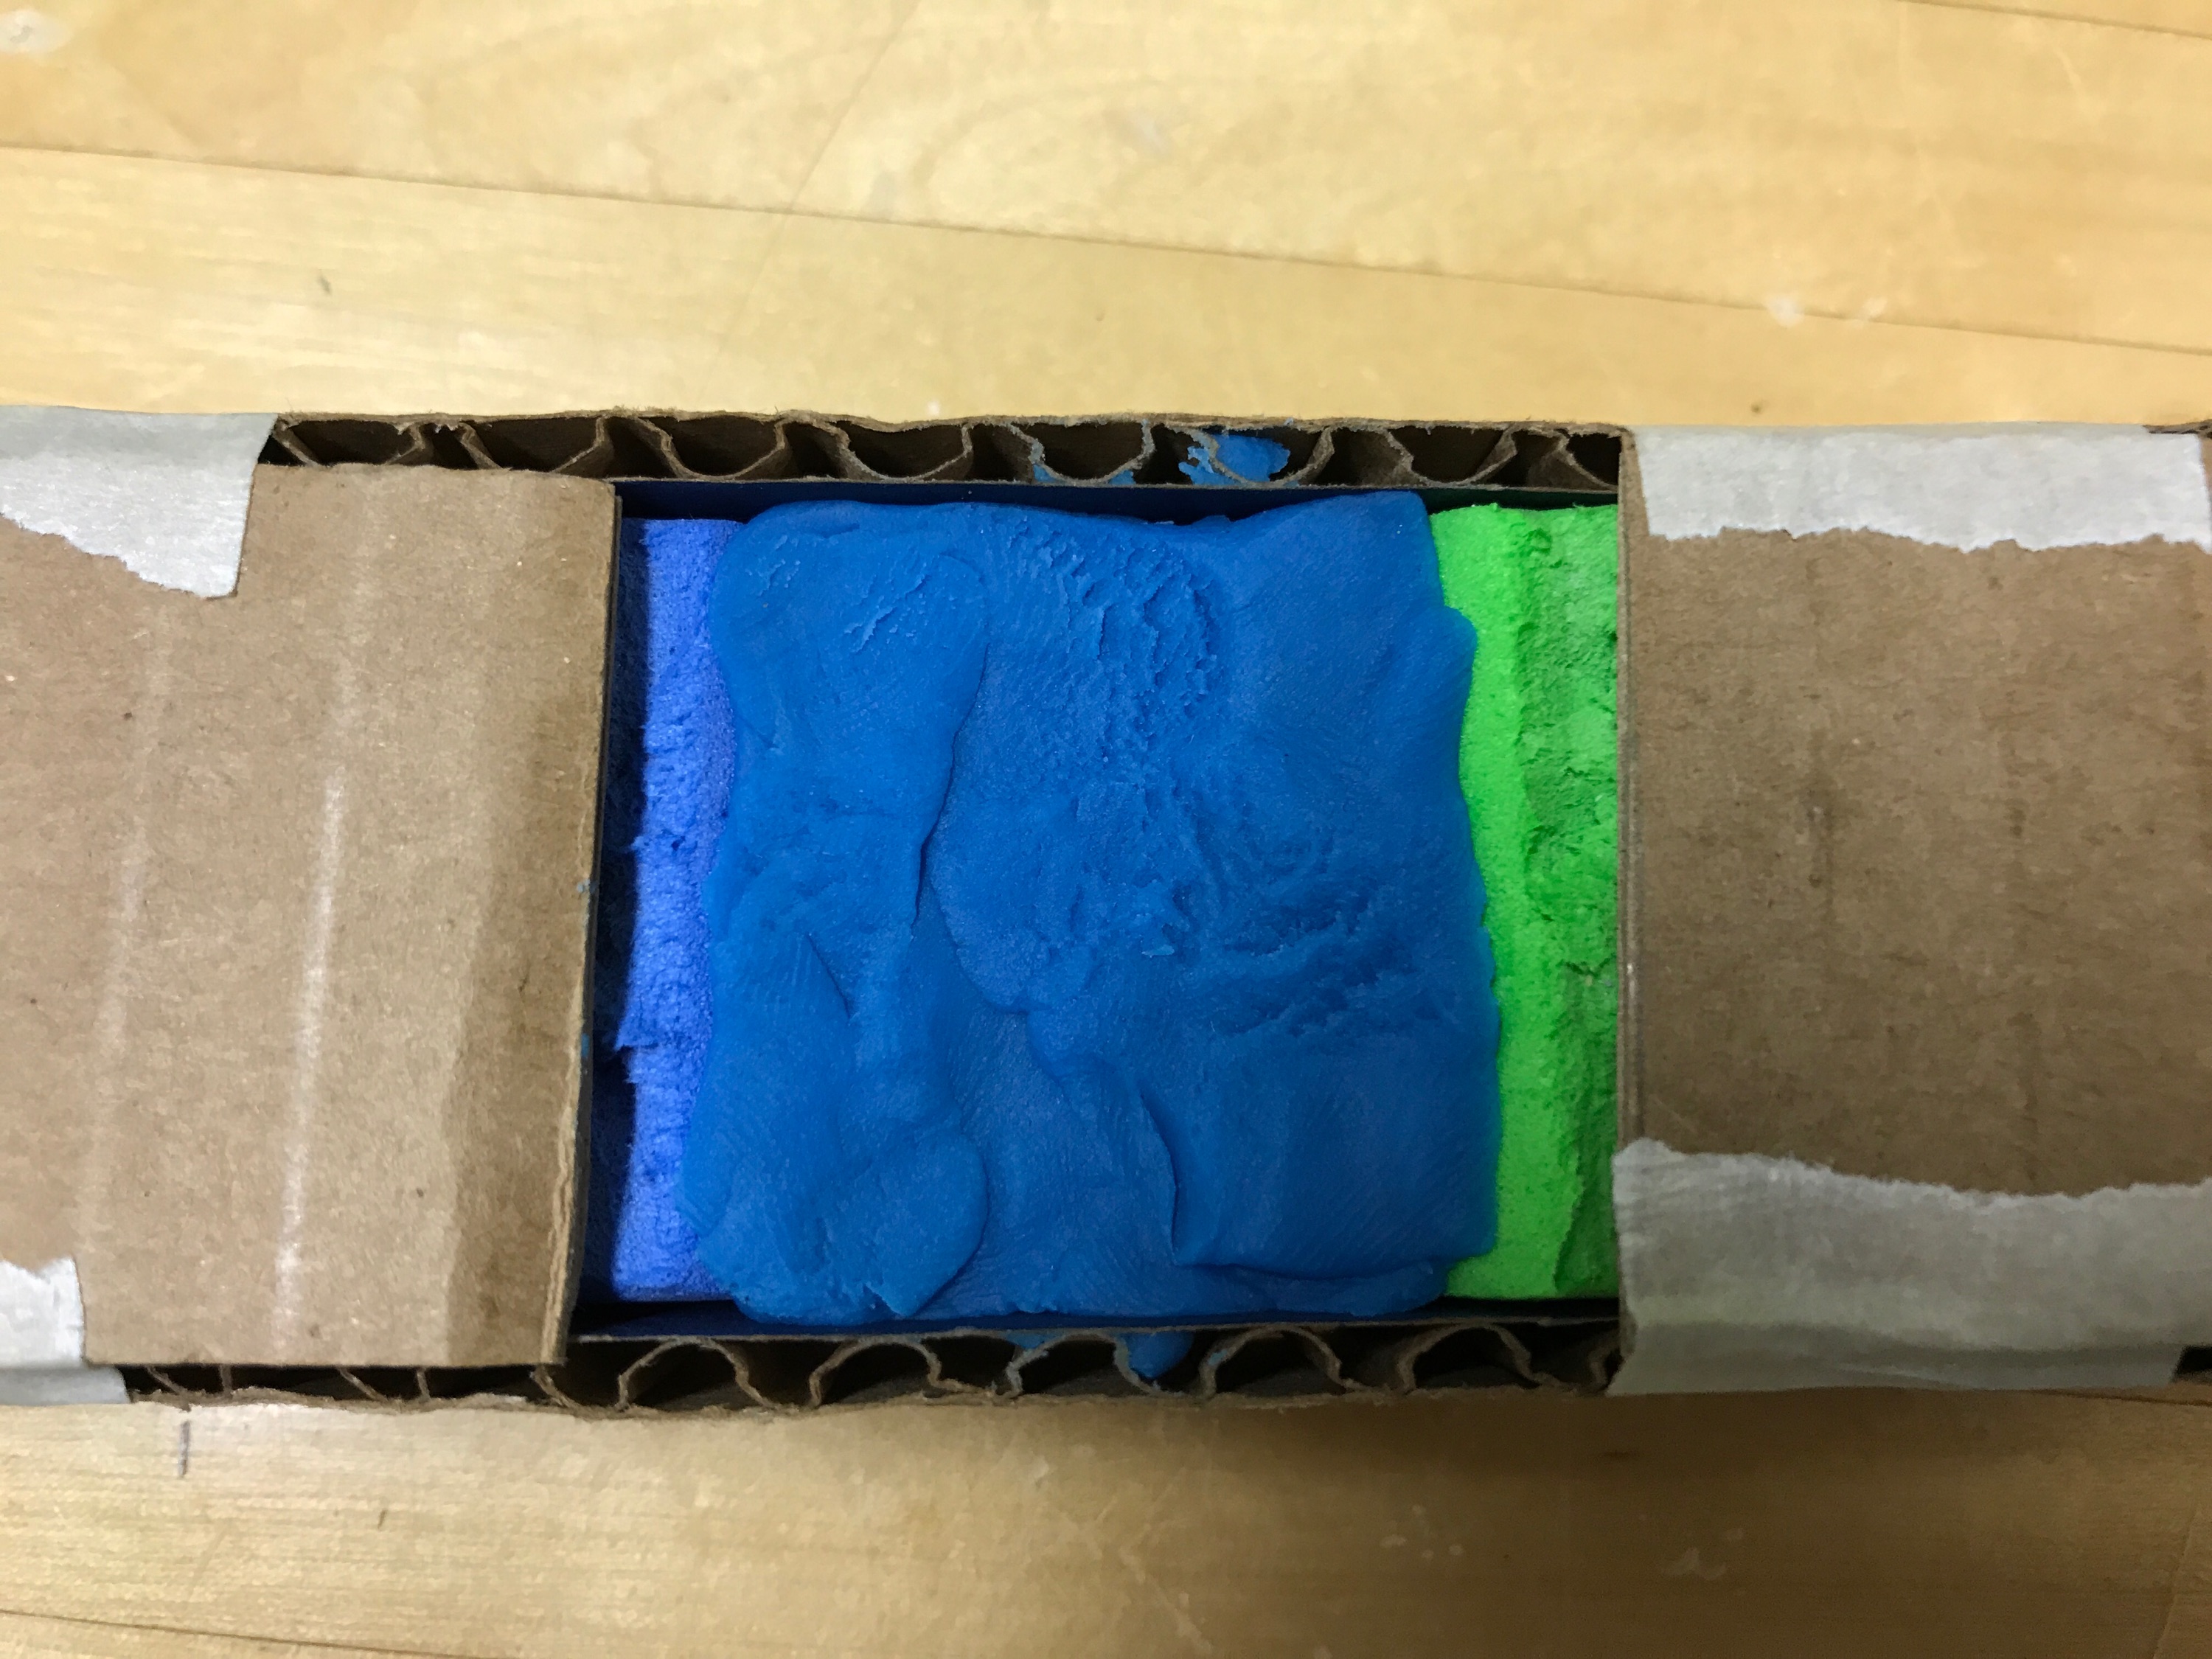
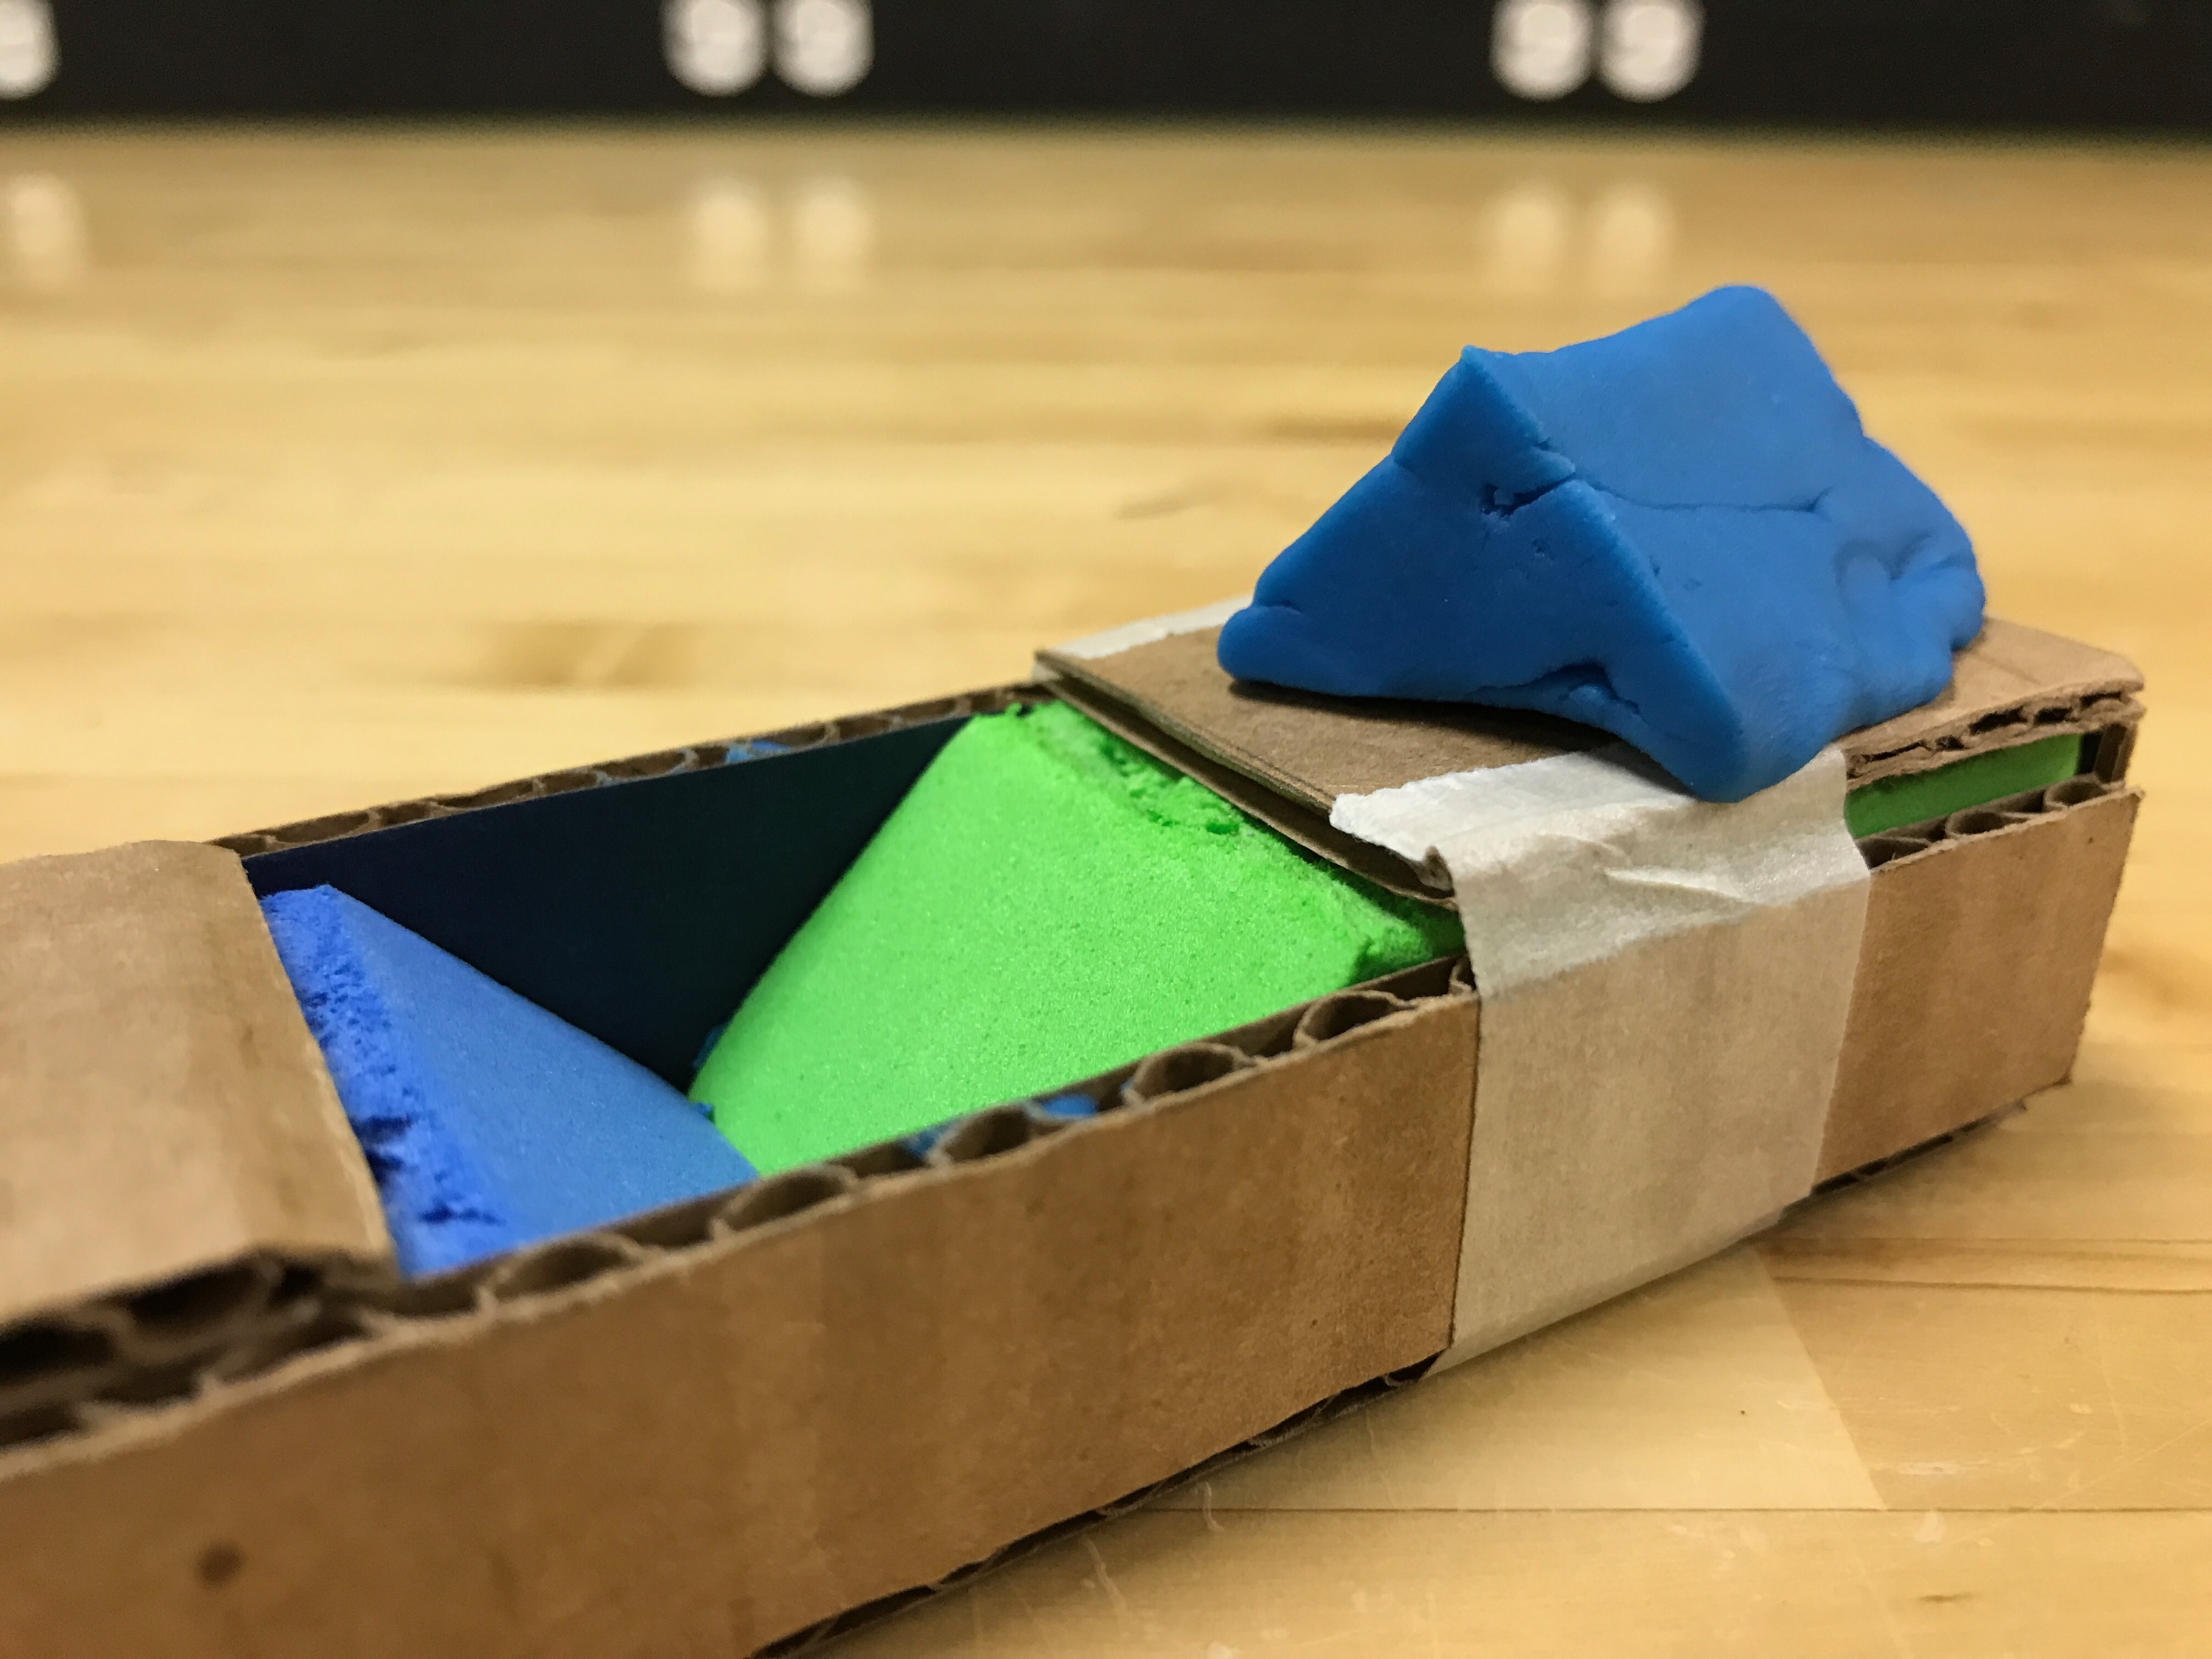
Materials: Play-Doh, foam wedges, cardboard, tape
Finally, my favorite method by which I achieved the shape of a 3D object was through the creation of a mold. Using angled pieces of foam and a cardboard outer shell, I formed a box with a cavity in the shape of a triangular prism. Then, pressing Play-Doh into the cavity, I was able to produce and extract the desired shape.
While the production of a mold is rather tedious, especially for more complicated shapes, its major advantage is repeatability. If I had hoarded the entirety of the OEDK’s Play-Doh supply, I could’ve created a whole army of triangular prisms. Therefore, in a low-fidelity prototype where a specific 3D shape must be represented multiple times, the creation of a mold is a valuable method.
All in all, the many different methods through which the shape of a 3D object can be achieved each have their own particular strengths. Whether the prototyper’s primary concern is speed, versatility, rigidity, repeatability, or some other factor, there exists a design solution that is optimal for the situation at hand.
