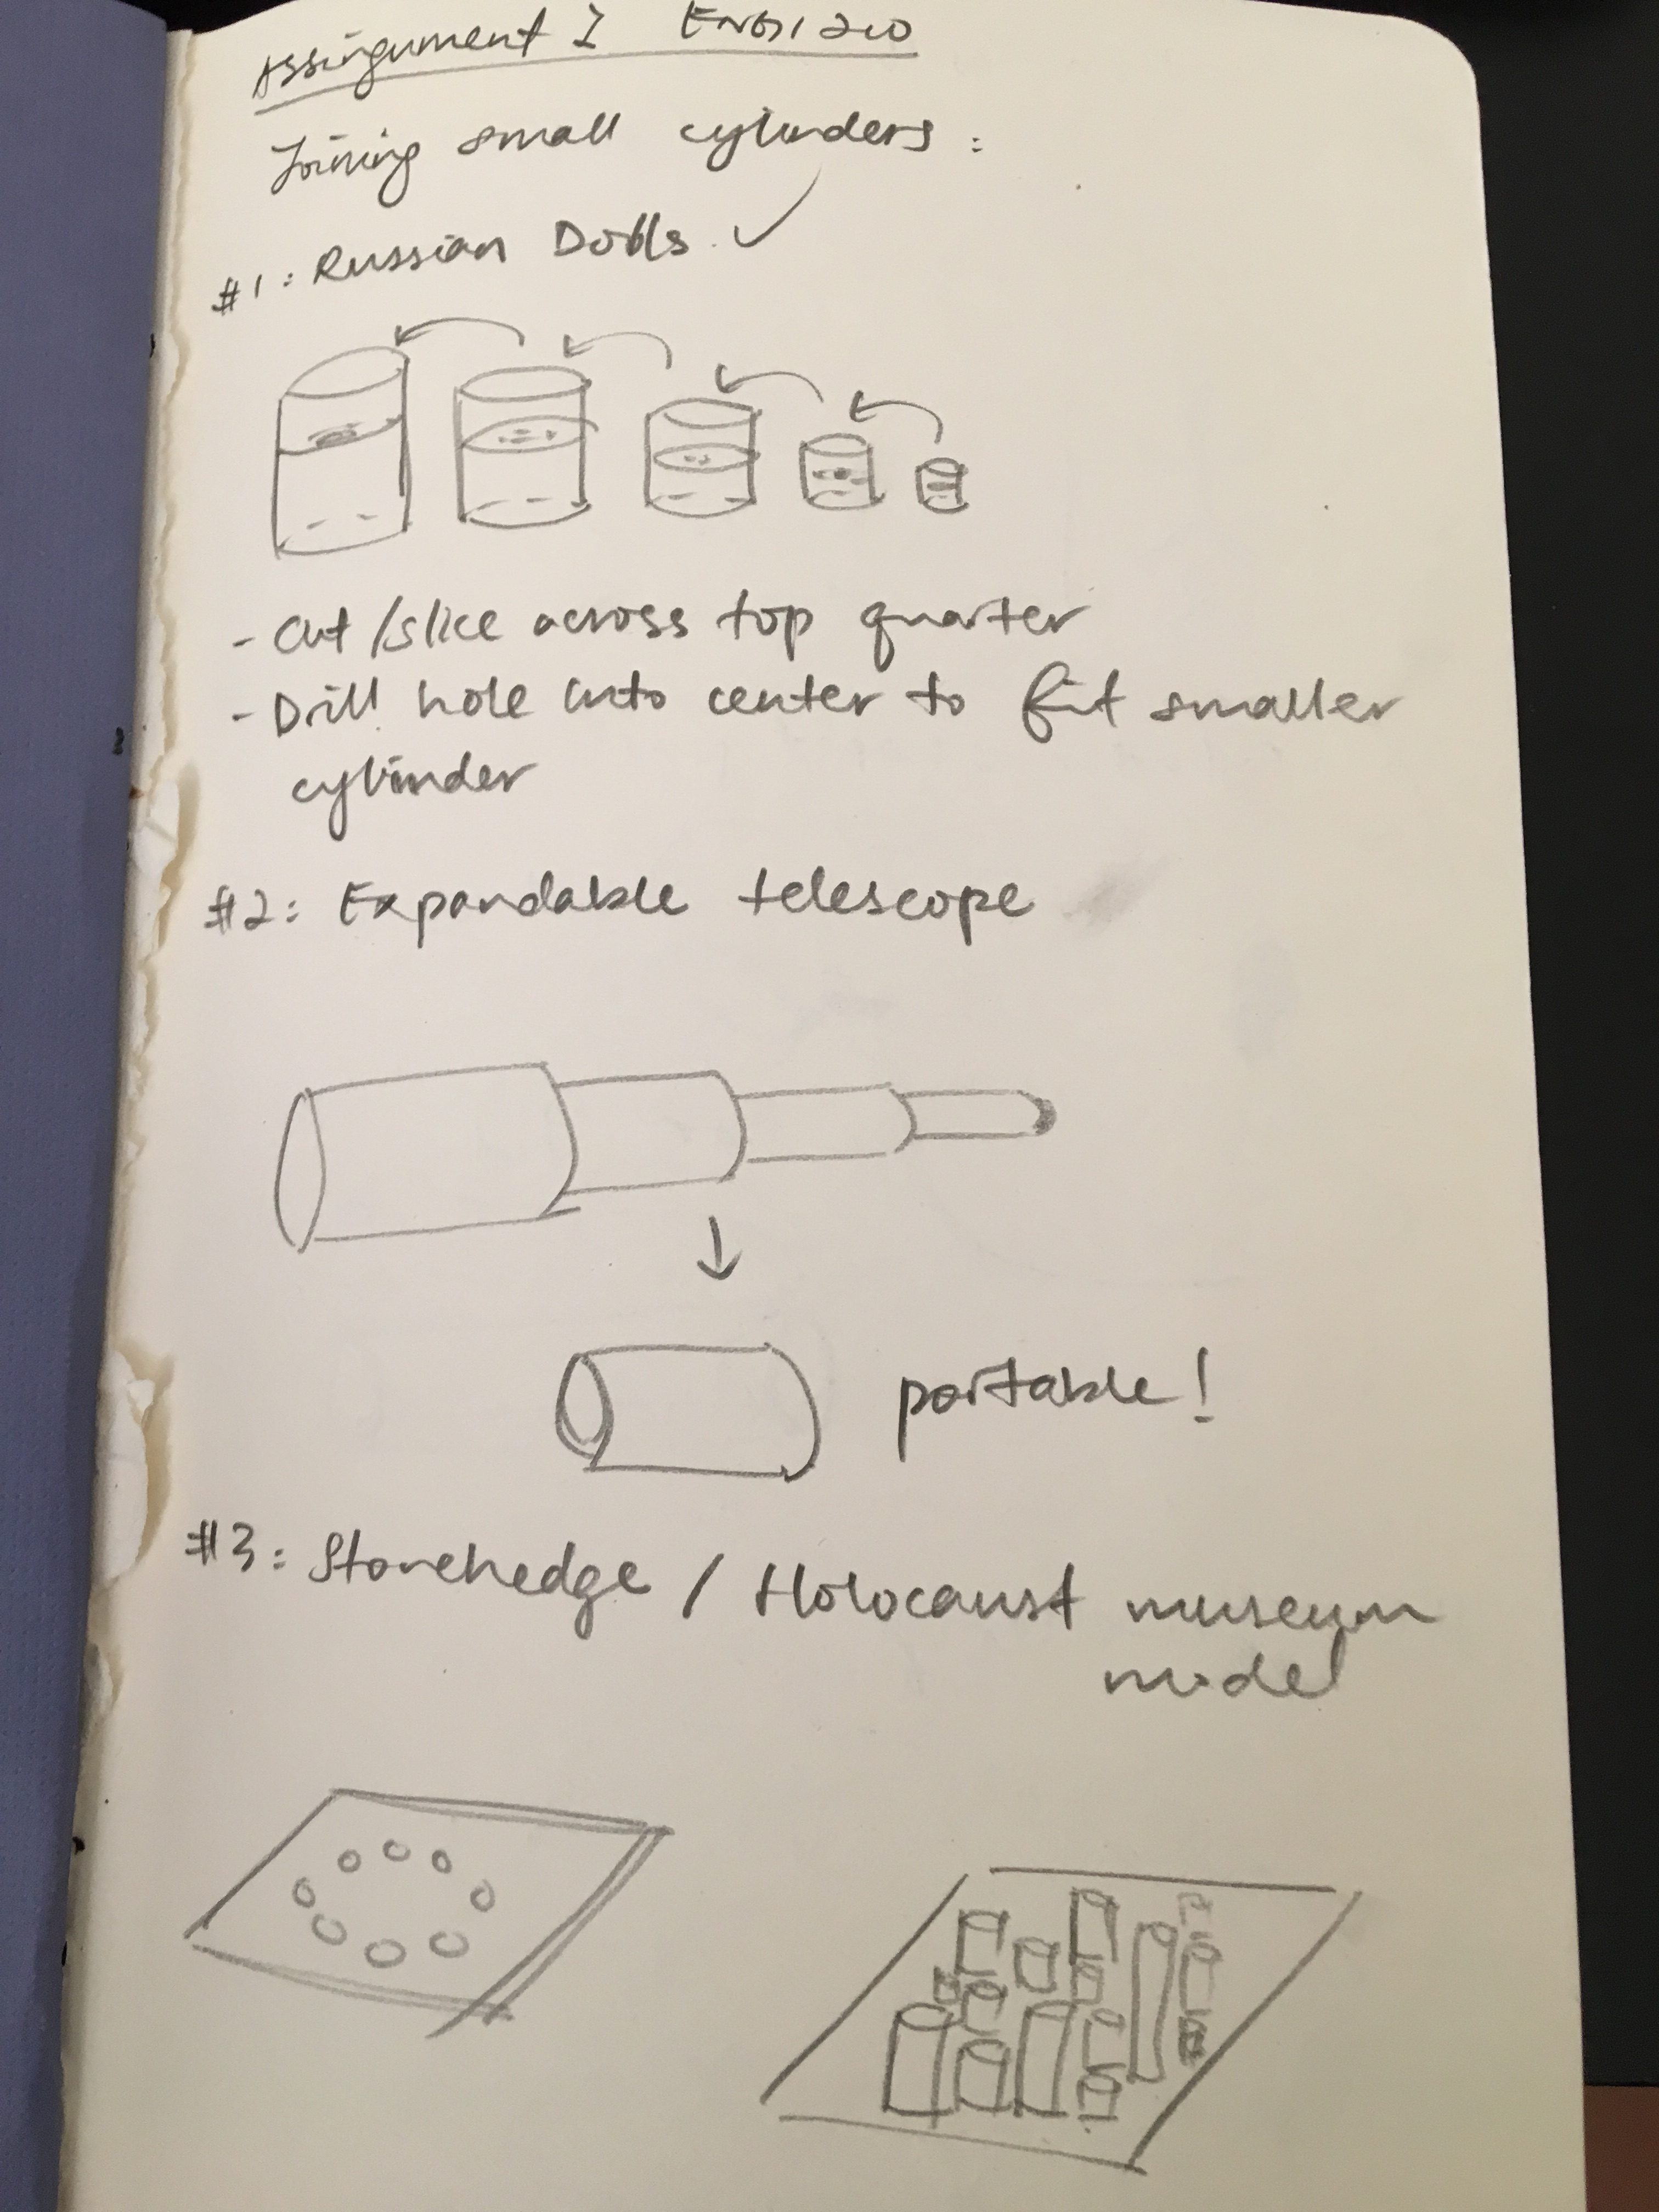
When we first got our assignment I could think of a million different cylindrical things, and therefore decided to draft a few of my ideas down:
I knew I wanted to make objects that have appeared in my daily life, or have some sense of functionality. I also wanted to be able to attach them using different methods, and make them out of various materials. After the brainstorm session I finally decided on five of the ideas.
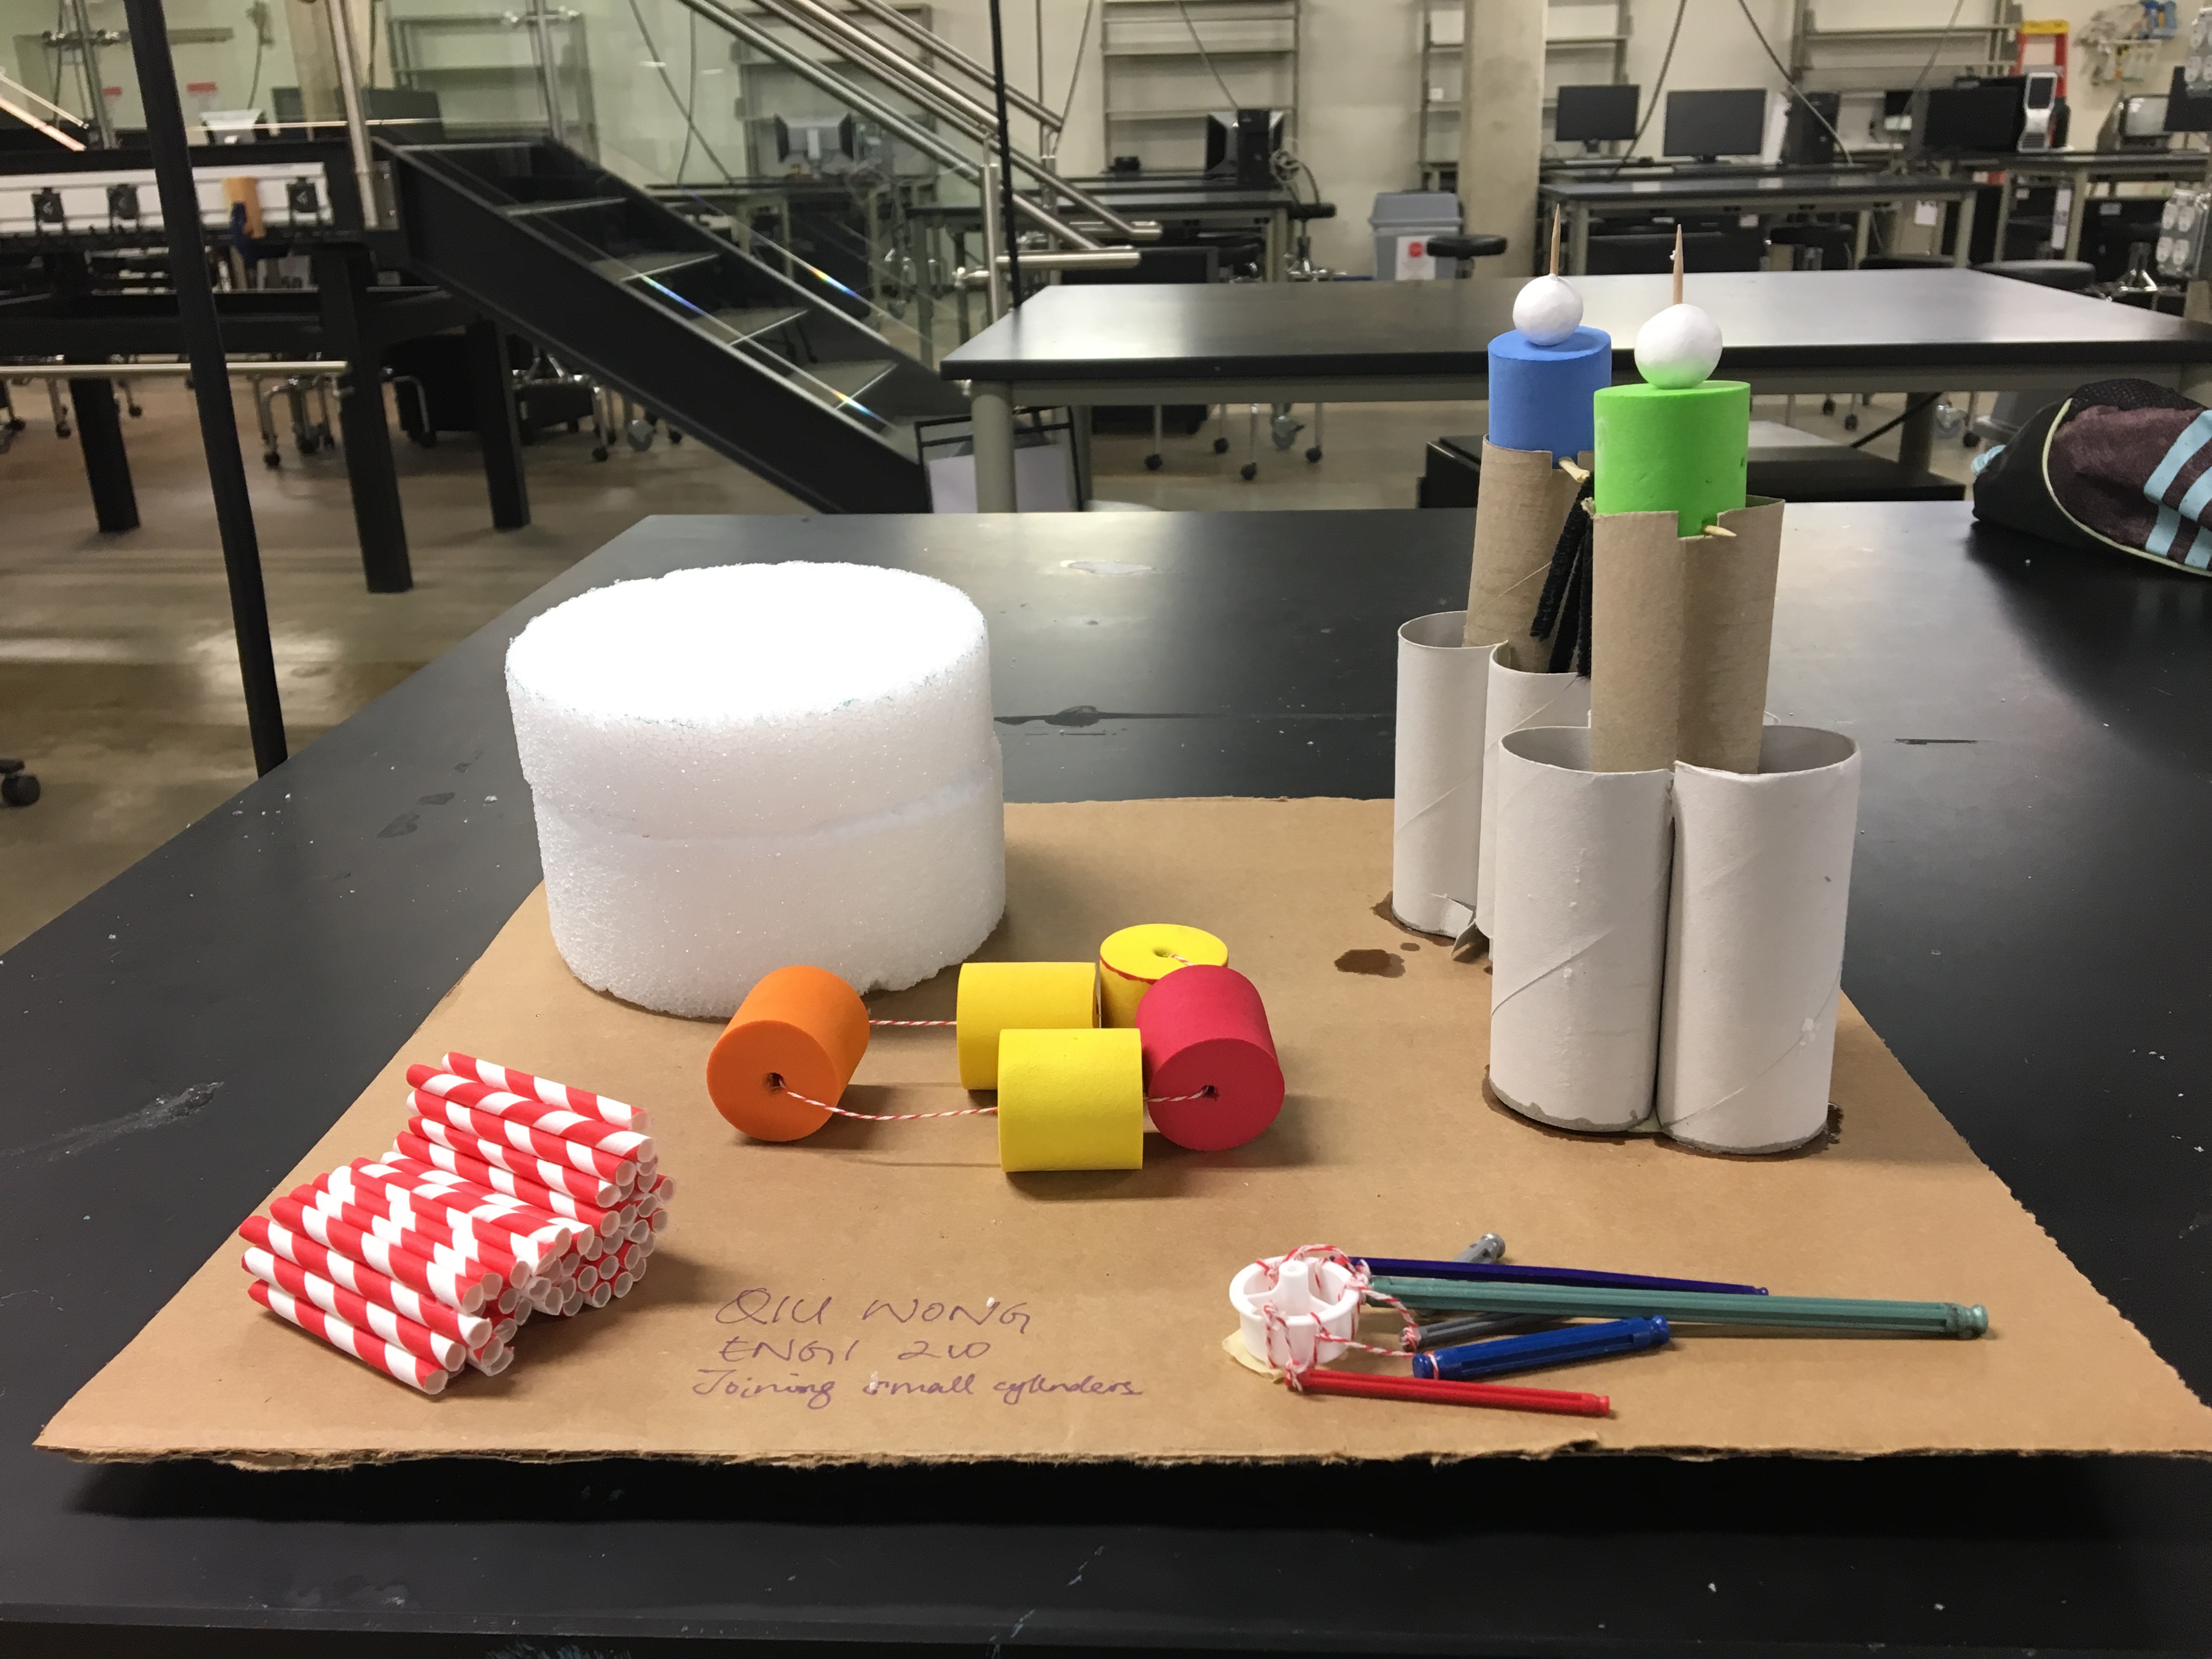
I also settled on a few tools, hoping that they’ll be enough to carry out my entire assignment.
#1 Russian Dolls
Russian dolls have always fascinated me. Not only because of their mere appearance where you keep finding one inside another, but also the precise measurements in getting them to fit, the intricate details, as well as the shape itself. I decided to make my own version of a Russian doll with different cylindrical items.
I used one of the cylindrical foam blocks, and sliced one third off to act as the “head”. I then made centrical holes on both sides to fit the next “doll”, which was one of the smaller, squishy cylindrical foam blocks. The foam block was a little harder to cut than I thought, given that I didn’t have a saw, only a utility knife and a pair of scissors. I was a little unsatisfied with the uneven cut surface but made do with it.

I proceeded to do the same to the smaller foam block, and then fit a straw into the center as the final “doll”. The screwdriver did a good job of making a hole in the center of the smaller cylinder, but it was also harder to cut a hole in the center of the white foam block, given that it was more brittle and things just “came apart” as flecks instead of being squished like the blue block.
#2 Necklace
The second prototype was basically a simple necklace. I used the screwdriver to make holes in all the cylindrical foam blocks, and then pushed a string through the holes and tied a knot. This was easier than I thought, as the string went through the holes quite easily. This prototype reminded me of those little crafts we used to make in preschool.
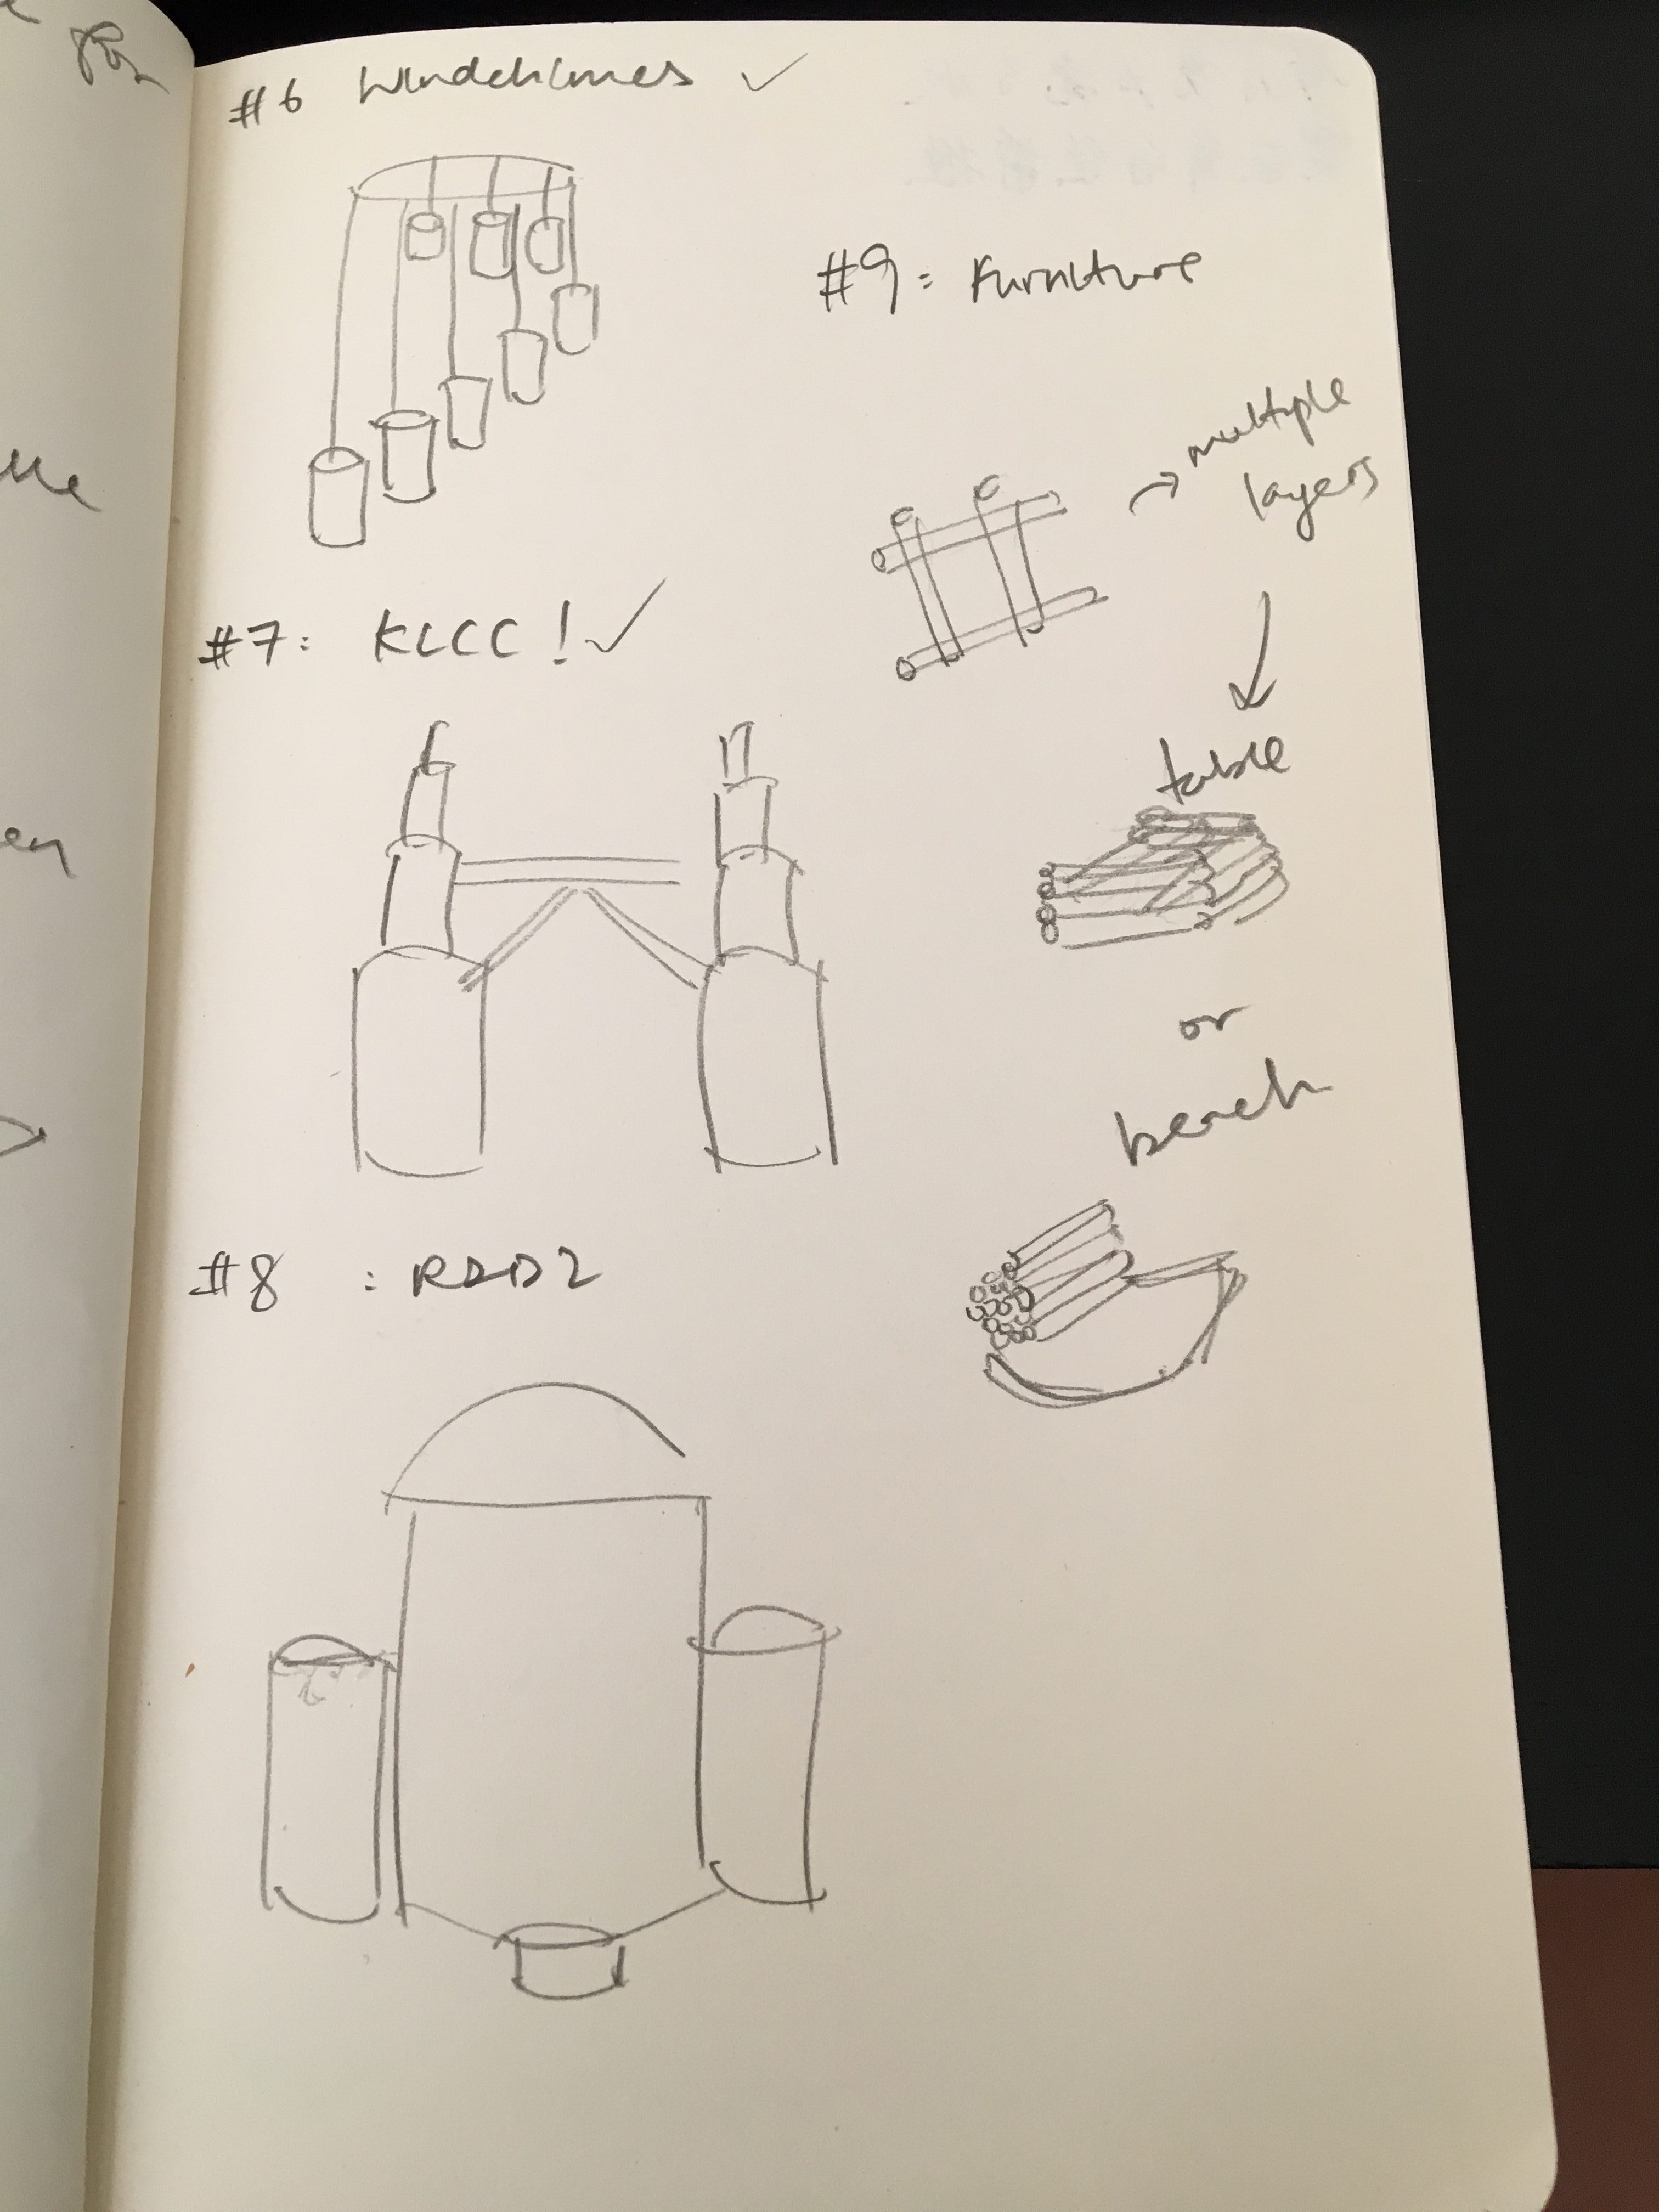
#3 Wind chime
For the third prototype, I decided to make a miniature wind chime. Another childhood favorite of mine, I used lego sticks (they were long and cylindrical!) of different lengths and widths to act as the tubes. 
The best part about using these lego sticks was that they each had a groove at the end of the stick, where they’re used to insert into lego blocks. It made things easier for me to tie the string around the grooves, as they wouldn’t slip from the sticks. I then attached the individual tubes to a wheel to make the wind chime. The hardest part of this prototype was probably tying the string around the smallest stick, as a klutz it was quite a struggle.
#4 Bench
For the fourth prototype, I was getting a little tired of my previous prototypes only being decoration items, and was glad that I was finally making a “useful” product. I got the inspiration of making this from wooden benches made out of huge tree logs and wanted to try doing it with straws. I also wanted to try a different attachment process as both of my previous prototypes were joined together by strings. However there wasn’t a way which I could firmly put together the straw without using glue; I tried attaching them all together by driving a single hole through with a toothpick, but the process was ugly and the straws more often than not ended up getting squished. Hence, the final “bench” is a structure made of straws joint together by glue.
(I apologize for forgetting to take individual pictures of the final product of prototype #3 and #4.)
#5 KLCC
The pride and joy of my hometown.

The PETRONAS Twin Towers is one of my favorite architecture designs in the world. I decided right away that I was going to save up all the toilet paper rolls I could get my hands on to make a prototype of this building. 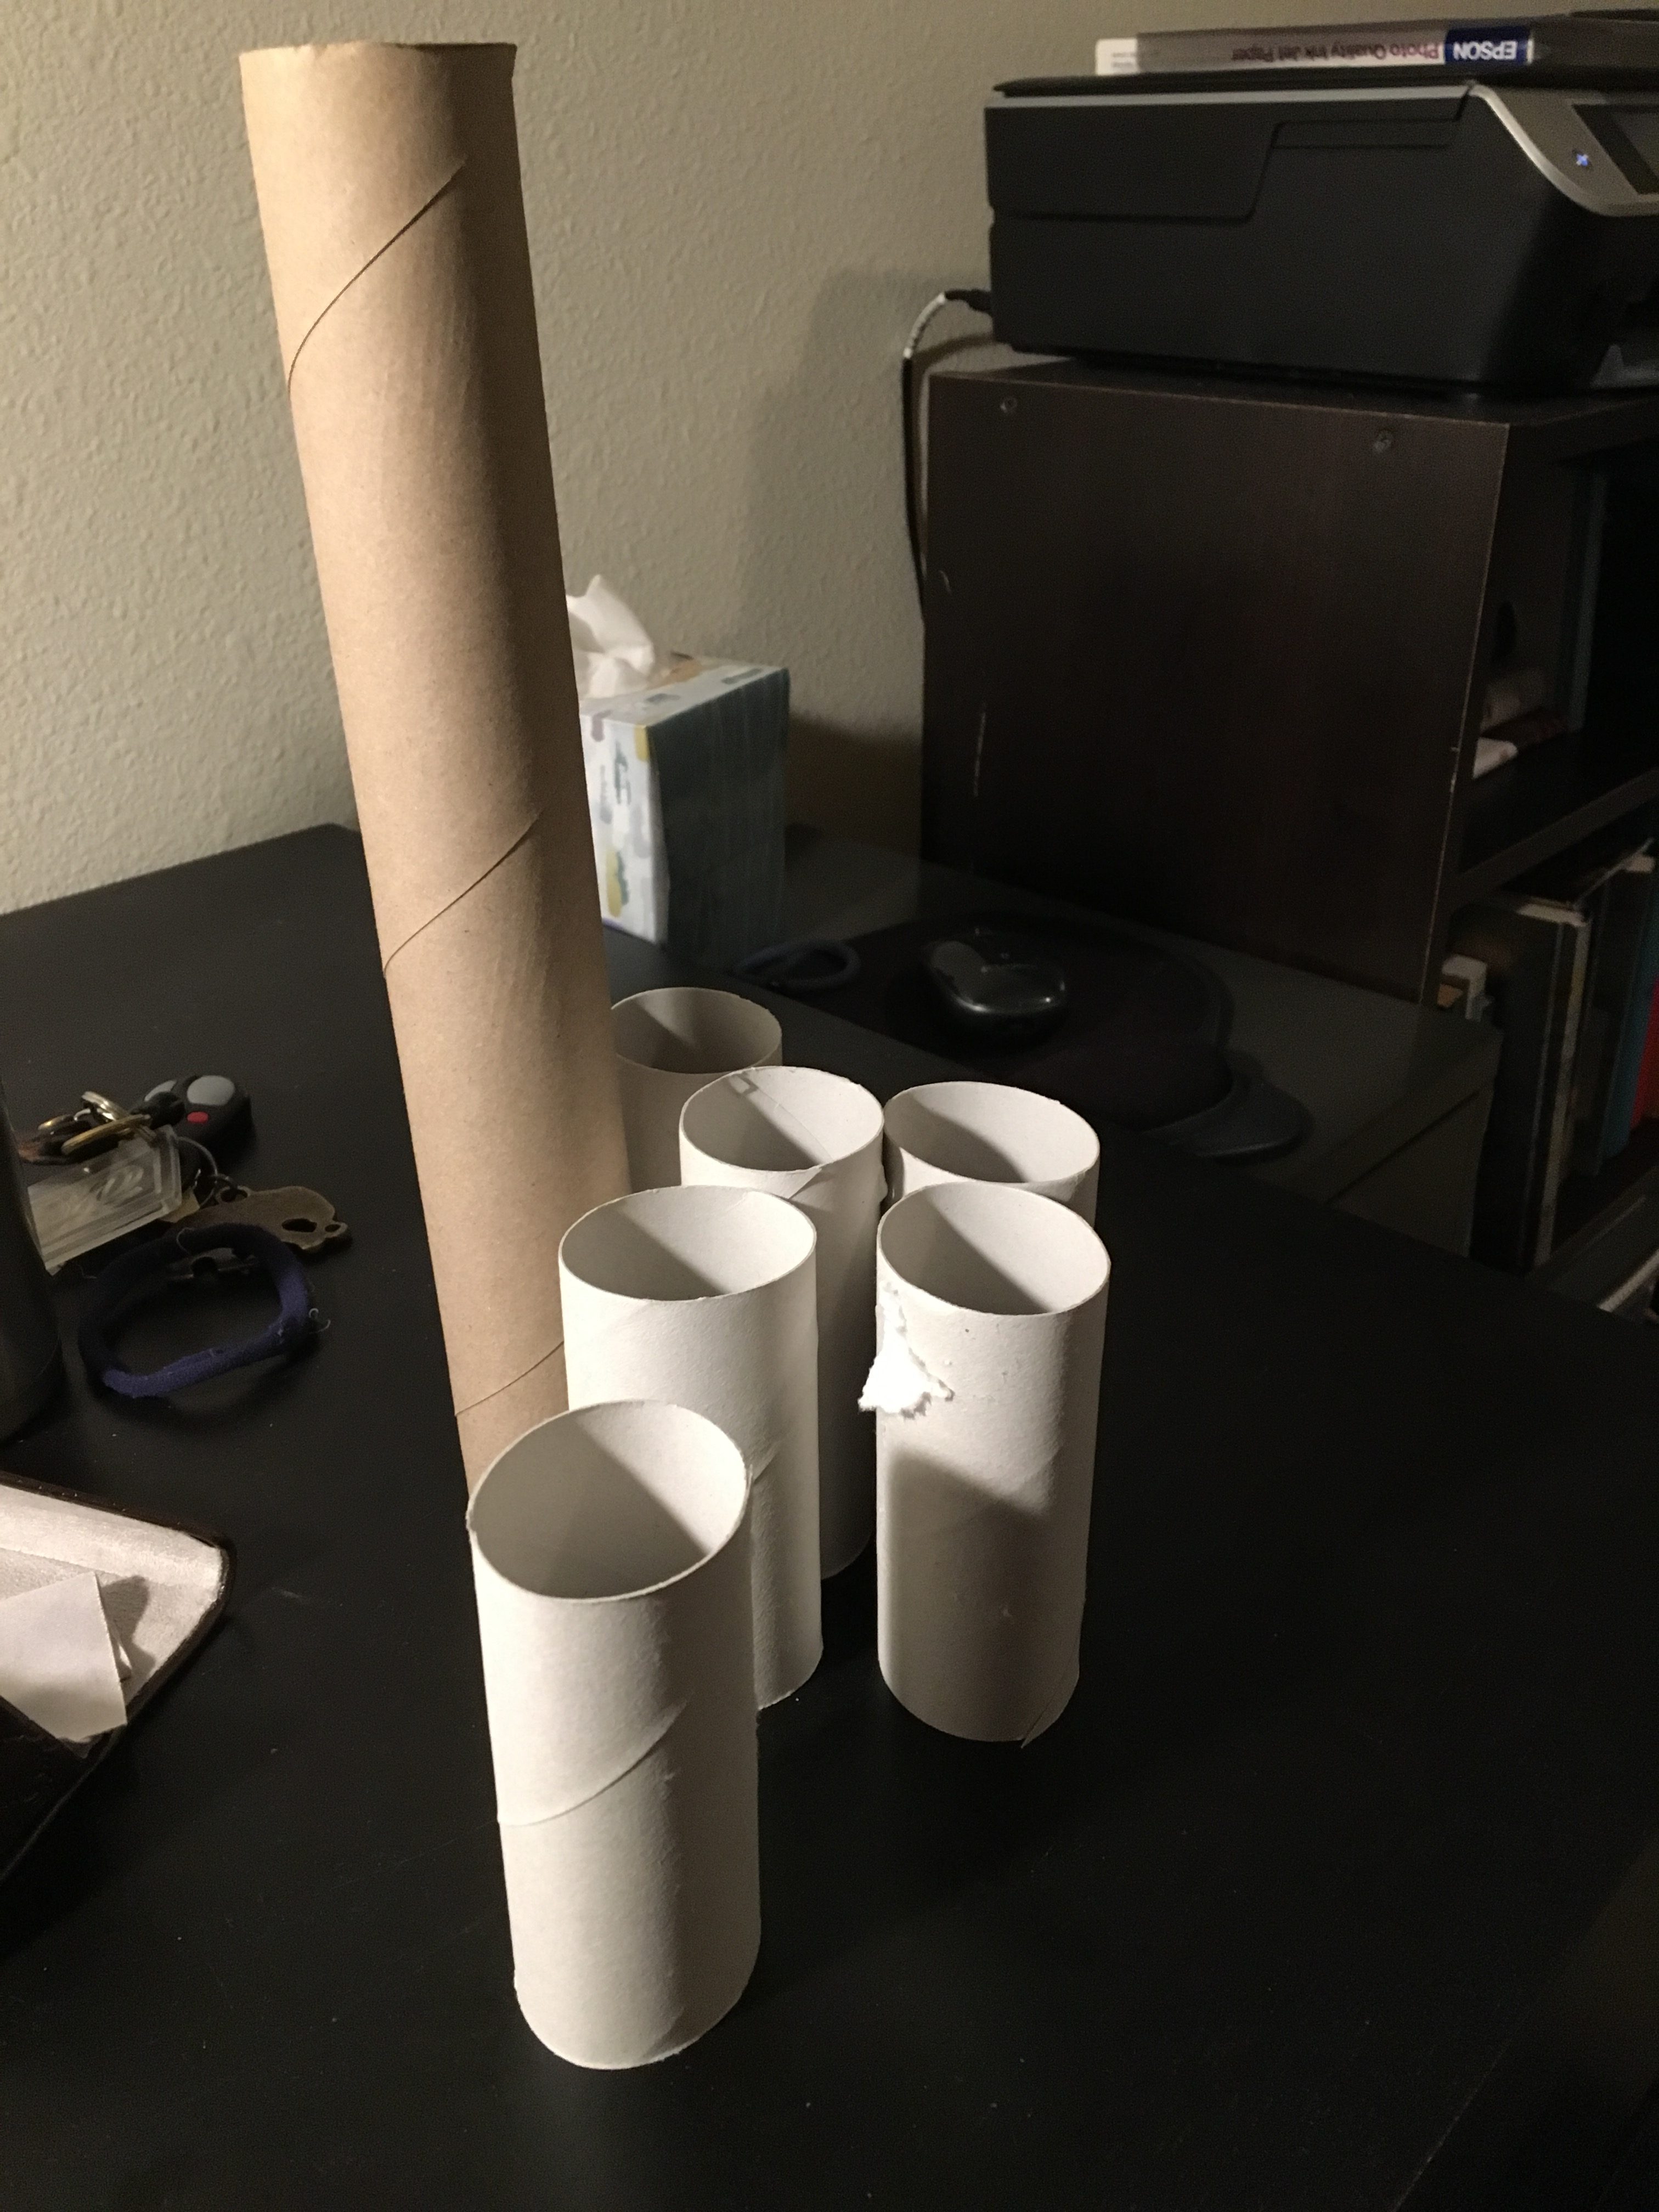
In the beginning I had no intention of combining the tubes together by tape or glue. I had cut slits into the tubes, and fold out the slits into the adjacent tube.
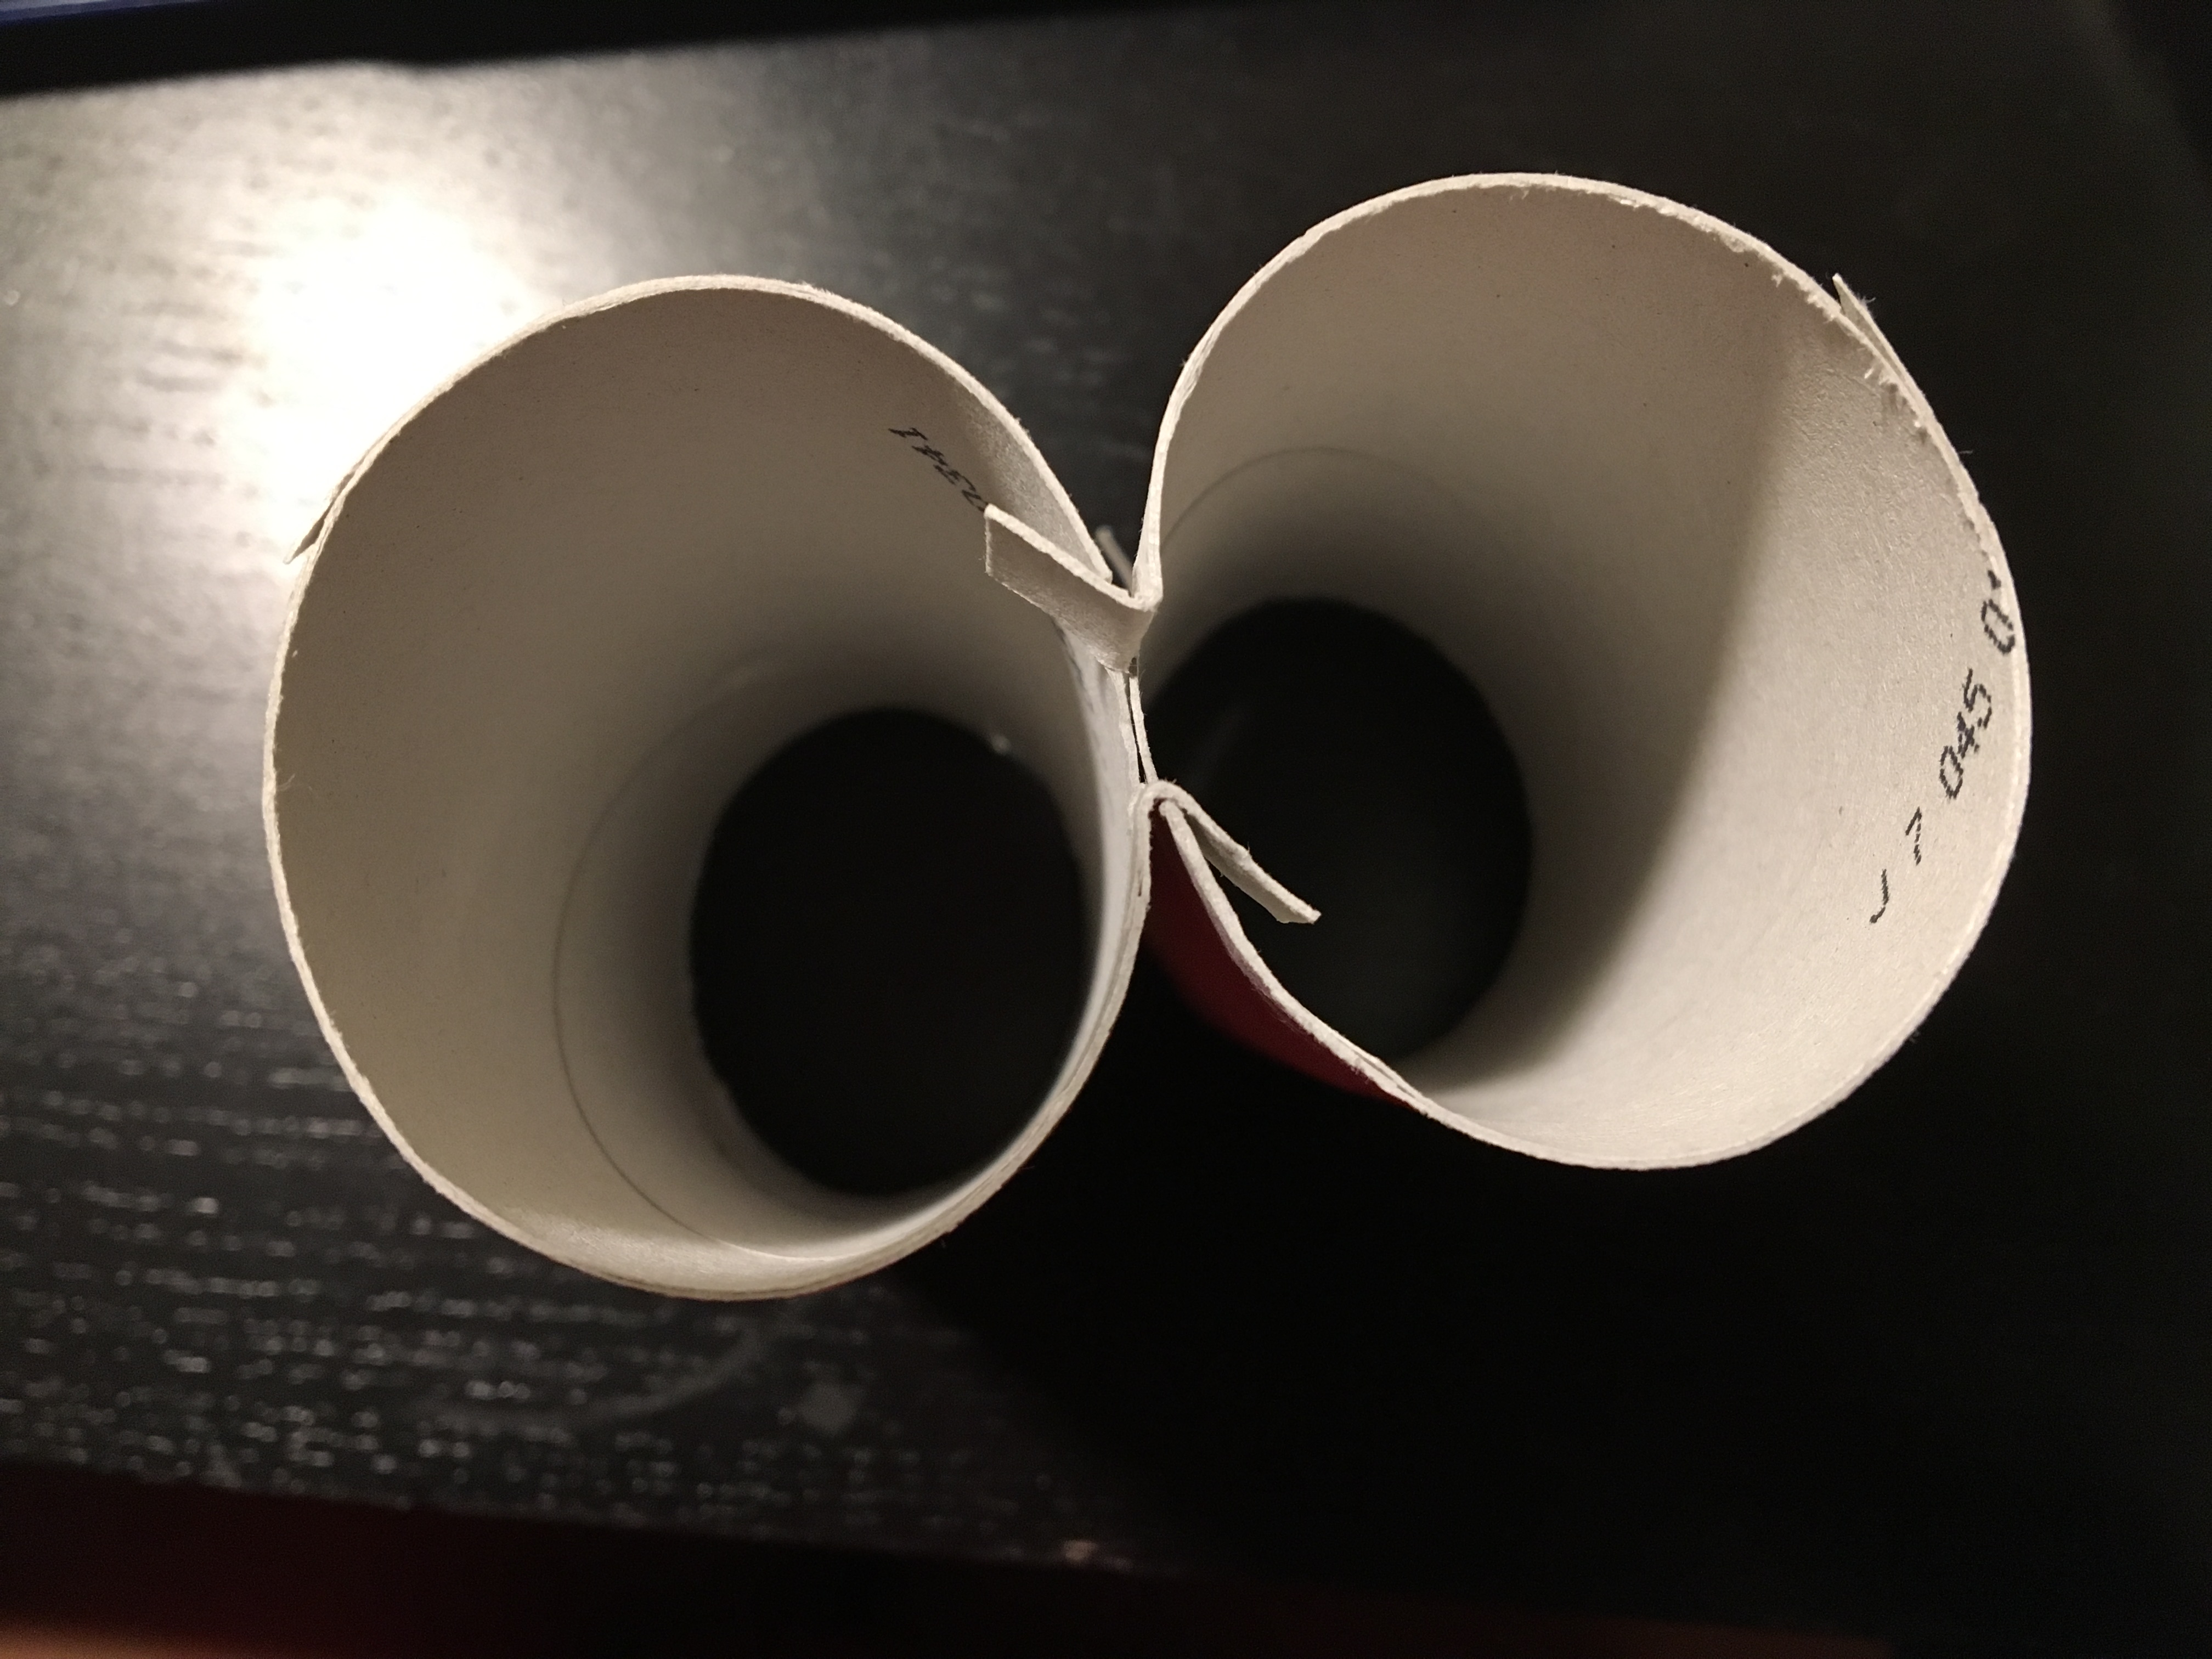
This worked well for the first two, but as things got more complicated and I needed to join more things together, it got really difficult really quickly. I abandoned the idea as it was jeopardizing the structural integrity of my prototype, and decided to flip everything upside down and start anew, with tape.
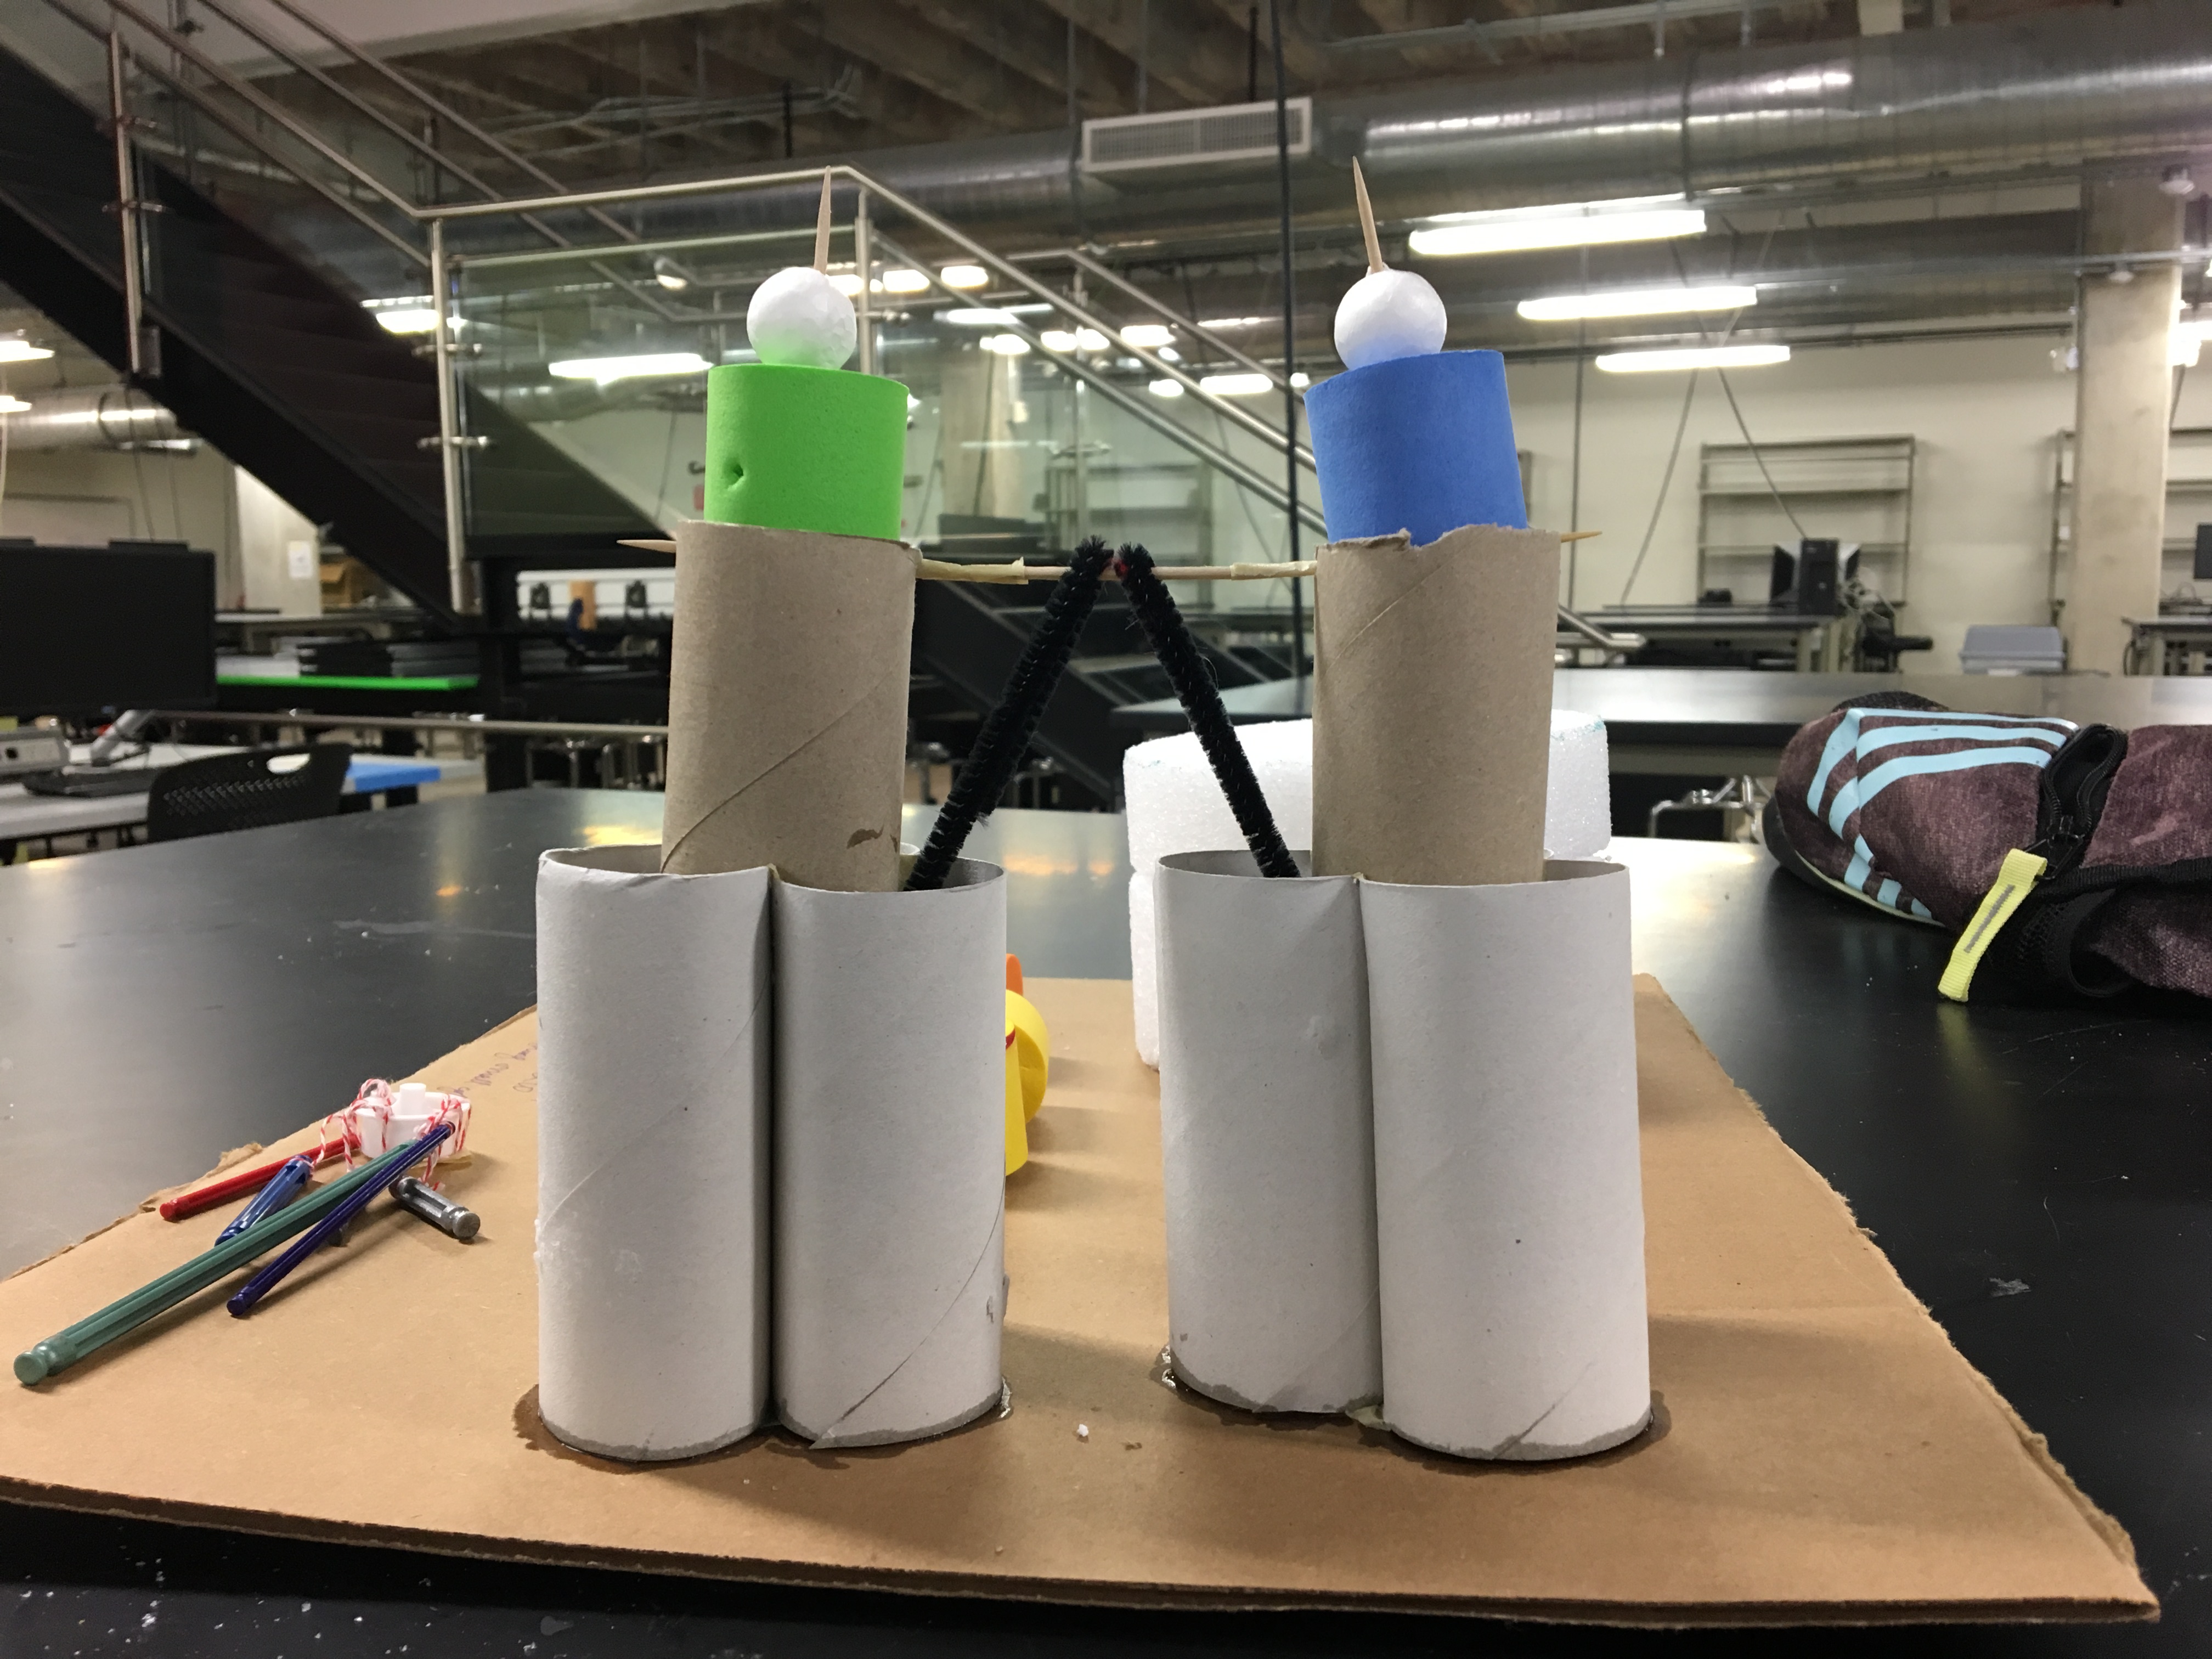
I taped the entire first layer of tubes together, and cut slits on the top of the first layer of tubes to fit the second tube on top of them. This worked out pretty well.
If you observe the actual twin towers, the sections get shorter as slimmer as they get to the top. I had to hunt around to finally find the cylindrical foam blocks again, and they had a smaller diameter than the tube, to my relief. Unfortunately, I could not find the same colors for both of these blocks, so in a sense the twin towers were no longer twin towers 🙁
I wanted to put a toothpick through the top layer of the blocks, so that I could make a conjoined bridge using these toothpicks. I then cut slits on the side of the second layer of the tubes, so that the toothpick (now pierced through the final layer, the squishy foam blocks), and let the toothpick sit on these slits. I taped another toothpick to join the toothpicks on both side, and the bridge is formed! To finish things off, I found the polystyrene sphere balls and poked them through with a toothpick, letting them settle on top of the towers like a christmas tree.
The final product of all 5 prototypes: