For this assignment, I chose to lasercut the locking cross joints from the prototyping library. I chose to recreate those pieces specifically because I was interested in how they worked. Also, since I had practically zero experience with the lasercutter, I thought every piece would be about the same difficulty for me.
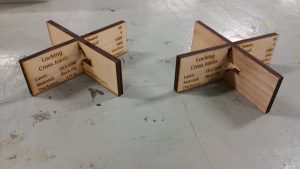
The original file shows two different variations of the locking cross-joints, one where the top piece is responsible for the locking and another where the bottom piece causes it. For the final cut I would make one example of each.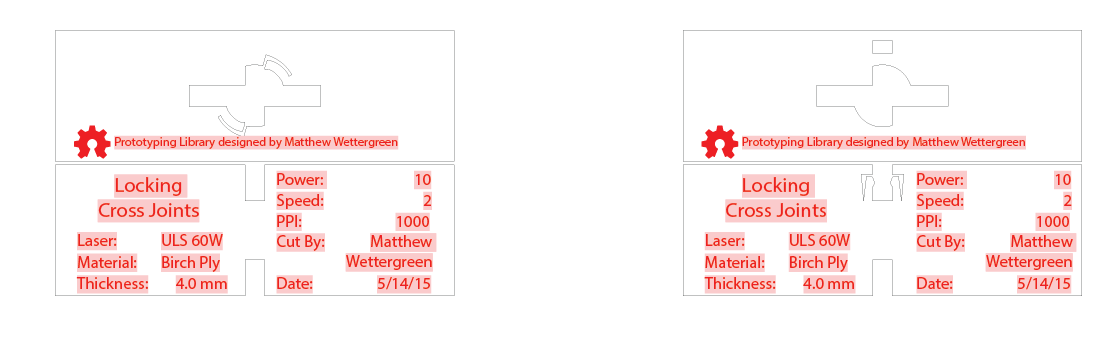
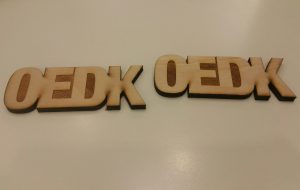
On the day of lasercutting, we were originally delayed using the machine, but luckily my partner had a lot of experience with it and we were able to get started quickly once the room was available. We began by making a slight tweak from the advised settings for our material- we upped 2% speed to 5% but kept power at 100%- and we made our first cut using a file of the OEDK logo. This first cut was horrific; the end result was was heavily charred in places, and the cut itself was sloppy.
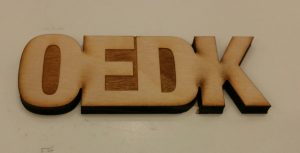
In the next cut I decided to lower both the power and the speed settings to 4% and 90% respectively. For whatever reason, I was hellbent on using the OEDK logo for every single test cut. I would make two more, slightly nicer versions of it before being reminded that a 1mm x 1mm square would be more than sufficient for testing our settings changes.
 This advice would save a lot of material because we ended up making three more test cuts after that.
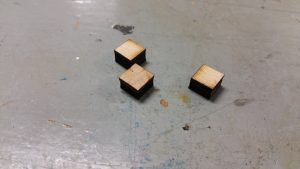
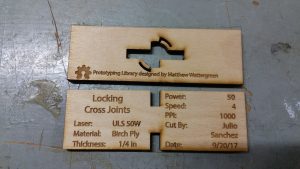
Finally, I cut out the Locking Cross Joints model, changing the informational text on the front to reflect our final cut settings of 50% power and 4% speed. While I think there is still a little too much bleed in these final pieces, I am proud of what I was able to do with the lasercutter. This exercise was a great way to learn how to use this powerful creative tool.