For this assignment, we would have to 3D print an object that could fit in a gumball machine capsule. The added challenge was to print something with enough novelty value that someone might actually go up to the machine and pay twenty-five cents for it. At the same time, the object had to be something impossible to create without 3D printing- in other words, an object with internal geometry, internal gaps, or interlocking pieces.
In the initial search for objects to 3D print, I saw many interesting projects that I thought would have been fun to use. The gumball machine aspect made me think about what a younger me would like to purchase from similar machines at restaurants and malls. Immediately I remembered how I wasted countless quarters on bouncy balls. I knew it was something people would find fun for twenty-five cents, and that it could fit in a gumball capsule.
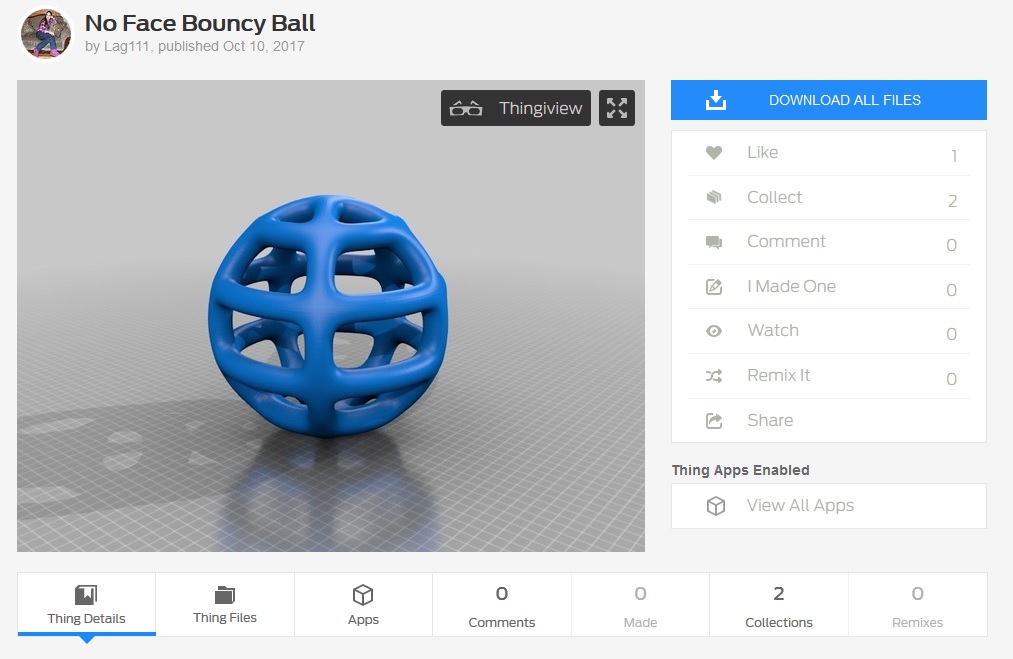
After a quick search, I found a bouncy ball design with a large internal gap. I was surprised to find that the full-scale model of the bouncy ball was huge; in fact it could barely fit in the machine at that size. I immediately became familiar with the scale tool and shrunk it down to only a couple of centimeters across.
The resulting print took barely twenty minutes. After a quick test in the OEDK, I found the bounce characteristics of the ball to be more than satisfactory (I nearly lost it).
The first (tiny) bouncy ball.
I decided that to be worth a full quarter, the final version of the ball could not be so tiny. So I scaled it up to about 40 centimeters in width; large enough to take up most of the capsule.

The bouncy ball scaled up, and with a more interesting color.
However, after printing my bouncy balls, I came to realize that they weren’t impossible enough to meet that criteria of the assignment. Even if they were fun, they needed to be more complicated. So instead I looked for a ball within a ball to print; staying loyal to the original idea while creating an object that was truly impossible.

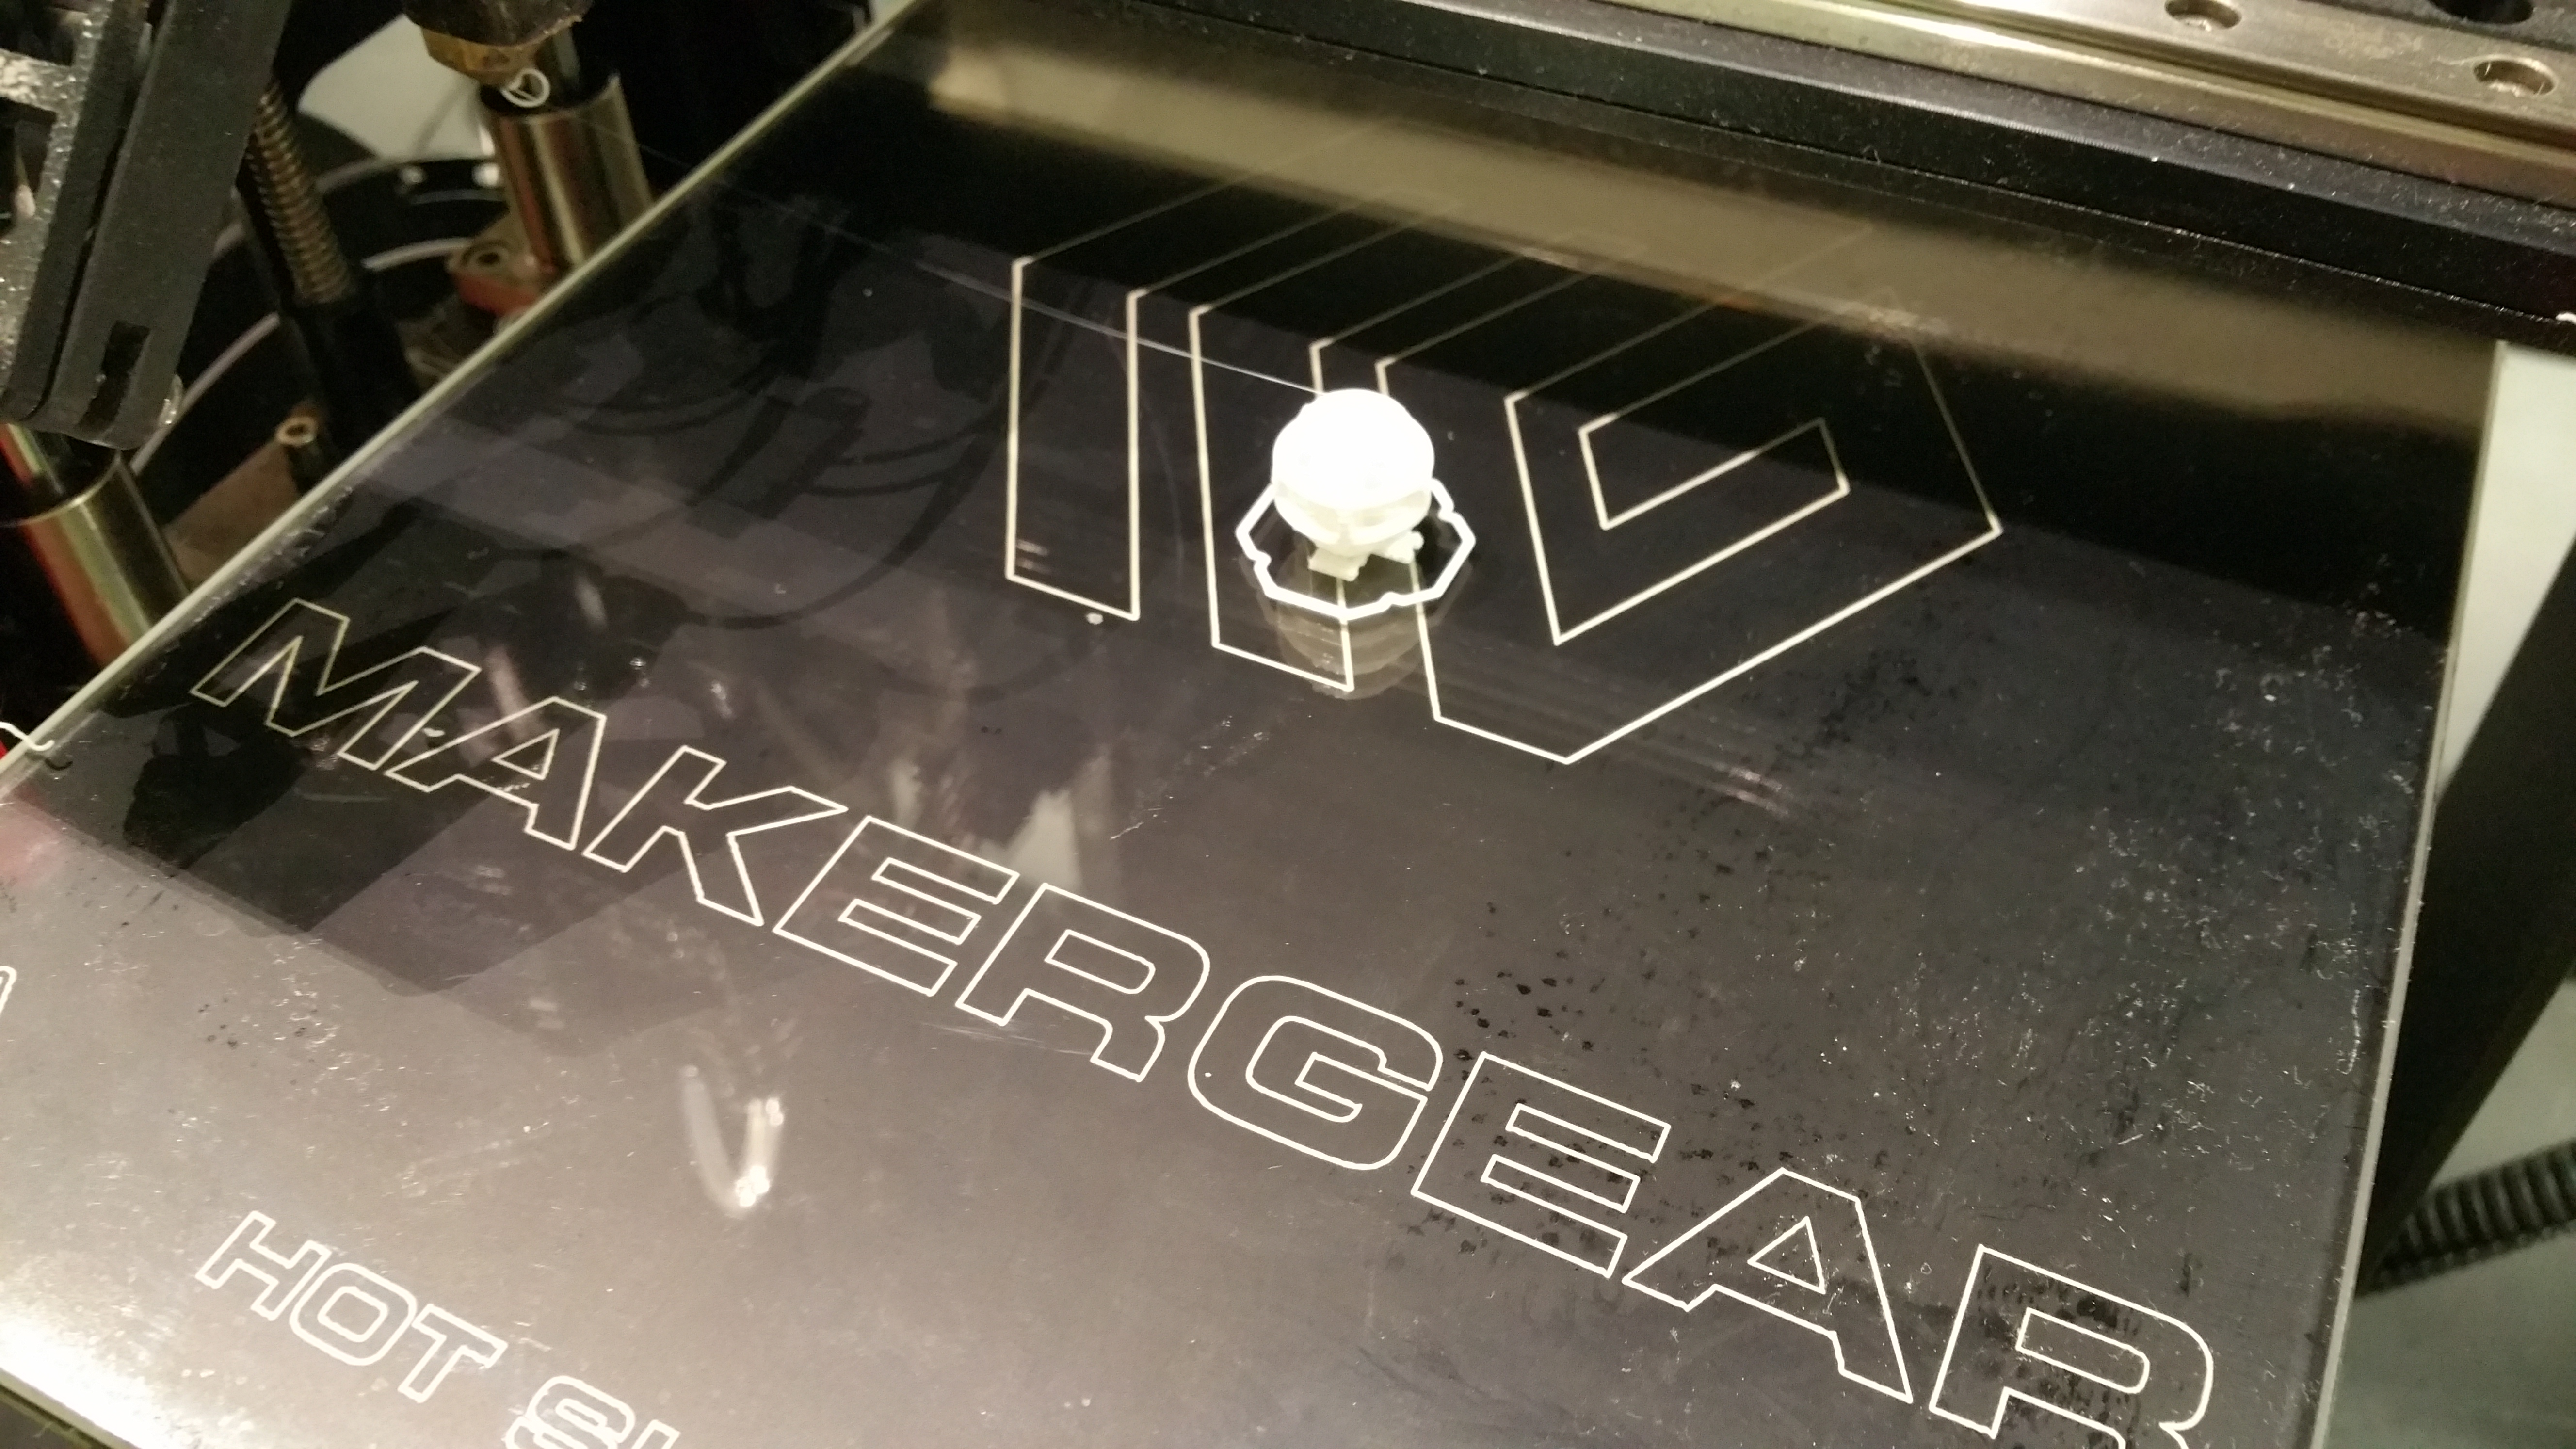
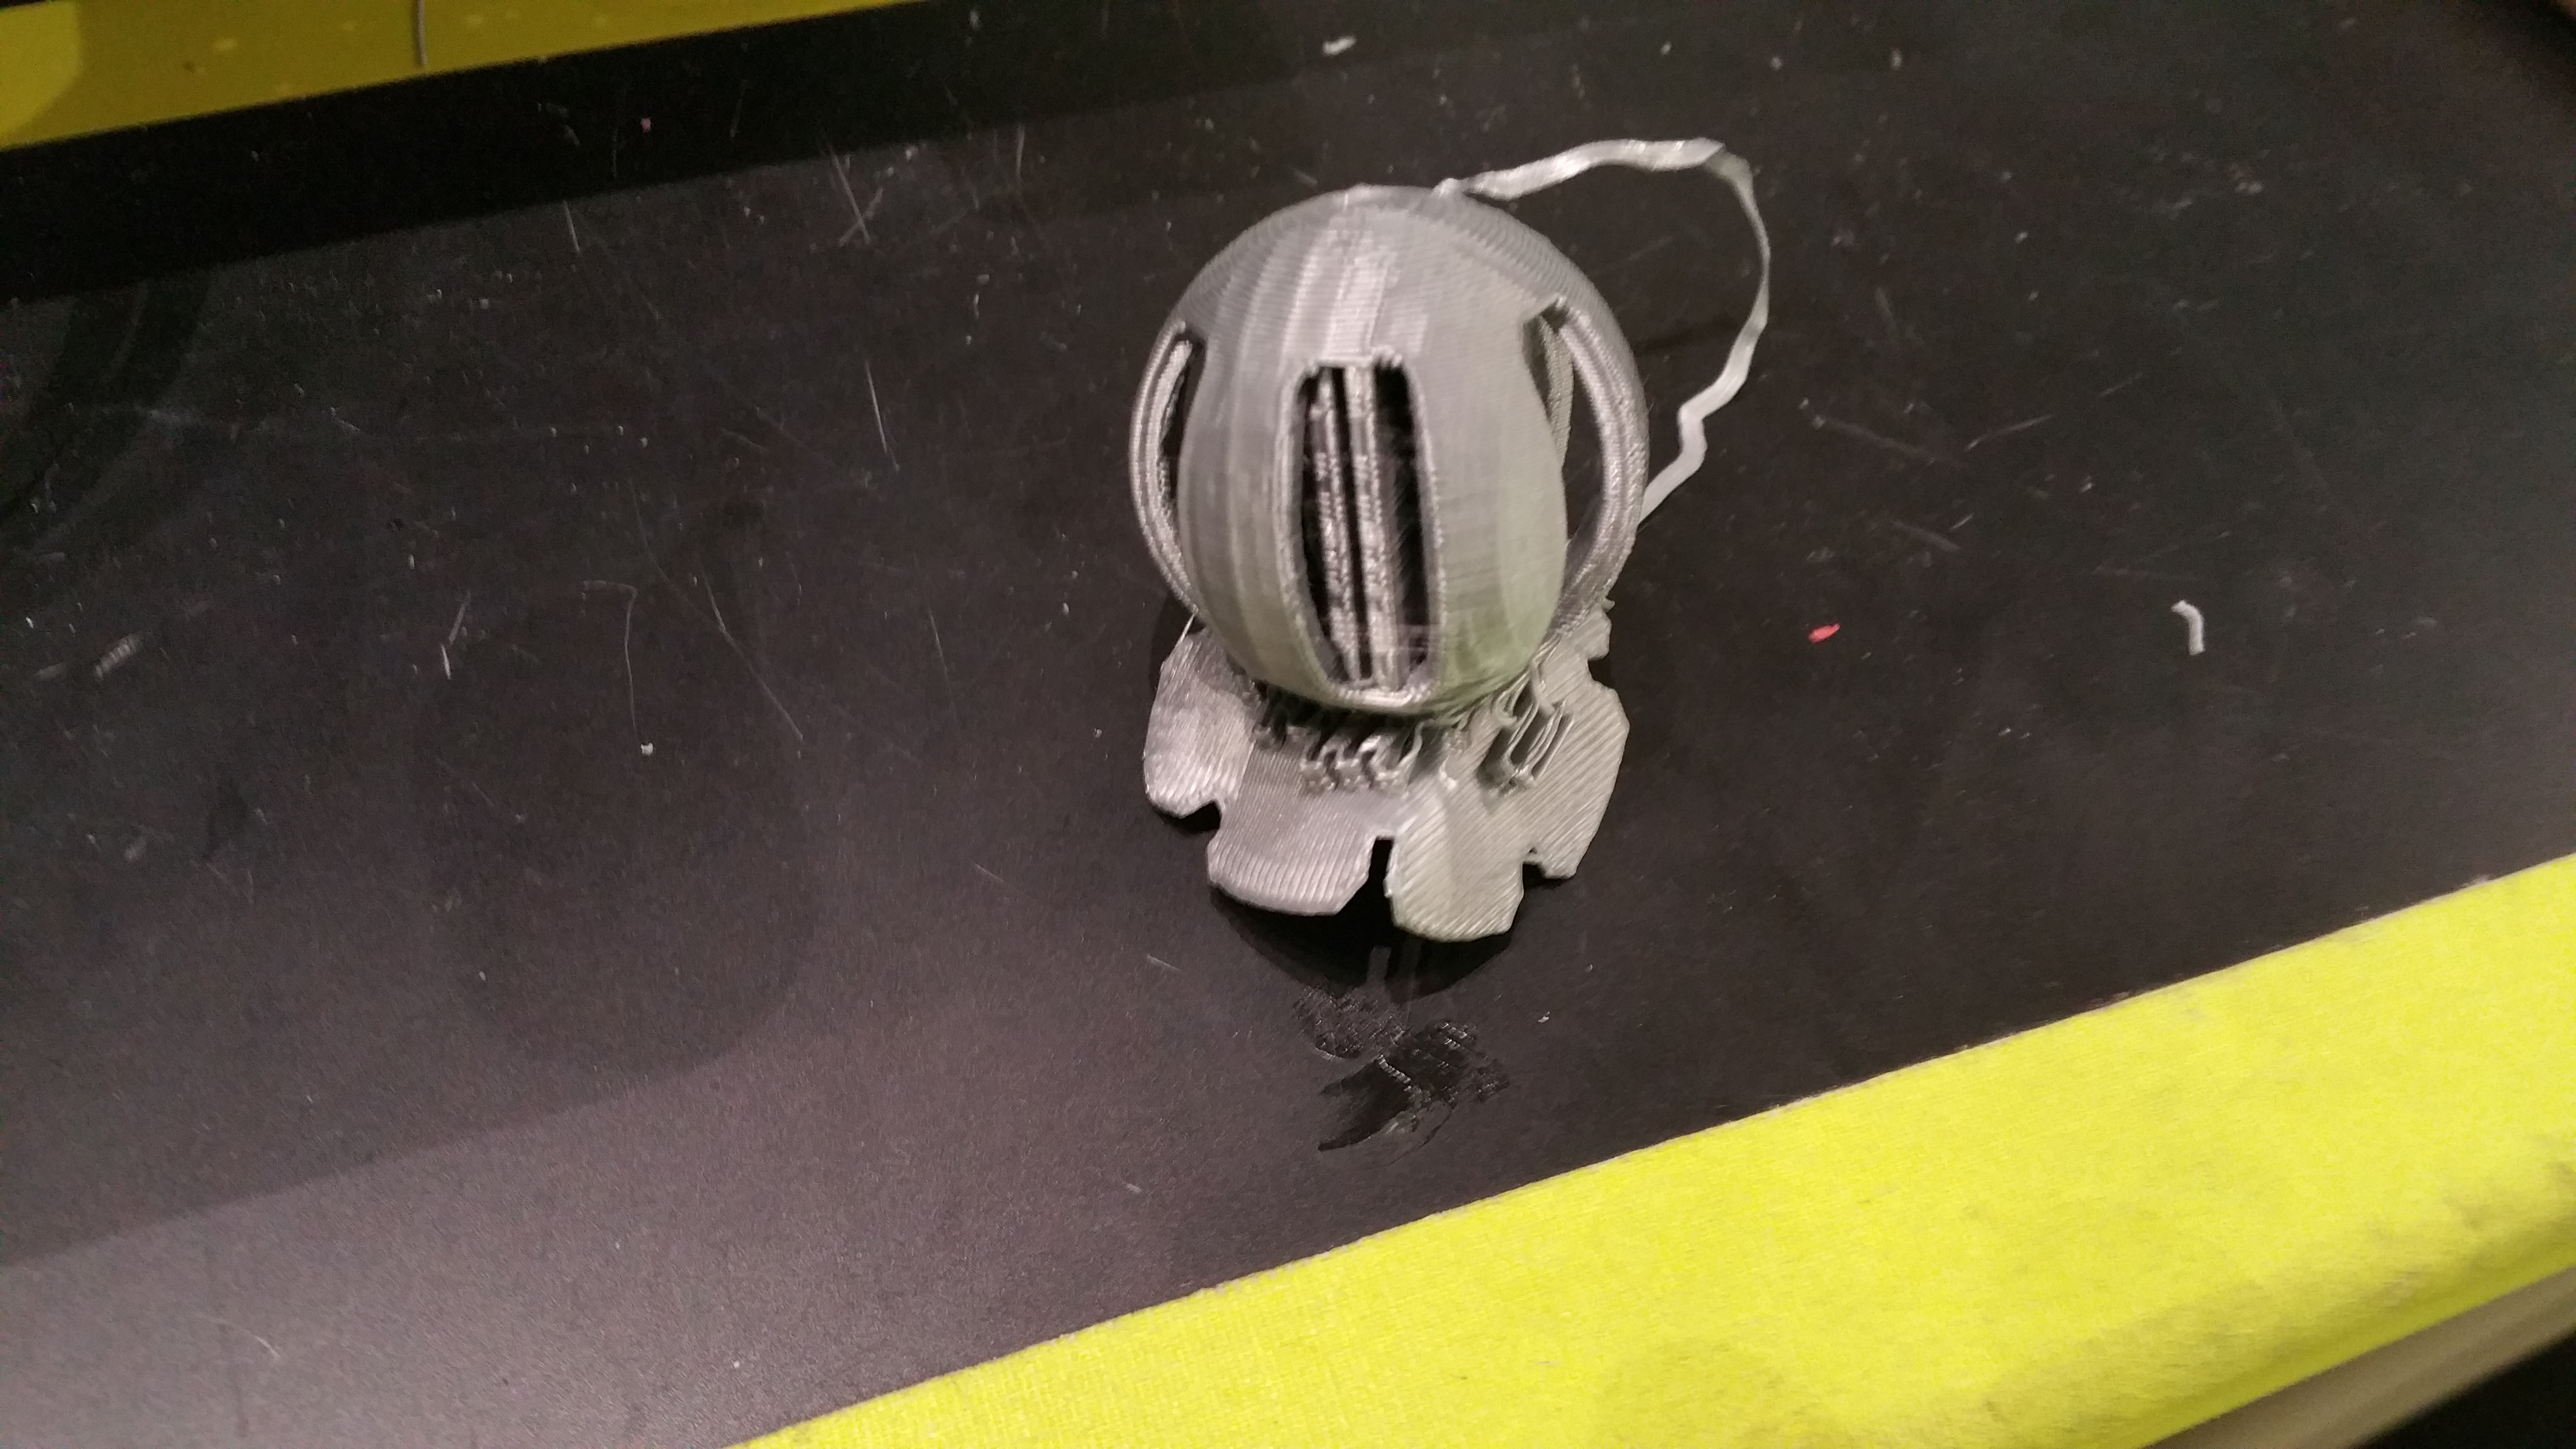
The print of this first model I found turned out rather unpolished. This was because I opted out of using support material. I decided that to make a more polished final print I would need to use support material. This meant the ball would need large holes on its surface so I would be able to physically pull out the support material.
The print of the “ball within a ball” file. It can be seen that some of the top layers are falling in because they were printed without support material.
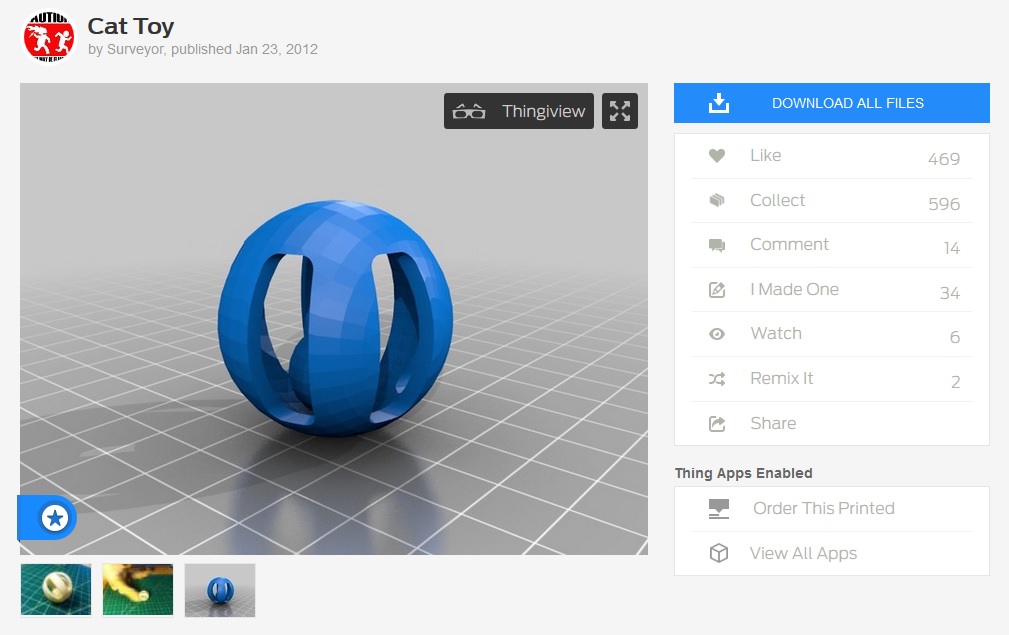
Luckily, a model that met these criteria actually existed.
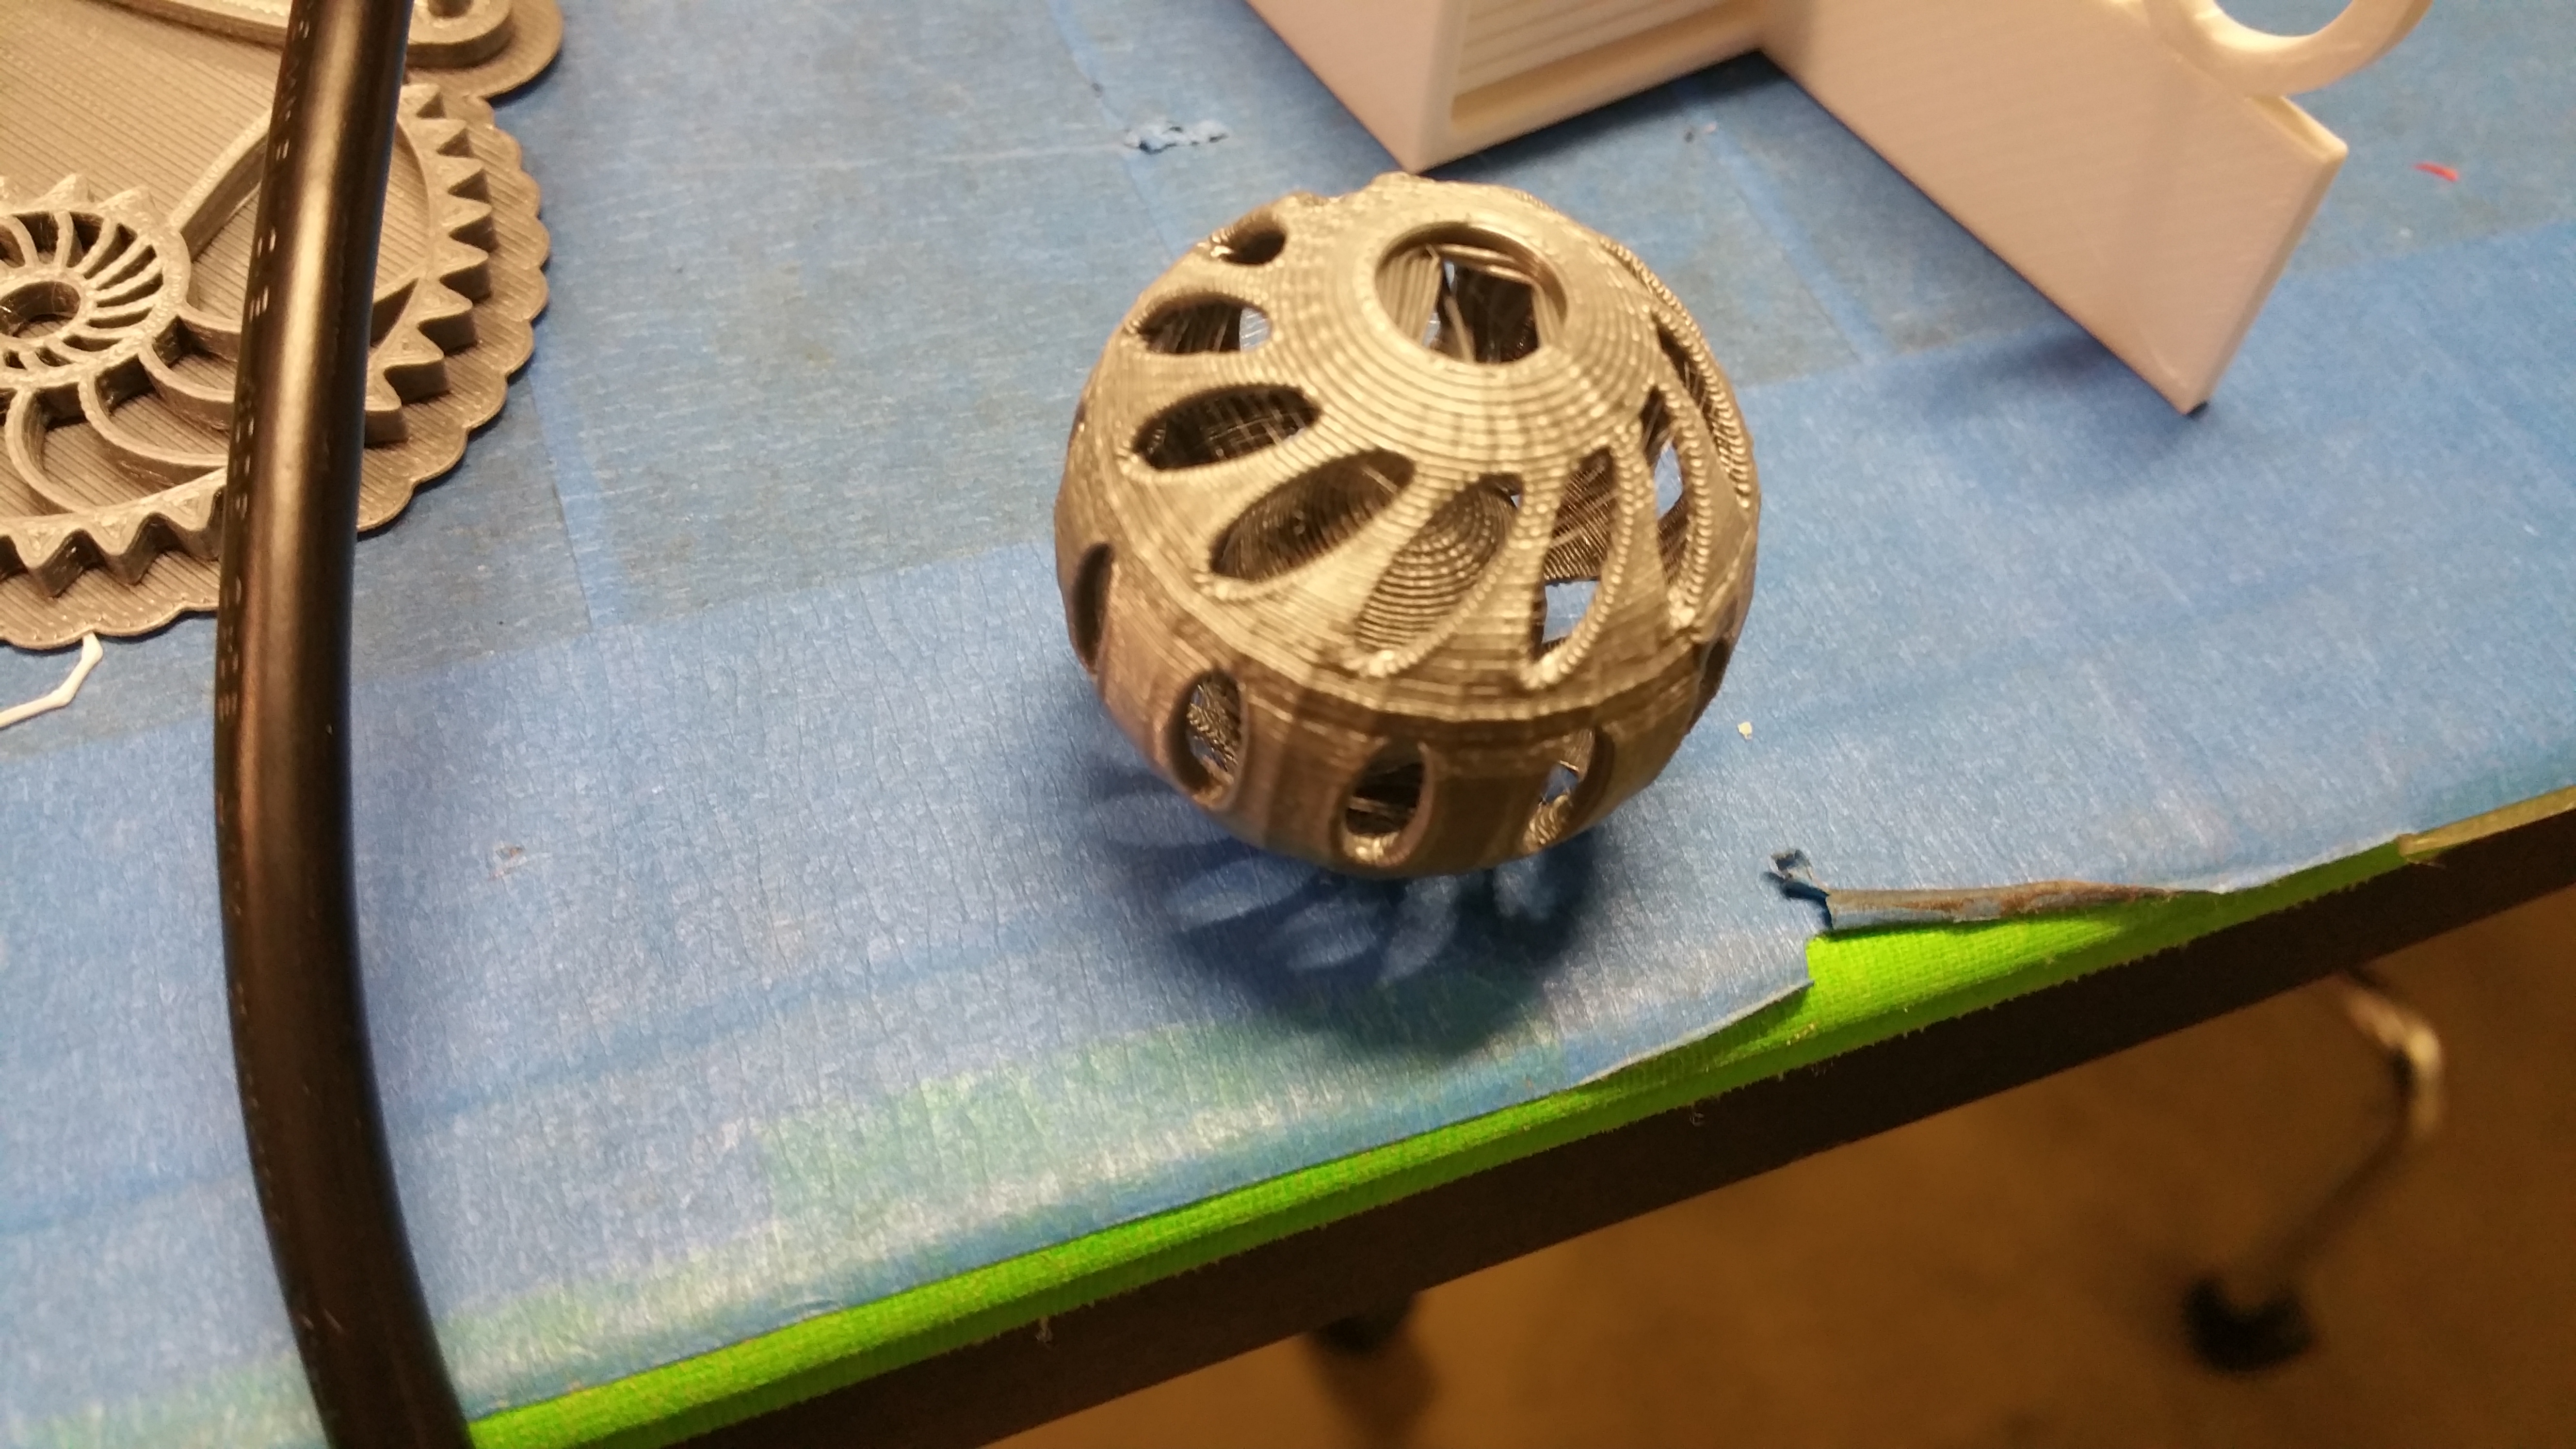
And I printed three versions of it. However, finishing the final prints was more painful than I initially expected. For the gray ball it was fairly easy because the support material came off with little effort. But the second and third ball, despite having support material with less infill, proved more difficult. After removing the material with a screw driver and a pair of pliers and filing down the bottom surfaces of the objects, the results were much less aesthetically pleasing than I would have liked.
First print of the “cat toy” file.
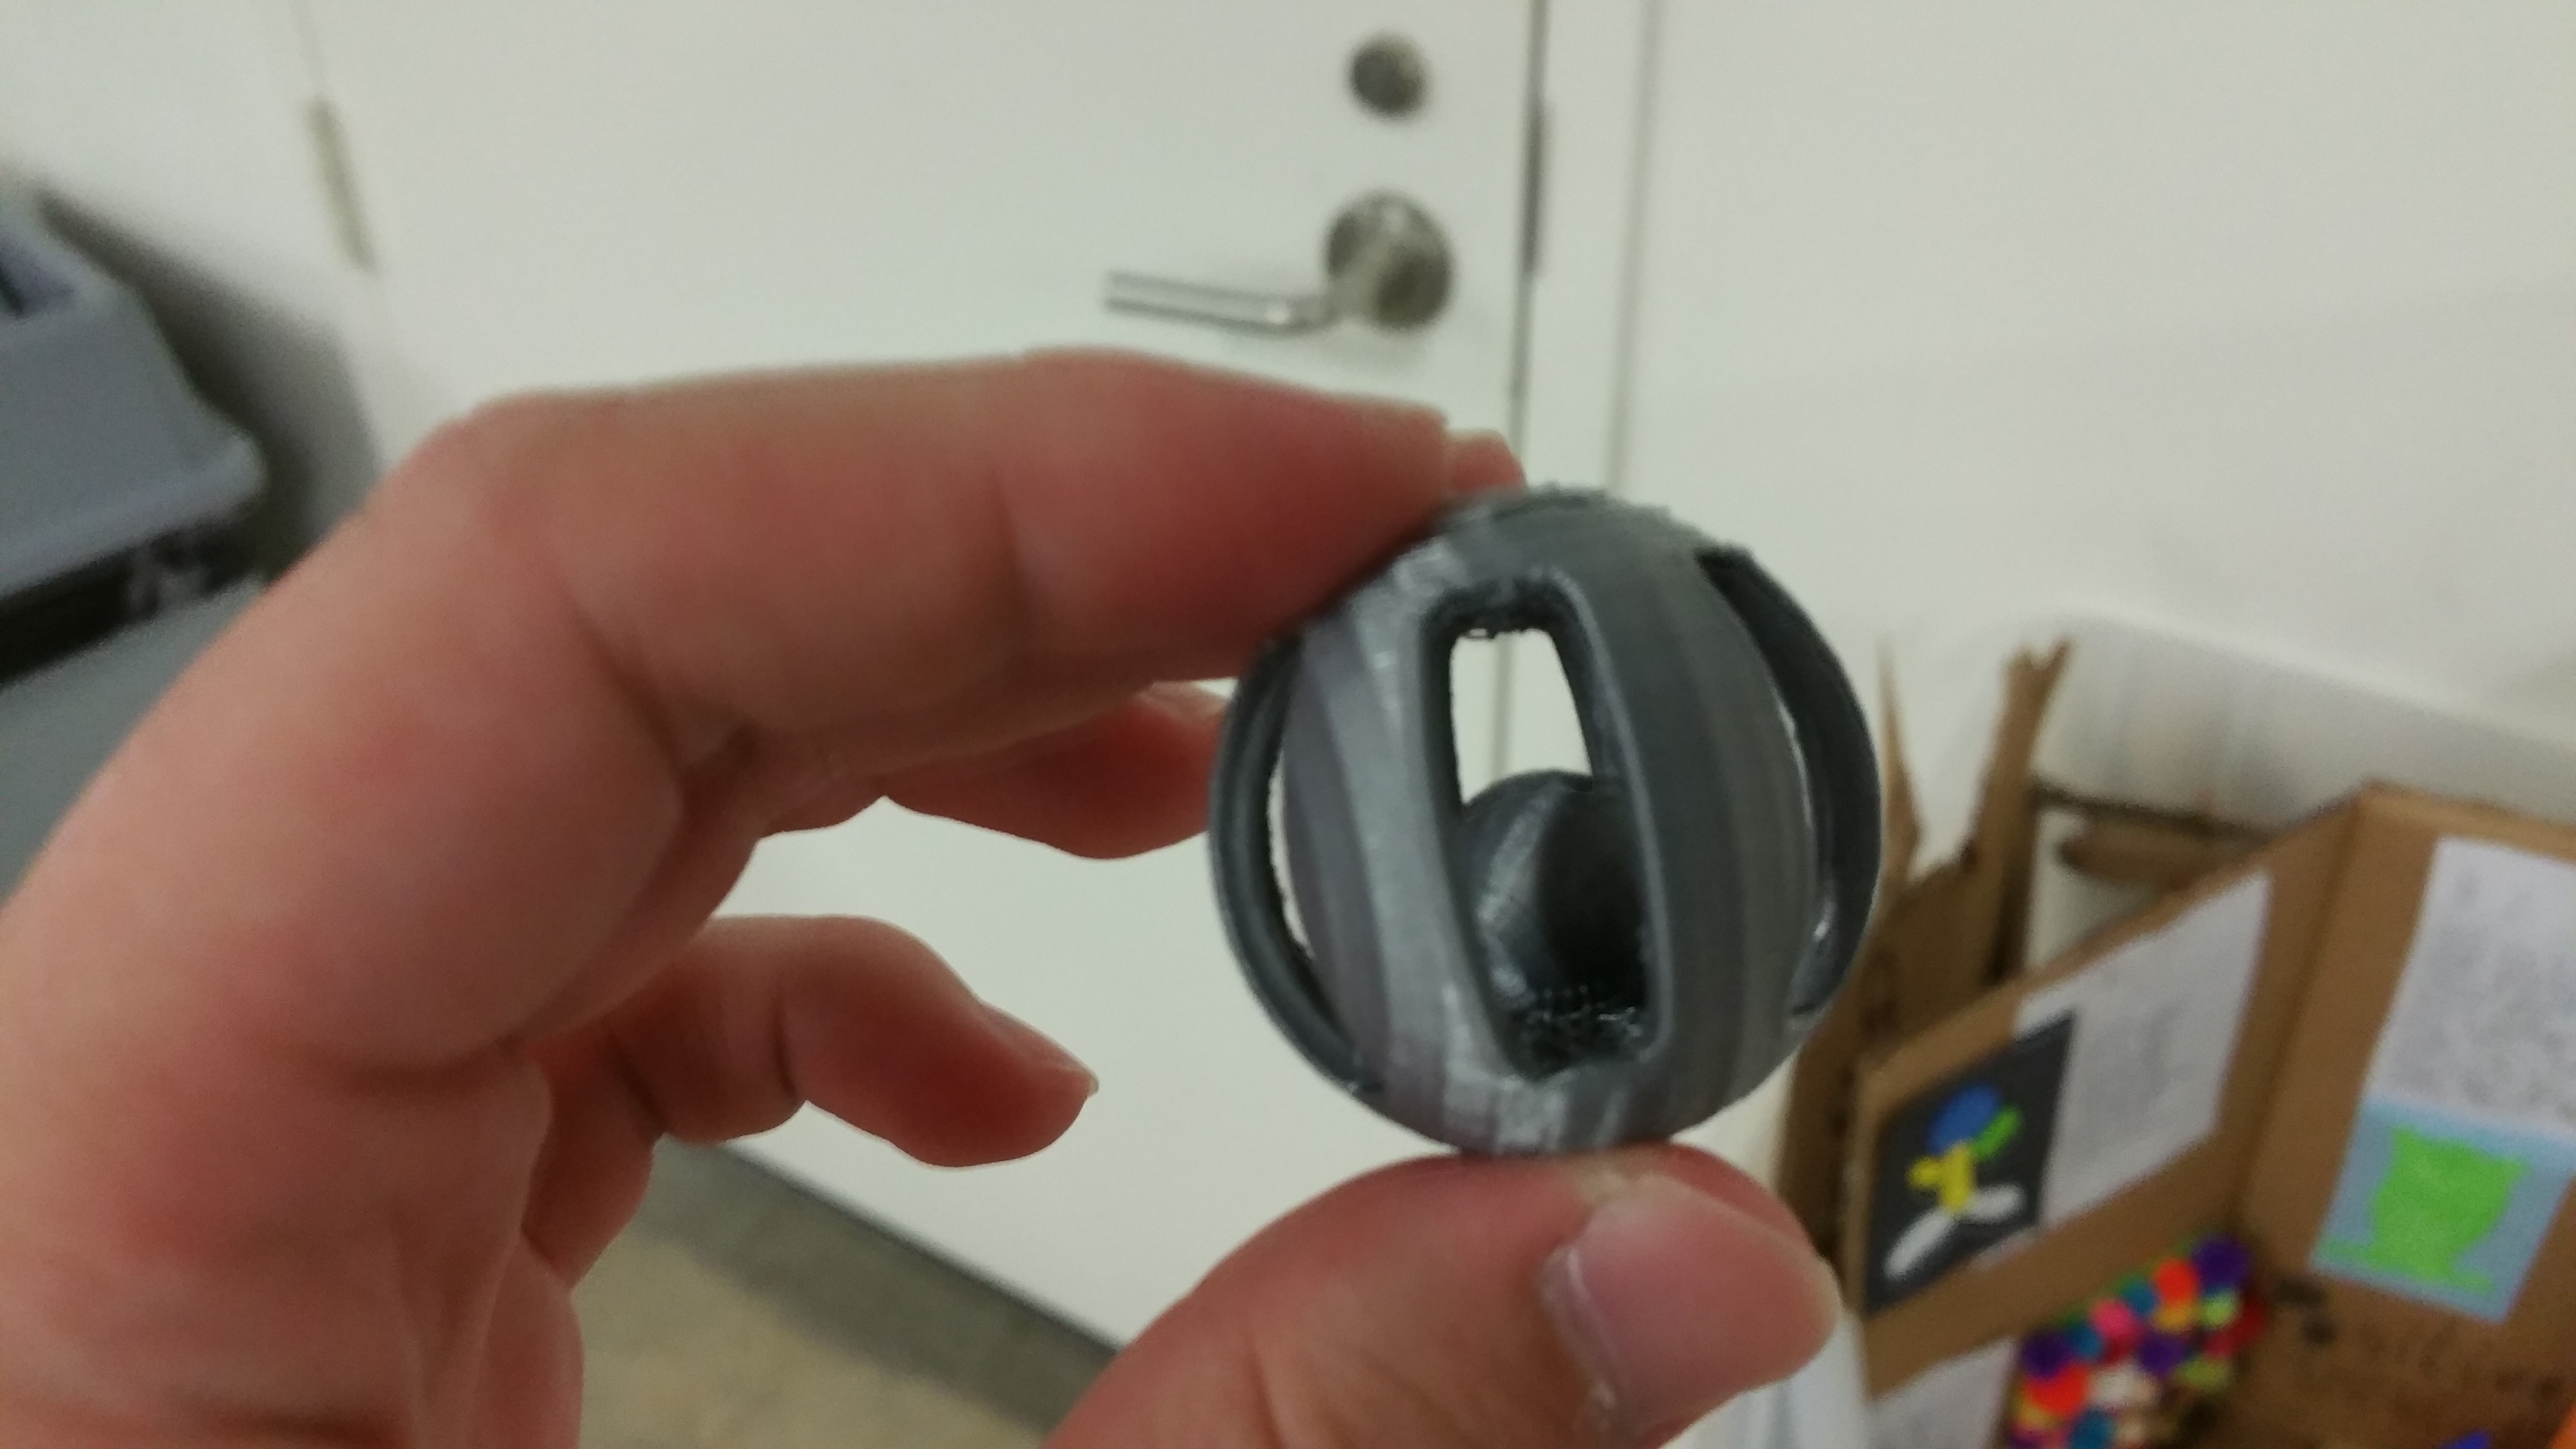
The first print after post-processing.
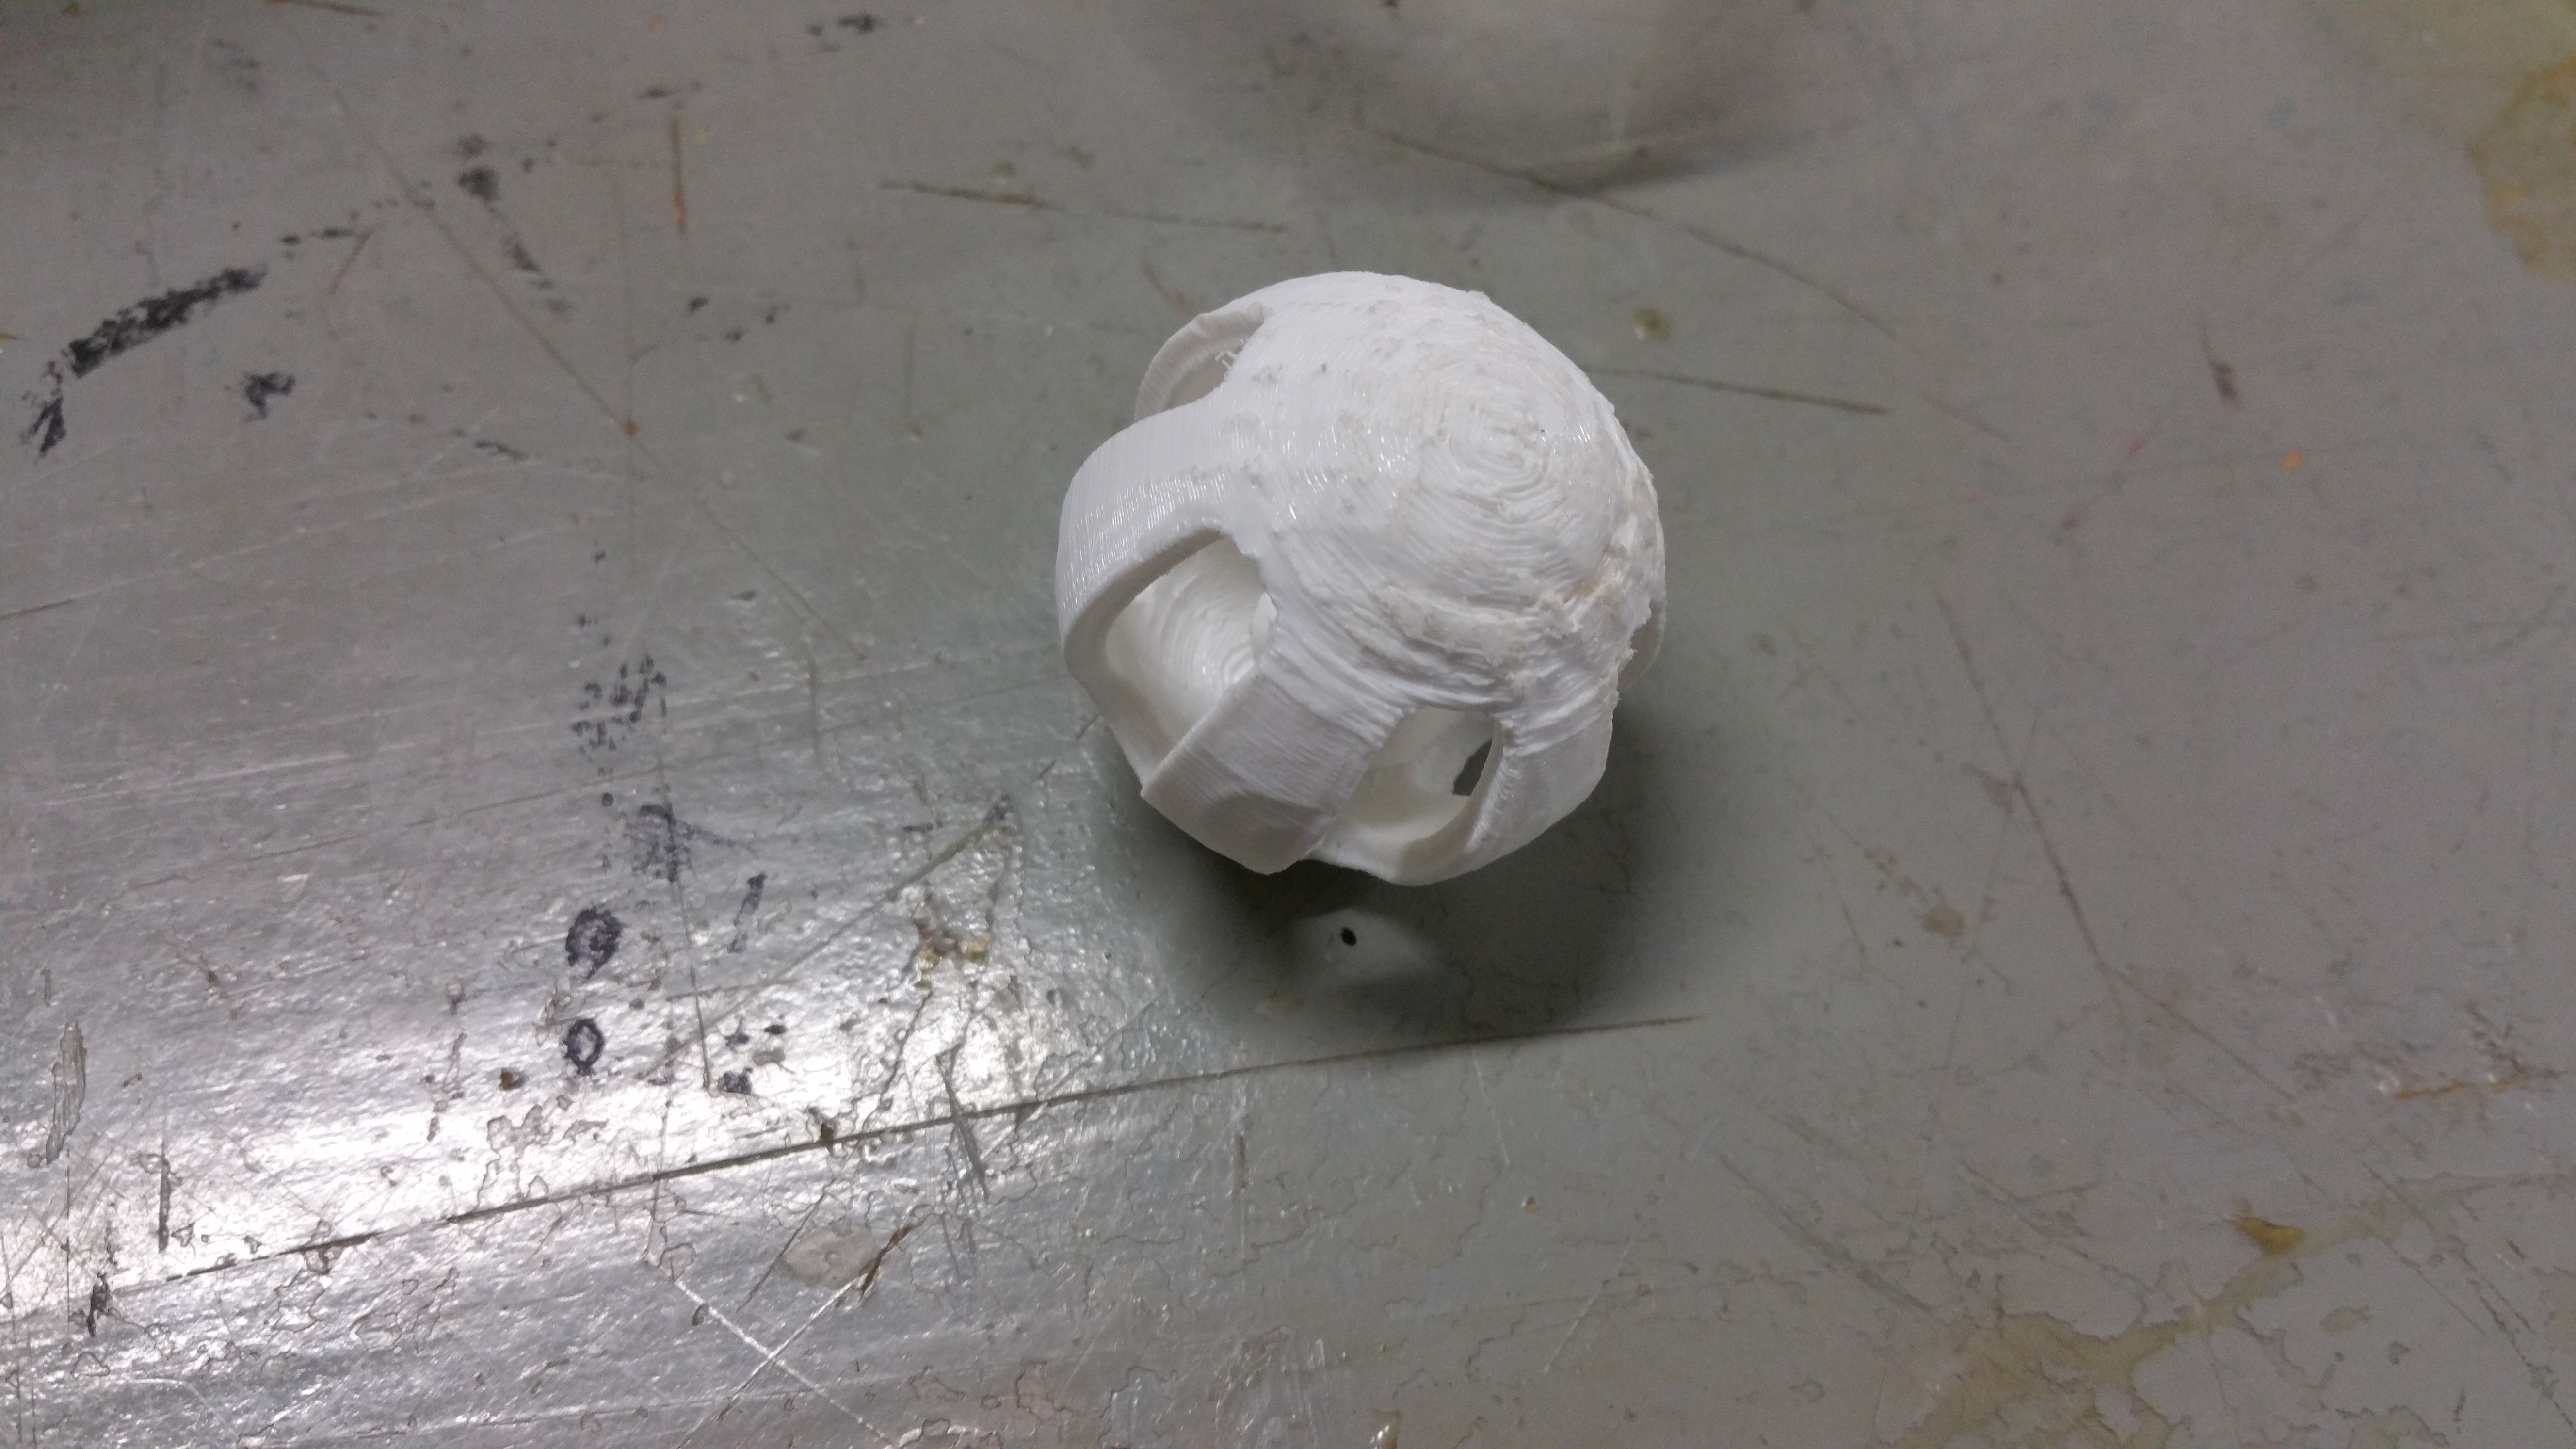
The second print of the cat toy file, showing that the bottom was badly scarred by stubborn support material.
However the assignment gave me incentive to use the 3D printers for the first time. Now that I’m familiar with them, I’m excited to see what I can print for fun.
