For this project we were supposed to carve a noun. A brief Google search indicates there are anywhere from 200,000 nouns in the Oxford dictionary to over a million nouns used colloquially. I had a lot to choose from. So why “rain”?
For me this project (as all projects are) was a chance to look into the various elements of the strengths of the technique we were using that week. Unfortunately, I was out of town for most the this past week as well as the weekend, so I didn’t get a chance to do a deep dive into the project. I decided to make up for that by being artistic. Hence, the noun rain. My inspiration for this was driven by the famous crayon melting project seen on Pinterest (so many projects). Some of these have an umbrella in the image. I wanted to do something similar but using carved elements and stain as opposed to crayon melting.
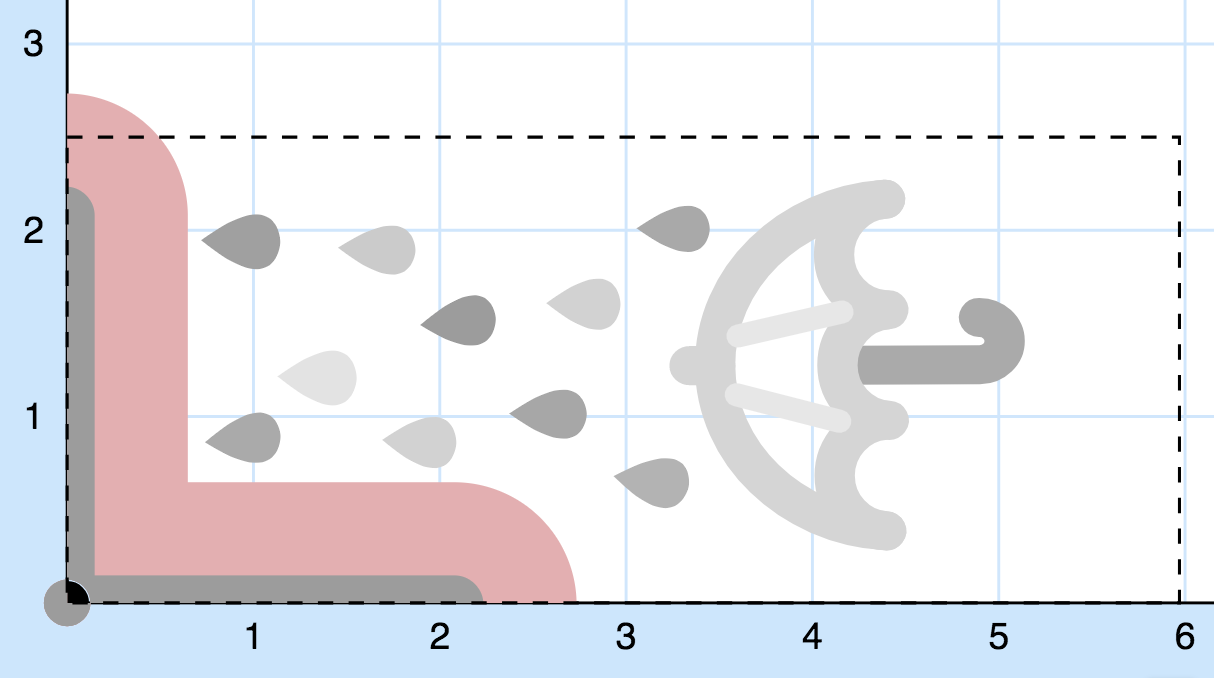 To the left is my image I created on Easel.I wanted to introduce several depths in the umbrella and rain drops. I thought it would create interesting depth in the rain and would create shadows with the droplets that would create shading.
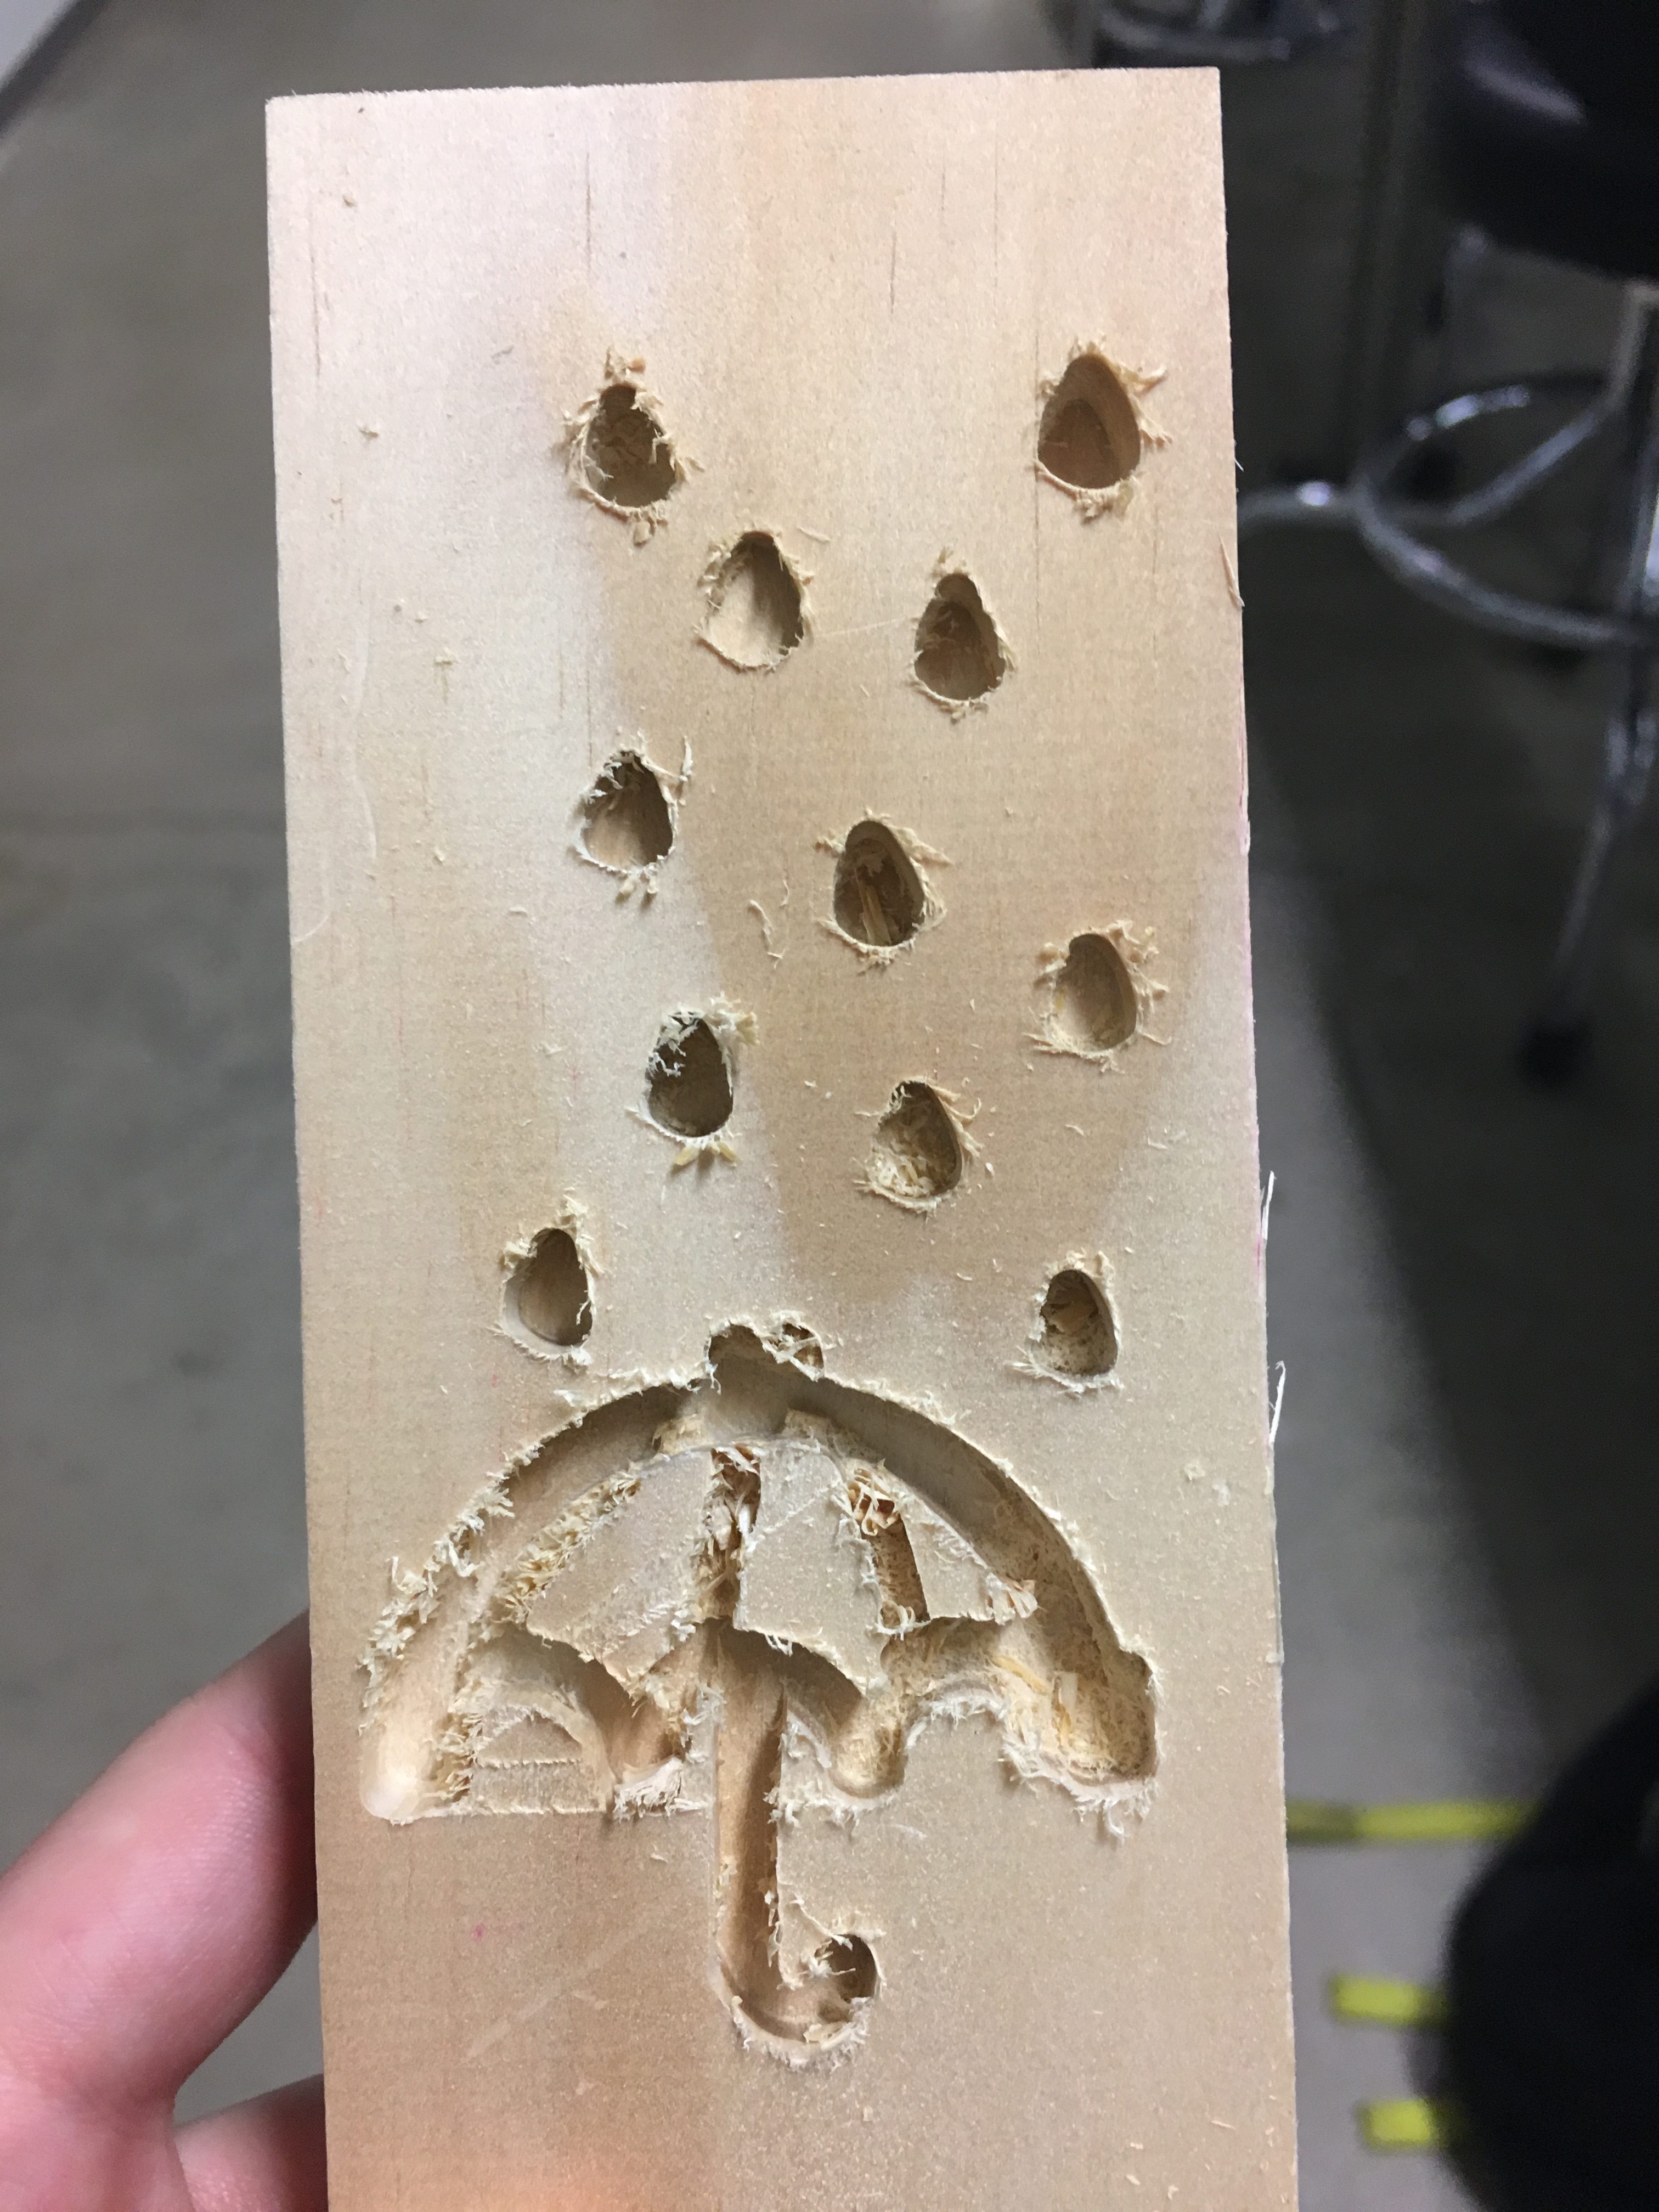 Working with the Carvey was more difficult than I expected. The driver on Easel was simple enough, but I ran into several problems when using the actual device.
I had trouble anchoring the wood to start, running into issues with the spacing of the supports. I was able to mitigate this by switching out the short grey holders for the longer grey holders.
My second issue was that the drill bit kept falling out. I didn’t recognize this problem right away, but rather when the wood started vibrating in the device. I took the bit out and put it back in, tightening it again according to Lab tech instructions. It happened again, resulting in the dragged line on one of the final pieces. Since I had already scrapped one piece of wood, I didn’t want to waste another. But this time I tightened the bit with a wrench set according to a different lab tech and the bit caused no more problems. I attribute this difference to the relative newness of the device and unfamiliarity.
 For post processing, I first sanded all surfaces, edges and corners with the belt sander. I then took a small piece of sandpaper, folded it, and ran it inside the cuts. For some of the bigger splinters I ran a chisel alongside the inside lip and cleaned up the edge.
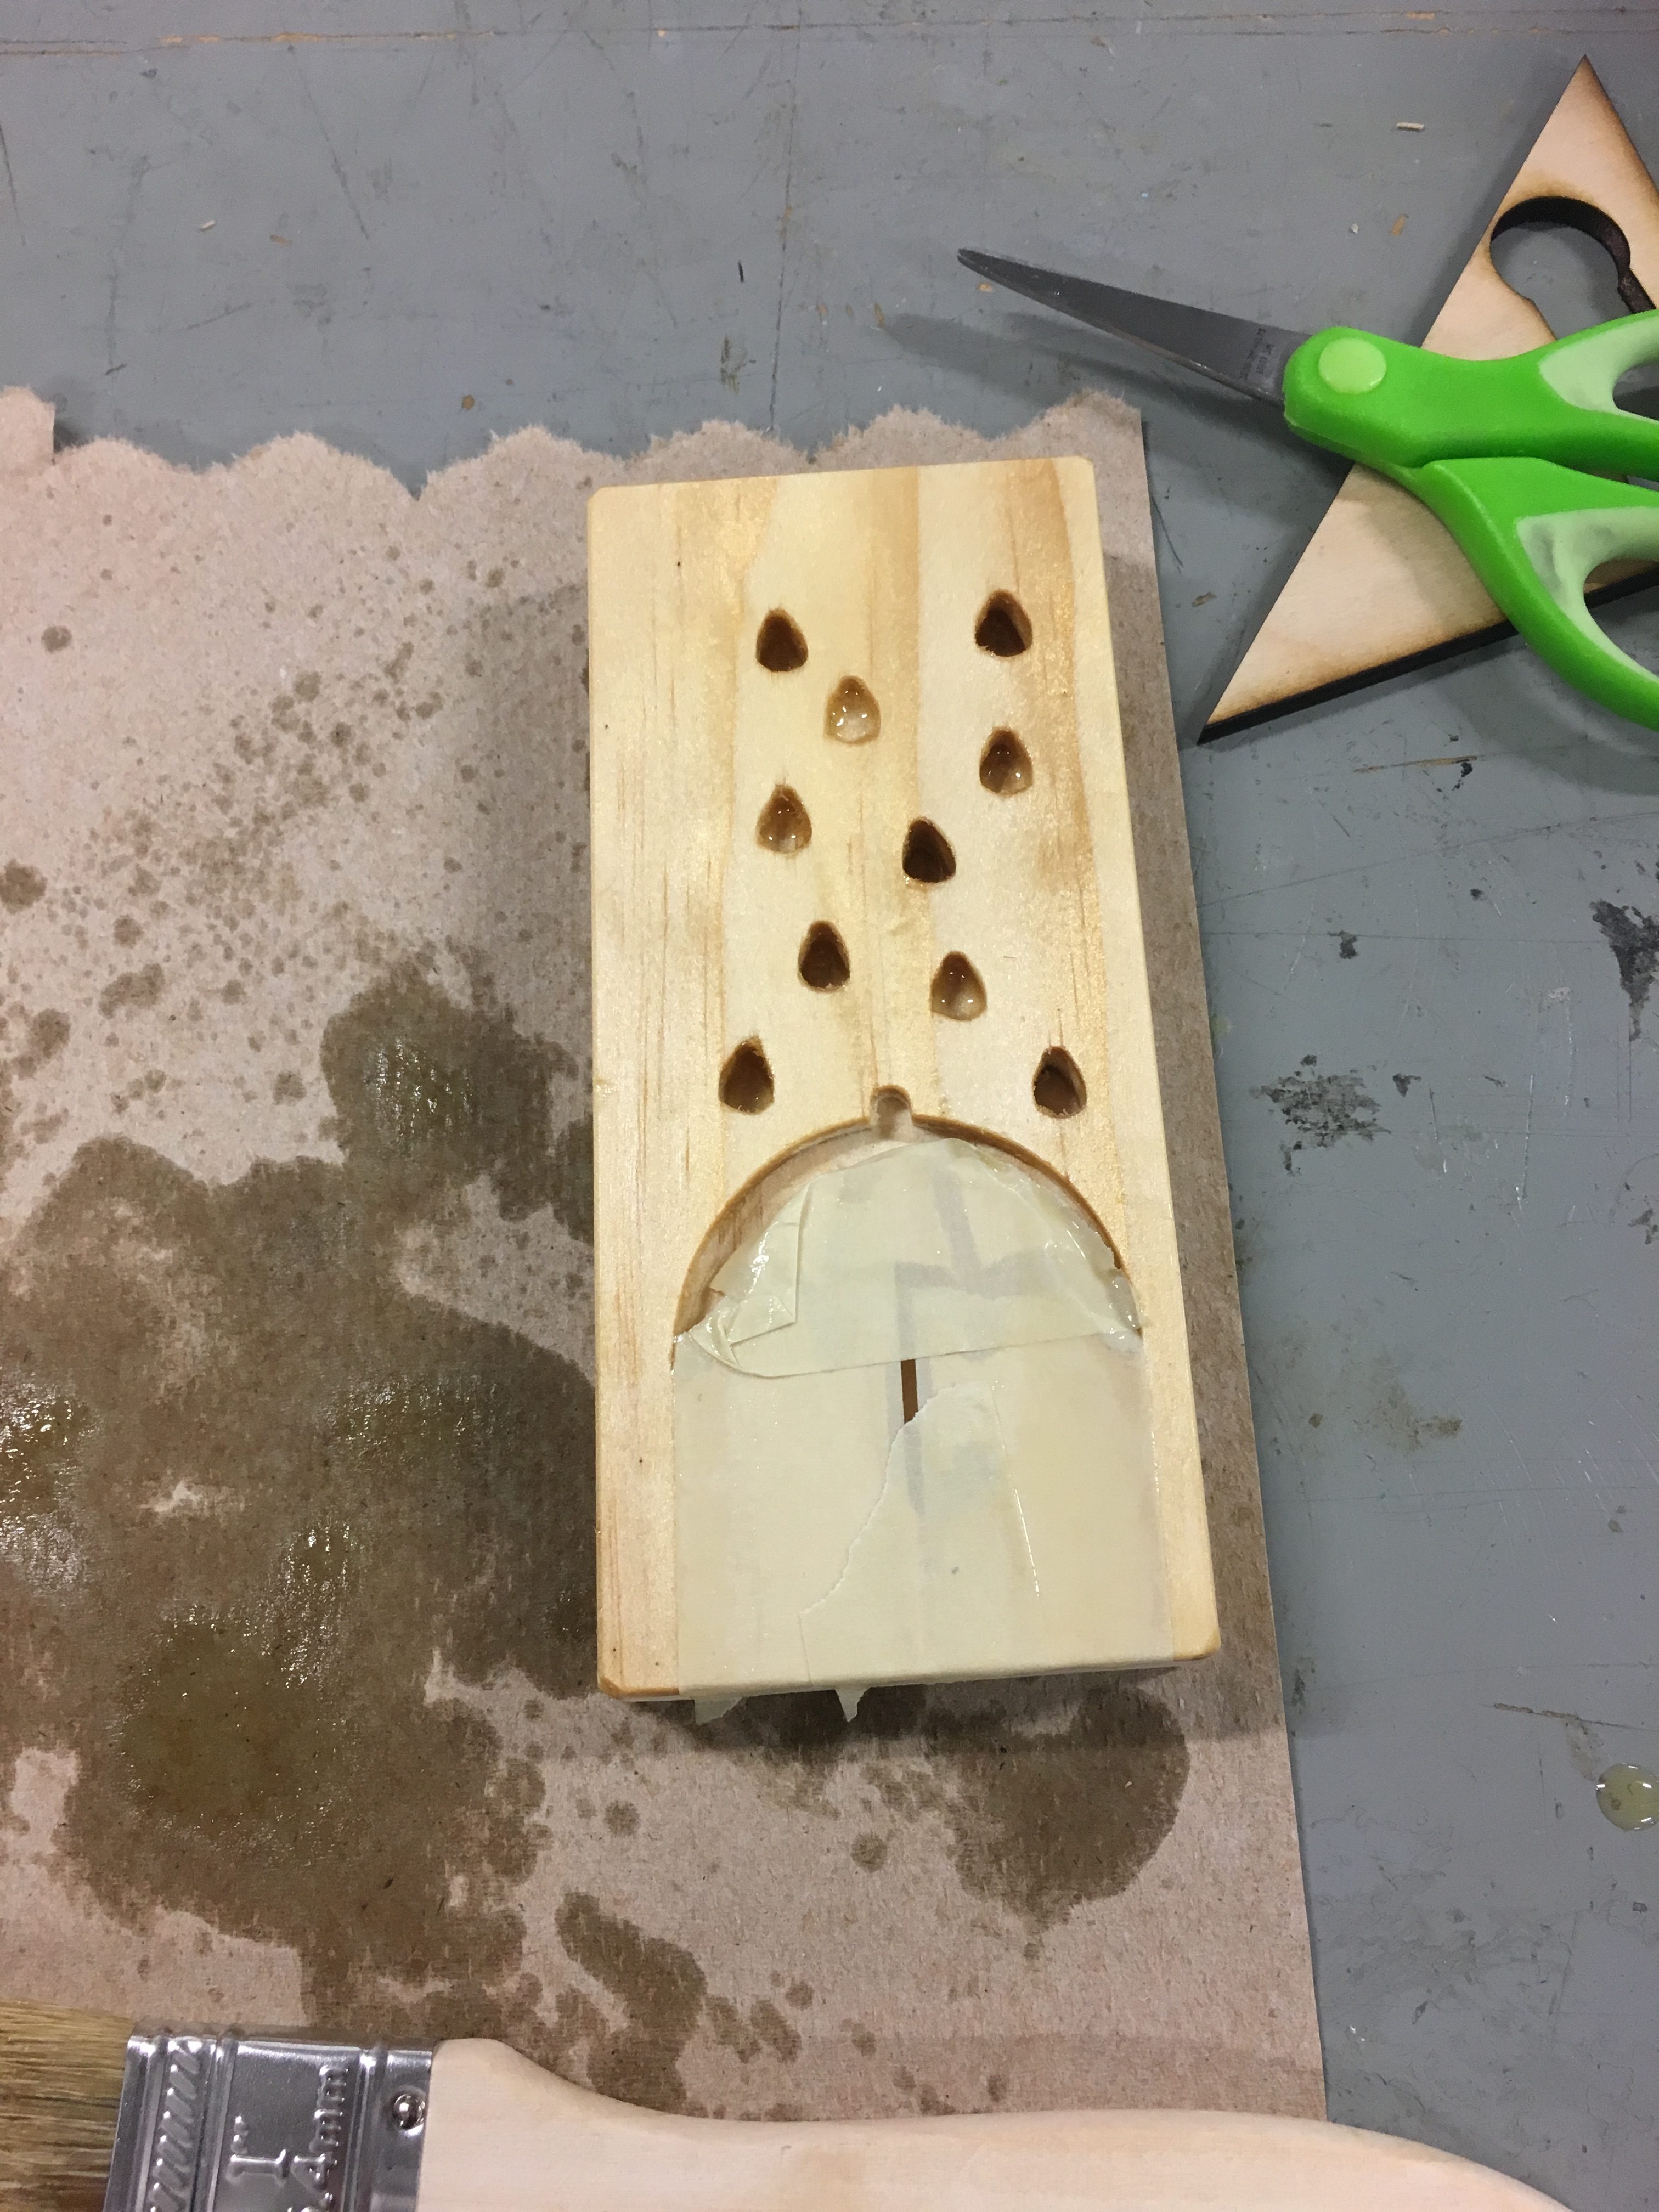
For staining I first taped the block as seen on the left image. This way the stain would look like it was falling in line with the grain. If I was to repeat this step I would use the honey stain as opposed to the linseed oil for greater contrast. I originally chose not to use the honey as I was afraid it would seep too much. In retrospect that would have looked fine.
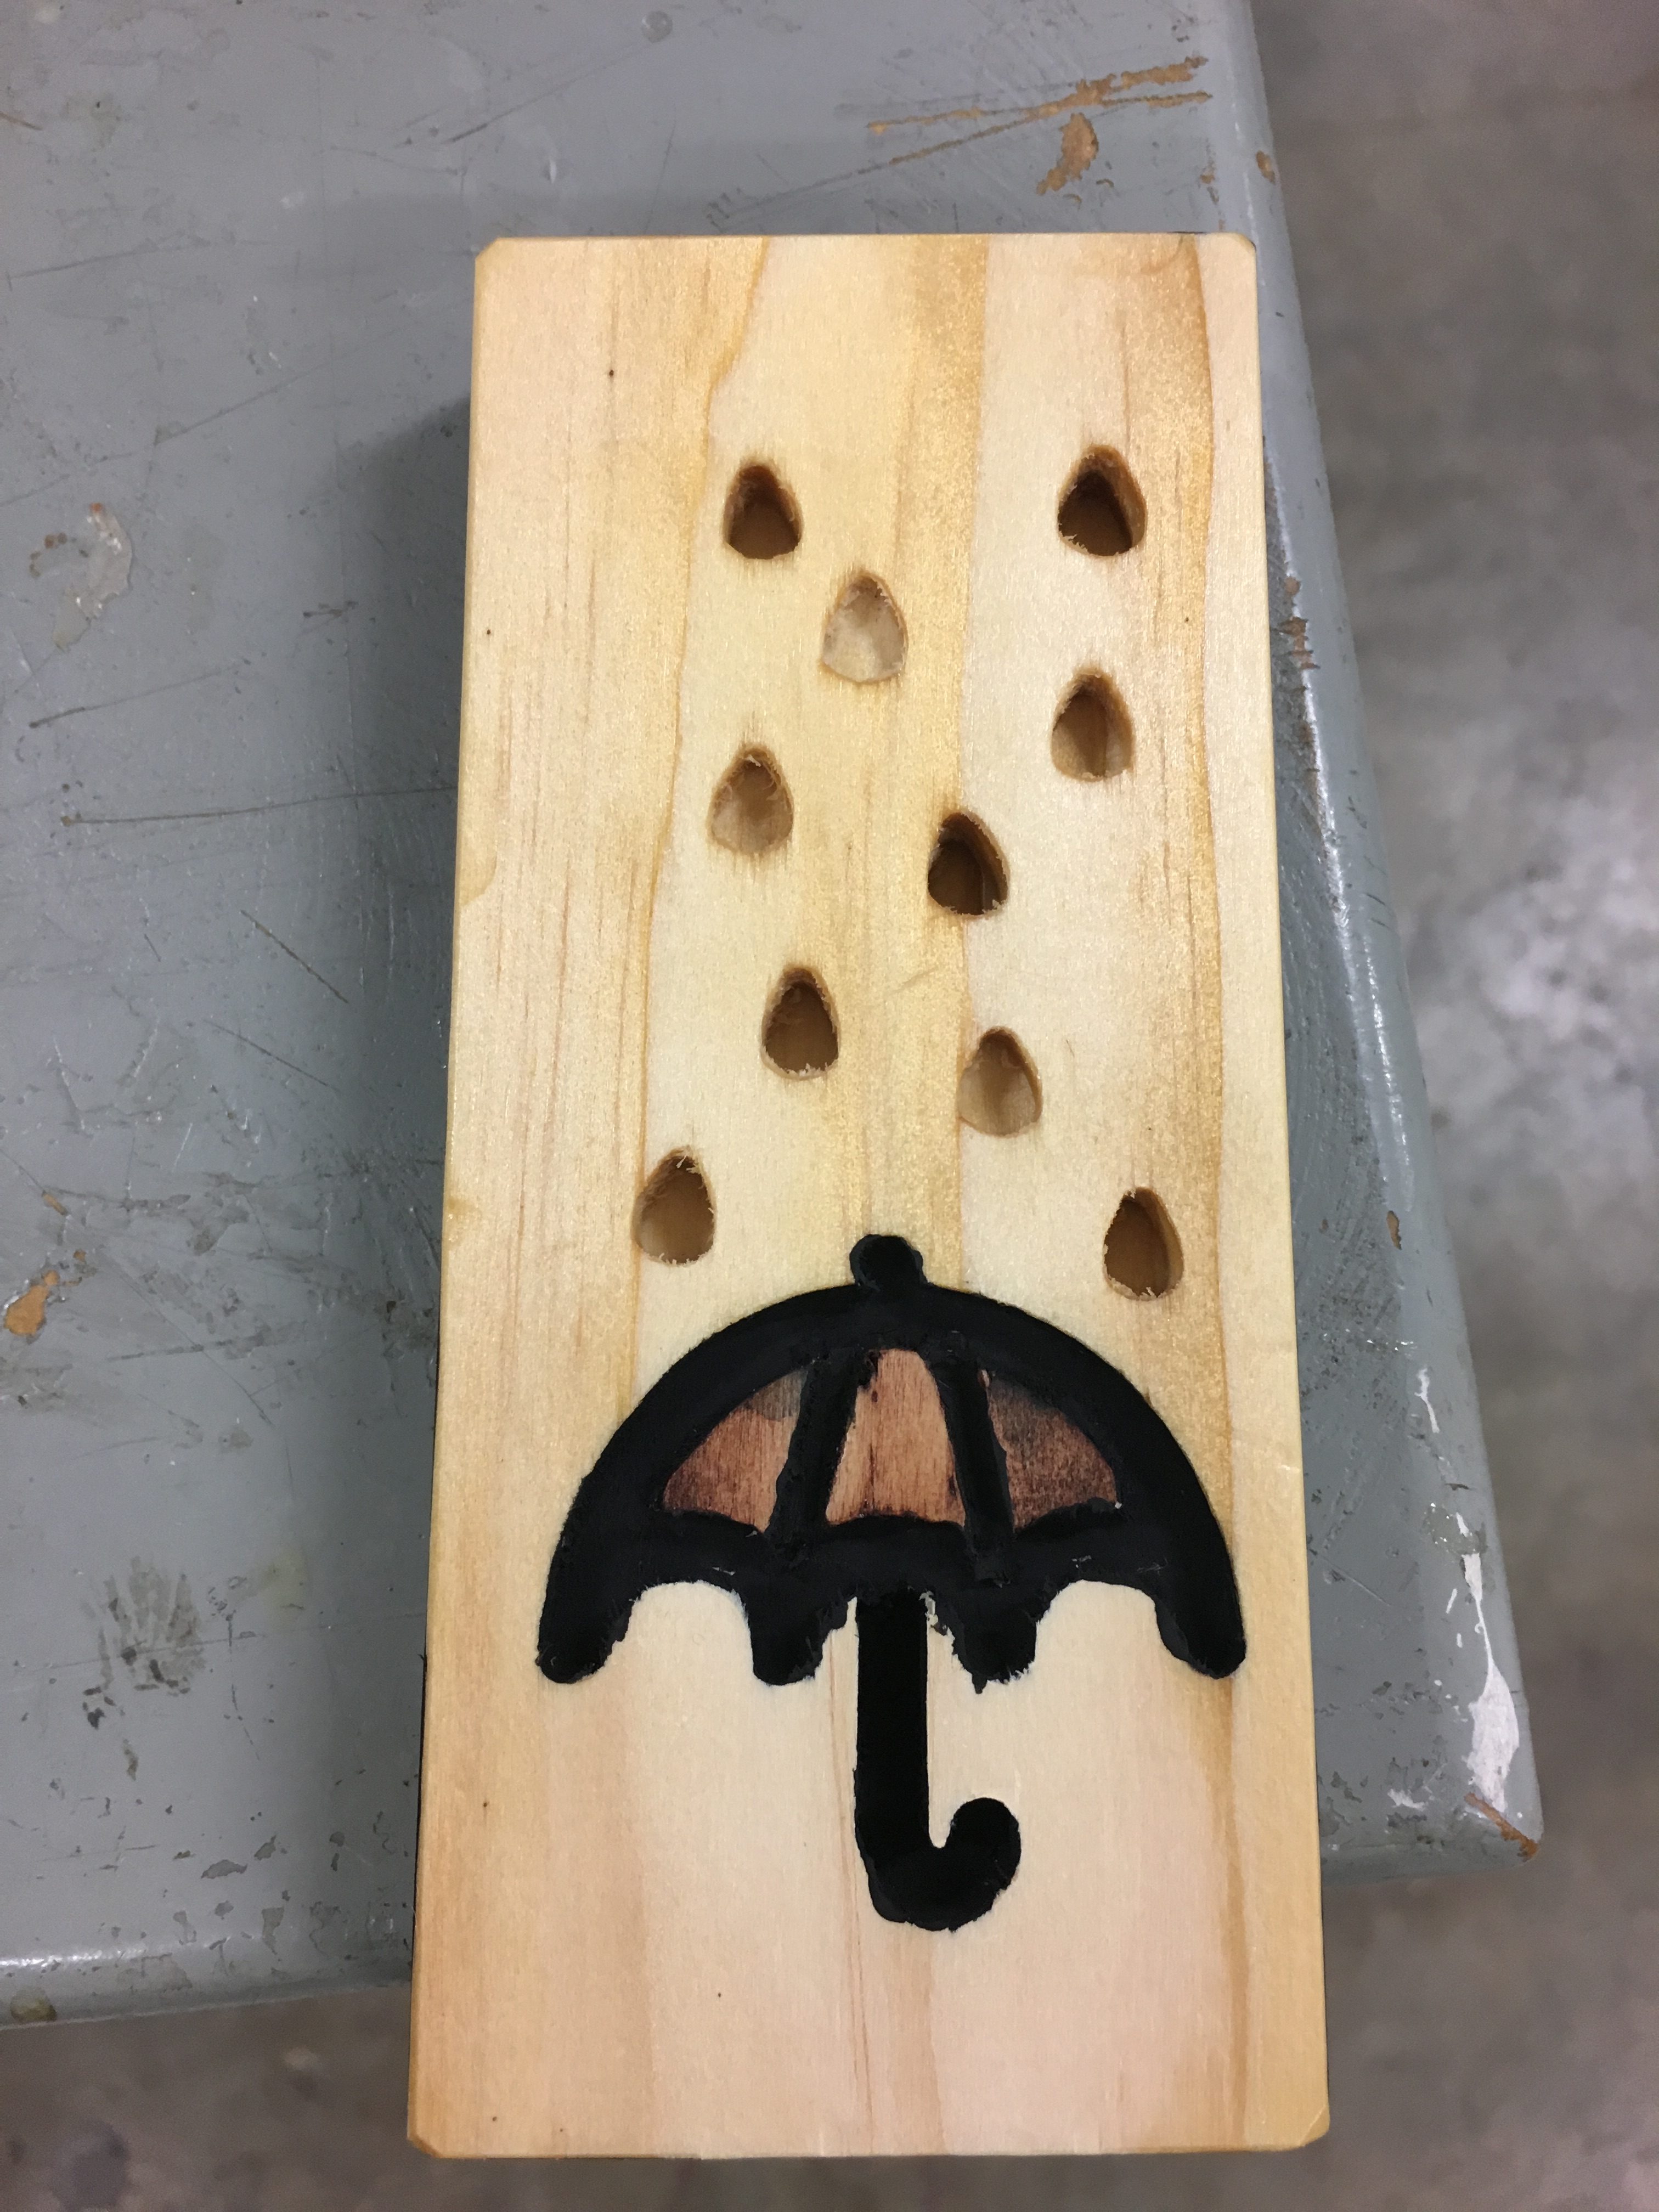 I then stained the “cloth” section of the umbrella using the gel stain. I detailed the inside of the umbrella ribs using black paint and a paint brush. To finish off the piece I edged all sides using black paint.
Overall I was fine with the way the piece turned out. I think it would have had a greater impact if the stain used for the rain was darker, but I’m pleased with the overall effect. I think it effectively conveys the notion of “rain”,
