Introduction
CNC machining is a concept I have only been briefly introduced to through the MECH340 industrial processes lab, in which I basically watched Joe make a part in the machine shop. That said, it is something I have always been interested in, and I was ecstatic to finally have an excuse to learn how to use these machines! Through this process, I definitely had a lot of fun and I look forward to expanding my capabilities in this area through full 3D CNC.
Modeling
I have never before used Easel, but the program makes everything relatively straightforward. I began designing my object by randomly scrolling through thenounproject, where a cute little pump jack caught my eye. Given my future career path, I thought it quite fitting, and downloaded it as an SVG file. Easel refused to handle the text that was apparently part of this image, so through Vectr I was able to find and delete the pesky text component, at which point Easel readily accepted the image and I was able to begin work.

The SVG I started with in Easel
However, rather than simply cutting this noun into a block of wood, I wanted to make it a little more complex. I decided to give it some staggered depth, putting in slightly deeper inwardly offset shapes until I had created the following:

My final design
For full disclosure, this simple sounding process actually took me about 5 hours of playing around in Easel. While Easel is great for cutting fun shapes, it is actually pretty bad at precision design work (especially when it gets really small) and so I had to go through significant trial and error, making my own shapes, adding points to existing lines for easier editing, and modifying/duplicating existing shapes. Furthermore, I actually had to do this design in two phases, as after my first failure, discussed below, I decided to make my shape carvable using a 1/16th bit, which required increasing several dimensions.
Attempt #1 (Failure)
At this point, I was ready to begin my first CNC milling experience. I put the required bit in (1/32″, my shape had very fine components) tightened it, hooked my computer up, and then realized I had to download another driver from inventables. Sadly, my antivirus thought that this program was sketchy, and after fiddling around for a while I actually had to disable my antivirus to get everything connected. Once this was completed, though, I simply followed the onscreen instructions. I measured my piece, input its dimensions, tightened it down, hit run, and watched the Carvey plunge the small bit into my oak piece, and immediately snap the end off.
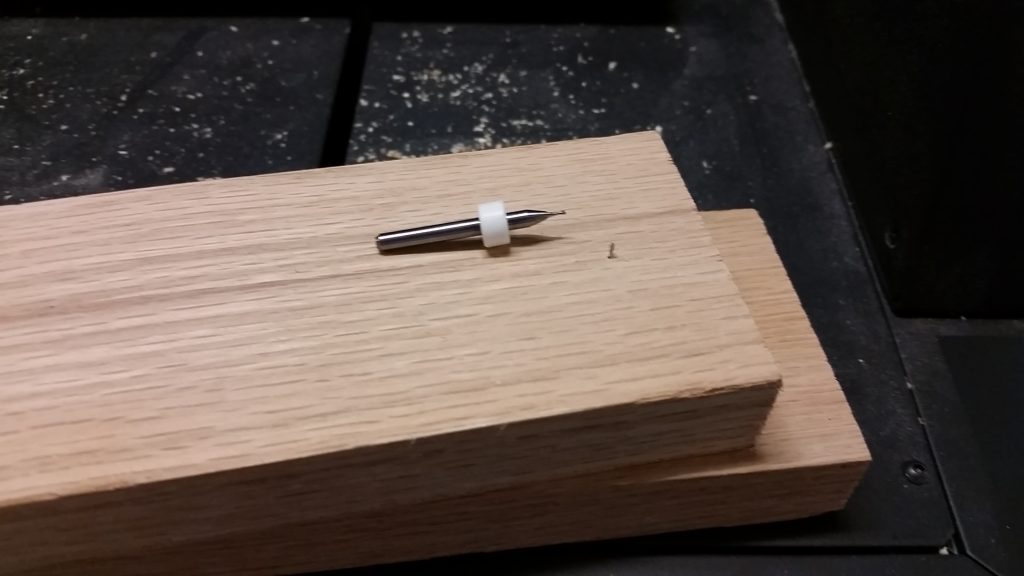
Broken Bit 🙁
I want to point out that I explicitly followed all instructions to the letter, and also promptly notified a labbie. My understanding is that the oak is likely too hard for the bit settings that I had used (I had selected ‘hard maple’ since oak was not an option.) In the future, I would either use a different wood or, if I wanted oak, manually set the plunge depth to be smaller than the recommended value.
subsequent Attempts (success!)
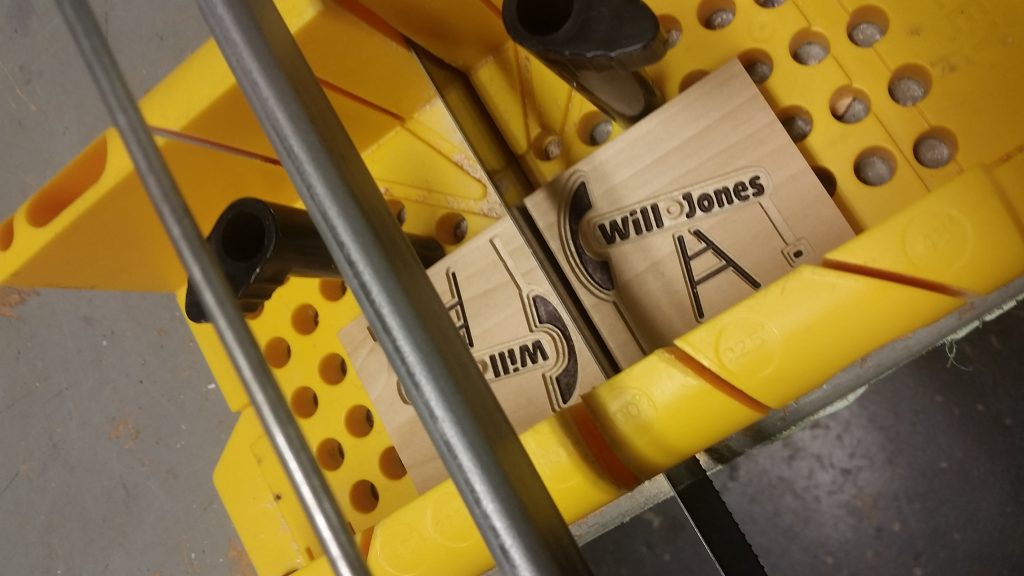
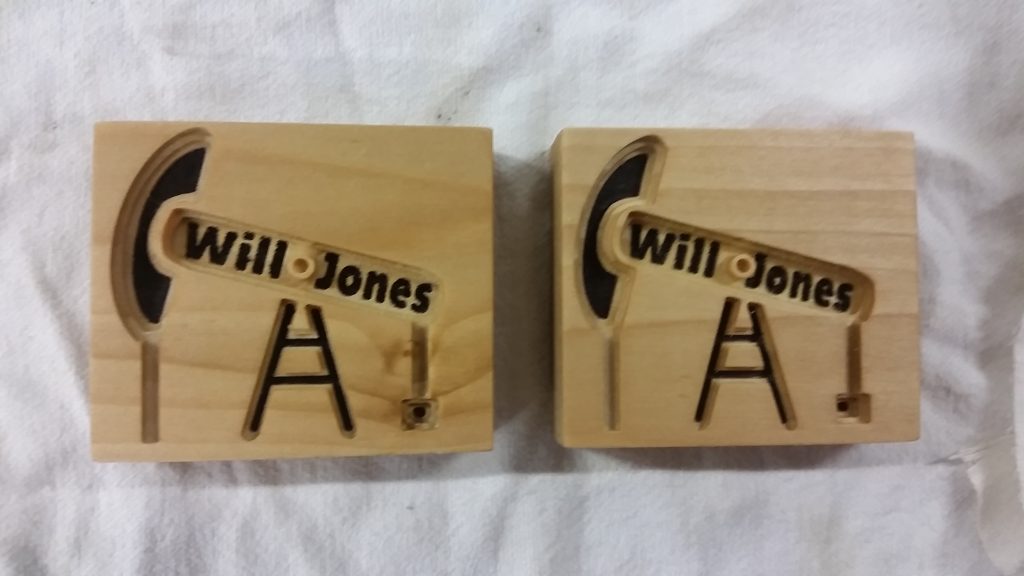
Having had one failure, I wanted to be sure that I didn’t break anything else, so I went and found a piece of poplar (much softer) and also pulled out a 1/8″ bit (much stronger) and left the Carvey settings on ‘hard maple.’ In this way, I wanted to be totally sure that the cut would occur safely. After running the cut again, I obtained the carving on the left of the below picture. Note how it does not yet have my name CNC’ed or the 3rd inlet level completed; this is because the 1/8″ bit was far too large to fit.
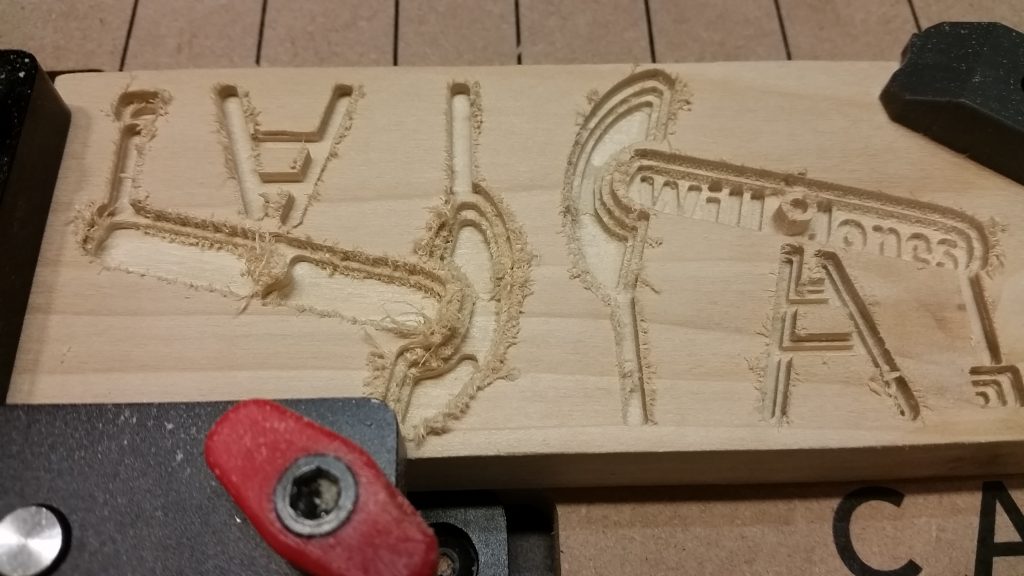
I performed this 1/8″ bit process twice, flipping the piece of wood after the first to create my two pieces. Once I had visually verified that this particular cutting process seemed to work well, I then proceeded to switch bits, moving to the 1/16″, and I then ran the COMPLETE process again. I emphasize the complete part, because I did not delete any of the components that had been fully removed by the first process. In doing so, I ensured that the smaller bit cleaned up edges in all areas, though this did take significantly longer. Once I had completed this process for both cuts, I was done with the CNC carving portion!
post-processing
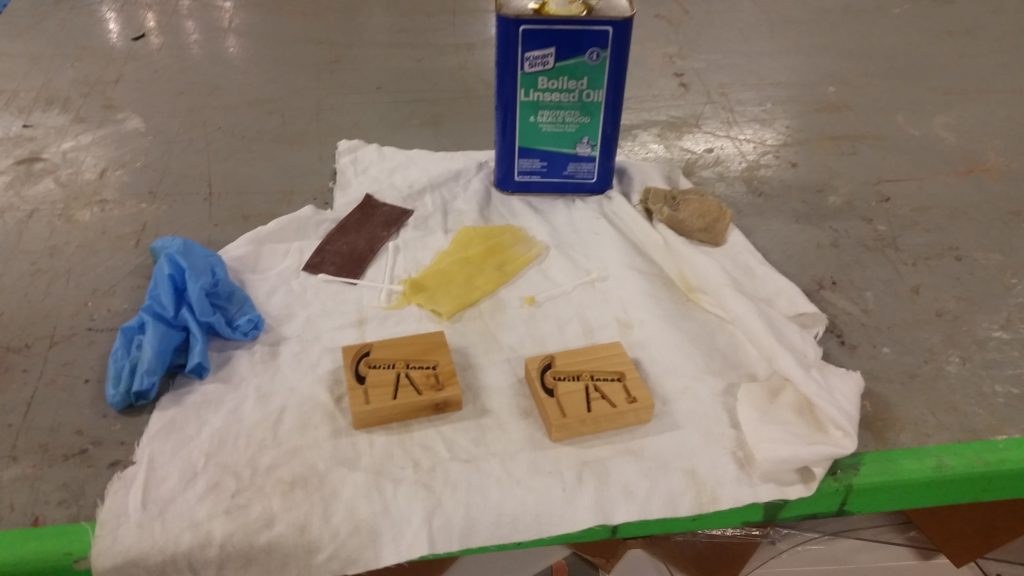
Just kidding, I actually used the Carvey as a significant component of my post processing. What I noticed, and what you can see in the above image, is that the second bit pass actually removed a significant amount of splintered wood and rough edges of the piece. Below, you can see that I did indeed first try to use sandpaper to remove rough material. However, given the tiny size and intricate nature of my cut, I found it nearly impossible to make any progress whatsoever. 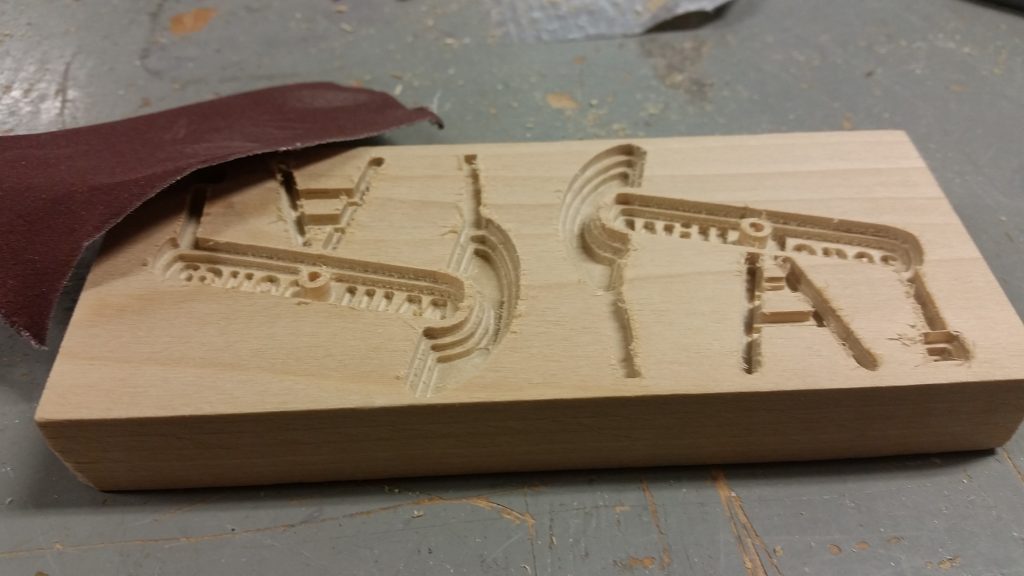
Having noted what I mentioned above, and with time to kill (not actually, but this class is far more intrinsically satisfying than my other classes) I simply put my piece back in the Carvey, and recarved the shape using the smaller bit (1/16″) two more times for each one. Each time it removed hardly any material, but it neatened up the edges and removed a little bit more of the splinters with each pass, far more effectively than I could by hand. With this completed, my object looked far cleaner, and I was able to continue the more artistic side of my post processing.
Once again, I was hindered by both the OEDK’s lack of relevant supplies and the small size of my object. I was unable to find small brushes, a syringe, or even q-tips with which to precisely deliver paint, so I resorted to using a fine point sharpie to add some detail to my object.
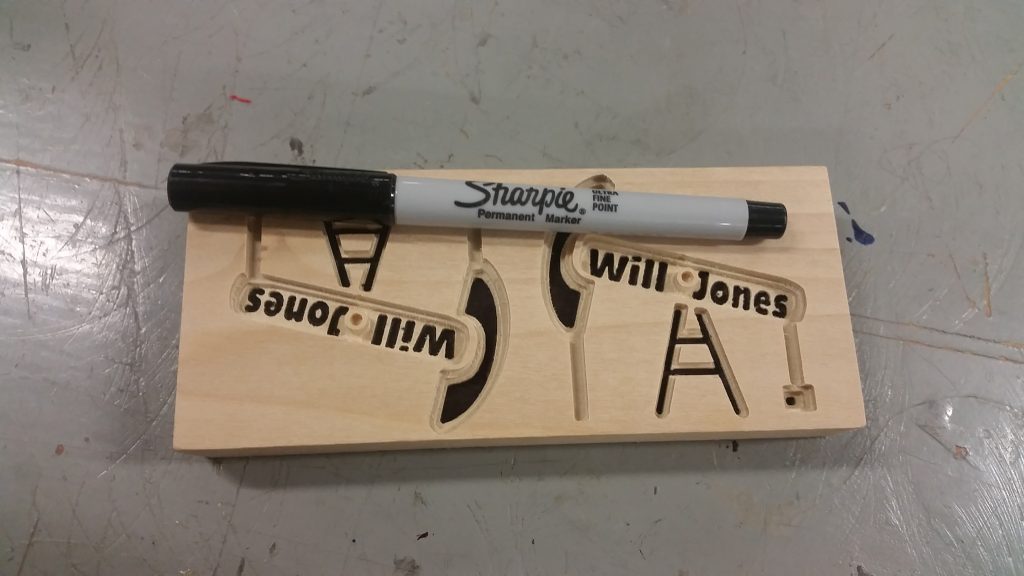
This actually worked surprisingly well, but sadly I was unable to find any other colors, so I decided to leave the color detail at just that. Realizing at this point I still needed to separate the two pieces, I used the hand saw downstairs to separate the two halves.
Though laborious, this worked far better than I expected it to, and with some minor belt sanding and hand touch ups, my pieces felt wonderfully smooth.
To finish the process off, I went back to my favorite surface finish, linseed oil, and applied a nice light coating wherever I could. Once again, q-tips would have been very useful here (but even labbies couldn’t find any, and I don’t personally own any), but I made do by folding my cloth and poking it into corners whenever possible. After one layer, I wiped off any excess, then left them to dry a bit.
I then decided to add a second layer, sanding first to smooth the finish out. In the interim, I had managed to find some q-tips (thanks roommate) and use those to speed up the oiling process.
With this, I decided that the pieces look good enough as is. Here are the completed pieces!
conclusion
In conclusion, I definitely was able to expand my prototyping capabilities through the course of this homework. Had I had access to finer post processing materials I may have been able to get the layered look I initially desired, but I actually am very pleased with the black and layered oil wood look. Overall, this is definitely something I will continue using throughout my remaining semester of access to the OEDK!
