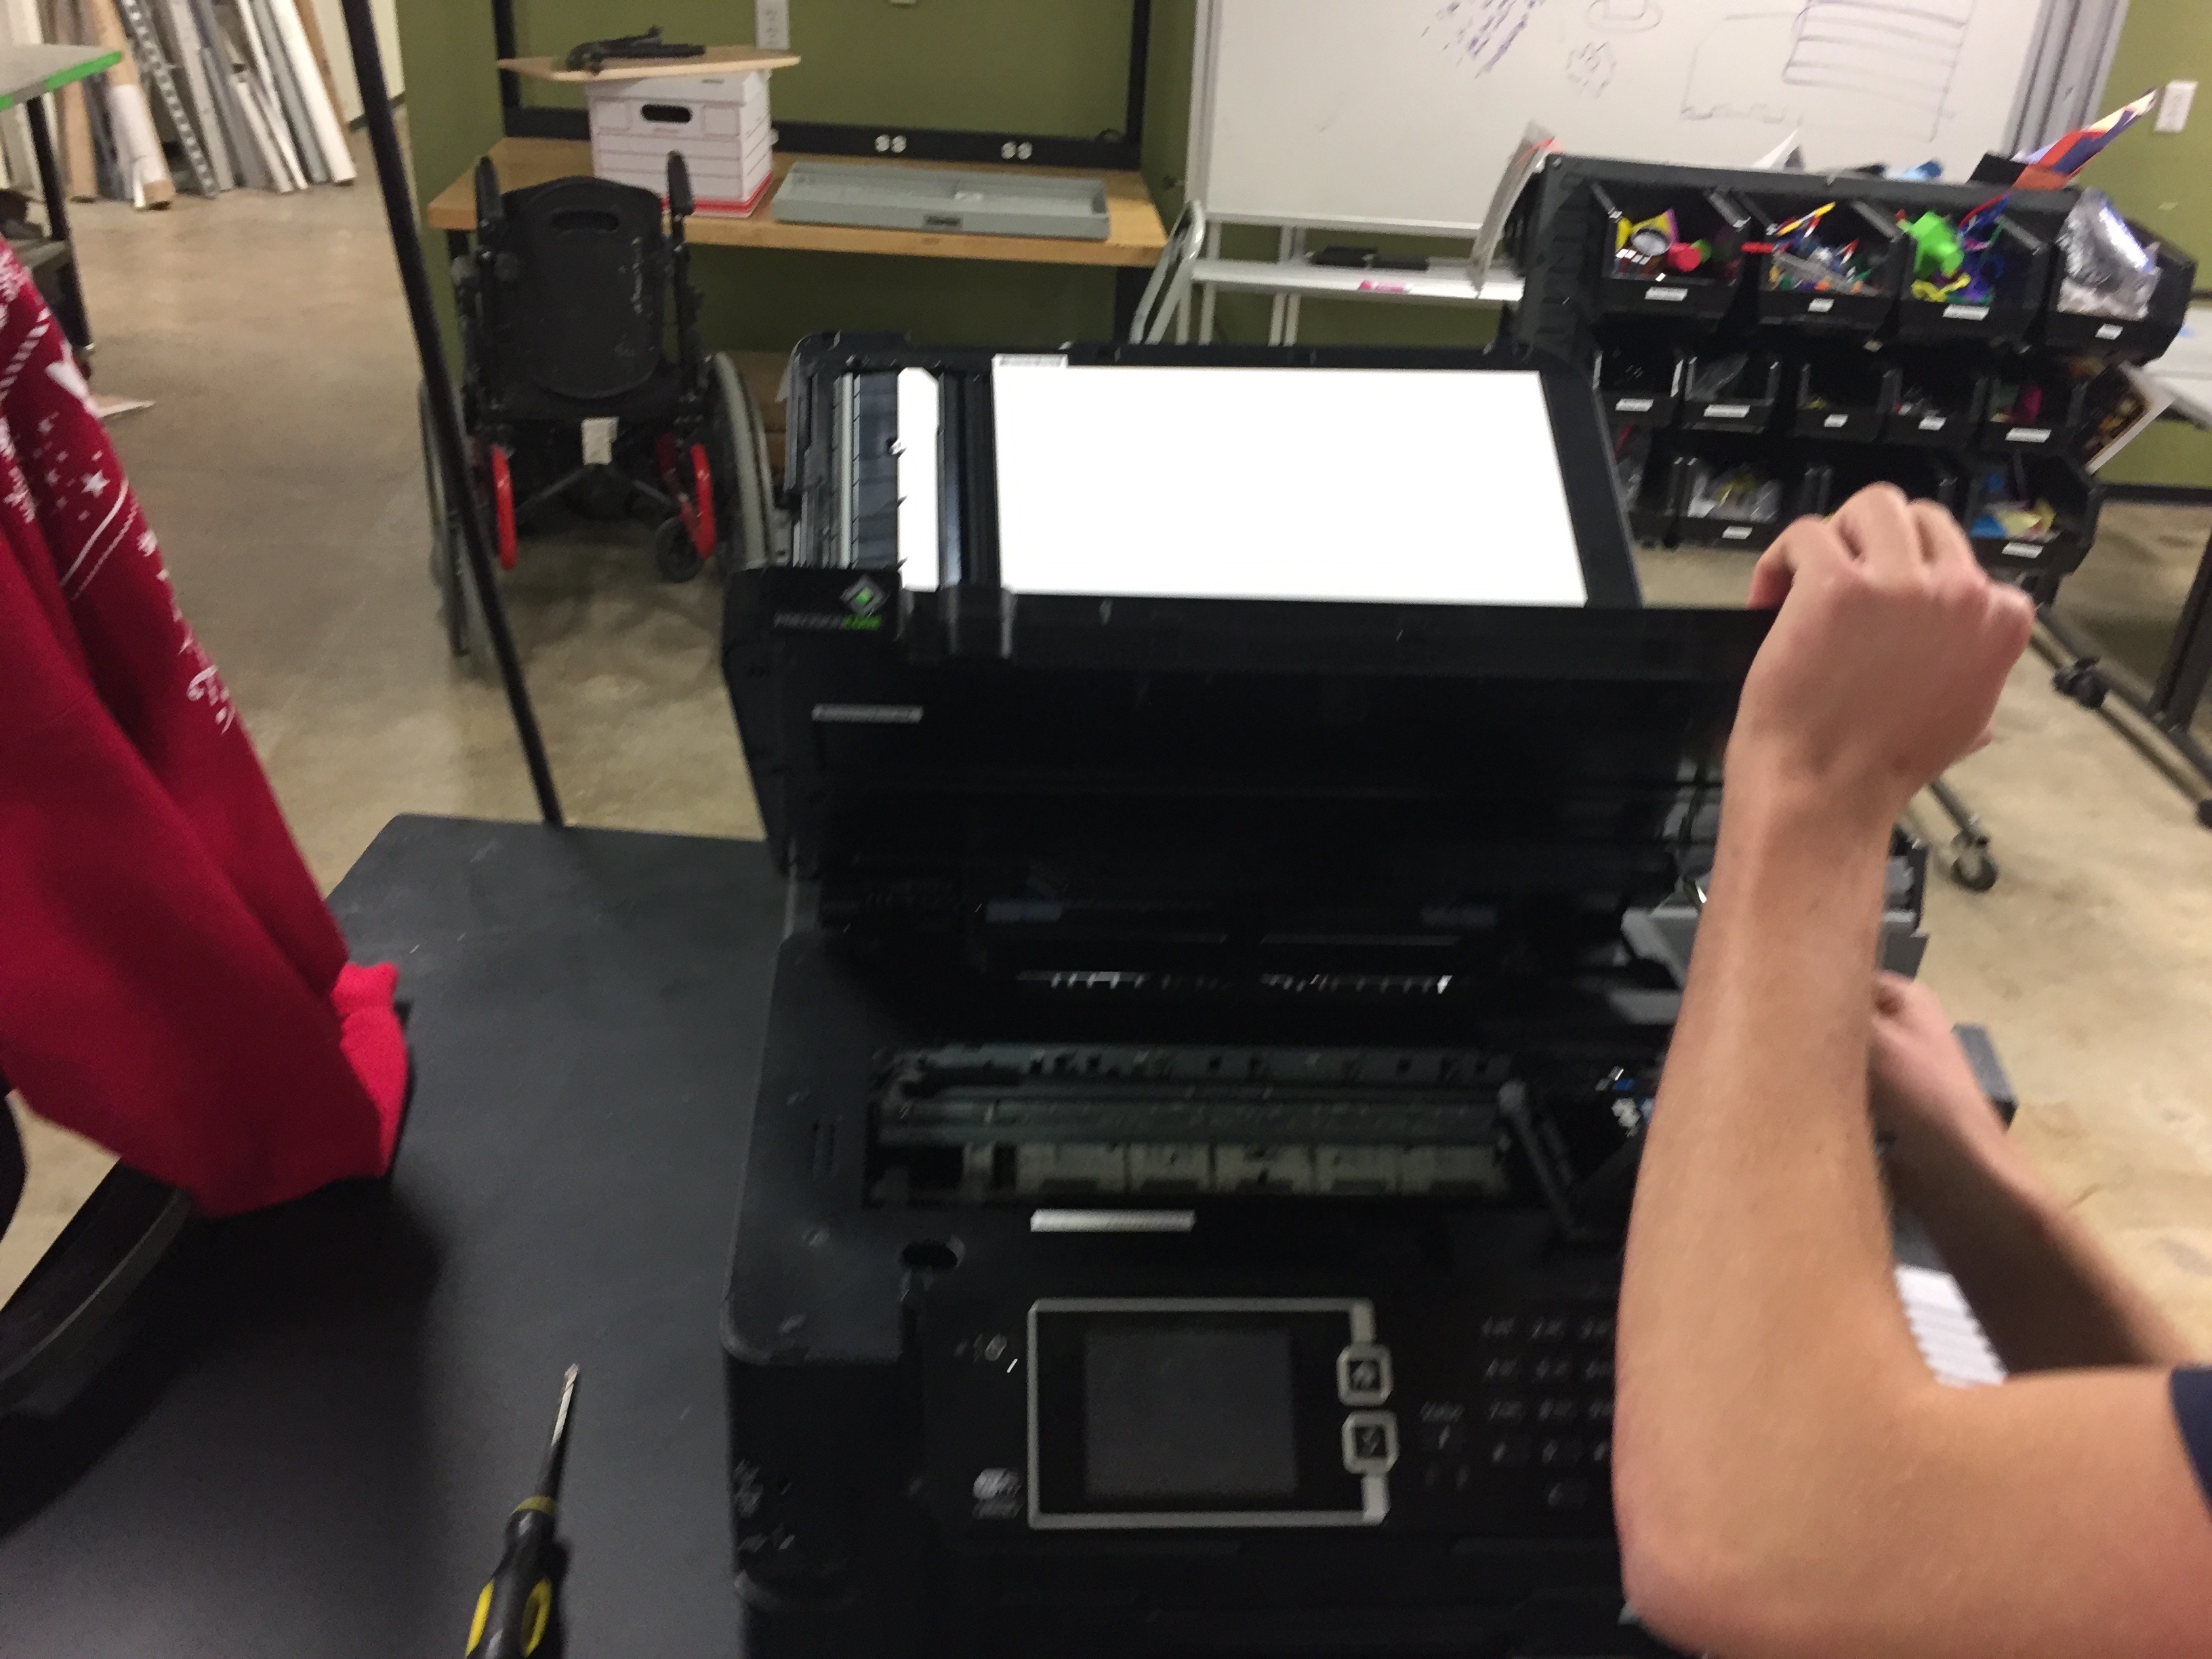
Arguably some of the most fun I’ve had in a class at Rice – taking things apart! We were tasked with taking an old piece of electronic equipment apart. Naturally, Cole and I chose the coolest looking object (the Epson printer/copier/scanner) which also turned out to be one of the most difficult to deconstruct.
To begin, we looked for anything that could easily be removed — perhaps screws holding in the bottom panel, or trays that could slide out. However, we found that almost everything on the surface was made to be pretty difficult to remove. We found a few screws to remove that led us to some wires, but it was a dead end from there. Dr. Wettergreen let us know that we should be looking for more snaps and fewer screws as fasteners. With this advice, we started using the screwdriver as a poking and prying device moreso than an unscrewing mechanism.
Our general strategy was to remove any visible screws, and then poke and wiggle around until we found snaps to be pressed or hinges and tabs to be unlatched. We took it layer by layer with the ultimate goal of removing every part and being able to see through the entire device.
First, we took apart the scanner flap that could lift and lower. The casing on it seemed nearly invincible but by prying it open with a screwdriver (and accidentally snapping a few connection tabs here and there) we were able to take off the top cover.
Deconstructing the top flap of the printer
Next we moved to the main body of the printer/scanner. When trying to remove the next layer, we had to be careful to not break or drop the glass sheet that was used in scanning documents. This layer required first removing 3 screws (left middle and right) and then finding a few tabs (which were quite well hidden). When removing this layer, we found that the glass was attached to the plastic casing using adhesive and tabs that held it in place. Under this glass piece was the mechanism that scanned the document — a bar that moved across the surface via a small belt moved by gears connected to a motor at one end. It was interesting to see such a seemingly simple movement work so effectively, and on such a small scale.
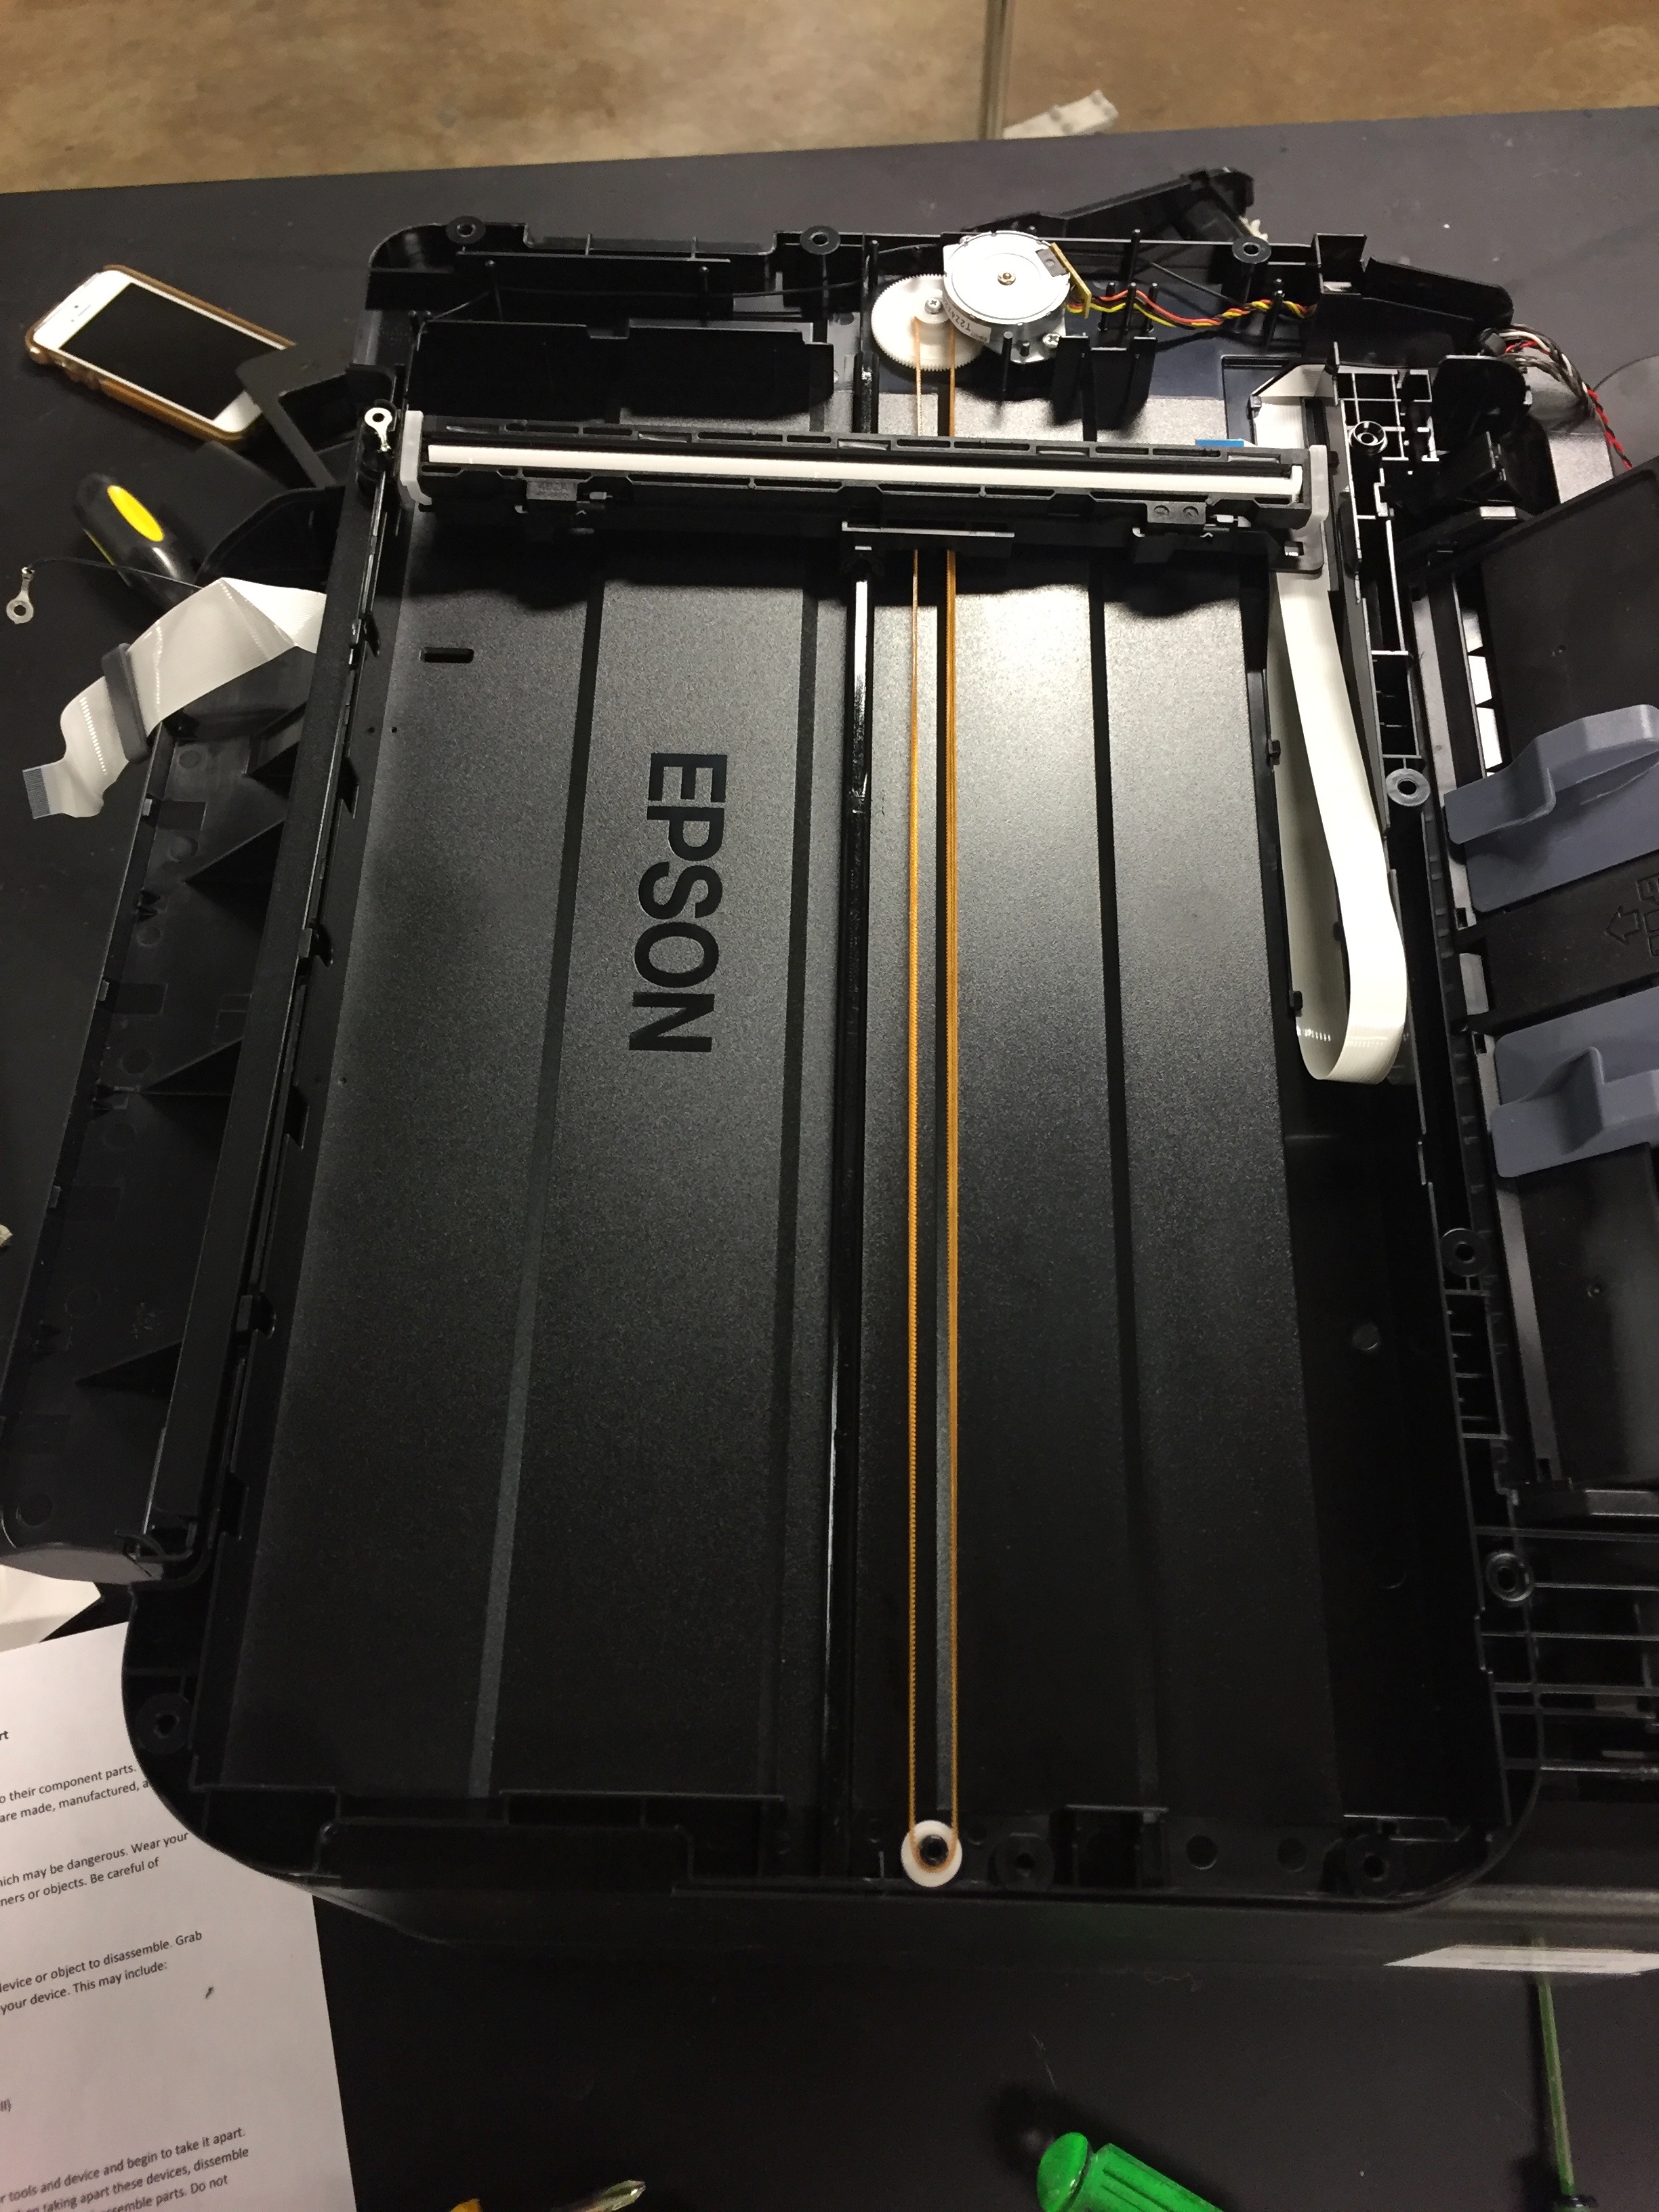
Scanner belt
Generally, I was fascinated at how many moving parts the printer had. So many gears and wires and controllers and motors. Some I could tell what they did and others not. It was particularly interesting to see how precisely the small moving parts were made. For example, the gear teeth of the tiniest gears had to be made with very little error in order to function and mesh correctly.
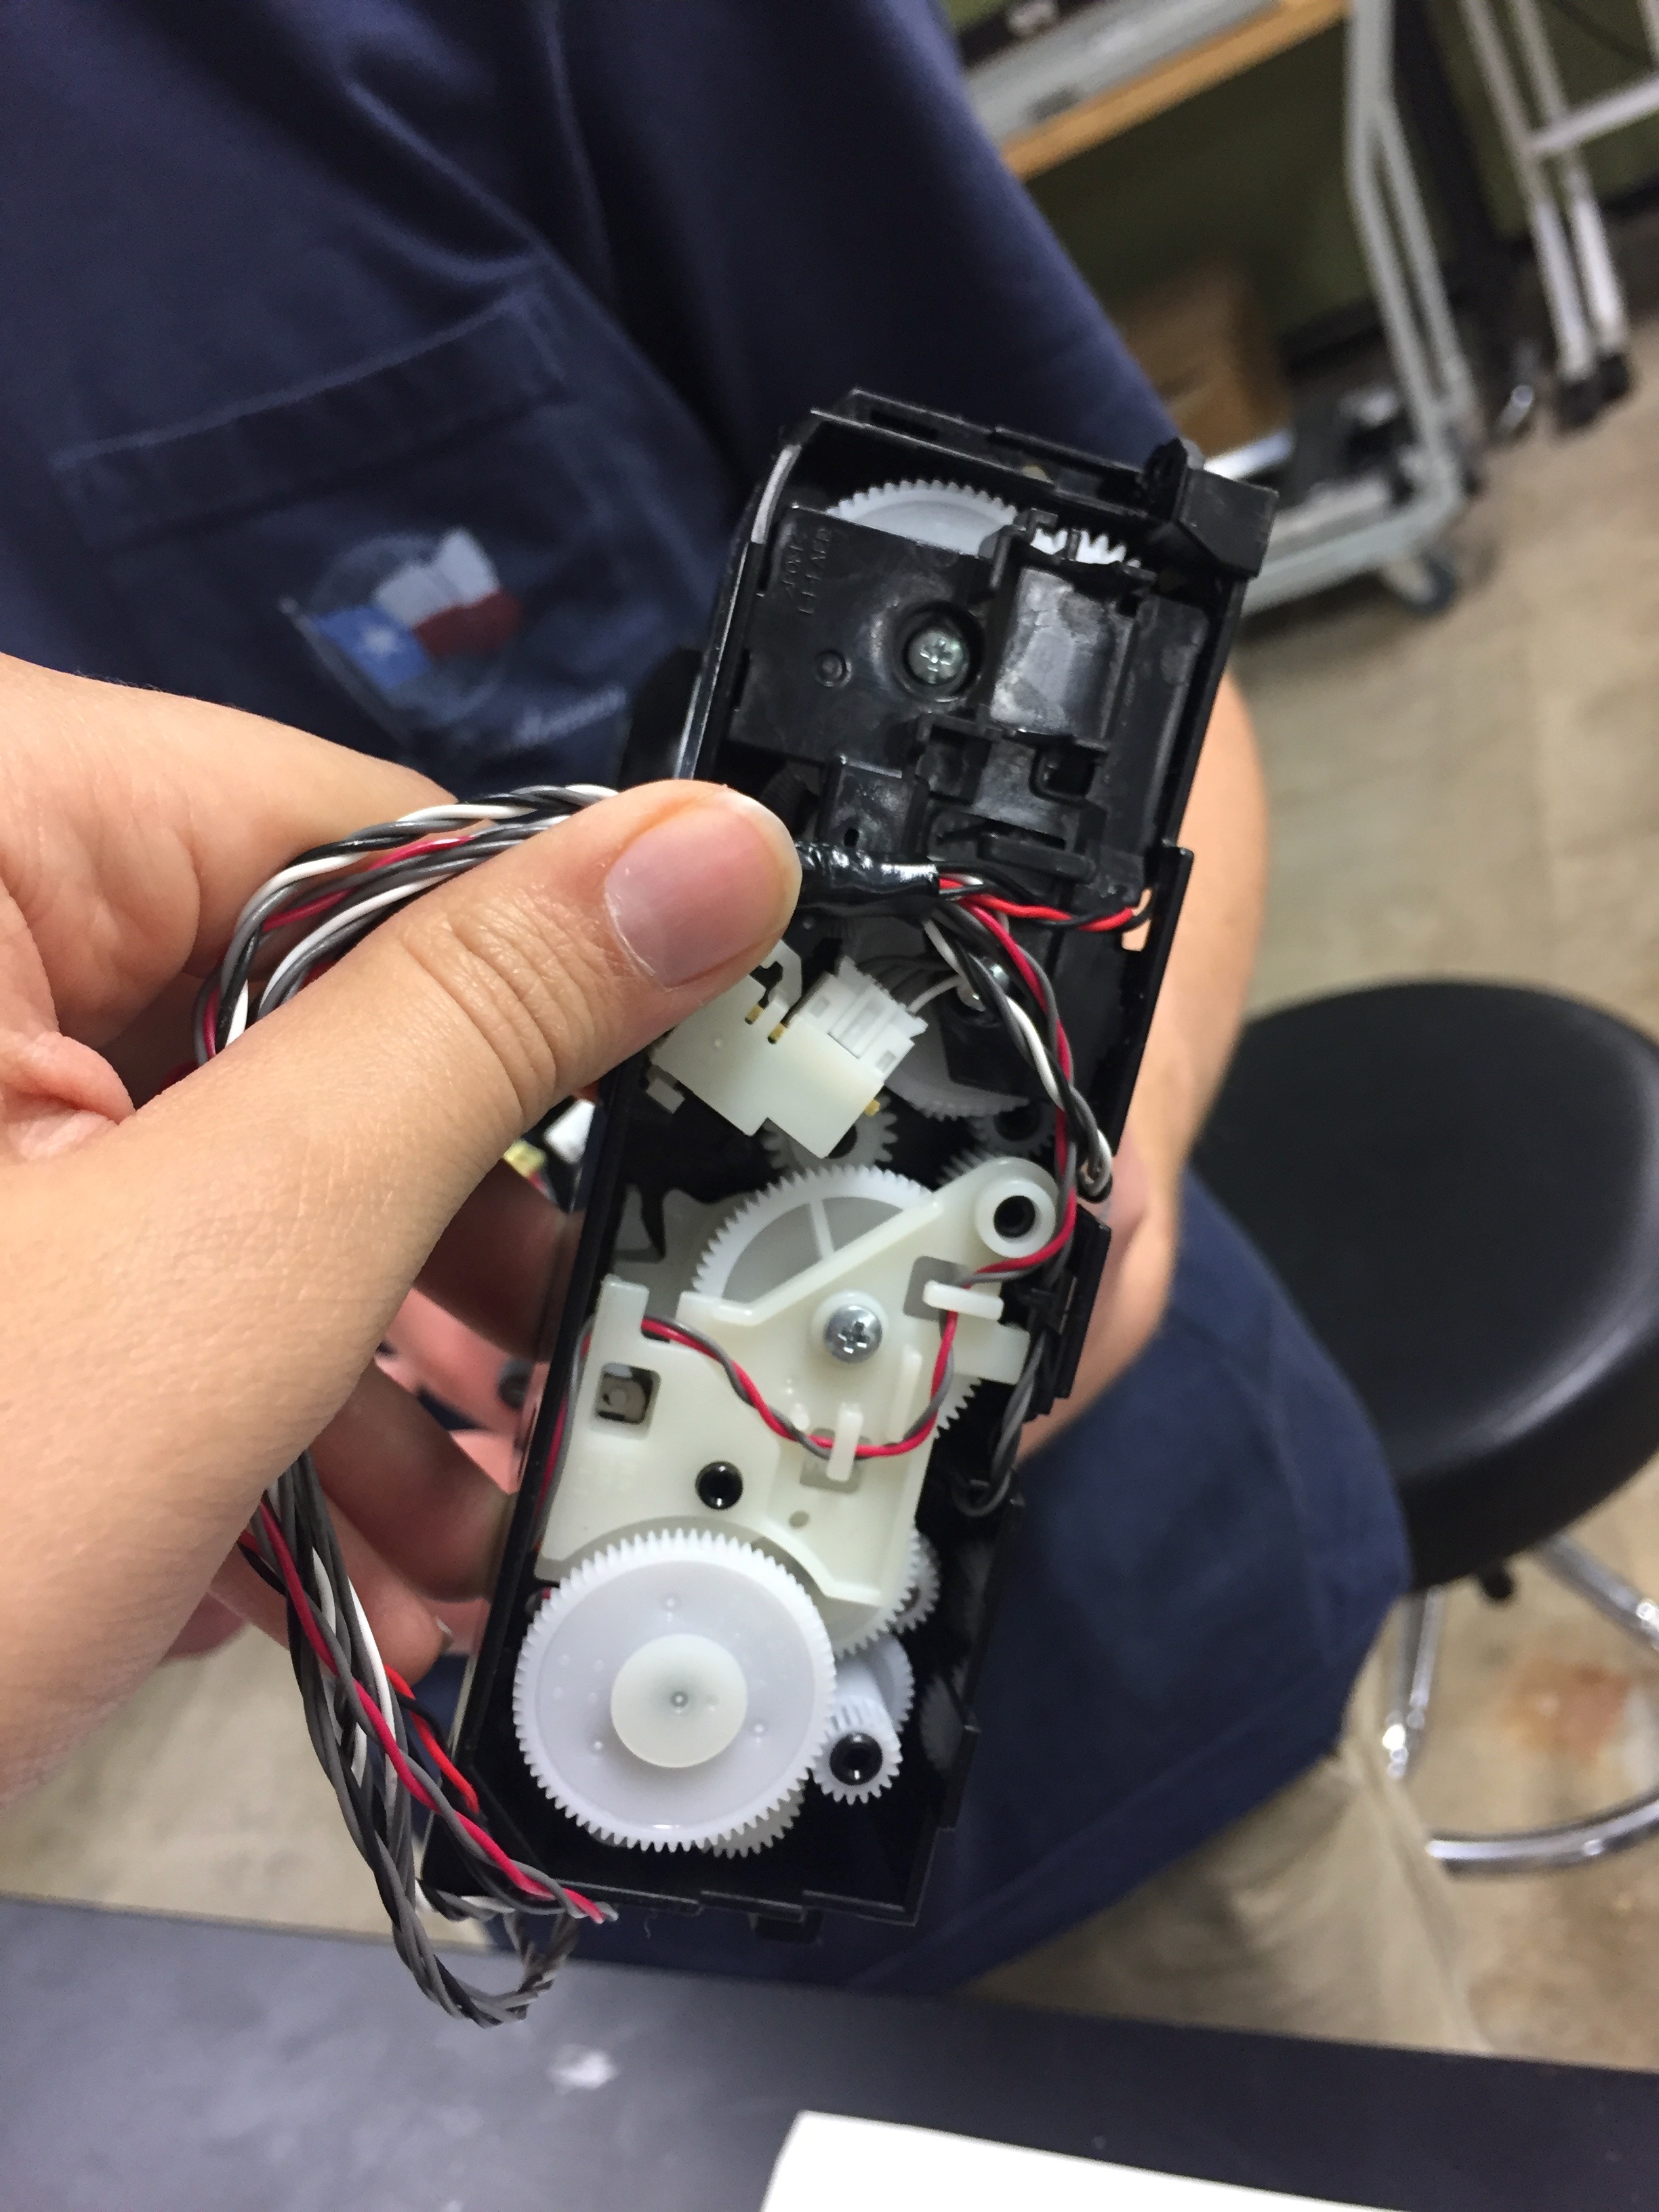
Not sure the function, but lots of small moving parts!
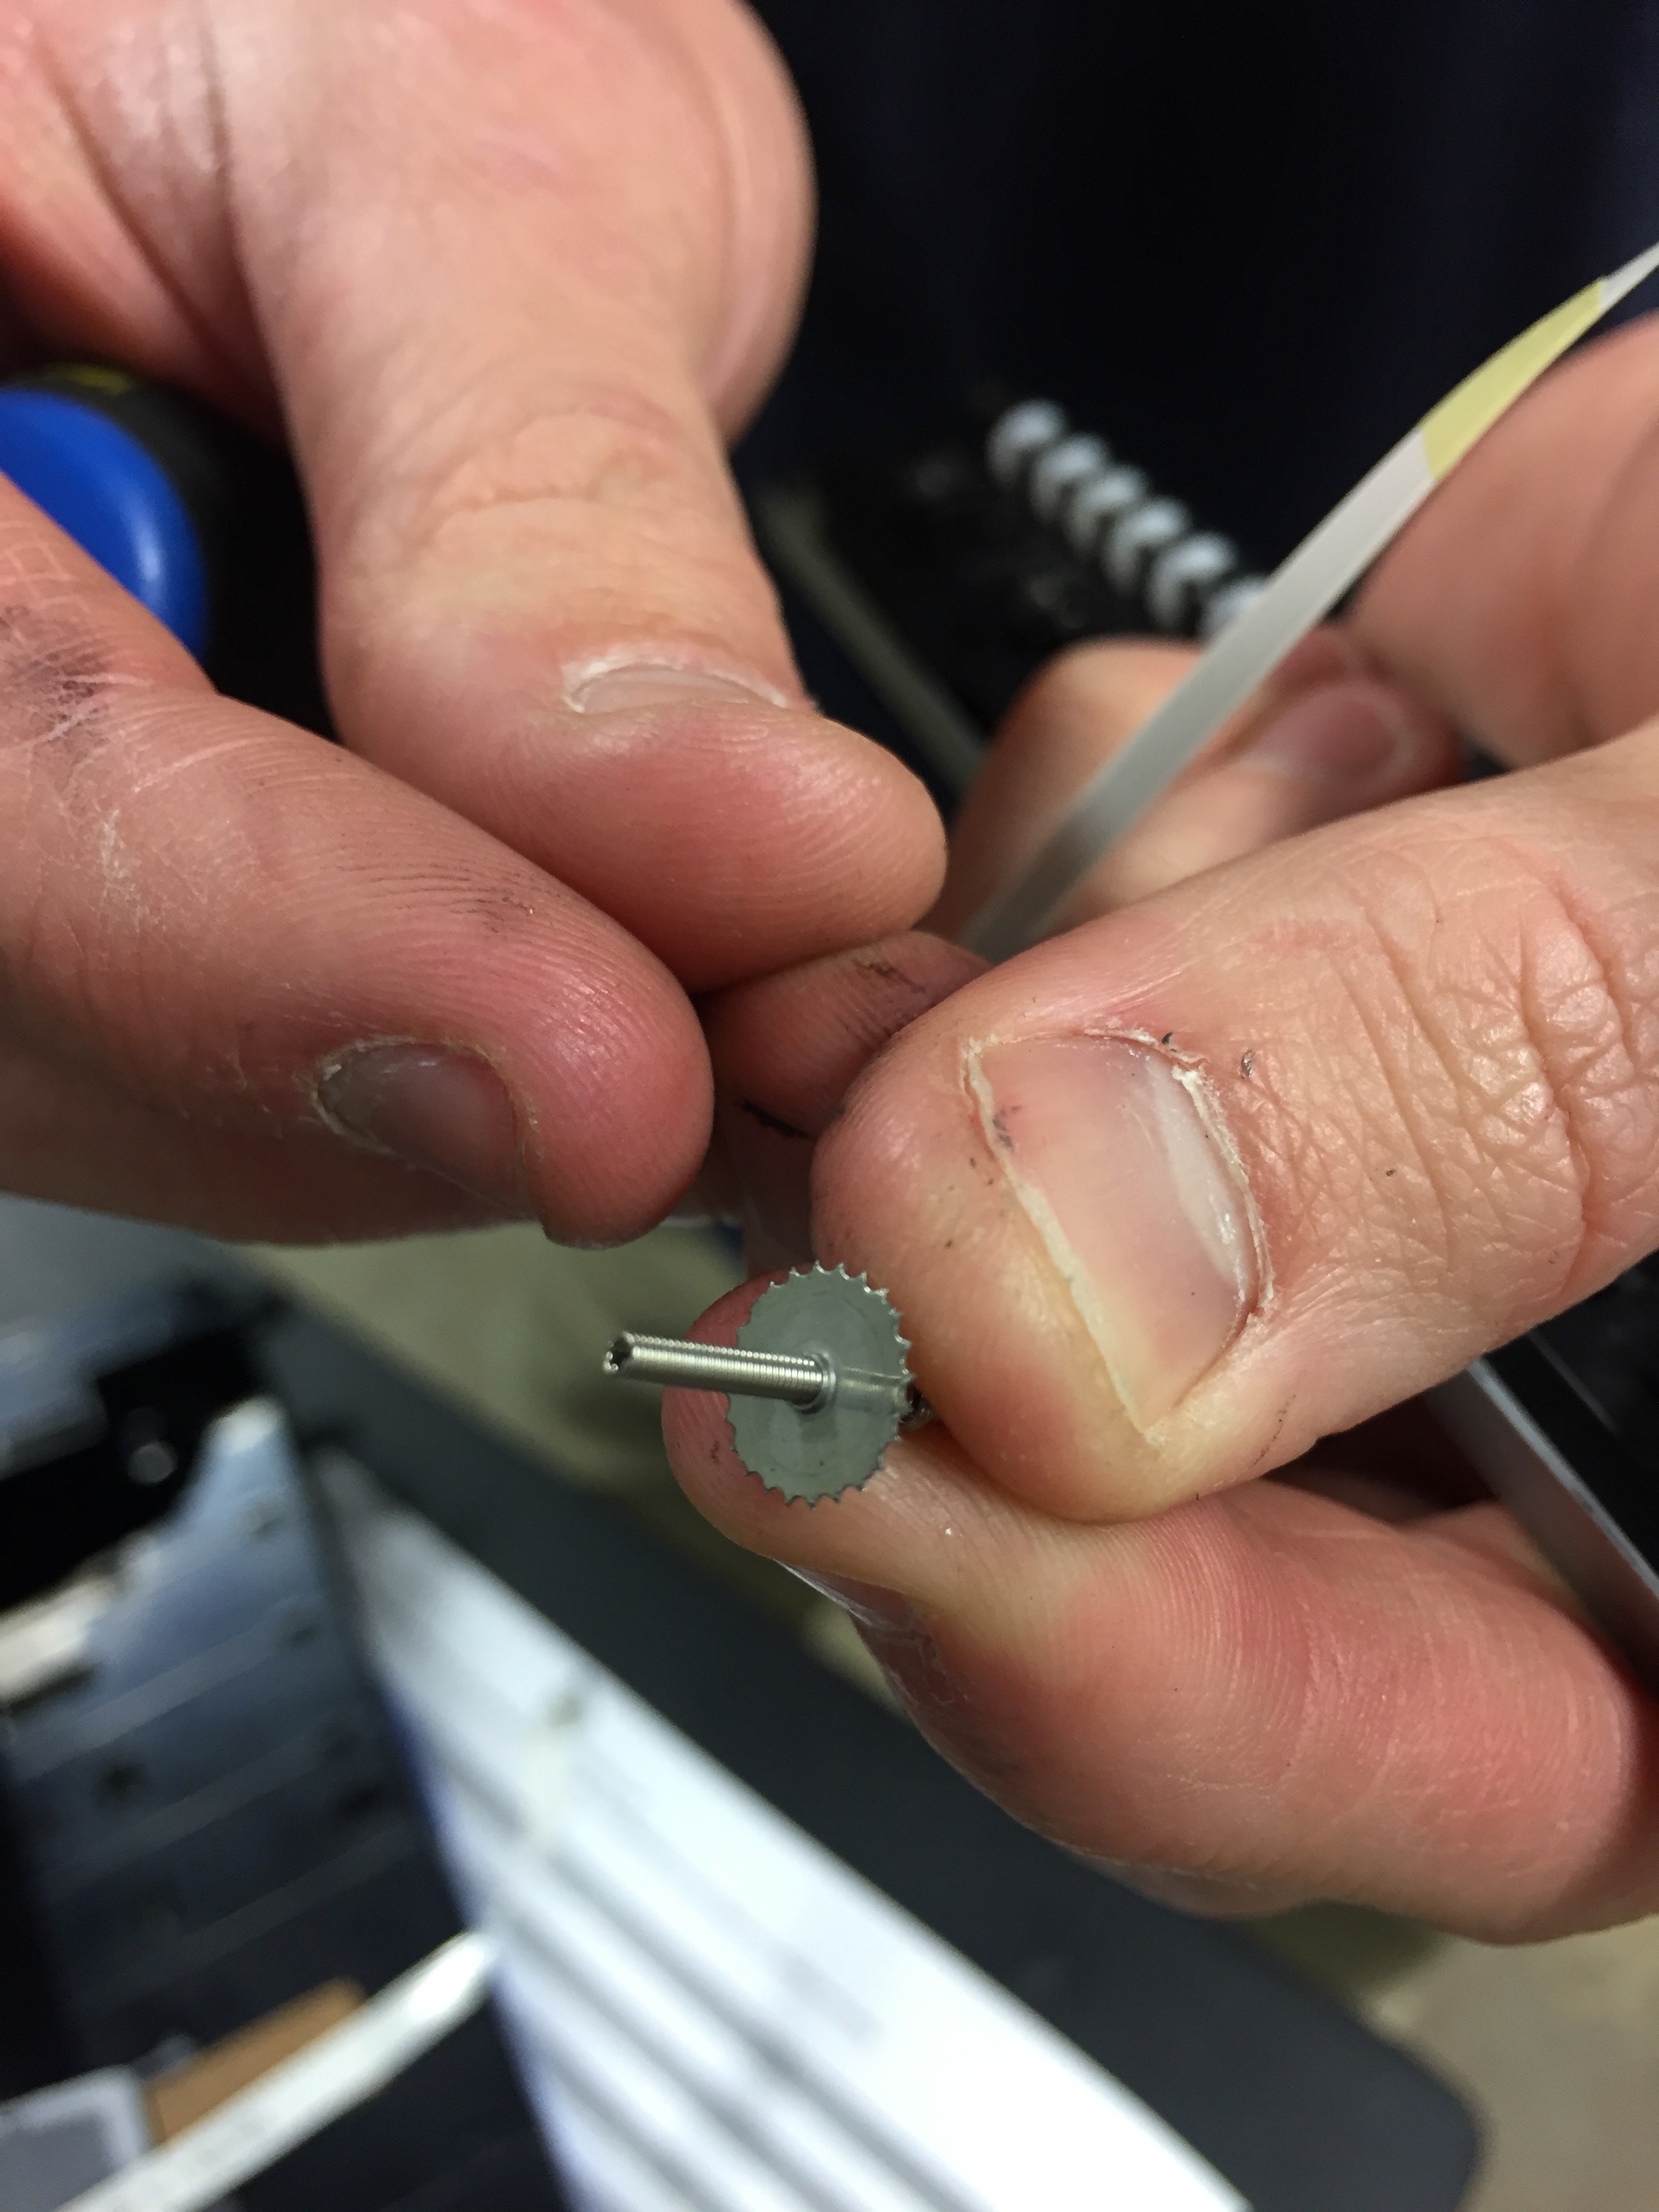
Tiny gear
The tiny gear pictured above was part of the mechanism that we think helps feed the paper through the printer. This part was interesting because it had so many tiny repeating components, made of different materials and different sizes, but all fitting together so well. Assemblies such as these led me to believe that many of the parts were machined specifically for this device. They were most likely made by vacuum molding or injection molding, given that most of the pieces are small pieces of plastic. The large amount of plastic parts means that they could likely be recycled, although it would be hard to harvest individual parts and separate the electronics from the plastic or the metal.

We think this was used to feed the paper through the printer
In total, it took us about 1.5 hours to deconstruct the entire printer.
General impressions:
- They really don’t want you to take this apart. It was so hard to get into the initial layers (and every layer beneath that). This also means that it if the device broke, it probably wasn’t made to be fixed, rather just discarded.
- Most pieces were plastic (probably made it lighter)
- There weren’t a lot of screws used, mostly tabs (probably made it lighter)
- There are SO MANY PARTS. The assembly of this must have been a doozy — I can’t imagine what the assembly line or the machines that put this together look like. Everything must be so precise. Makes me ask, “Who designed this thing???”
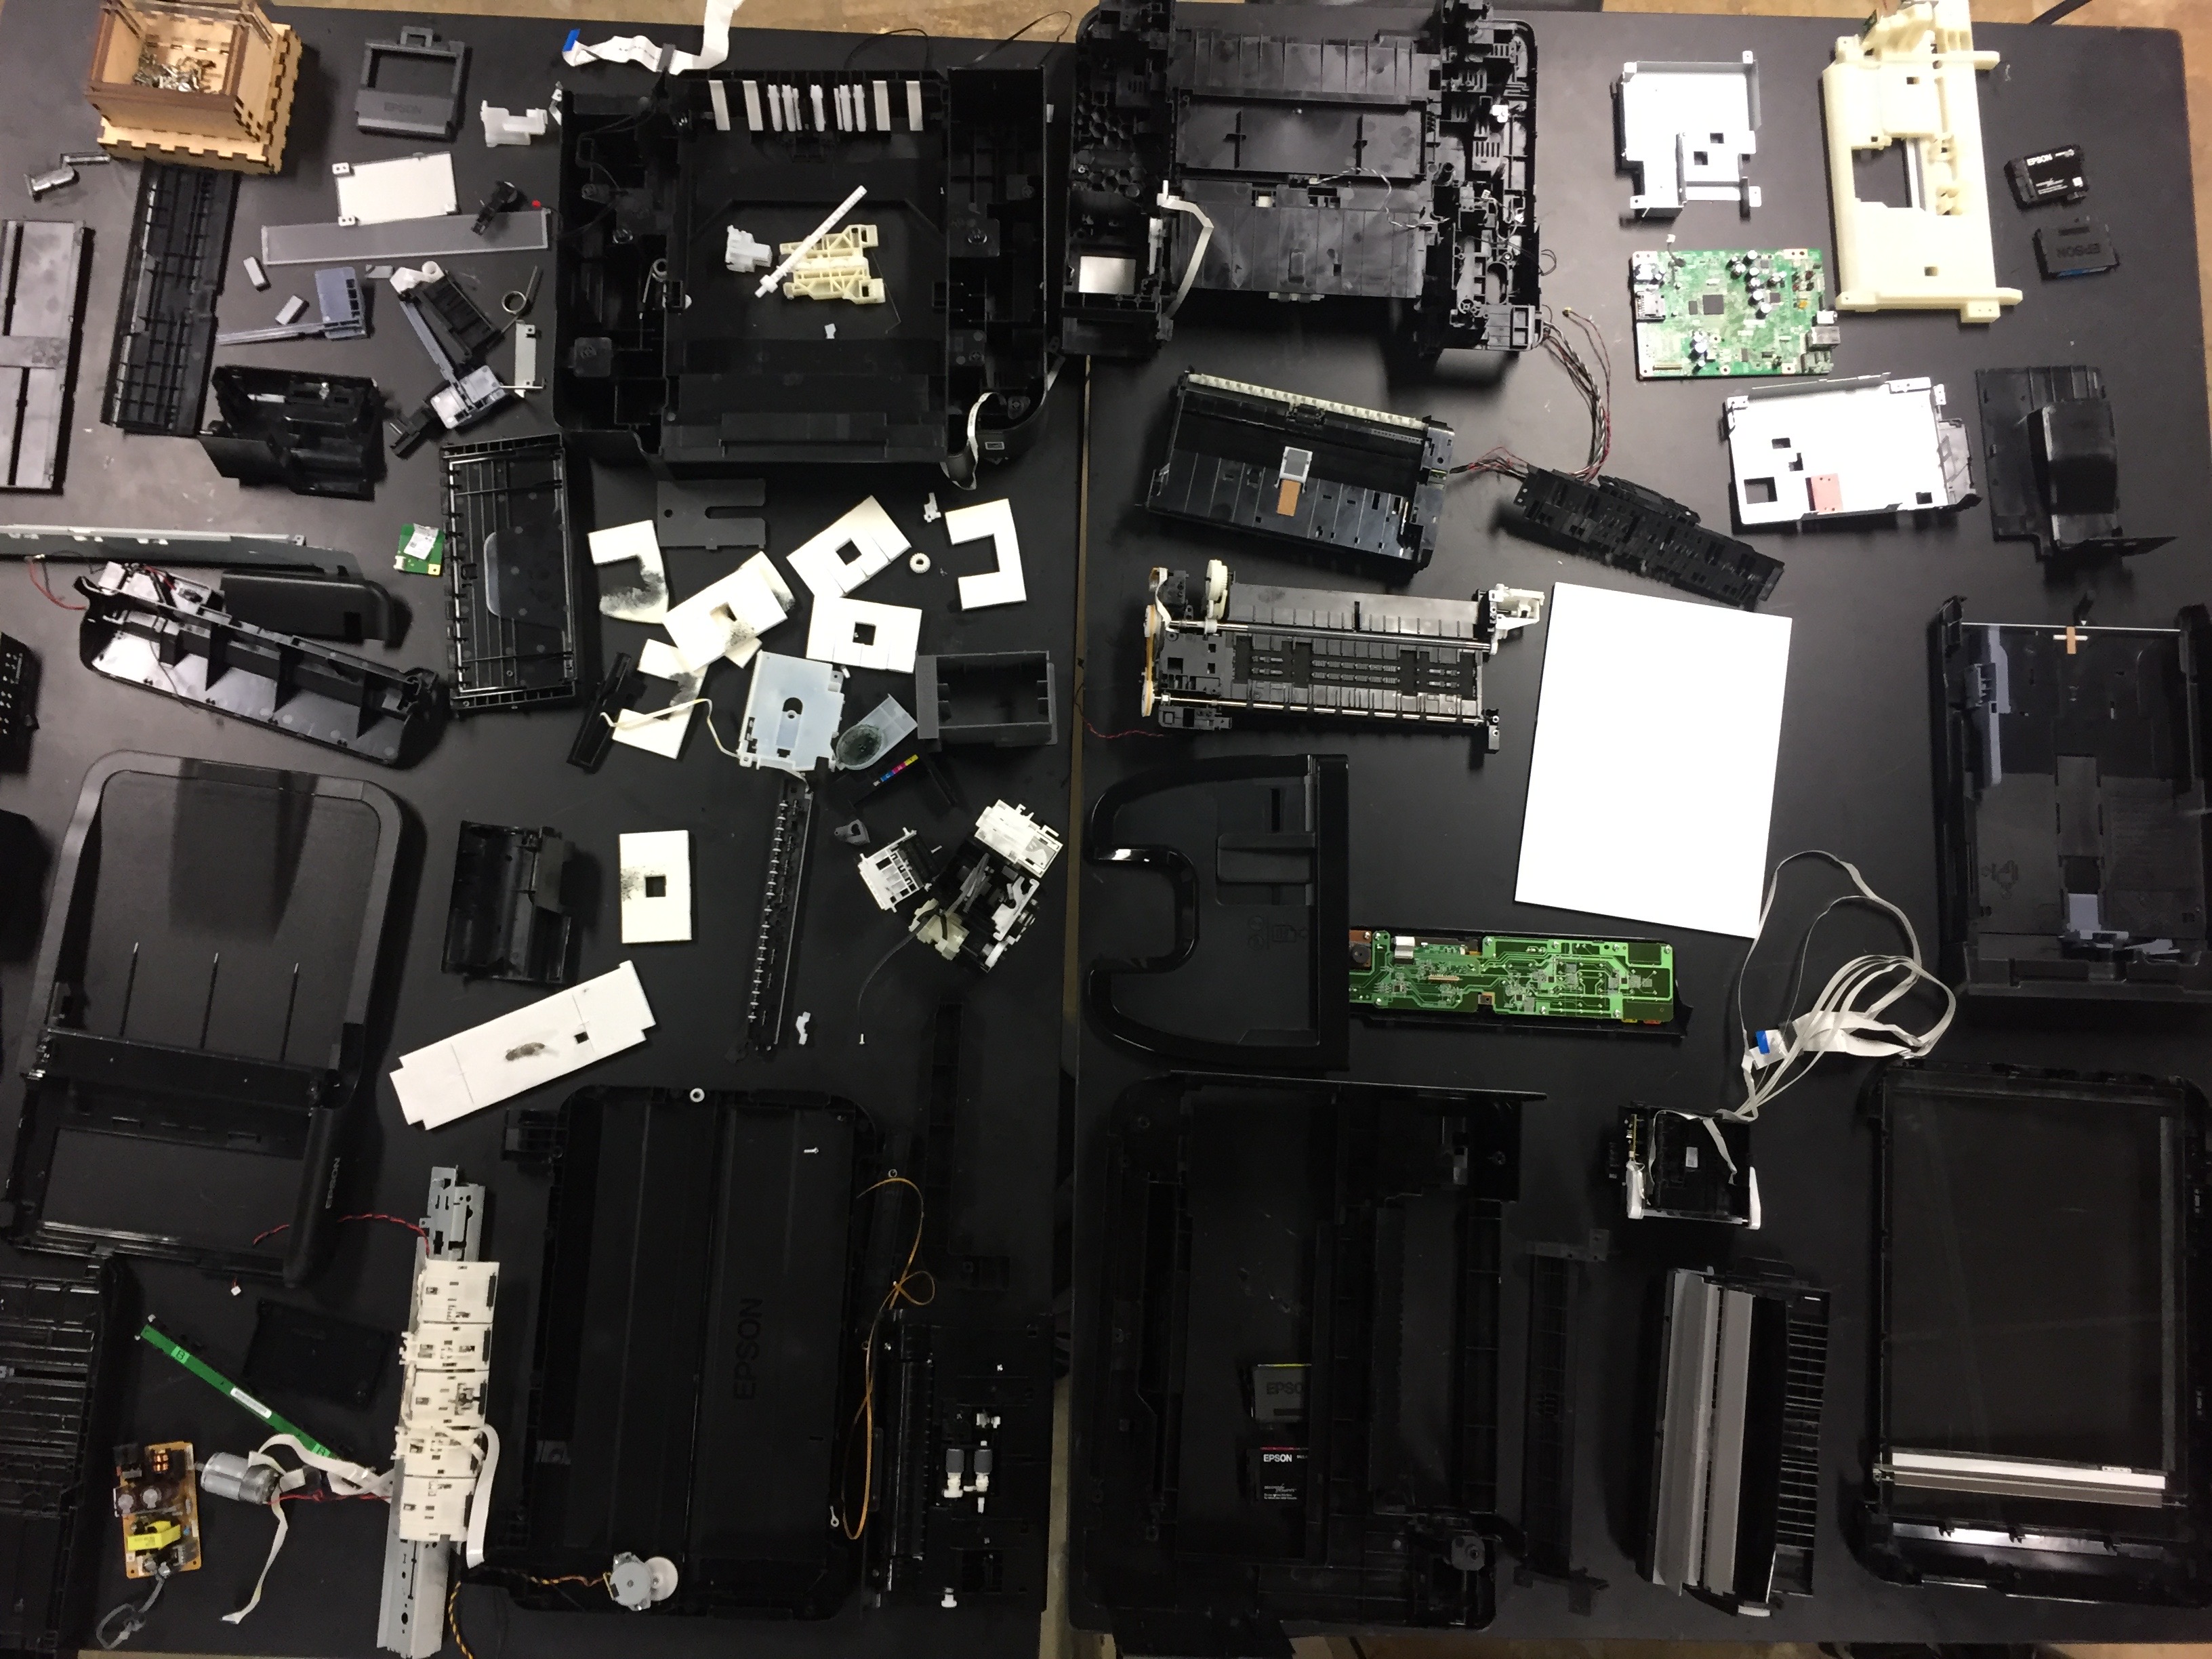
All the printer parts, decomposed
Bonus: This tiny piece looked like the clips/collars you put on the end of barbells
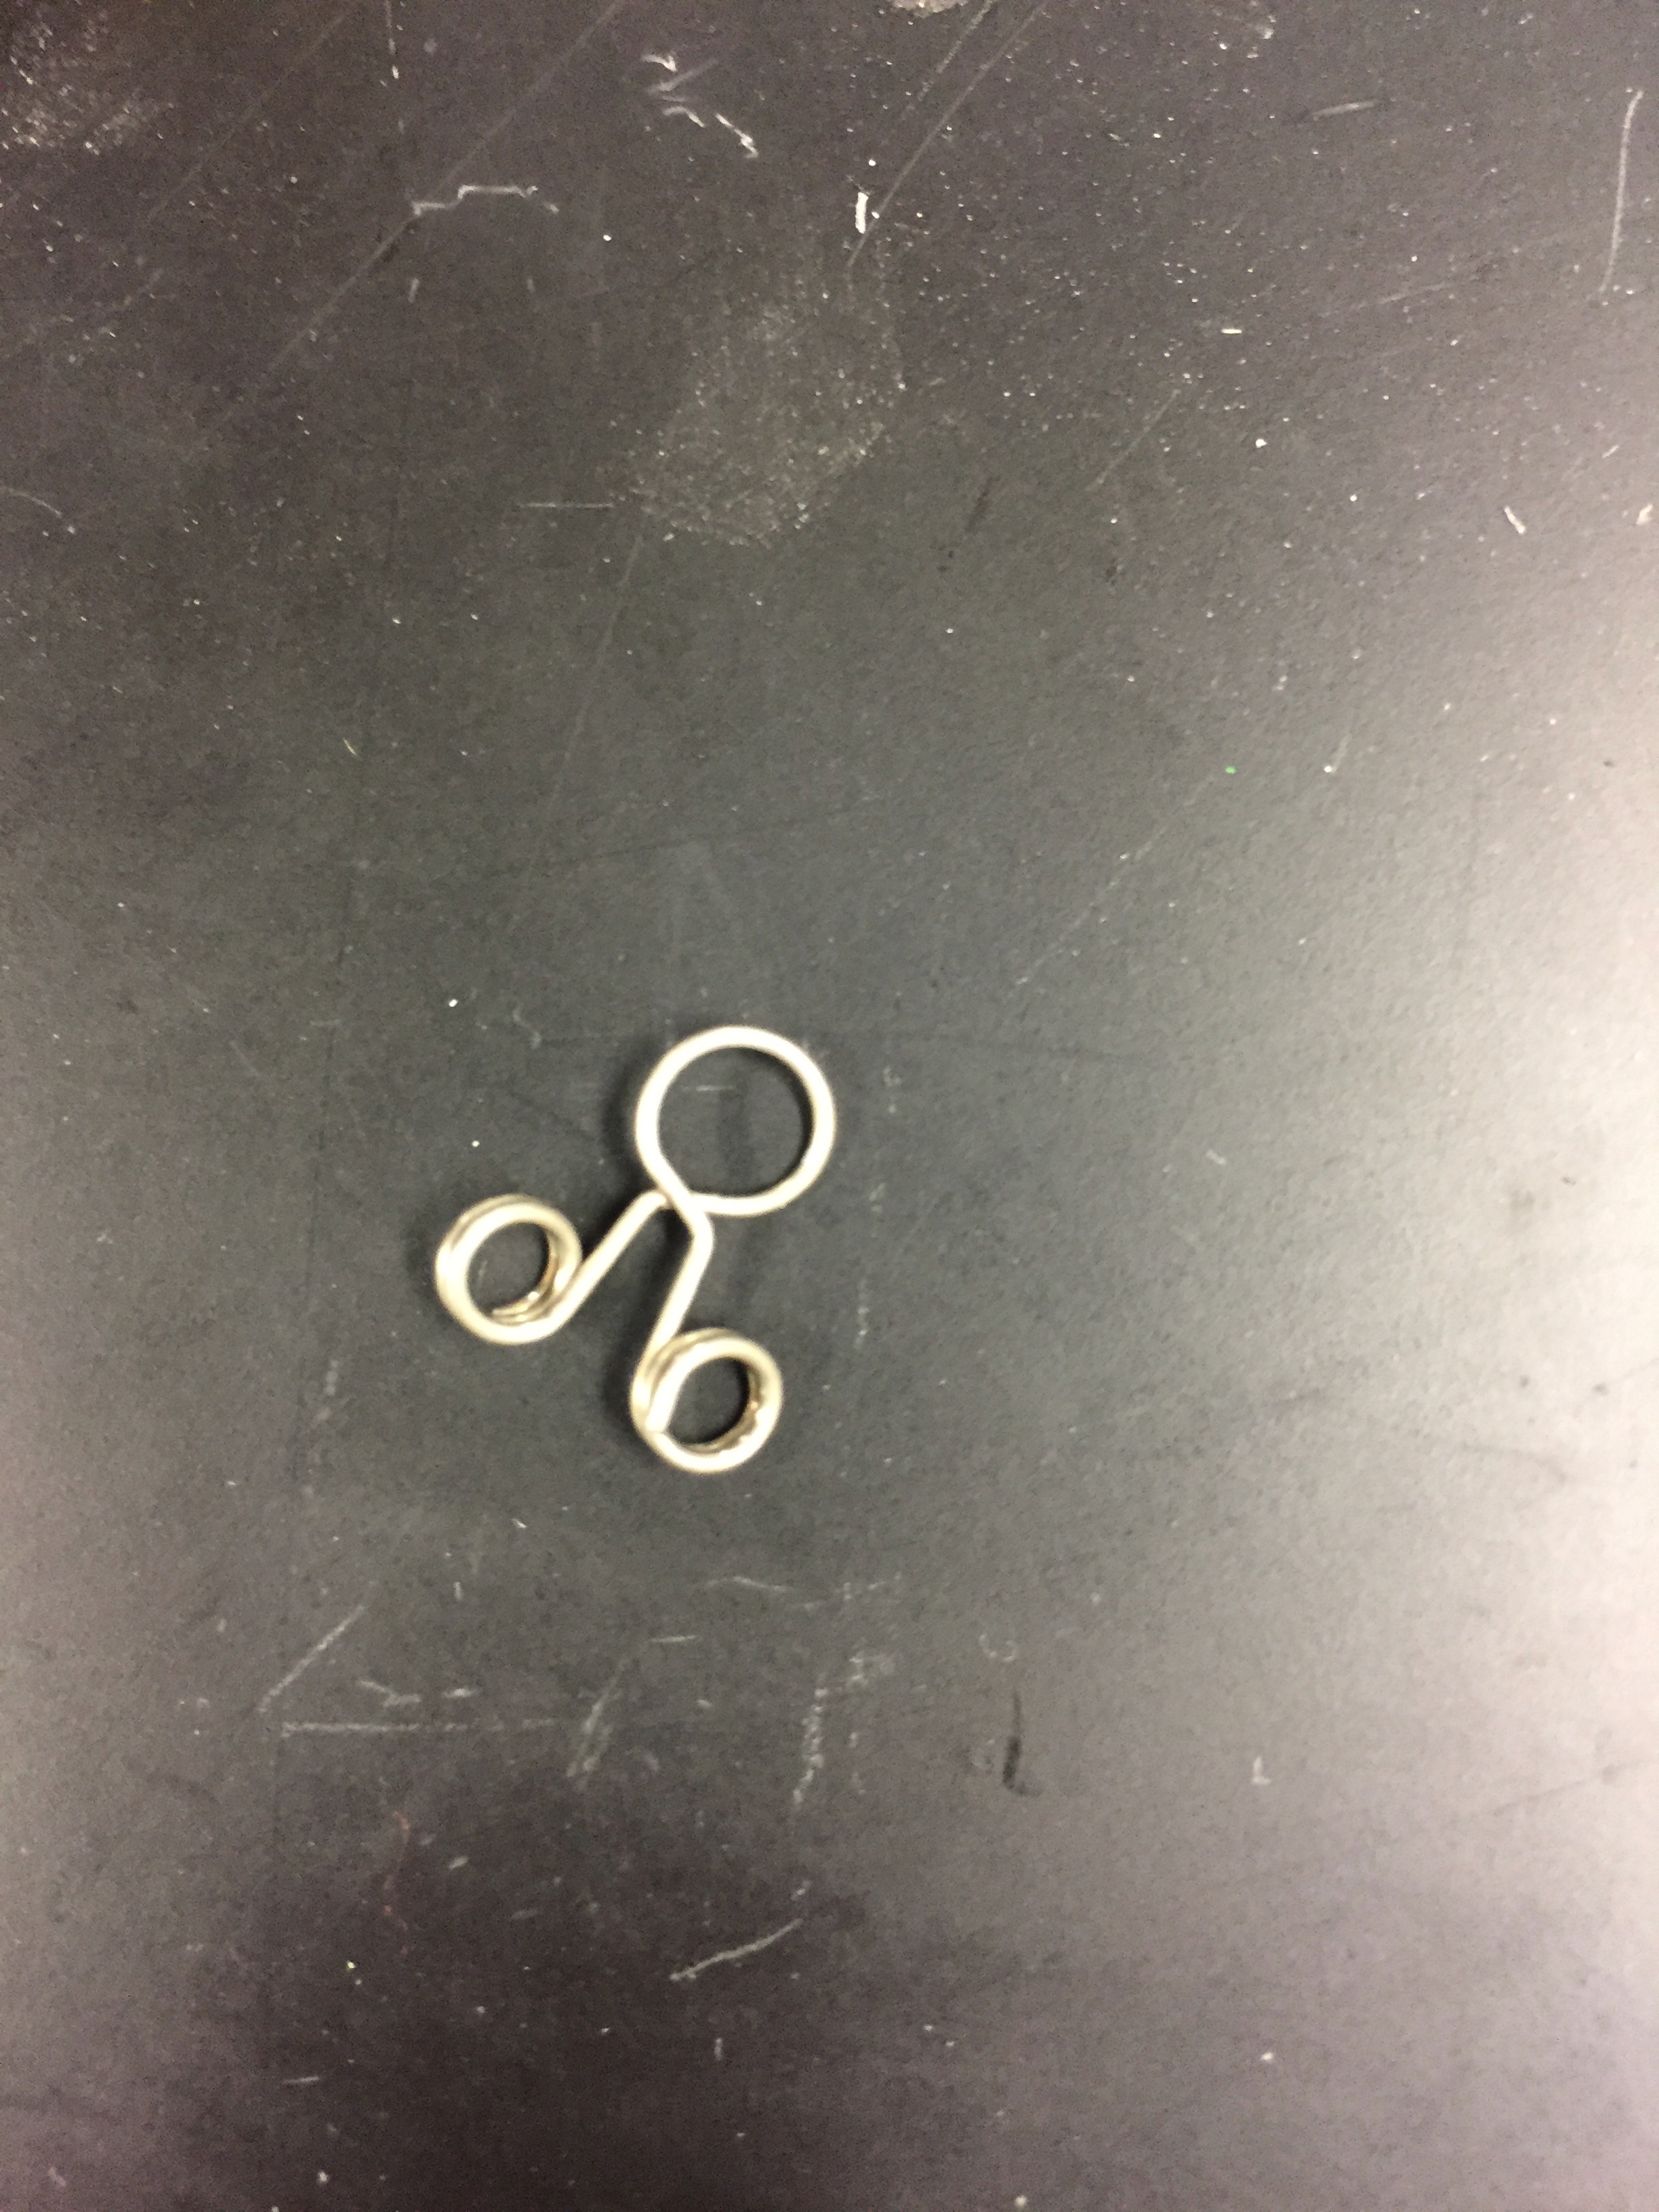
tiny barbell clip
