… apparently two.
For this homework, we were instructed to make a box out of planks of wood and then round out the edges using the router in the wood shop.
I started out by finding a wide piece of flat wood. I searched the wood shop and settled on Kelvin’s lab assistant training wood (sorry Kelvin). For the edges, I used some other 3/4″ wood I found in the wood shop. After measuring the wood, I cut them with the miter saw.
After cutting my wood, it was time to assemble it. This was also the point where things started to go wrong. I started off by using the kreg jig set to the 0.75″ setting. It was actually surprisingly easy to use but I went a little wild and accidently drilled on the wrong side of the wood because I forgot that you need drill on the wood that will be on the inside since the screws will point out.
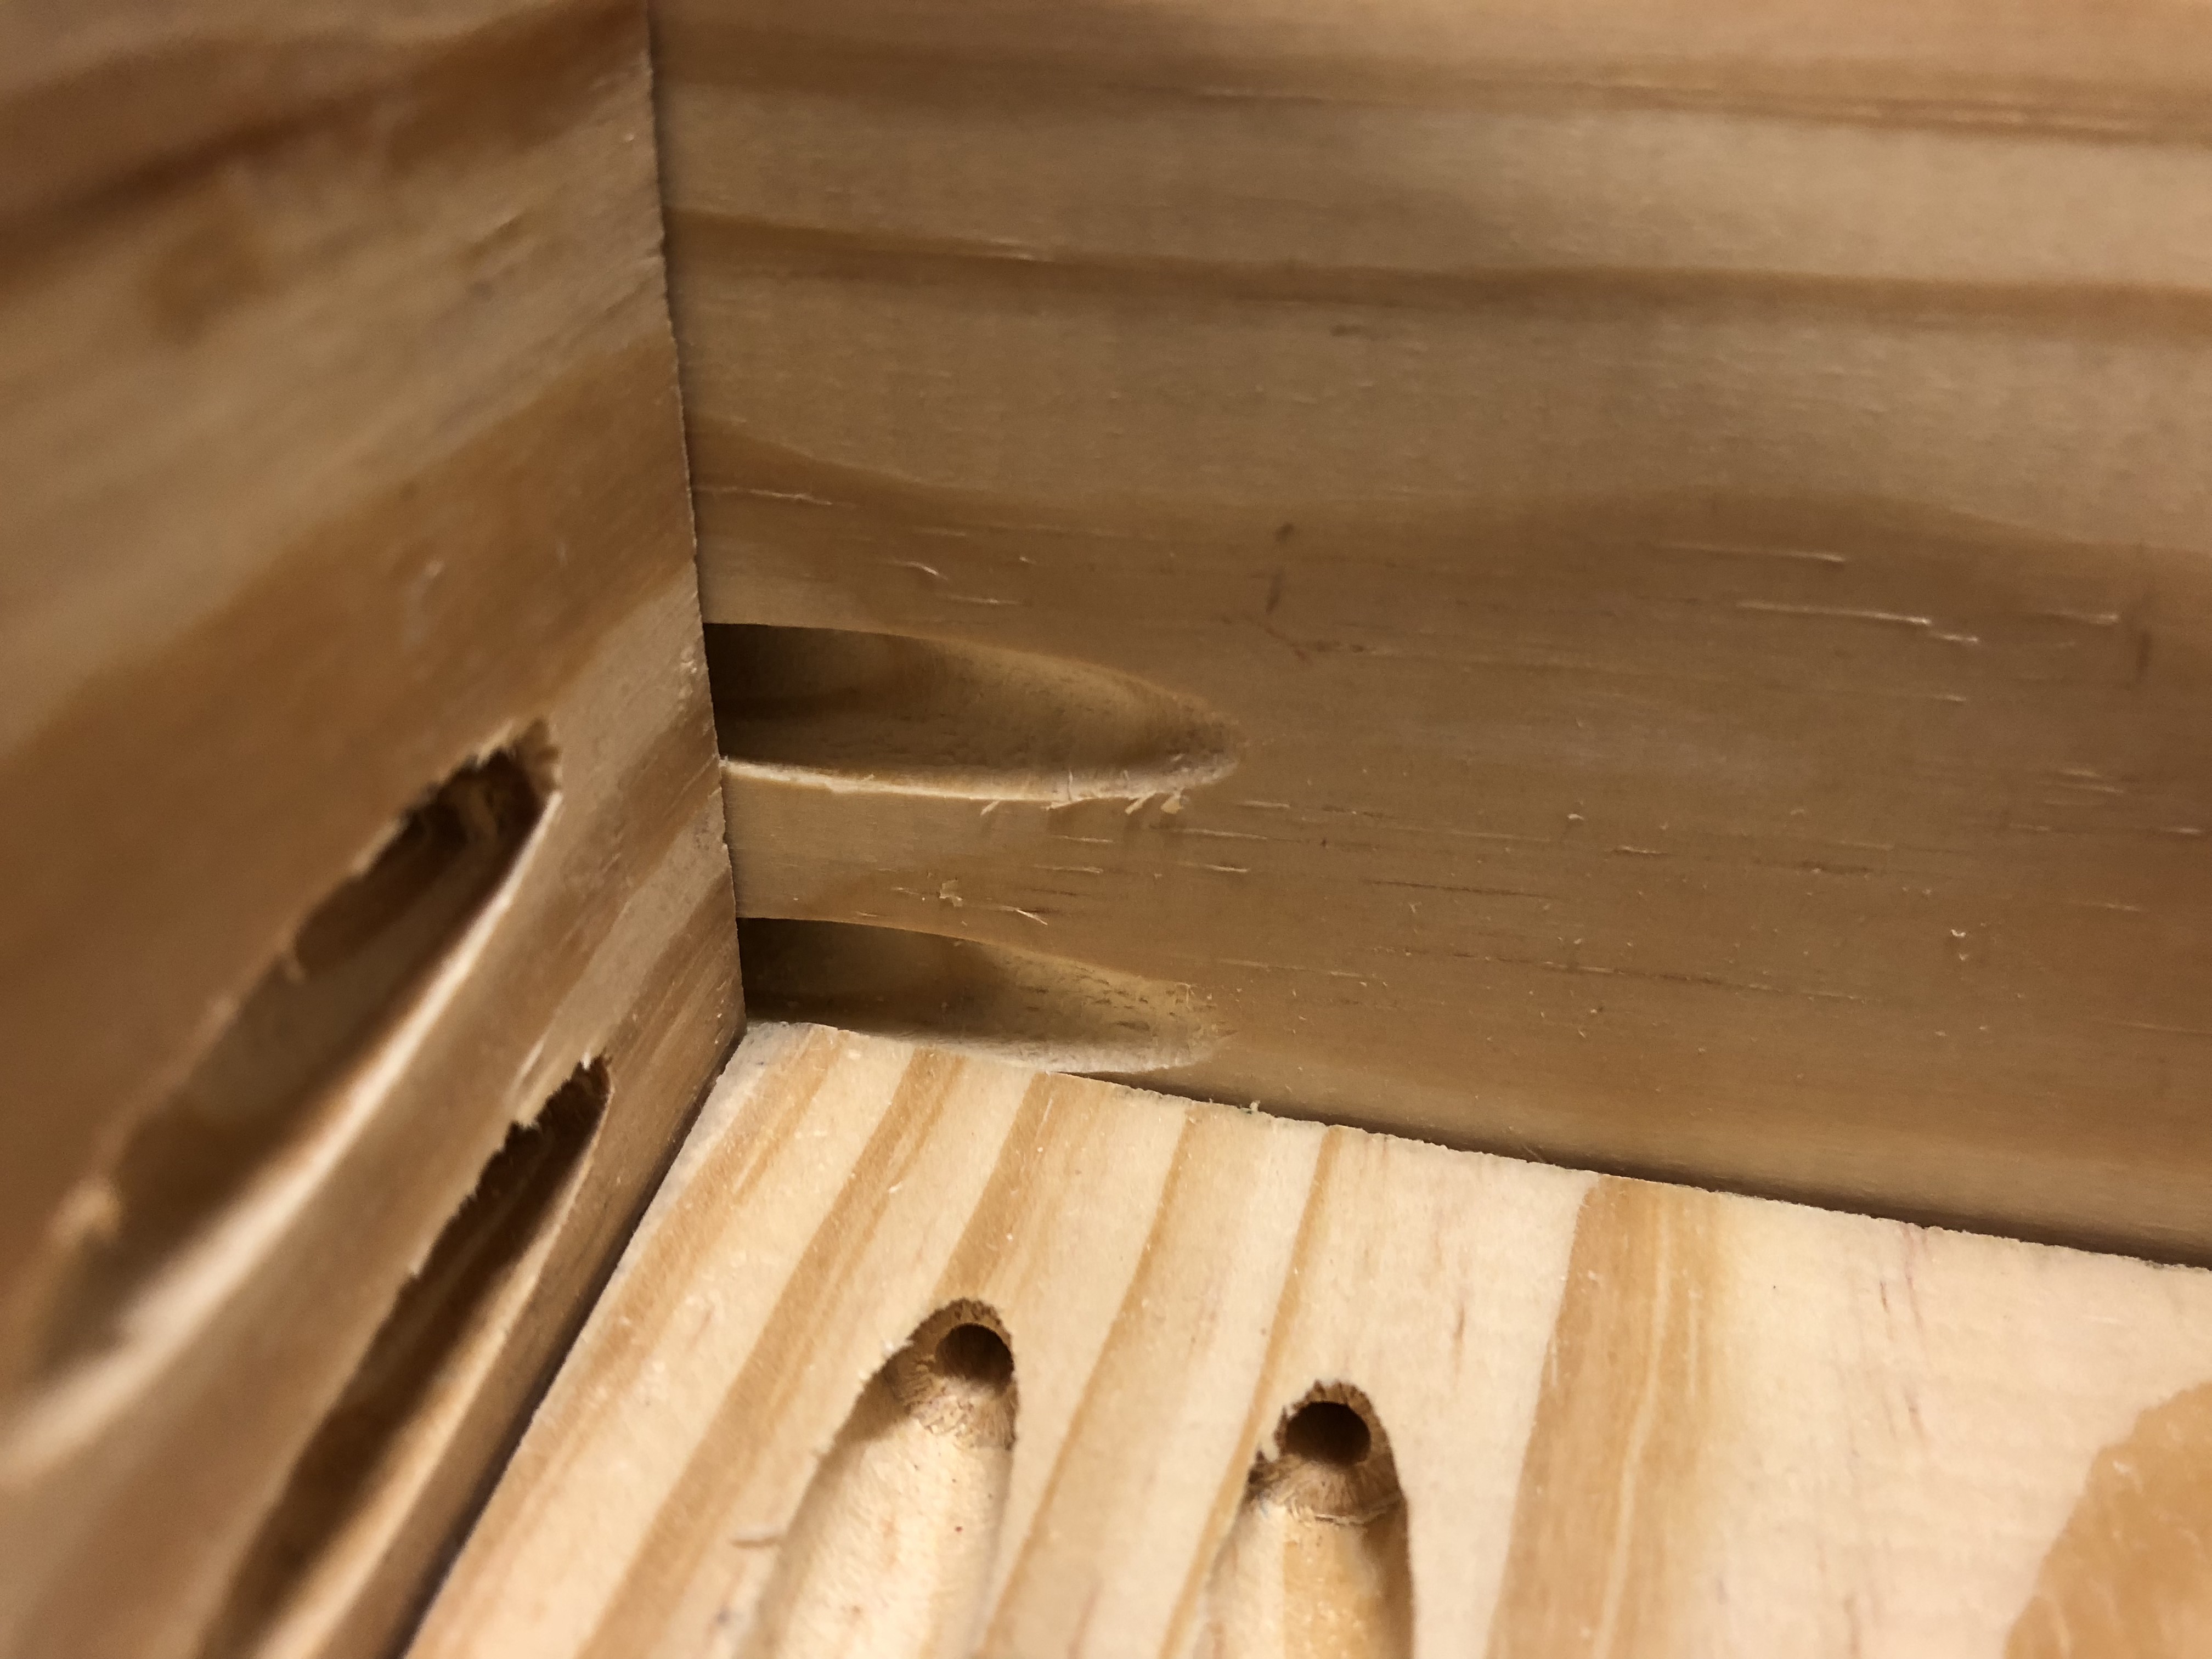
The extra holes I drilled on the wrong piece of wood.
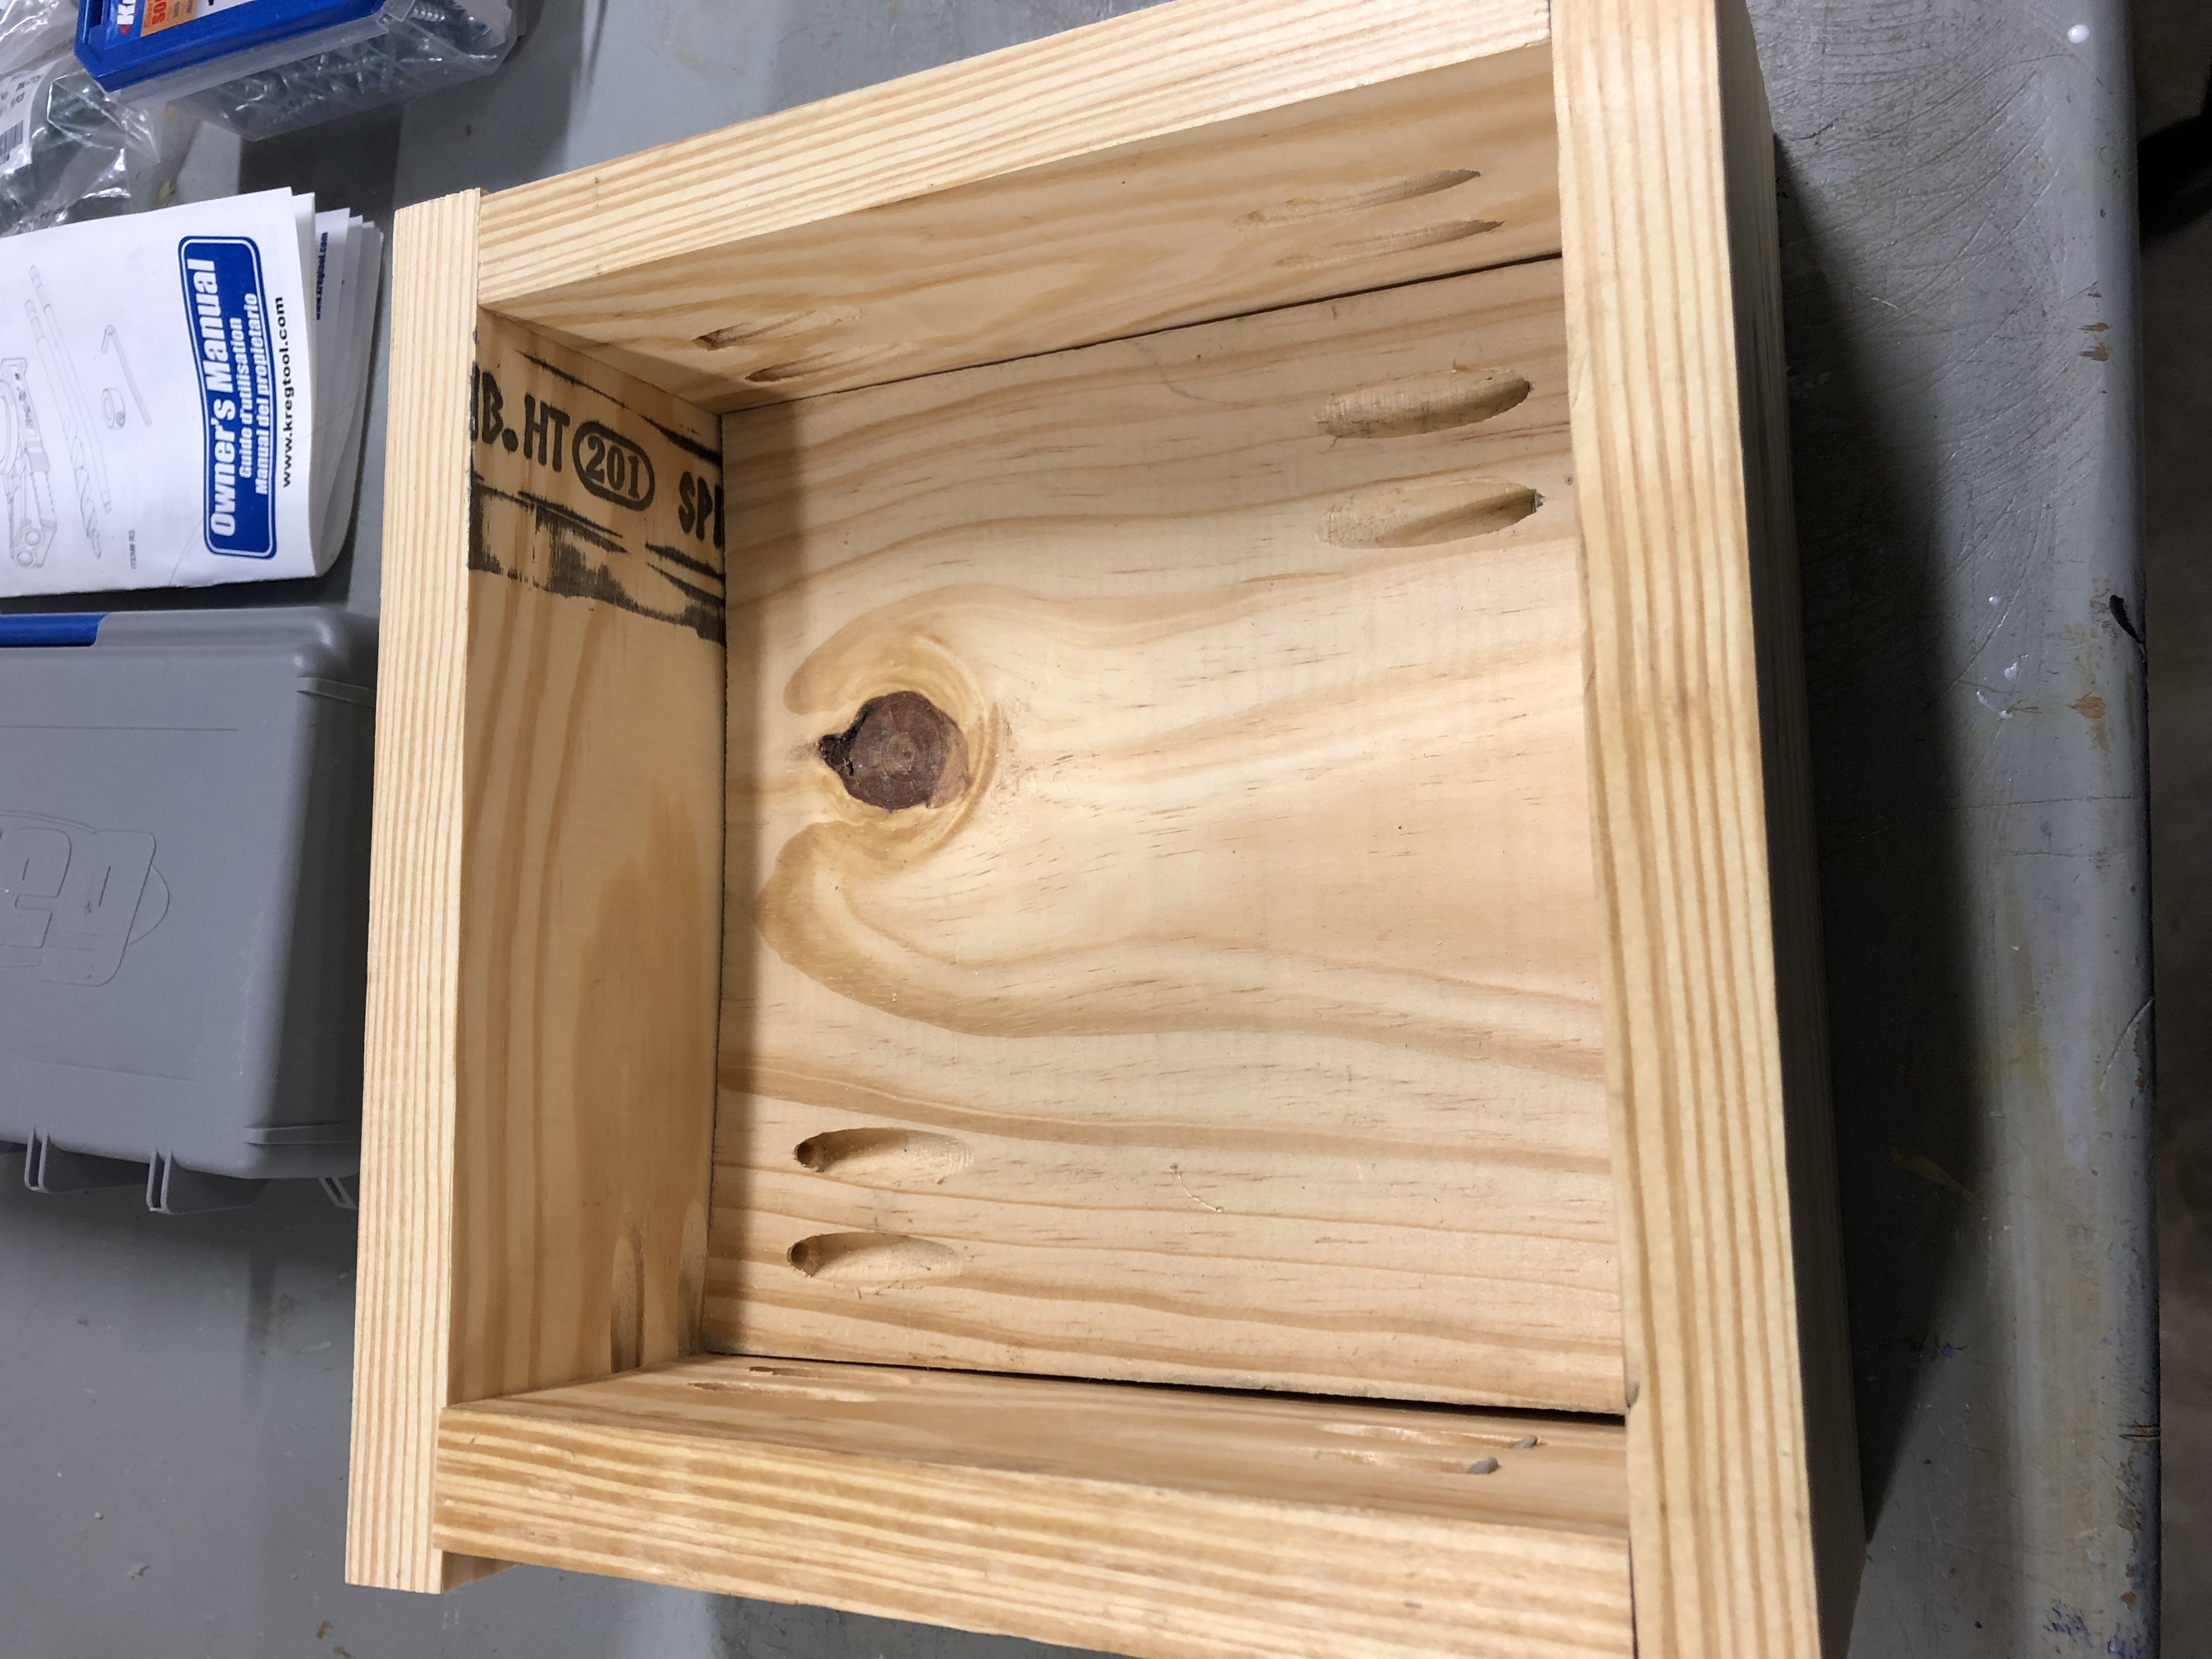
After playing with all the clamps, I finally found a set up that will allow me to drill into the wood properly. Everything was working fine until I realized that the drill couldn’t fit into the box at the right angle to screw the final piece of wood on to the box. This means that the final two screws had to be secured on the outside. This was also the part where I had to enlist another lab assistant to help me hold the box because I couldn’t get a good hold of the box while screwing in to the box at the same time. I also learned that even though the screws are labeled as not needing pilot holes, it’s probably good to have some anyways.

The final two screws
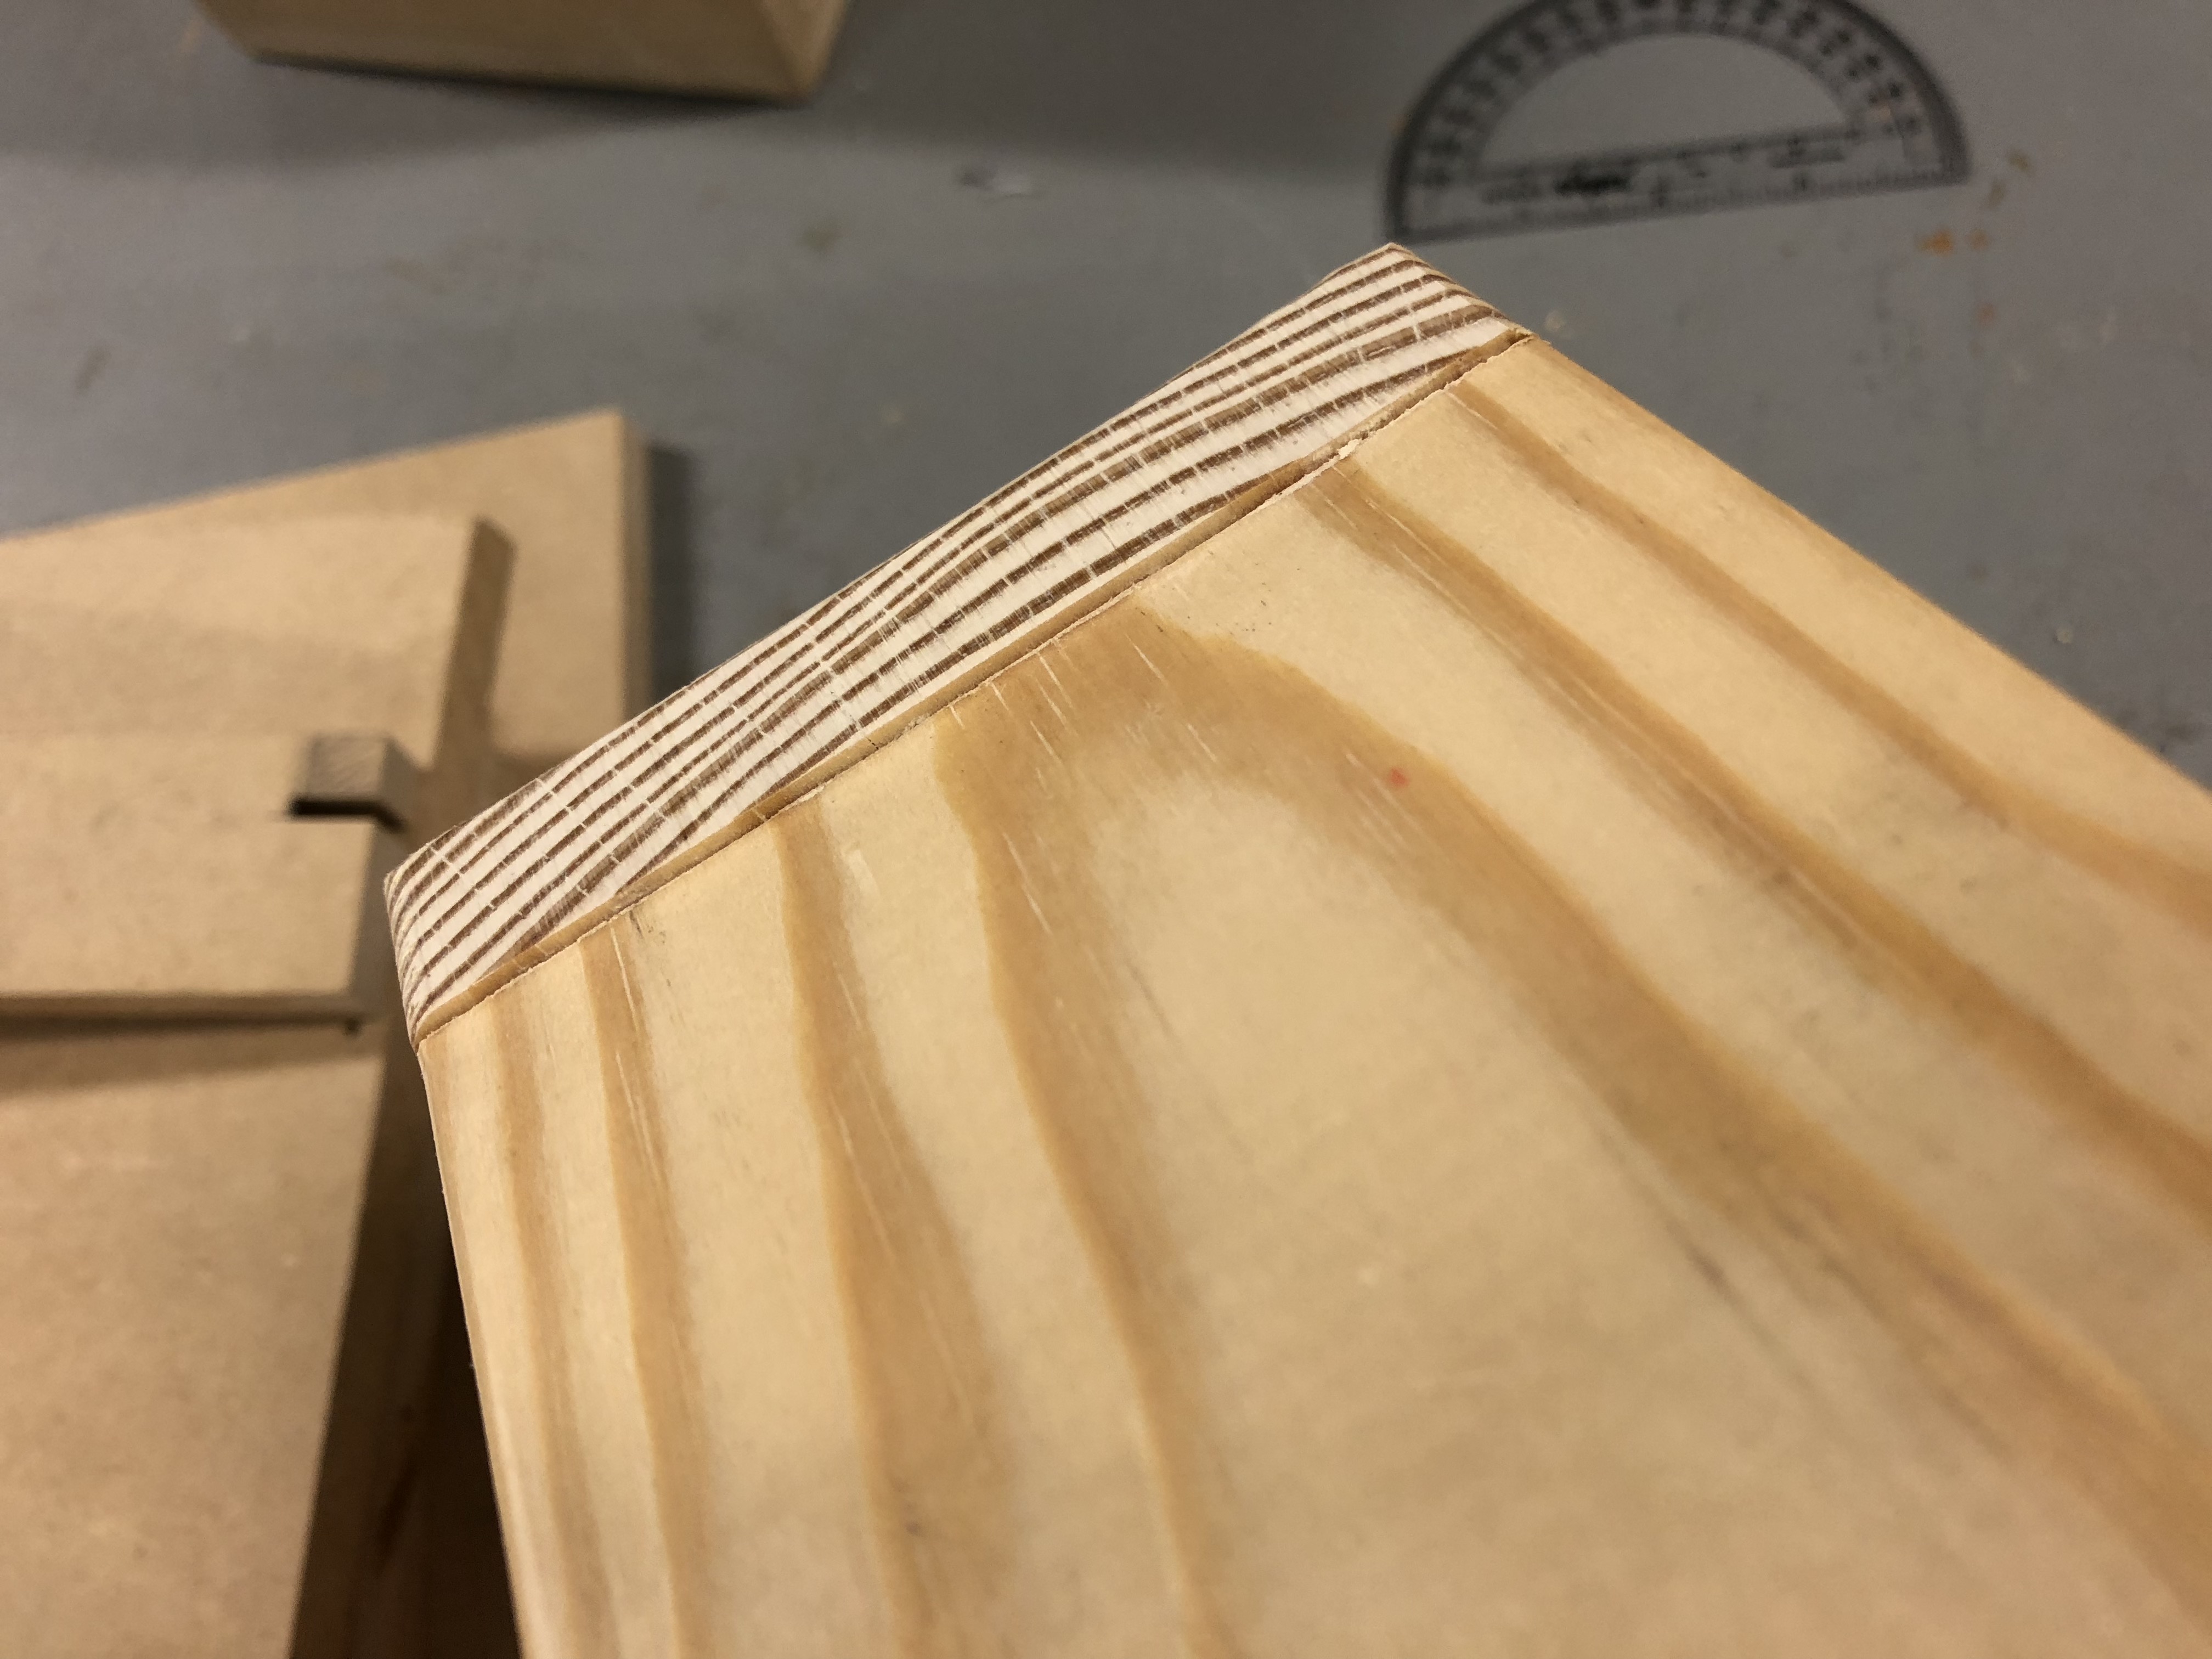
Before sanding the edges to be flush
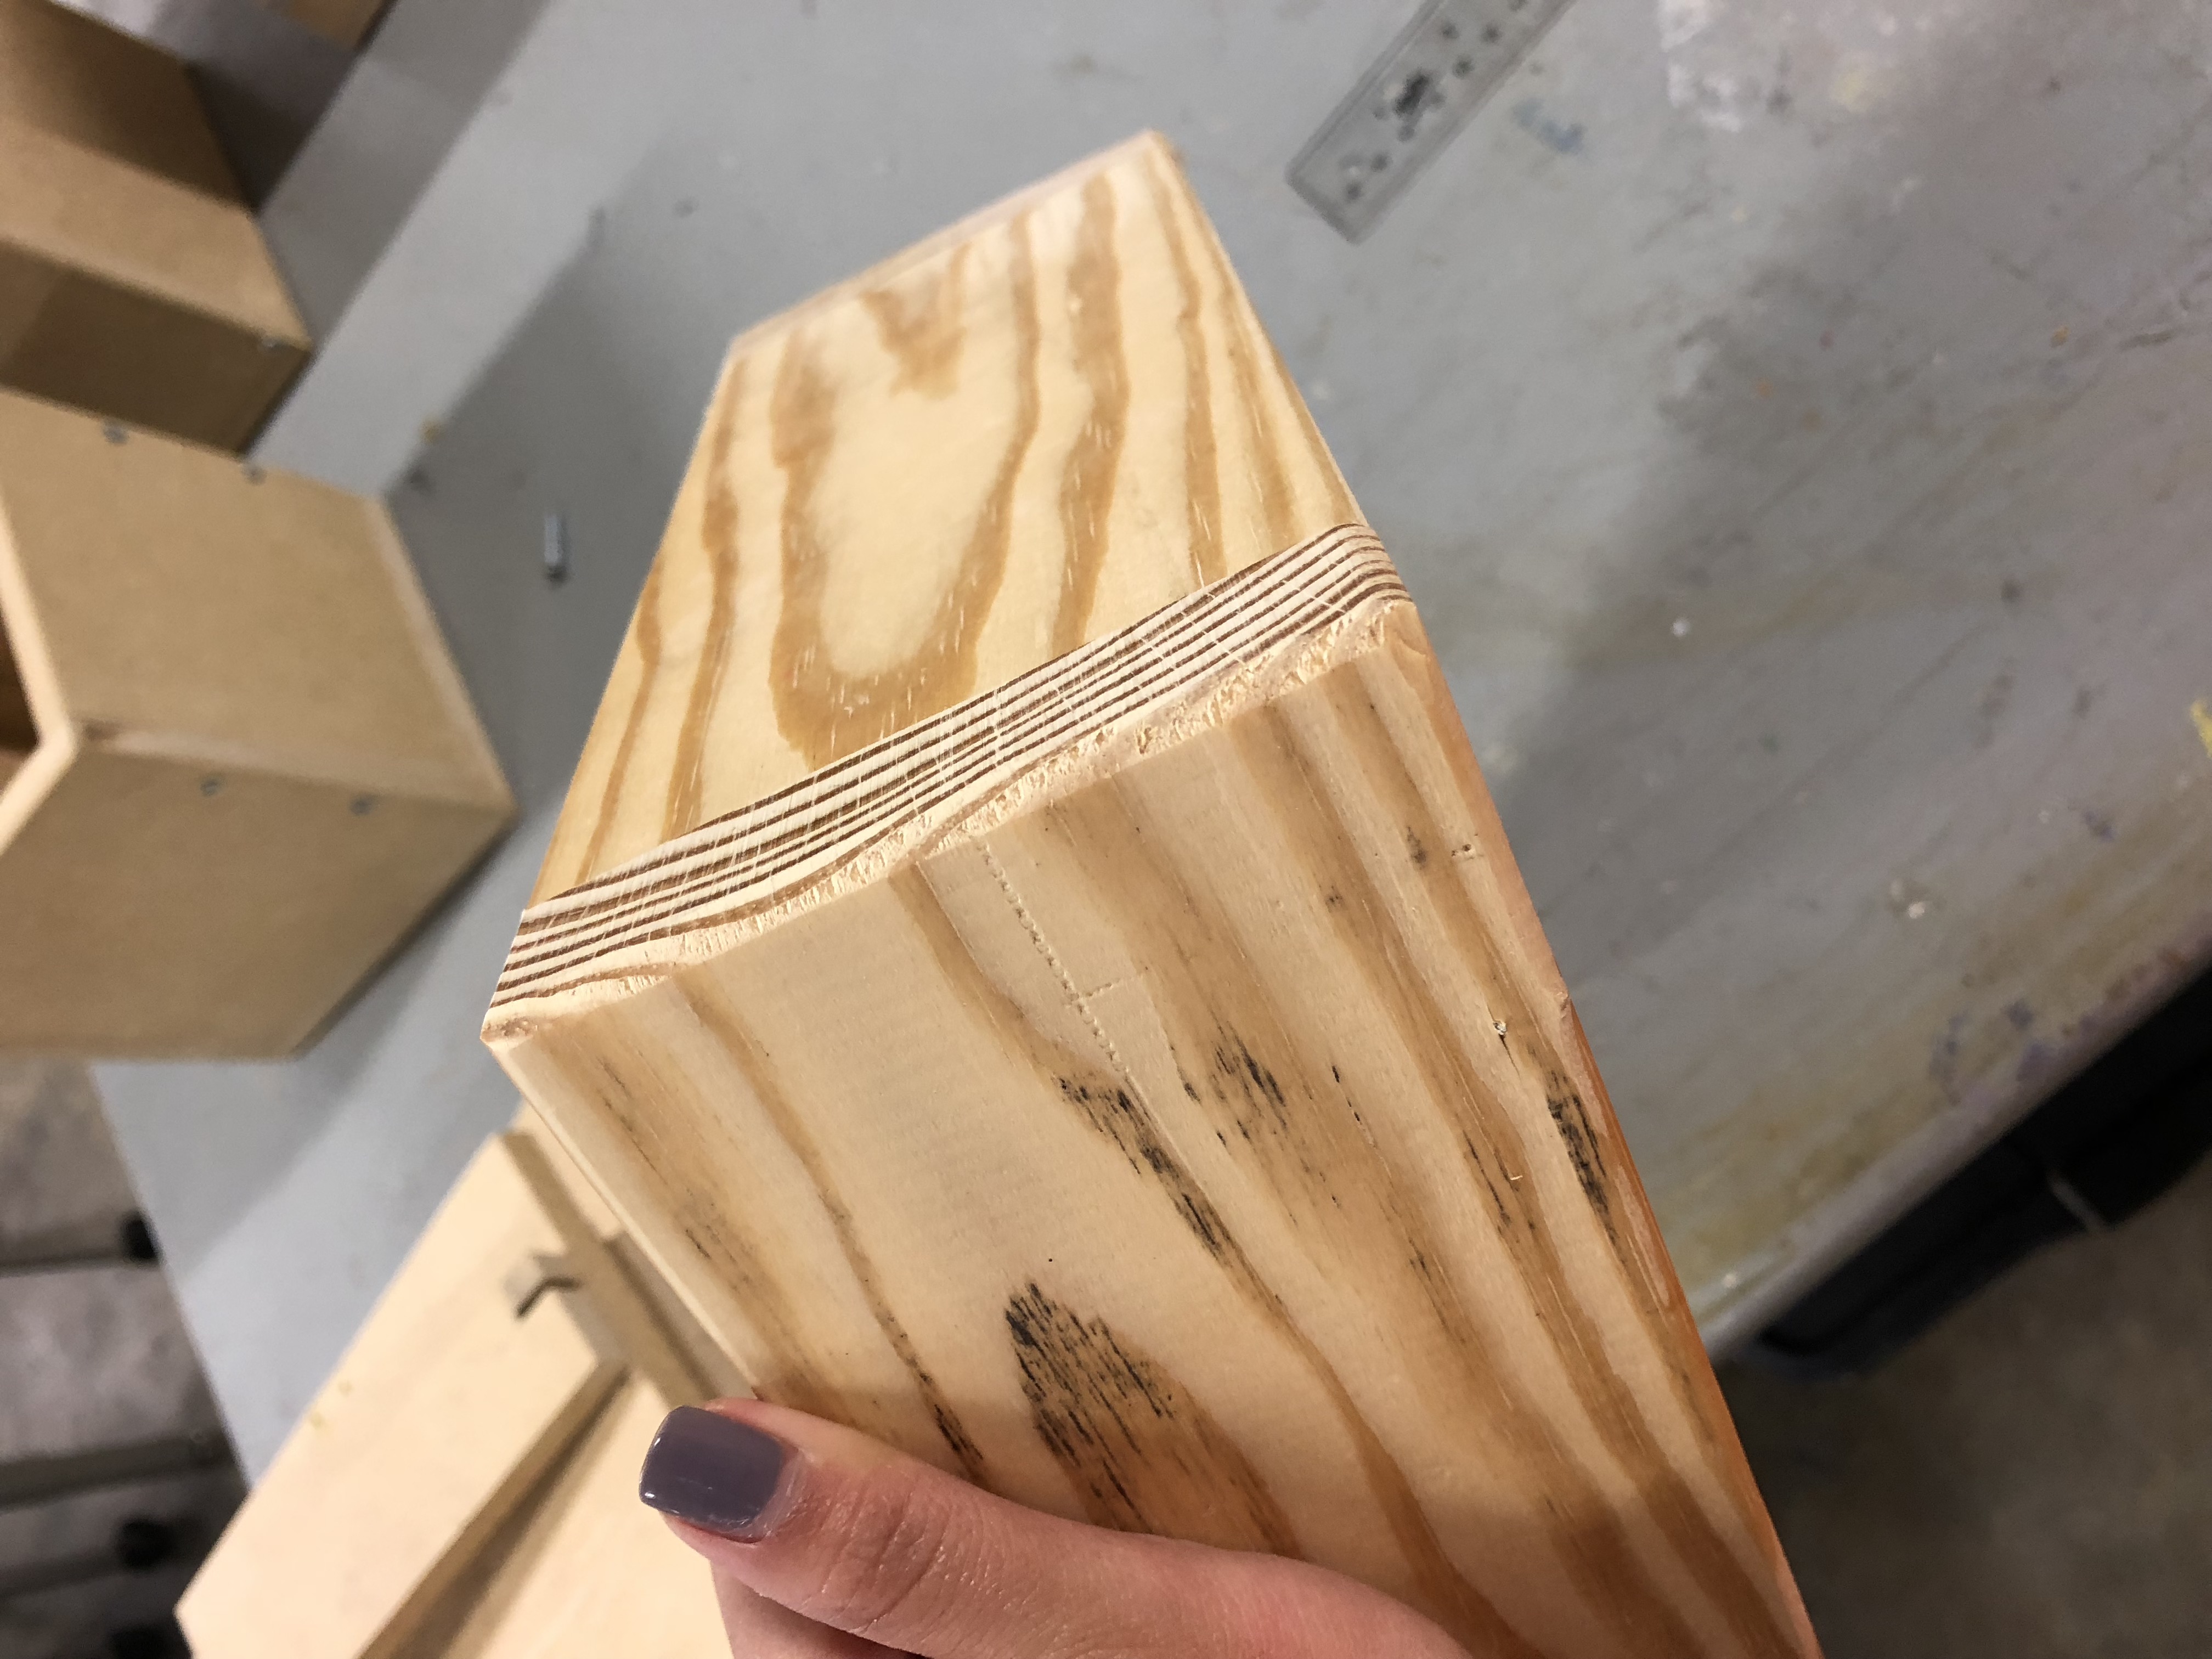
After (finally) assembling the box, I sawed off the extra wood around the edges (and maybe split the wood a little in the process) and then sanded them so they are flush with the rest of the box. Then, it was time to use the router.
after sawing and sanding the edge
It was a lot easier that I thought it would be. All I had to do was slide the edges across the router and then they were round. For the parts where I had a screw sticking out or it wasn’t exactly straight, I had to move the router wall back a little so more of the blade was exposed.
rounded edges
The router made my box look a lot more polished then without the rounded edges. Overall, making this box was not as simple as I thought it would be probably because I am not very familiar with hand and power tools as I thought I was. This assignment was a great way for me to refresh my knowledge of the tools and learn how to use the router.
