For this assignment we were tasked with building a wooden open-top box that is securely fastened, and has clean surfaces with rounded edges and no fasteners protruding. To began, I found medium density fibreboard (MDF) in the woodshop and decided to use this as my primary material. I decided to make my box have a 7 inch x 7 inch base and be a about 6.5 inches tall. Next, I measured the board to see what dimensions I was working with. With this information, I was able to sketch out the layout of the box, including a 3D view and a sketch of each piece that was to be cut. I planned for the base to be 7 inches x 7 inches and for all side pieces to sit on top of the base. Two sides would be 7 inches x 6 inches, and extend from one edge of the base to the other. The other two sides would be 6 inches x 6inches, and would fit in between the larger side pieces.
To cut the MDF, I used the table saw in the wood shop. It was my first time using the table saw, and I was pleasantly surprised with how easy it was to operate. It did help, however, to have a lab assistant helping me, especially when catching the two pieces once they passed through the saw. A neat thing I learned about using the table saw is there is no need to measure or mark your wood before hand because the saw has a built in measurement system. Next, I used the router to round the out-facing edges of each piece.
Once I had all of the pieces cut, I had to assemble them into a box shape. The first step of this process was deciding which fasteners to use and where. Because one of the goals of the assignment was to make the box clean looking without protruding fasteners, I opted to use dowels as the fasteners to hold the sides of the box to each other. To hold the sides to the base, I planned to use screws, with the screw heads only visible on the bottom of the box.
To screw the sides to the base, I clamped the pieces together, drilled a pilot hole smaller than the size of the screw, and then used a screwdriver drill bit to insert the screw. I wanted to make the screws countersunk so that the box would sit flat on the table. To do so, after I drilled the small pilot hole, I used a drillbit the same size as the head of the screwdriver and made a very small hole in which the head could rest. When I screwed the screw in all the way, the edge of the head was flush with the bottom surface of the box.
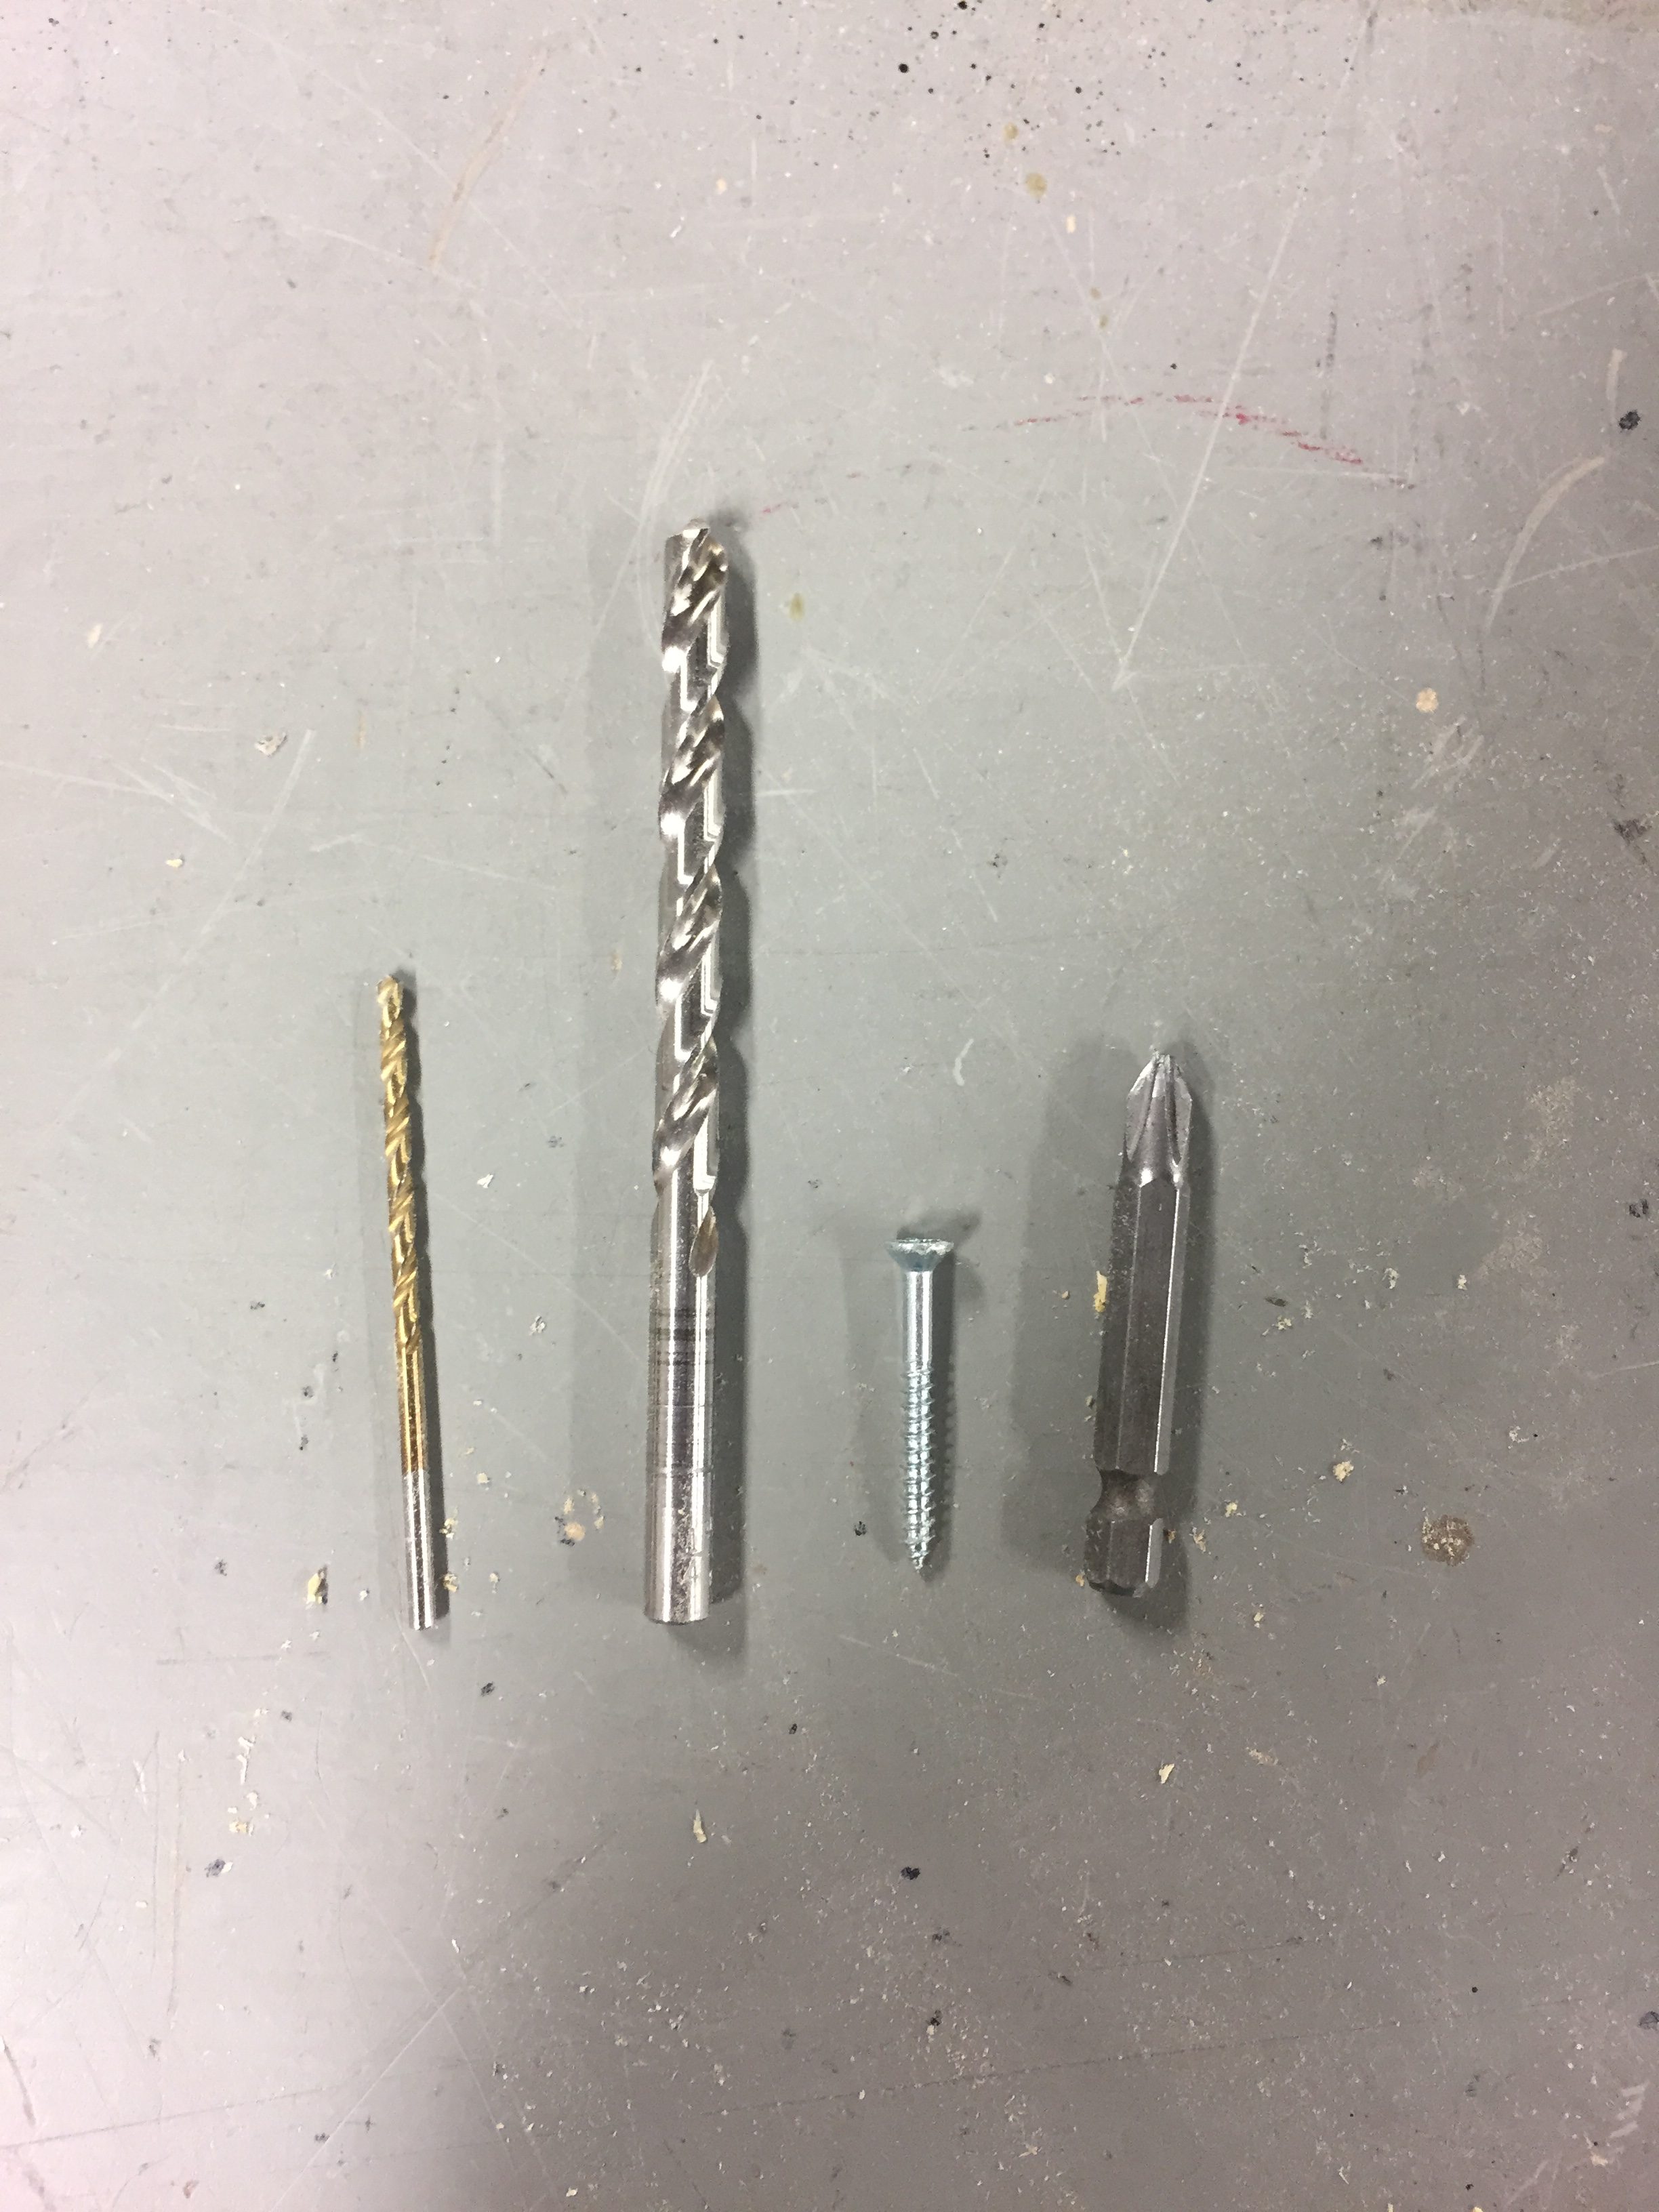
Tools I used to insert the screws
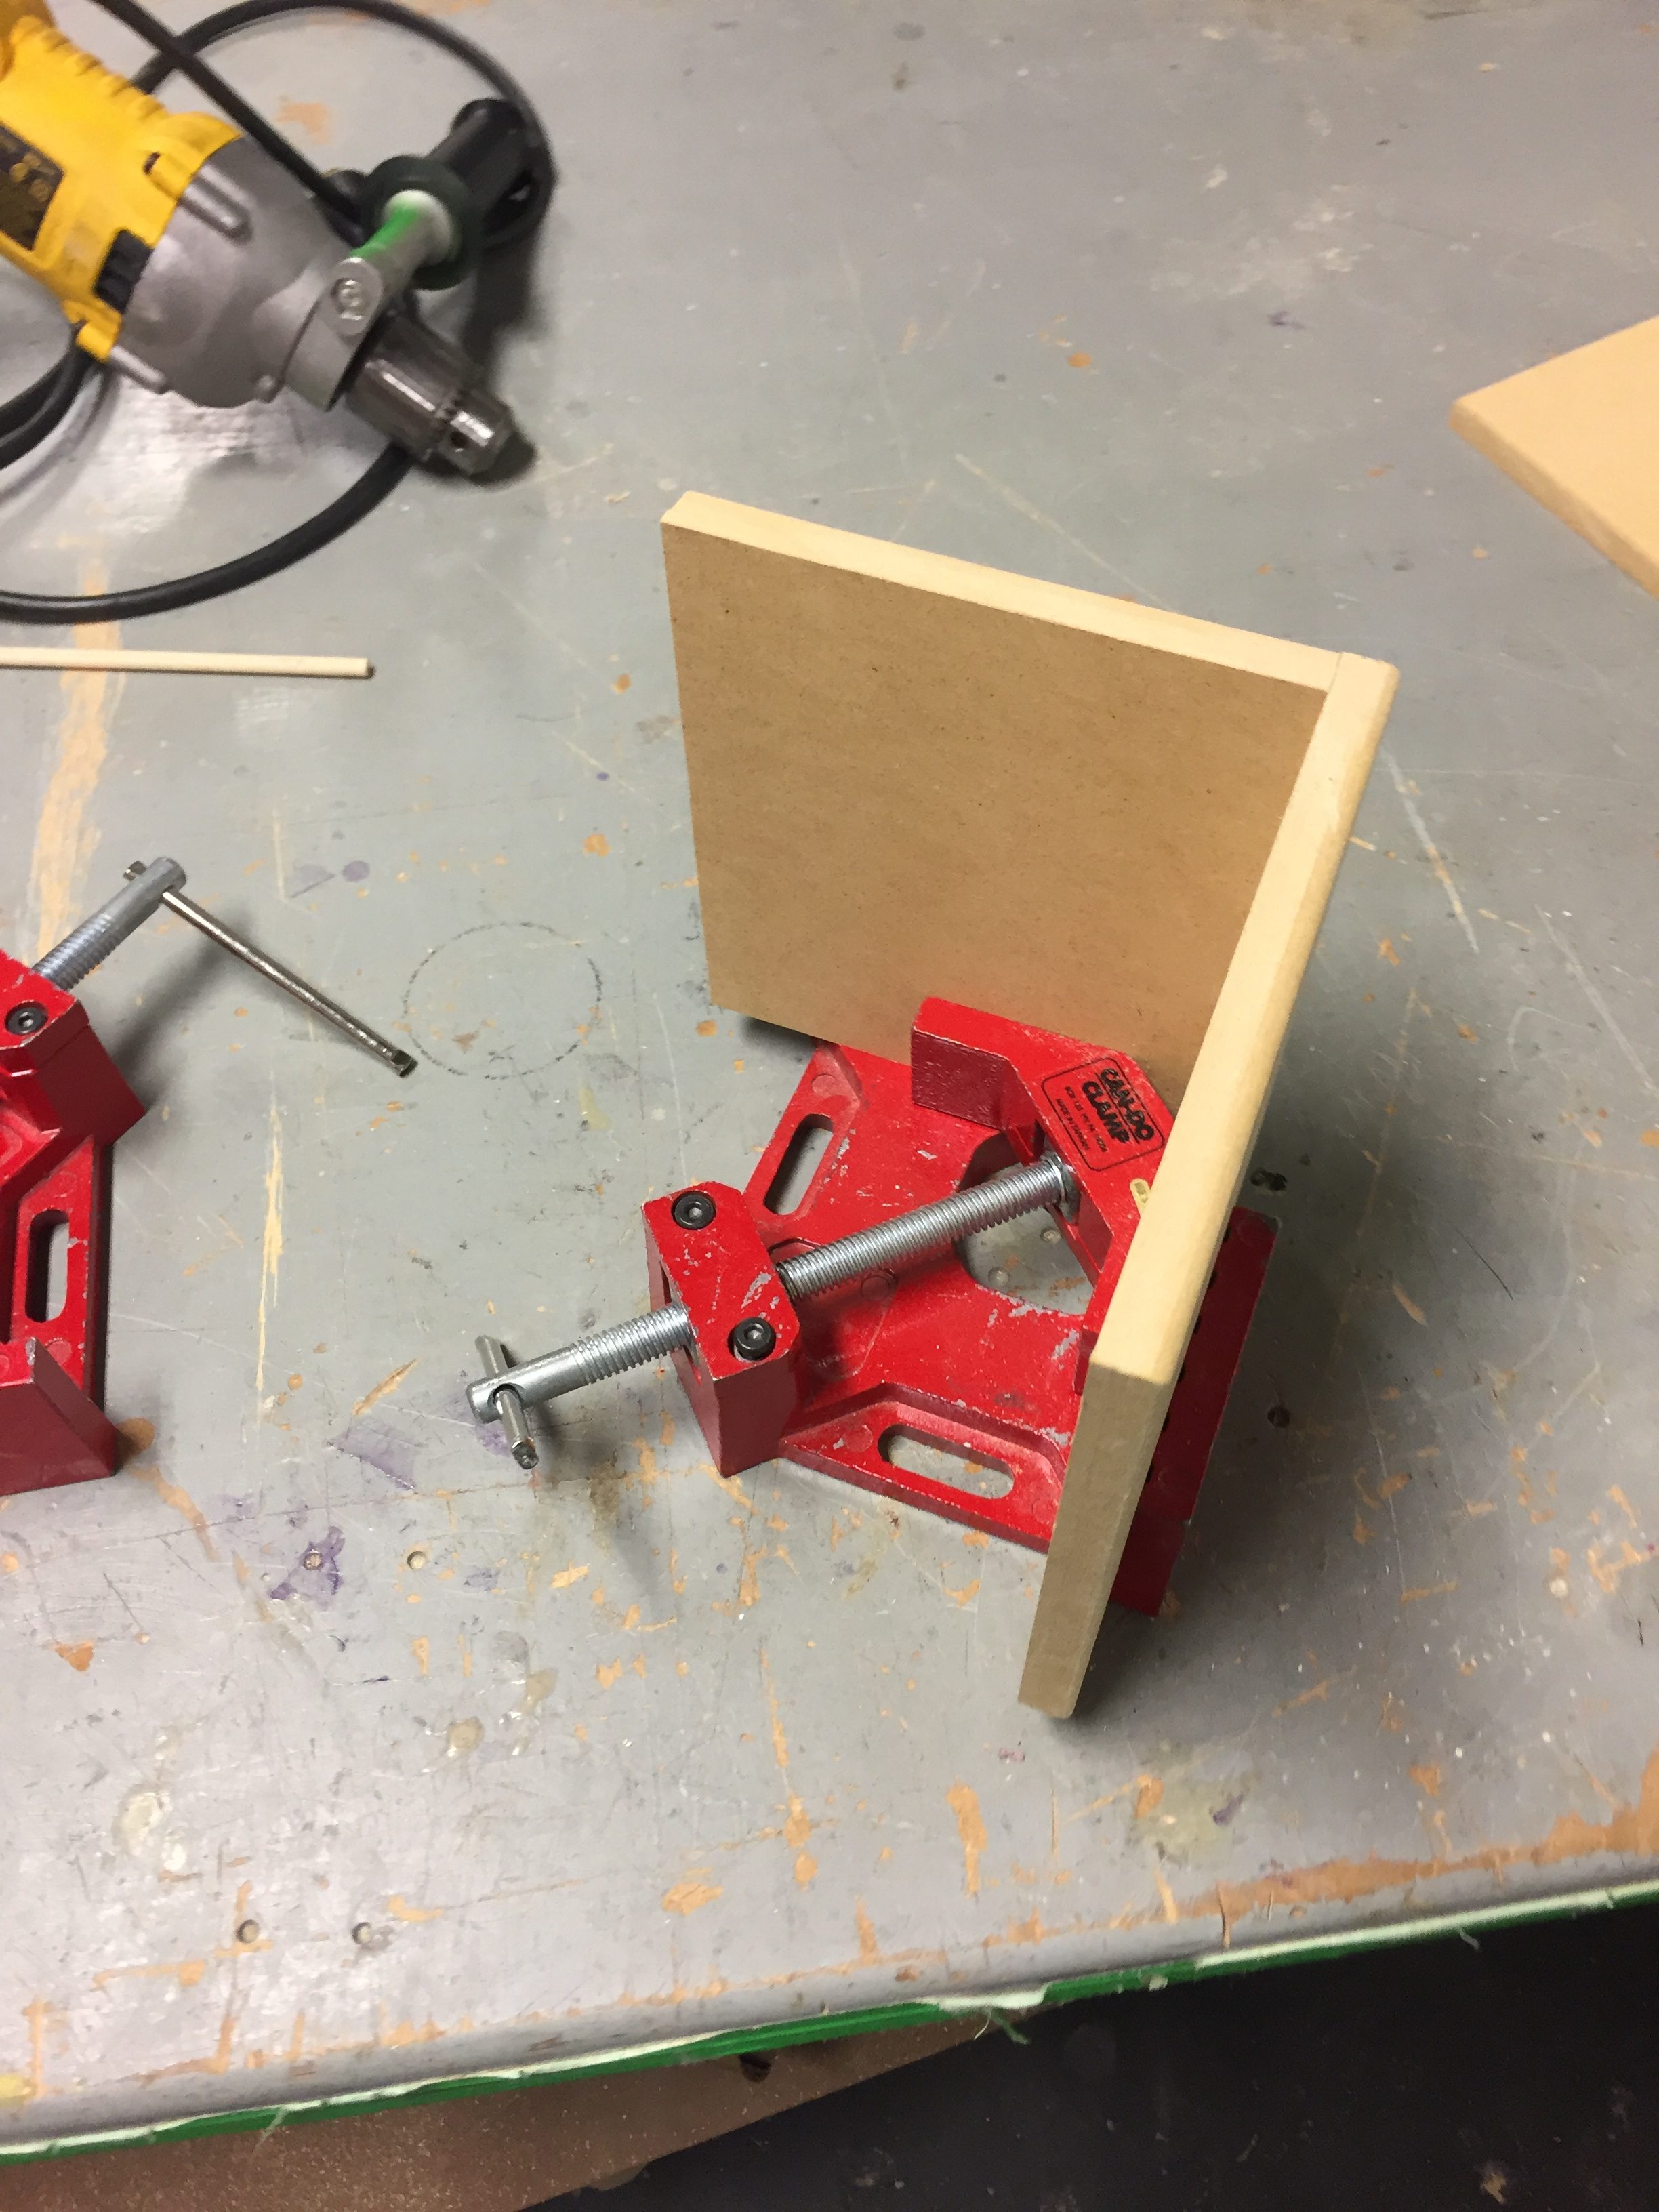
Wood in 90 degree clamo
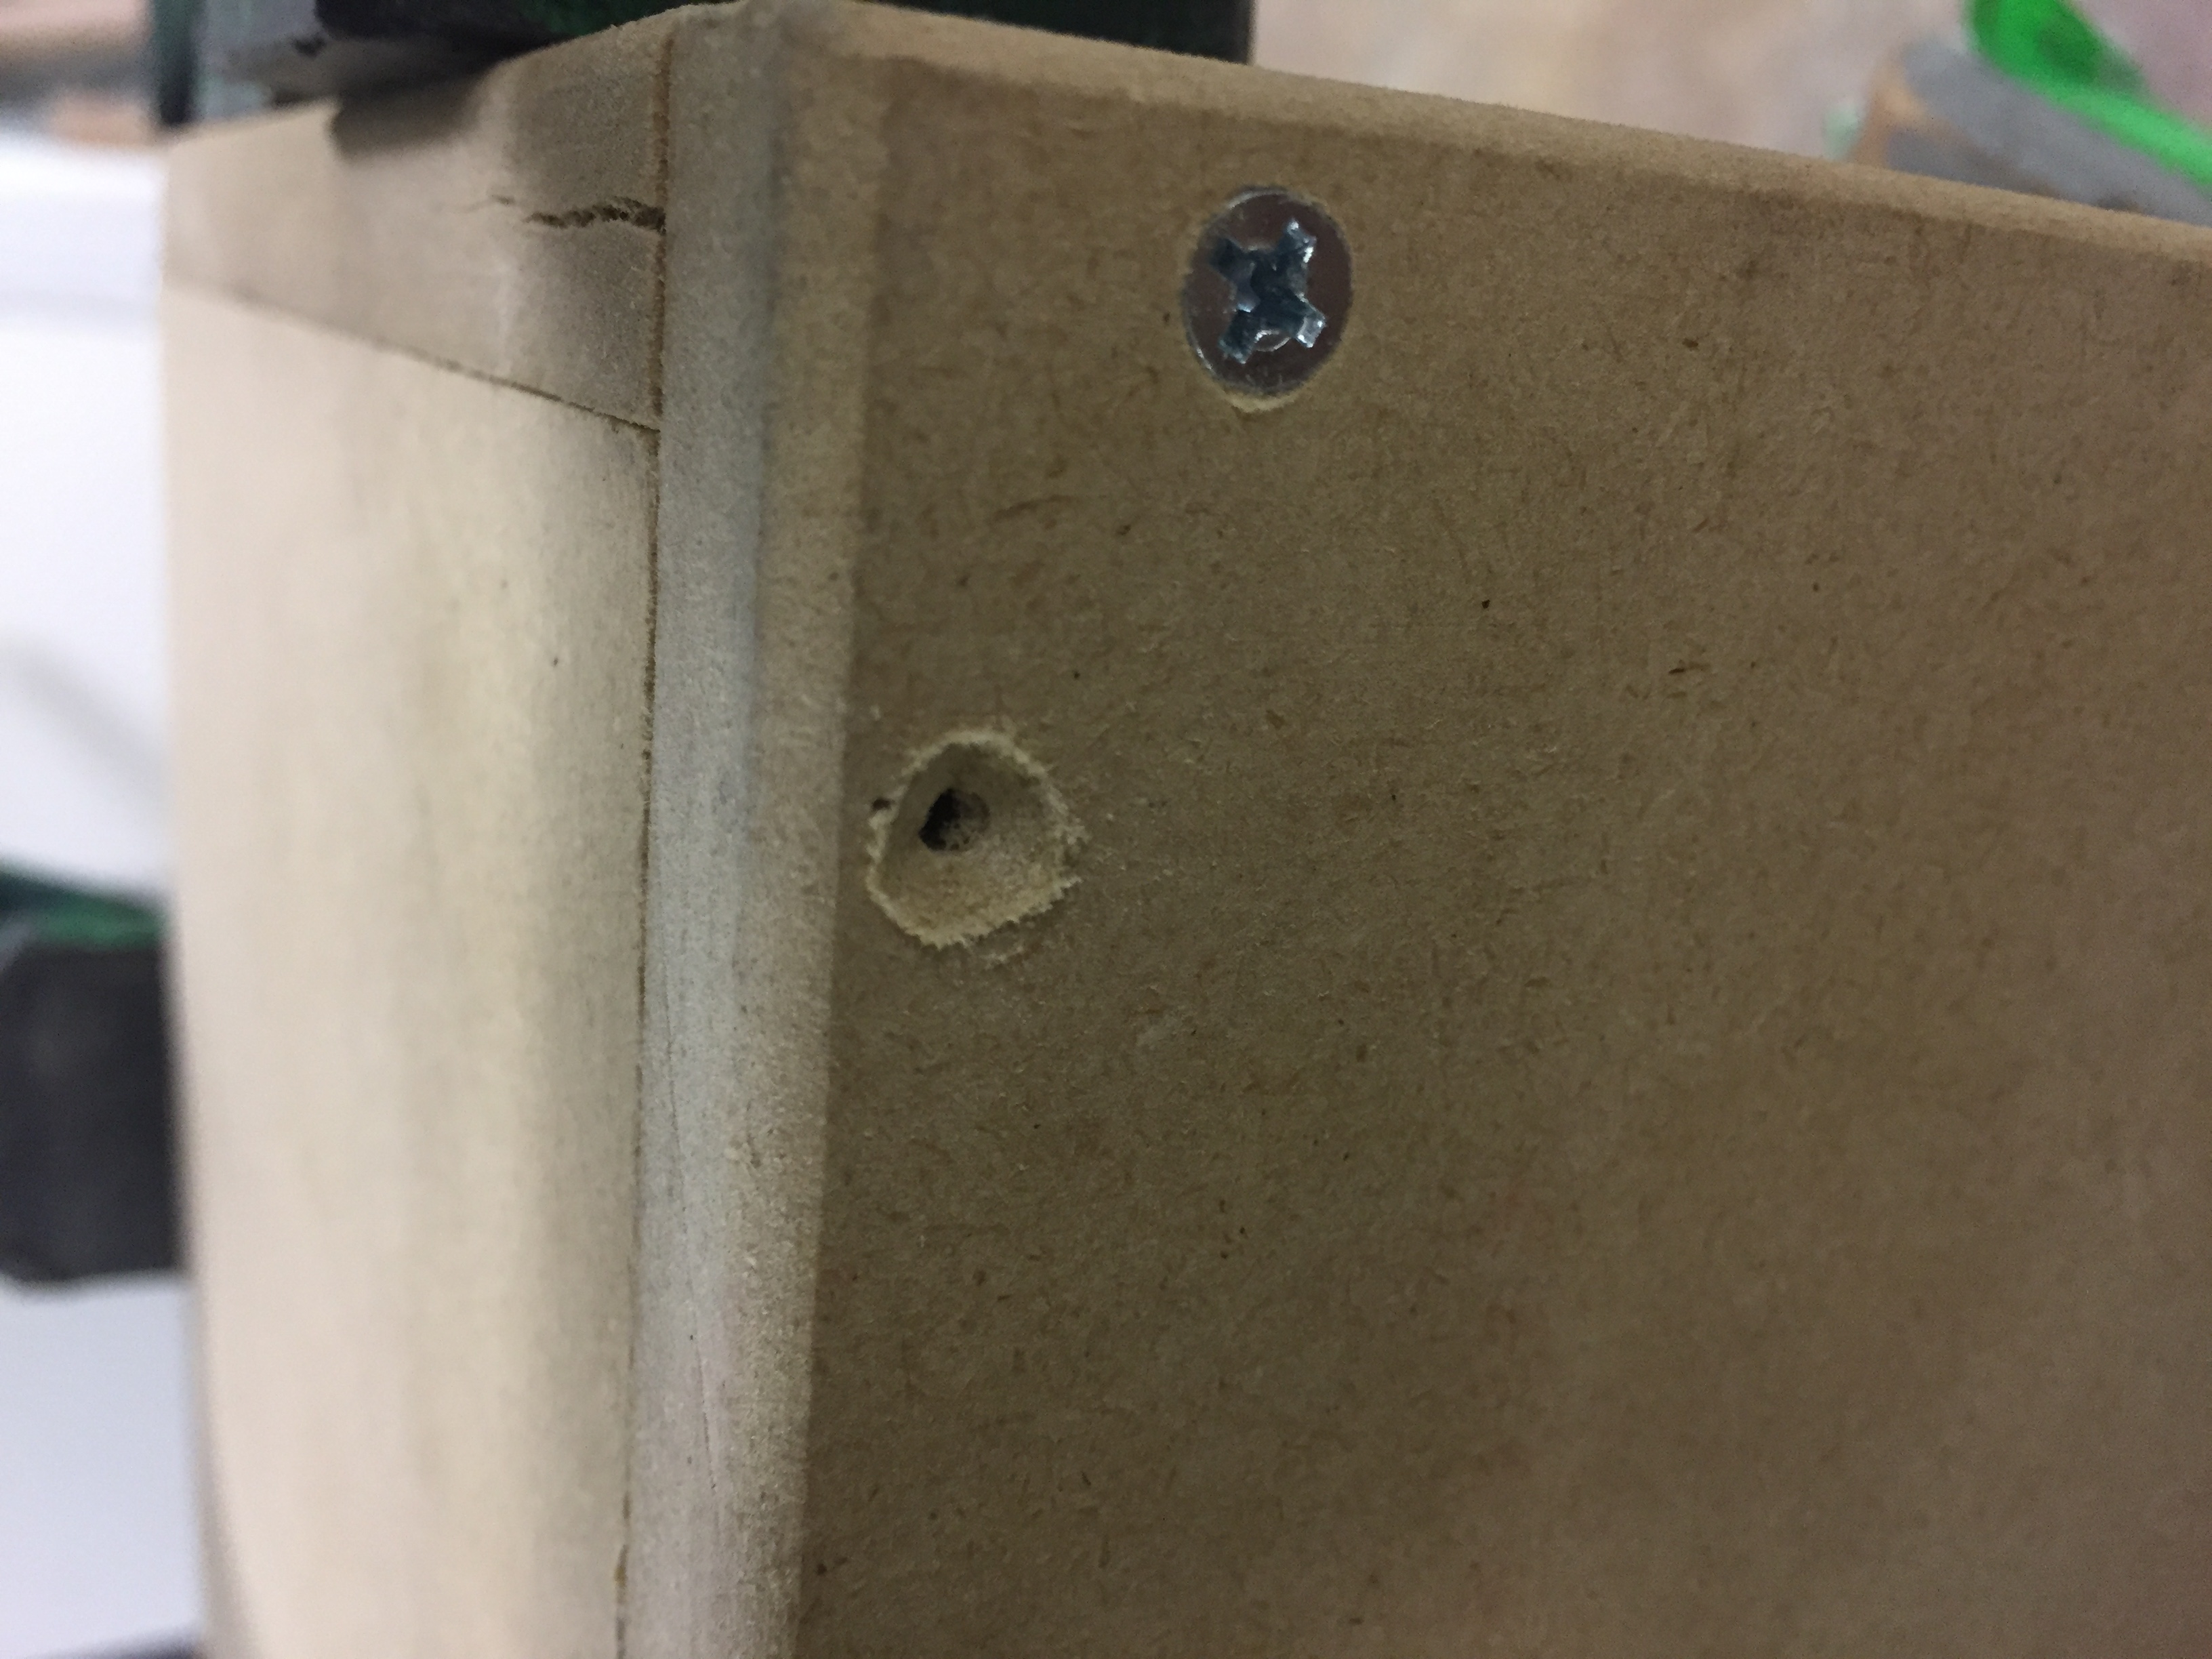
Hole for countersunk screw
To attach the sides together, I used two dowels on each of 2 sides. I drilled a hole that was the same size as the dowel through the end of the side and partially into the other side. Then I dripped a little bit of wood glue inside the hole, placed the small piece of dowel in the hole, and used a rubber mallet to fit it tightly into place.
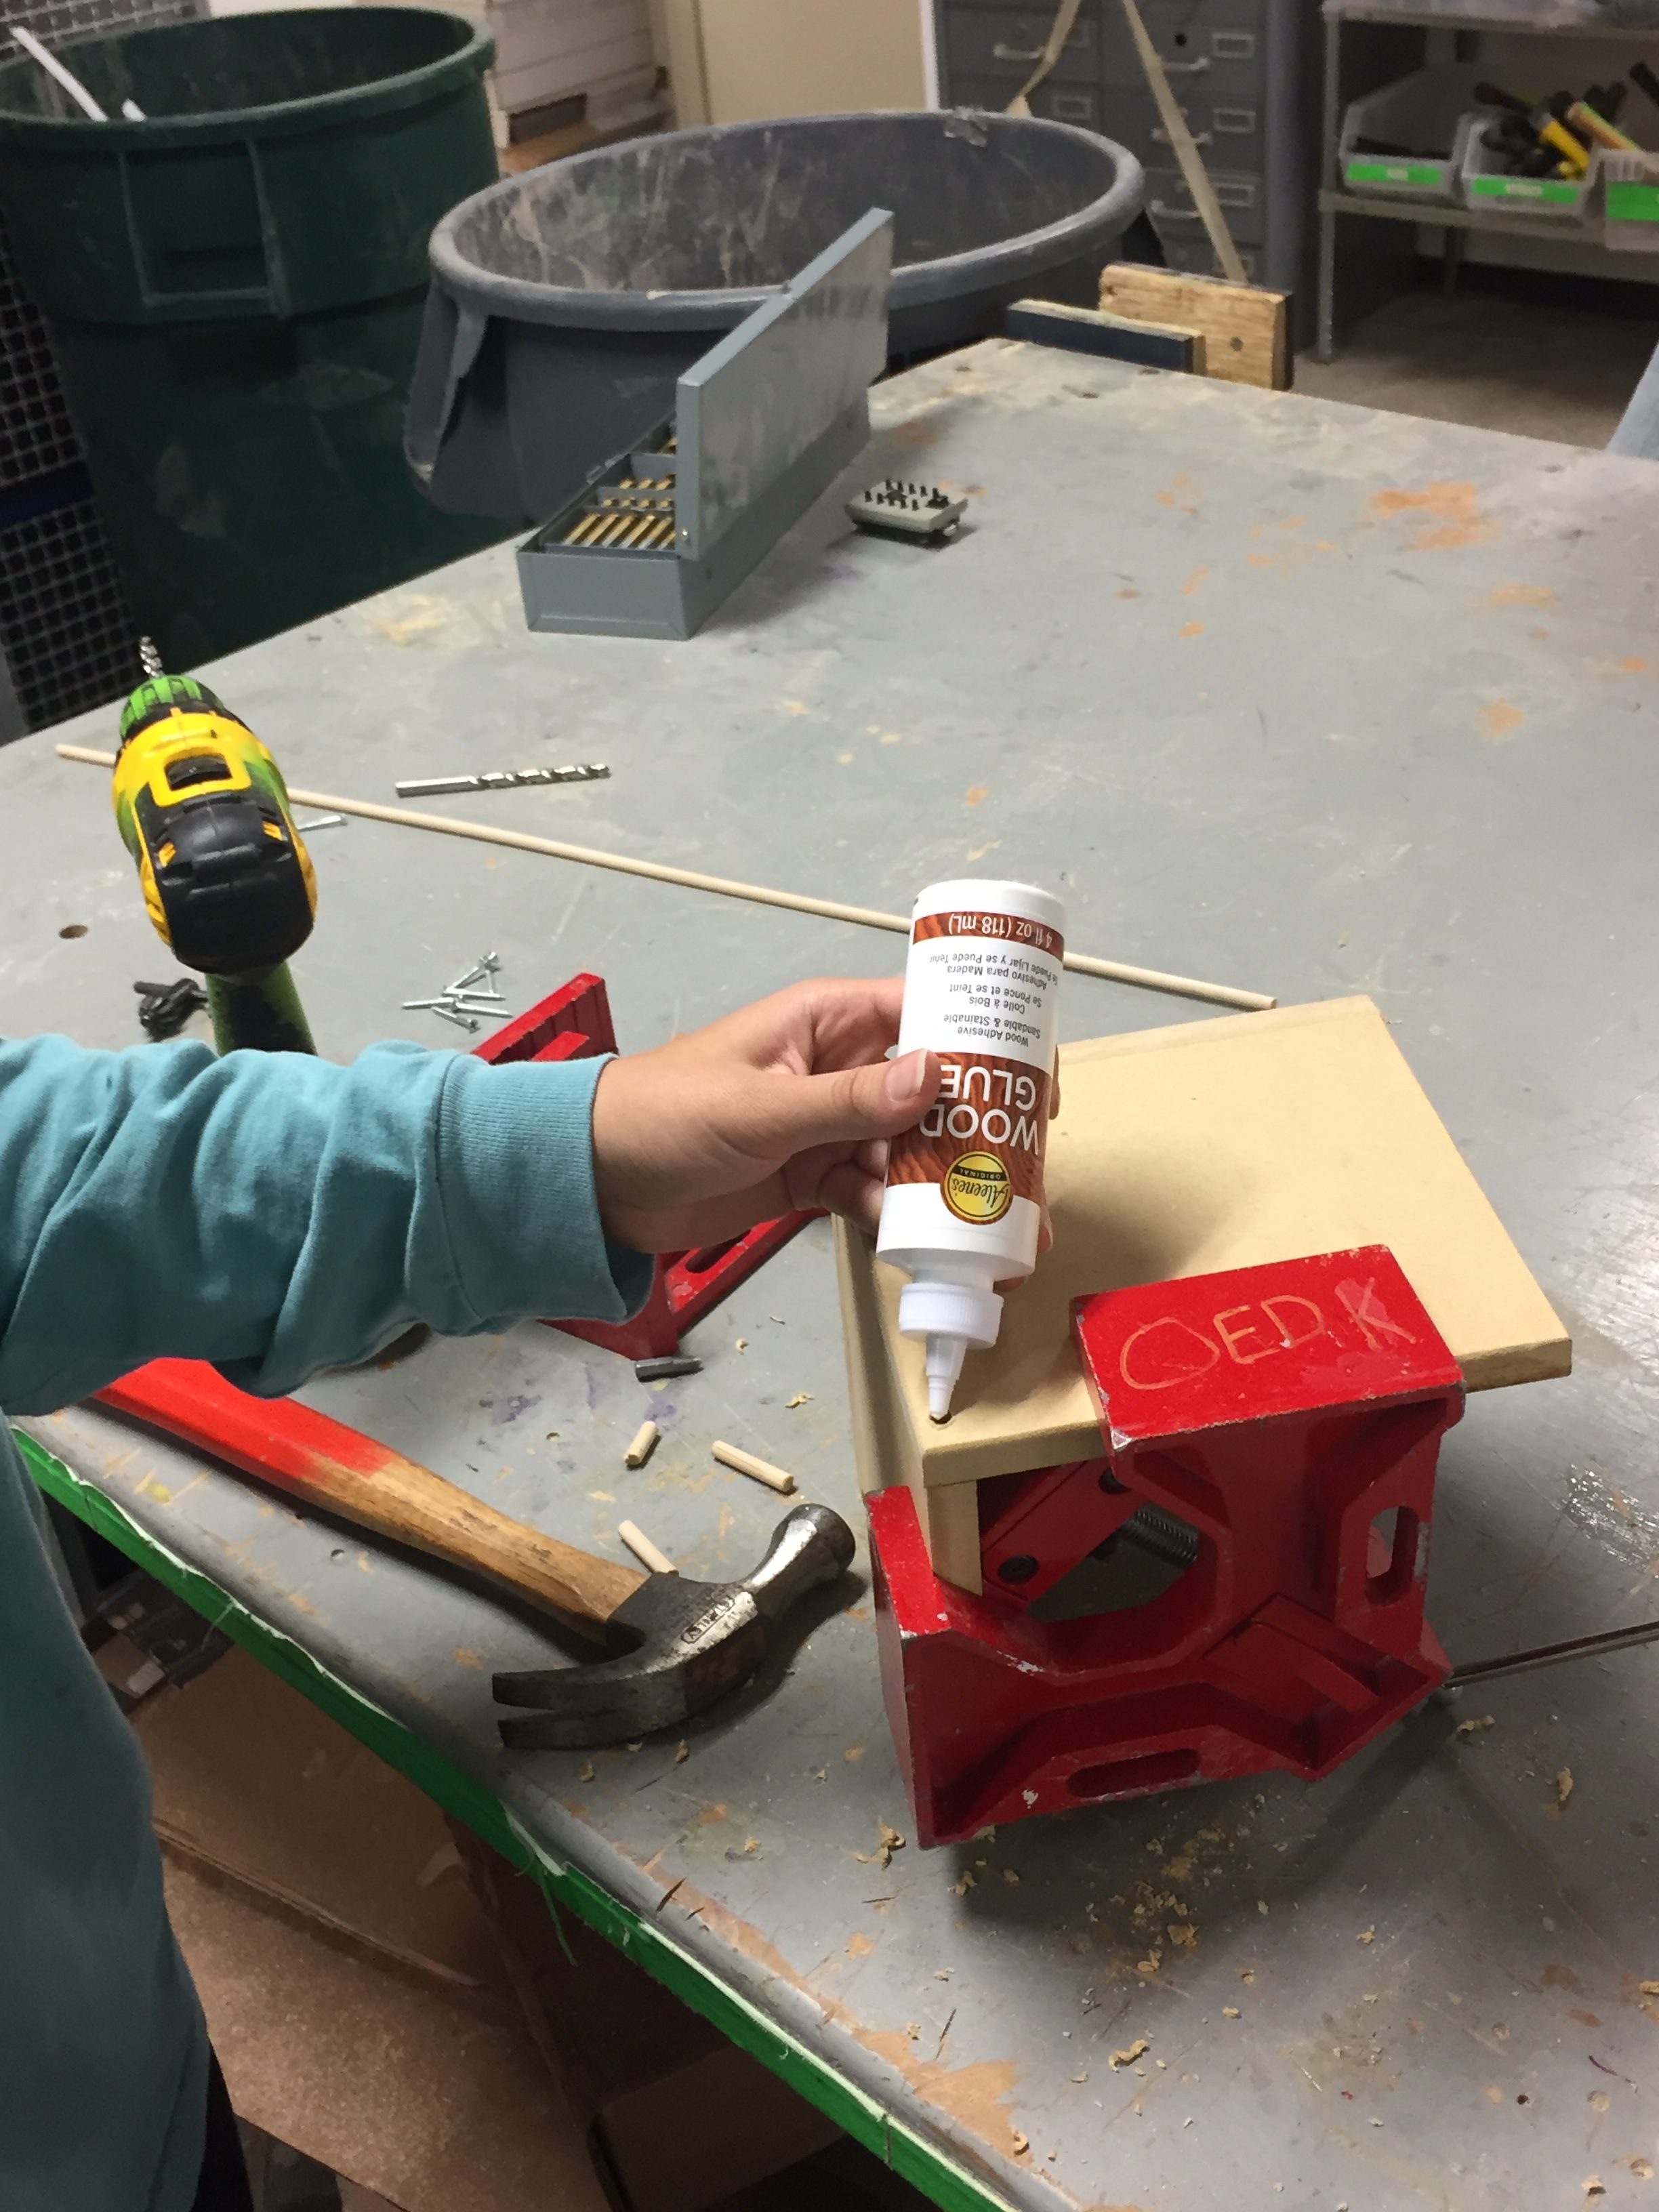
Using wood glue before putting in the dowels
To finish the box, I used an orbital sander to smooth any uneven edges and round the corners. I also used it to file down the protruding parts of the dowel fasteners.
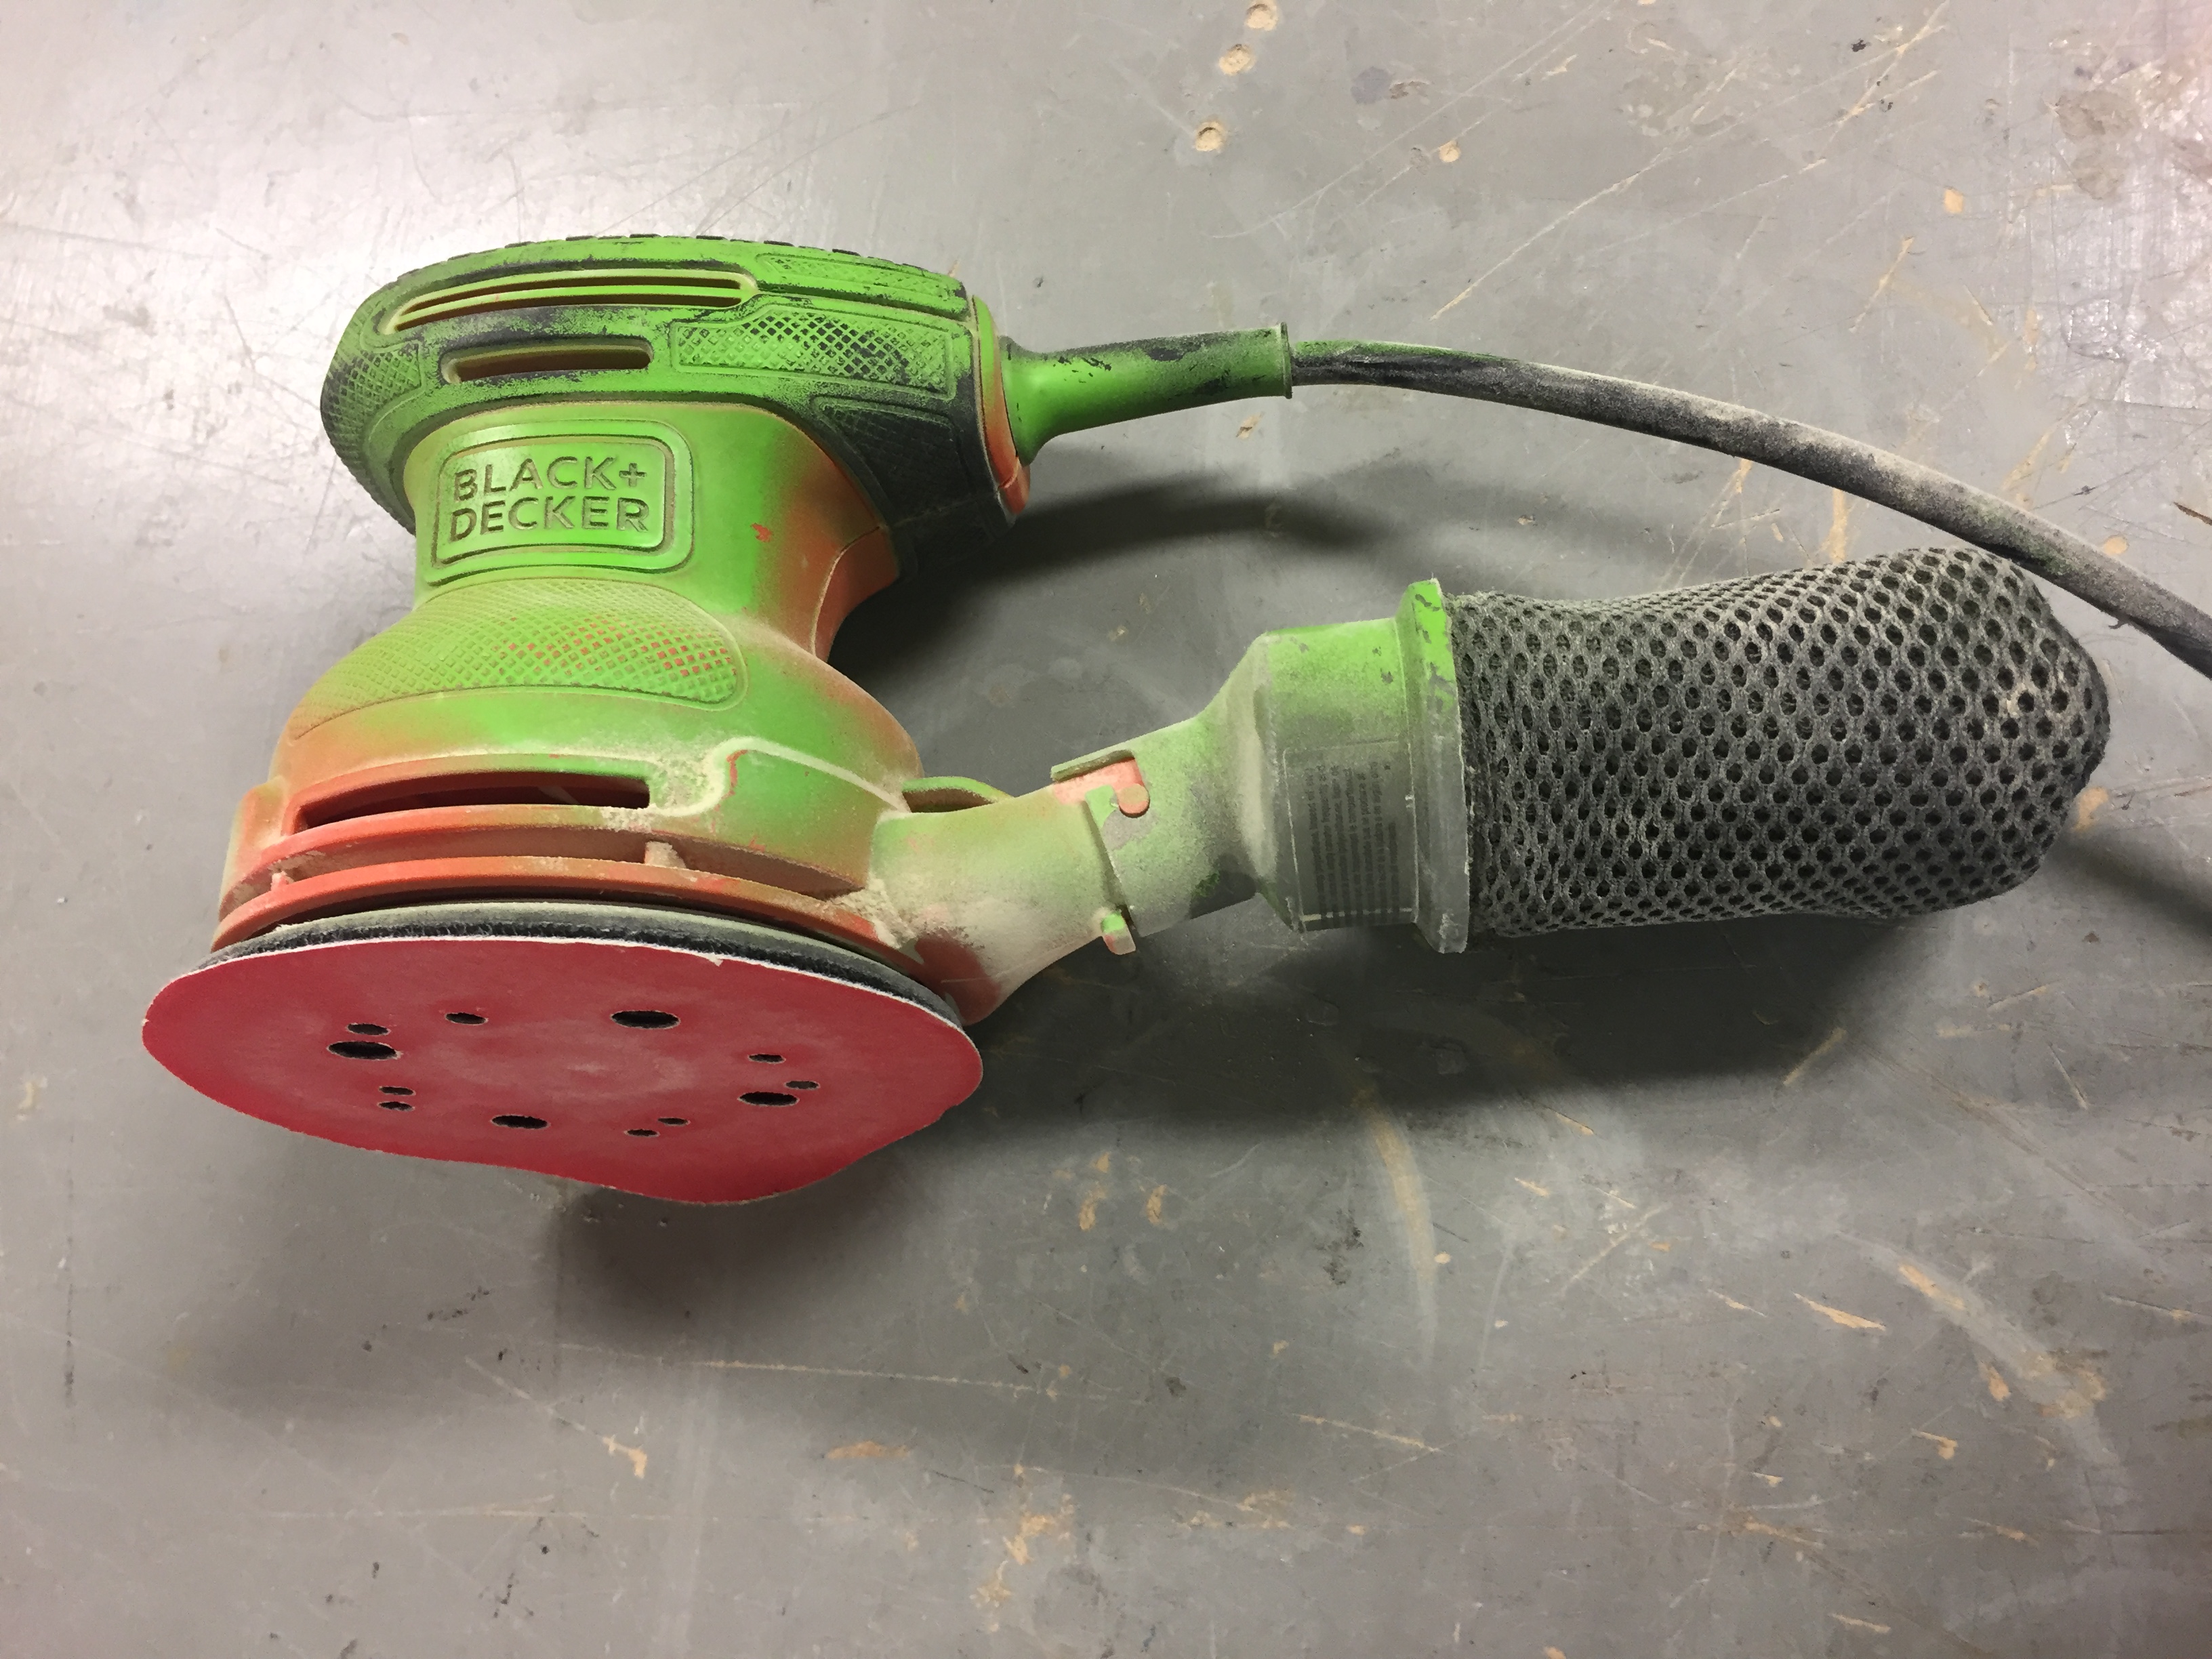
Sander!!
Overall, I’m proud of how my box came out and like that the dowel fasteners look cleaner than metal screws might. I also learned how to use a lot of tools that I hadn’t used before!
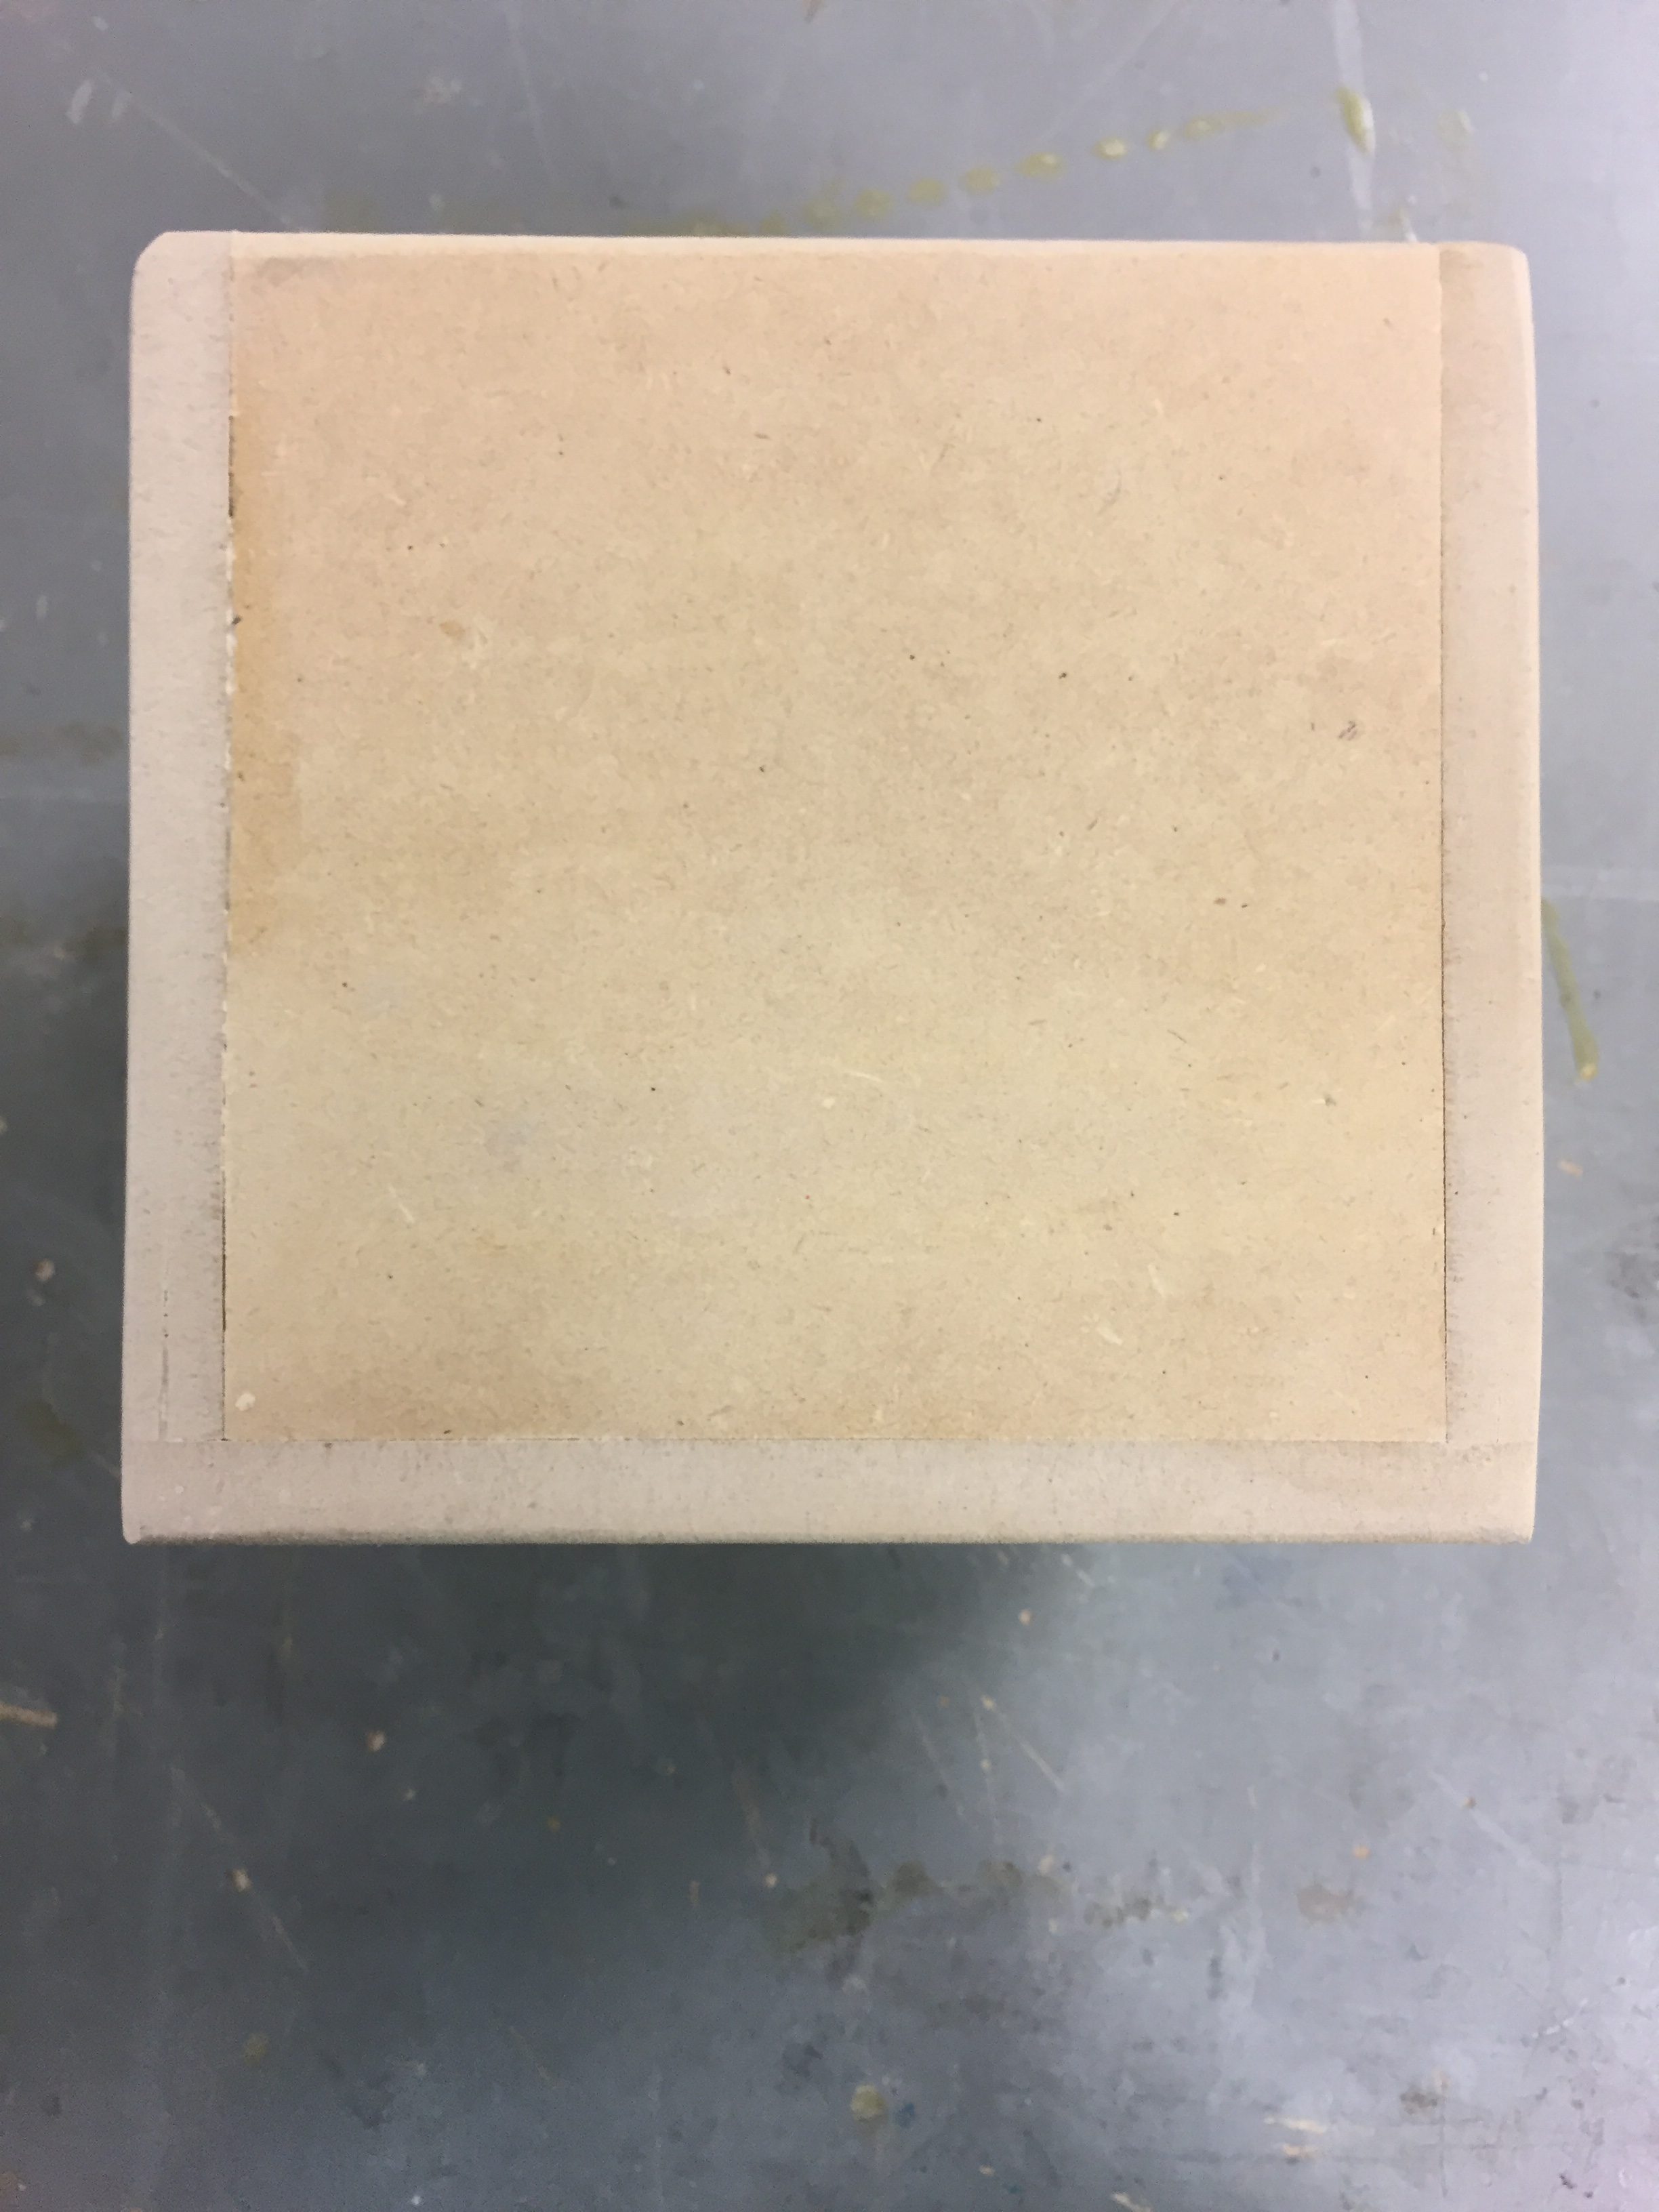
Non-dowel Side View
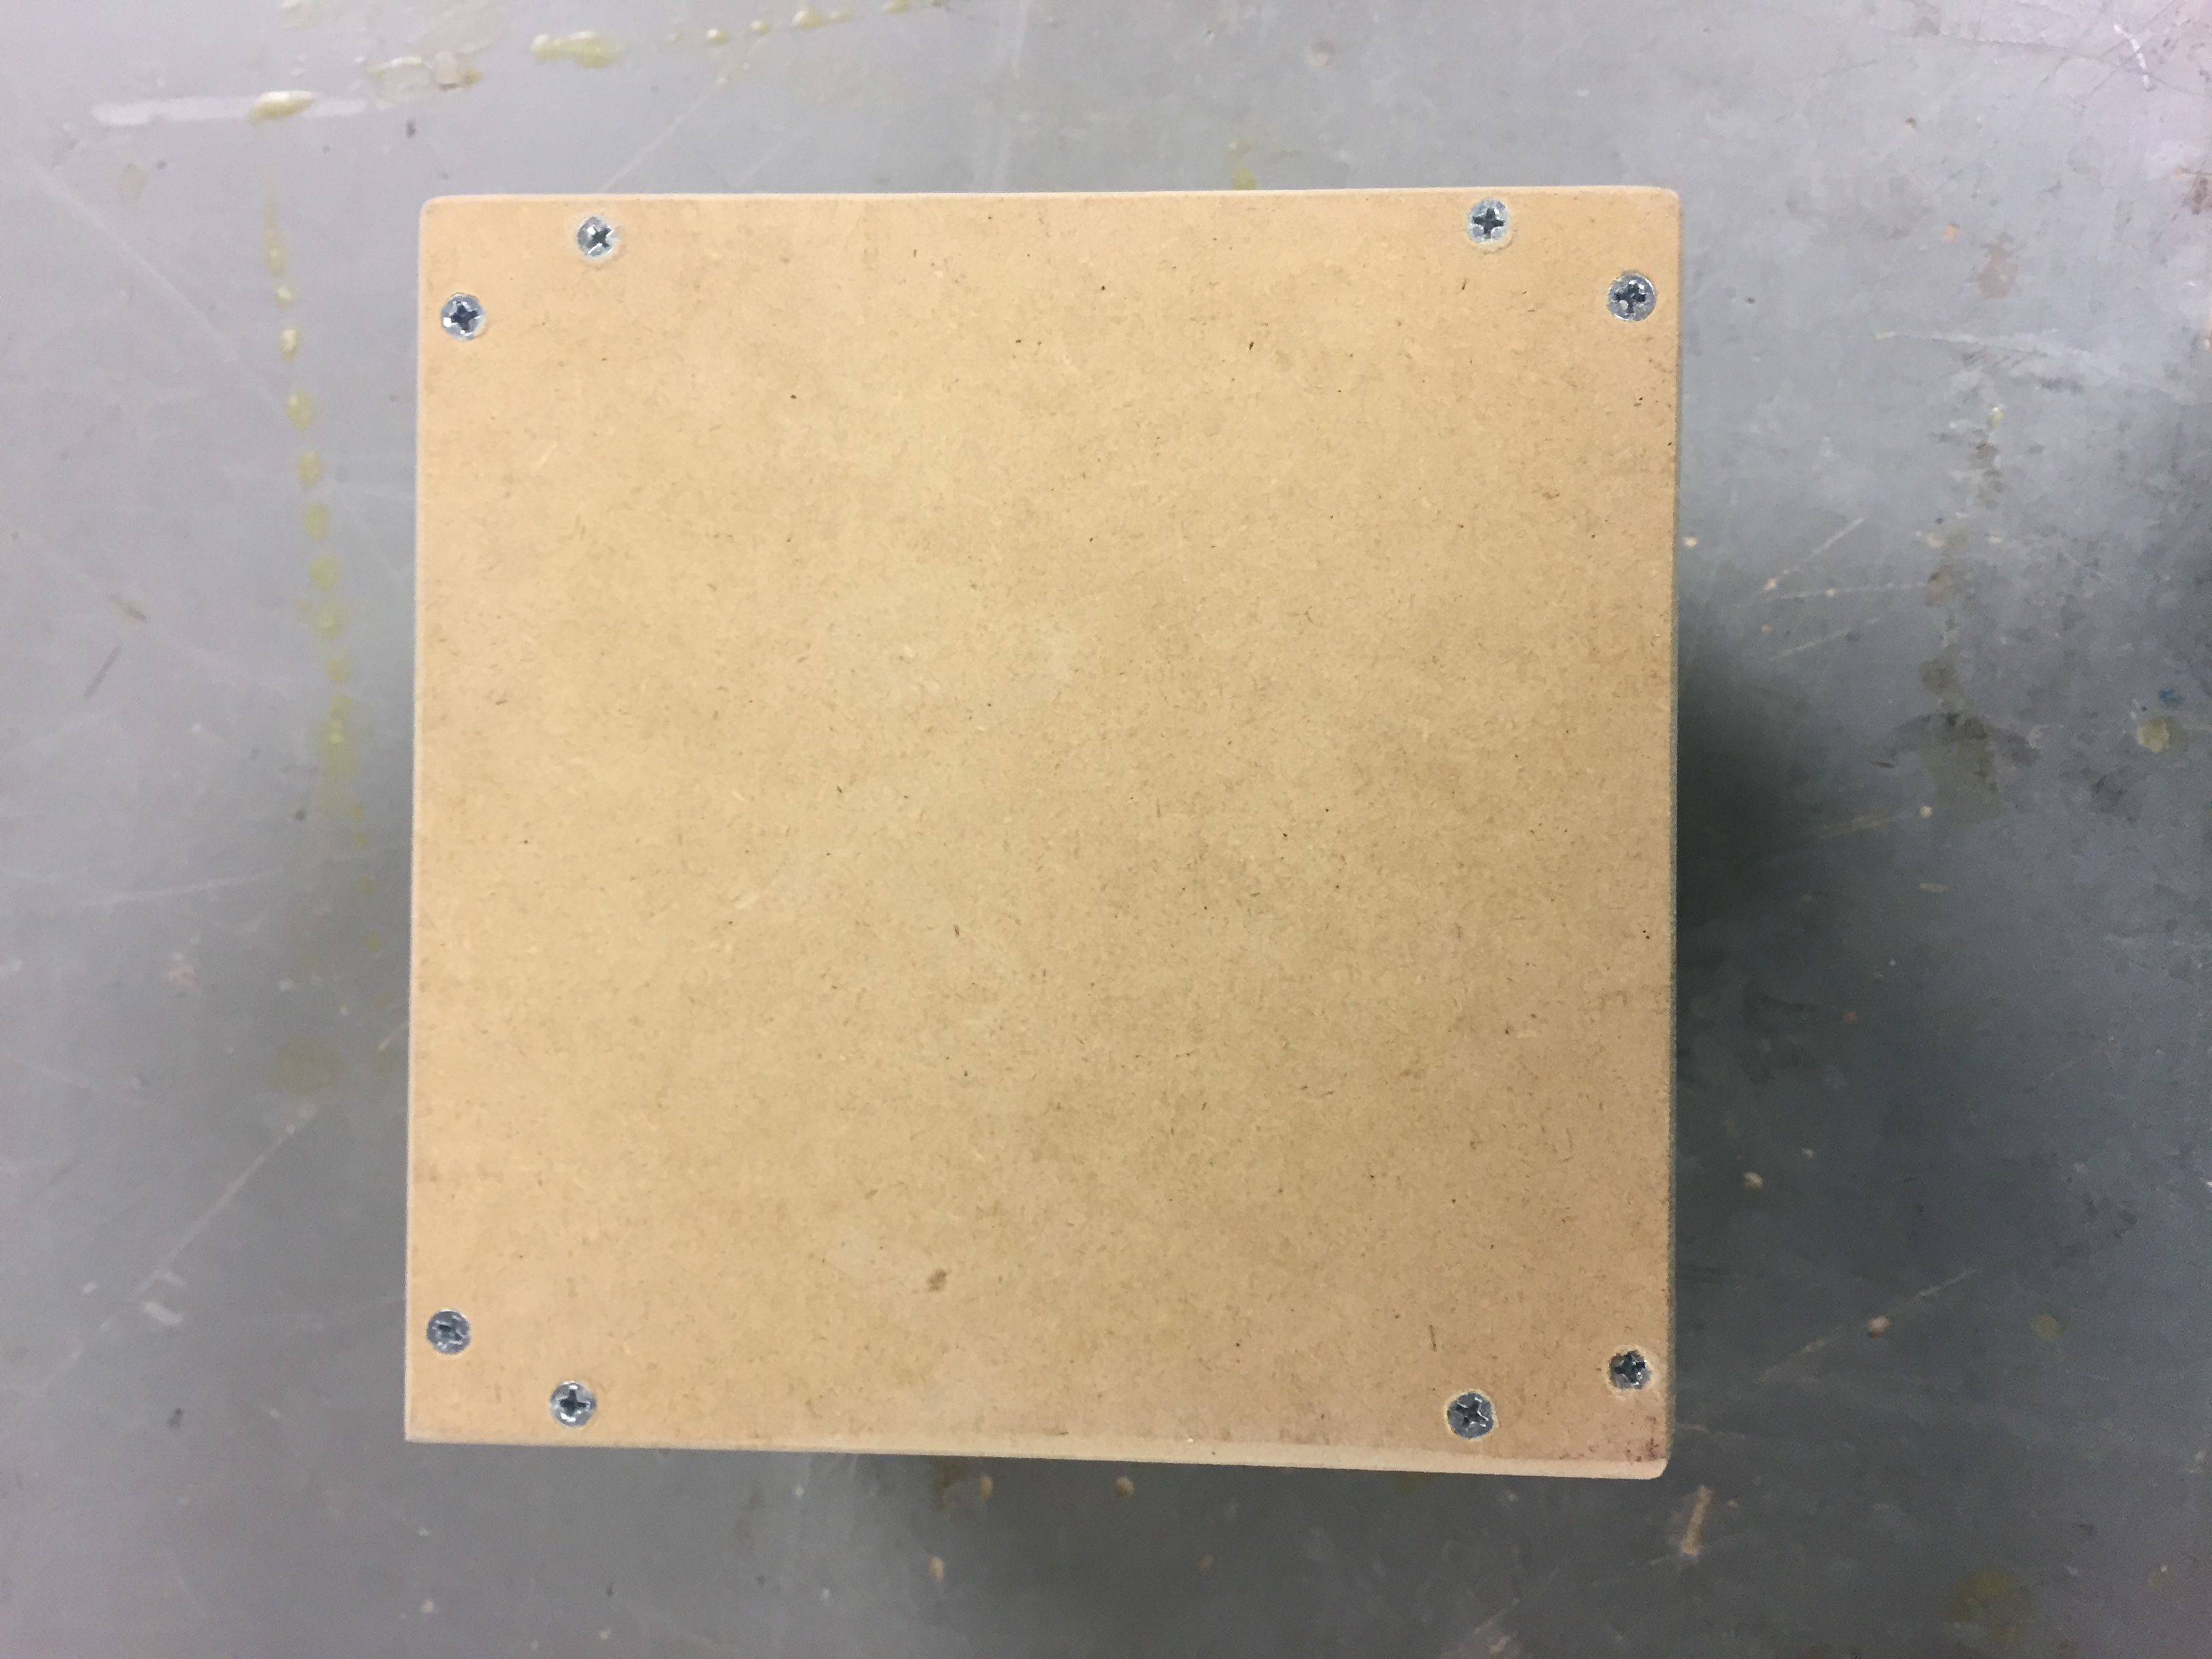
Bottom View

Dowel-side View
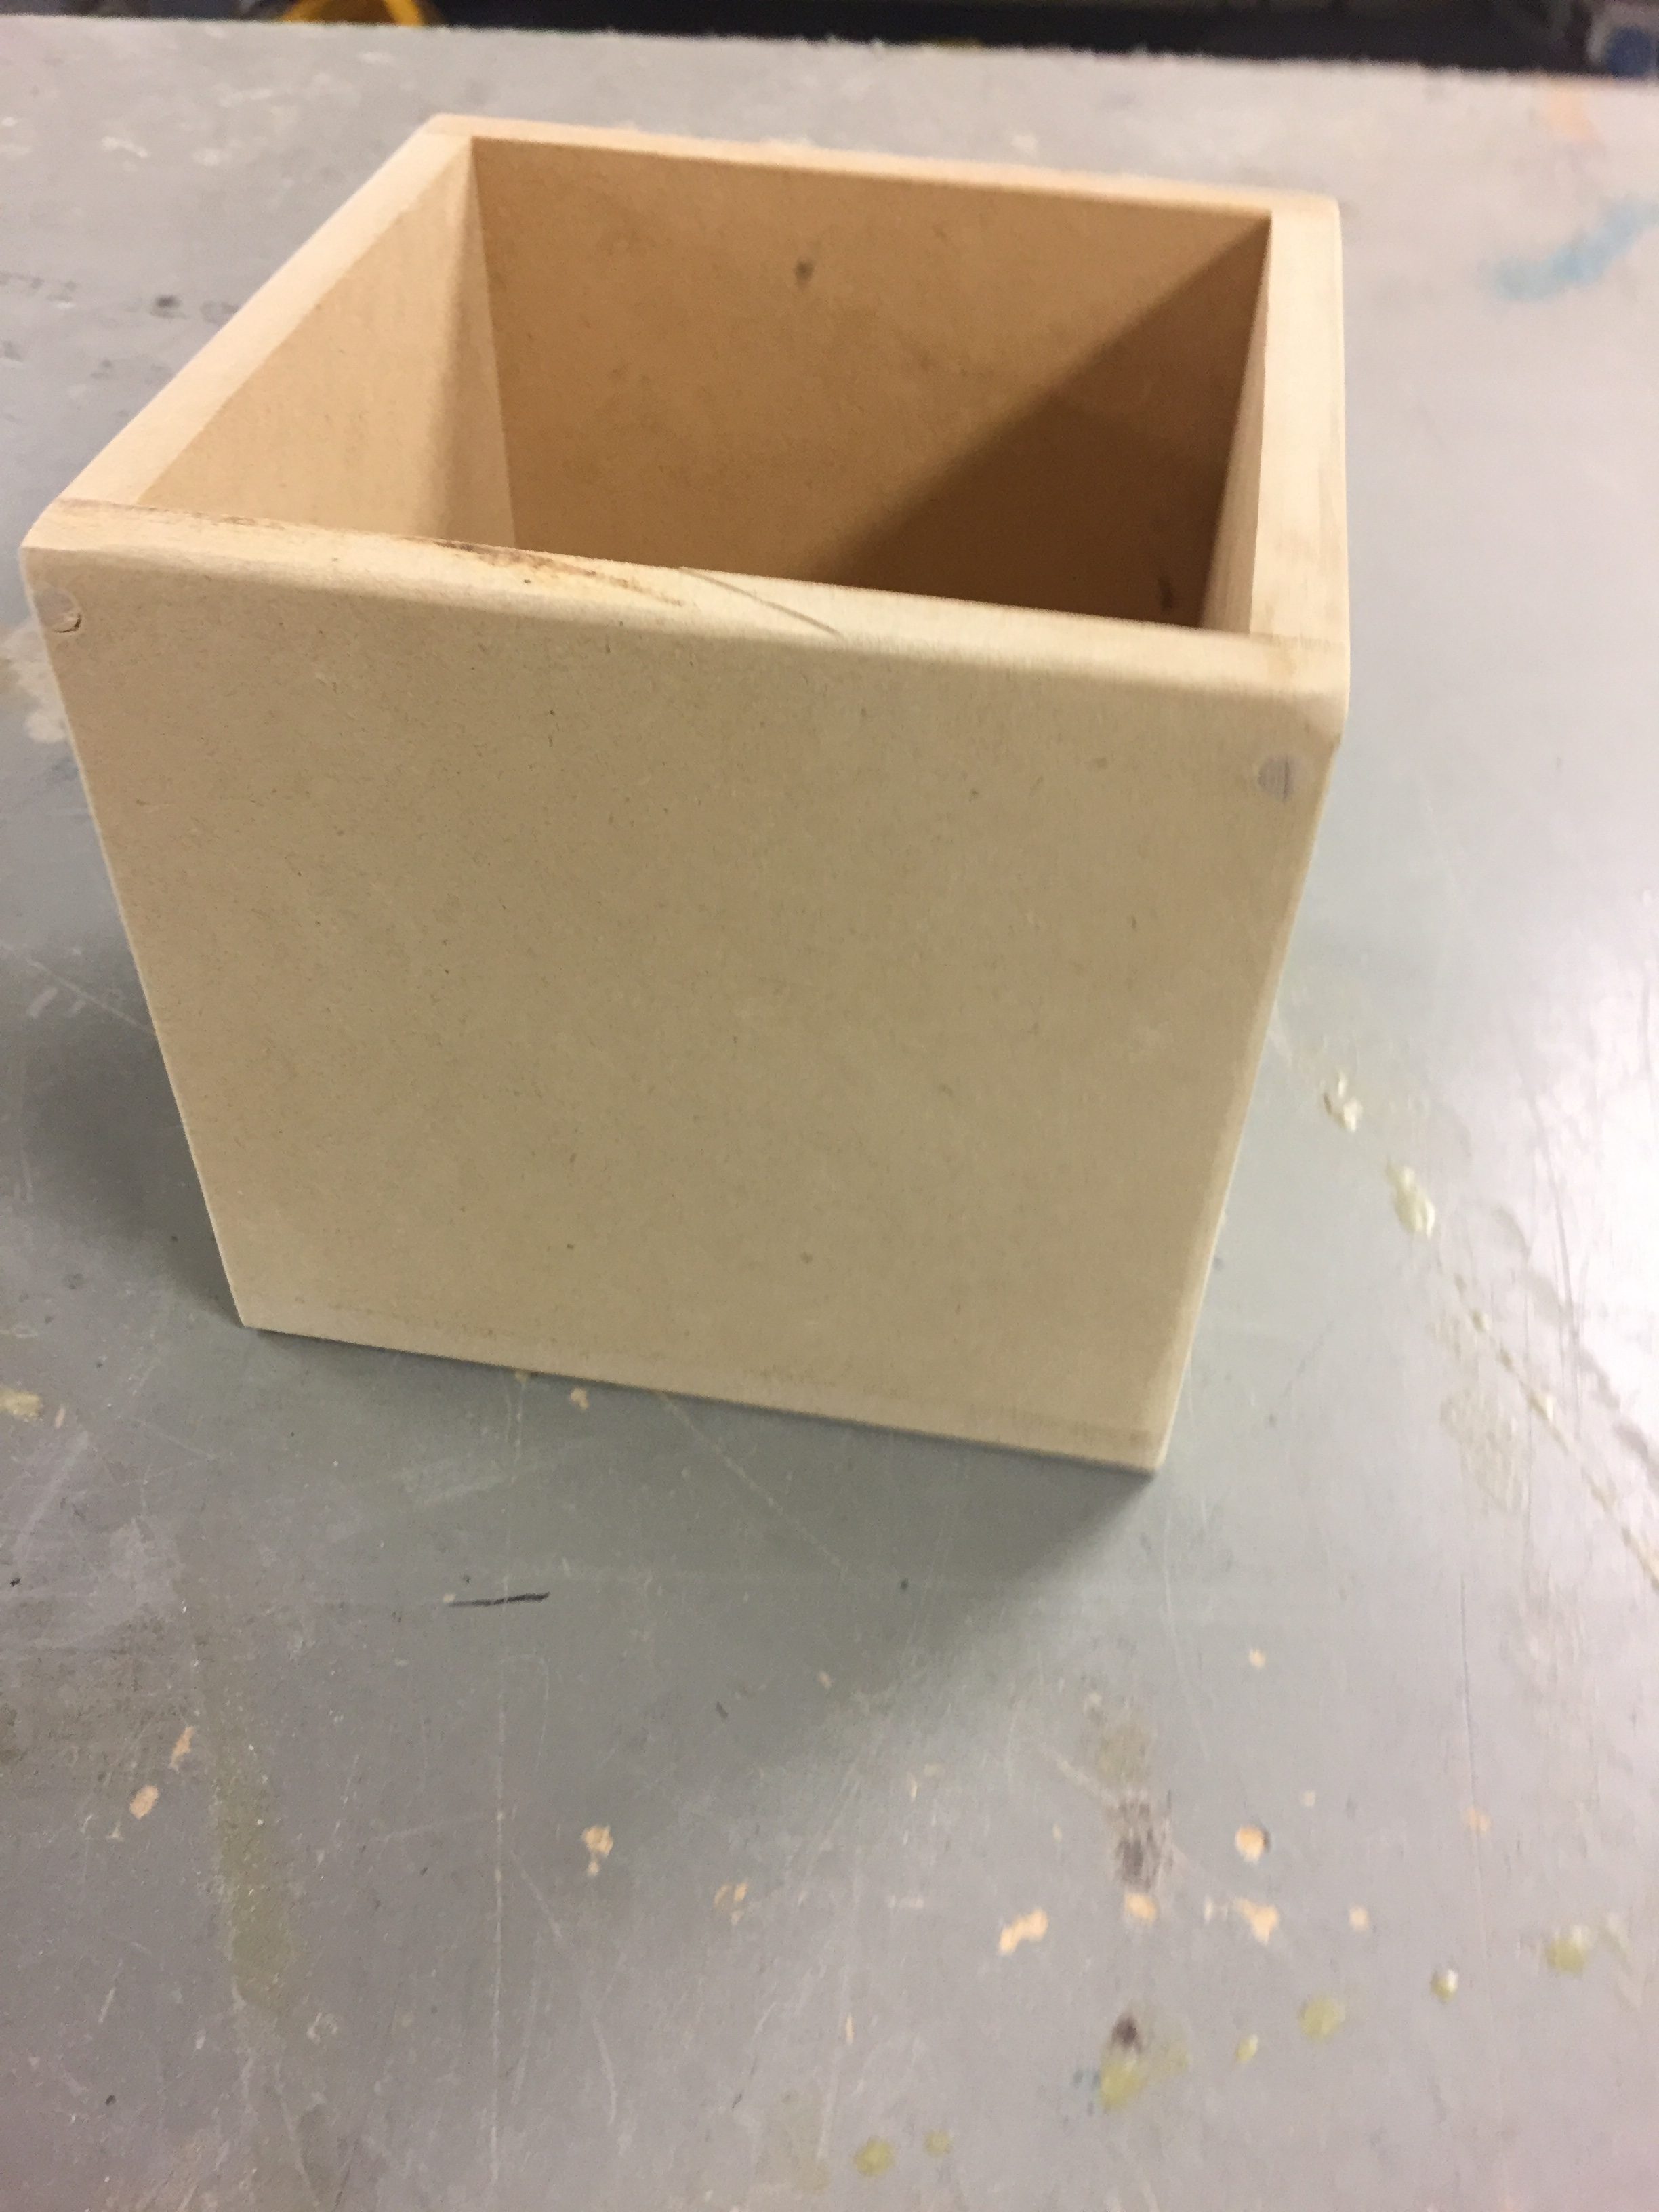
What a beaut
