When assigned to 3D print an impossible object, I immediately turned to thingiverse. I browsed different categories in the “Explore” tab. Some objects that caught my interest were a floppy fish bone (pieces hinged together so the fish could flop or slink around), a neat 3-part interlocking gear set up, and an alpaca that can do the splits. Obviously, I chose to do alpaca.
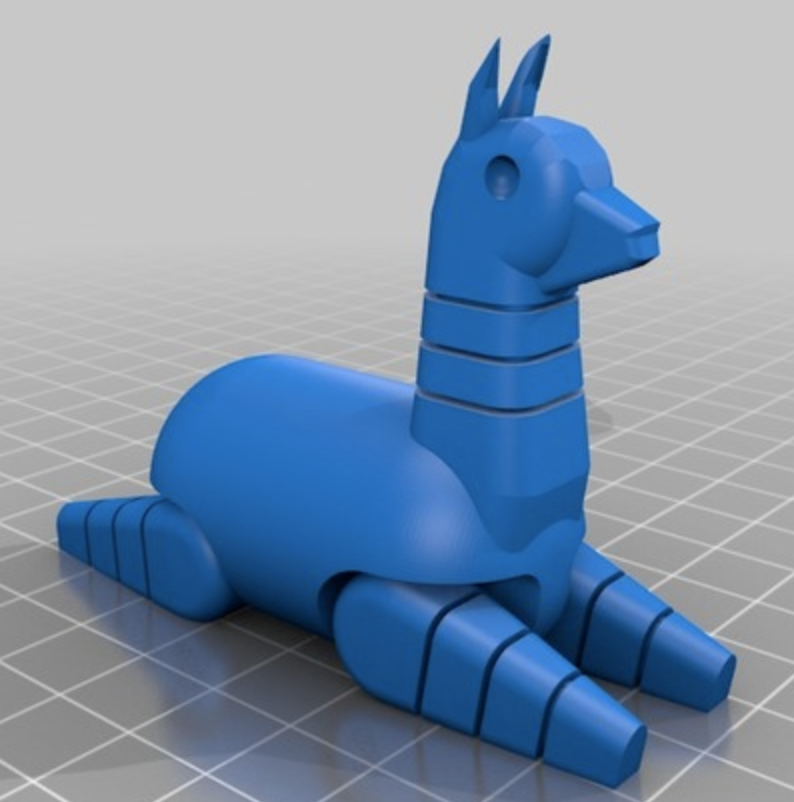
Thingiverse Aplaca
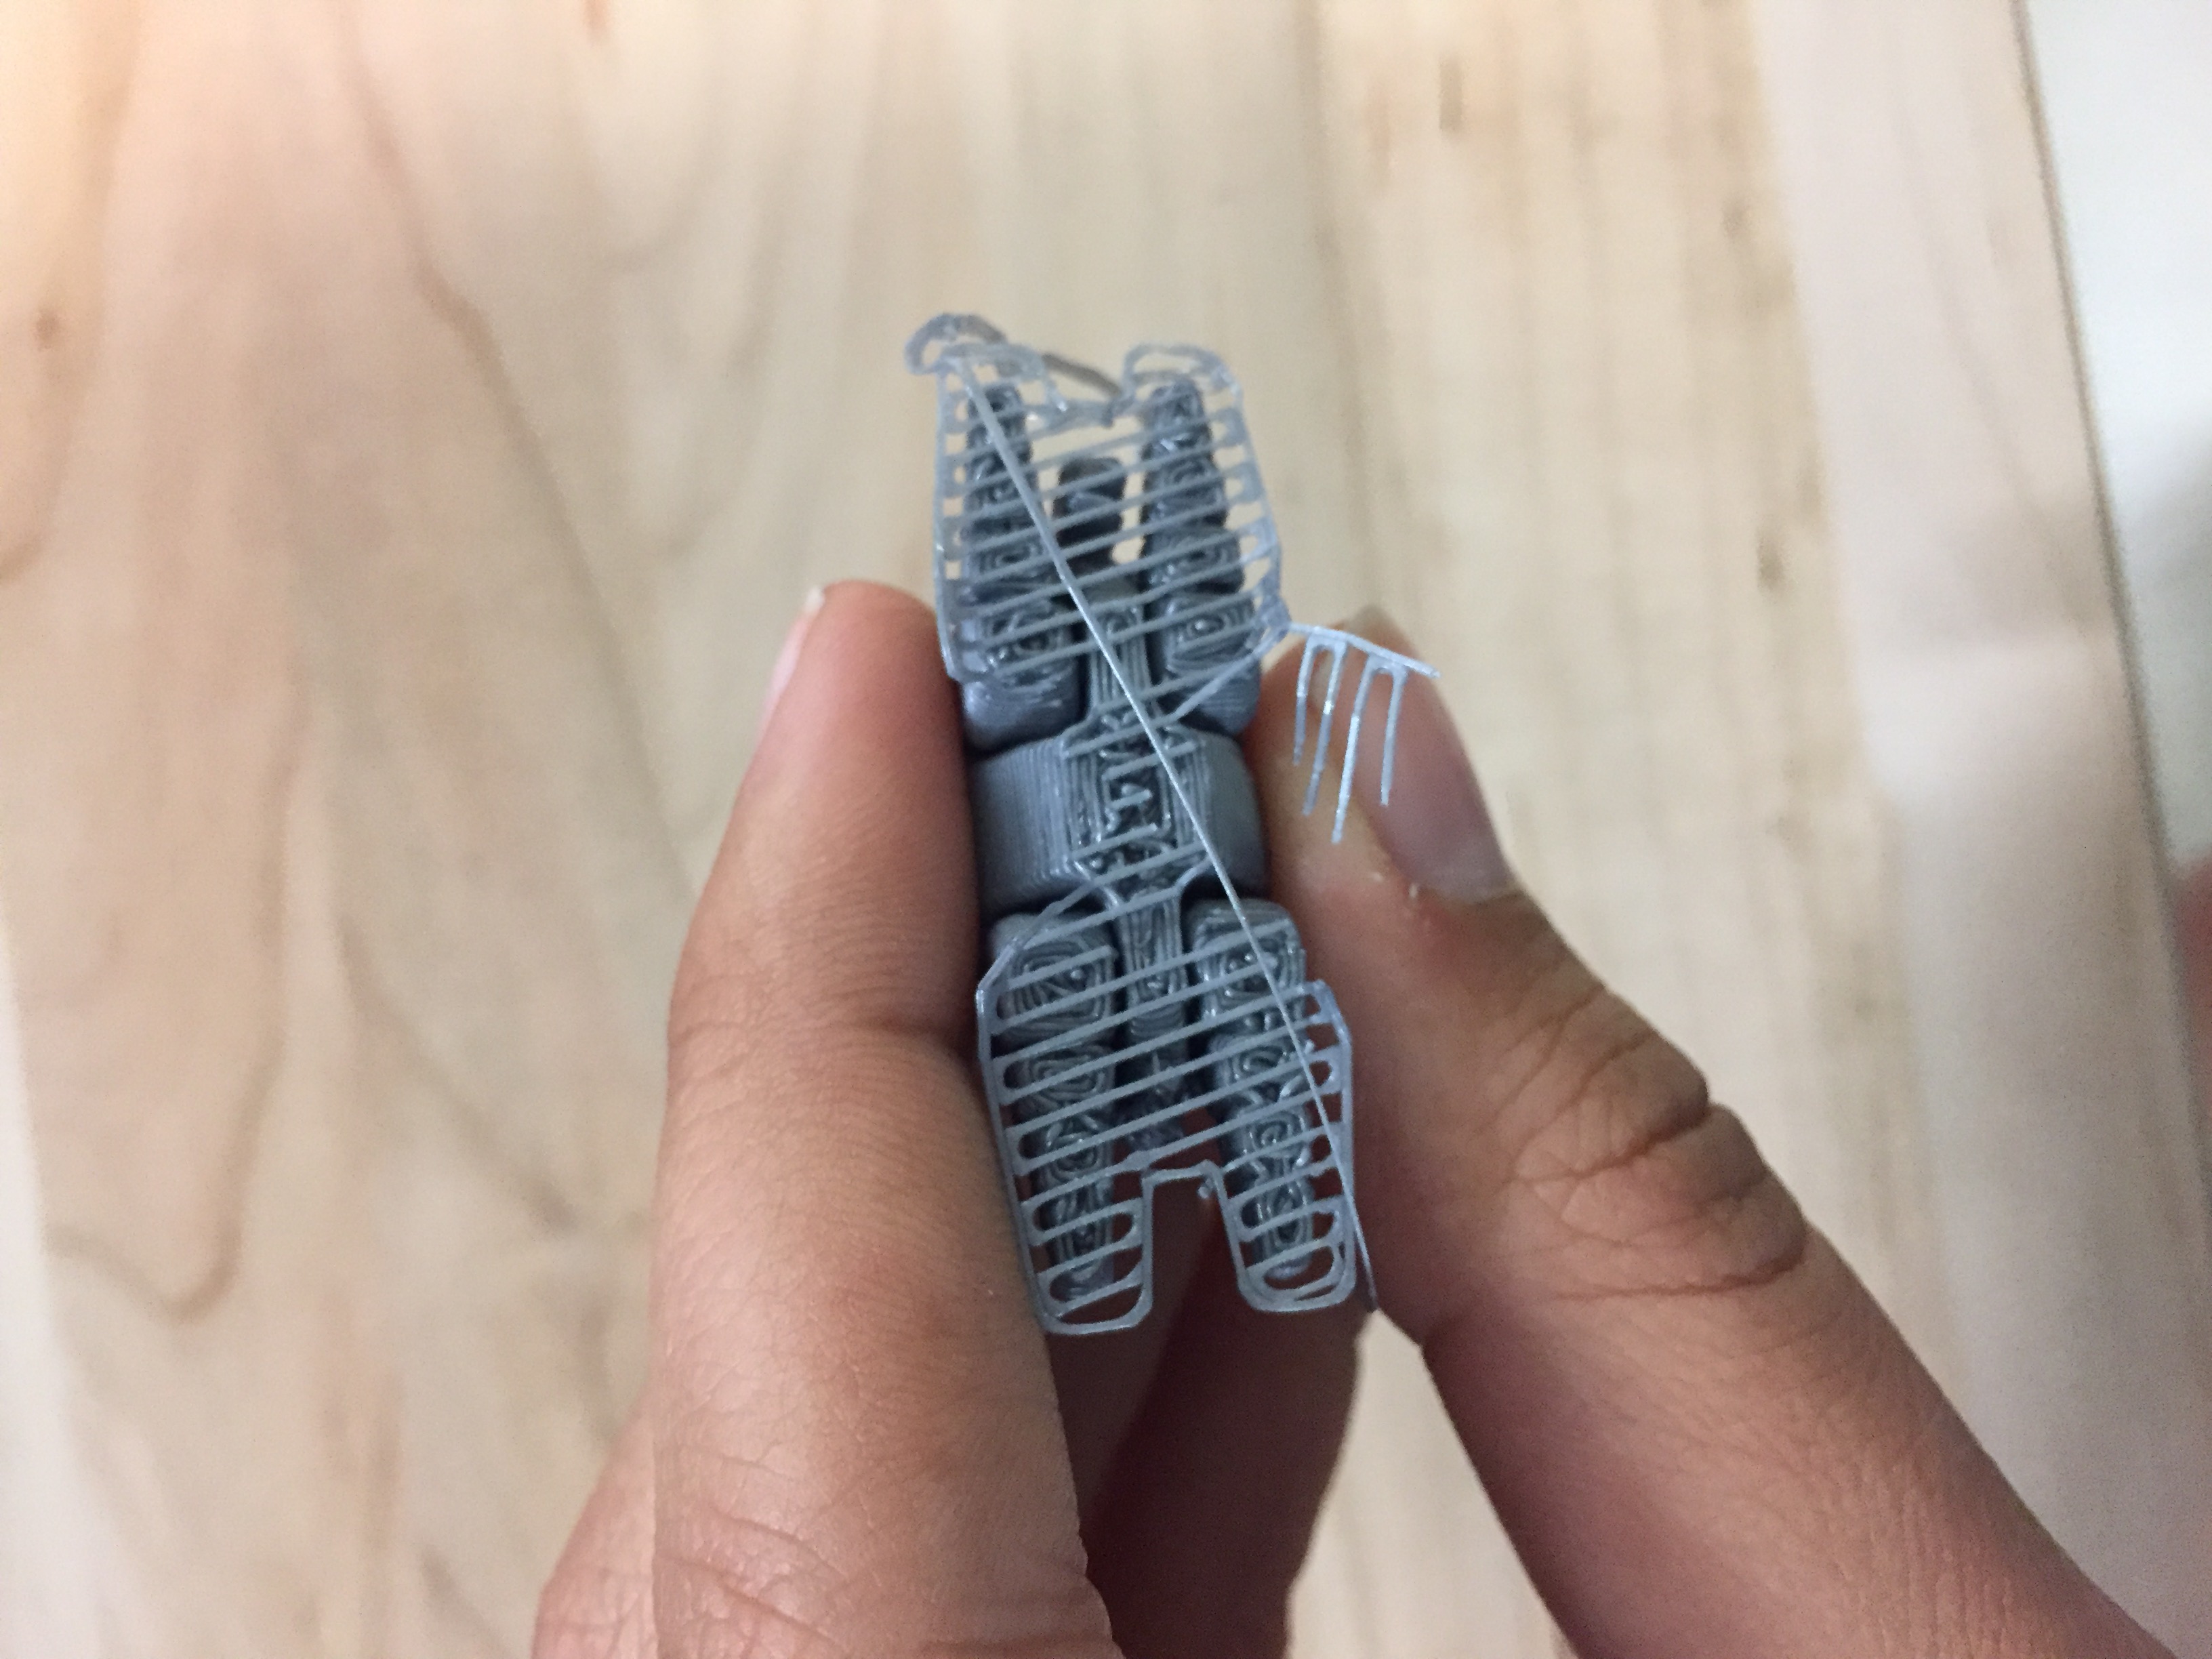
First, I wanted to see how the print worked out (scaling, etc) on the free M2 printers at the Maker Bar. I measured the size of the ball that the print had to fit in and decided that my longest side should not be longer than 40mm. I scaled the part accordingly in Simplify3D (locking the proportions of the dimensions) and added a raft and generated support.

Mid-Print!
It turned out really cute! There were several problems with this print: the raft was difficult to remove because of the uneven nature of the base of the print, the support generated inside the joints between the legs and body of the alpaca was very difficult to remove, and it basically fused it’s legs in place.
Raft was difficult to remove
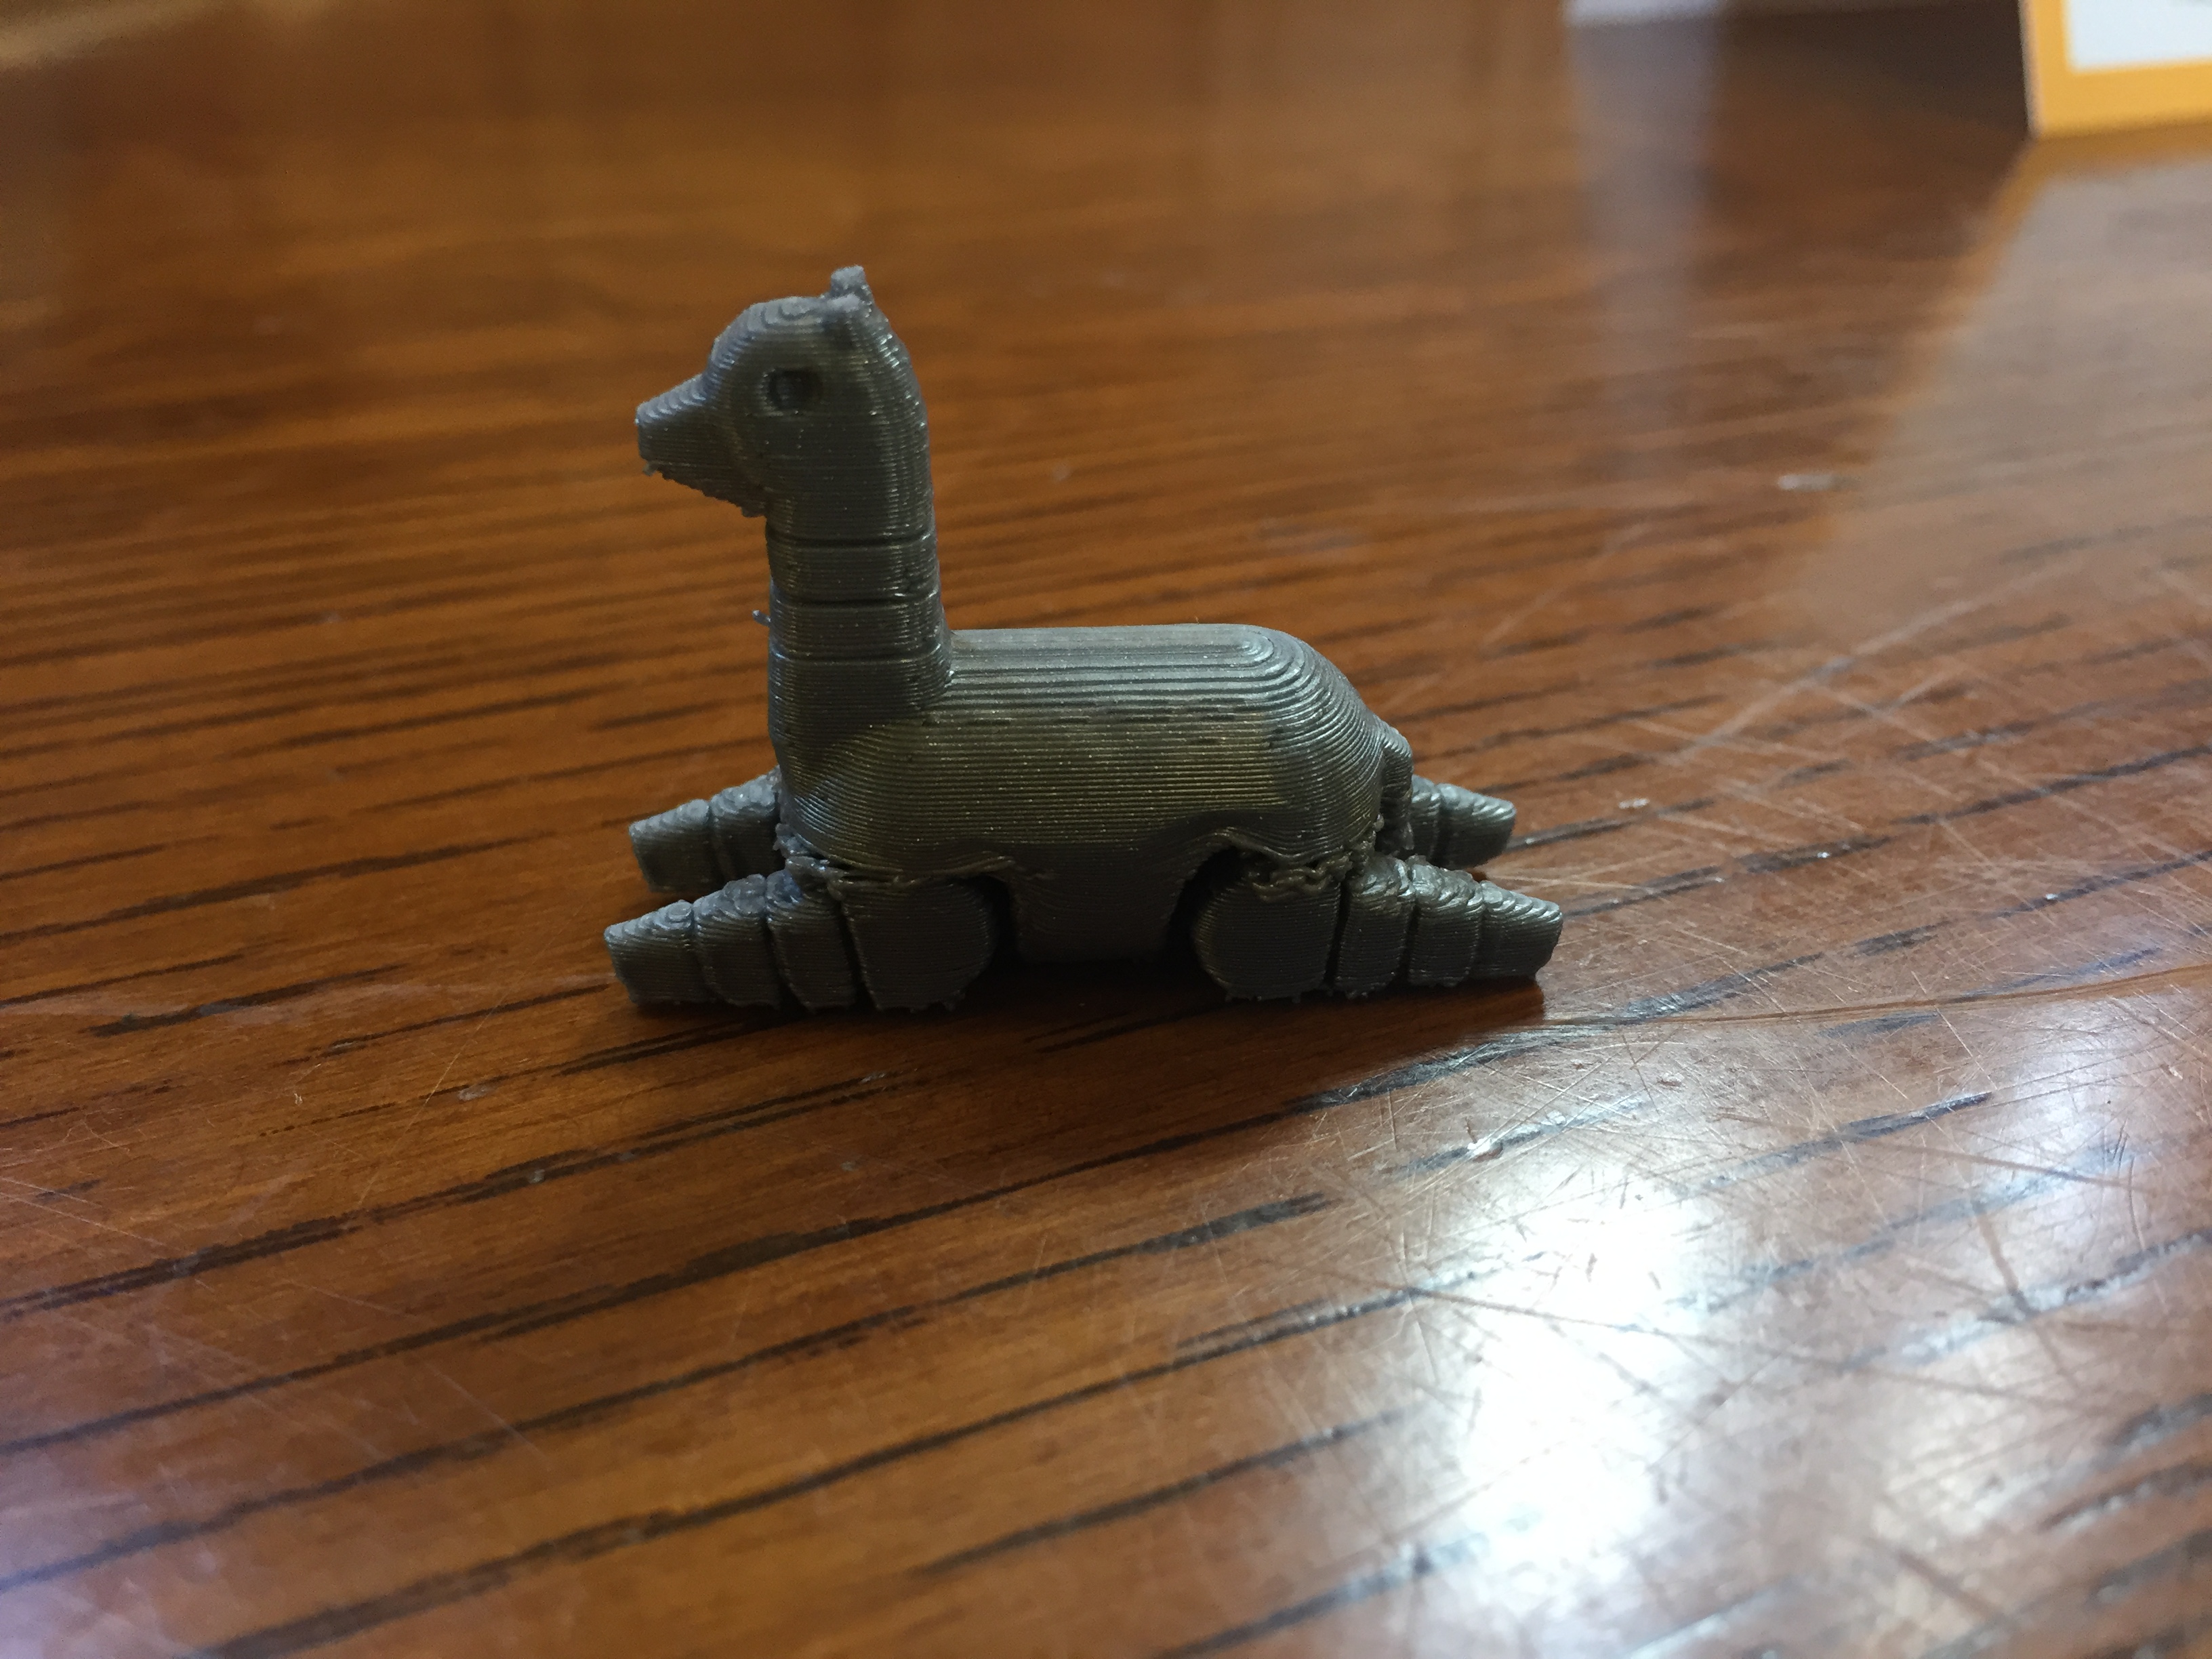
Finished Alpaca with fused legs 🙁
I decided to return to the alpaca another day and print it bigger, but for now moved on to trying a different shape: Triple Gearz! (aka crazy gearz pt 2).
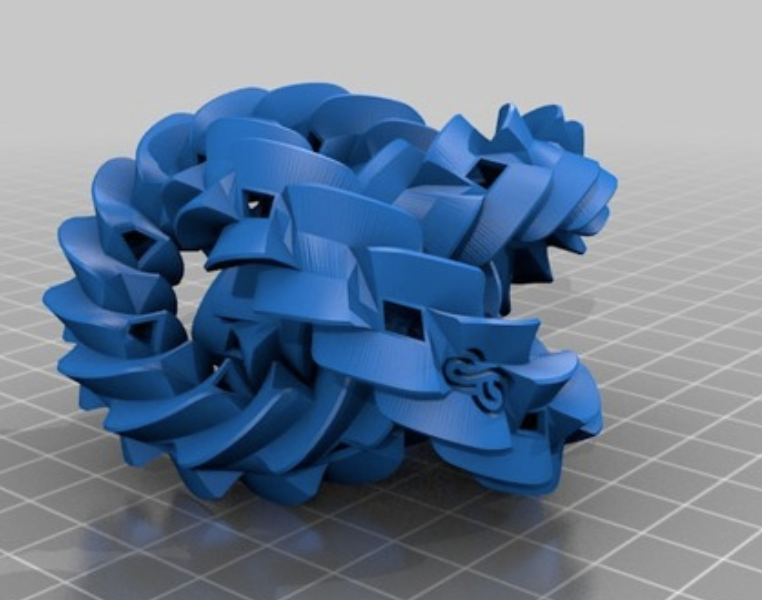
Triple Gears From Thingiverse
I could tell by inspection of the part that it would need a lot of support material in printing, so I opted to not print with the M2. Instead, I used the Objet and Form2 (I originally wanted to use the Fortis but the computer wouldn’t turn on). The processes I used for printing and post processing the parts are described below.
OBJET
Prep: Download the file from Thingiverse into the software, make sure the print bed is clear
Print: Fairly easy to use the software, scaled the part to 40mm on the longest dimension, autoplaced the part, and it generated the support for me
Run Time: About 2 hours (I printed my part along with Christina’s and it took about 3 hours, so I’m assuming that just printing mine would take between 1 and 2 hours)
Cost: >$10 (Together, mine and Christina’s cost $13
Post Processing: Had to remove the support using high pressure water to break it away from the part. This was really helpful for a part like this where there is lots of internal support in hard to reach places that would be impossible to remove with a solid tool.
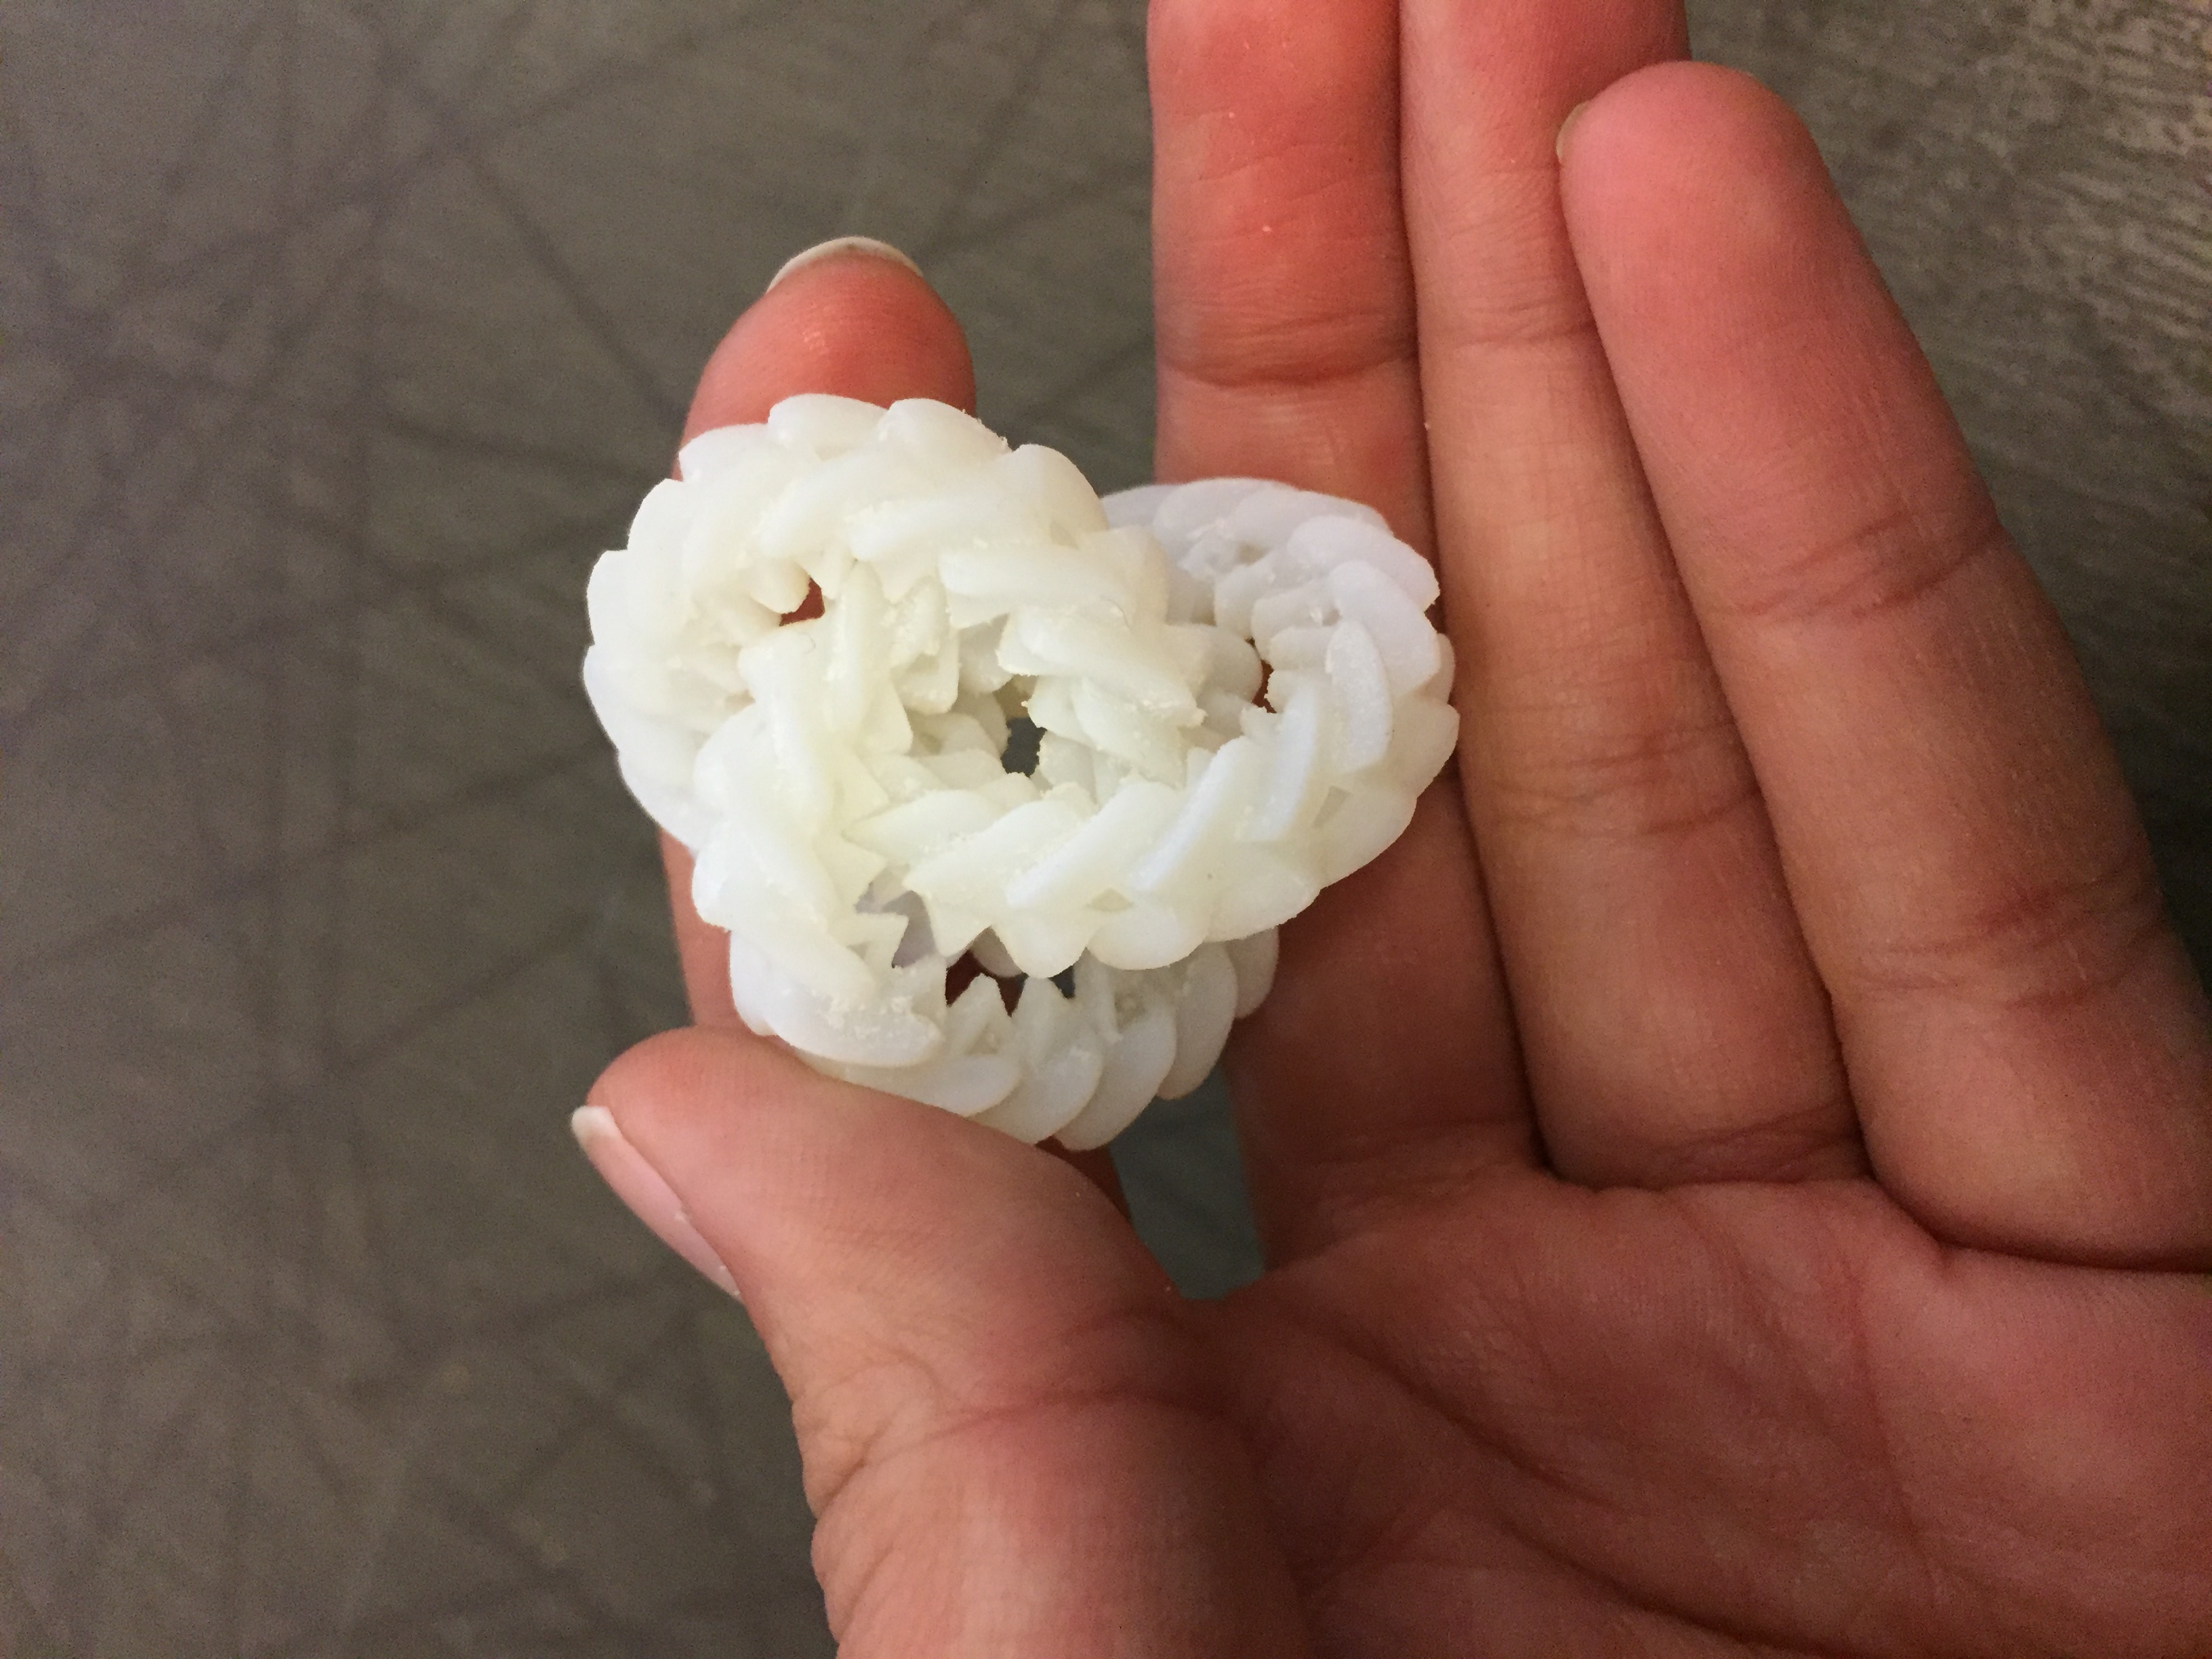
Final Product: It turned out great! Very clean print with no artifacts. I’m still learning how to work it (it can be tricky to turn all 3 gears at once in sync) but the part printed as intended!
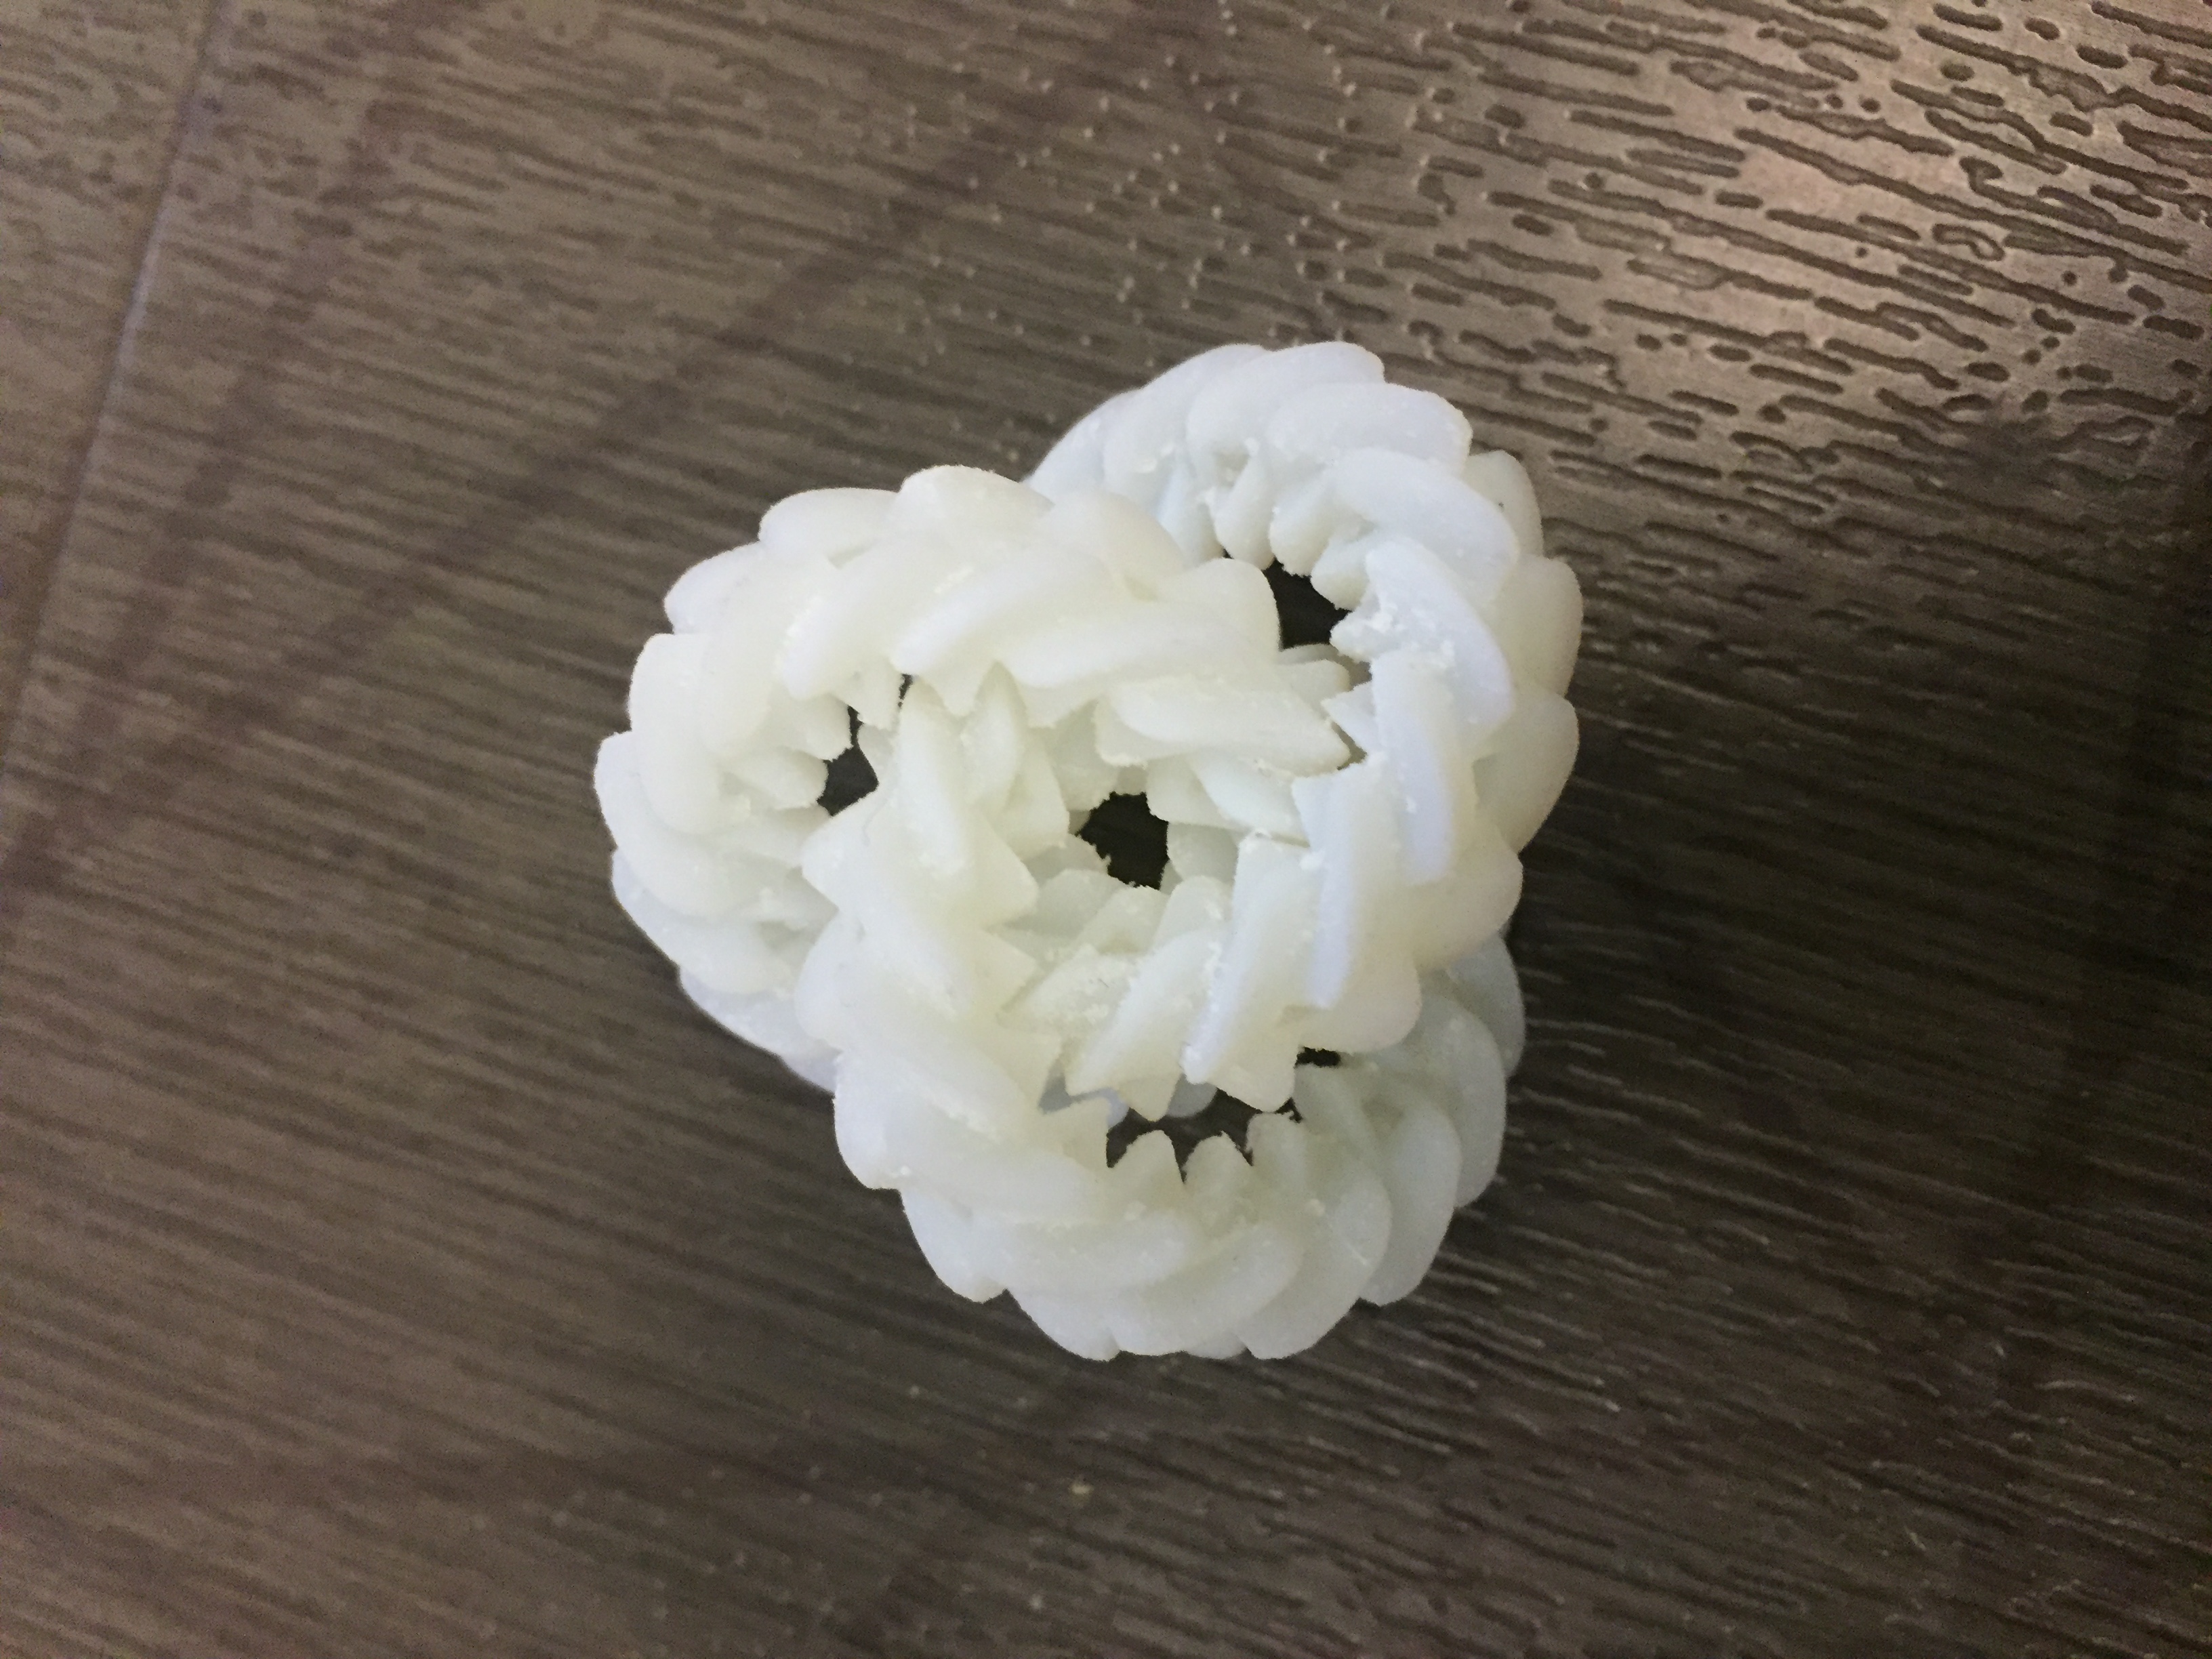
Objet Print
Form2
Prep: Download the file from Thingiverse, make sure the printer has its cartridge loaded and the bed is clean.
Printing: Very easy to use the software — just use the buttons for sizing and generating support. I scaled the longest edge to 40 mm, and kept the proportions constant. I had to generate some more internal support which I knew was going to be a bitch to remove but went with it anyways.
Run Time: 2 hours, 15 mins
Cost: Free to me!
Post Processing: removed the part from the bed with a scraper, and took off the support. Had to wear gloves to avoid the sliminess. To remove the support, used a snipping tool that looked wort of like wire cutter. It was really hard to remove the internal support and often times I ended up removing parts of the actual printed piece instead of support because I couldn’t tell the difference. After I did the best I could with removing the support, I immersed the part in a bath of isopropyl alcohol for 20 mins to cure it.
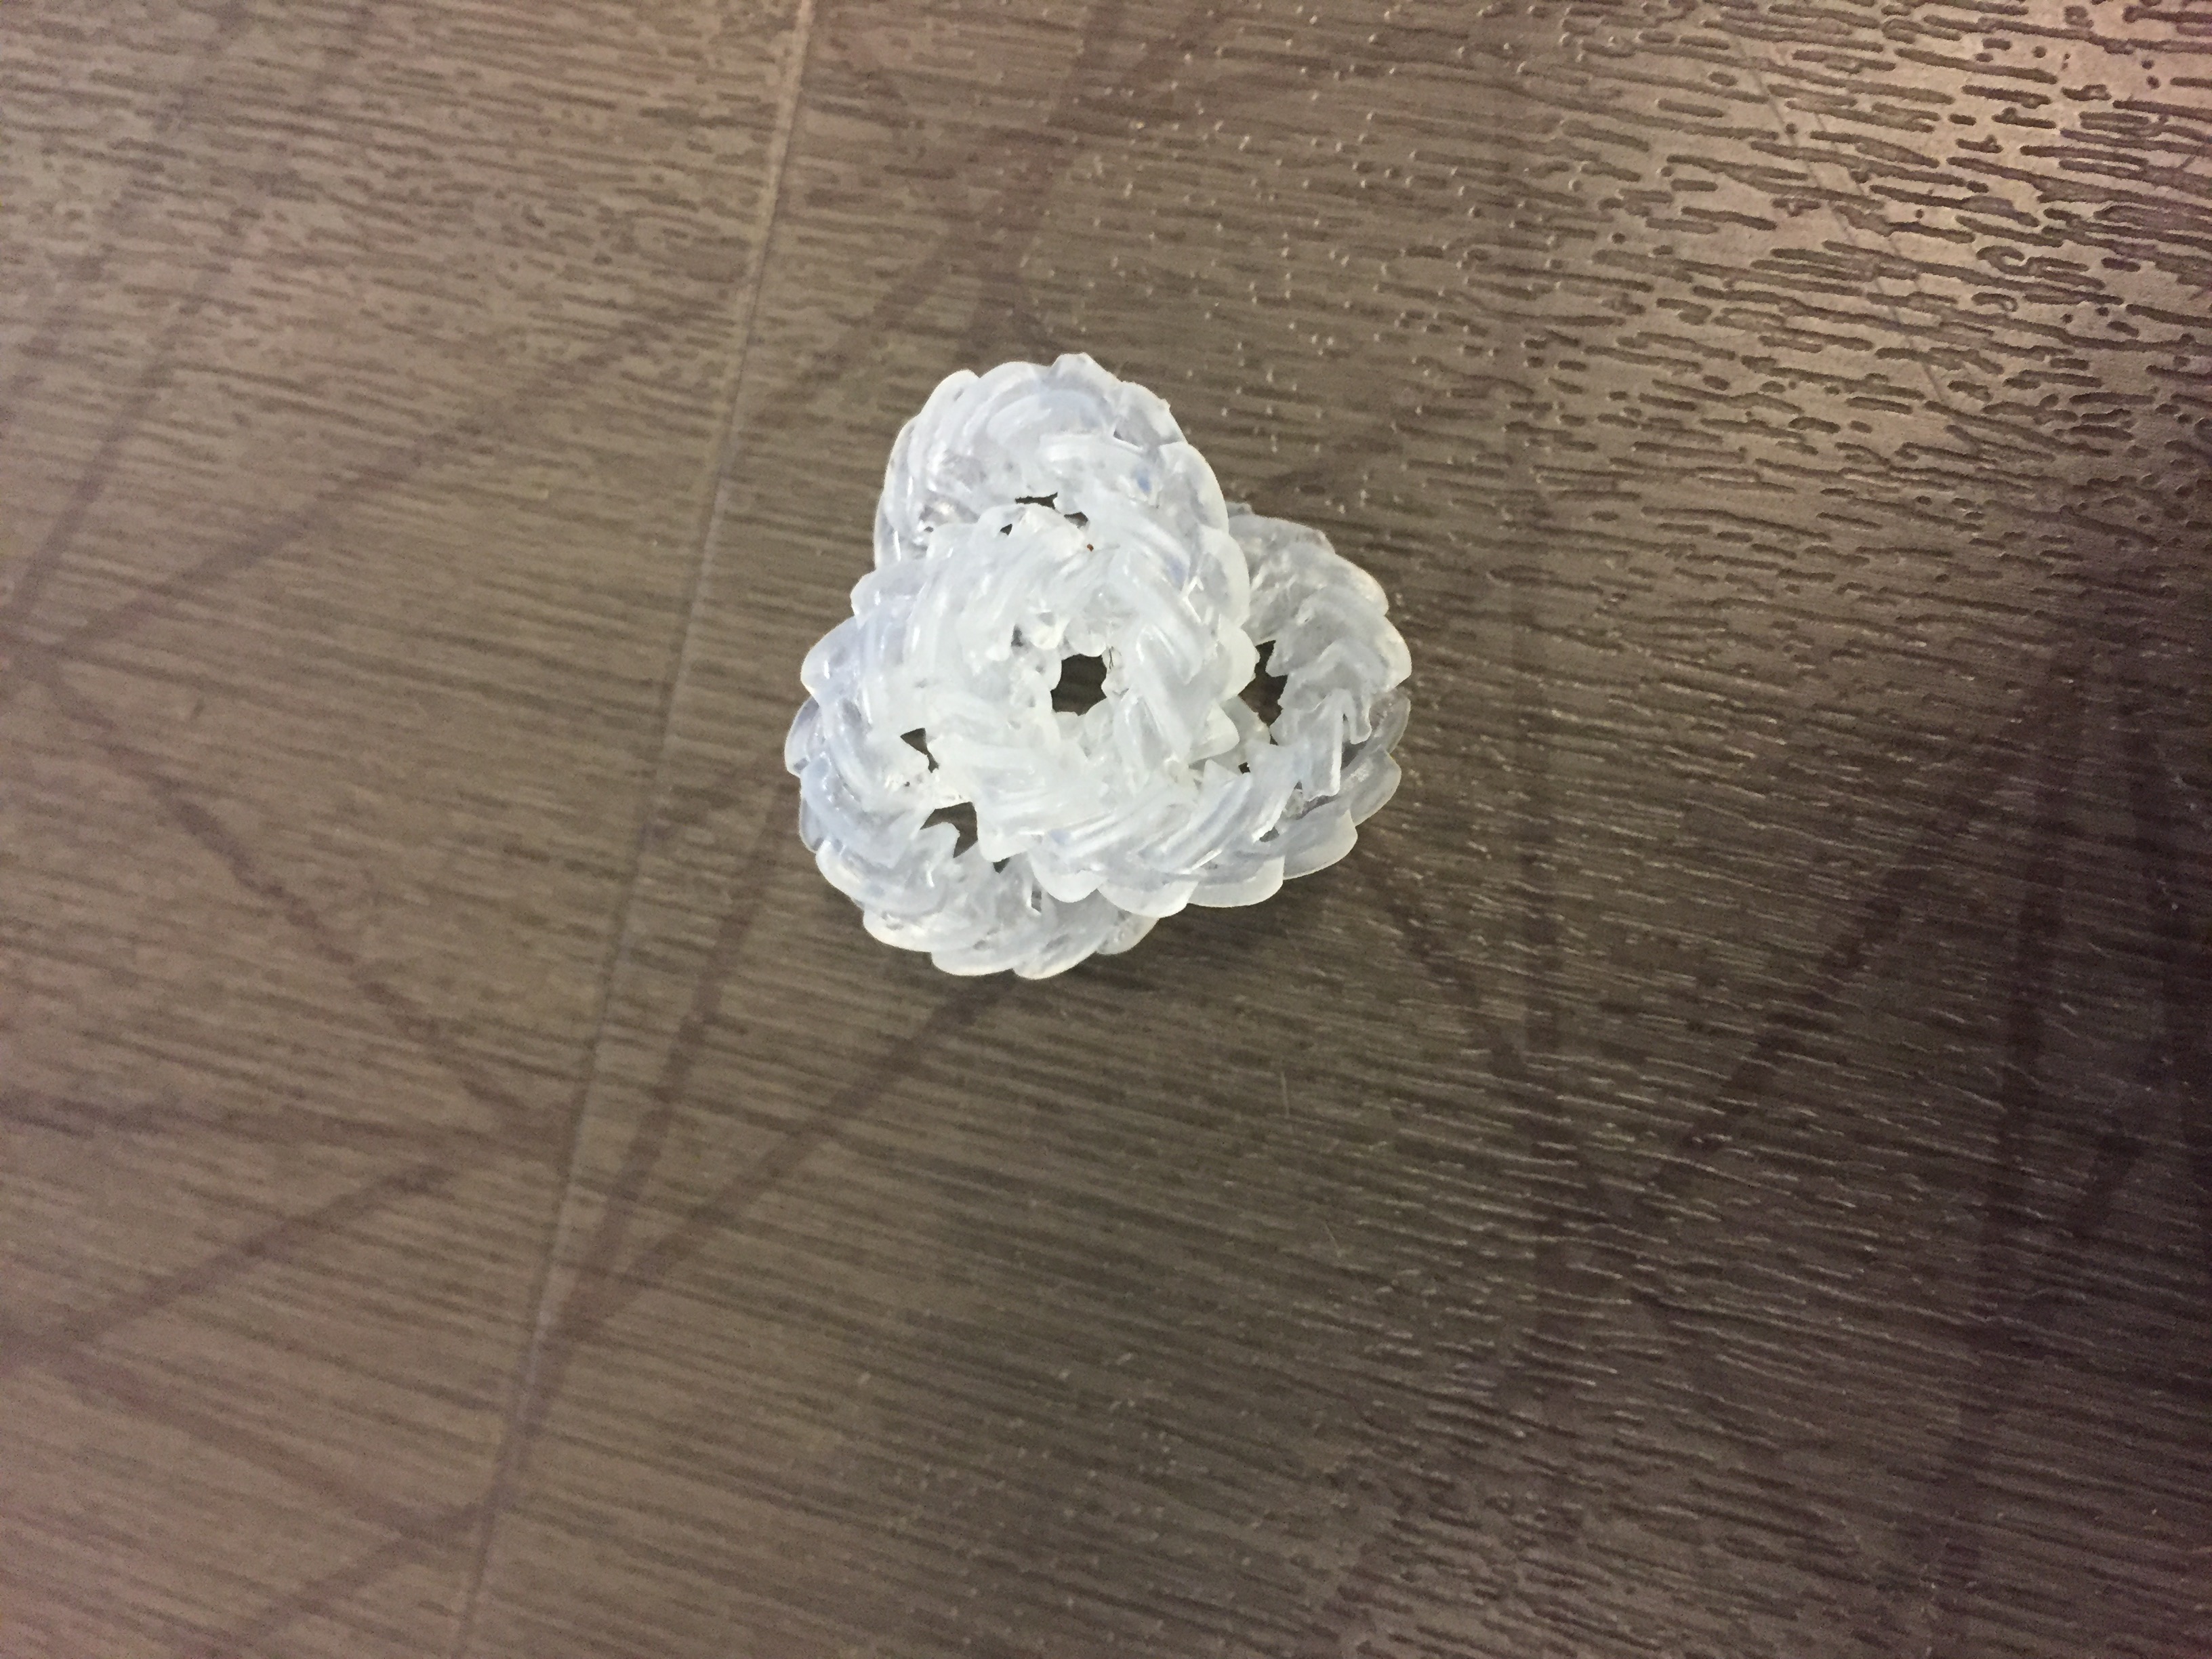
Form2 Print

Overall Takeaways: To print parts that need a lot of internal support, use the objet or another printer where the support can be taken away with pressurized water.
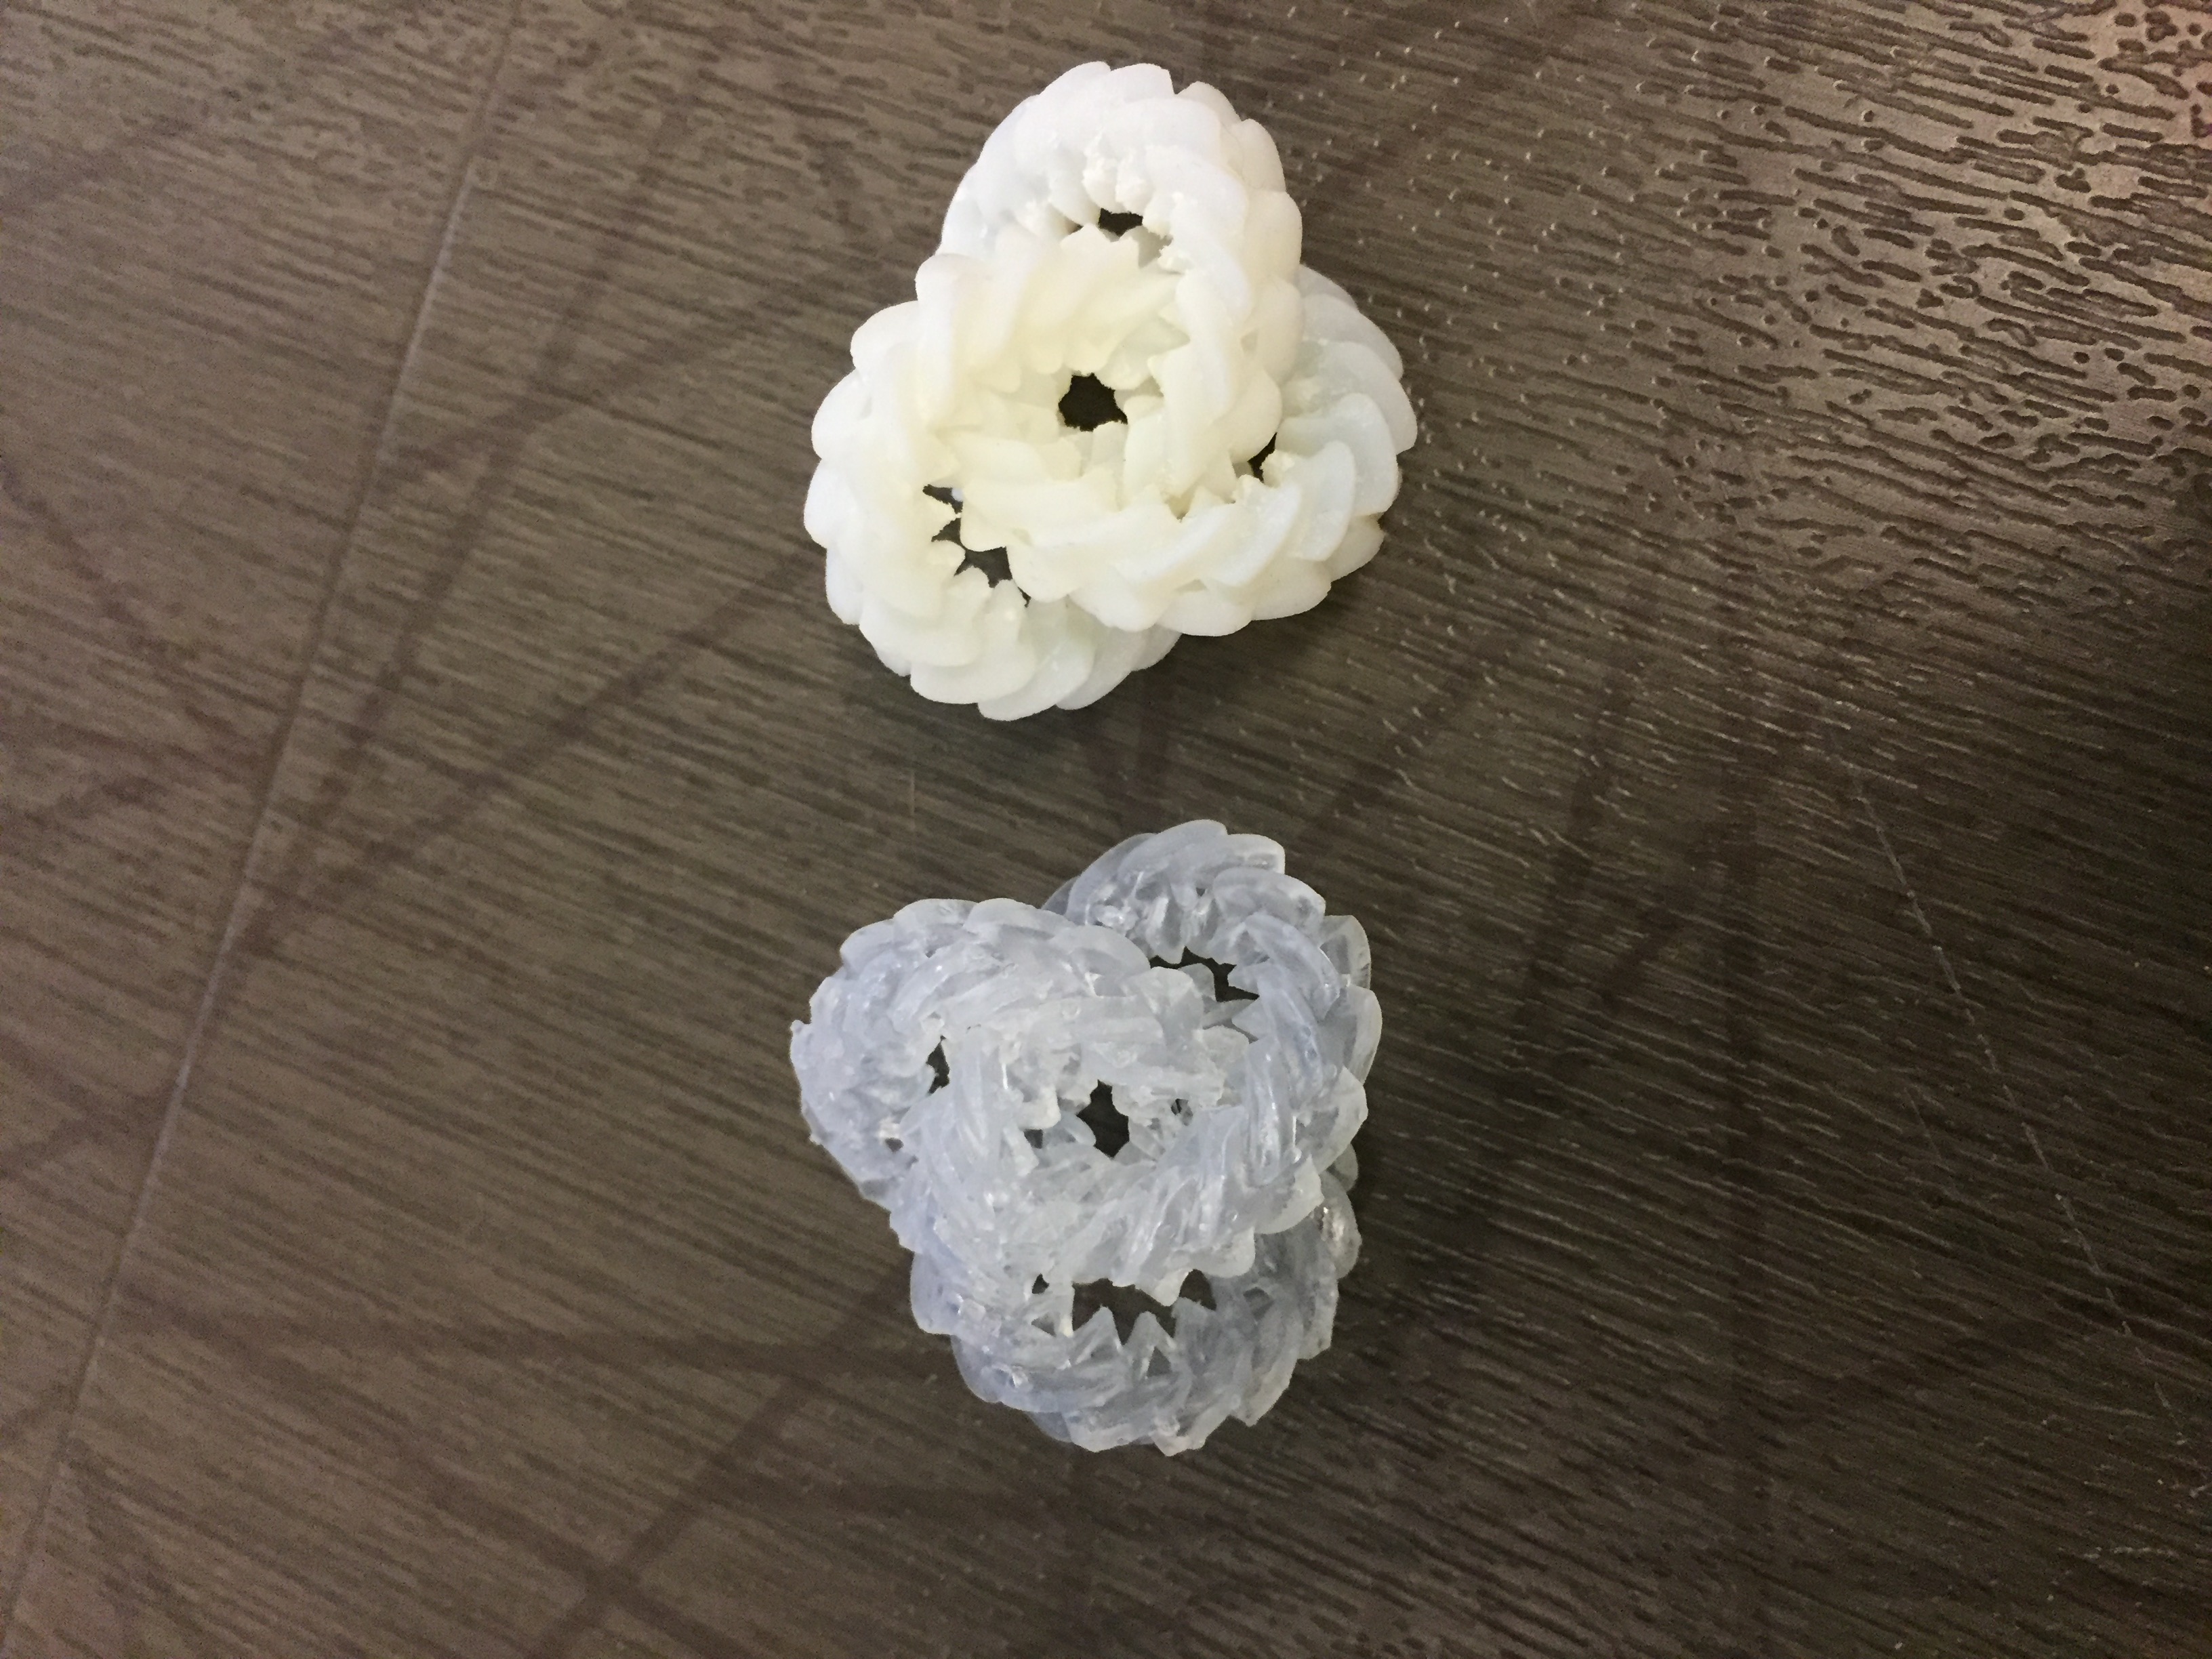
Side by side
