This week, we were tasked with conquering the Carvey. And I did that.
Or well, I somewhat mastered the limited capacity of carving a 2D image on a piece of cedar using the Carvey.
Which is pretty much the same thing, right?
I’ve been thinking about that a lot lately, about how no matter how much you know about something, you can never truly master it and know all the ins and outs of it. This is of particular concern for me as a lab tech: Even though I am paid to know and teach others how to use these machines, I am no master. Can I throw together a nice design in Illustrator? Sure. Do I know every single tool built into the program? No. Can I do some pretty cool stuff with the laser cutter? Sure. Can I troubleshoot it when it claims the job will take 0 minutes and 0 seconds? No. Can I use a 3D printer? Sure. Can I fix a 3D printer? Absolutely not.
And I guess I could wallow in my incompetence, or I could just move on with my life.
We all know which I should do, and we also know which I will probably actually do.
That being said, this week, I learned to use the Carvey. And maybe it’s because I’m learning a valuable lesson or maybe it’s because I’m freakishly busy, I’m learning to let some things go.
I was terrified of the Carvey because I’ve heard so many horror stories from Caz and Noah and Pedro about how it will run like 85% of the cut perfectly and then randomly and inexplicably mess up at the end, wasting not only your resources but also your time. And so because it could never be mastered, I originally refused to even bother learning it.
And then Dr. Wettergreen was like, “Dude, you need to learn how to use this equipment.”
And I was like, “You know what? You’re right.”
And he was like, “Also, this is a grade. So yes.”
And I was like, “Fair. Okay. Time to learn this thing.”
(Disclaimer, that is the one conversation with Dr. Wettergreen on this entire blog that has happened entirely in my head. Everything else is absolutely true. Even the music video. And the argument about Crisco.)
I dug around TheNounProject with Christina a bit before stumbling upon a really cool-looking stylized dragon outline, so I decided to use that for my project. On Monday, I wanted to begin working, but the CHBEs had somehow claimed every single computer in the entire OEDK, so I took the cue to not start that day and returned to the Martel computer lab to make my file. I started with the dragon, but I also found an image of wind that I was able to edit on Illustrator to make it look like the dragon was breathing fire, and I uploaded it to Easel to carve.
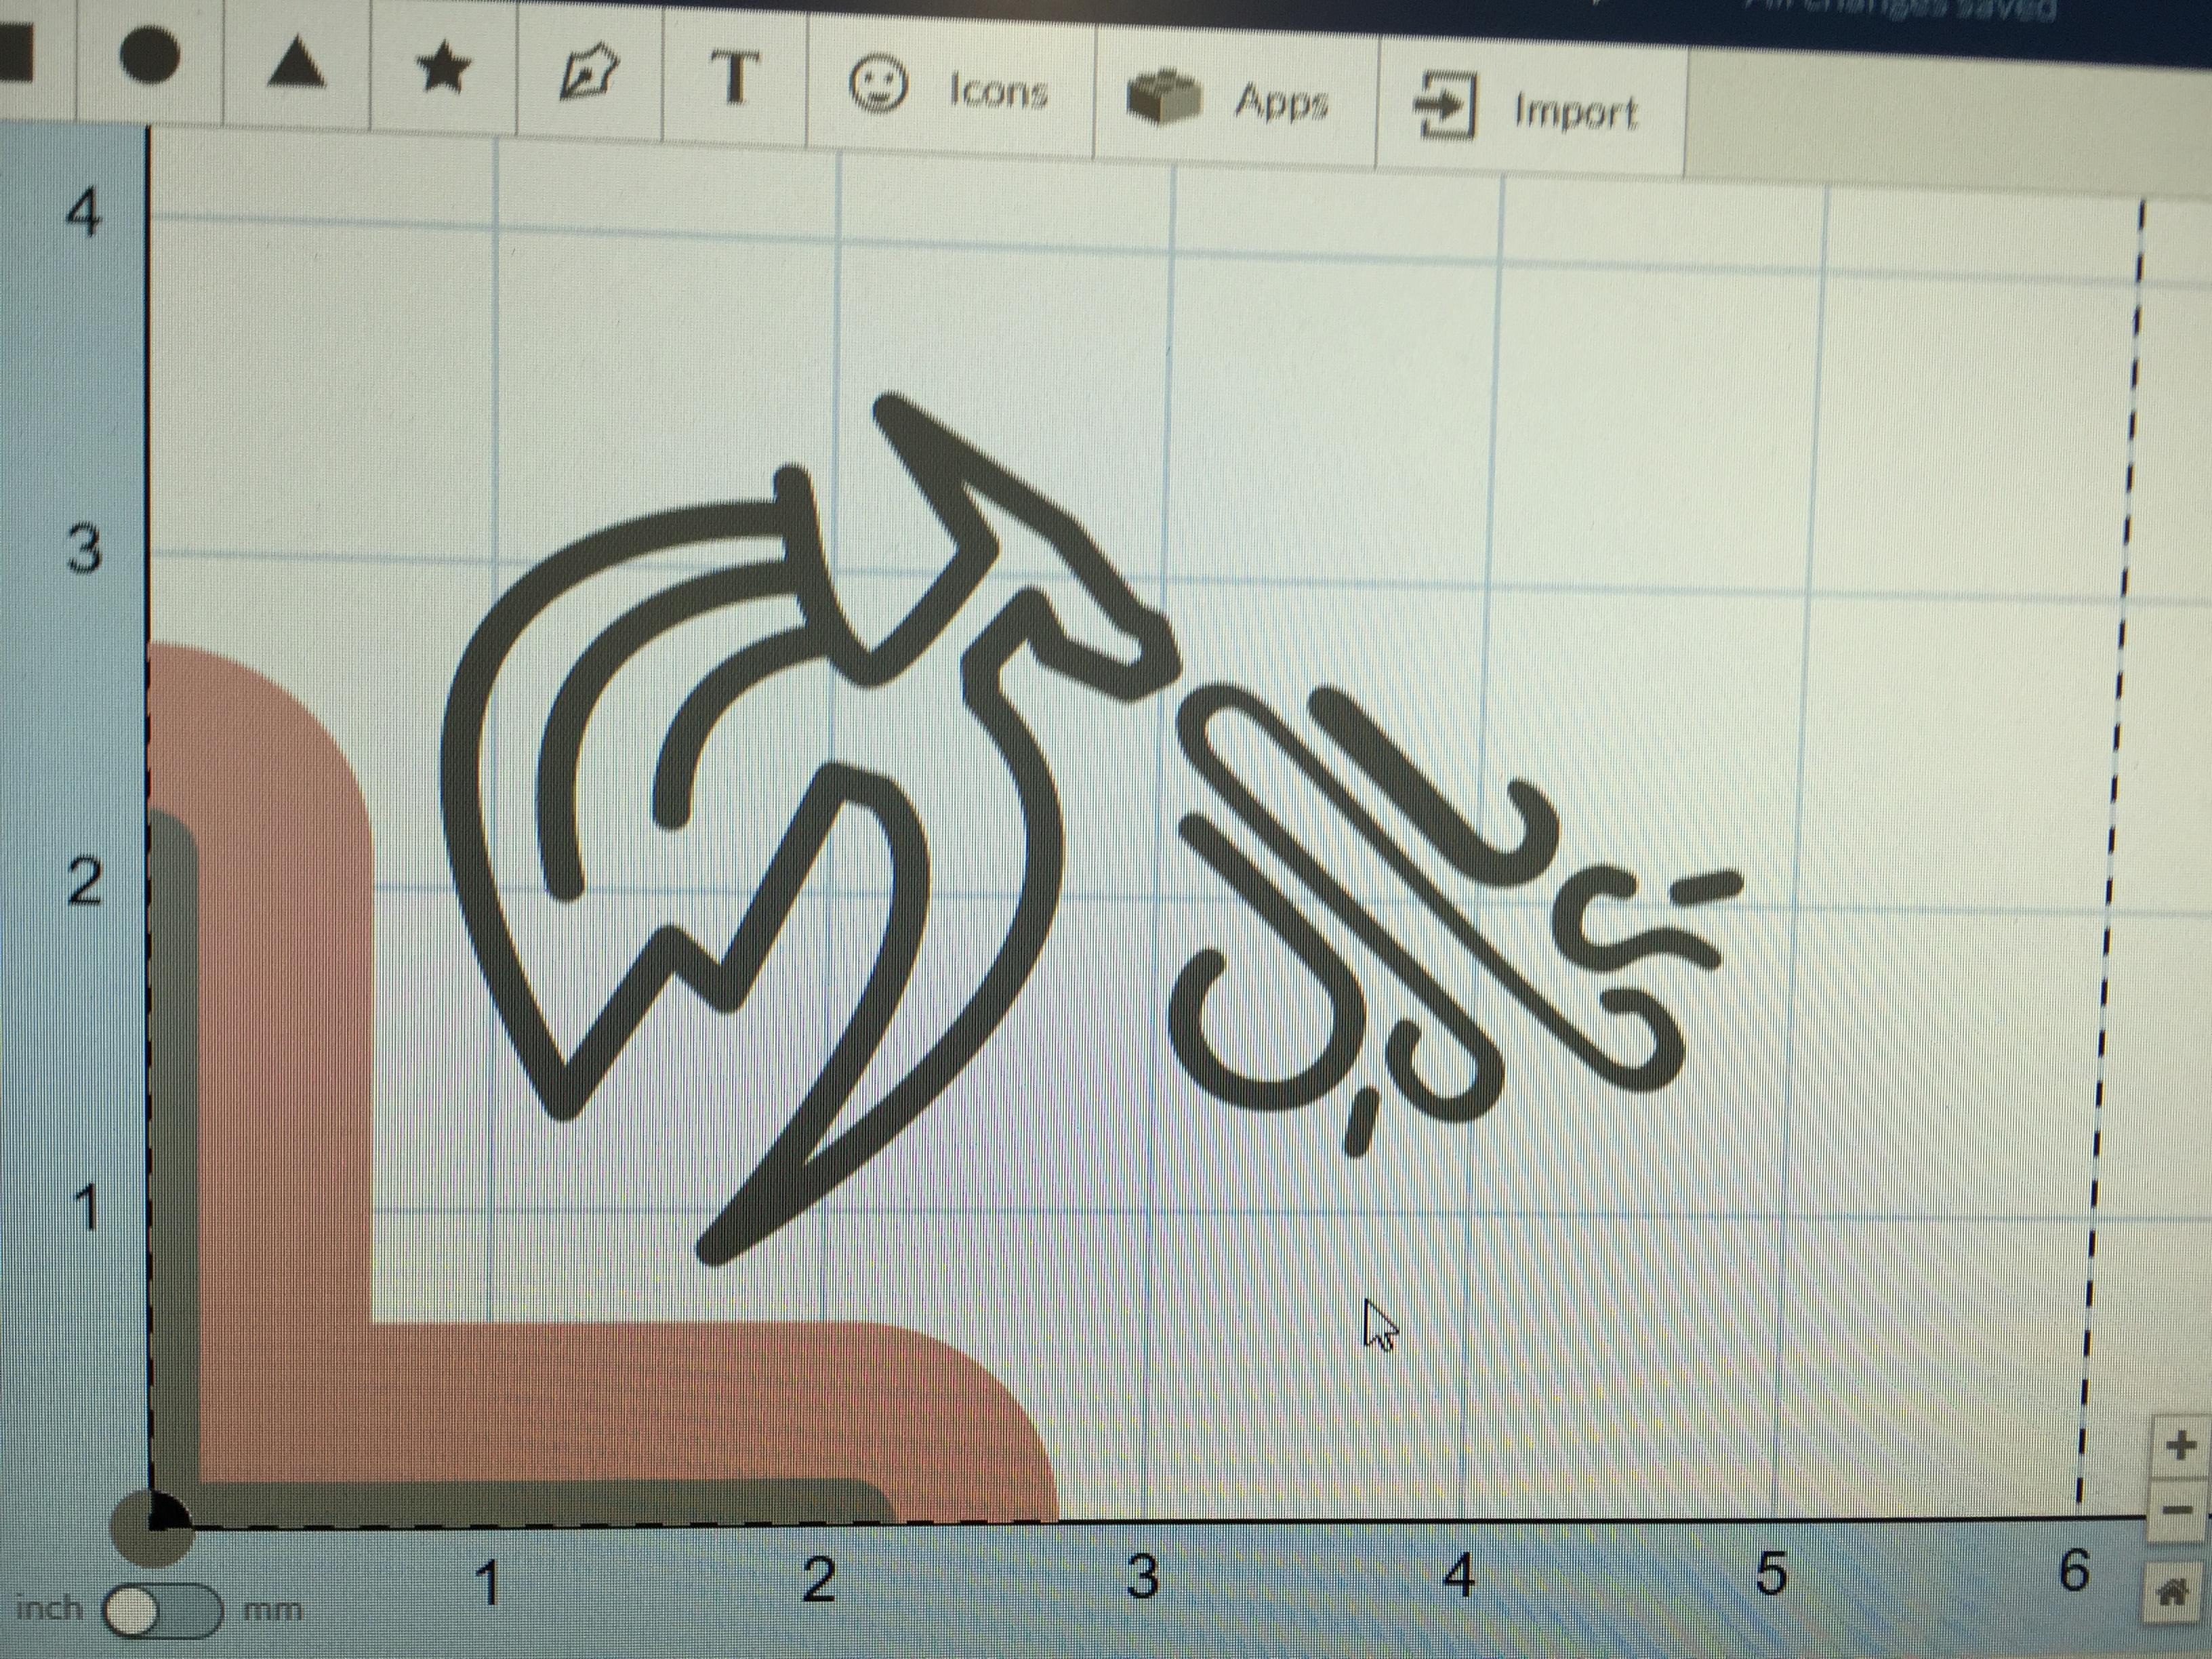
The original dragon file
This was a fairly simple image that shouldn’t take too long to carve because it was made only of lines. The one concern was the middle flame because it was a little thin, so that set a lower limit on how small I could make the final product, but overall, I was hopeful that it would turn out well.
On Tuesday, Dr. Wettergreen arrived carrying a mysterious cardboard box that contained slices of cedar wood, inviting us to use it for our project. I felt bad using such fancy wood for a homework assignment that was going to take some trial and error, but also it was so pretty and work amazingly as a rune-like canvas for my dragon.
Maybe there was a reason why I couldn’t start on Monday. Maybe coincidence, maybe divine intervention. Who knows.
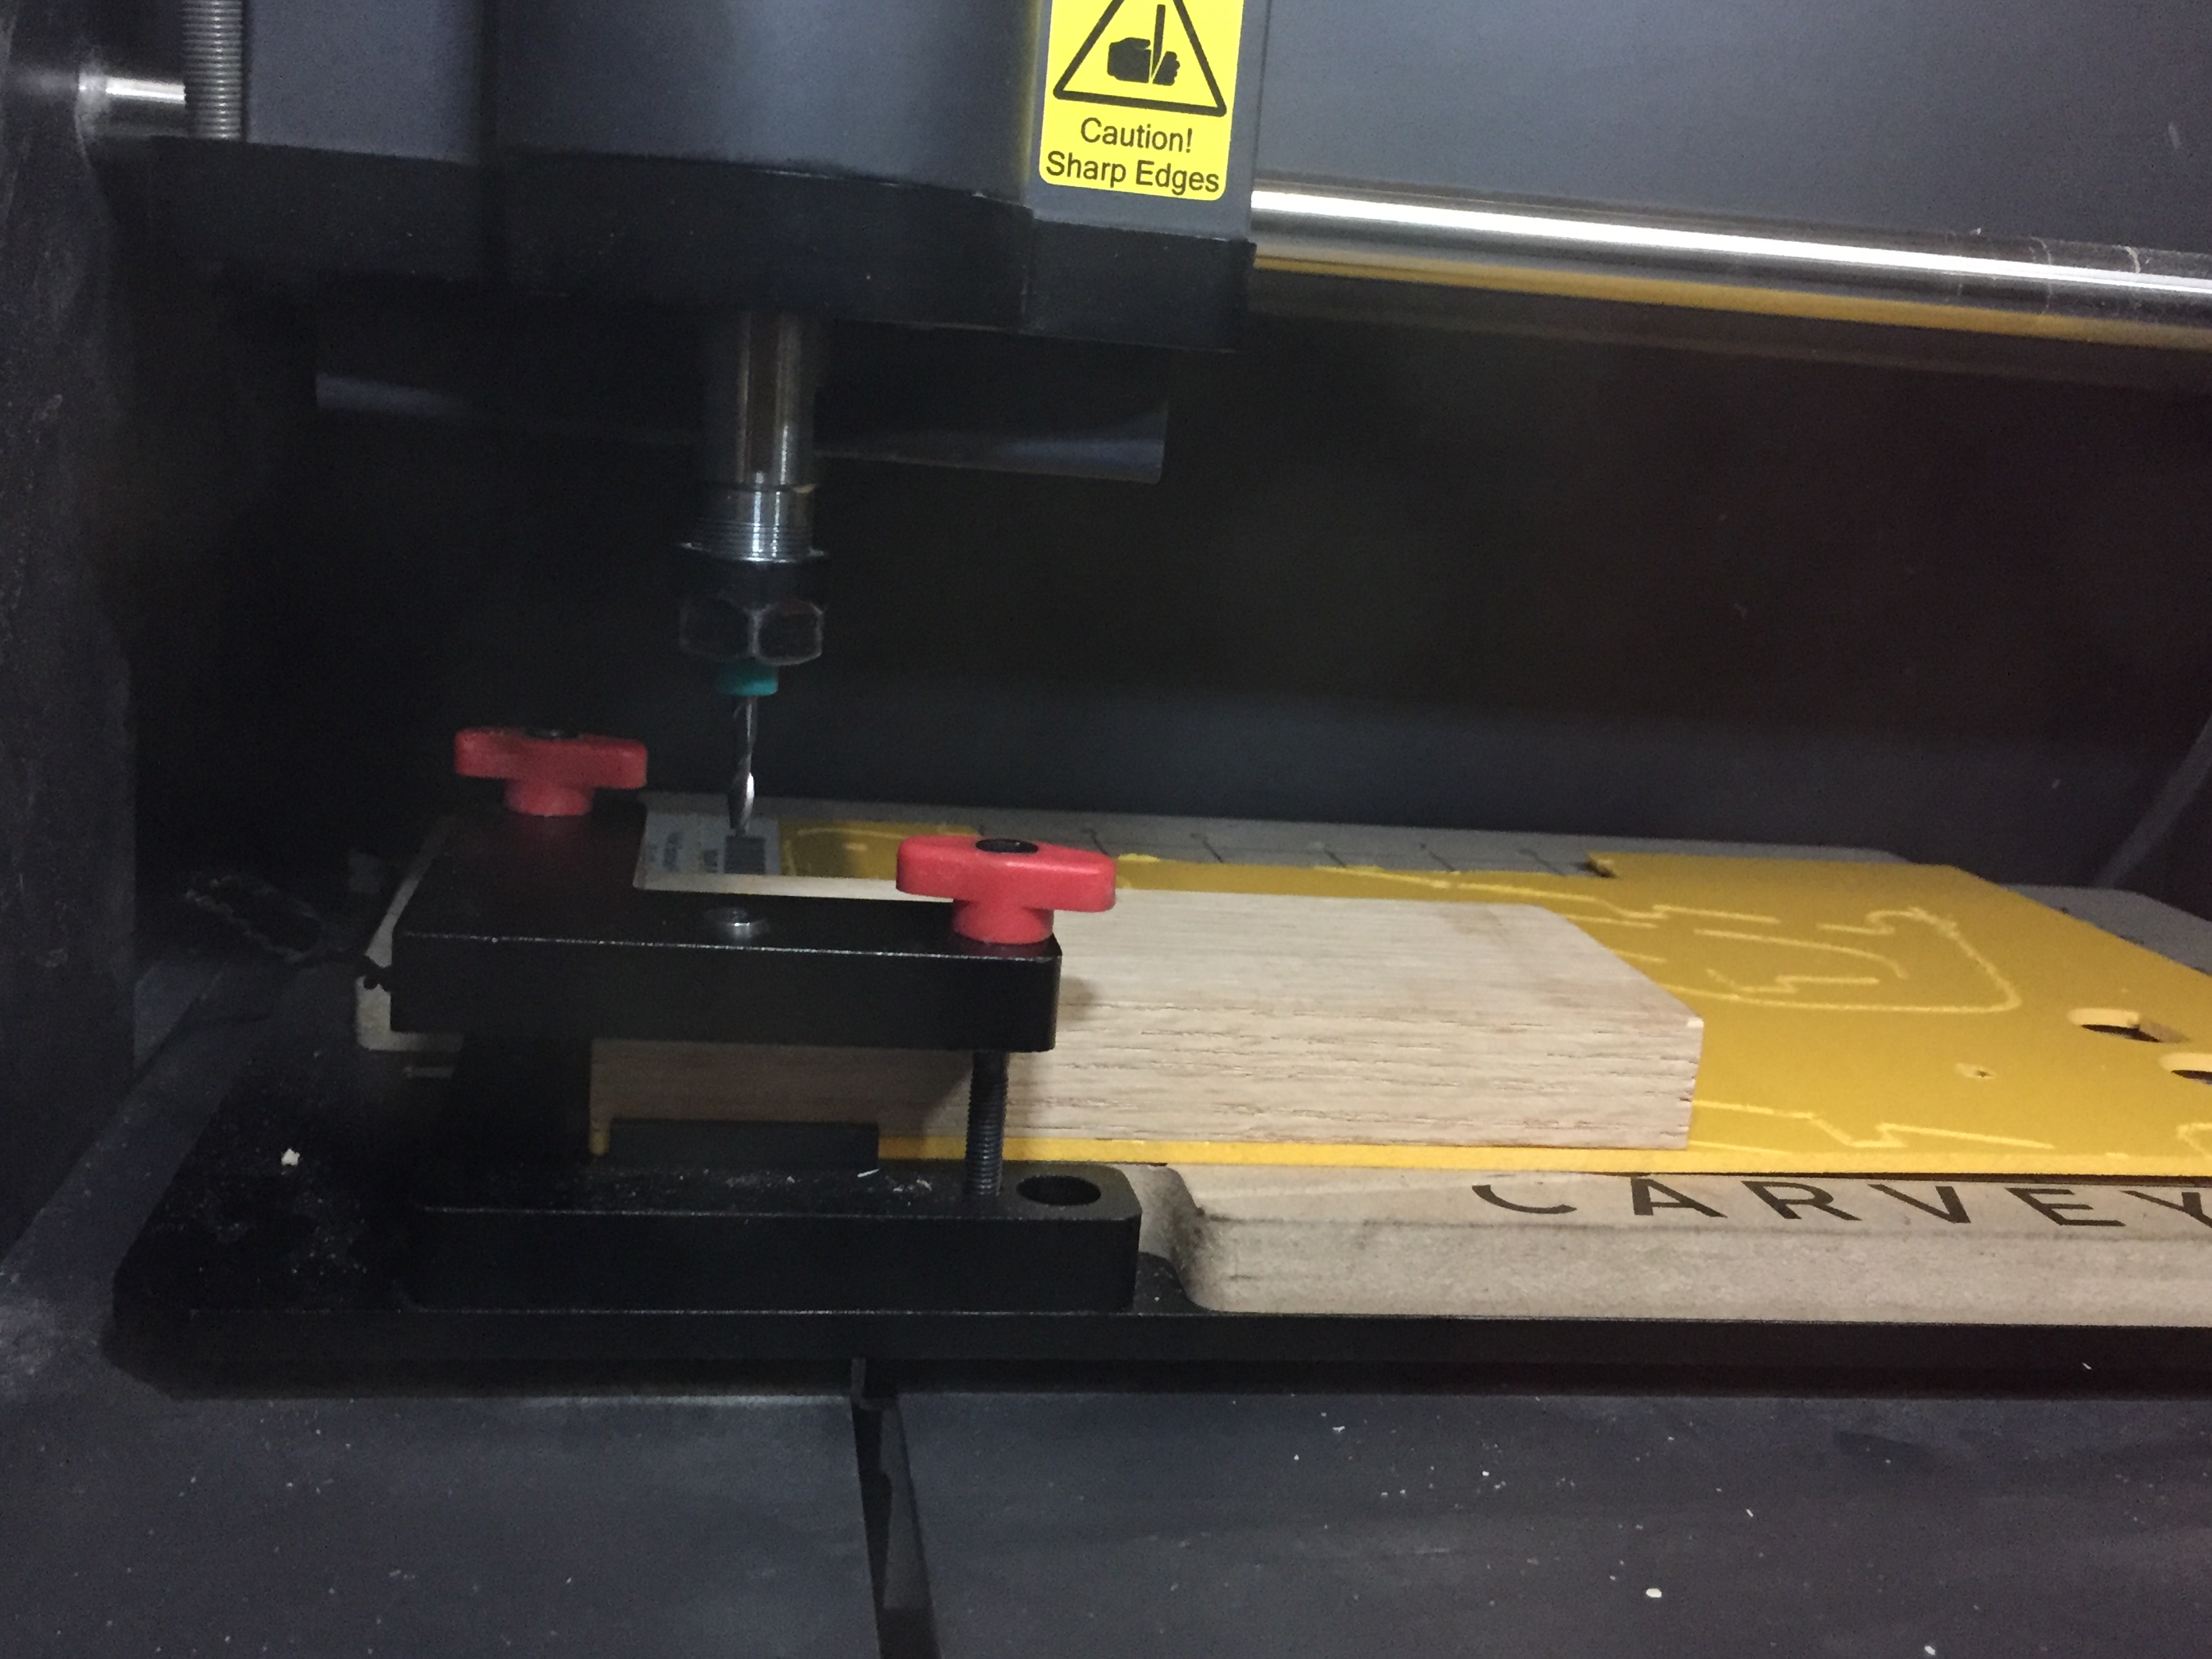
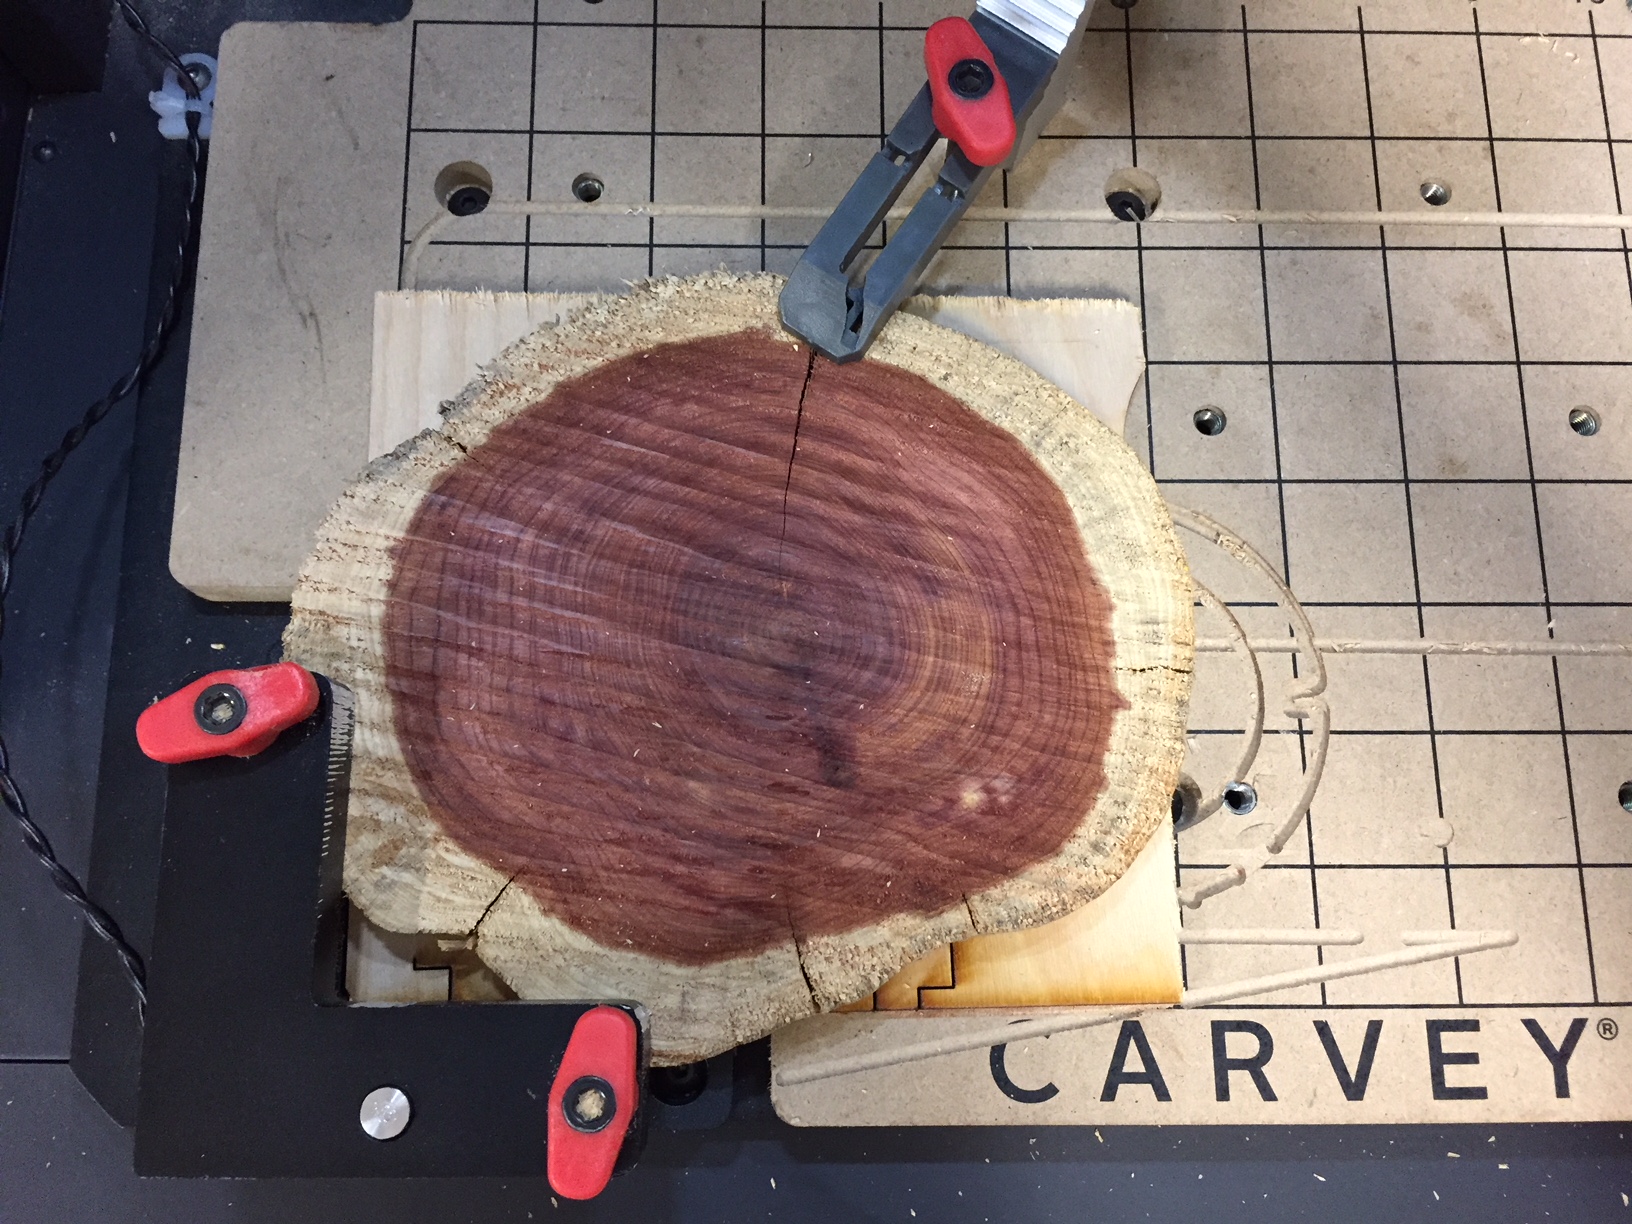
So on Wednesday, I started trying to relearn how to use the Carvey. I had used it before, but it had been a couple of months. Another struggle came from trying to determine what bit to use because I have no idea what different drill bits do. I remembered from class that we had used an upcut bit on the wood and it worked relatively well, so I found a 16th-inch upcut bit and used that. I found a random piece of (I think) red oak by the Carvey and used that for a test run because I wasn’t confident in my abilities to actually make a perfect cut on the cedar.
Starting the cut! I’m feeling optimistic!
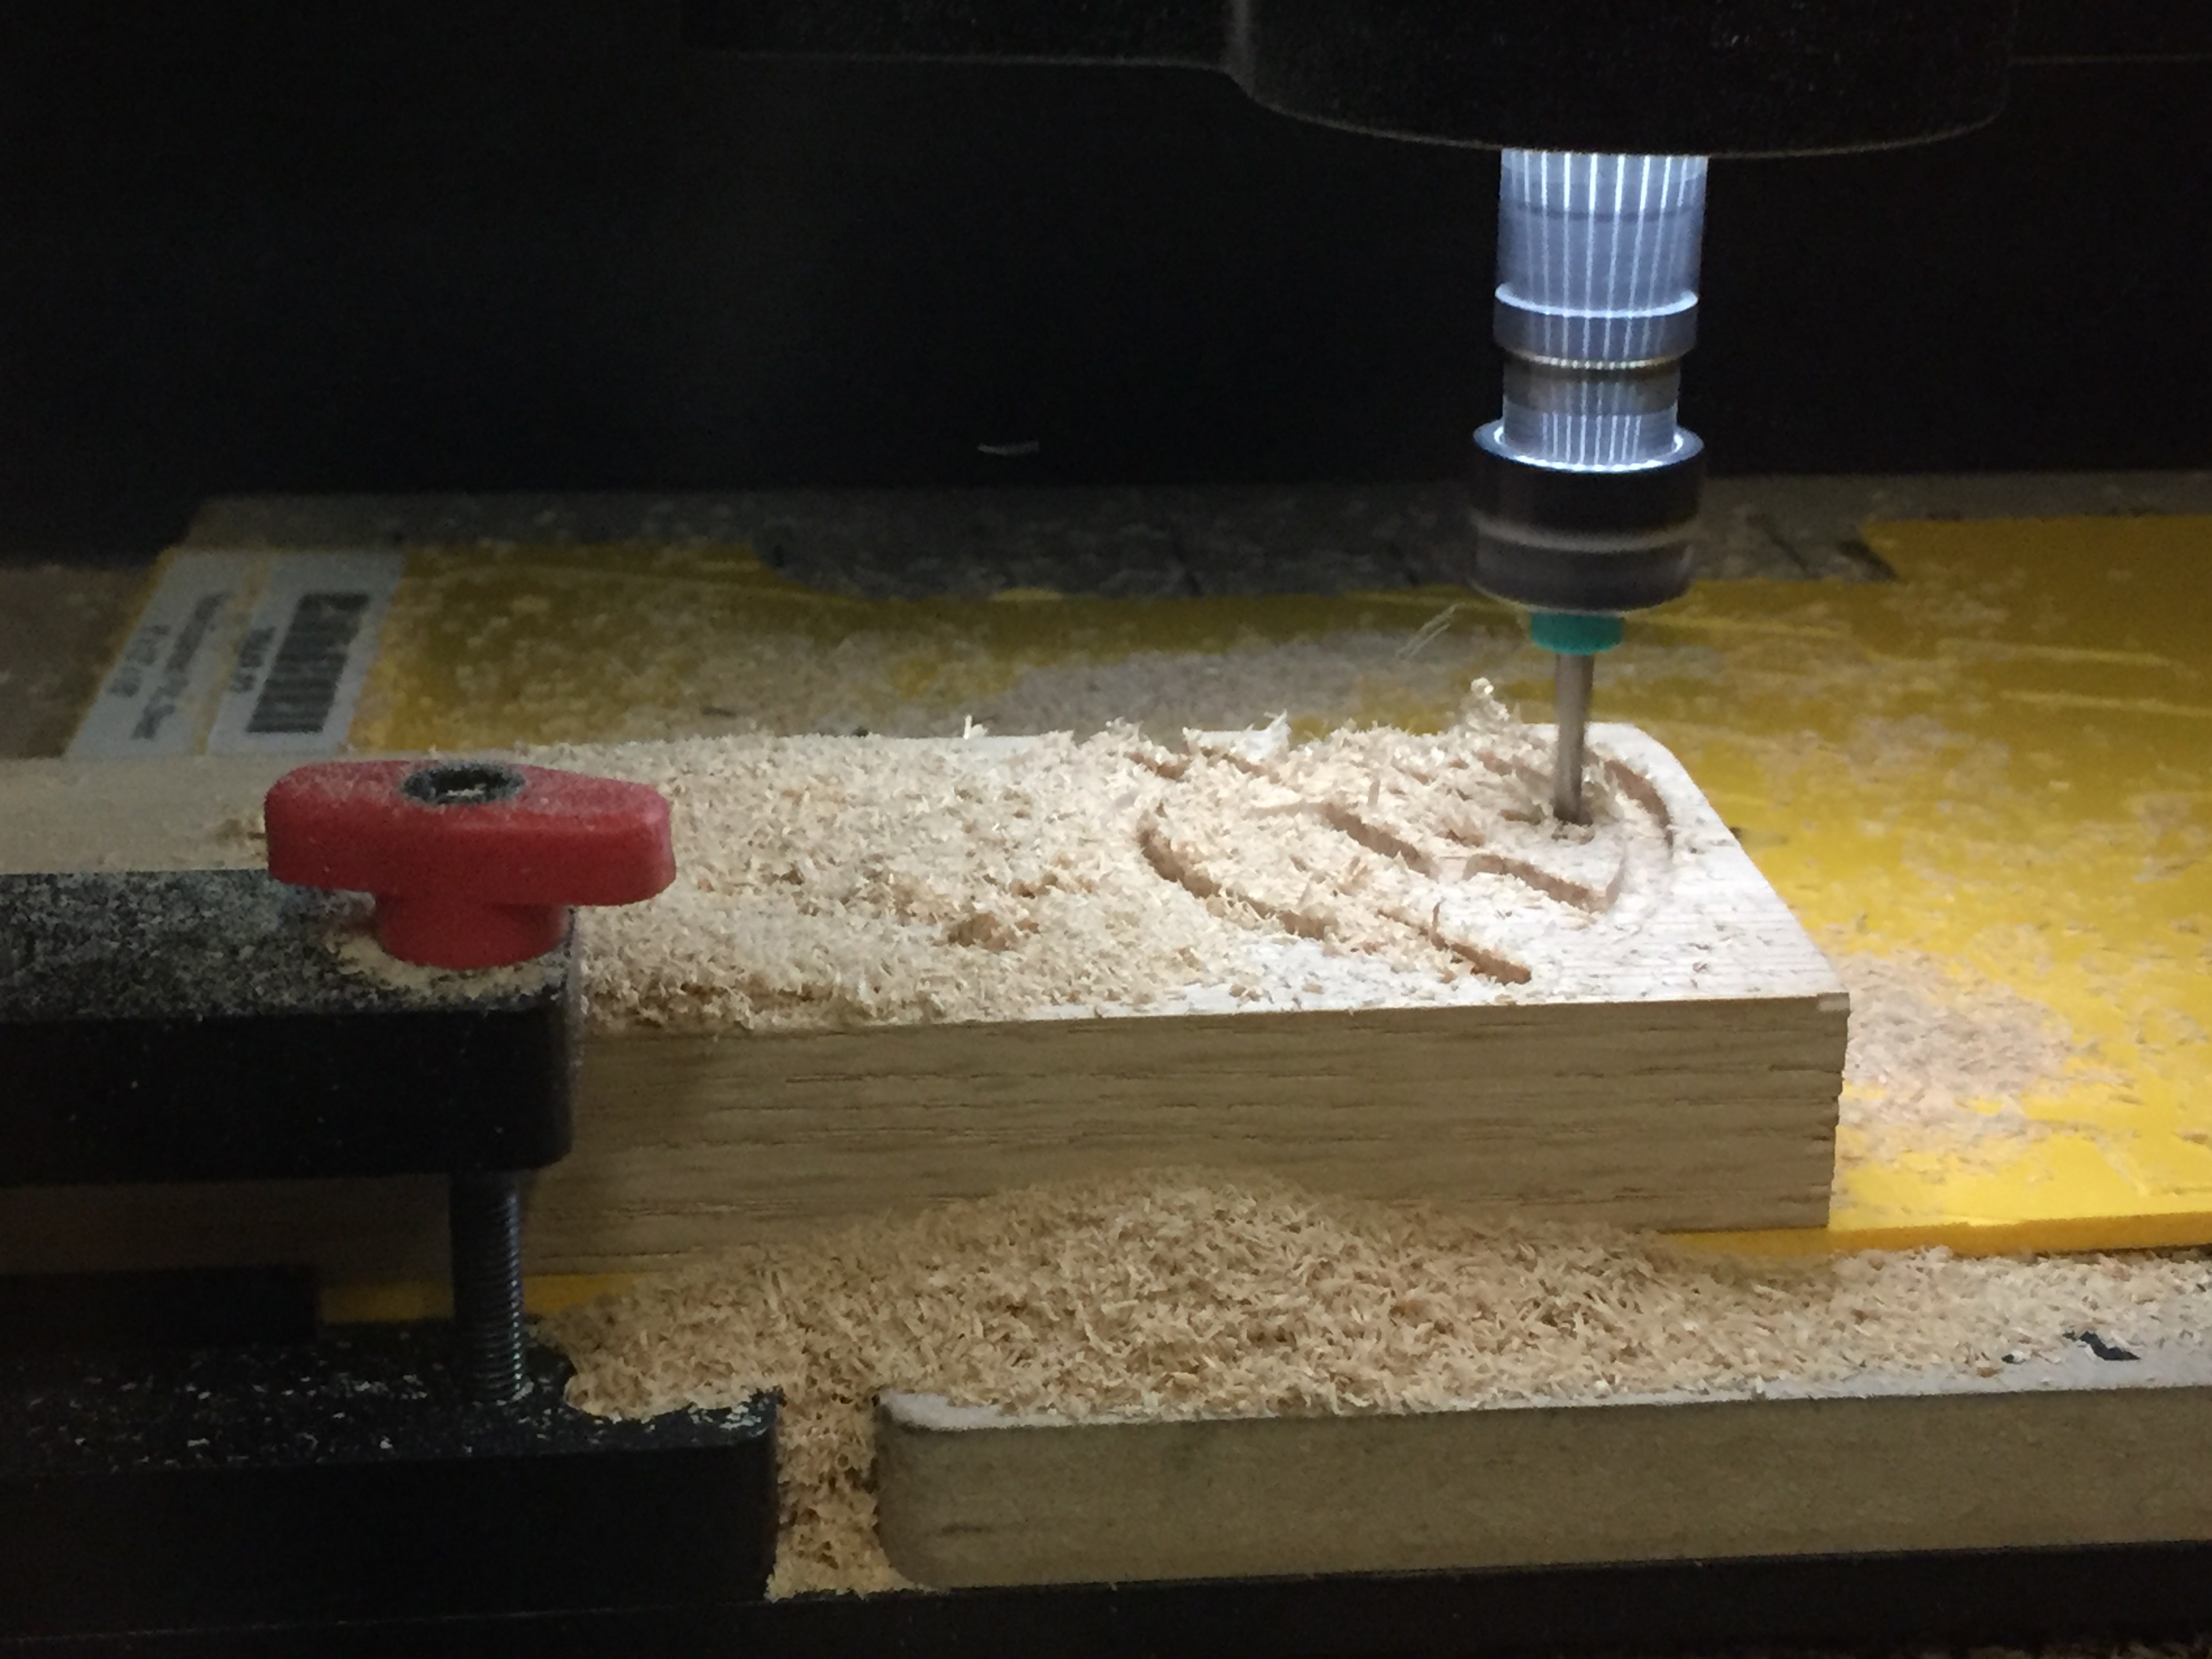
There’s so much sawdust I can’t even see the fire. Did it go a little deeper than it should have I think? Nah, it’s just the sawdust blocking my view.

Opening the lid to reveal… a considerable amount of sawdust
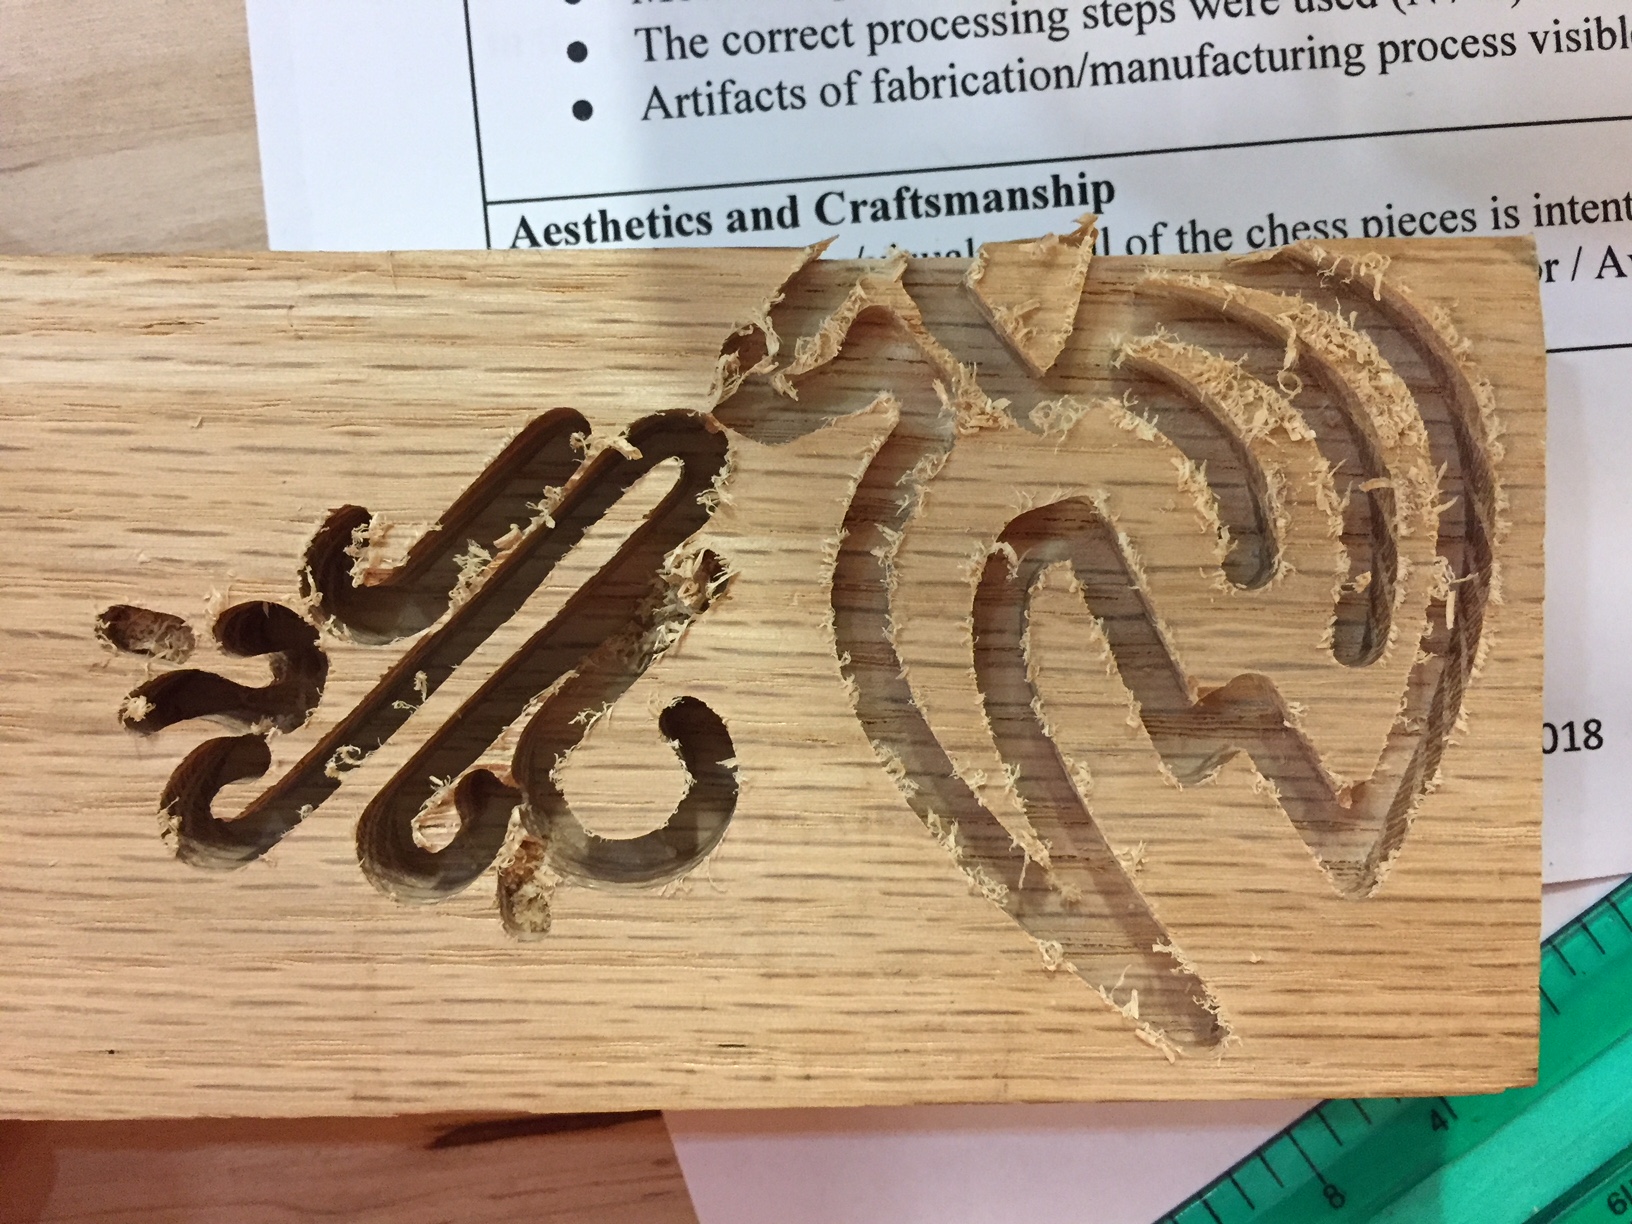
And I vacuumed the piece out to reveal… a disaster.
Thank God I waited because it turned out absolutely horrible. I showed the final cut to Danny, (who had originally advised me to do my cut on scrap), and he just kind of cringed. This led to the following conversation:
Danny: “Wow, that failed miserably.”
Me: “No, it was kind of a success! You can see that the pattern cuts… um. It’s the right size?”
Danny: “Whatever helps you sleep at night, kid.”
And yeah, he was right. The fire was far too deep (I had accidentally left it on my original setting of 3/8″ deep before realizing that was overkill), the design went off the wood (which apparently happened due to some mis-measuring when porting the design from Easel to the Carvey), and the cut left a bunch of scraggly bits on the edges from the drill bit. I thought this was normal until Fernando saw me and told me to find a downcut bit. And I did find the one downcut bit in quite possibly the entire OEDK for my project.
So now that I had troubleshot the original print, I was feeling ready to cut the actual piece on the cedar wood. I switched out the drill bits, learned how to properly use the clamps, and lined up the piece as best as I could in the machine. I made sure all of the cuts were at the depth I intended (1/4th inch for the dragon because I wanted to overcome any unevenness on the surface of the cedarblock and varying heights for the fire). I went back and forth between Easel and the piece of cedar to make sure that I cut the design perfectly centered on the red wood, but eventually I just had to start it when I felt like I had lined it up right.
How do you line this up with the online grid? With enormous difficulty.
Honestly, as much as we don’t love the Glowforge laser cutter, what I would give for a camera on the Carvey bed so I could line my design up with my very irregular piece of wood.
At this point, there was nothing to do except hit Go. So, I did. And Danny, Fernando, and I waited around the Carvey with bated breath to see if it would turn out (I had asked the two of them so many questions about this machine that by this point they were somewhat emotionally invested in the outcome. I think they were also somewhat bored).
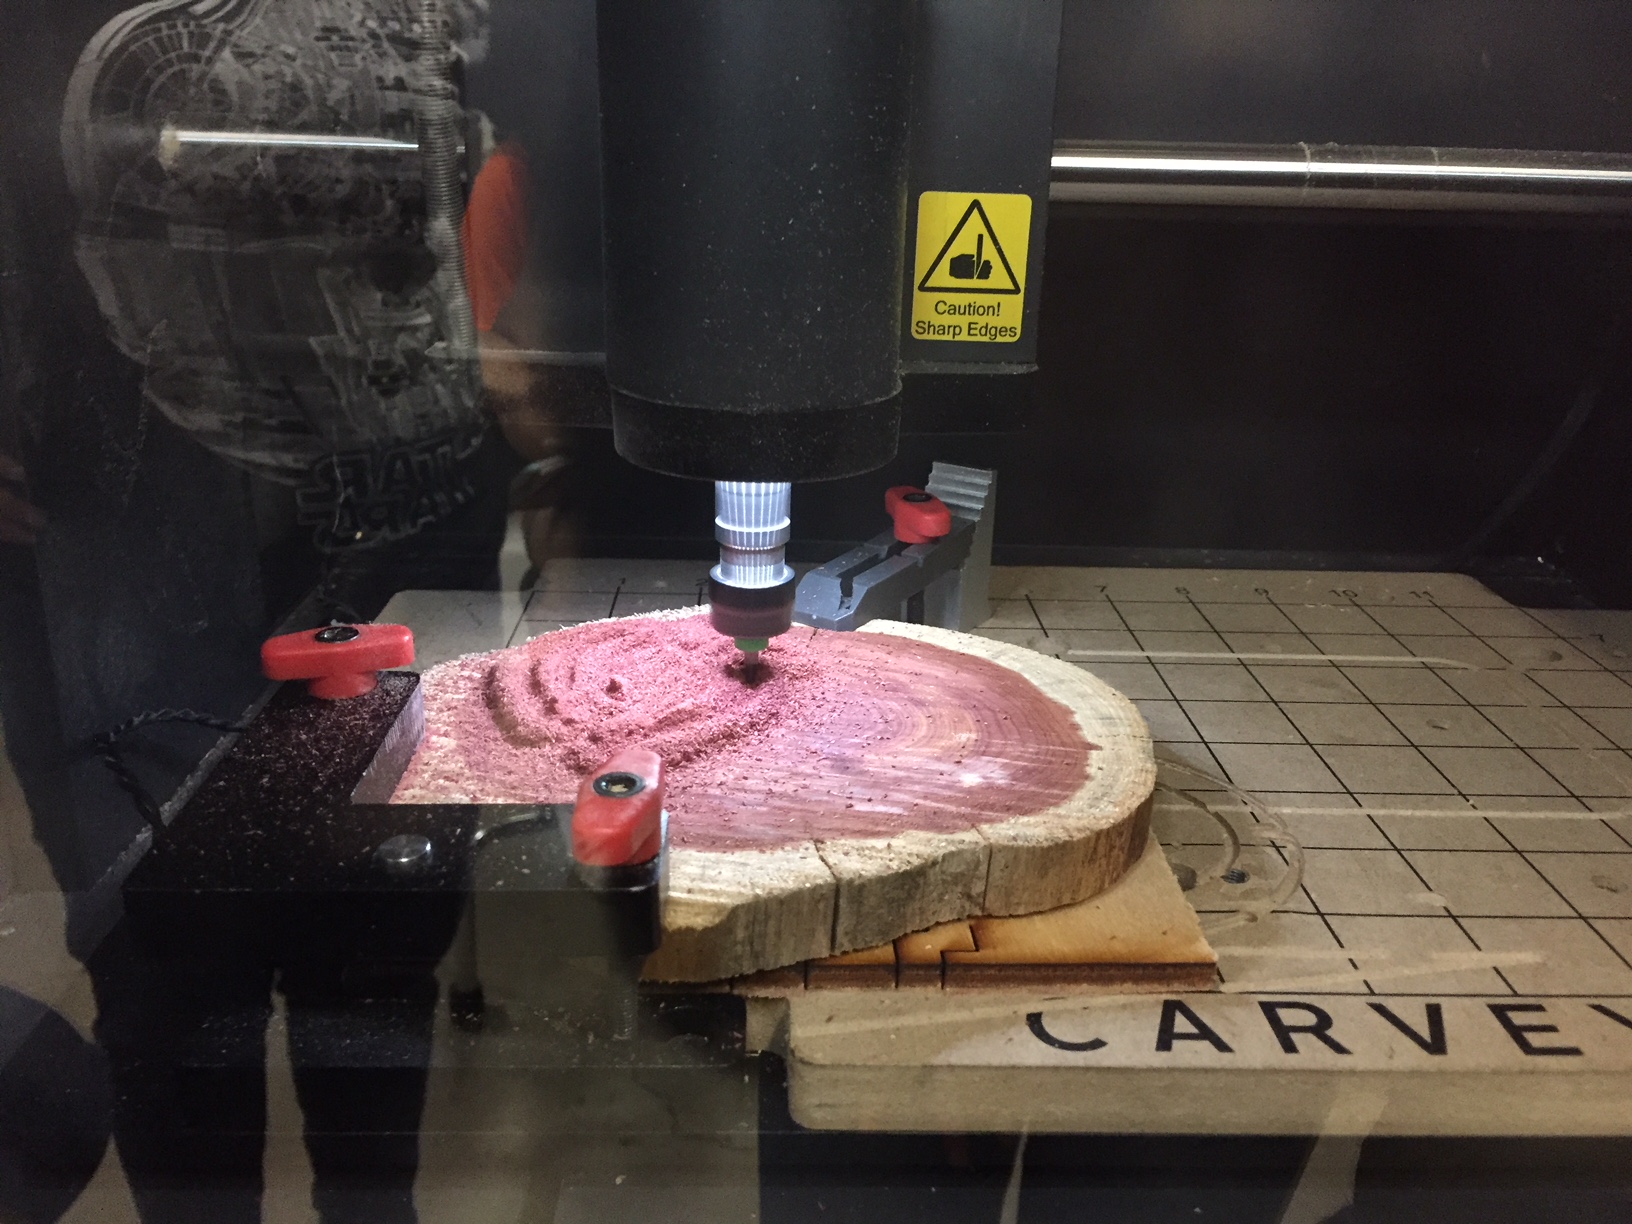
Carving! Even the dust is pink! This should surprise me less than it does, but I also don’t think I have ever seen raw pink cedar before.
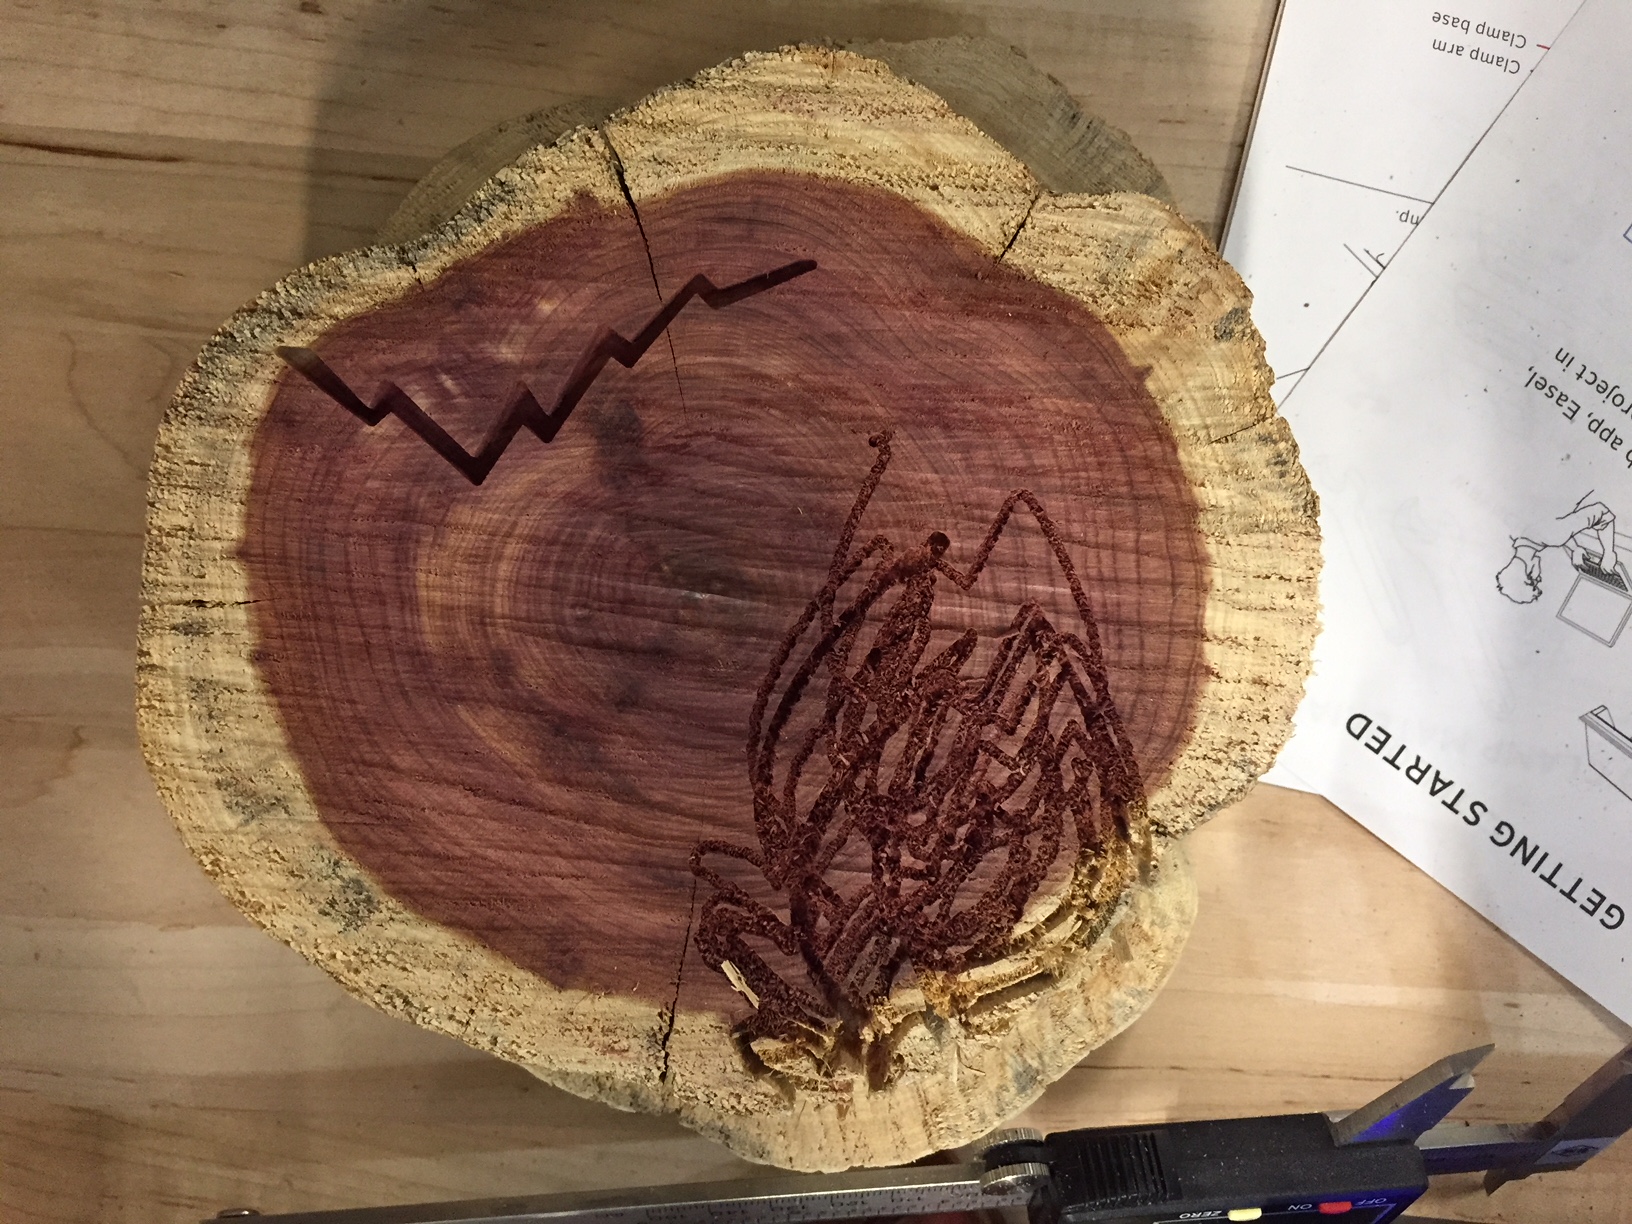
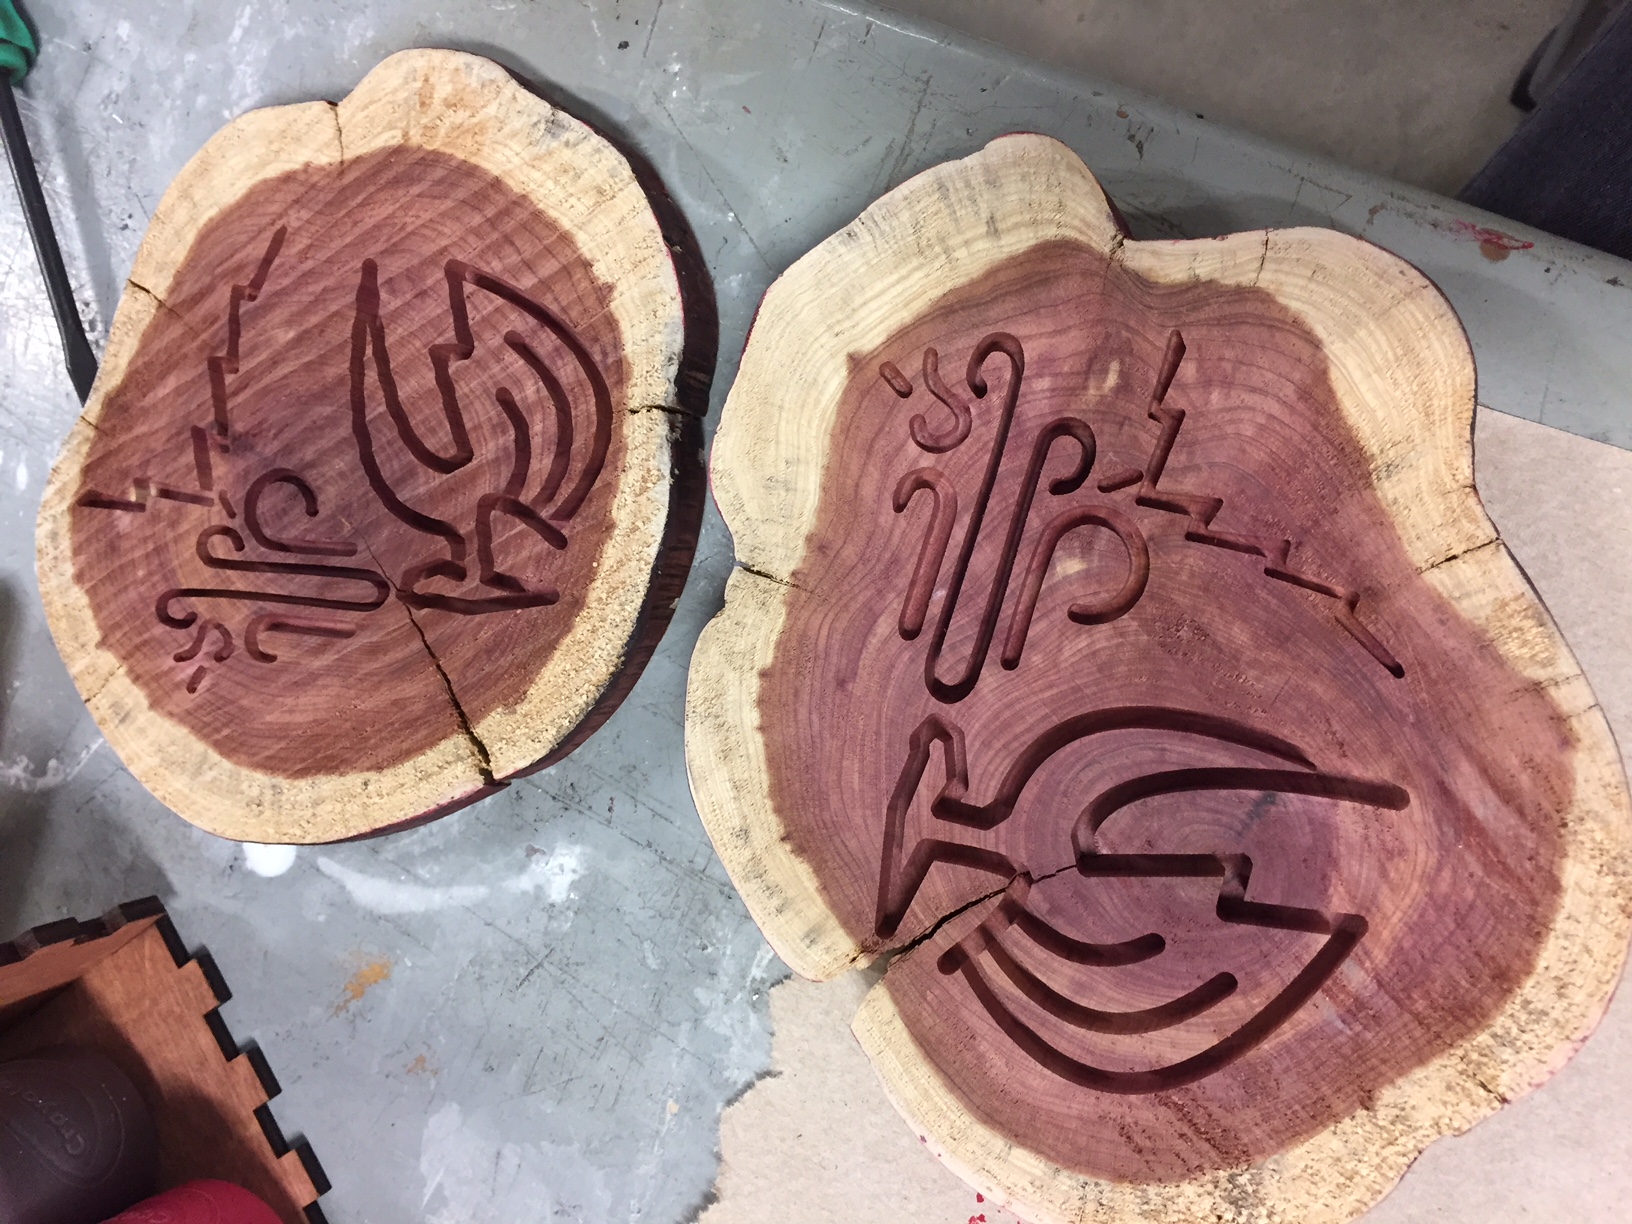
And once it was done, I vacuumed up all the [pink] sawdust to reveal a perfectly carved piece! Nothing broke, nothing was destroyed, no residue was left. It was a perfect cut.
This photo was taken immediately after the piece was removed from the Carvey. No post-processing had happened to this piece.
For reference, this is a picture of the bit I used. It’s a 1/16th-inch fishtail downcut bit. It has a light green ring. It is also magical.
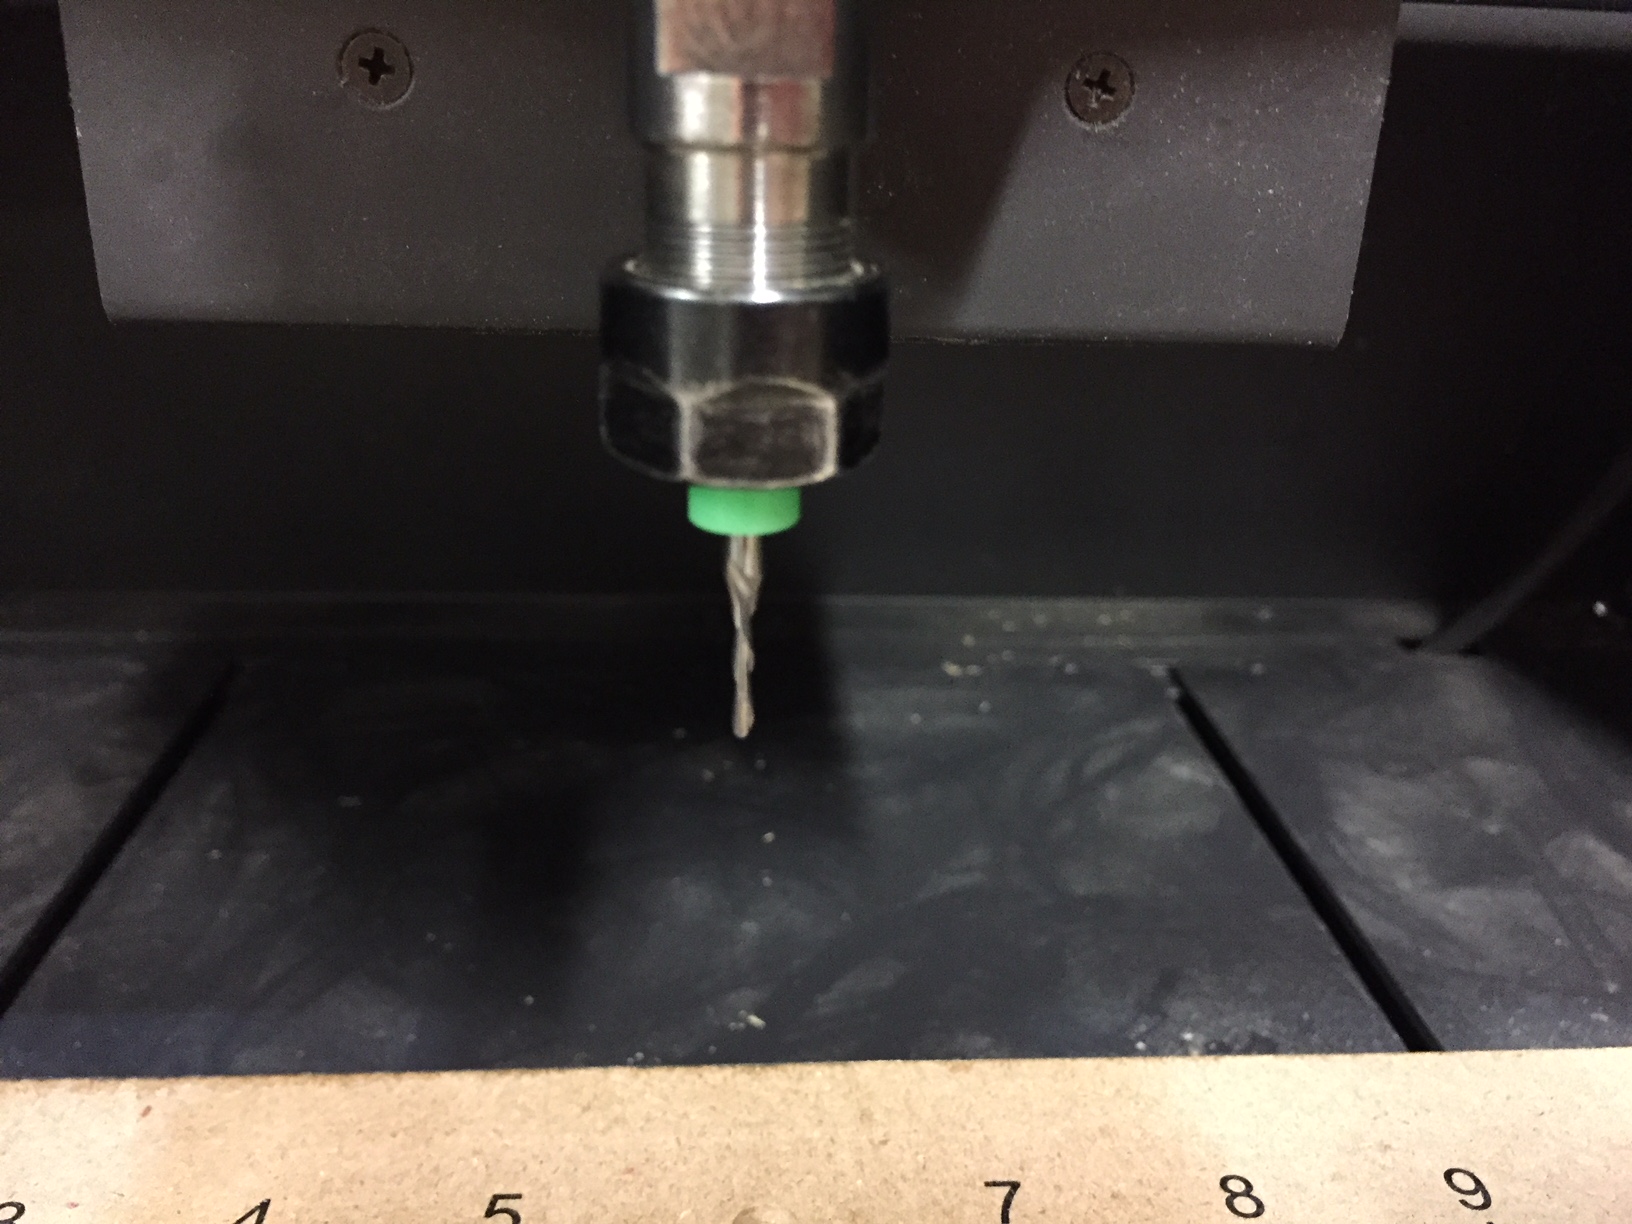
I am serious. If you are a future ENGI 210 student, heed my advice. This bit works wonders.
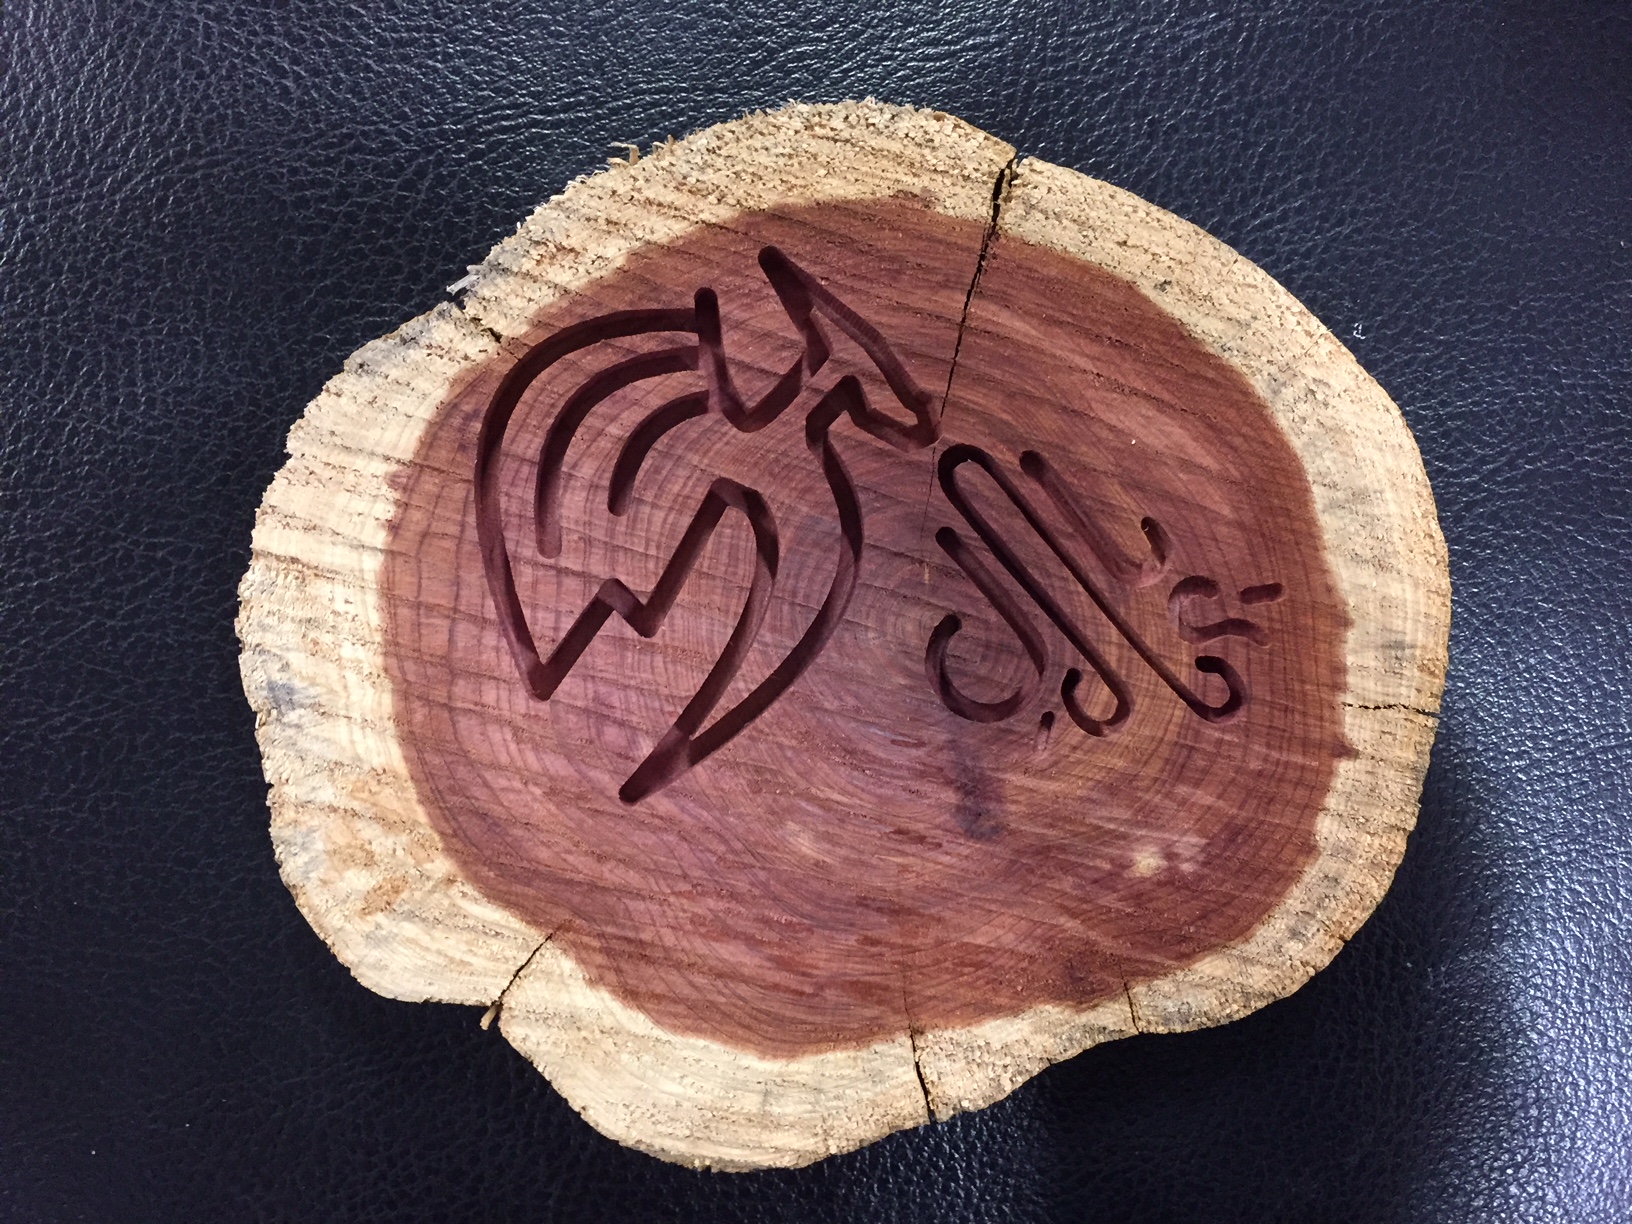
After carving two pieces on the cedarwood, I looked back at it to realize the design was missing something. The original was too high on the ring of pink to look good; it needed something in the bottom right-corner to round out the image. I debated between painting some green land (which would look horribly out of place) or painting a fiery border around the wood (which would detract from the natural look of the cedar), I decided to go back to the Carvey and carve some mountains into the base to provide a sense of scale and depth for my dragon.
I went back to TheNounProject to find the perfect mountain range for my project. I had to do some minor edits in Illustrator, but these were jagged and small enough to do the job.
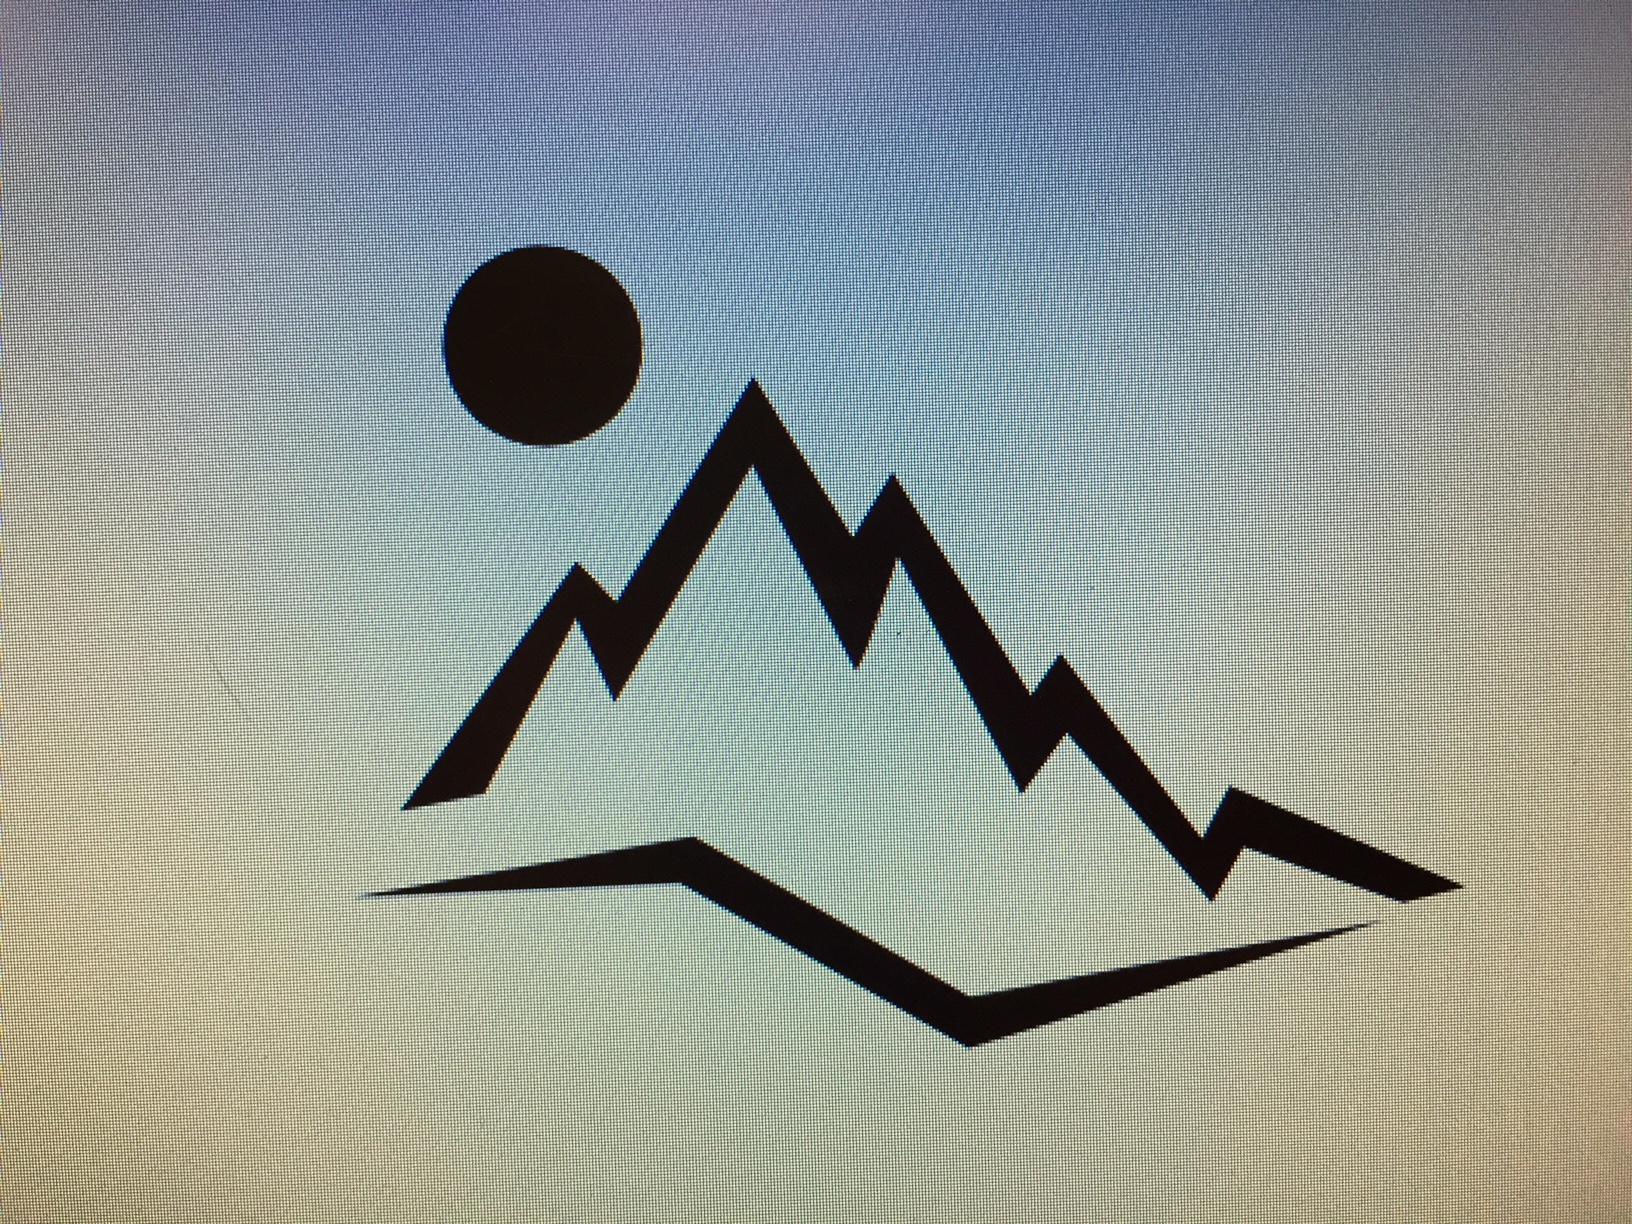
Mountains! They needed a tiny bit of editing, but they would work perfectly.
The only problem was that I had to line them up perfectly with the already carved pieces of wood. Which would be almost impossible.
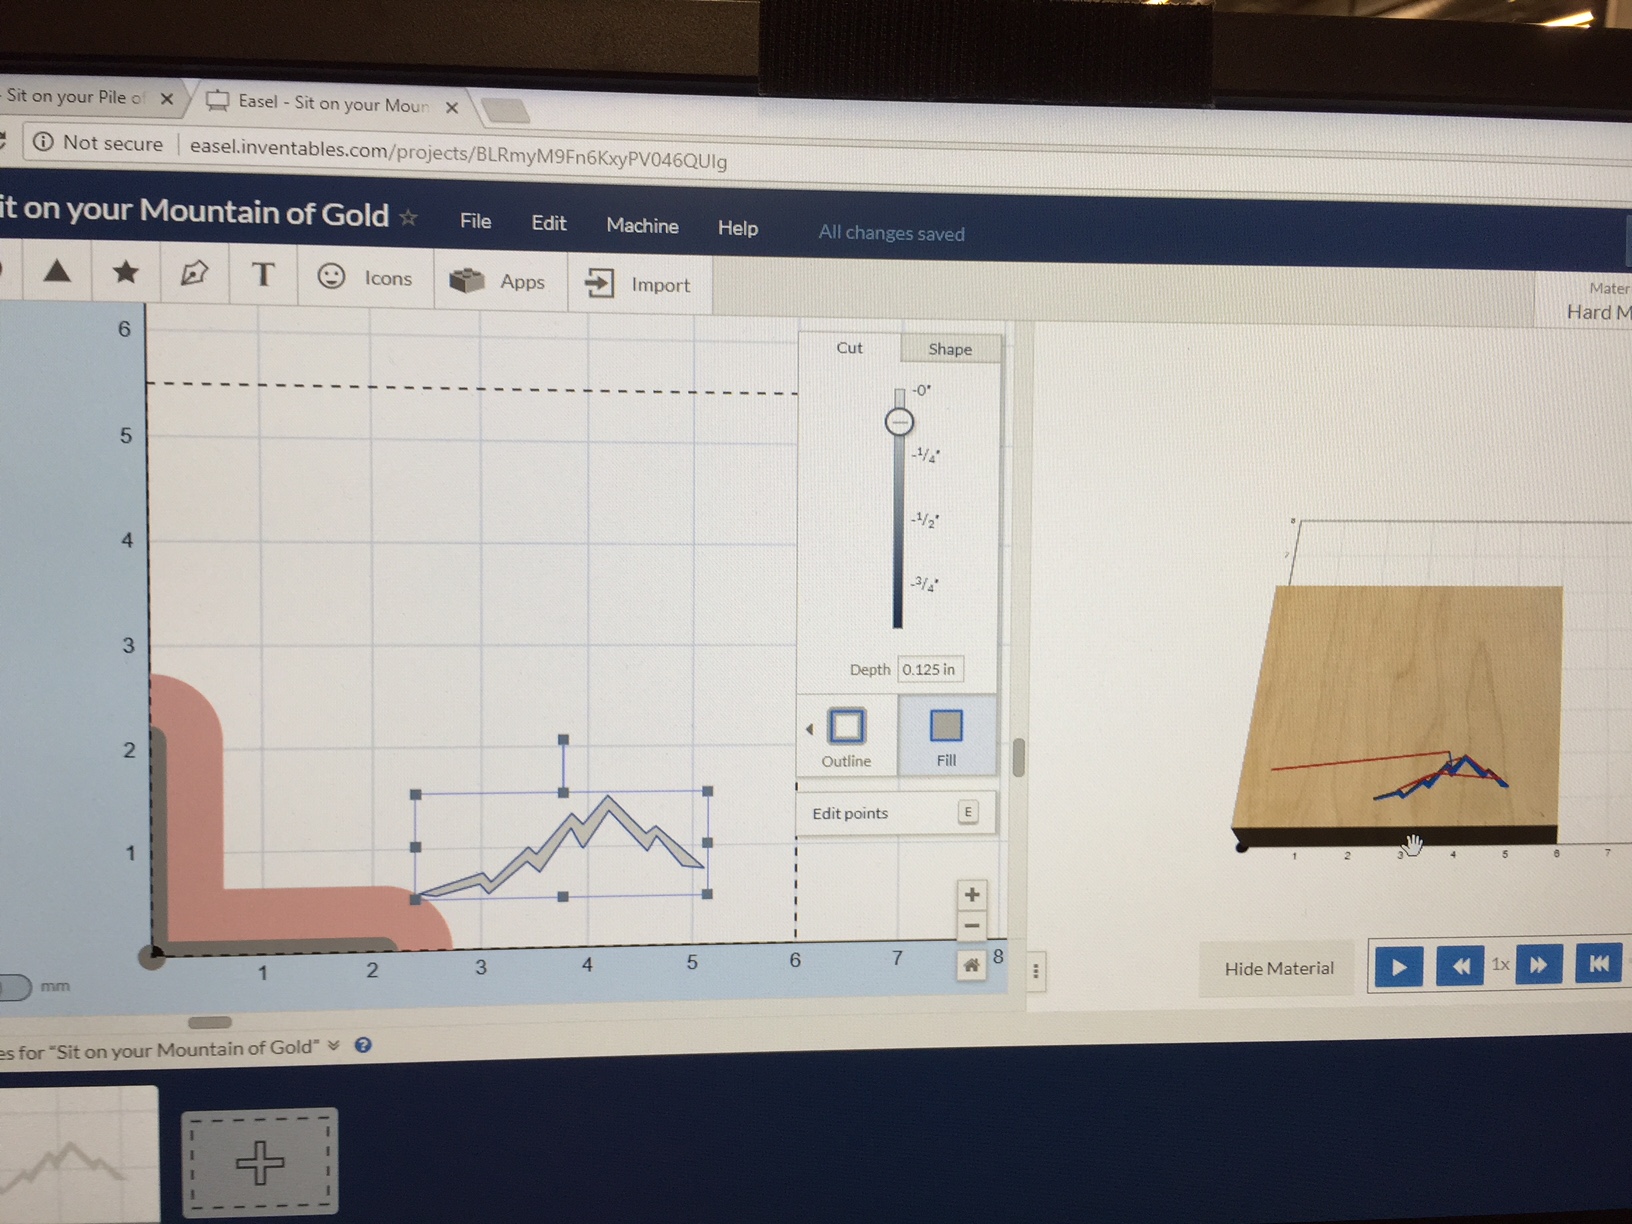
Blindly placing the mountains to be carved. Wish me luck.
I tried to line it up with the measurements on the bed of the Carvey, by making sure that the top peak didn’t go above the 2″ line, making sure the right edge didn’t pass the 5.5″ mark, etc. It was a fair amount of visual guesswork, but I was able to start my cuts with relative confidence that they would work without running into other parts of the design.
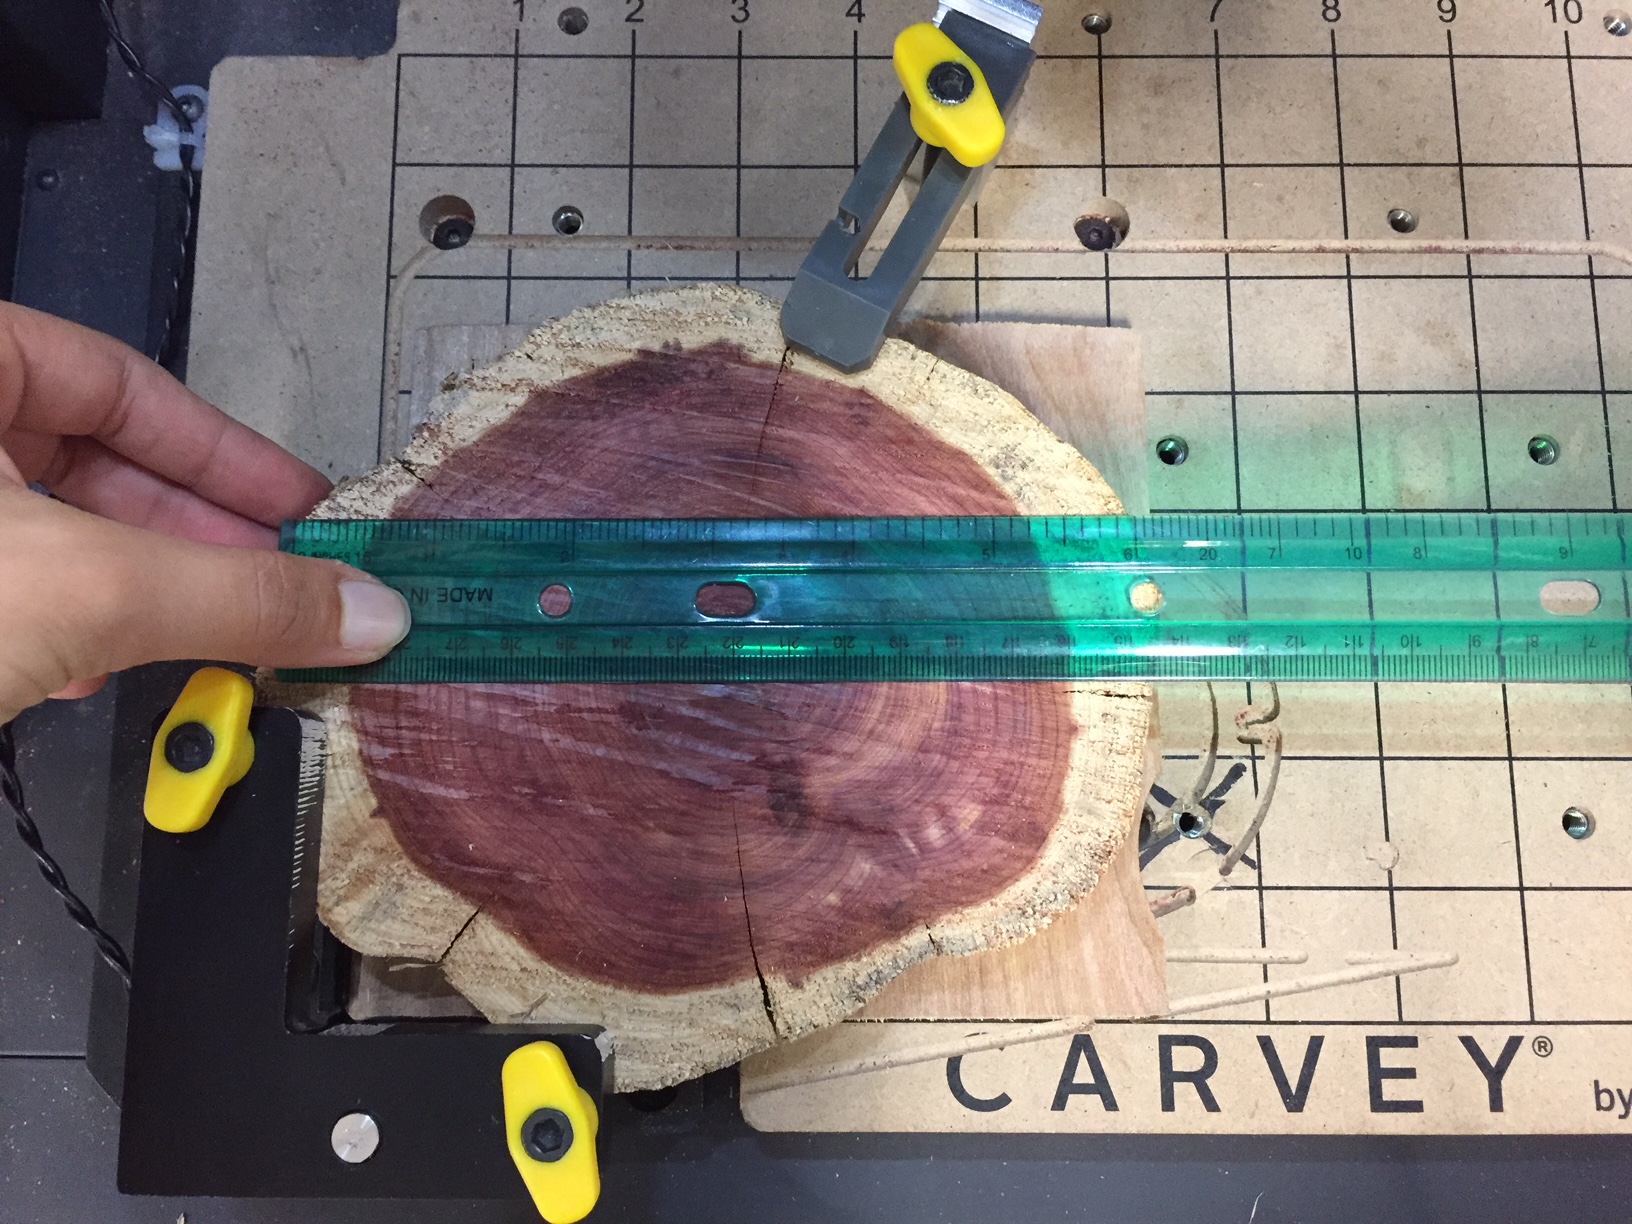
Pulling out the big guns to measure out this design
I don’t think I realized I was playing with fire. Or rather, I did, but I had no idea how hot it was.
That being said, the cuts worked surprisingly well. They didn’t end up quite where I wanted them to be, but they also didn’t run into any previously run cuts or out of the red space, which would have screamed failure. So because they didn’t obviously fail, I guess I can be okay with how they turned out.
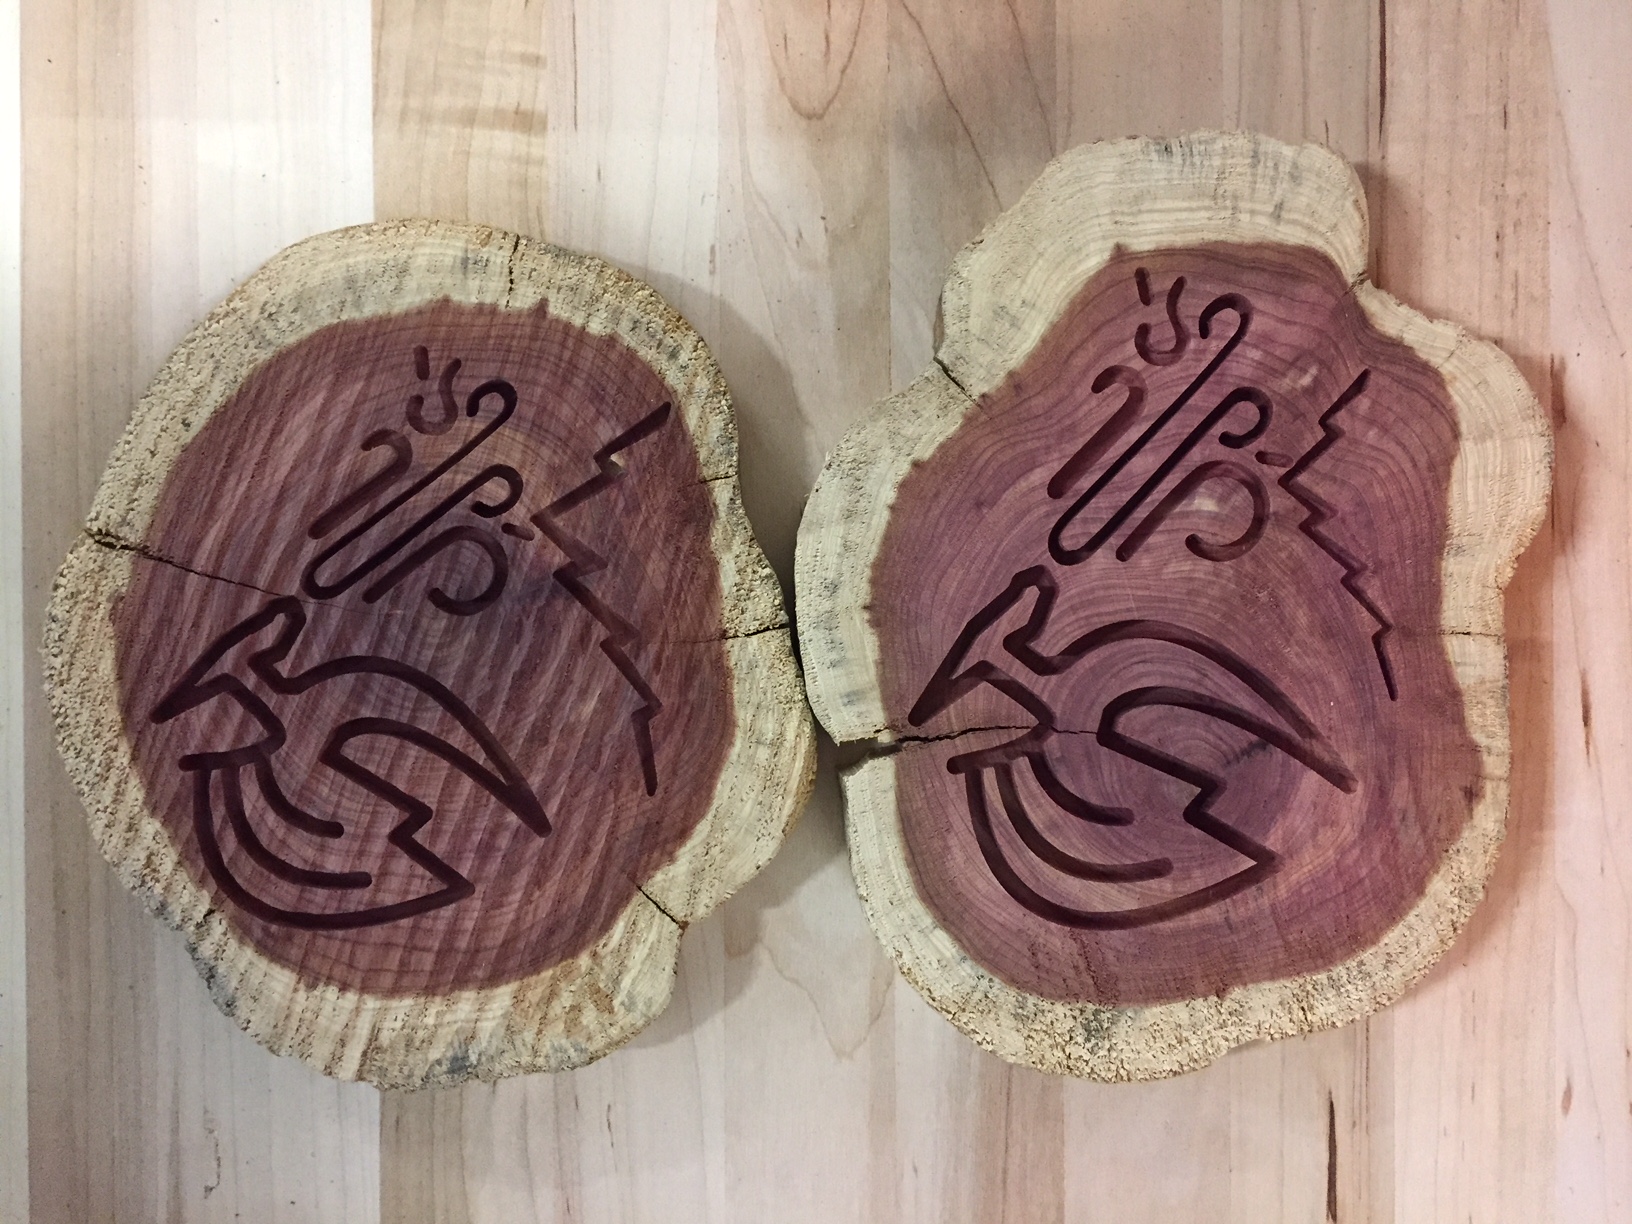
Finished cuts!
“But Tori,” I can hear you say, “Those pieces aren’t identical! The designs are diferent sizes! The mountains are at different angles! Isn’t a large portion of this class about stressing repeatability when creating your work?”
Well, hypothetical Dr. Wettergreen, you’re not wrong. But you also always talk about how you want us to make defensible decisions, so here is my defense:
The pieces of cedar wood I did the cuts on were not identical. They were different sizes, different shapes, etc. At that point, as an artisan, I decided to cut each piece in a way that would best accent its size and shape. That way, when looking at the piece as an individual, it looks complete and well-made, not like the design is too small or too big for the canvas that it is on because said sizing was optimized for another piece of wood. Instead of being two lesser identical pieces built to satisfy an assignment, I decided to make two similar but ultimately better pieces of art that can and should stand on their own.
That being said, I was somewhat concerned that this defense wouldn’t work, so I decided to cut a third piece and then just take the best two final products and turn them in. This way, I was using only one extra piece of the nice wood and wasn’t wasting a lot of it. It was also me setting a hard limit to myself to stop and move on. As I explained to Josh, my plan was to “cut it, carve it, call it,” and be done.
Of course, none of it worked out that way.
I picked a relatively fat piece of wood for the final carving, so after wasting time messing around with the screws to try to get wood to clamp down correctly, I learned that there was actually a secret stash of yellow screws with the X-Carve that would work perfectly for my piece, which made a lot more sense than the 0.5″ height different between the red and the orange screws I was originally messing with.
So I set up my carve (this time with the dragon and the mountain actually on the same file), measured it out, and hit Go.
And it almost immediately started failing.
So I took it out, flipped it over, and tried again, thinking it was a fluke in the machine.
And again, it failed about three minutes in.
See that blob? That’s supposed to be a dragon.
So, I’m not really sure what happened. The y-axis got messed up in that the dragon design was rising with each subsequent pass-through. My current hypothesis is that the top of the cedar canvas was tilted and that dragged the bit off course, but I have no idea if that is right. It was clamped down properly, and the bit was also screwed in very tightly.
So I took that as a sign from God to move on.
Which is an interesting takeaway from that experience because I’m not even religious.
(Don’t tell my mother.)
So with that failed cut, I took my two completed cuts and ran.
I had debated over different post-processing treatments for this piece of wood for a while, but I eventually decided to sand down the edges, stain the border with cherry to accent the red canvas in the middle of the block, and then coat it with polyurethane.
This was a great plan until I searched for the stain through the ENGI 210 table no less than three times to no avail. Hence the message asking where it was. Hence Nick’s response that he thought it was gone. Hence Dr. Wettergreen’s soulful and heartfelt eulogy: “Cherry Stain, we hardly knew ya. RIP”
So that left me at a loss until I remembered that I still had paint that I bought for the midterm!
I began by sanding down the edges of my cut pieces so they weren’t so jagged. There’s still a lot of imperfections in the wood, but that’s due to this being raw, unprocessed cedar with the bark still on it. I got the rough bark off but still tried to leave some of the lines for contrast.
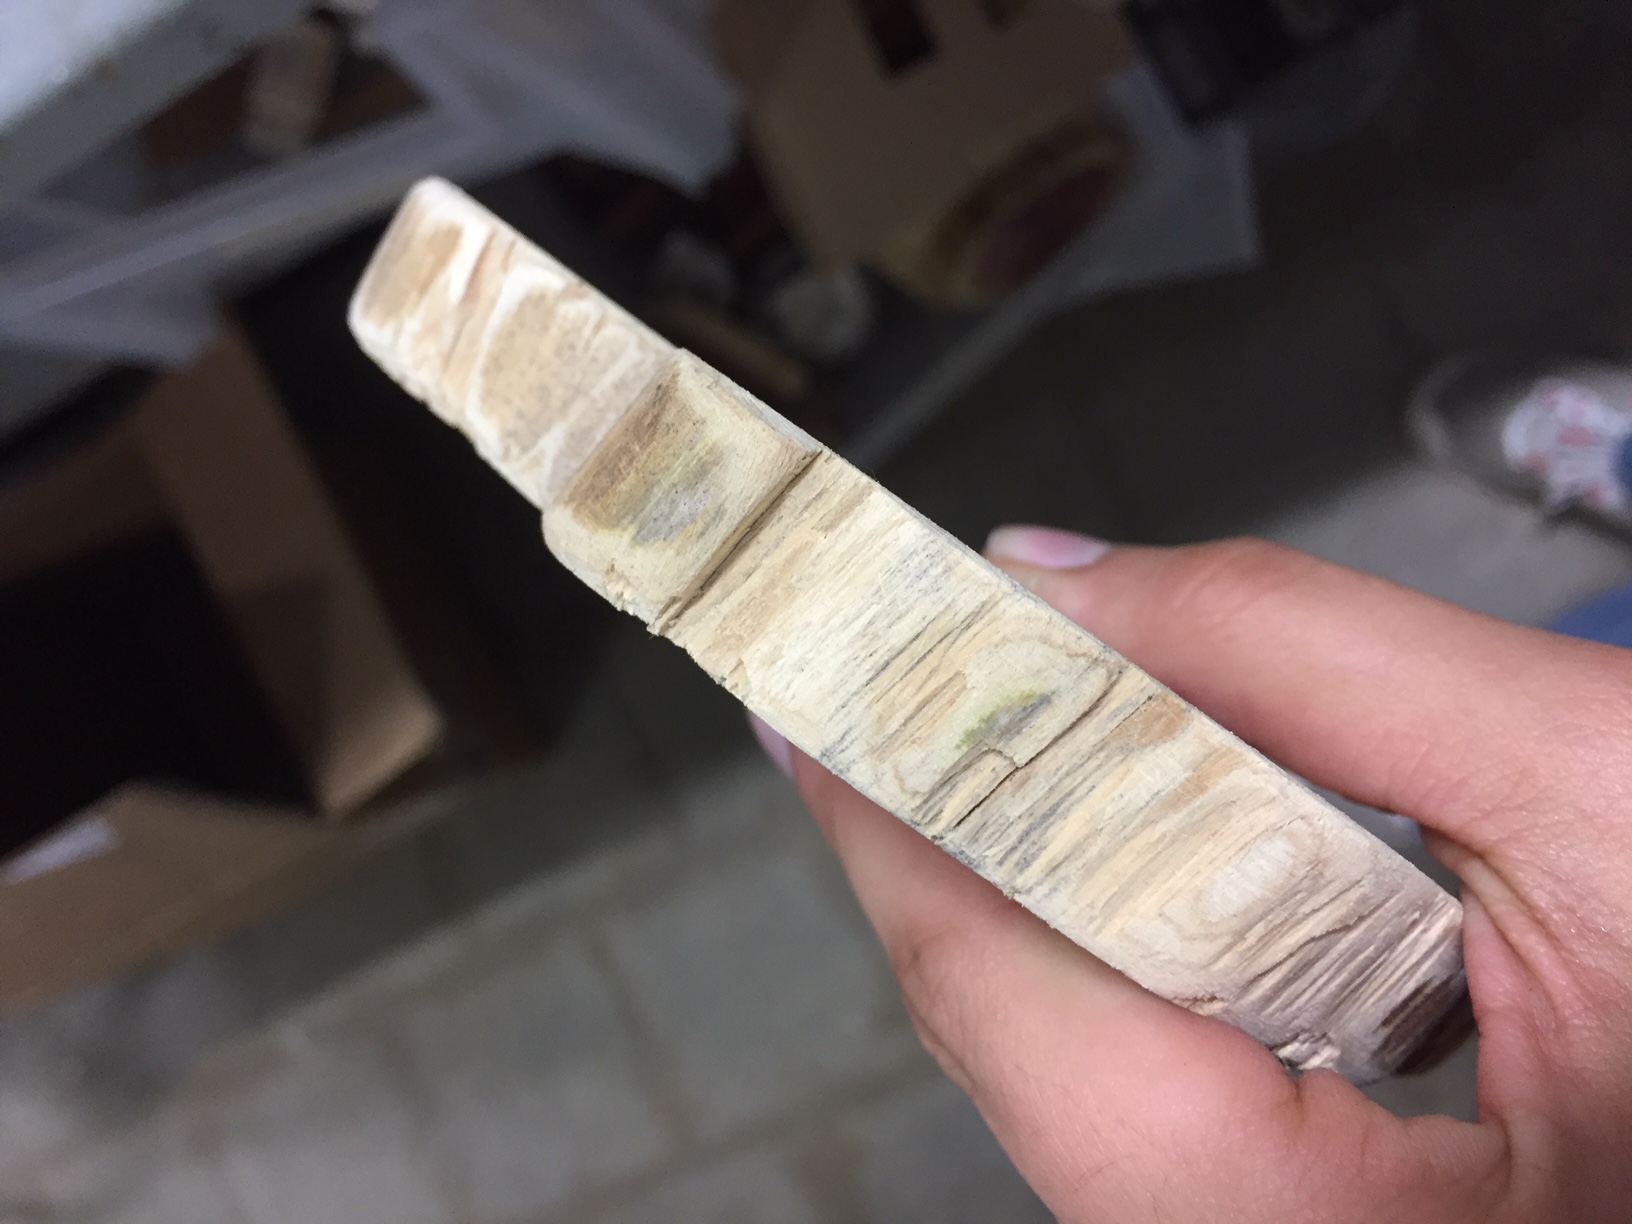
Sanded down edge, part 1
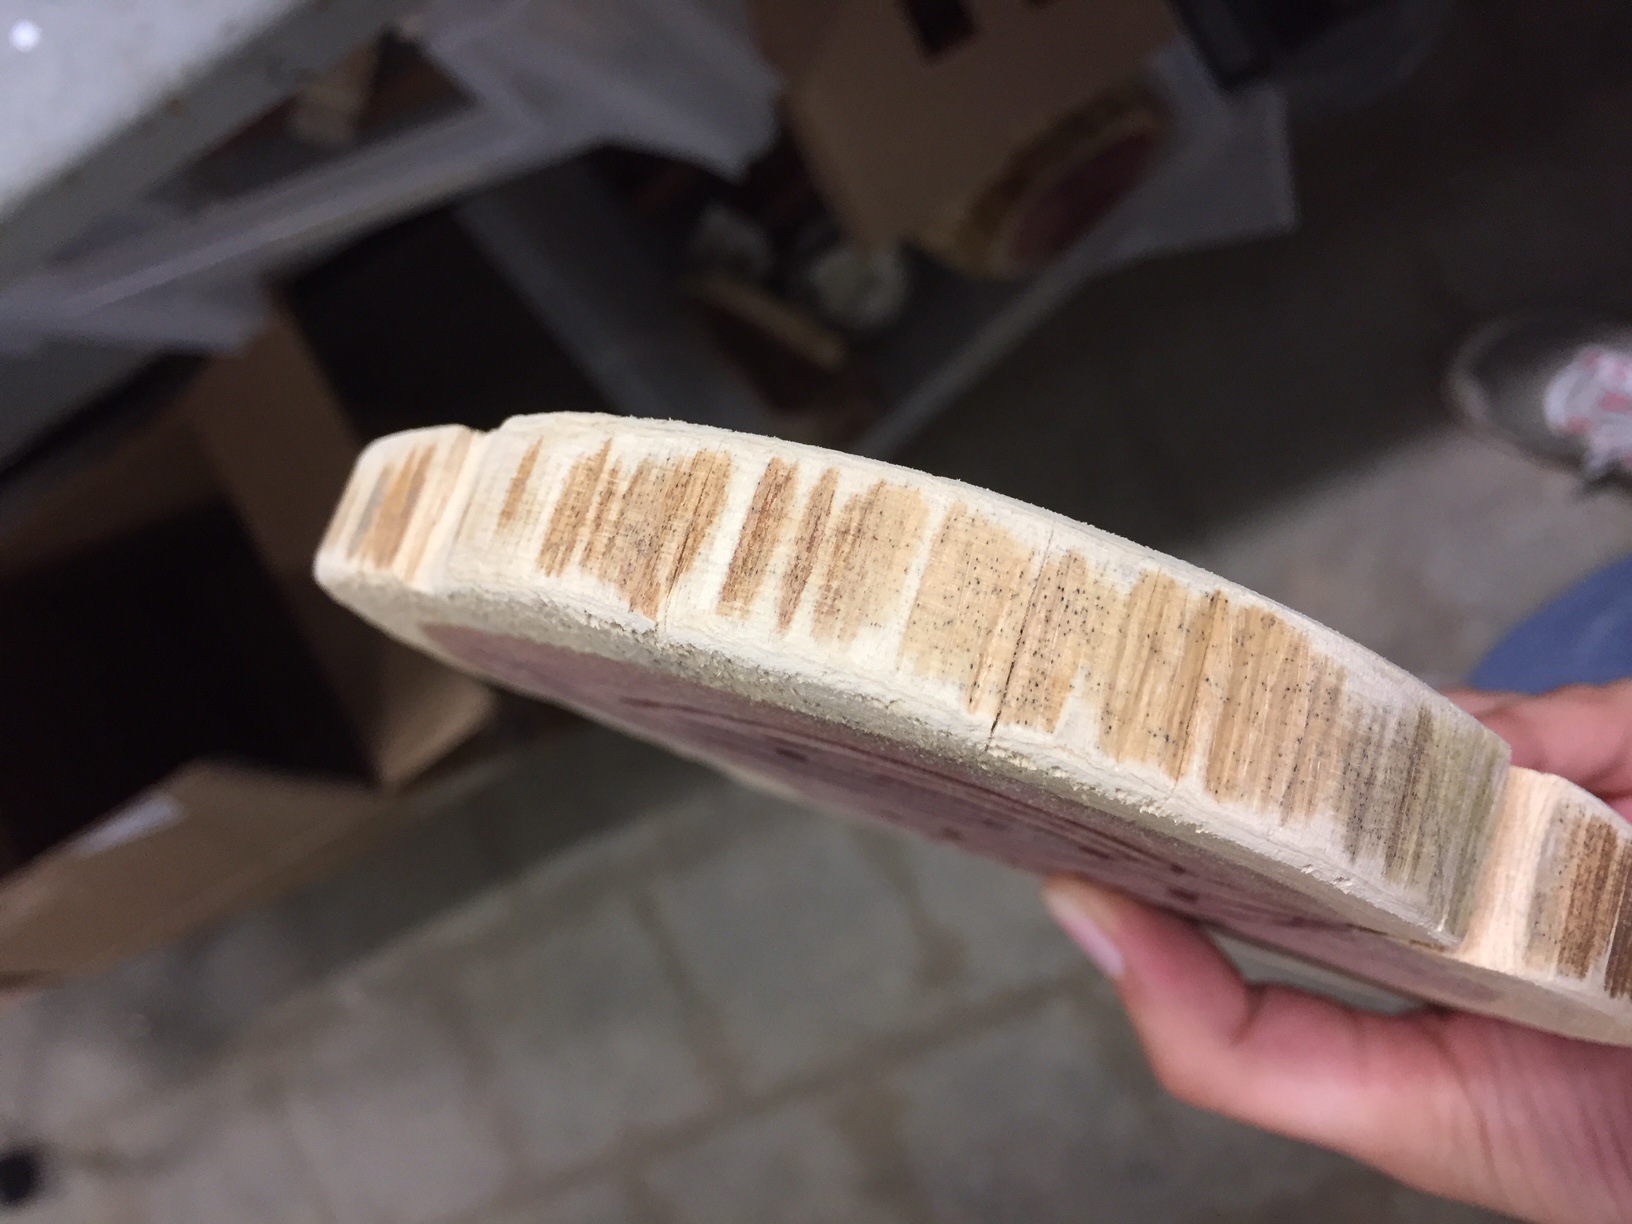
Sanded down edge, part 2
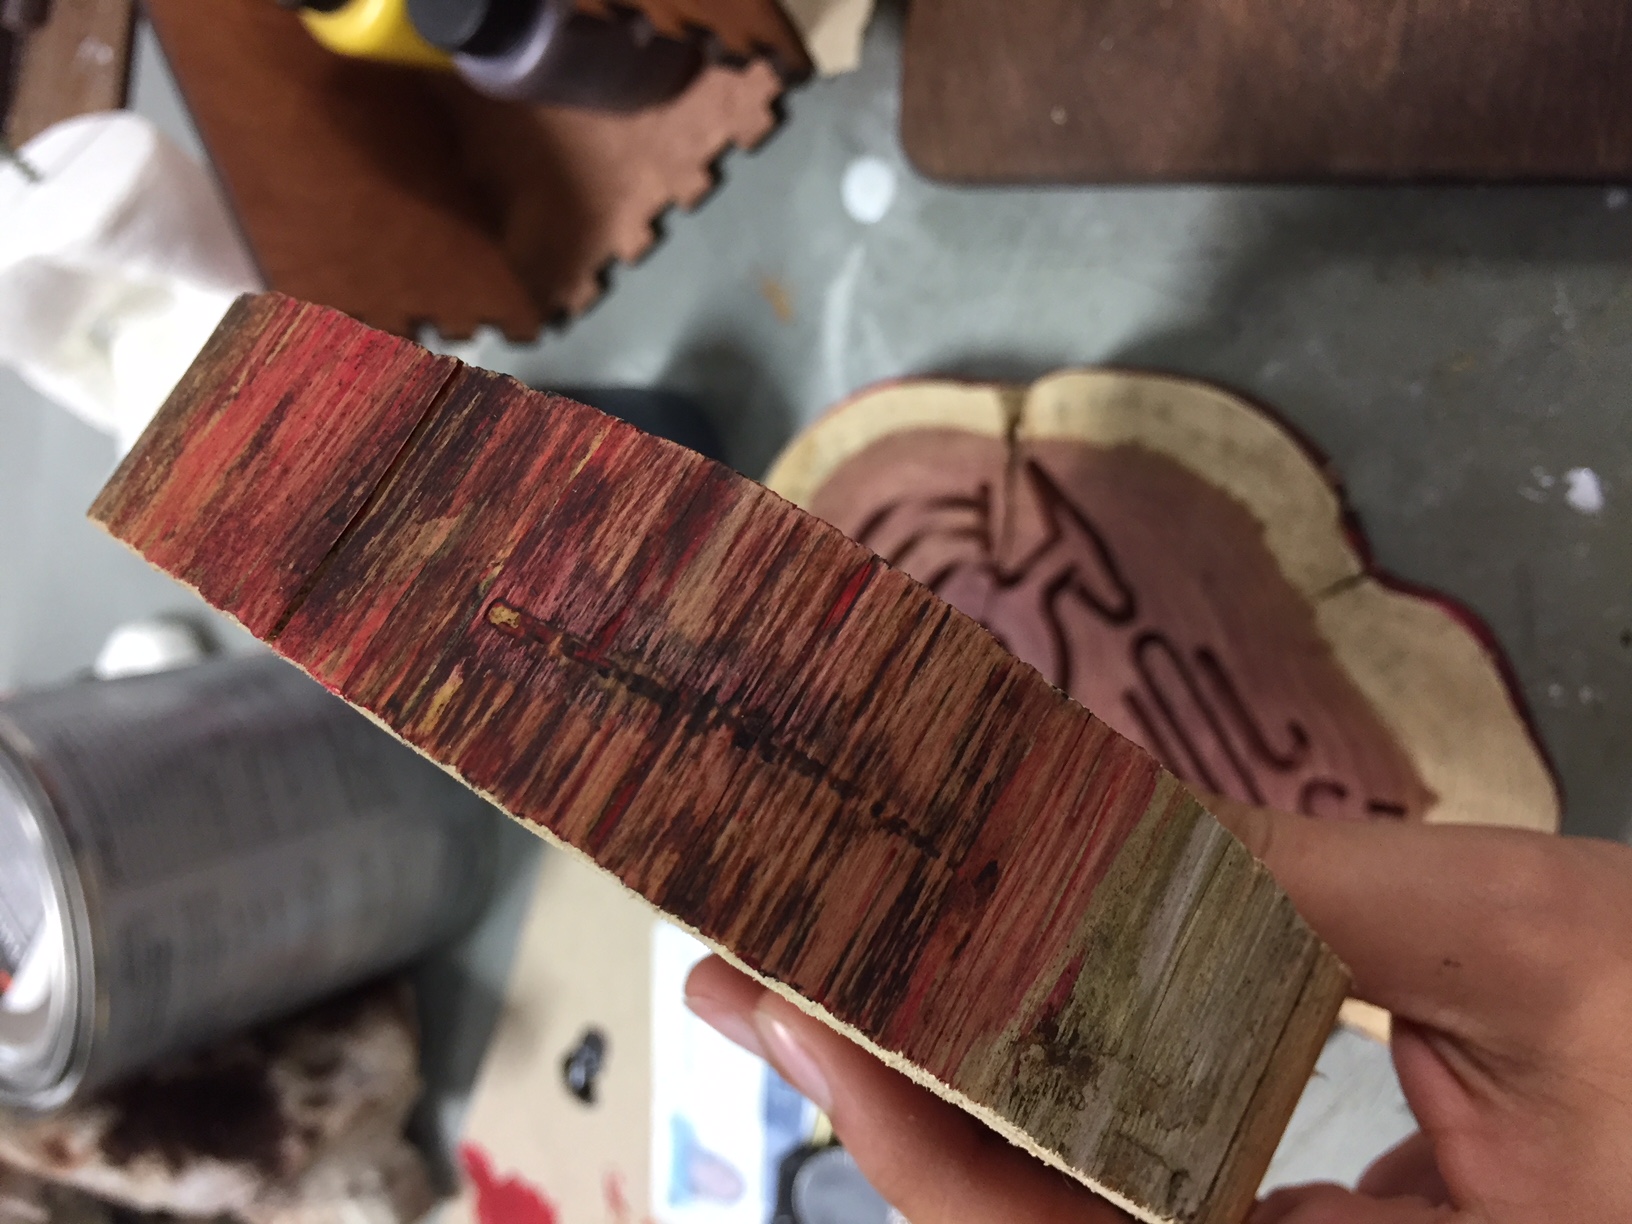
I decided I still wanted to go for a red border for the wood, so I grabbed a rag and essentially finger painted red and black onto my ruined test piece, and it looked pretty good, so at Scout’s urging, I went for it.
The bark provides a really nice layered effect on the wood
Unfortunately, I had already sanded all of the bark off the wood, so I wouldn’t get nearly as strong of an effect on my final piece.
Unfortunately, I realized this about midway through painting, and decided that the only way out was through. That being said, I was still able to layer the red and black nicely and play off of what remaining grain was left to create a nice (if not as strong) rippled effect that contrasts the pink interior of the piece.
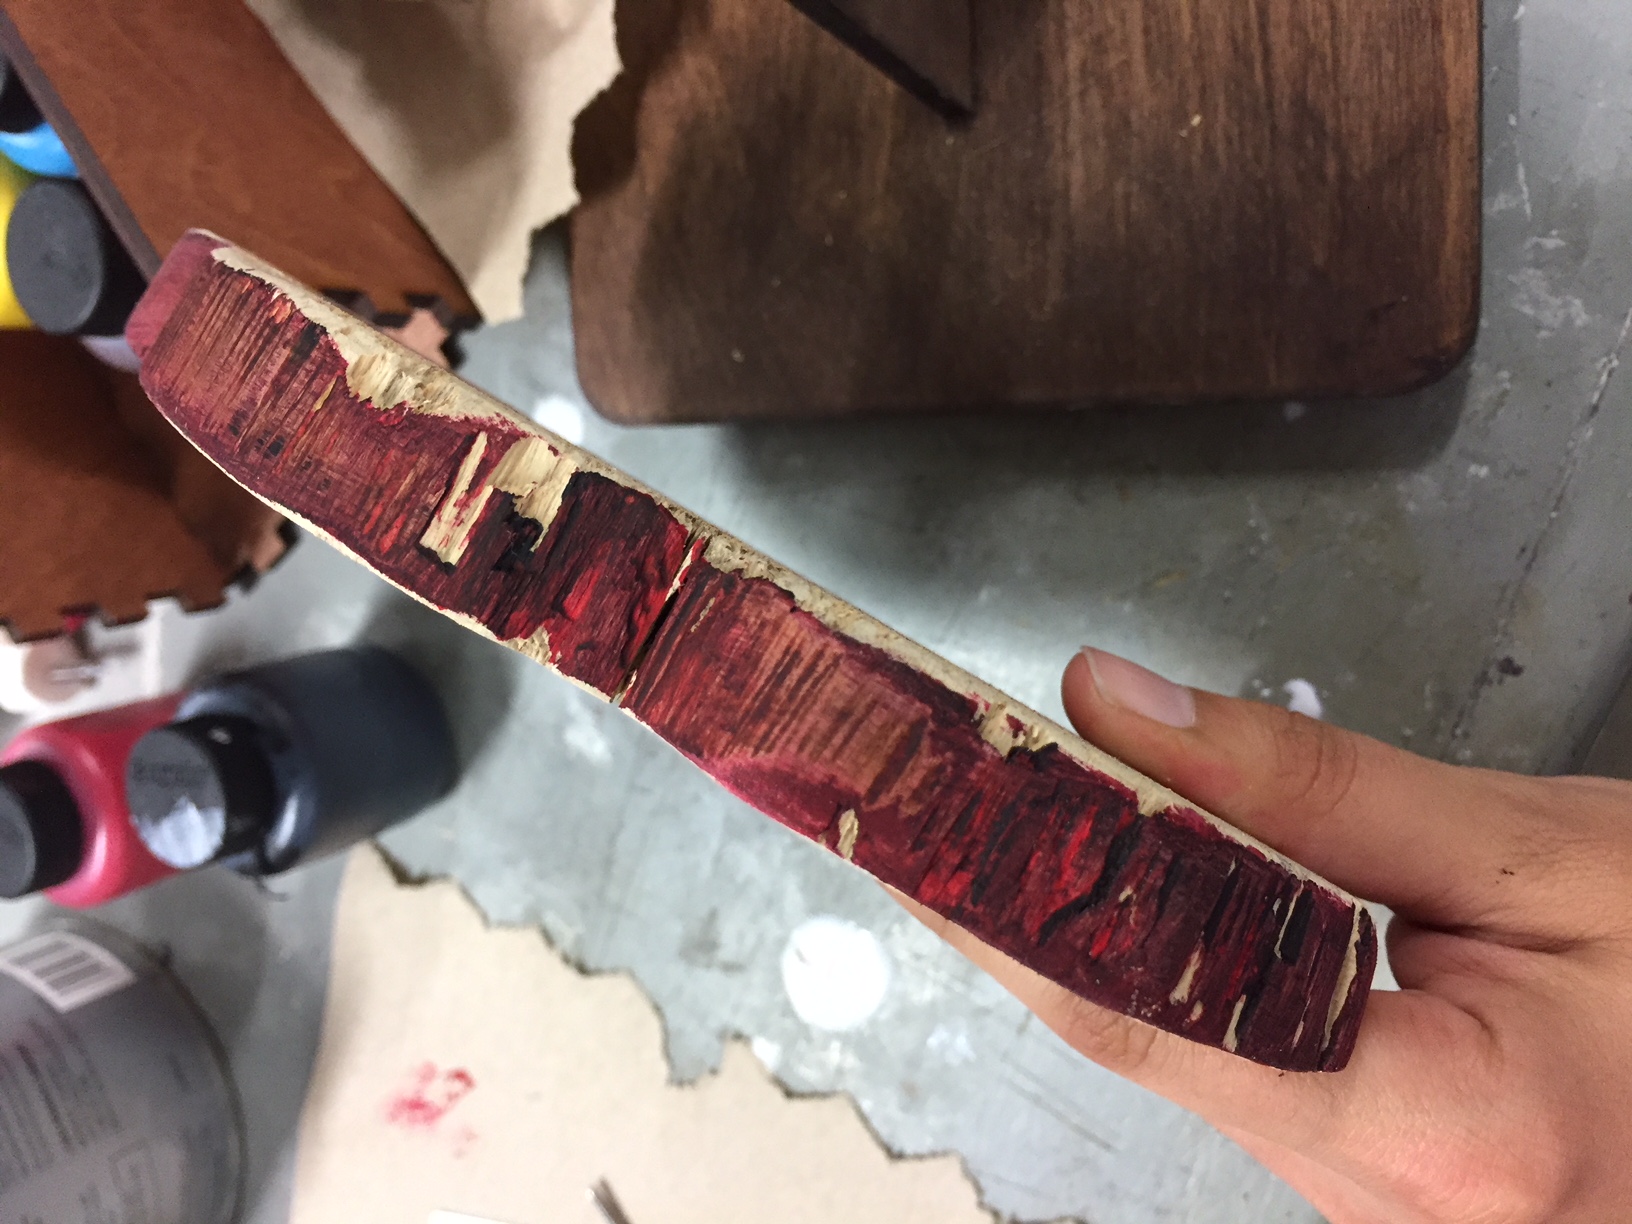
Finished painted border. A little dark, but overall, a nice effect.
At this point, I was ready to coat the product to protect it. I sanded down some of the edges that had gotten paint on them, and then I took Arturo’s idea to clean off all the sawdust shavings with the air hose in the machine shop so no shavings would accidentally be caught in the final coat. Like a lot of things I do, it might have been overkill, especially because I didn’t see a lot of wood shavings fly off the piece during this process, but I choose to believe that it had some effect.
Finished dragons, sanded down and ready to be protected!
And then I grabbed some polyurethane, a rag, and my VR homework (this time about VR and eye tracking and machine recognition as our final invasion of privacy), and started coating my dragon in clear coat. This was a surprisingly difficult process because I refused to sand down the faces of the cedar for its effect, so stain was getting caught in the wood crevices and wasn’t spreading smoothly. It was also difficult trying to get polyurethane into the crevices of the design (because once some had dripped into the design proper, it was an all-or-nothing kind of deal), but at the end of the day, I was able to satisfactorily drench my wood carving into polyurethane.
It did have the effect of turning my wood like fifty shades darker, so that’s concerning. This could just be an effect of the wood as it gets wet, so it might reverse. The bottle did say “clear coat,” so it might lighten back up into its original shade.
Key word is might. I haven’t actually been back to the OEDK to check. I’ve been busy but also afraid to know if I messed up my project at the last step. I should have listened to Scout and just used linseed oil.
But it’s too late for that now. I covered my piece in polyurethane in the belief that it would dry clear. All I can do now is pray for that to be so.
After all, if I received a message from God, maybe he might receive a message from me.

Finished [darkened] dragon carving
