I’ve always thought that the fight for the laser cutter was the worst struggle at the OEDK. However, this week I was proven wrong.
This week’s assignment was to carve an image from the Noun Project into a piece of wood and post process it. It was a straightforward assignment, and honestly I did not have many prototyping failures. Yet the biggest challenge this week was finding the time to use the Carvey. Since my week was packed with quizzes and assignments, I decided to use the weekend to carve. Friday afternoon? Carvey taken. Saturday night? OEDK surprisingly full and bustling. All afternoon on Sunday? Carvey in use…
In order to even create the file, I had to go to Mudd Lab since all of the senior CHBE’s had commandeered the OEDK computers. It was a minor inconvenience, but after three days of waiting around the OEDK for the Carvey to be available, I was finally able to set up my file at 12:00am on Monday.
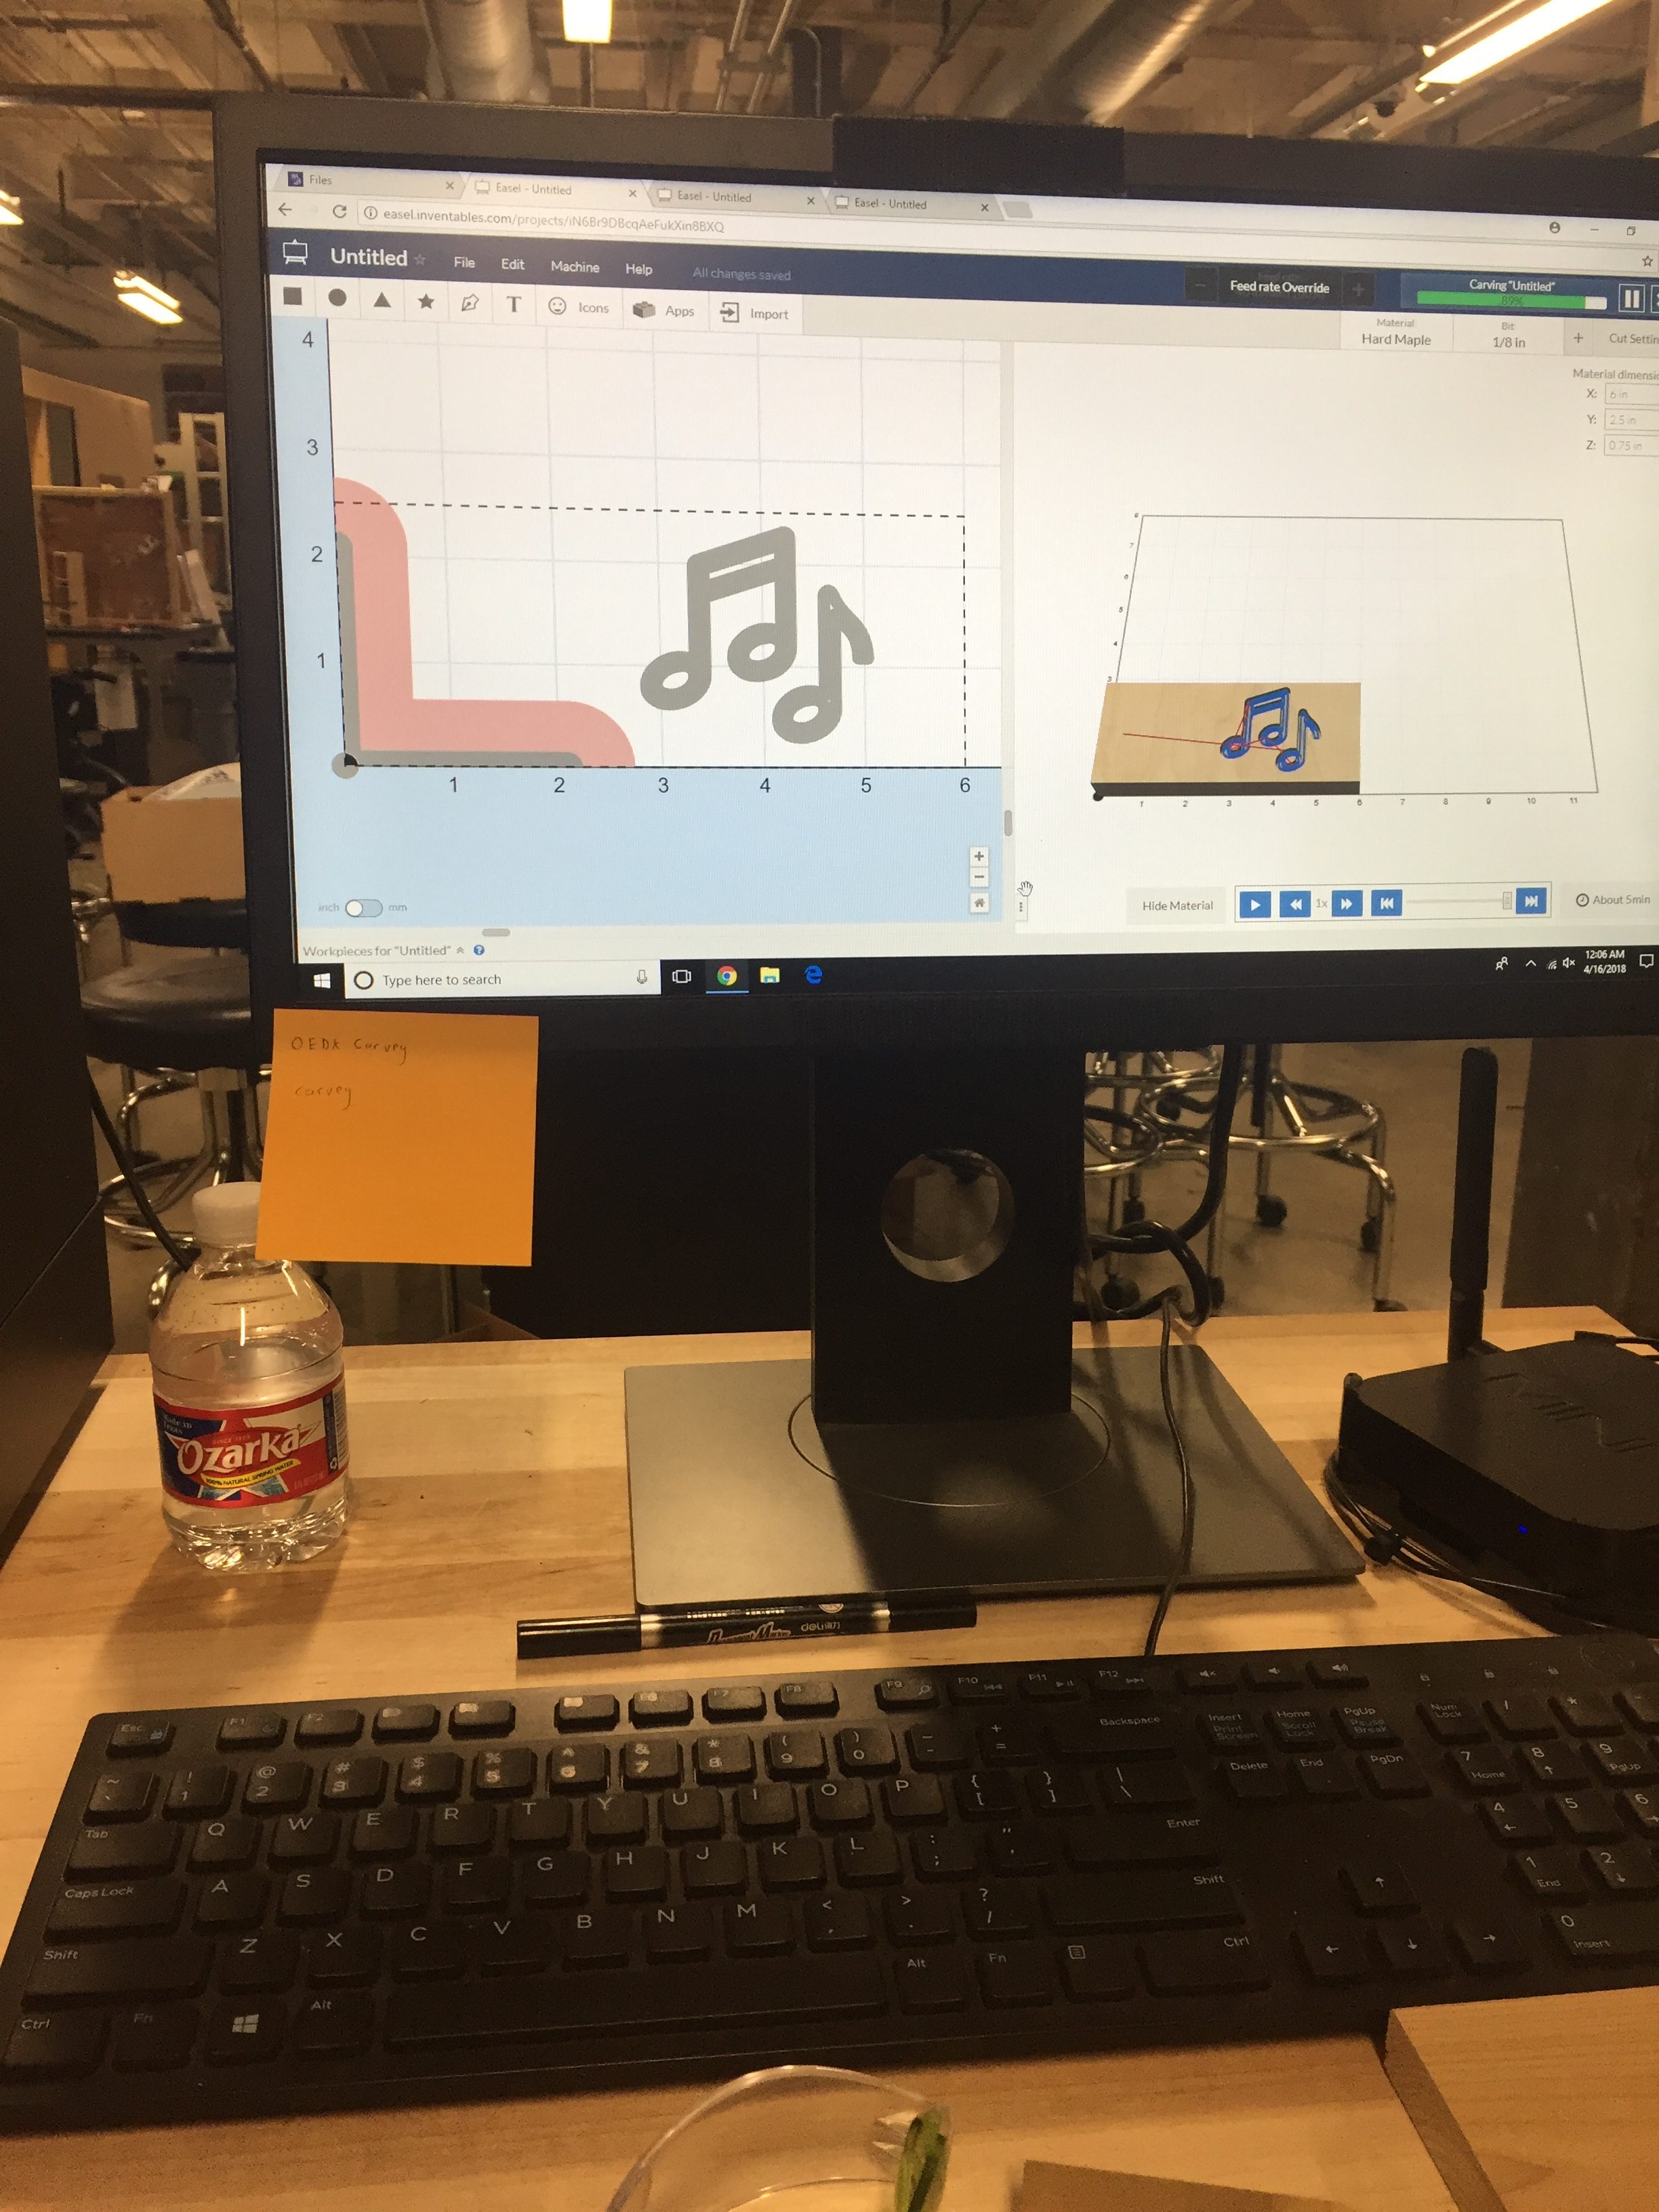
Setting up file to carve
I decided to choose a relatively simple design of music notes (to cut down the carving time and allow me to get a little bit of sleep before class). Having never used the Carvey before, I was a bit worried about the resolution of the holes for the notes. After asking for advice from my peers, I used a 1/8″ downcut drill bit and went for a 1/4″ deep cut for better resolution.
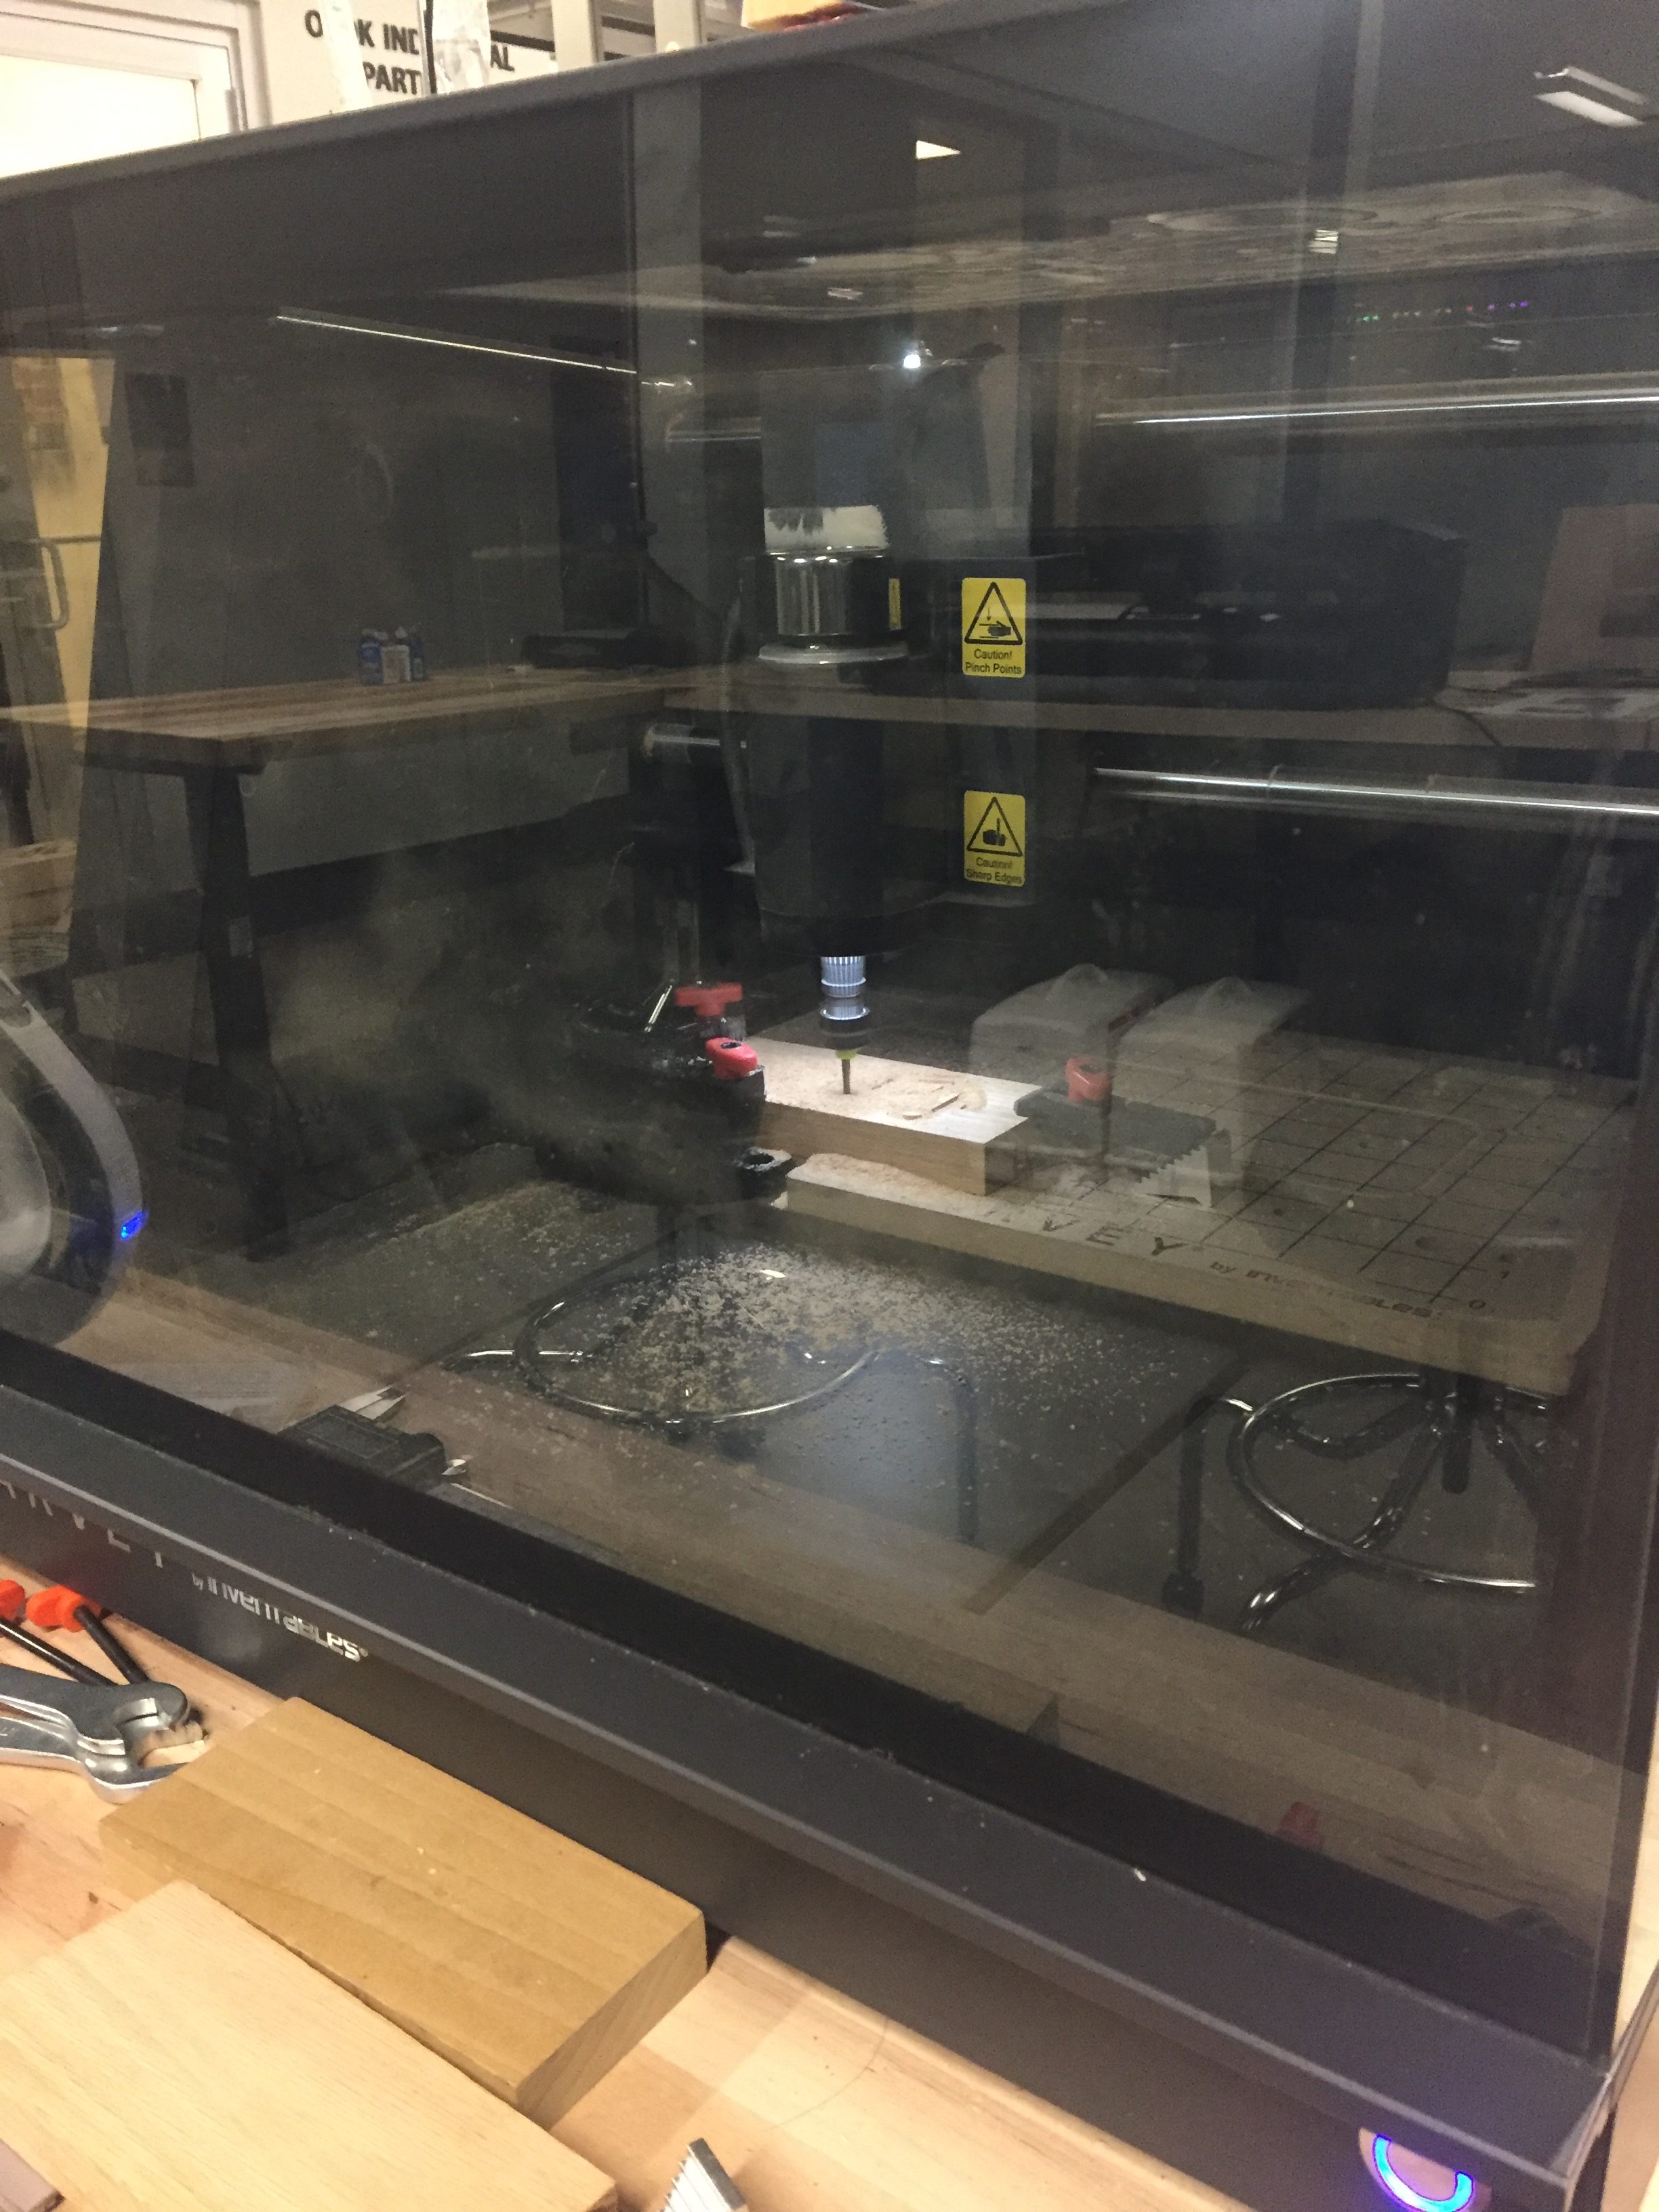
Carvey in action
A mere 6 minutes later, the piece was finished! I was happy with the result, but decided to decrease the depth of the cut. I changed the settings so it would only cut 1/8″ and let the Carvey run again. A surprising 3 minutes later, I had both of my pieces ready for post-processing.
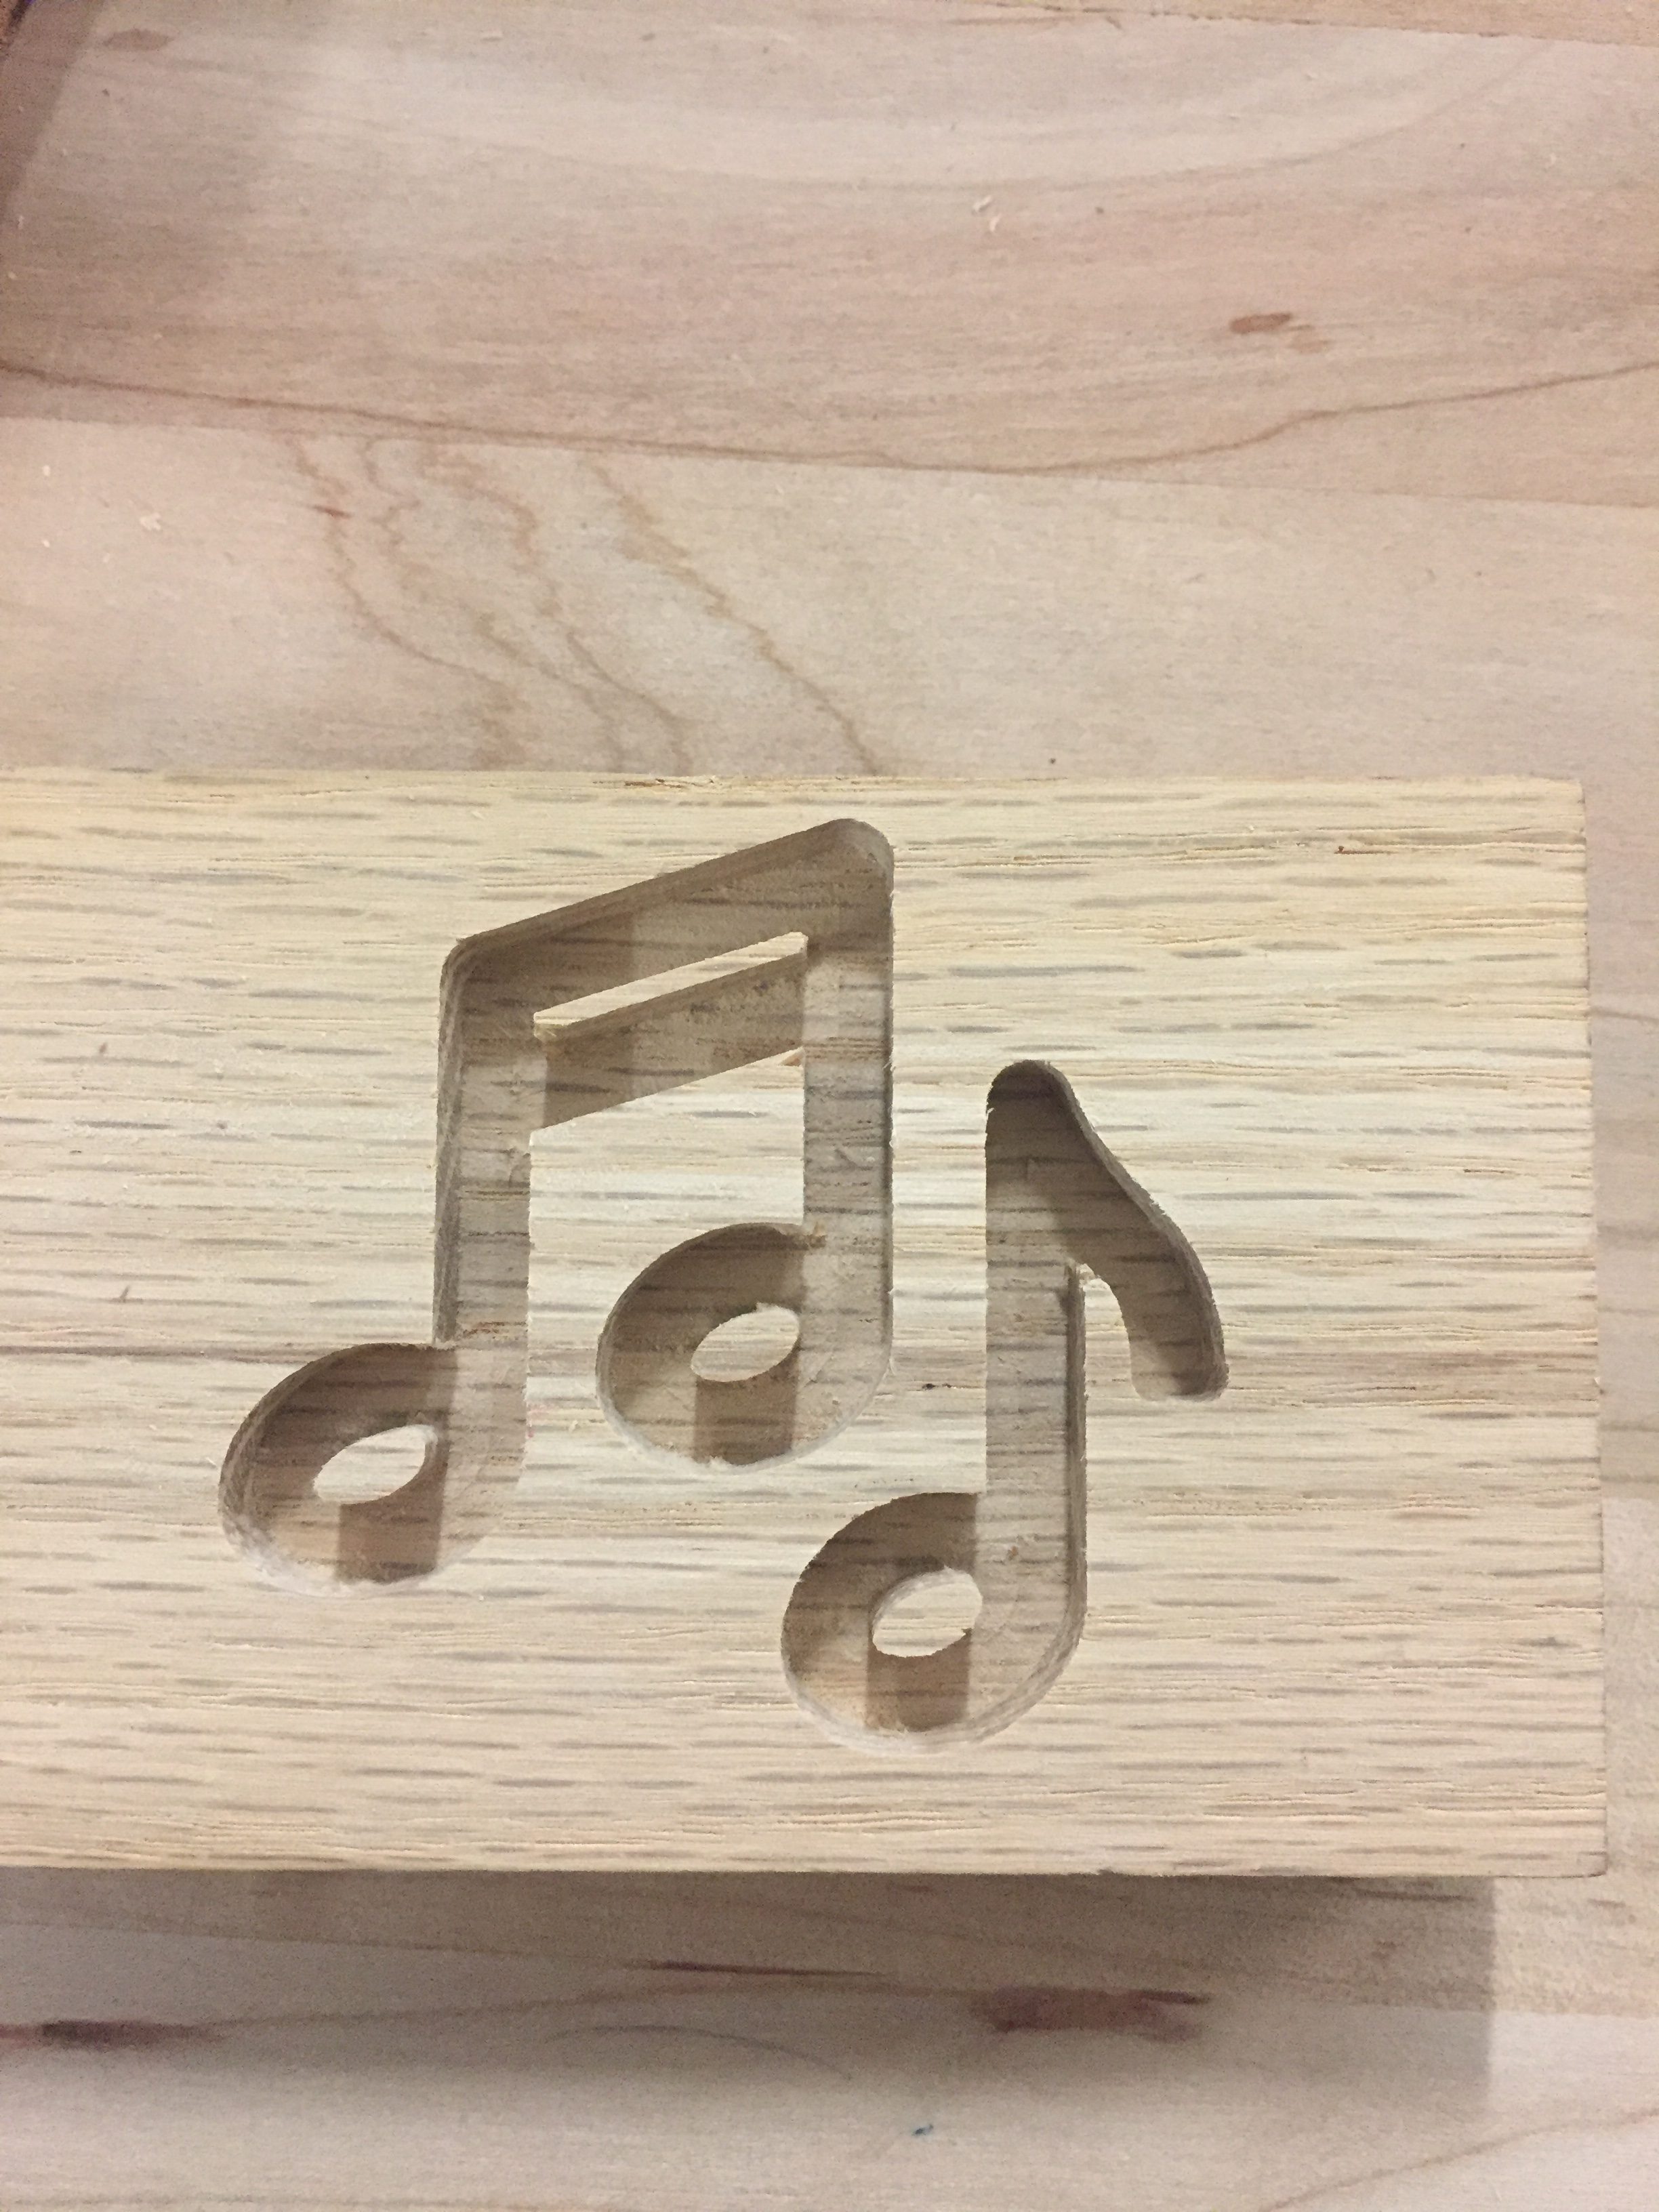
Initial 1/4″ deep cut
The pieces of wood I chose were 2.5″ x 6″ with the design carved off to the right side. To make the design centered, I cut off the excess wood with a Jigsaw. While the table saw is more accurate, at 12:30am there were no lab techs in sight. And with a lot of focus, I was able to create fairly accurate cuts. I then decided to use the belt sander to cut the corners and give the pieces a unique shape.
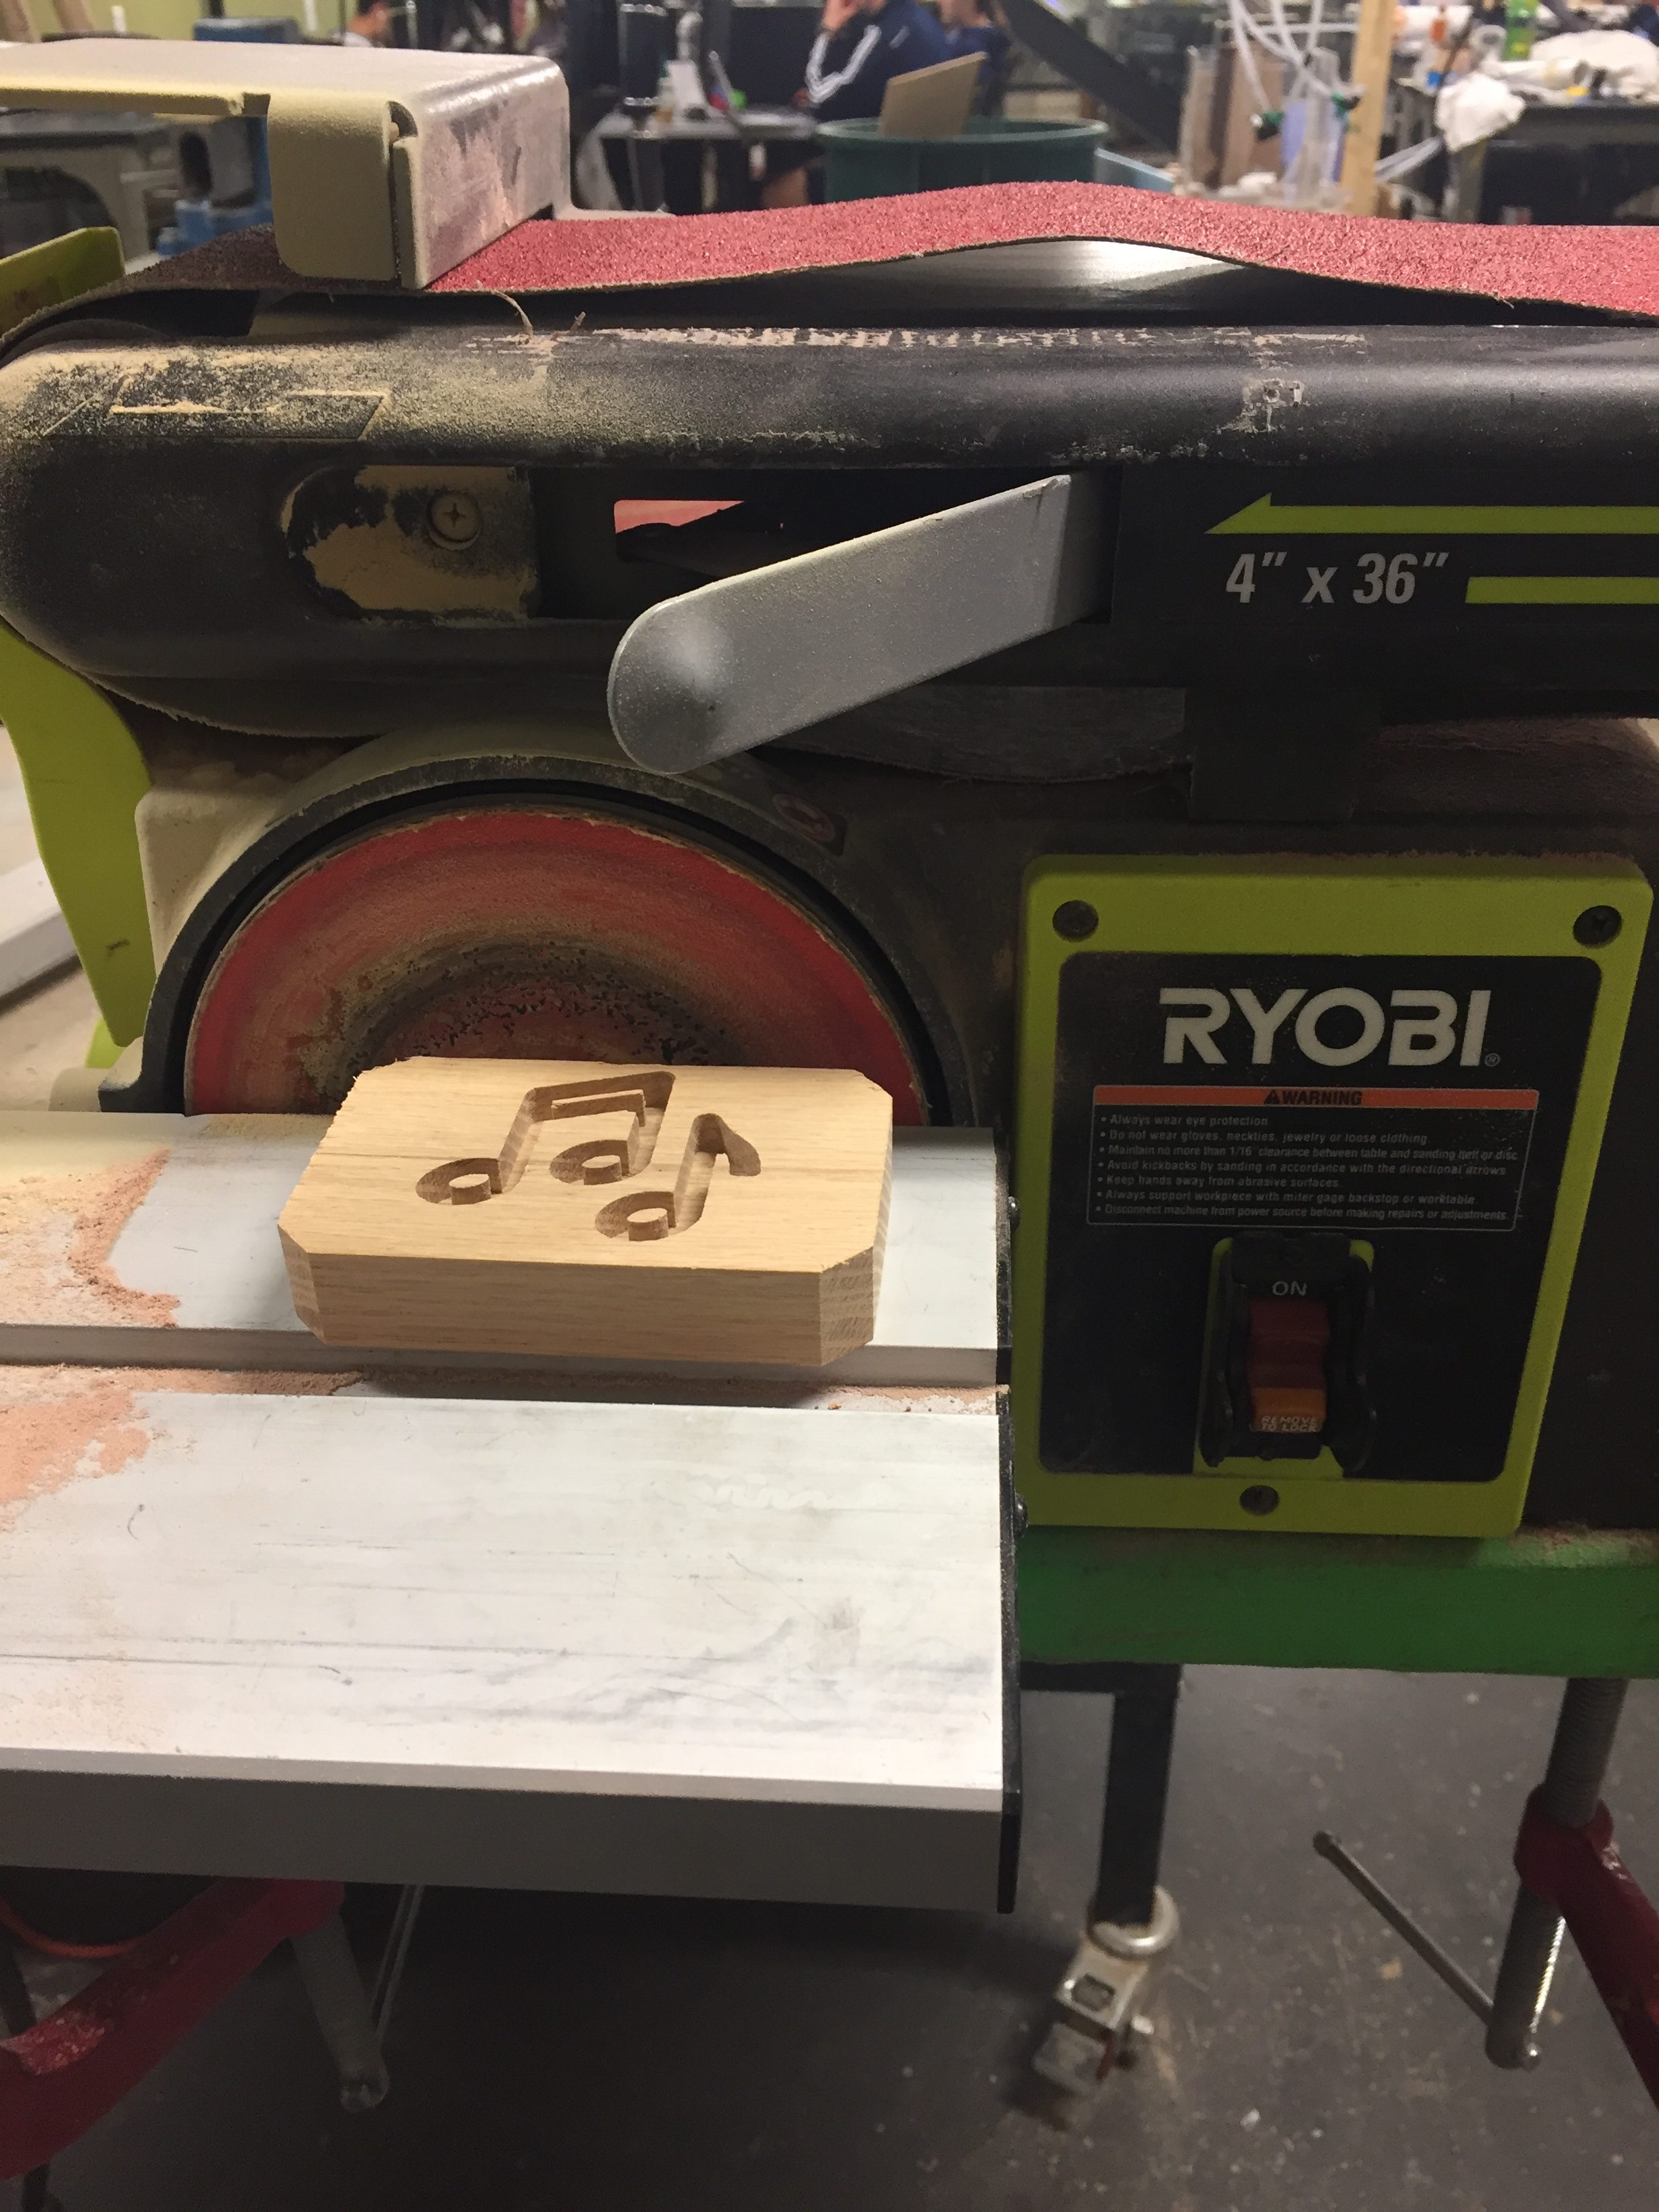
Using belt sander to eliminate square corners
After using the belt sander, I sanded down the pieces with various types of sandpaper grits in order to make them smoother. All that was left was to stain! But to my dismay, the beautiful cherry stain I grew to love was nowhere to be found. I decided to use a maple stain instead and left it on for a longer time to deepen the color.
Given the minor challenges of a busy OEDK and limited supplies, I am very happy with my result. I used two different types of wood, and while I prefer the pine sample, I am satisfied with how both pieces came out.
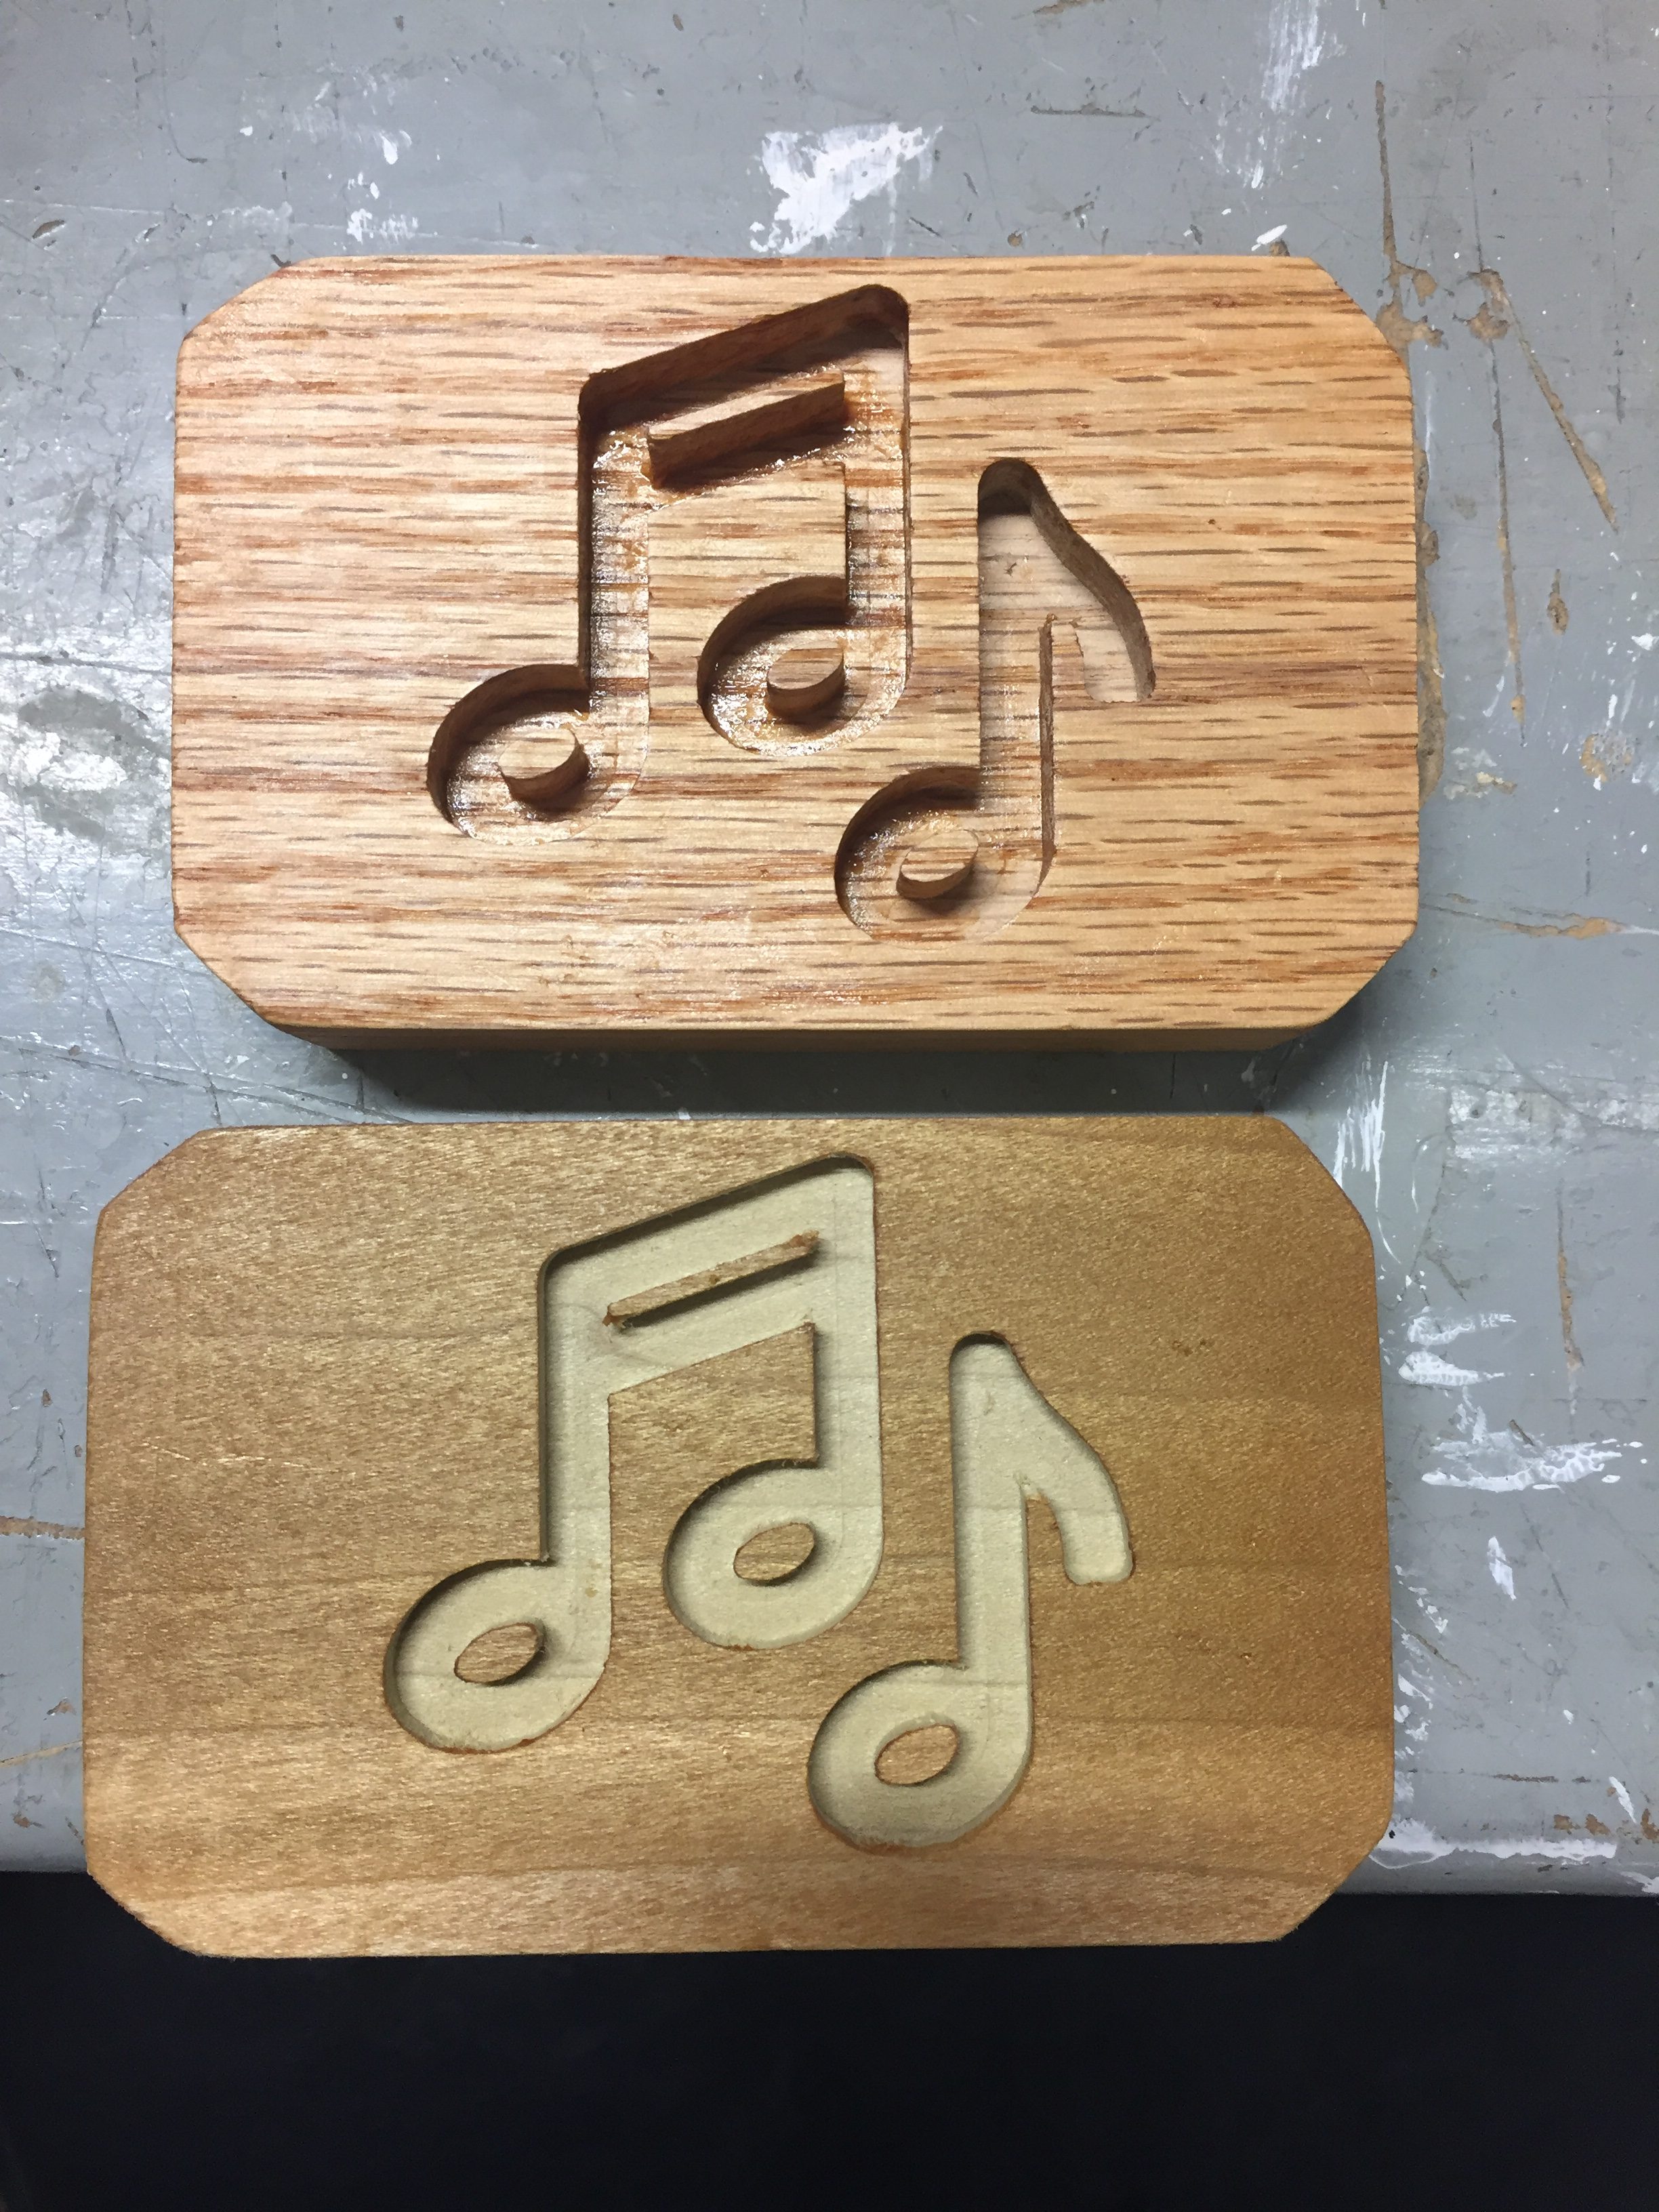
The final carved designs (pine on the bottom)
