For this homework assignment, I chose to do the beginners level because I had a very busy week and have never used the plasma cutter before.
To start, I downloaded the diamond file from Canvas and then added my design onto the template. I decided to cut my initials “EM” out of the diamonds, since these letters seemed like pretty simple shapes. To get these letters in my ai drawing, I found a picture online that I converted into an SVG file, which I then imported into ai.
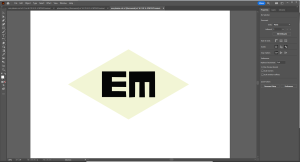
ai drawing
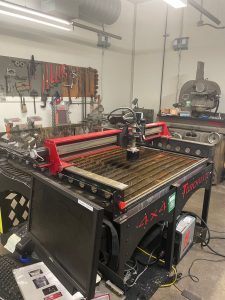
After saving my ai drawing as a DXF file onto a USB drive, I went into the machine shop to use the laser cutter. I placed the steel sheet into the plasma cutter and followed the instructions next to the machine to prepare and print my diamond file. For some reason unknown to me, when I imported my diamond into Torchmate.edu, it was a much larger size than it should’ve been. To fix this, I rescaled it to the correct size in Torchmate.edu. Another issue that I encountered was that during the dry run, I noticed that the plasma cutter was tracing over my letters twice. To prevent this during the actual cut, in Torchmaster 4 I would pause the cut after the plasma cutter finished the first cut of the letters and then jump forward in the G-code to skip the second cut.
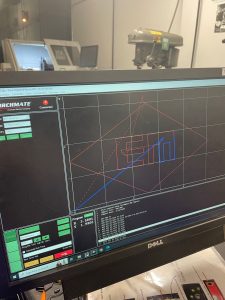
Torchmaster 4

Plasma Cutter
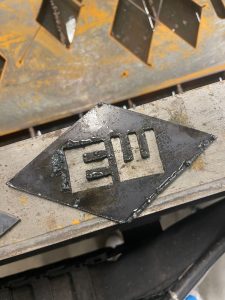
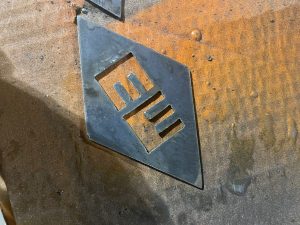
When I printed out my first diamond, I noticed that the metal pieces sticking out to make the E and M shape were really thin due to the kerf of the plasma cutter. I was worried that I might break one of them while post processing, so I decided to redraw my file to make these spaces larger. Using this new design gave me a much sturdier shape that I think I ended up liking more than the original proportions. I printed 3 more diamonds using the new letter shapes and chose the two that were most identical to post process.
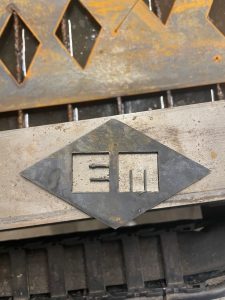
original design with thin cuts
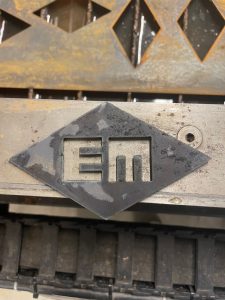
new design with thicker cuts
clean plasma cutter workspace
The first step of my post processing was removing the dross from the plasma cutter. I used the magnetic grinding block to hold down my diamonds and then used the angle grinder to take off the dross. Next, I used a clamp to secure my diamond and then used a flat and a round file to get rid of sharp edges. Finally, I used the sand blaster to clean the surface of my diamonds. The sandblaster was probably my favorite part of the post processing process because I found it so satisfying to see the clean metal surface.
with dross
without dross
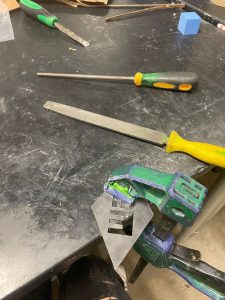
filing

after sandblasting
To finish my diamonds, I decided to use the clear coat because I liked the look of the metal and did not want to cover it with spray paint. I went outside, put down carboard, and then sprayed all surfaces of my diamonds with the clear coat. I used a wooden dowel and paper clips to hang my diamonds to dry in an attempt to prevent smudging the clear coat.
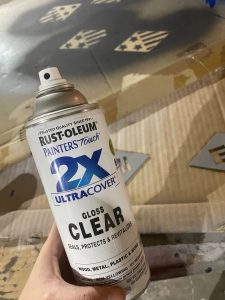
clear coat

finished diamonds!!!!
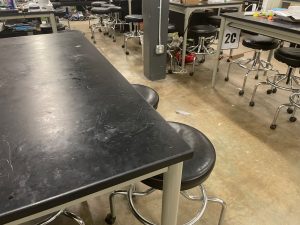
clean table workspace
Overall, I was really happy with my final product and enjoyed getting to use some new post processing methods. My main issue with this project was the amount of time that I had to spend waiting to use the plasma cutter, which caused me to end up staying at the OEDK pretty late into the night. In the future, I will try to make better use of the fabman reservation system.
Cost Analysis:
- Approximately 4″x20″ of steel, costing $15.93 for a 24″x36″ sheet = $1.48 (The Home Depot)
- Approximately 1/10 of a can of clear coat, costing $6.48 a can = $0.65 (The Home Depot)
- 4 hours of labor, costing $15/hr = $60
- Machine time – membership to makerspace with plasma cutter, angle grinder, sandblaster is $60/month (https://dallasmakerspace.org/join/)
Total Cost: $122.13
