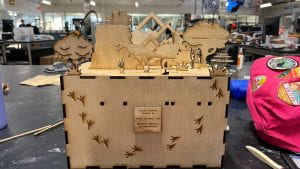
For the midterm project, we built a moving mechanical model of a dinosaur land. As the user turns the handle, they can see a dinosaur’s mouth drop in shock right as the volcano erupts, and a baby dinosaur jumps up from its shell in shock.
Here is a video demonstration of the design: Final Model Demonstration
Here are brief slides overviewing the design: Project Slides
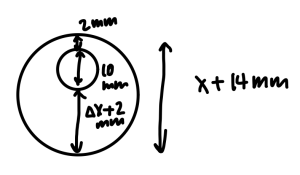
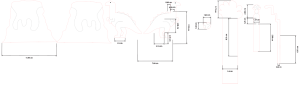
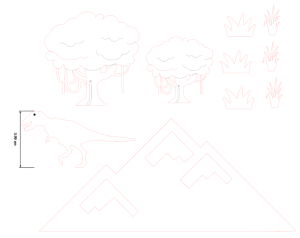
We started out by making digital drawings of the core design, shown below. In order to connect the rotational turn of the handle from the user to the desired vertical motion of the moving pieces (shown in yellow), which is translational, we designed rotating cams to link the rotary motion from the handle turning the rod into linear motion of the moving parts. These motions follow the general design of #138 from the 507 Mechanical Movements site, shown here.
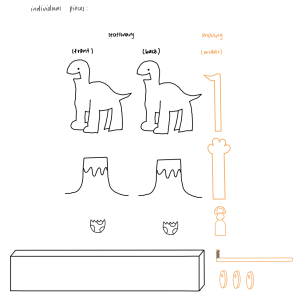
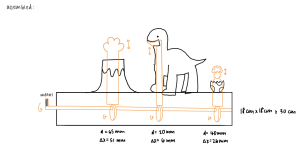
We designed the cams in order to achieve the amount of motion that was desired, which were 51 mm for the lava, 6 mm for the dinosaur’s mouth, and 26 mm for the head of the egg. We decided to use a 10 mm rod to connect the cams and the handle.
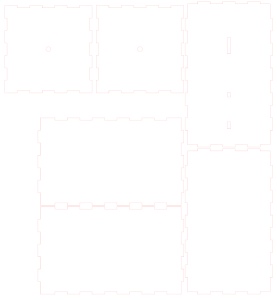
After finalizing the conceptual sketches, we designed all of the components in Adobe Illustrator and used MakerCase to construct the base structure of the box.
We constructed our Low Fidelity Prototype using cardboard and hot glue. The relative sizing was not what we envisioned, so we readjusted the proportions in the next cycle. We experienced a lot of friction from the cardboard material that obstructed smooth gliding of the moving parts, so the intended motion was not achieved. Thus, a wooden model is needed to test the functionality of moving parts.
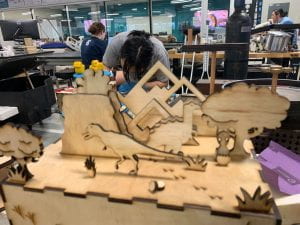
Next, we constructed our Medium Fidelity Prototype using 5 mm laser-cut wood and hot glue. However, we still did not achieve the intended motion. The holes on the top face of the box were too large, so there was a lot of unintended wobbling of the moving parts, causing them to lose contact with the cams. As a result, we made the hole sizes smaller. We also realized that we needed to add rectangular bases on the bottom of the moving parts oriented parallel to the motion of the cams. The bases need to be wide and very long, since the design of moving parts is very thin, which was not ideal for coming into contact with the cams, and a longer length would allow greater stability to prevent back and forth rocking of the moving parts.
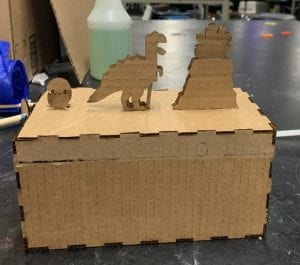
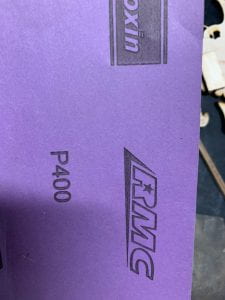
Lastly, we constructed our final High-Fidelity Prototype using laser-cut 5 mm wood and wood glue. Since there was still some friction in the Medium Fidelity Prototype that hindered smooth gliding motion of moving parts, we used high-grit sandpaper to make the moving parts and cams much smoother to minimize friction. We first sanded with 280-grit, then 400-grit sandpaper.

We also included holes for lateral guides to be inserted in order lock the moving parts in place and prevent them from wobbling. After testing the model without the guides, we decided that the guides were not necessary and removed them for a simpler and cleaner look. However, we kept the holes for the guides on the box in case the user wants to reinsert the guides in order to make the position of the moving parts more secure, which may be desired if they plan to transport the model over a long or bumpy distance.

We experienced some issues with the wood glue detaching due to the small size of components and their attachment points, so we needed to reglue several parts.
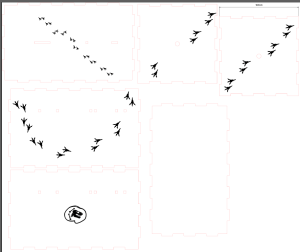
In addition to the core design, decorative pieces were added to bring the design to life. These include mountains, trees, tall grass, and more dino friends, all designed on Adobe Illustrator and laser-cut on 5 mm wood. We also added engravings of dinosaur footprints on the box.
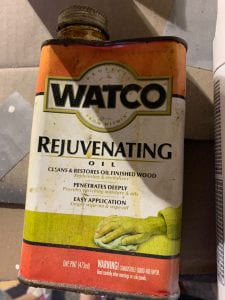
For post-processing, we added a coat of wood oil to the design, in order to provide a protective coating and clean finish without adding friction to disrupt the smooth motion of components. We also rubbed a rubber eraser on the outside surfaces in order to remove burn marks and dirt.
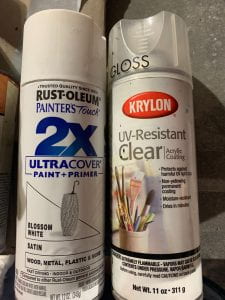
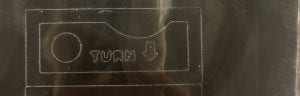
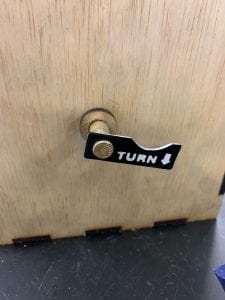
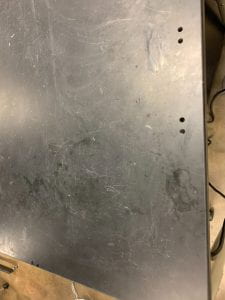
In addition to the wood model, we designed a metal handle for the user to turn to initiate the motion. The metal piece was designed on Adobe Illustrator, then waterjet cut on 1/8″ aluminum. The design includes a 9 mm hole, which allowed the piece to be hammered and friction-fit onto the rod. This allowed the piece to be secured to the rod and tightly connect the motion of the handle to the motion of the rod and prevent slippage. The handle design includes a curve for the user to comfortable place their finger on and turn the handle. For post-processing, we used a file to smooth down the rough cut lines from the waterjet. We also spray-painted it with 3 white coats, and finished with 2 clear coats.

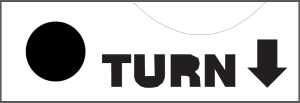
We also attached a vinyl sticker to the handle to make the design more intuitive and usable for the user to initiate the proper motion. This allows the user to easily spot where the handle is and how to initiate the intended motion with both textual and picture cues. The color contrast of the black and white against the wood makes it easier to spot.
We ended our work sessions by cleaning up our workspace.
Below is a cost analysis of our model:
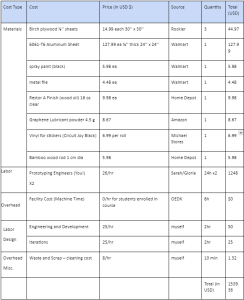
Although the cost of raw materials is relatively low, the high labor requirement and use of expensive machinery like the waterjet and laser cutter lower the accessibility of this design.
